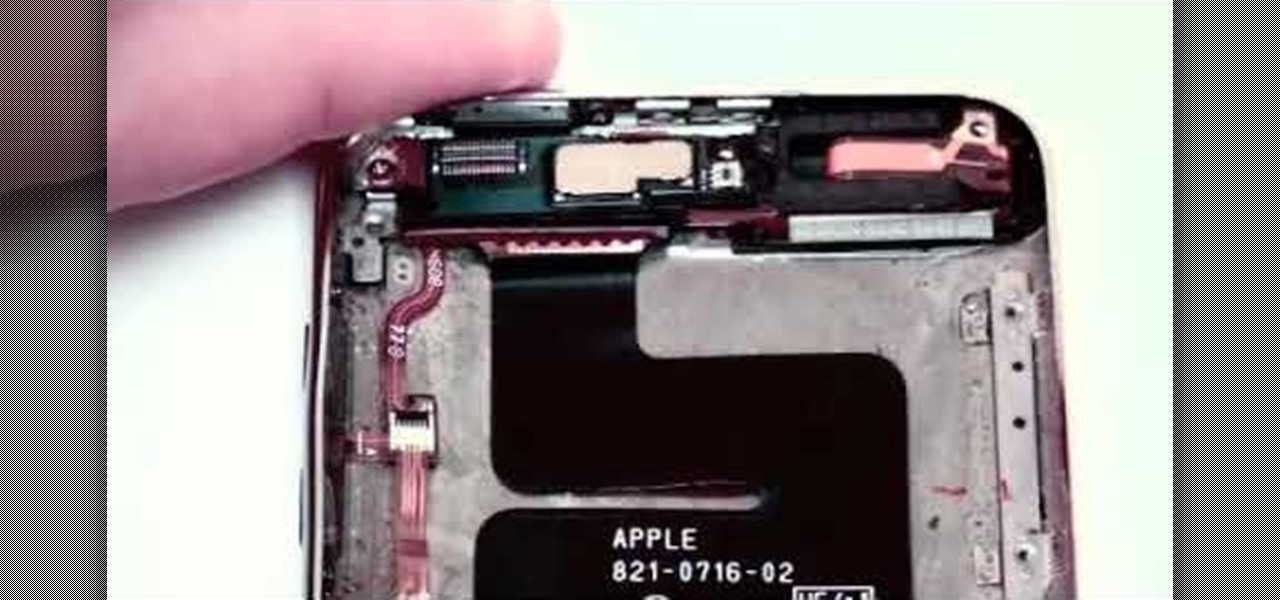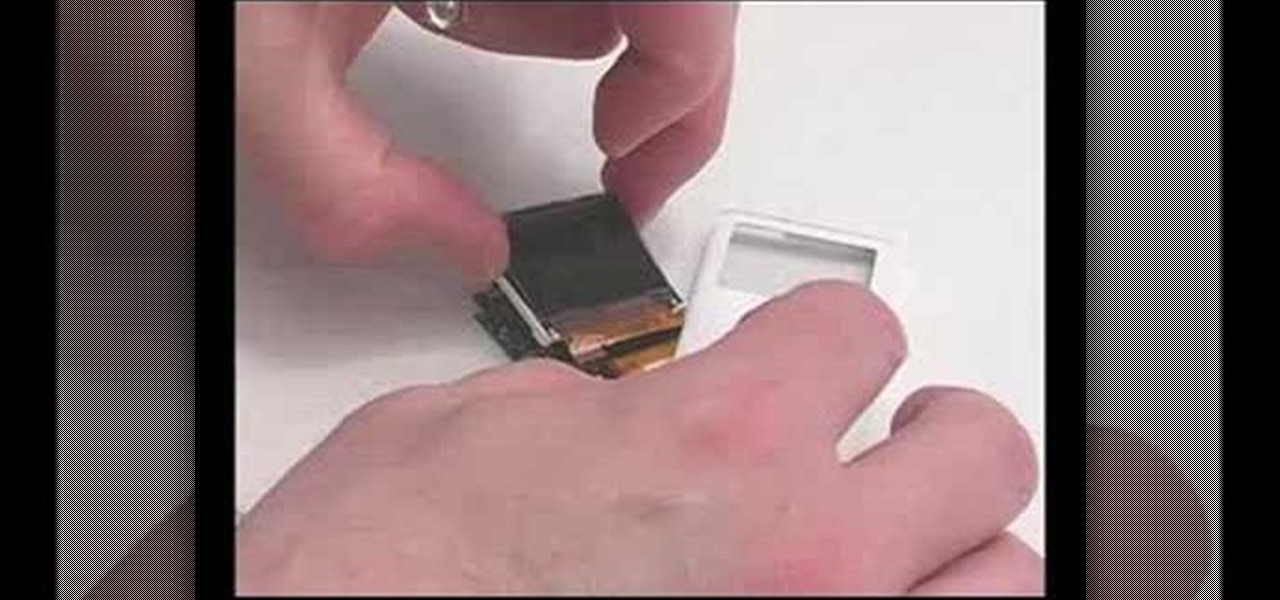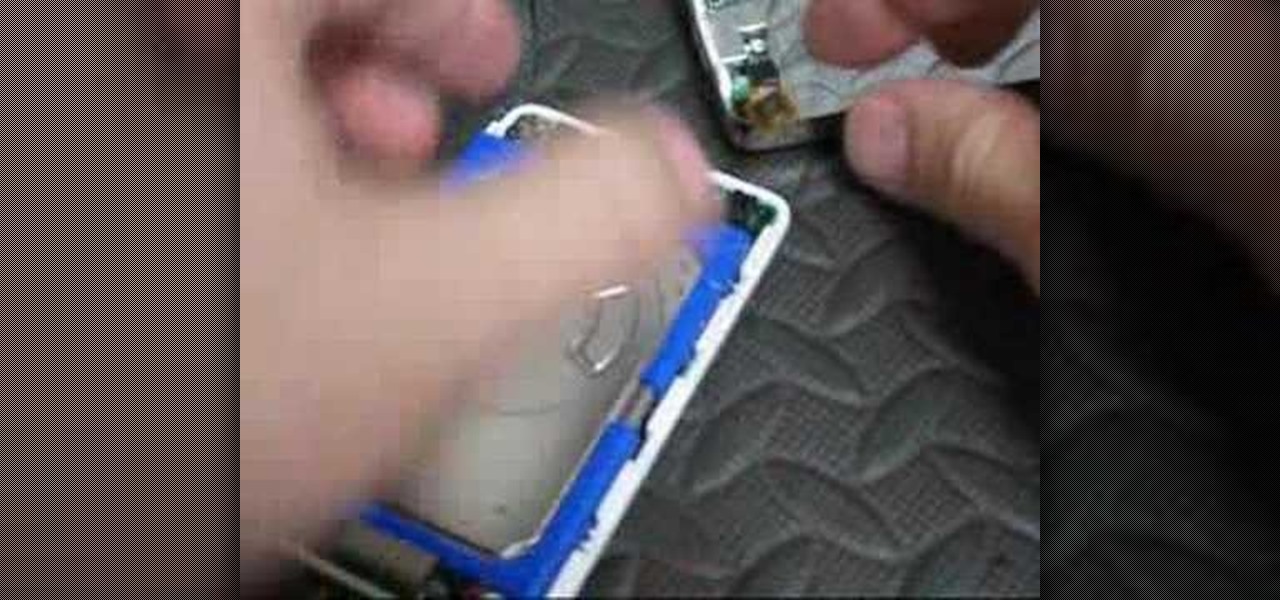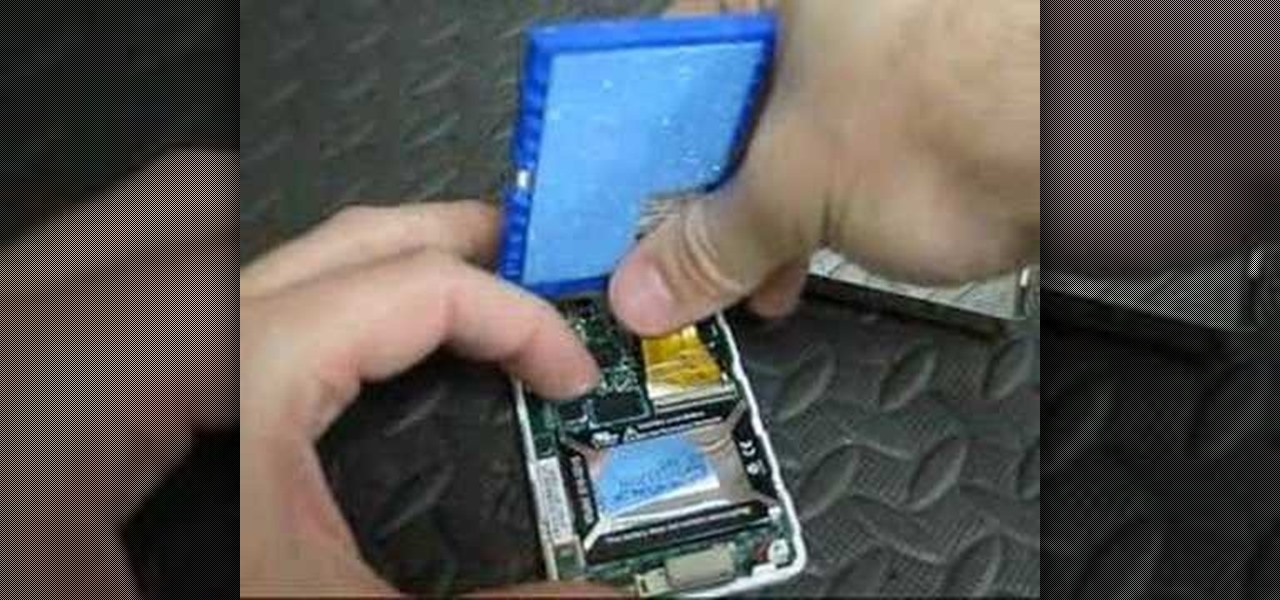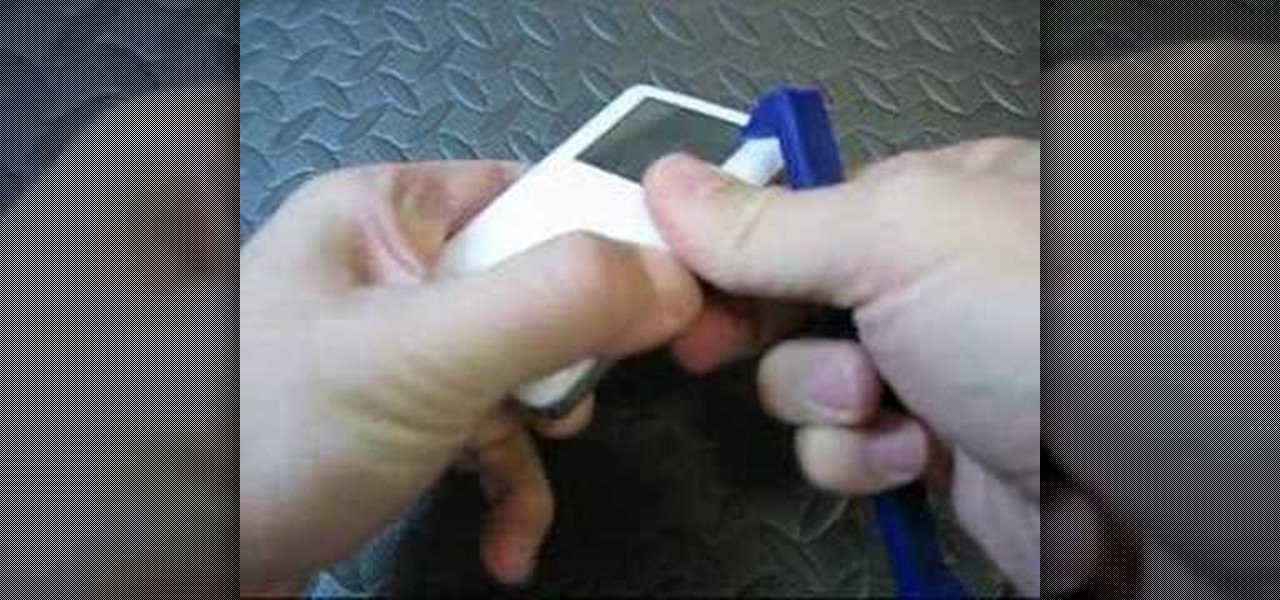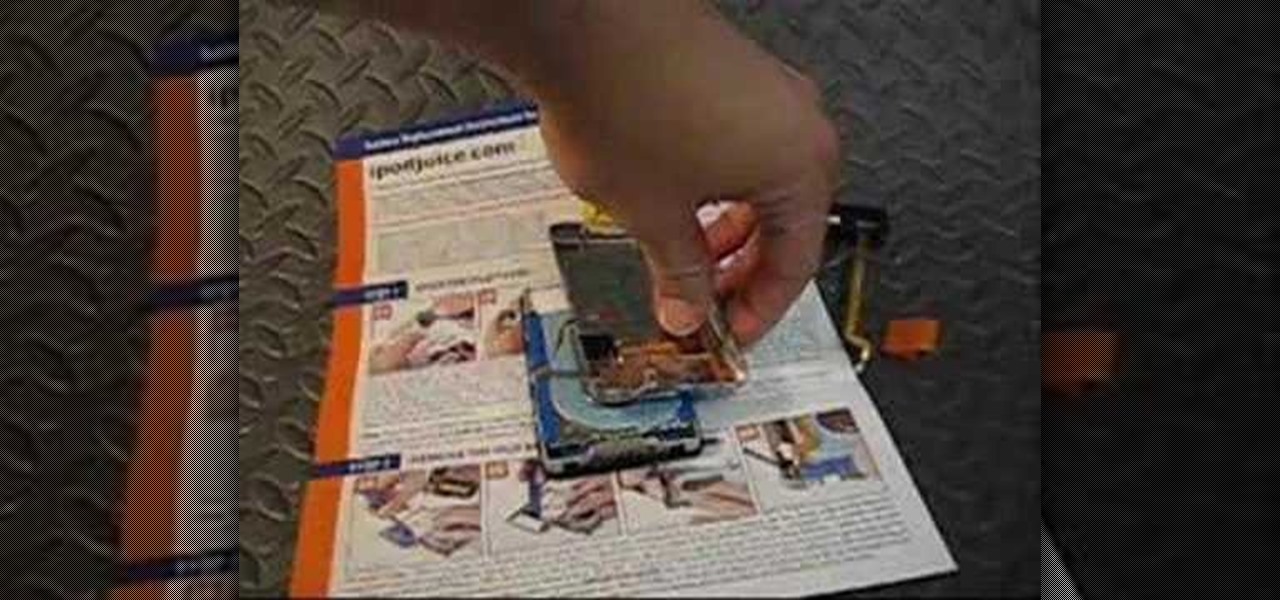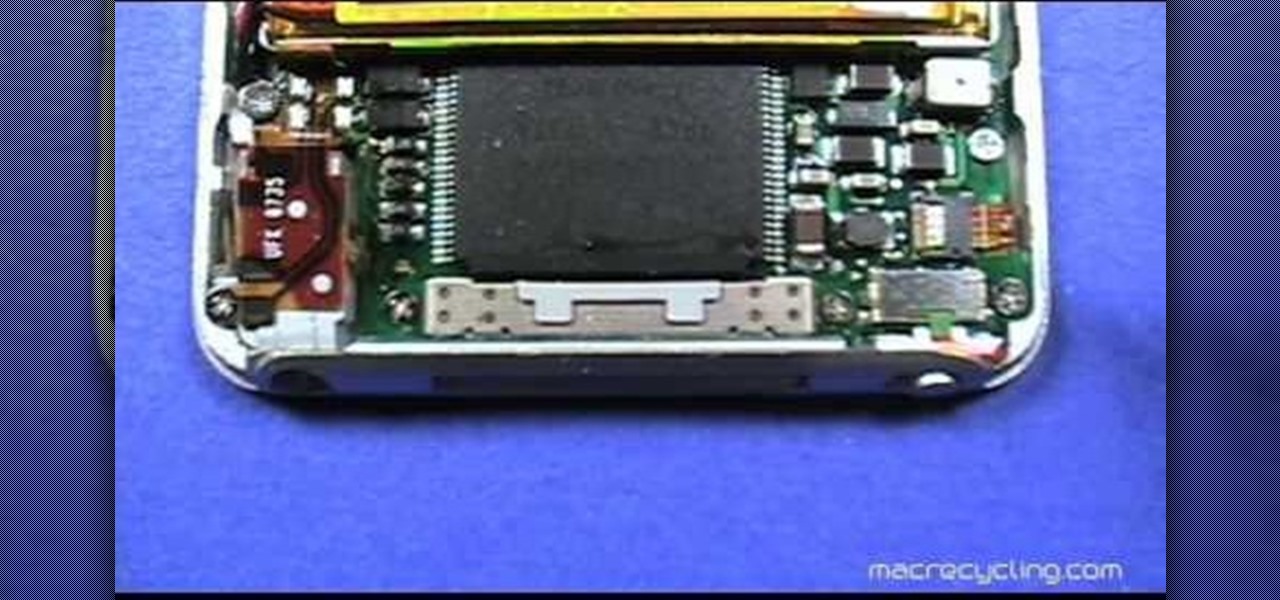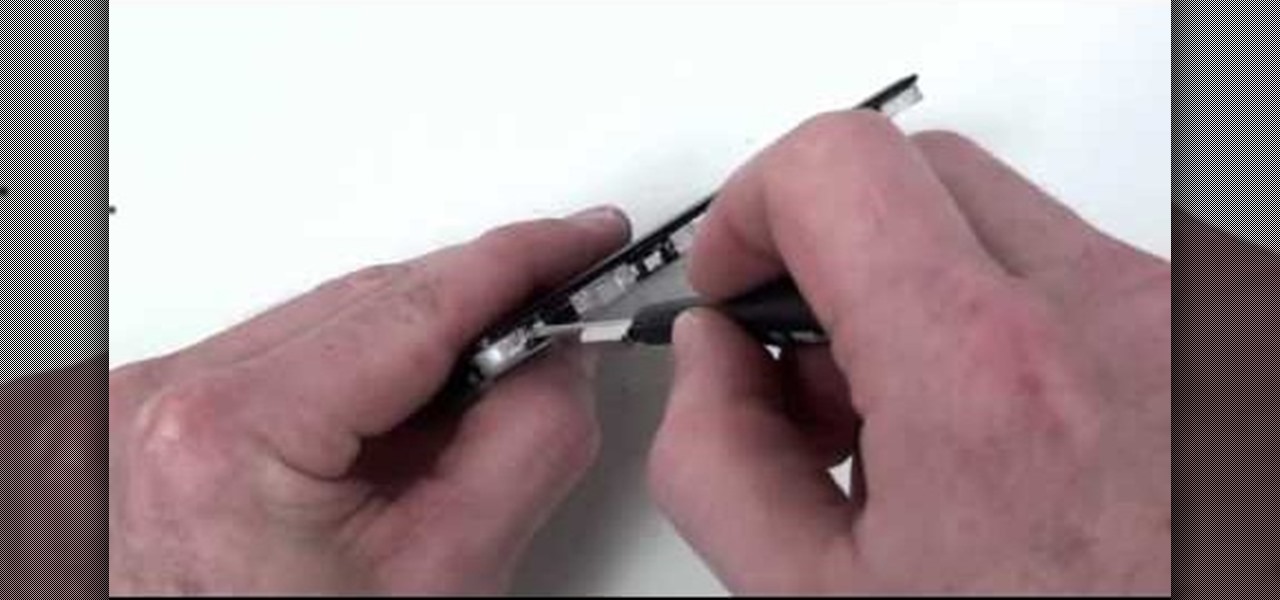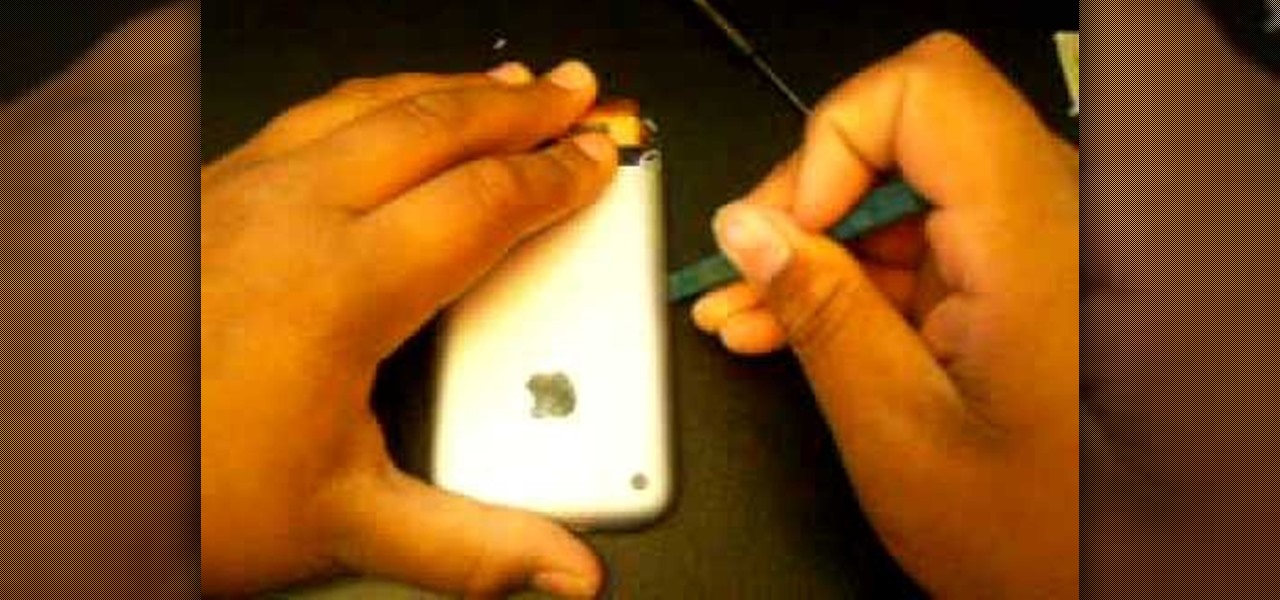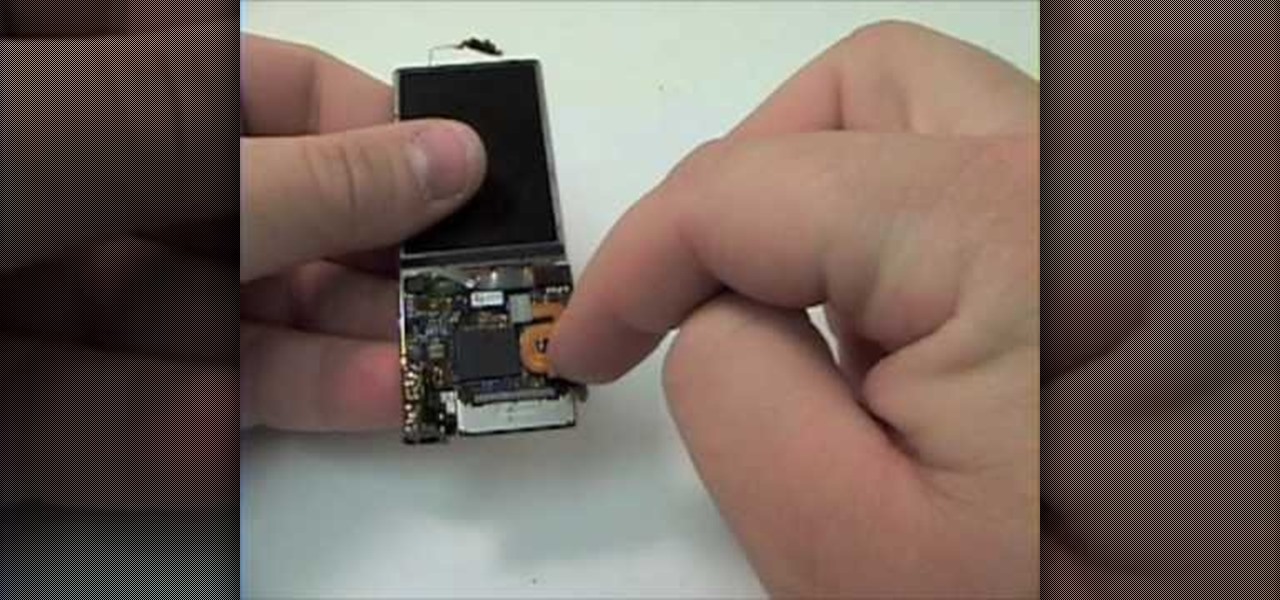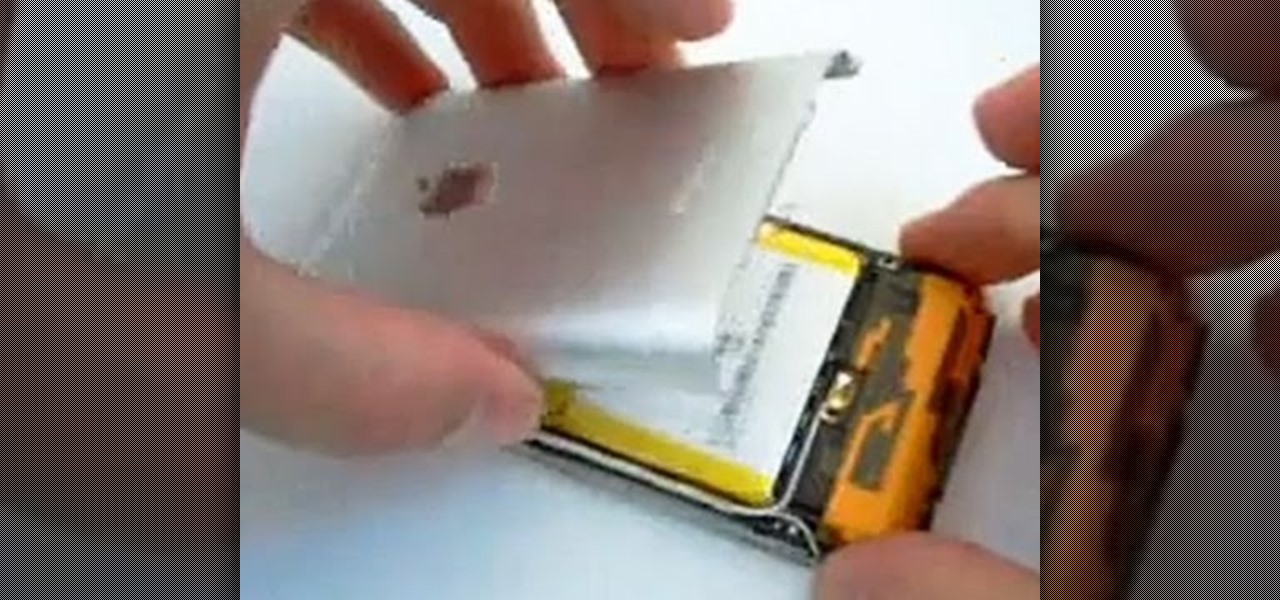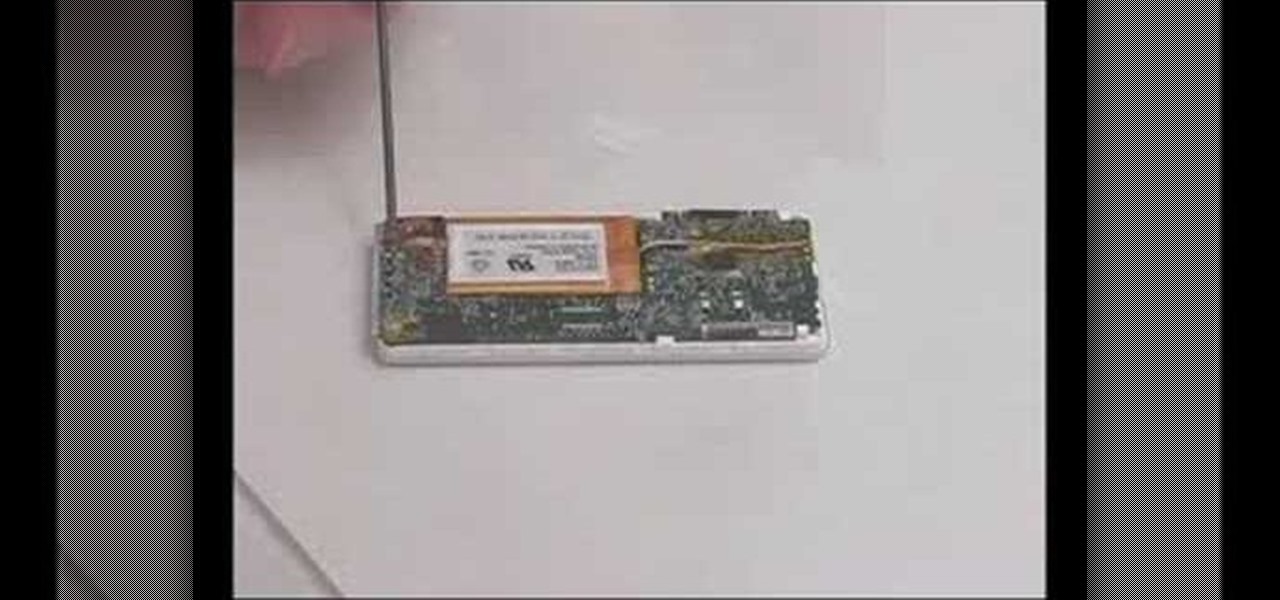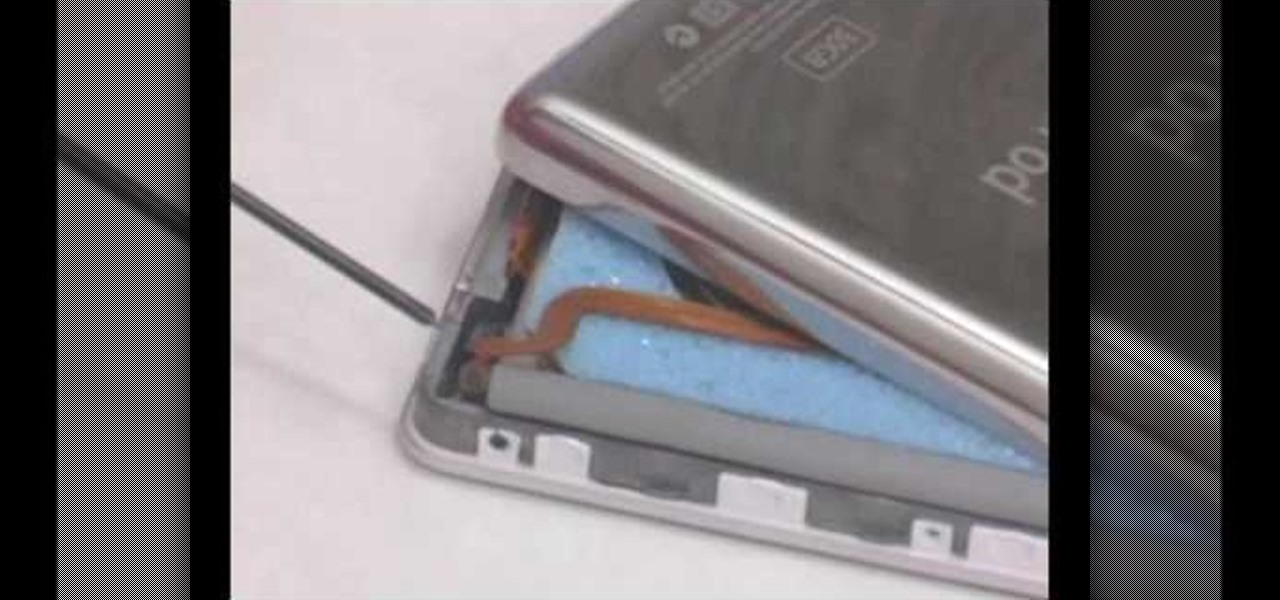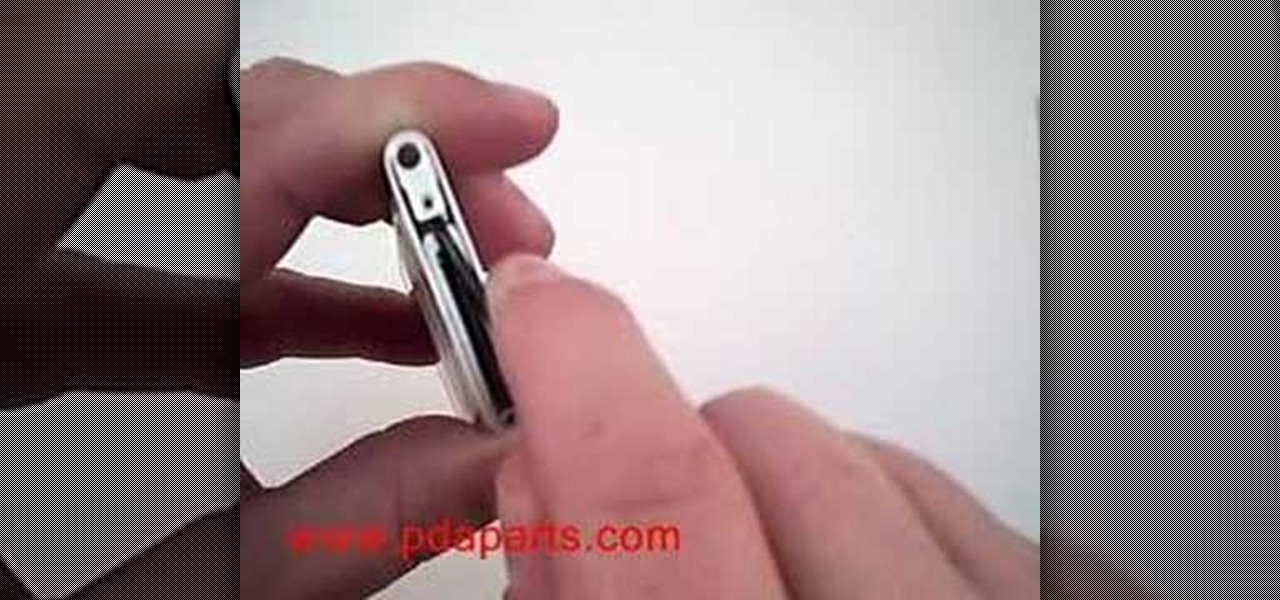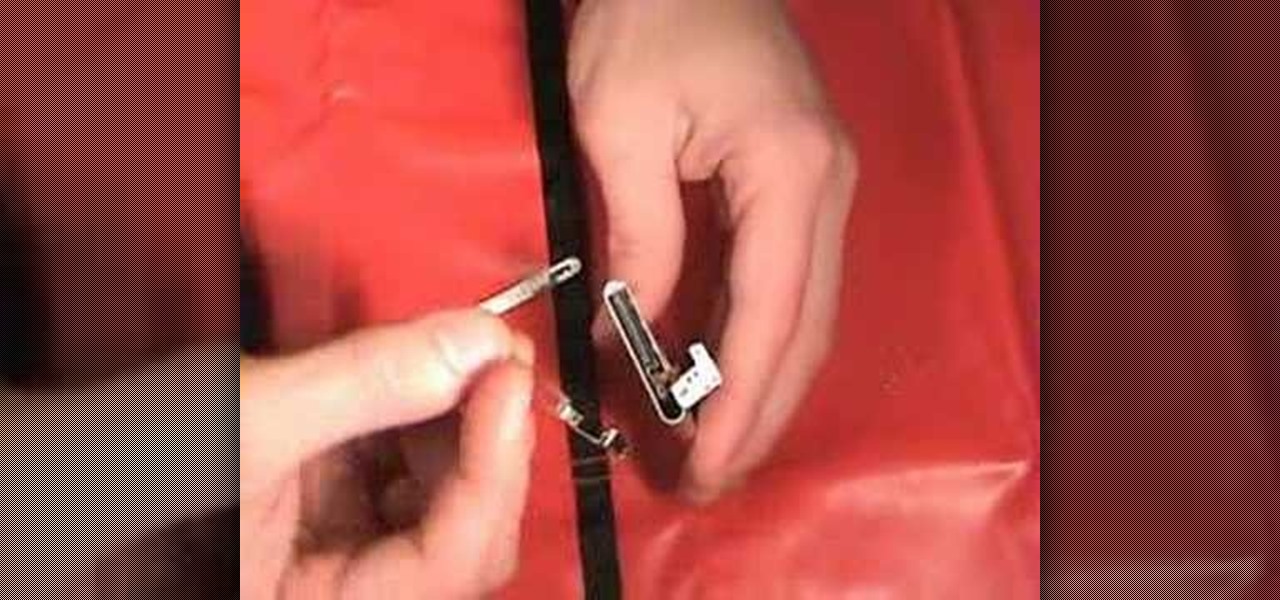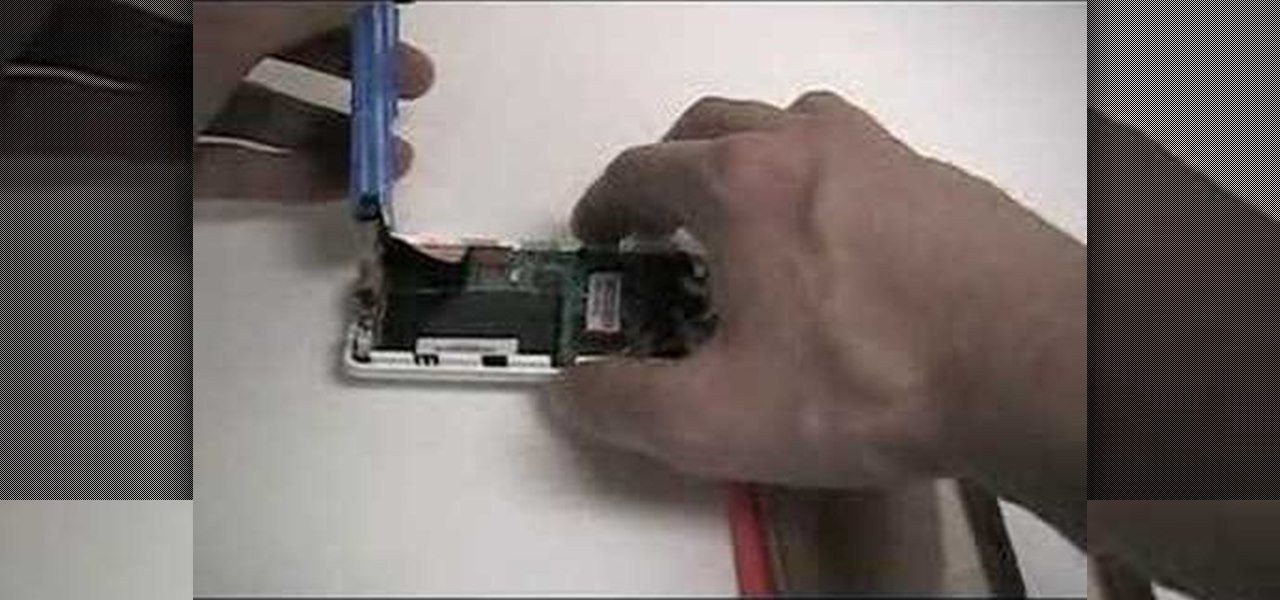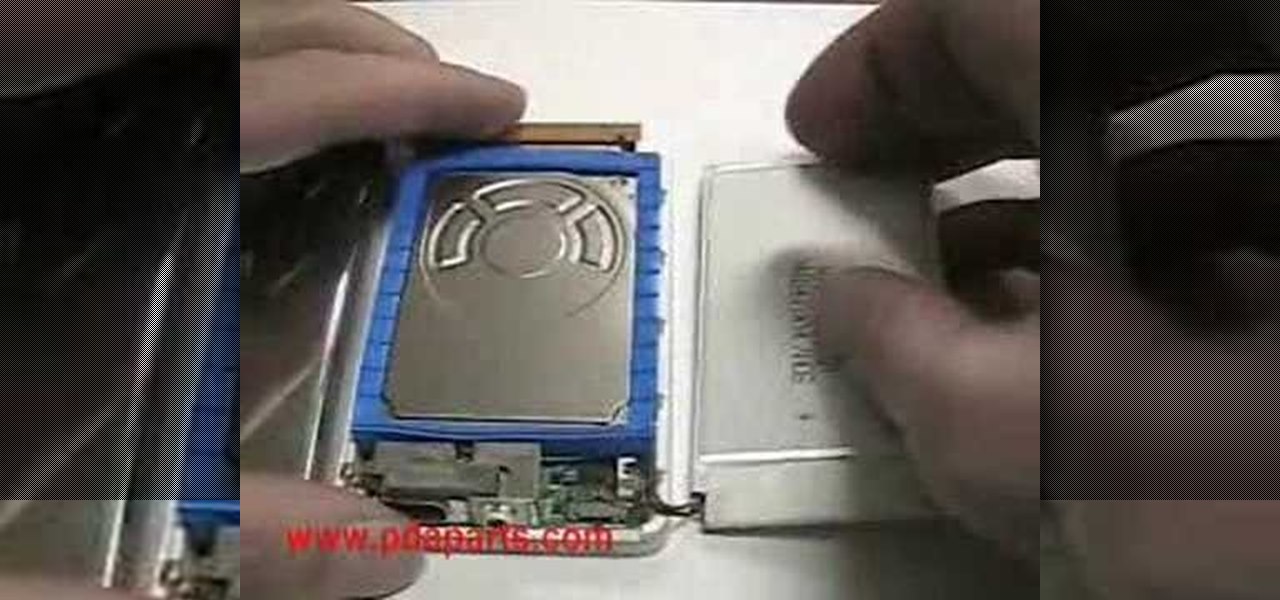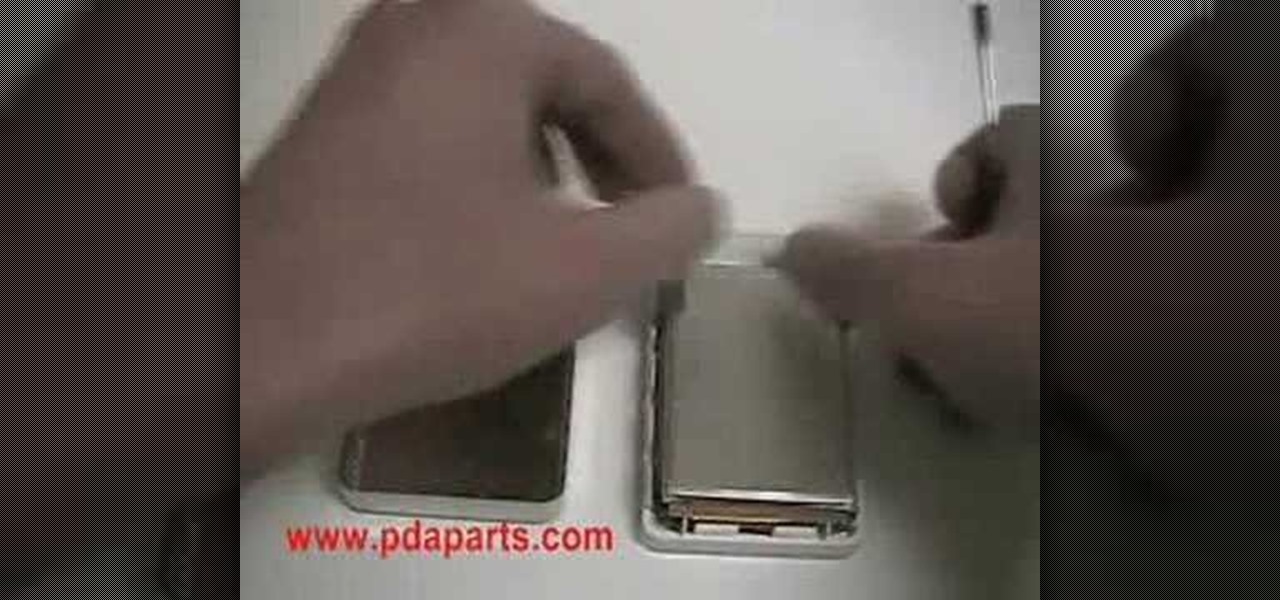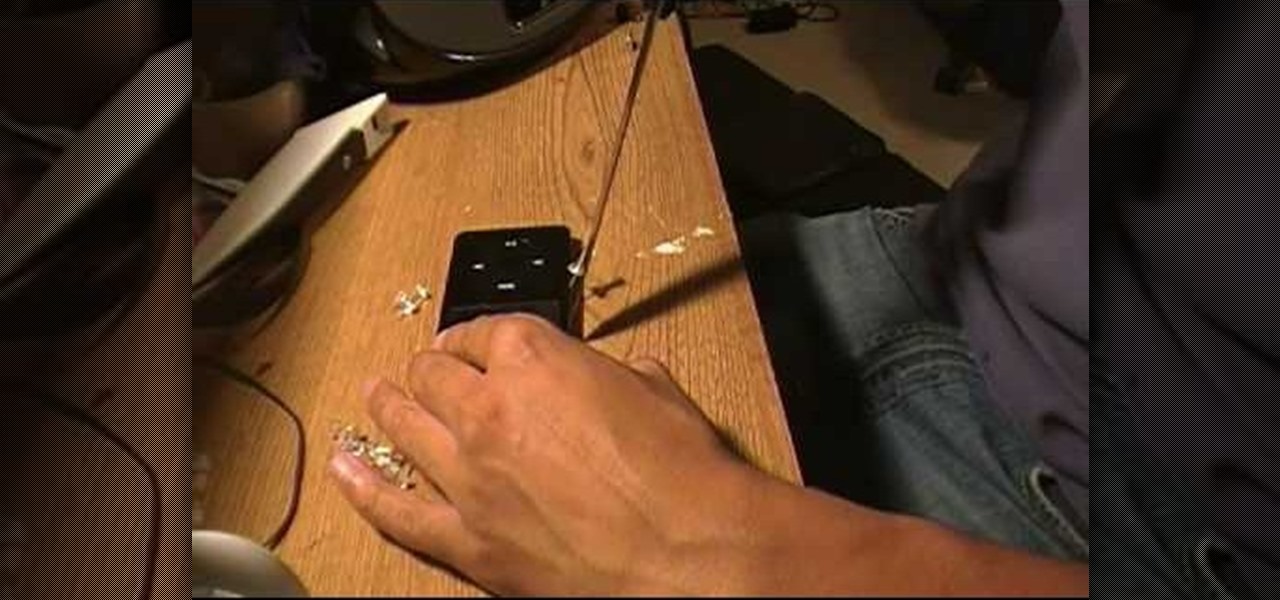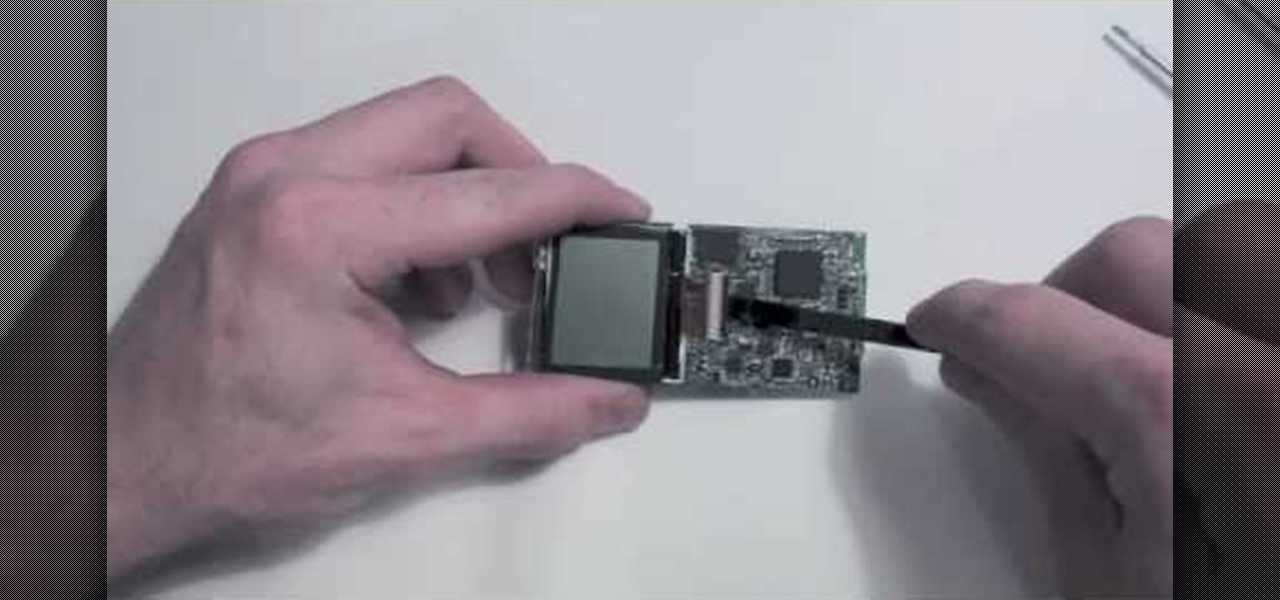
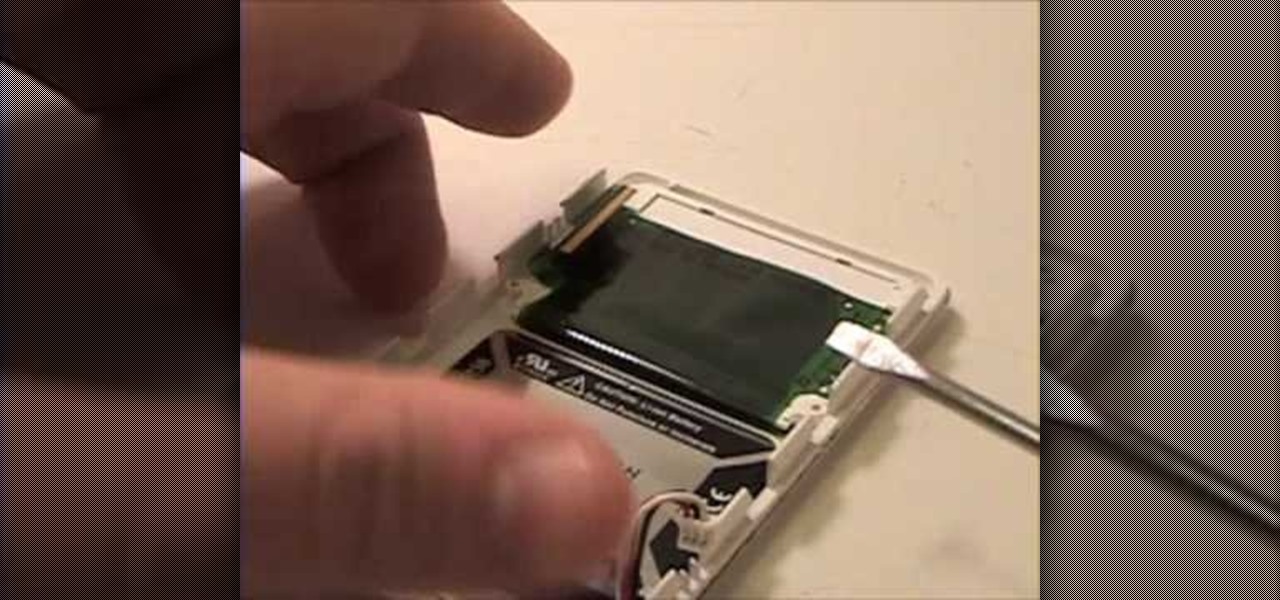
If you haven't bought one of the new Apple iPod's, you're probably pretty attached to your old one then. Like the iPod Mini. Compared to today's small iPods, it's a clunker, but to you, it's your baby. So if it ever needs fixed, you should do it yourself. See how to disassemble the iPod Mini, 2nd Generation.

A whole new generation, the Millenials as they are somewhat awkwardly called, is entering the workplace and has as a group a different attitude then the previous generation. Many older managers have problems dealing with the younger generation, as they always have. This video offers tips for managers for dealing with Generation Y employees who may seem arrogant and entitled.
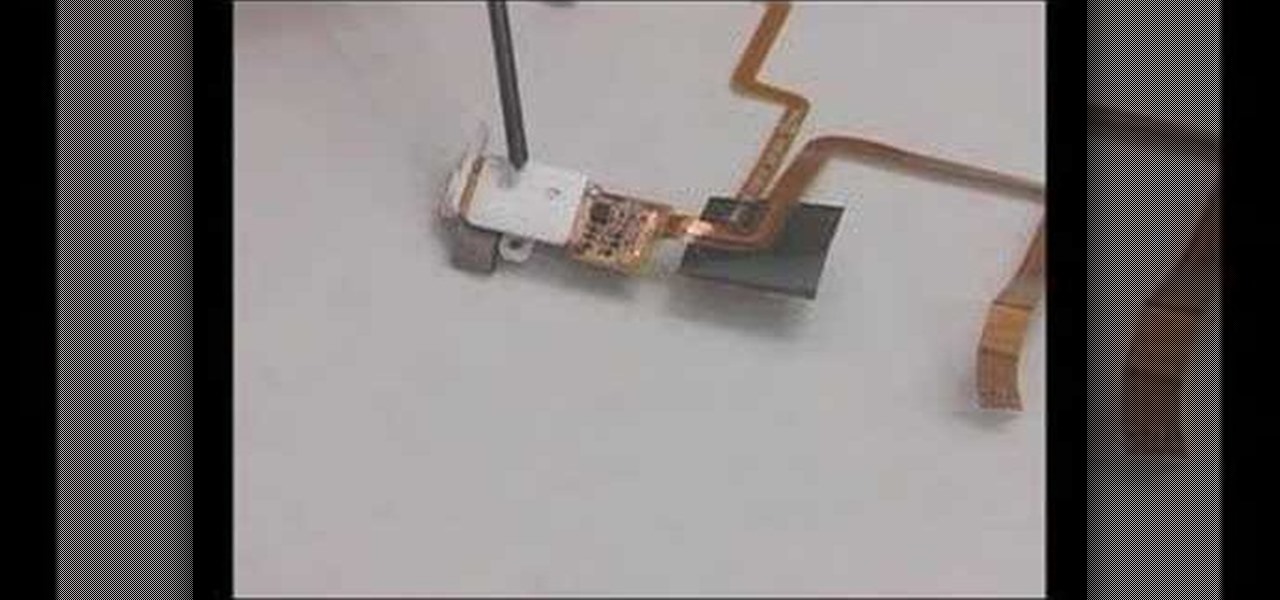
This video will show you how to install a headphone jack or a backplate in your iPod Video (5th Generation) or iPod Classic (6th Generation). If the Apple warranty no longer covers your iPod, it may be more inexpensive to do this simple repair yourself, instead of purchasing a new iPod. Watch this video iPod tutorial and learn how to install a headphone jack or backplate on a 5th generation iPod Video or a 6th generation iPod Classic.
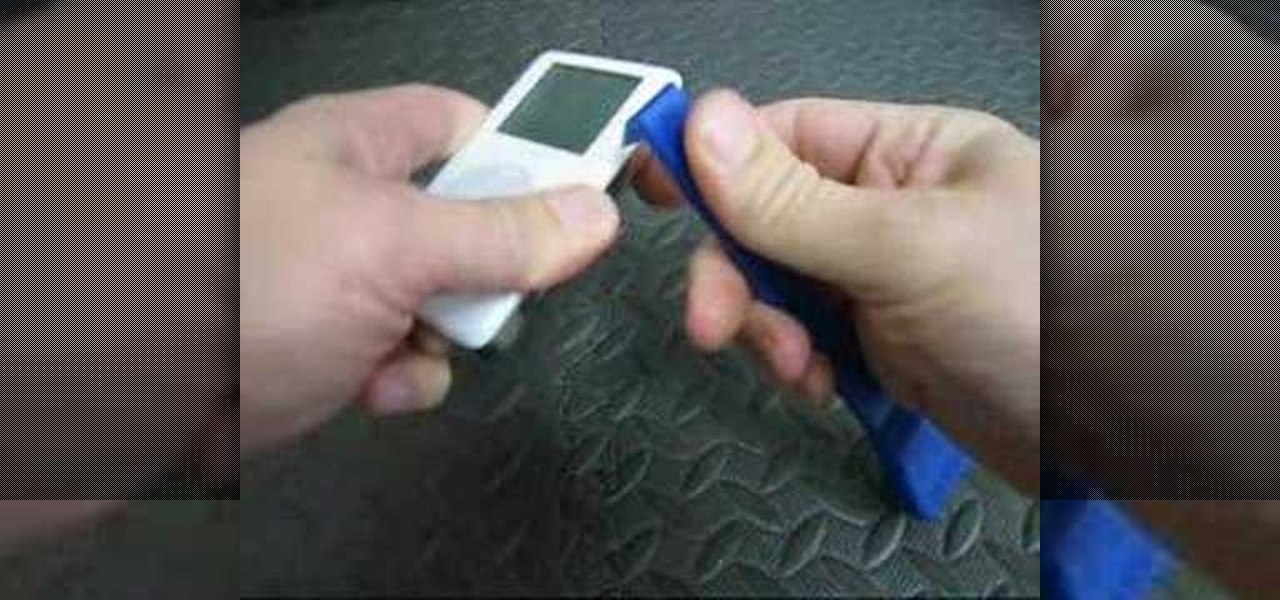
Having trouble opening the fourth generation iPod? Don't give up! Check out this instructional electronics video that illustrates the simple process of opening a 4th generation iPod. This video from ipodjuice.com demonstrates a technique that can be used to open even the most difficult 4th Generation iPod battery installation. Follow along and fix your iPod so you can listen to music again!
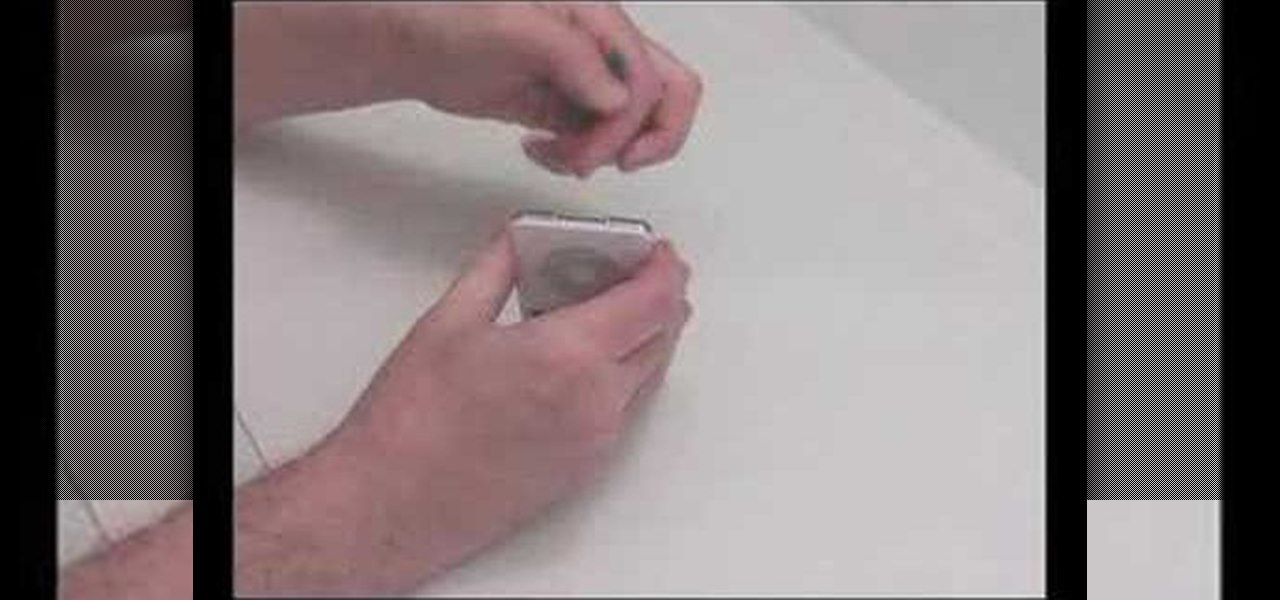
This video will show you how to open up iPod Video, Classic, 3rd generation, 4th generation and Nano 1st and 3rd generations. If the Apple warranty no longer covers your iPod, it may be more inexpensive to do simple repairs yourself, instead of purchasing a new iPod. The first step to any repair though, is getting the iPod open without damaging any of the pieces. Watch this video iPod tutorial and learn how to open the case on your iPod Video, Classic, 3rd generation, 4th generation and Nano ...
PowerBook Medic is the ultimate resource for Mac computers and electronics repair. They have helpful tutorials on most Apple products including the MacBook, MacBook Pro, PowerBook, iBook, iPhone, iPod, and more, covering topics from disassemblies, to RAM upgrades, to replacement hard drives.

If or a friend have an iPod Touch and want to work on it, knowing what generation it is is essential. This video will show you a quick and easy way of identifying which generation of iPod Touch you have.

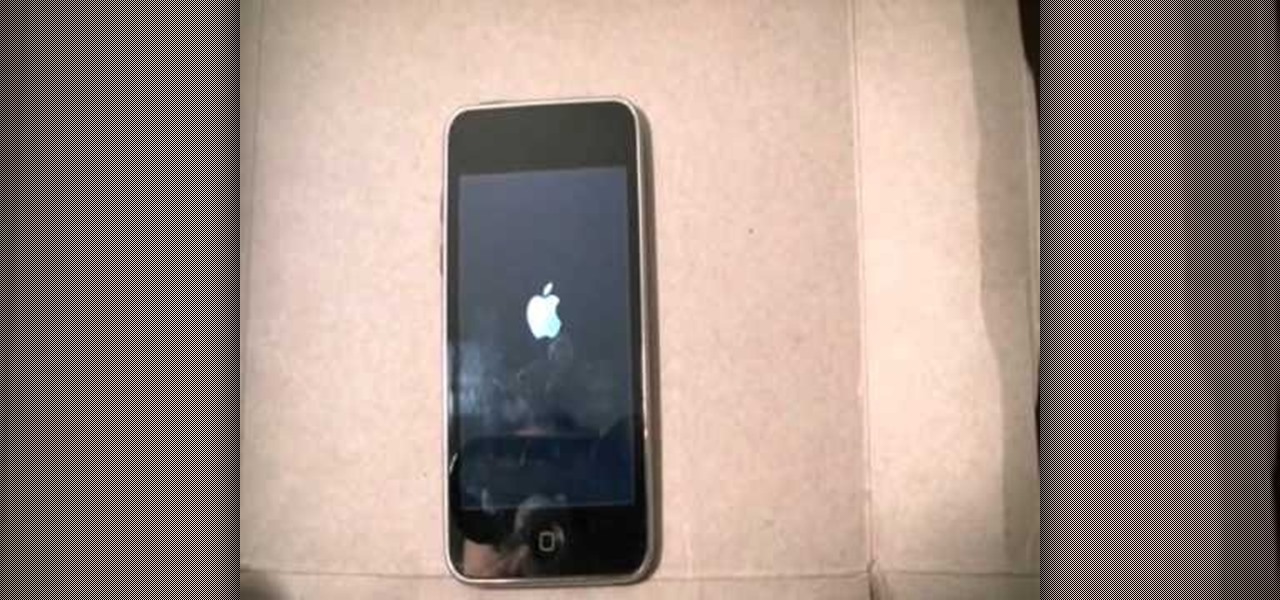
You have an iPod Touch, but it's broken. Why spend tons of money to have Apple or some dealer repair it when you can do it yourself? See how to disassemble the iPod Touch.

This video will show you how to replace the click wheel in a first generation Apple iPod Nano. If the Apple warranty no longer covers your iPod, it may be more inexpensive to do this simple repair yourself, instead of purchasing a new iPod. Watch this video iPod tutorial and learn how to replace the click wheel in a first generation iPod Nano.

This video will show you how to install a battery in a 4th generation iPod, after disassembling the iPod. If the Apple warranty no longer covers your iPod, it may be more inexpensive to do this simple repair yourself, instead of purchasing a new iPod. Watch this video iPod tutorial and learn how to replace a battery in MAC's 4th generation iPod.

You don't need to make a trip to the Apple Genius bar for something as simple as an iPod battery change. With a new battery, you can start using that dead 4th generation iPod again. Watch this video iPod tutorial and learn how to install a 4th generation iPod battery.

Opening an iPod Nano 3rd generation is more difficult than previous models, because of the metal clips. You will need the specialty tool designed to pry open the iPod, before you can get the iPod open and remove the screws. Watch this video iPod tutorial and learn how to install an LCD screen into a third generation iPod Nano.

Check out this instructional electronics video that illustrates the simple procss of reconnecting the ribbon cable on a 4th generation iPod. Sometimes the ribbon cable that tethers both halves of the fourth generation iPod during the battery replacement process needs to be reattached to the logic board. Watch as one of our technicians illustrates this process and start listening to music again!

Check out this instructional electronics video that illustrates the simple process of reconnecting the 4th generation iPod hard drive. The hard drive inside a fourth generation iPod can sometimes come loose from the logic board, but it can easily be reattached. Watch as a technician from iPodJuice.com shows you how it is done and start listening to music again!

Having trouble opening the third generation iPod? Don't give up! Check out this instructional electronics video that illustrates the simple process of opening a 3rd gen iPod. This video from ipodjuice.com demonstrates a technique that can be used to open even the most difficult 3rd Generation iPod battery installation. Change the battery on your iPod and start listening to music again today!

Check out this electronics tutorial video to learn how to replace and install a fifth generation ipod video battery. This instructional video illustrates the procedure of installing a battery on a 5th generation iPod video. See how it's really done!

Having trouble opening the 5th generation iPod video? Check out this instructional electronics video that shows you how to open your fifth generation video iPod. Try this simple trick if you are having a bit of difficulty getting the iPod video open, shown to you here by a technician. Fix your iPod and start listening to music again with this tutorial video.

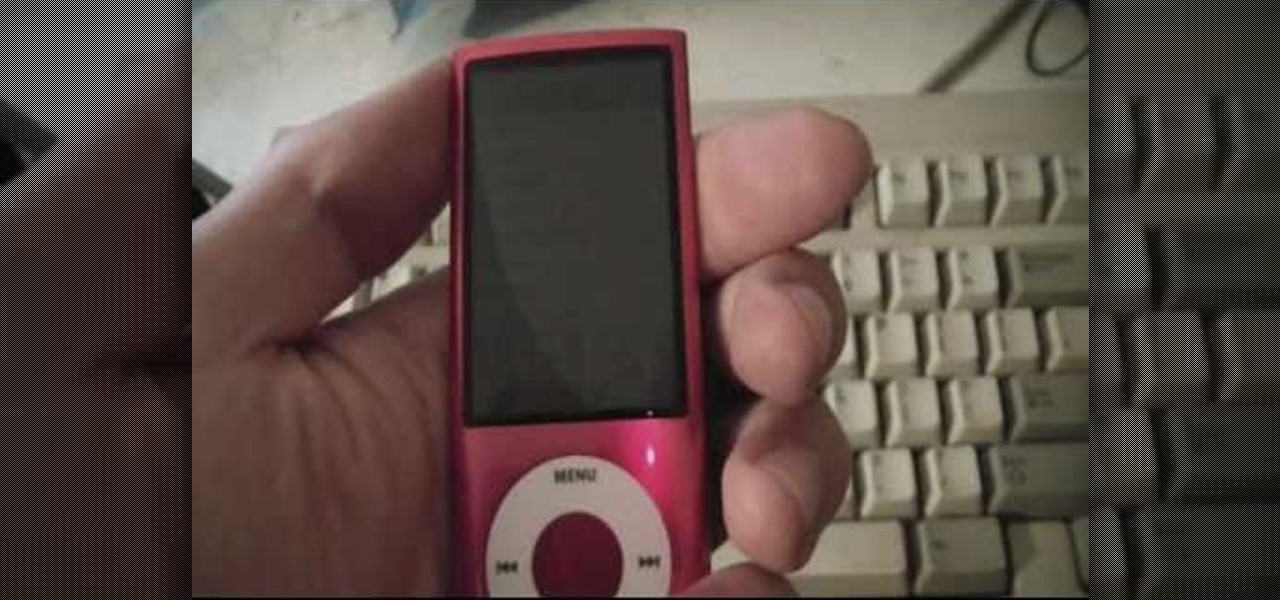
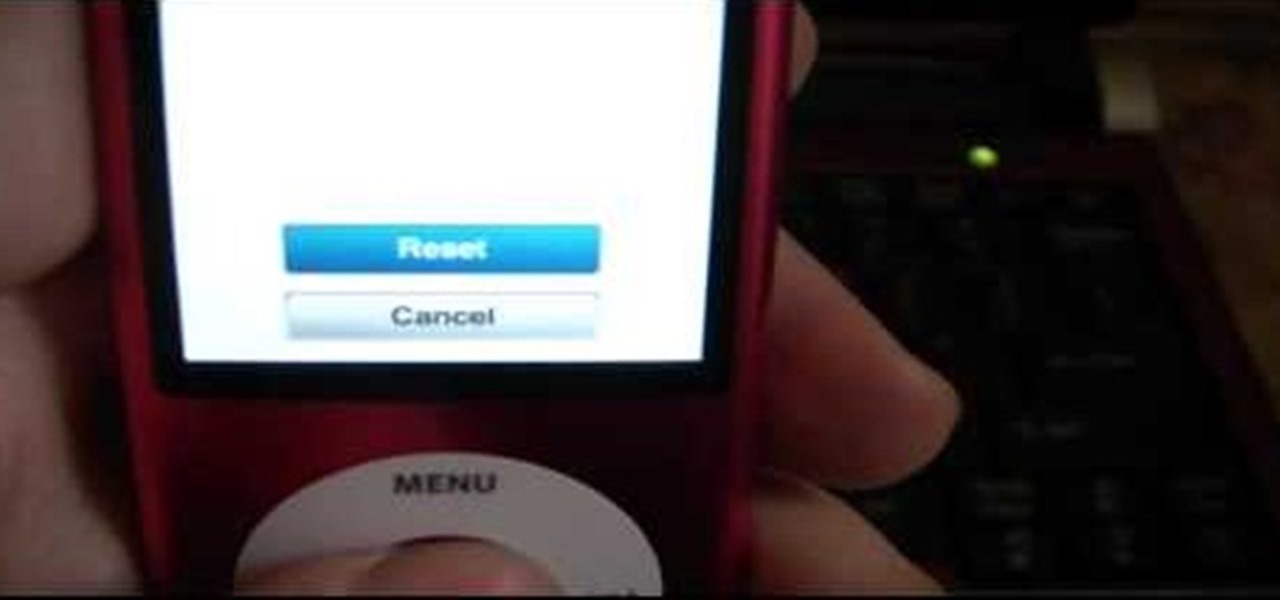
Learn how to reset a third generation iPod Nano from this video in simple steps. First take your third generation iPod Nano and switch it on. Now press the hold switch at the bottom of the iPod. Now hold the menu button and middle button together for a few seconds. After a few seconds your iPod switches off and restarts again. Now your third generation iPod Nano is reset and ready to use.

This how-to video serves as a disassembly guide for MAC's 3rd generation iPod Nano, breaking it down into the pieces: display, battery, logic board, housing, cables, etc. If you're determined to do your own iPod repairs, installations, or modifications, at least follow some advice on you to open up the Nano without causing damage. You will need a Phillips head screwdriver, a black stick, a plastic pick, and a chisel tip screwdriver. Watch this video iPod tutorial and learn how to take apart a...

If you're still rocking a 2nd generation iPod Touch, the frozen screen you have no is probably not the first problem you've had with it, Fortunately this one shouldn't be too hard to fix and this video will show you how to unfreeze you screen and get back to music.

Accidents will happen. This brief how-to will guide you through the process of disassembling, cleaning and reassembling a sixth-generation iPod Class (A1238) quickly and efficiently without damaging any of the components, the first necessary step of any successful repair or restoration. This tutorial will also be of use to those who wish to learn more about the guts of their iPods without actually disassembling their units.

In this video, learn how to crack open, dissaemble and take the back off an Apple iPhone 2G (1st generation). Advice from the Internet: Don't try this unless you have done like-attempts before successfully. It is very difficult to replace an IPhone 2G back cover with a new one, so beware!

PowerBook Medic is the ultimate resource for Mac computers and electronics repair. They have helpful tutorials on most Apple products including the MacBook, MacBook Pro, PowerBook, iBook, iPhone, iPod, and more, covering topics from disassemblies, to RAM upgrades, to replacement hard drives.

Adding interesting themes to your iPhone and iPod is like wearing vintage clothes to school rather than clothing yourself in a few finds from Abercrombie & Fitch like everybody else: You stand out. While we'd be happy with any (current generation) iPhone, iPod Touch, or iPad, installing a theme makes our iGadget extra special.

If you're 3rd generation 8GB iPod Nano has frozen or broken in some other software-related fashion, you probably have to restore it to factory settings. DOH! Fortunately this isn't a hard process, and this video will teach you how to do it.

The iPod Nano is a great little device, but if you've messed it up somehow you may want to reset it. This video will show you how to do just that on a 3rd generation 8GB Nano, allowing you to change your language settings and other basic options.

In this video by PDA Parts, learn how to take apart and disassemble your Apple iPhone 2G (or, 1st generation iPhone, the same phone). By taking the back off and opening your iPhone, one can replace a broken screen. It is wise to listen to these instructions very carefully, as a small mishap can ruin your phone. Also, it should be noted, by doing this any Apple warranty will be void.

Do you own the first generation iPod Touch and have a broken screen? You just might be able to fix this, with help from this vieo. Here, Donald Bell repairs a cracked screen on a first-generation Apple iPod Touch.

This video will show you how to install a battery or LCD screen in a first generation iPod Nano. If the Apple warranty no longer covers your iPod, it may be more inexpensive to do this simple repair yourself, instead of purchasing a new iPod. Watch this video iPod tutorial and learn how to replace a battery or LCD screen in a first generation iPod Nano.

This video will show you how to remove your old LCD from your 4th generation iPod or iPod Photo and replace it with a new one. If the Apple warranty no longer covers your iPod, it may be more inexpensive to do this simple repair yourself, instead of purchasing a new iPod. Watch this video iPod tutorial and learn how to replace a the LCD screen in a 4th generation iPod or an iPod Photo.

When your iPod is no longer holding a charge, the battery is most likely dead. If your iPod is past Apple's warranty time, you might want to try replacing the battery yourself. You will need a prying tool and a new battery. Watch this video iPod tutorial and learn how to replace a 2nd generation iPod battery.

You can save a lot of money doing your own iPod repairs and updates, but make sure you're doing it right. Make sure to use the right tools and follow the tips listed in this instructional video. Opening the iPod the first time can be especially tricky. Watch this video iPod tutorial and learn how to change the battery on a fifth generation iPod Video or Classic.

Learn how to create the 4th Generation iPod Nano in Adobe Photoshop. Sure, you'll only have an image of the 4th generation iPod Nano, but if that's what you need, then this Photoshop tutorial is for you.

Is your iPod Nano screen getting a little unclear? Replace it then.

After you've taken your iPod Nano apart and fixed it, you might want to put it back together. Check this video out to see how to assemble the iPod Nano Generation 2 with narration for each step.

The second generation iPod shuffle is half the size of the original and much easier to wear, but that's easy to figure out. What may not be so easy, is figuring out how to use it. This video from Apple takes you through all the basics.

This shows you how to save your iPod and a ton of money by fixing a dead battery yourself. Here's how to take apart the 3rd generation iPod and remove and replace the battery.

This video shows a step by step method for saving money and your iPod when it's battery dies. Take apart the 2nd generation iPod and remove and replace the battery.

How to take apart the 1st generation iPod and remove and replace the battery.

In this how to video, you will learn how to open a 6th generation Ipod Classic. First, make sure to turn it off and make sure the hold button is on. Take a prying tool to undo the clips inside the device by sliding it in between the cover and back. Once the clips are undone, place thumb tacks on the sides and tops while popping the base out. Be careful, as there are cables inside that you do not want to break. The orange part is the battery while the blue object is the hard drive. Once you ma...


