This is an instructional video on how to fold an origami Butterfly. Origami is the Japanese traditional art of paper folding to make just about any shape. All you need is a square sheet of paper. Watch this video origami tutorial and learn how to fold a paper butterfly.

A Box kite is a fun project that looks like it could never fly but it flies real easy. It's easy to make too. You will need dowels, straws, string, masking tape, scissors, and some newspaper or plastic. Watch this video tutorial and learn how to make a box-shaped kite.
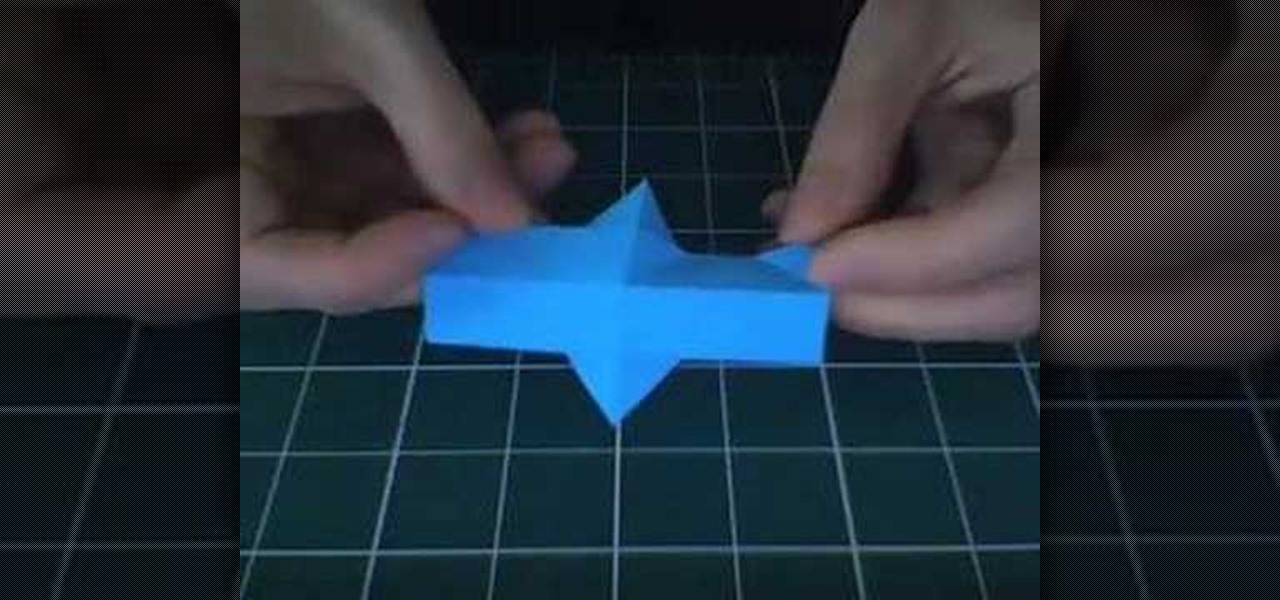
Invented by Tom Hull in 2007, here's how to fold a Rhombicuboctahedron, an innovation on the cuboctahedron, out of origami paper. 24 smaller paper units can lock together in a pattern, which if carried through properly, will form a complex geometric shape out of folded paper.

This crochet how-to video shows you how to crochet Japanese amigurumi shapes. For this crocheting project learn to make a pair of cherries out of yarn. It is very simple, start by crocheting a six stitch circle. Watch the video to learn how to crochet the rest of the Japanese amigurumi cherries.
Improve you crocheting skills by creating fun shapes out of yarn. This how to video is a tutorial that will show you how to crochet a tube. Crochet a long tube and use it to decorate a long pillow or bolster.

Improve you crocheting skills by creating fun shapes. This how to video is a crocheting tutorial that will show you how to create a small rose flower. Crochet several roses and use them to decorate your projects.

Improve you crocheting skills by creating fun shapes. This how to video is a crocheting tutorial that will show you how to create a small star with five points. Crochet several of them, bind them together and create larger handmade projects.

Celebrated and award-winning children's illustrator, Jan Brett, shows how to sketch an okapi, an endangered, African mammal, in this fun demonstrational video. Learn how to draw this beautiful and unusual animal by following Jan's simple instructions that go from making easy shapes to the finished product. Even kids unfamiliar with Jan's work will enjoy sketching along.

Celebrated and award-winning children's illustrator, Jan Brett, shows how to sketch a guinea hen and a zebra. Learn from this video tutorial how to draw and paint these exotic, African animals by following Jan's simple instructions that go from making easy shapes to the finished product. Fun for kids to follow along as well.

This Zbrush 3.1 tutorial covers using layers and Alpha Shapes and a plugin named imageplane3 by Marcus at Pixologic.com to create a shield in Zbrush. You should already know the basics of working in Photoshop.

Craft a crazy three dimensional Slinky-esque heart shaped card. Perfect for Valentine's Day or Mother's Day.

This video shows how to make a modeling clay form for a bra cup. This form can be shaped and reshaped to change the look of bras.

Learn how to make a cool little heart shaped cup out of two pieces of paper and some folding and cutting. Similar to origami, the Japanese art of kirigami requires the use of scissors.

Jeff Schell walks you through, step by step, how to create a handful of different track mattes in Premiere Pro CS3. Schell discusses where you can apply a track matte, how to expand it, how to apply and expand a blur, and what track you want to borrow the shape from. He also shows us how to apply a track matte with a title, and details the effects of a luma matte.

This demonstrator teaches you how to put together a giraffe-shaped balloon hat. This is a tall hat and requires a lot of complex twisting. Pay close attention to this one!

In this tutorial, we learn how to make a tight paper airplane. First, fold the paper in half horizontally then open it back up. Then, grab the top of the paper and fold each edge into the middle to create a triangle. After this, open it back up and fold triangles down on each of the sides. Continue to fold in the triangle shape in the middle of the paper until you have a large triangle shape. Fold in half again and then push the edges down so you can hold onto the bottom. From here, you can t...

In this tutorial, we learn how to make a cheat sheet for a test. You will first need to take your shoe and place it on a white sheet of paper. From here, use a pen to trace the shape of the bottom of the shoe. After this, cut the shape out of the paper and then use it to write on! Write all of the information you need for your test on this paper. When finished, you will stick this to the bottom of your shoe with some tape. Then, when you're taking a test you can simply look at the bottom of y...

In this video, we learn how to draw a realistic mouth, nose, and eyes. Start out by drawing the outside shape of the eye, then draw in the details inside the eye. After this, shade in the pupil and add a white circle to make the eye look glossy. From here, add in the eyebrows and add darkness and lines to make it look more realistic. For the mouth, you will first draw the outline of the lips, then draw the teeth on the inside followed by additional details. Make the teeth different shapes and...

Chances are that by now you've seen it all - at least when it comes to cupcakes. The designer foodstuff, as popularized by chains like Sprinkles and Magnolia Bakery, has been done and redone in every shape imaginable, from your typical swirled icing topped cupcakes to cupcakes that resemble monsters or sandwiches.

In this tutorial, we learn how to fold an easy plane. First, fold a piece of copy paper on one side into a triangle, then open up and fold the opposite way, making creases on both sides. Next, fold the triangle further, until you have a shape that looks like a house. Next, fold the two flaps up on top to keep the triangle shape. Then, fold them both down. After this, fold the sides of the triangles into the crease in the middle of the paper. Next, fold the paper in half and make a wing by fol...

In this tutorial, we learn how to make paper rose with construction paper. First, take a piece of pink paper and cut a thin strip out of it. Next, take that strip and fold it in half twice. Now, cut the paper in half so you have several strips of paper. Now, fold in the strips to make them look like petals. Next, cut two thin strips out of a green piece of paper and craft them into the shape of a stem. Then, cut thin strips out of the green and shape them into leaves. After this, combine the ...

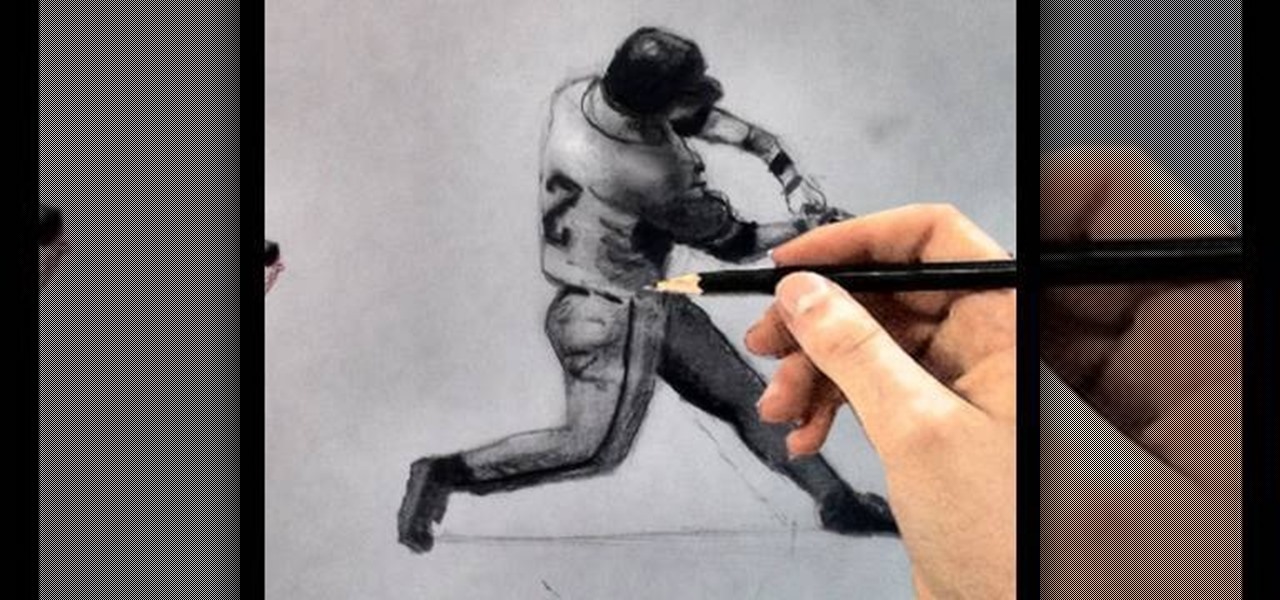
Can't figure out what you love best? Baseball or art? Well, combine your two favorite pastimes and draw a baseball player. You can even create your own baseball cards if you want to go the extra step. But in this video, you'll specifically learn how to draw a baseball player hitting the ball (batter's stance).

In this video tutorial, viewers learn how to draw Homer Simpson from the animated shot, The Simpson's. Begin by making a light outline of where the top of the head, sides of the head, ear and neck will be. Then do a light sketch of where the mouth, nose and eyes will go. Make the eyes large and make one eye overlap the other. Also make the nose into a sausage shape and mouth into a lemon shape. The eyes should be overlapped by the nose. Make the top of the ear line up with the bottom of the m...

In this video tutorial, viewers learn how to make a 3D flower pop up card. The materials required for this are 5 pieces of paper, scissors and glue. Begin by folding the paper in half 3 times and then fold down the sides to a triangle. Now fold a bit of the triangle flap up to make a slimmer triangle. Then cut around the top with a half circle shape. When opened, it will be a flower shape. Cut one of the pedals off and decorate it. Make 7 more flowers and glue the points together. Now take a ...

This video illustrate us how to make a vase out of three stamps. Here are the following steps: Step 1; First of all take all the requirements that is paper, stamps, stamp pad, color pencil extra.

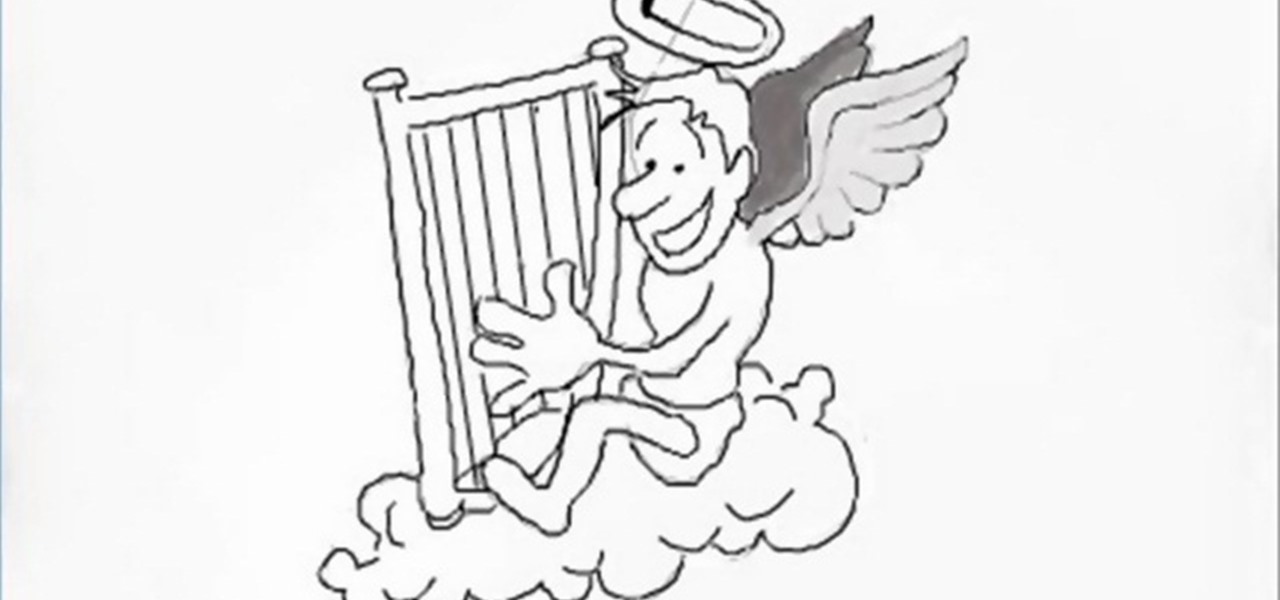
In this how to video, you will learn how to draw an angel. First, draw the circles for the body and head. Add a leg and arm, as it will be drawn from a side view. Draw a rectangular shape for the harp and a circle for the halo. Lastly, draw the cloud below the body and wings. From here, you can fill in a detailed outline over the basic shapes drawn. This includes the fluff lines of the cloud, the feather lines of the wings, the mouth and hair of the angel, and the strings inside the harp. Onc...

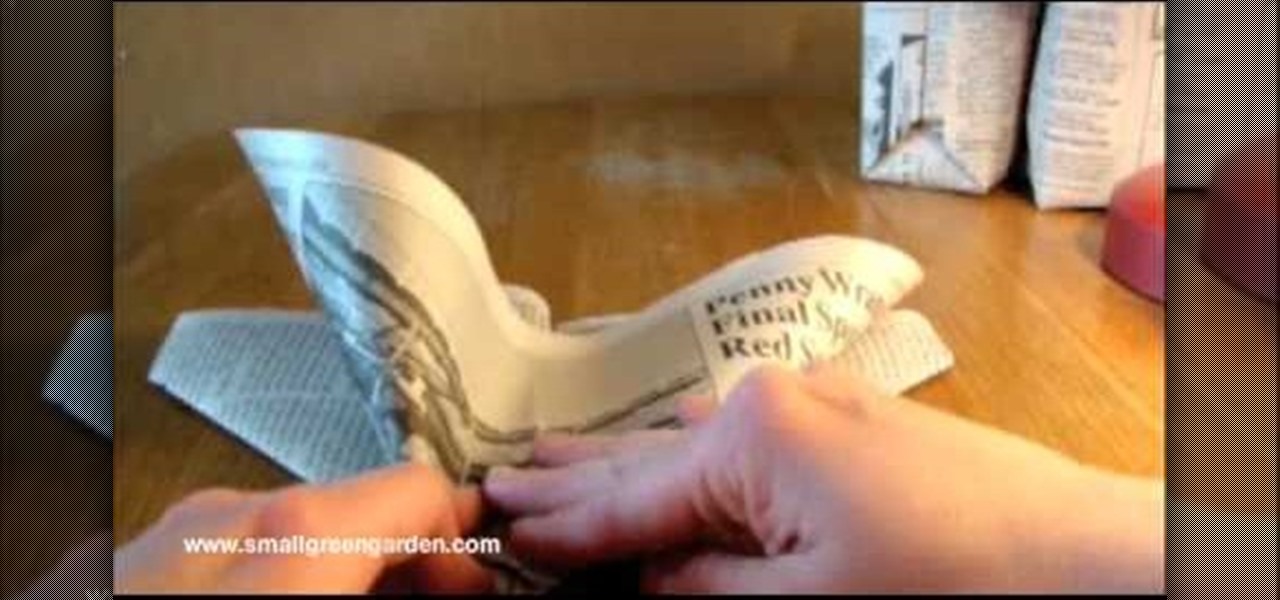
This video demonstrates how to fold a newspaper seedling container using a simple origami method. This is a free idea that incorporates recycling. Not only do these paper containers stand up well to moisture, they also will break down in the soil if you place it directly into your garden. Begin by using one half sheet of black and white newspaper. Lay it out length wise and fold it in half from top to bottom. Then fold it left to right. Next turn the paper so it is horizontal with the open si...

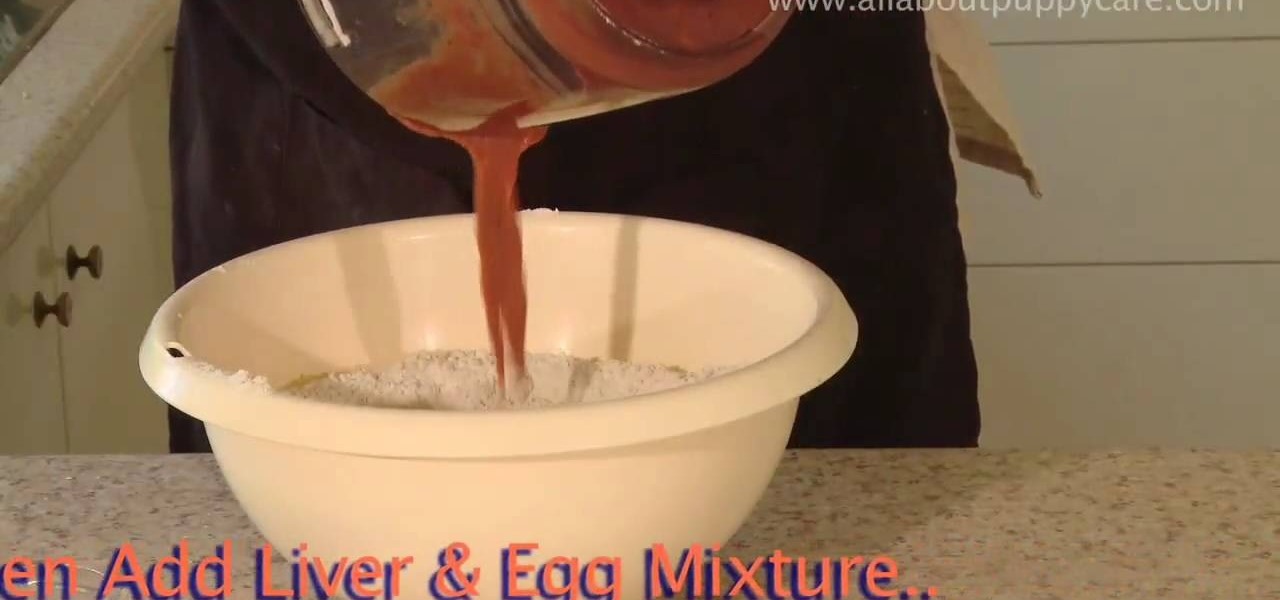
In this how-to video, you will learn how to make dog treats and biscuits. These have no preservatives, colors, or artificial ingredients. Turn the oven to 350 degrees F. Take 24 oz plain flour, 2 eggs, 8 oz oats, 2 tablespoons chicken stock, 16 oz chicken livers, and a cup of water. Blend the eggs and livers with the lid on until smooth. Mix all the dry ingredients into a large bowl. Use your hands. Make a well shape in the dry mix and blend the wet mixture in. Work into a loose dough. Knead ...

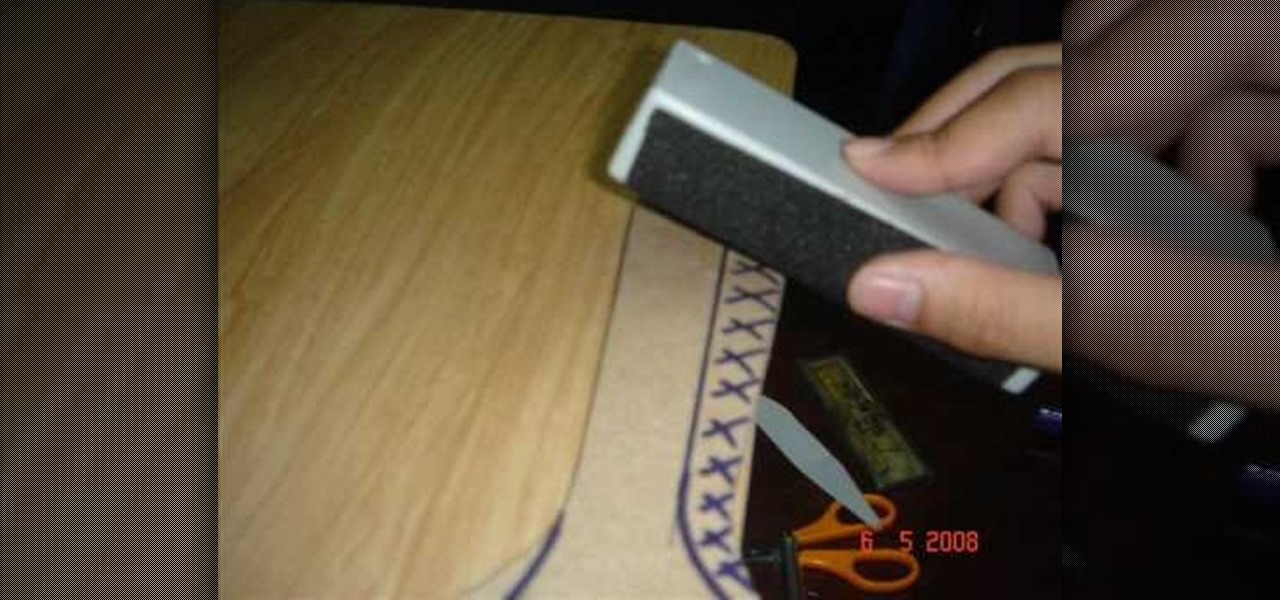
In this Home & Garden video tutorial you will learn how to make an accurate boomerang. Material required are 4-6mm thick ply wood or hard board or paper-mache, saw and some spray paint. Search for and download boomerang plans from the internet. The boomerang has three protrusions or handles equally spaced with each protrusion being 14cm long and the diameter of the circle at their ends being 4.5cm. Trace the plan on the plywood and cut it out with a ‘U’ shaped saw. Next draw out the line for ...

Quadrilaterals are four sided shapes that are closed. They are polygons. Quadrilaterals can be classified broadly in two ways. If the quadrilateral has a two pair of parallel sides then it falls in to the parallelogram category. Further now it can be broken down in to other shapes like square, rectangle, rhombus. If it has only one pair of parallel side then it falls into the trapezoid category. To compute the are of a trapezoid first you need to know the lengths of the parallel sides. Add th...

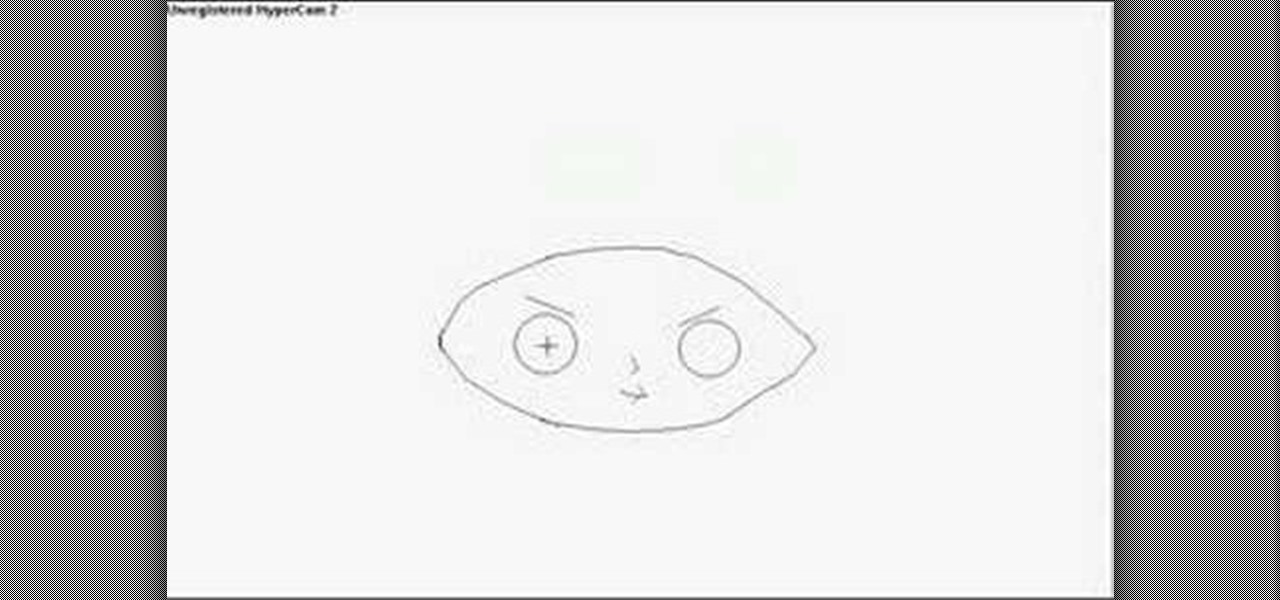
Drawing Stewie from The Family Guy on your computer is fairly easy. First you're going to make a horizontal oval, then draw what looks like a football shape just in between those lines. Now erase the excess lines outside of the head shape. Next, insert two circles-fairly far apart on the head-with a slanted line above both for the eyebrows. A small line in the middle pointed towards the right makes Stewie's nose, and a simple mouth is completed with a three small lines at the bottom. Draw two...

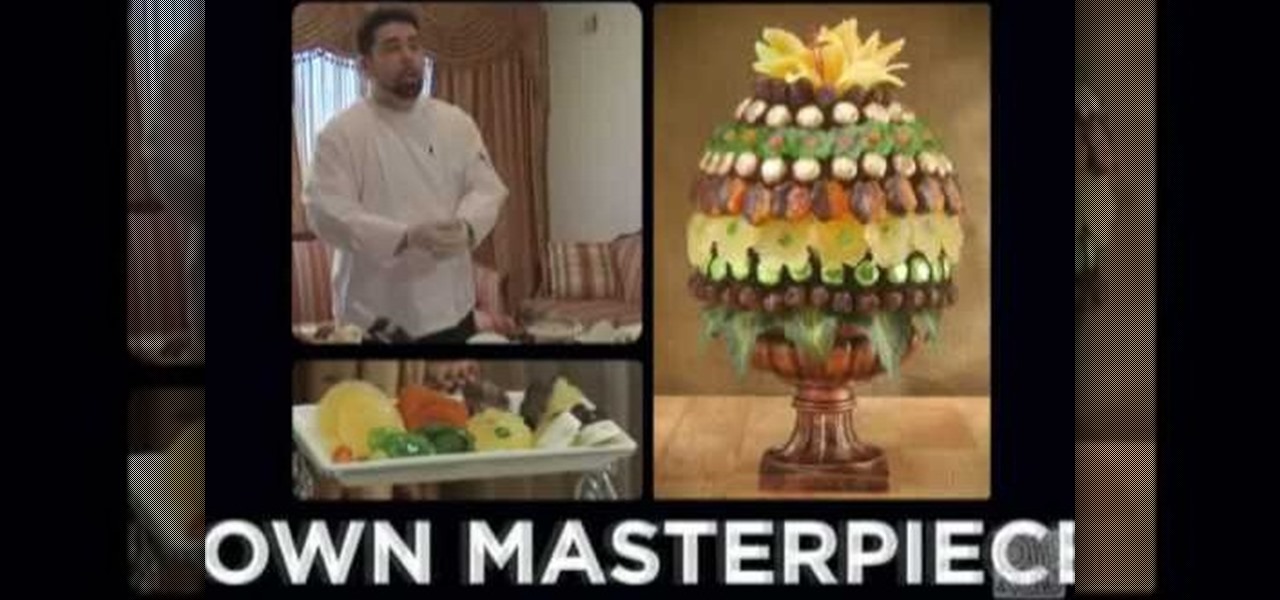
This video demonstrates how to make edible fruit bouquets and arrangements. you can use any fruit and chocolate. Start with a ceramic base. Also, you'll need a Styrofoam ball about 2 inches larger than the base, a hot glue gun, flower shaped cookie cutters, a pack of toothpicks, wire cutters. The video demonstration plans a layer of dates, topped by a layer of chocolate truffles, pineapple and then apricots. Begin by placing artificial leaves to the base, gluing them on. Then hot glue the Sty...

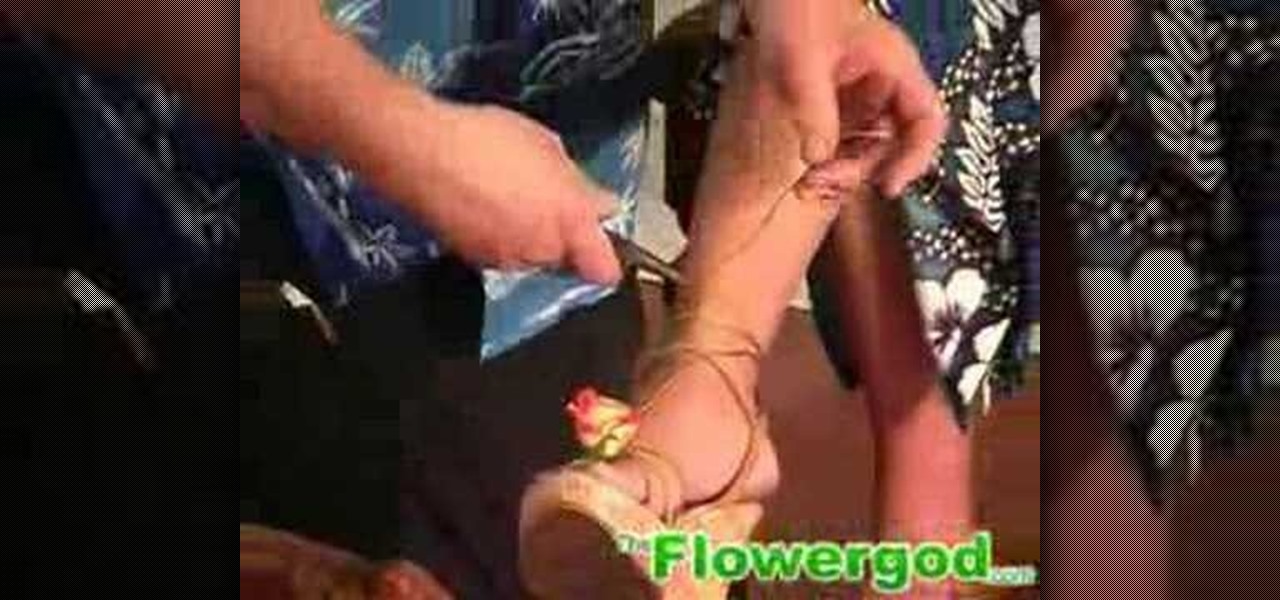
The video shows the making of a rose wire anklet for a wedding. The flower guy in the video takes a string a kind of lengthy wire and makes a small round shape in one end of it, then he inserts the other end through the upper front side of the lady's sandal so that the small circle fits exactly in the portion above the toes, then he glues a red rose and a rose leaf and fixes it in the circle with glue, then he puts the other end of the wire around her leg just above the foot, makes about two ...

Find a nice, heavy and soft mango. Inside the mango there is a large oval pit. By viewing the shape of the fruit you will be able to tell the location of the pit. Set the mango on a cutting board so the pit is vertical. With your chef’s knife cut down the side of the pit and again on the other side of the pit. With the two halves facing each other, take the knife and cut a criss-cross pattern into the meat of the fruit. Make sure you do not press your knife so hard that it cuts through the ou...

Simple and easy way to fold an origami crane from paper! Use a flat sheet of paper. Fold into a triangle then into another triangle then open it up. push up on the one side so it turns into a square. Push up on the one side. Fold it in the opposite direction. Push it over. you have a square base. Take one of the flaps. Fold it over then unfold the crease. Open it up then with the crease fold it in, push it in. Lay it flat then crease. Open it up then crease it in the center. Fold it over. The...

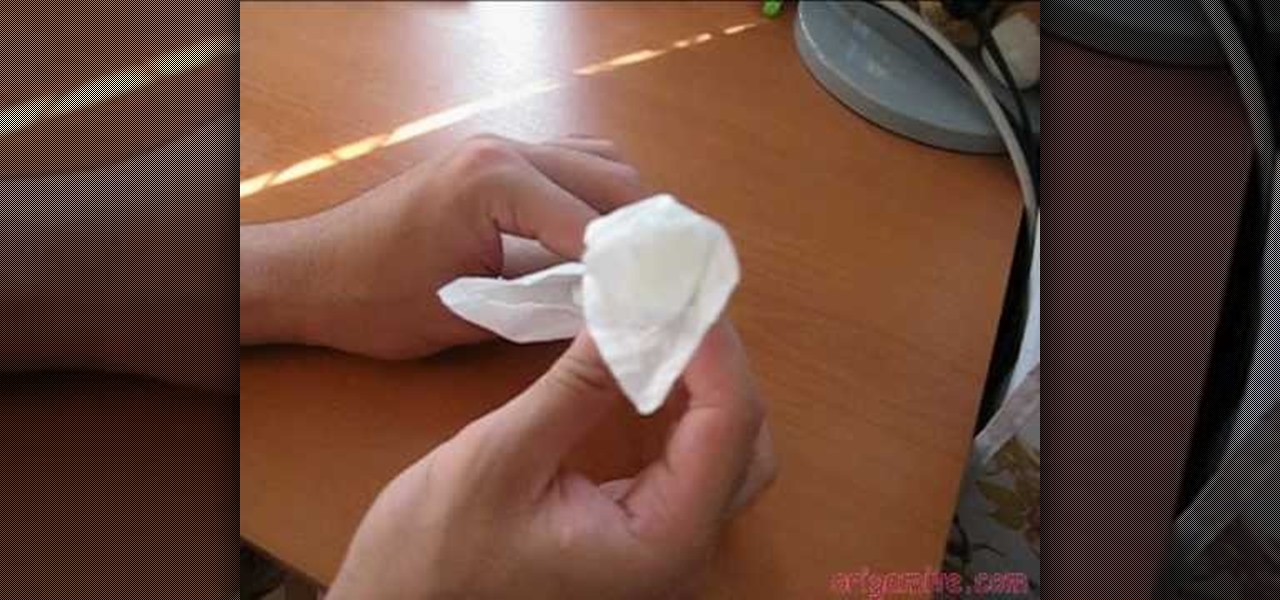
-Fold up along the length of a spread open tissue about 5 times until you get a long rectangular shape.

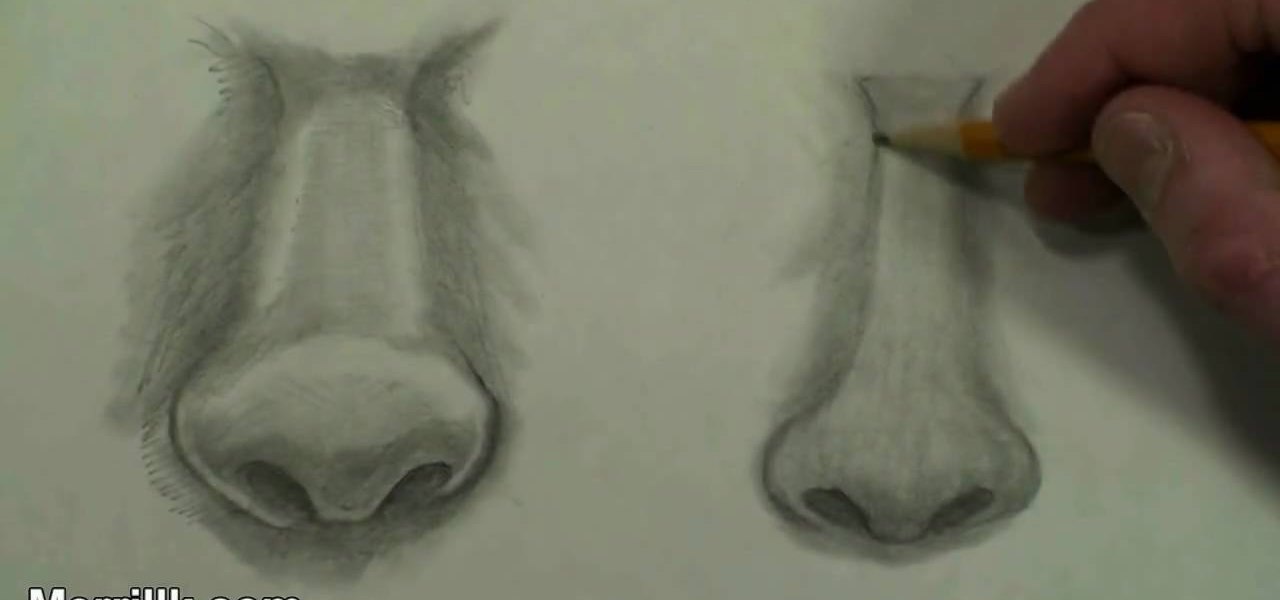
Want to learn nose drawing? Watch this tutorial to learn how to draw the male nose (step-by-step). Make sure to pause the video after each step and look at the screen every few seconds while you are drawing.

Learn nose drawing! Specifically, a woman's nose. Watch this tutorial to learn how to draw the female nose (step-by-step). Make sure to pause the video after each step and look at the screen every few seconds while you are drawing.

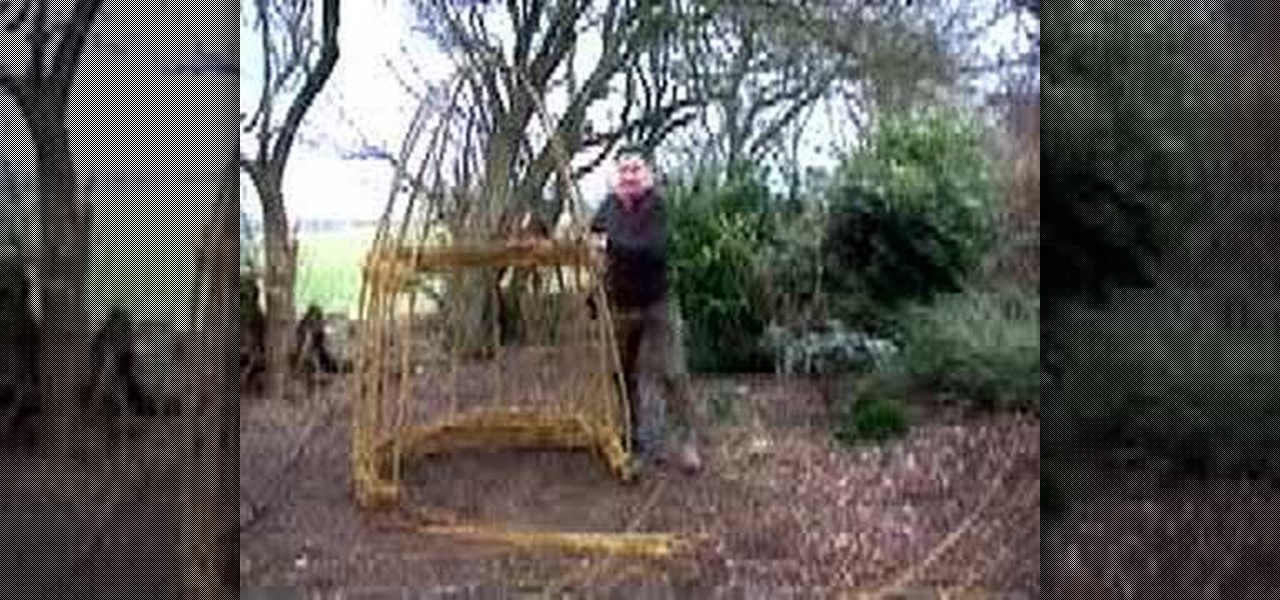
Willow can be woven into many shapes or to form a living boundary fence. The reason they are called living is because some of the stems used to create the structure root in the soil and grow to form new shoots. This does mean that annual trimming is needed to maintain the shape, but at the same time it adds interest to the garden. Creating a living structure is very simple to do and all you need is a few pruning tools and a bundle of willow sticks in various thicknesses. With this tutorial yo...

INSTRUCTIONS: 1. Melt candy coating or melt and temper real chocolate.


