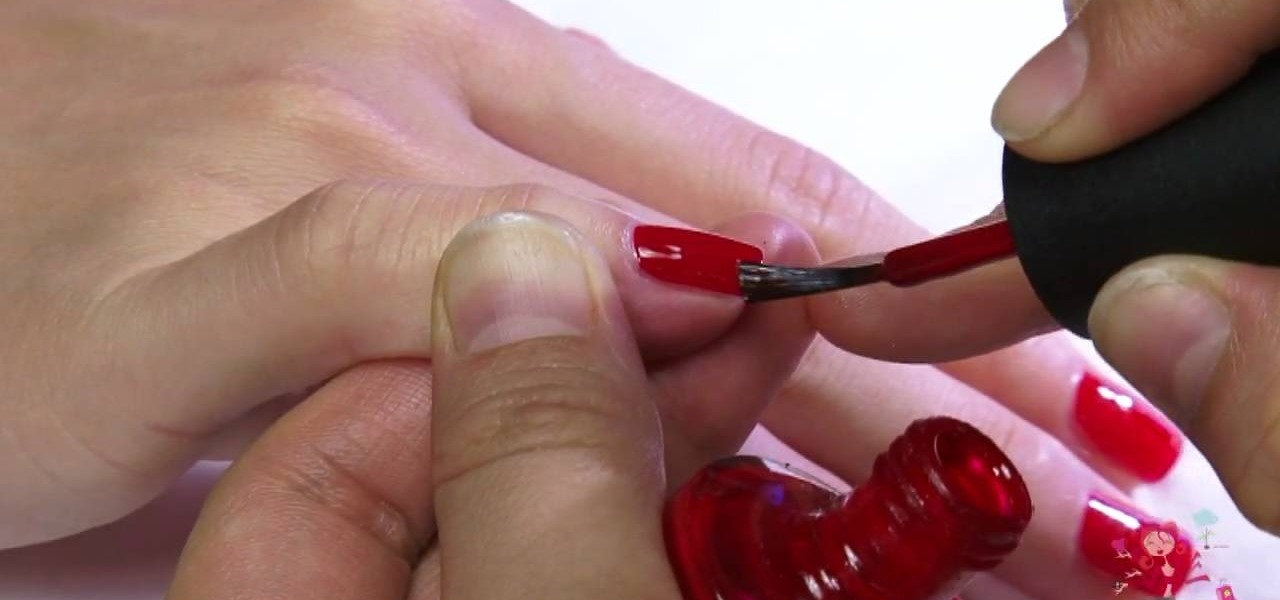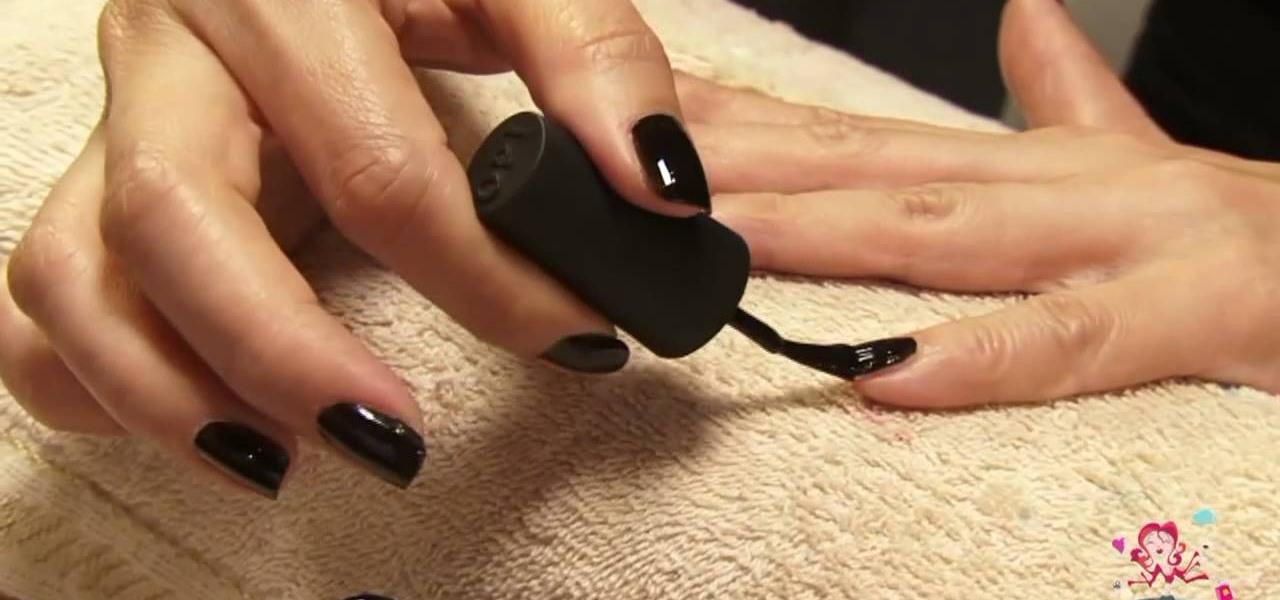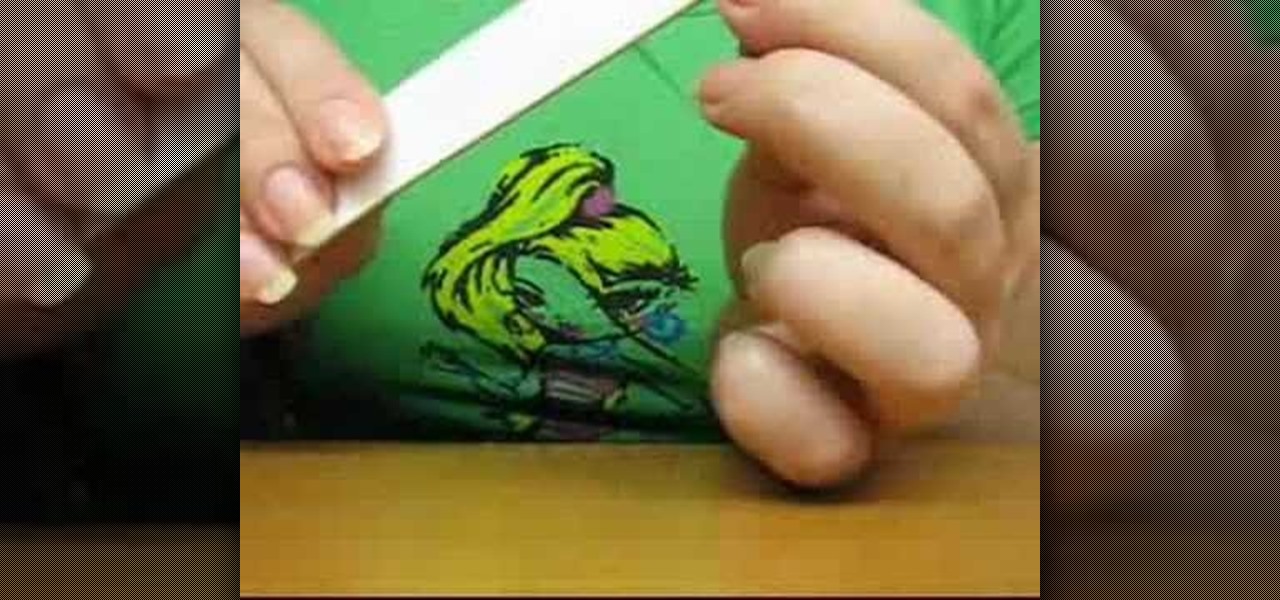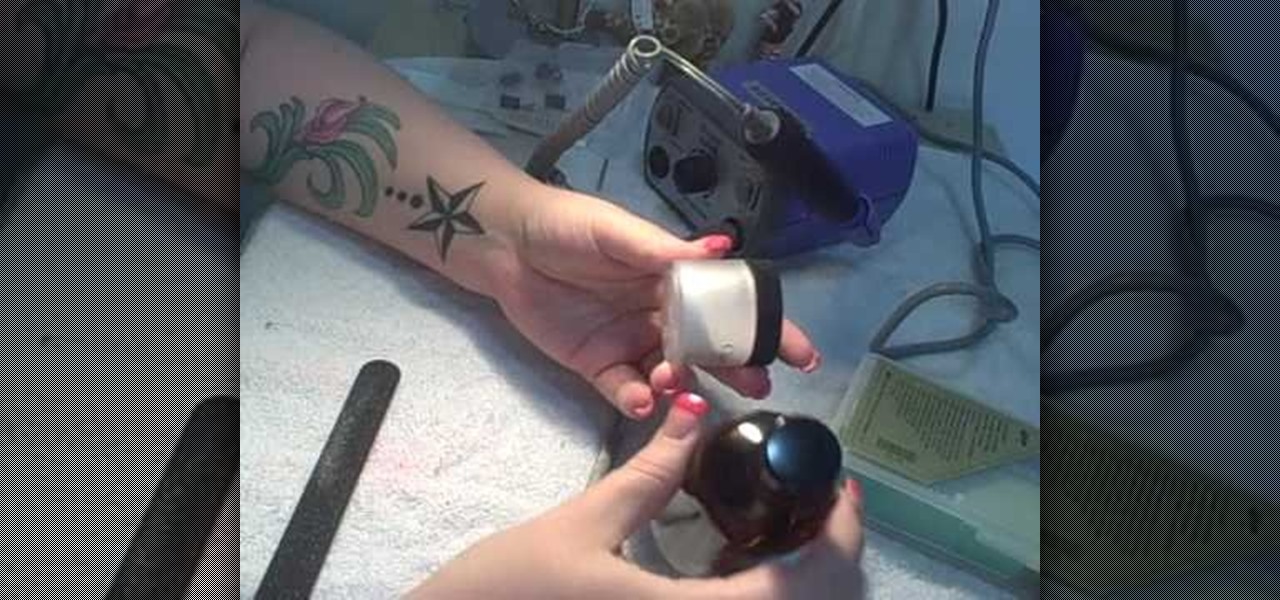
Find a good work area where you can sit down and be comfortable. A kitchen table works perfectly for this. Be sure to cover the surface of your table with a plastic garbage bags and a thick layer of newspaper to soak up spills and prevent damage to your table's surface. Get all your supplies ready at hand. You don't want to be hunting for them mid nail removal. Have them all spread out in front of you on the table. Using a pair of nail clippers, cut the acrylic nails down as short as possible...

In this video Ron Hazelton tells you how to build a craft table. By following each step carefully you will have a sturdy and proper table. Some of the things you will need are laminate, trim, nails, screws and stringers. Using these steps and creativity putting together a craft table is made easy.
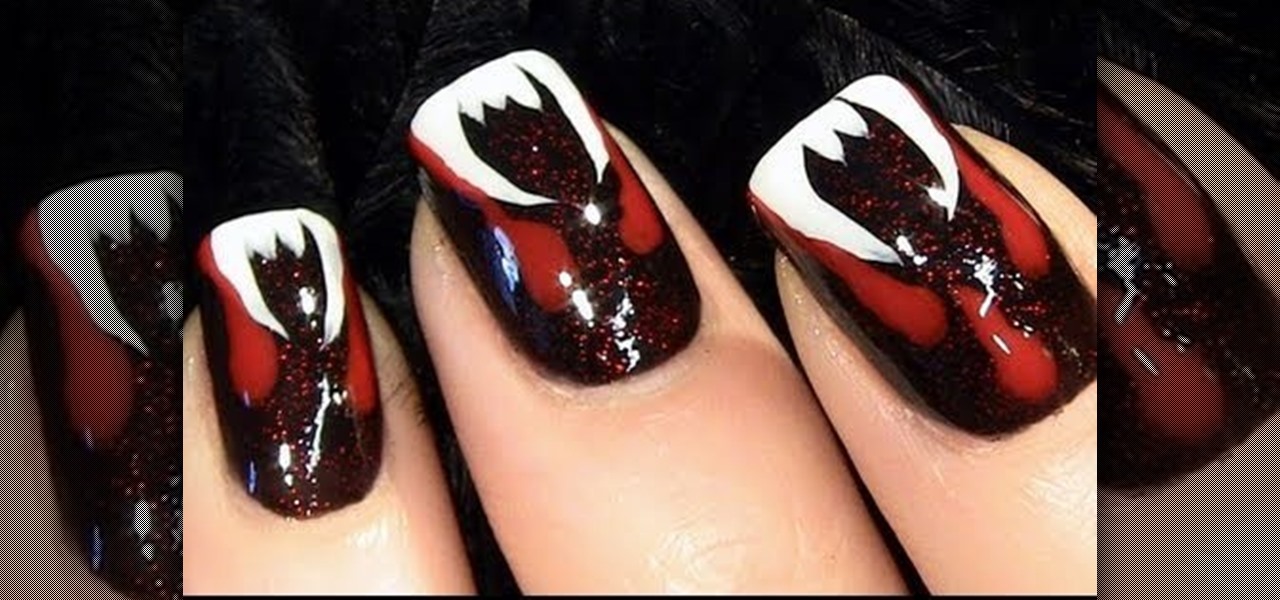
Halloween is only a few weeks away, fellow goblinesses, which means it's time to begin planning for your costume, makeup, and nail look. If you're planning to dress up as a vampire this Halloween or simply want a mischevious nail look that screams "Halloween" and "Twihard" all at once, check out this nail tutorial for creating a bloody fang vampire nail look.
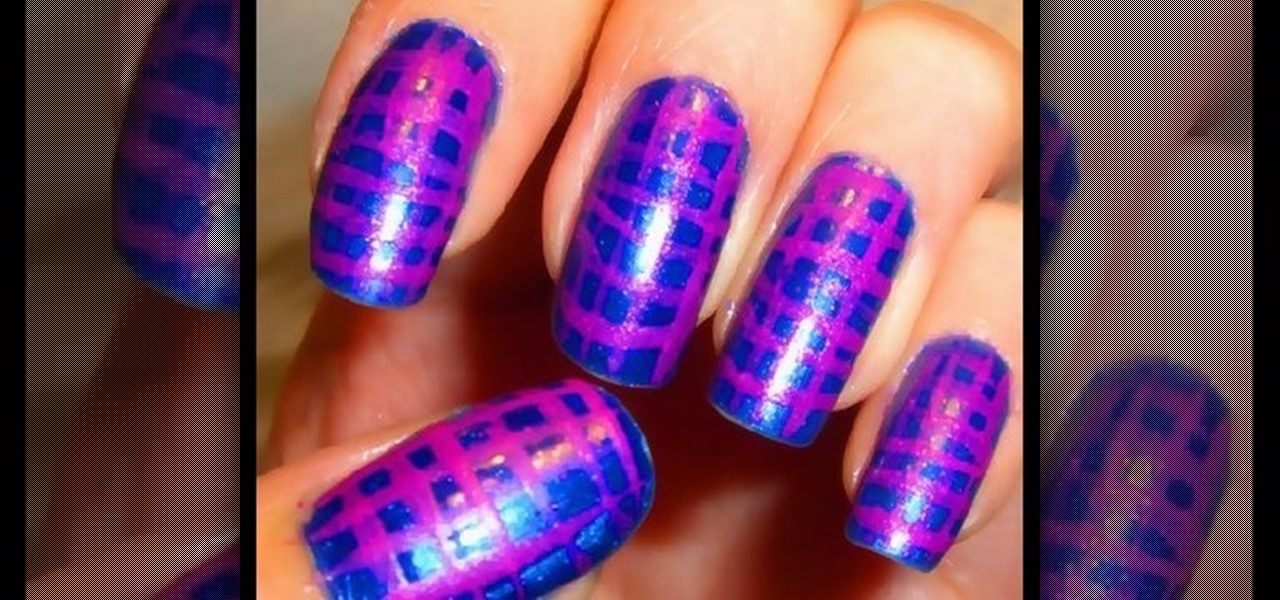
Julieg713 is a nail art expert. Check out her nail art tutorials on WonderHowTo (Search Julieg713). Her nail art looks are fun & pretty, not to mention well demonstrated. This nail polish video demonstrate how to create a Moroccan magenta nail art design. Watch this video to learn how to recreate this nail art look.
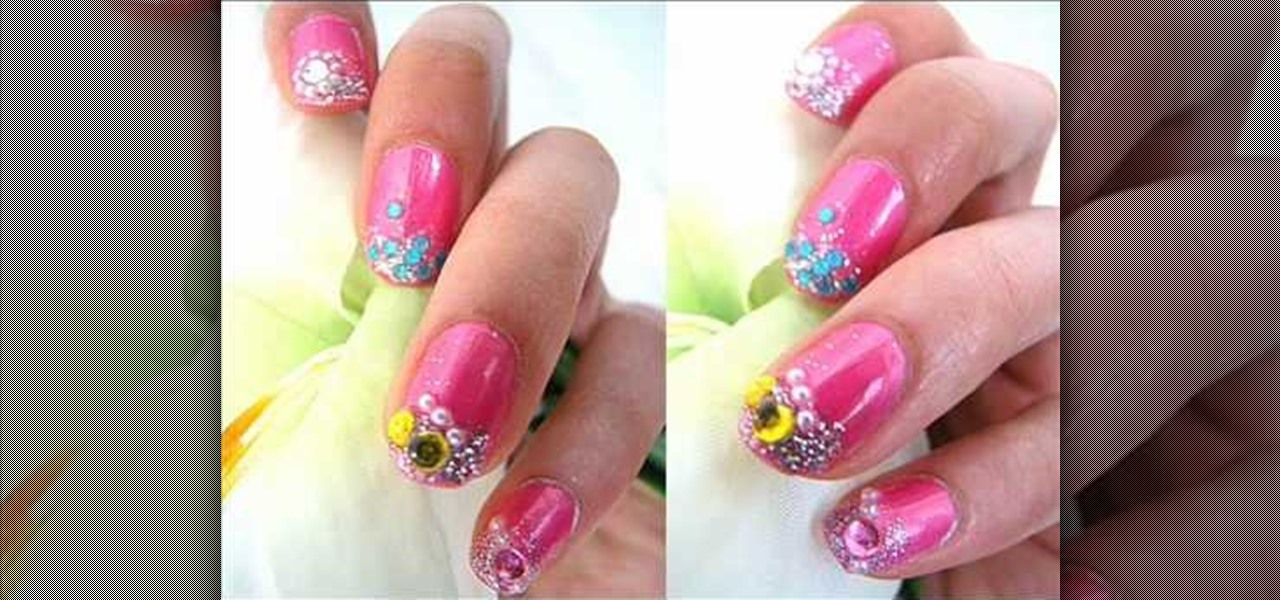
In this tutorial, we learn how to frost your pink nails with diamonds. First, you will paint your nails with a light pink nail color. After the first layer dries, you will need to paint over it so the color is more bright. After this, drop on some Speed Dry drops to the nails so the nail polish dries even quicker! From here, apply some clear nail polish and then quickly apply small rhinestones to the top of the nails. After this, brush on glitter to this and then let them dry. Repeat this on ...
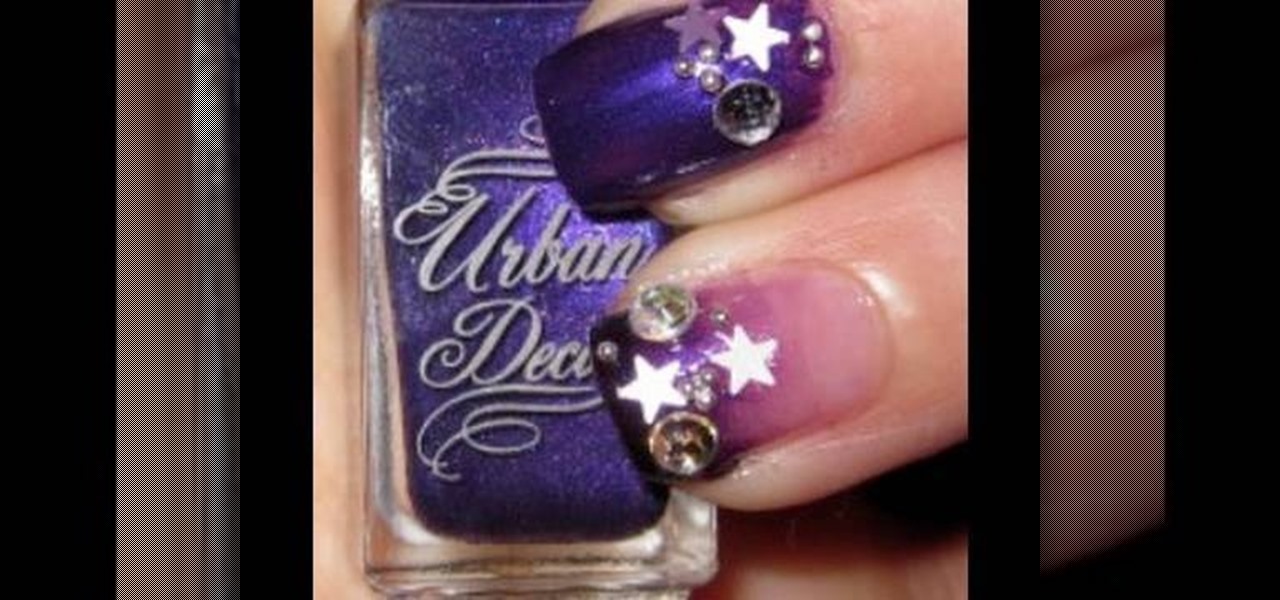
In this video, we learn how to create a 2010 New Year nail look. First, apply a dark purple nail color to the top half of the nails. Now use a clear nail polish to push the purple color down to the middle of the nail. Next, apply a black color to the very top of the nail and then use the clear polish to again push the color down and blend all of them together. Next, use a dotting tool and clear polish to pick up rhinestones or nail rocks and apply them to the tip of the nail where the color i...

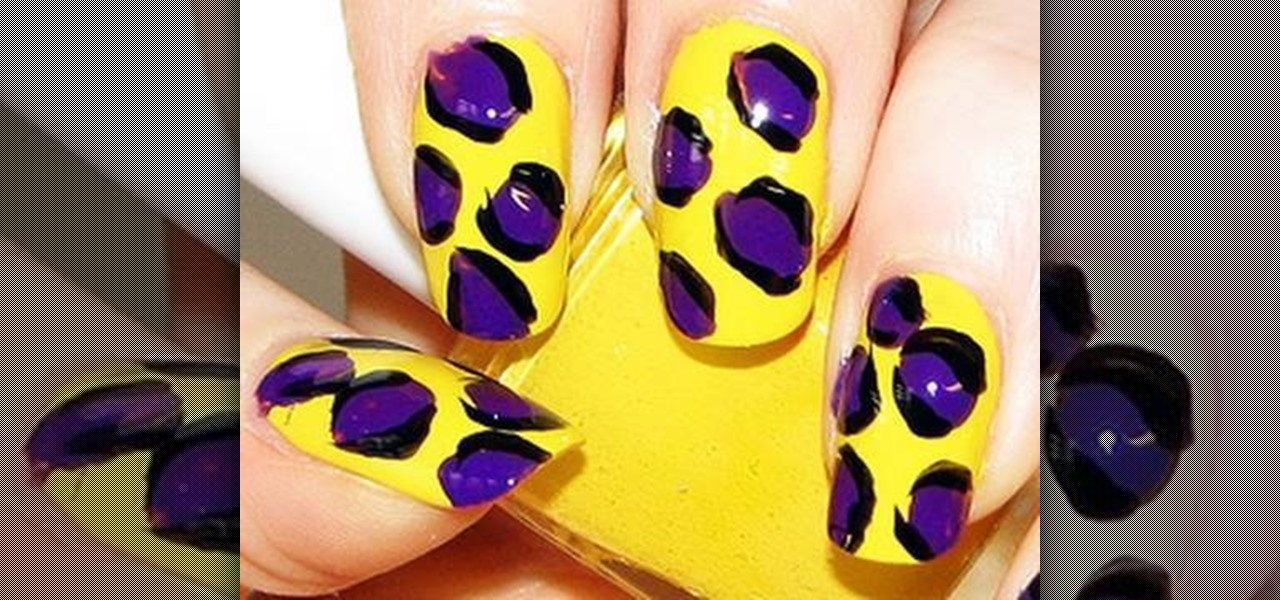
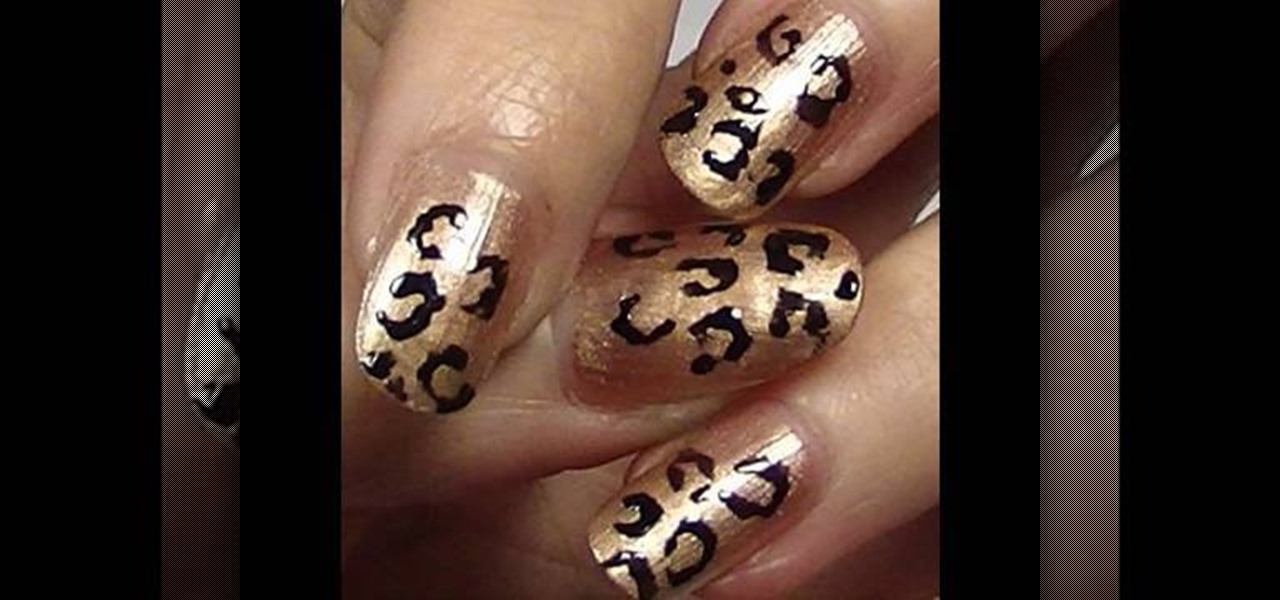
This video is about how to create colorful leopard print nails. So the first thing that you will have to do is to choose any colors of the nail polish that you want. After deciding for the first color of the nail polish, apply it to your nails and let it dry. The next step is to get a plastic plate and place a bit of a small amount of the second color that you chose. With the use of the nail art brush, carefully start forming small random spots on the nail. Apply these to the rest of your nai...

Nail polish is such a fun and quick way to display your mood - or current fashion fascination - with pizazz. But we hate it when, just a day into application, we notice the first few chips and tears and cracks.

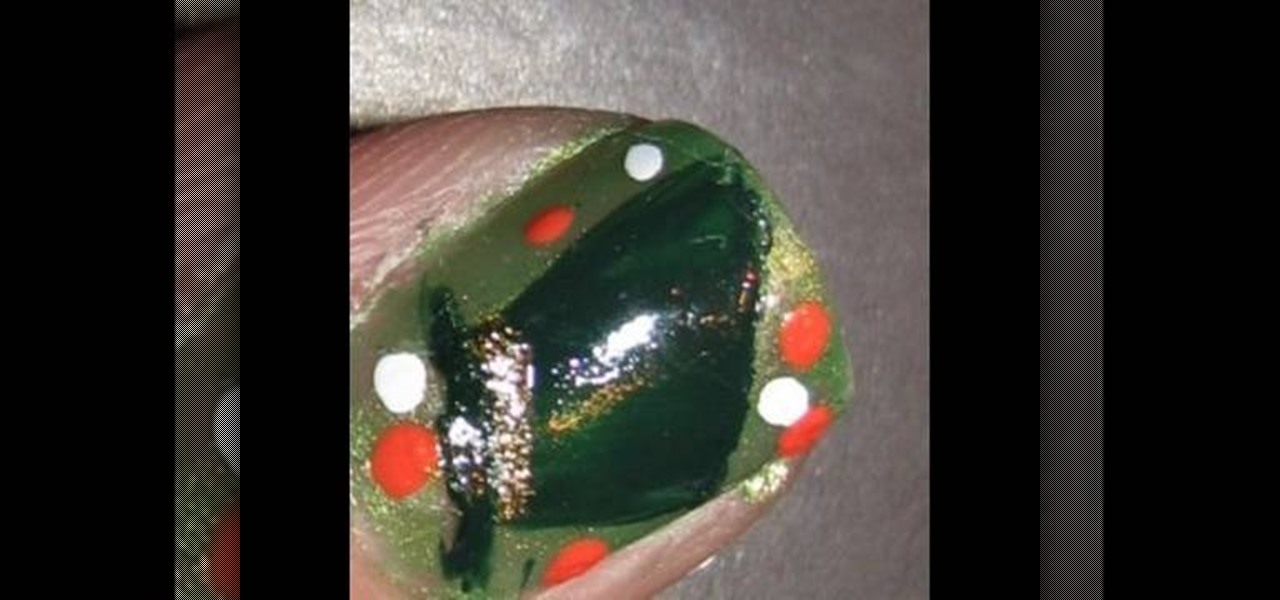
Get all of the makeup and hair tutorials you need from Pursebuzz.com. In this video tutorial, you'll learn how to create Alice in Wonderland nails: Mad Hatter. This Mad Hatter nail tutorial was inspired by Tim Burton's Alice in Wonderland.

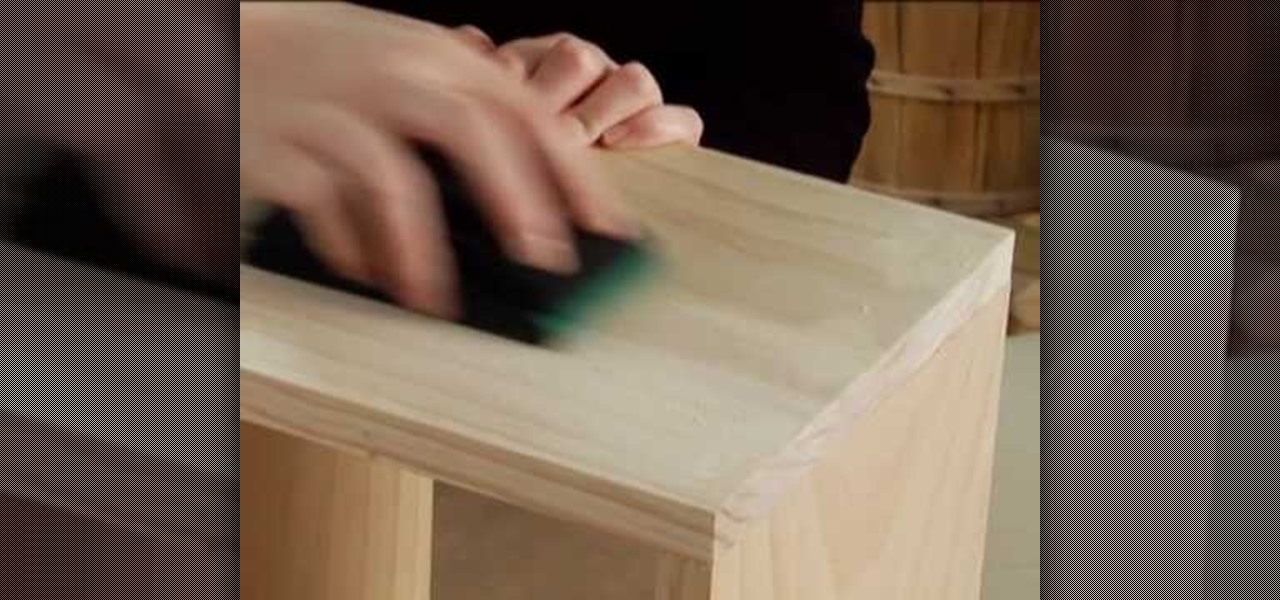
This video describes how to improve one's skill when performing home based projects with wood which is a useful skill if one wants to build a table, chair or even a box. In this video one will learn how to sink a nail, cover the hole and leave a sanded finish. For example it is important to drive all nails 1/8 an inch into the surface of the wood so the filler can cover the hole properly and avoid leaving sharp edges or uneven surfaces. Overall this video is simple, easy to follow and useful ...

This video illustrate us how to create a sassy red, black and white nail design. Here are the following steps :step 1: First of all remove any previous nail paint.Step 2: Now apply some primer on the nails for long lasting effects of the nail paint.Step 3: Now take red nail paint and apply it all over the nails, let it dry.Step 4:Now take black nail paint and draw fine horizontal lines all over the nail.Step 5 : Now take white nail paint and apply polka dots on these lines as well as on the e...

Pixie Litt, from Mama Do Nails helps us learn how to get a leopard printed nails. Firstly, using a E.L.F nail varnish in 'Blush', give a gentle coat on the nails starting from the tip of the nails go down to as close to the cuticle as possible leaving some edge space. Now, for the second coat use the brush in the same way but here you will be going down just half way so that it gives a more prominent look for the nails. Now for the leopard print, just use an ordinary black color nail polish f...

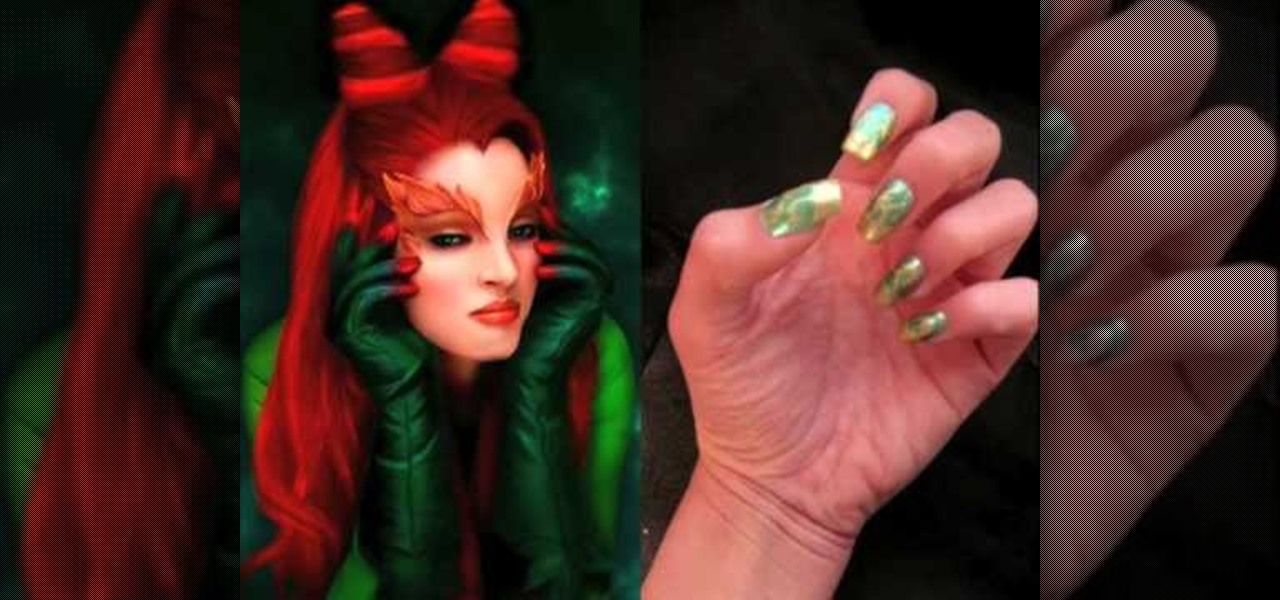
This video demonstrates how to make nail art inspired by the character Poison Ivy. You'll need a nail file, three non-fabric Band-Aids, scissors, toothpicks, green metallic and gold nail polish, and top coat. First file nails into a square shape. Cut each Band-Aid in half. Paint over entire nail with metallic green and let dry. Cover the lower part of the nail with the Band-Aids, and paint the tips with metallic gold polish, let dry, and remove Band-Aids. Create a vine design on each nail by ...

Do you want strong, healthy nails? With just a little time and basic care you will find that you have fingernails that others admire. Growing strong, healthy fingernails can be done with just a little time and care. One of the keys to healthy nails is to make sure you get enough protein in your diet. Take time to think about your nutrition. Are you eating enough protein? Even if you are a vegetarian you can get plenty of protein with beans, nuts and tofu. Also, are you drinking enough water? ...

The holiday season is in full swing - are you prepared to look your most dazzling, from the tip of your bun to your toes? While you probably know you have to fix your hair and put on some bright and cheery makeup, have you thought about how you'll do your nails?

By now you've probably seen - and applied - a million rhinestone-studded nail looks. Sure, rhinestone art is pretty, but aren't you ready for a change?

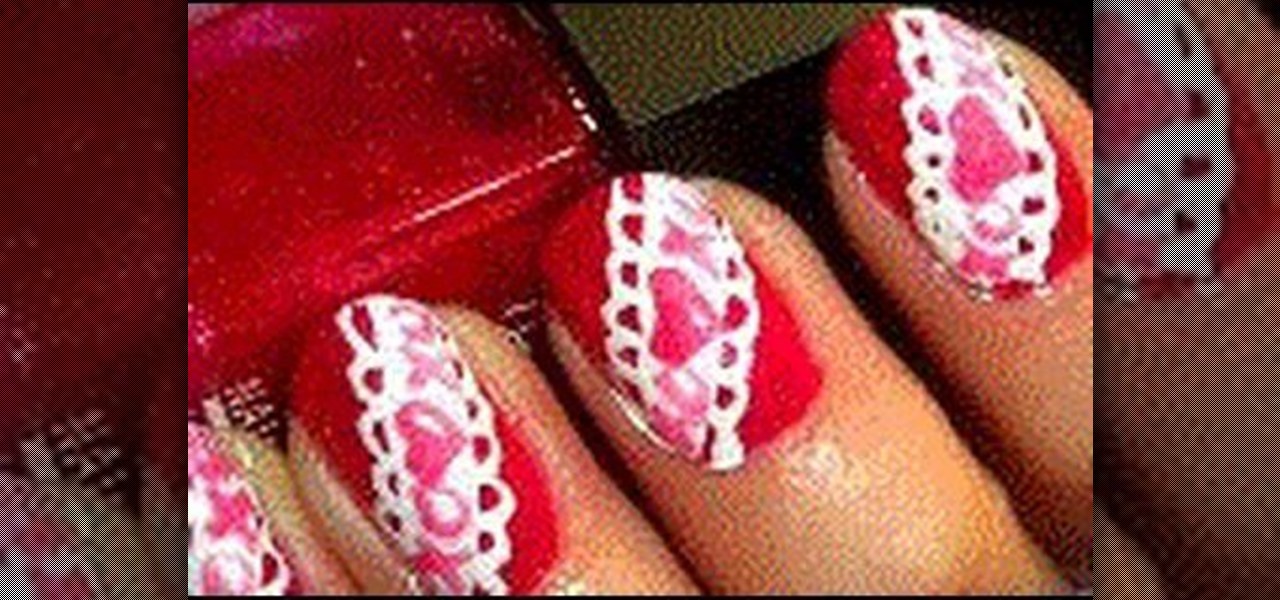
In this tutorial, we learn how to create cute XOXO Valentine's nails. First, you will need to gather all of your nail colors and clean off your current nails. After this, paint a cherry red glitter coat to all of your nails and allow it to dry. next, you will grab a white nail polish and paint on a thick diagonal strip over the red. Next, use a thin white line to create a lace pattern on the nail, then allow to dry. Once dried, draw on hearts and "x's" on the middle of the thick white strip, ...

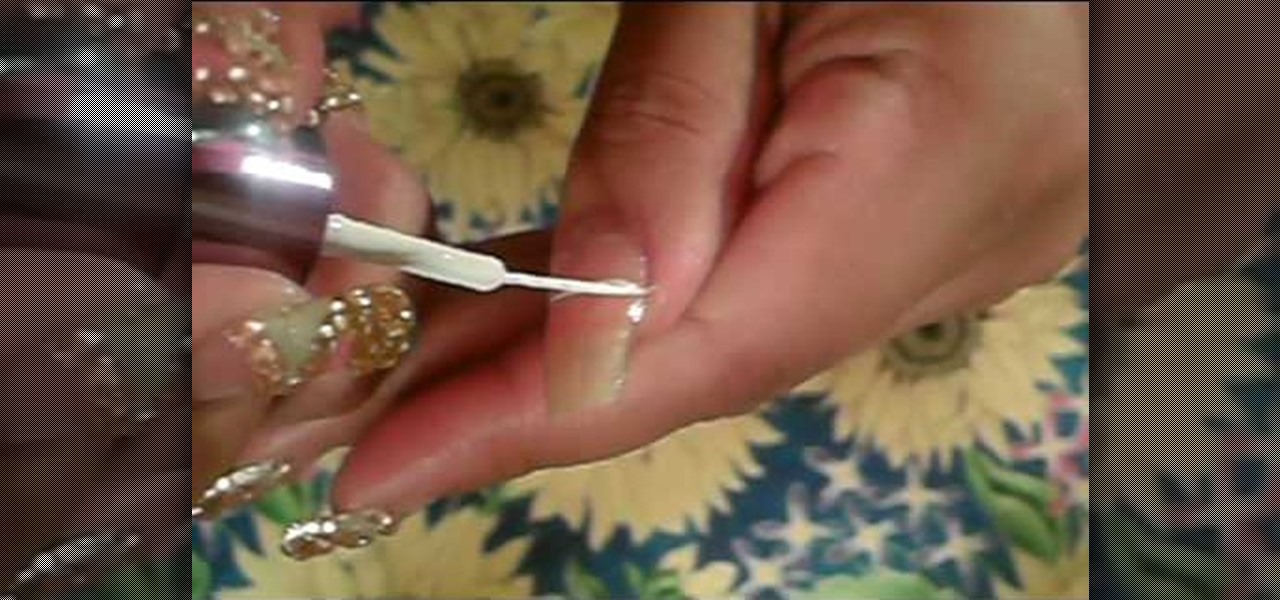
In this video, we learn how to apply glimmery rhinestones to pink nails. First, you will want to have your nails done with long tips and painted any shade of pink that you would like. After this, you will need to take some rhinestones and a toothpick along with some nail glue. Pick up the rhinestones with glue on the toothpick, then place on the nails where you would like them. You can create a French tip design, or you can place them all over the nail. After this, paint a gloss over the nail...

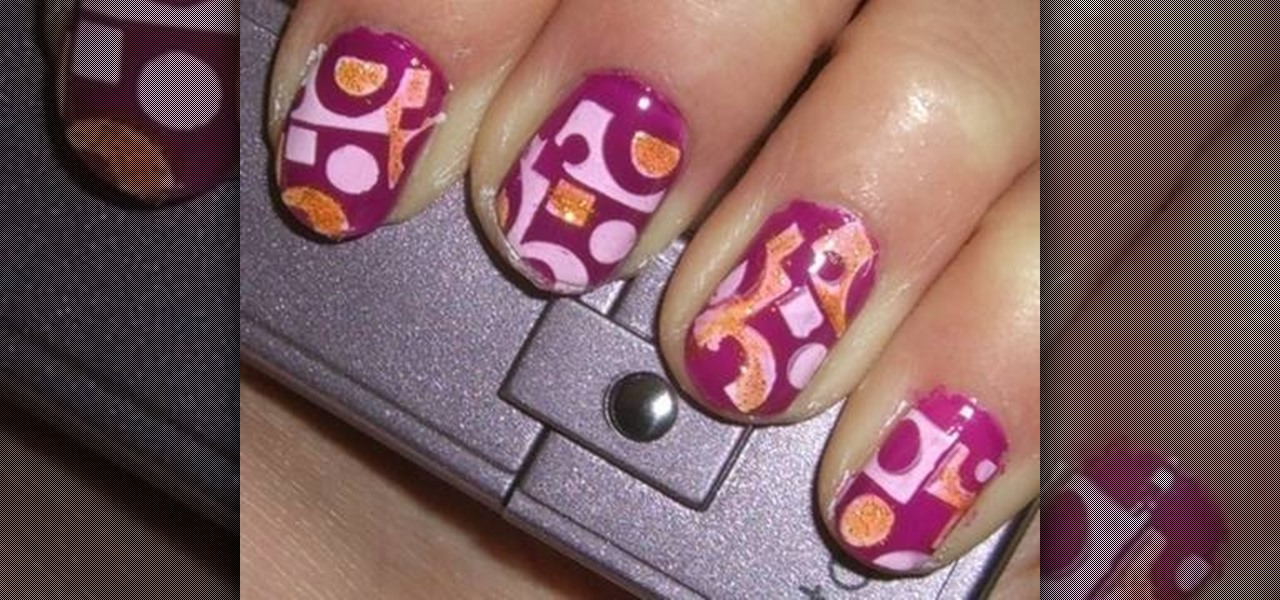
In order to paint nails with funky hot pink design, you will need the following: a base coat, a purple nail polish, a nail plate, stamping nail polish, a stamp, a top coat, gold glitter nail color, and a scraper.

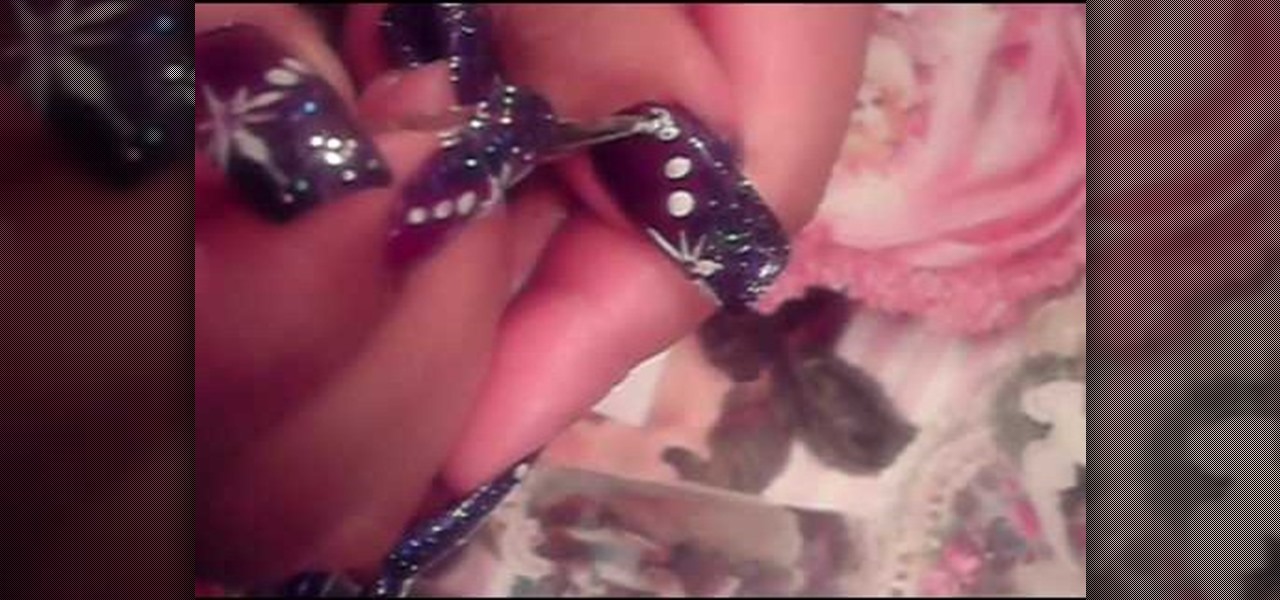
In order to do a nail art design with purple, glitter, white stars, and dots, you will need the following: 2 tones of purple nail polish, white polish, nail dotting tool, rhinestones, nail art polish, clear nail polish, and glitter nail polish.

Demonstrator Caitlin offers a tutorial on how to remove fake nails you purchased from your local drug or beauty supply store and applied yourself, safely. You start with putting an acetone based nail polish remover in a paper cup and where you soak your nail in the cup. You can then use a tooth pick to get under the 'fake nail' to lift a little if needed. After gap between real nail and fake nail is created, soak again in nail polish remover and then use a paper towel to slowly work/wiggle of...

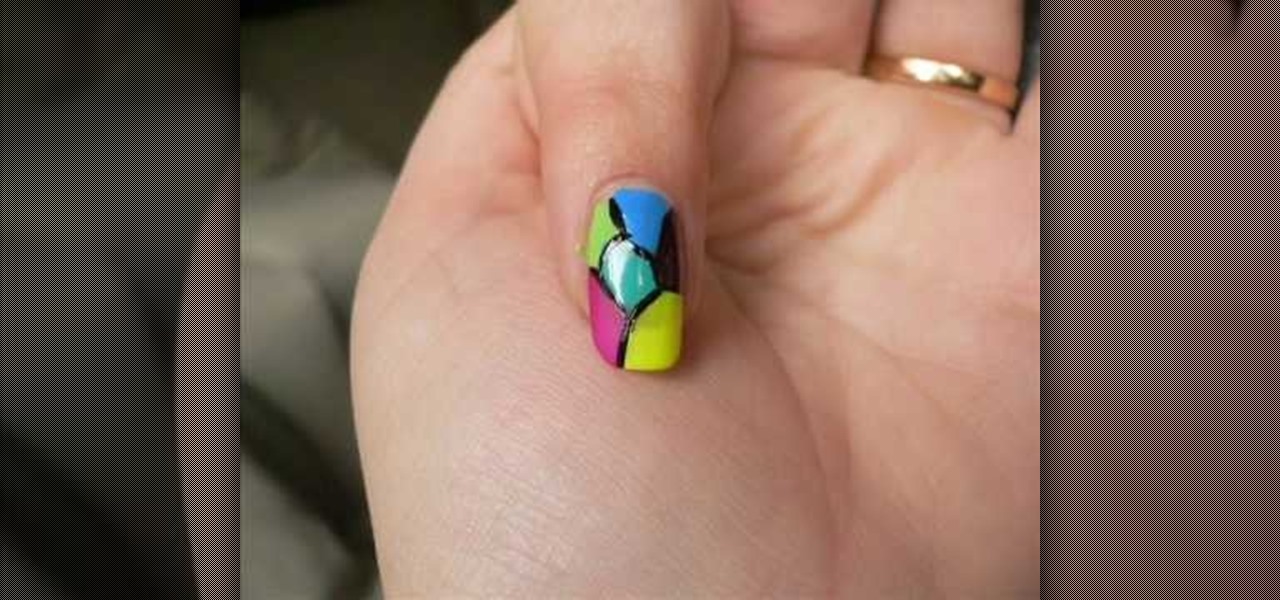
This video relates to Neon Mosaic Nail Tutorial. This video teaches how to make the nails good looking and also pleasing. In this video she teaches how to select the colors of nail polish and also she teaches the steps to be followed regarding which color nail polish to be applied first and also to create a mosaic by using multiple colors. She also add some border line to create and pleasing look. She also narrates to change the colors in applying to each nail. She also teaches how to create ...

This tutorial teaches you how to do the same nail design as Ke$ha from her video "Tik Tok" had her nails done. First you apply a base polish to protect your nails. Apply a gold polish all over the nail, about three solid coats and then let them dry. Paint on a rich wine color to the corner of each nail end. Use a dotting tool and clean polish to pick up the rhinestones. Apply a little bit of nail glue on the seam of the two colors to help the Rhine stones stay put. Take a fine tip brush with ...

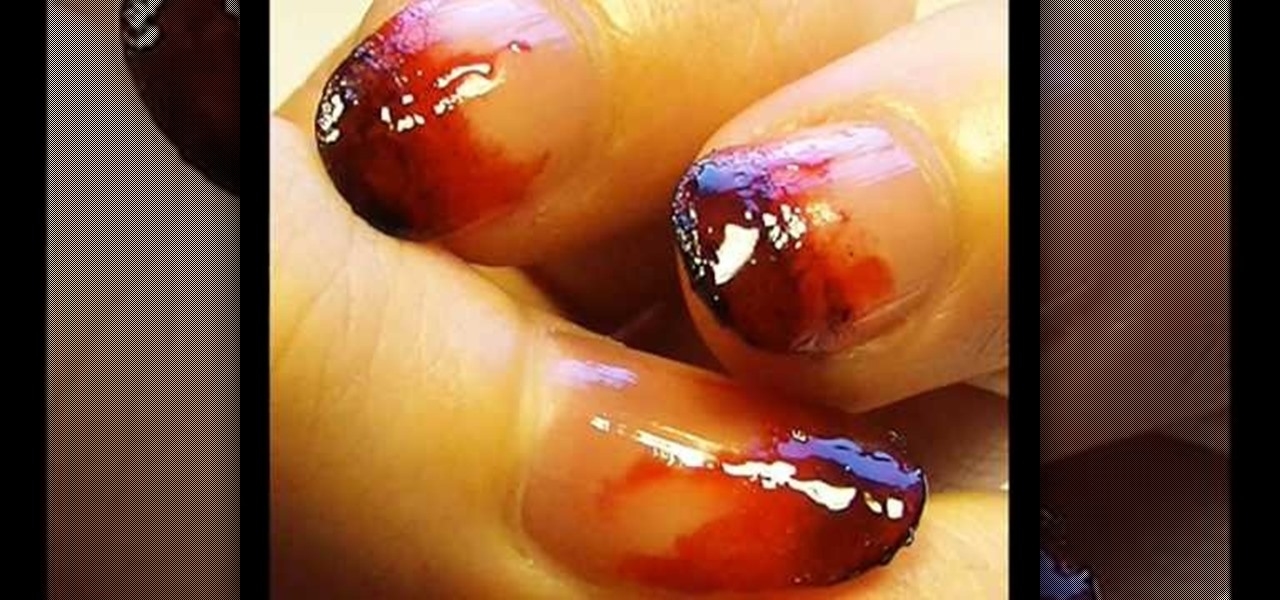
This video shows the viewer how to paint their nails to give them a blood stained look for Halloween. This is done by first putting a small amount of dark red nail varnish onto a sheet of paper. Then apply this in many coats to the nail using a foundation brush to give a layered effect. Then place a small amount of black nail varnish on the paper and using the same section of the foundation brush apply some of the black nail varnish to the ends of the nails. Then apply some of the red varnish...

In order to paint a geometric, tribal, ornamental design for your nails, you will need the following: base coat nail polish, hot pink nail polish, a gold/brass/copper nail polish, a dark nail polish, and a clear top coat or a shimmer.

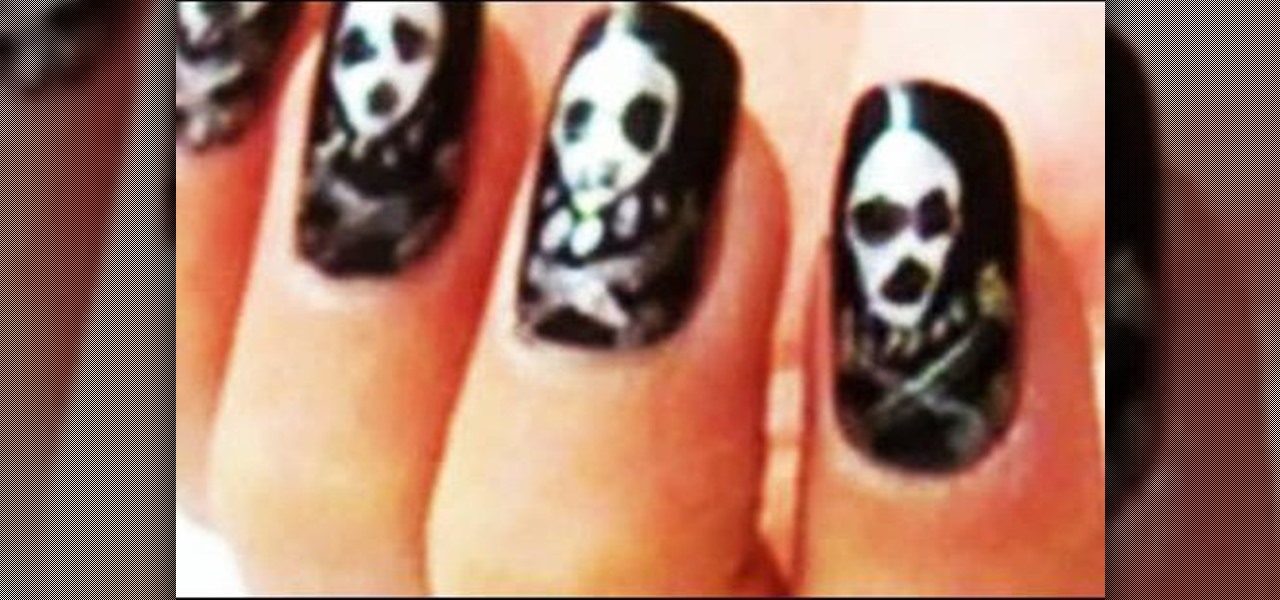
In this video, we learn how to create Halloween inspired skull nails. First, apply a base coat to the nails before applying anything else. After this, apply a black nail polish to the entire nail and allow it to dry. Now, take a silver nail polish, and draw a skull shape onto the nail. Use your black nail polish to create the eyes in the skull, then use a nail brush to create the shape of the head and bones underneath the skull. Let the nail dry, then repeat this on all your nails for a spook...

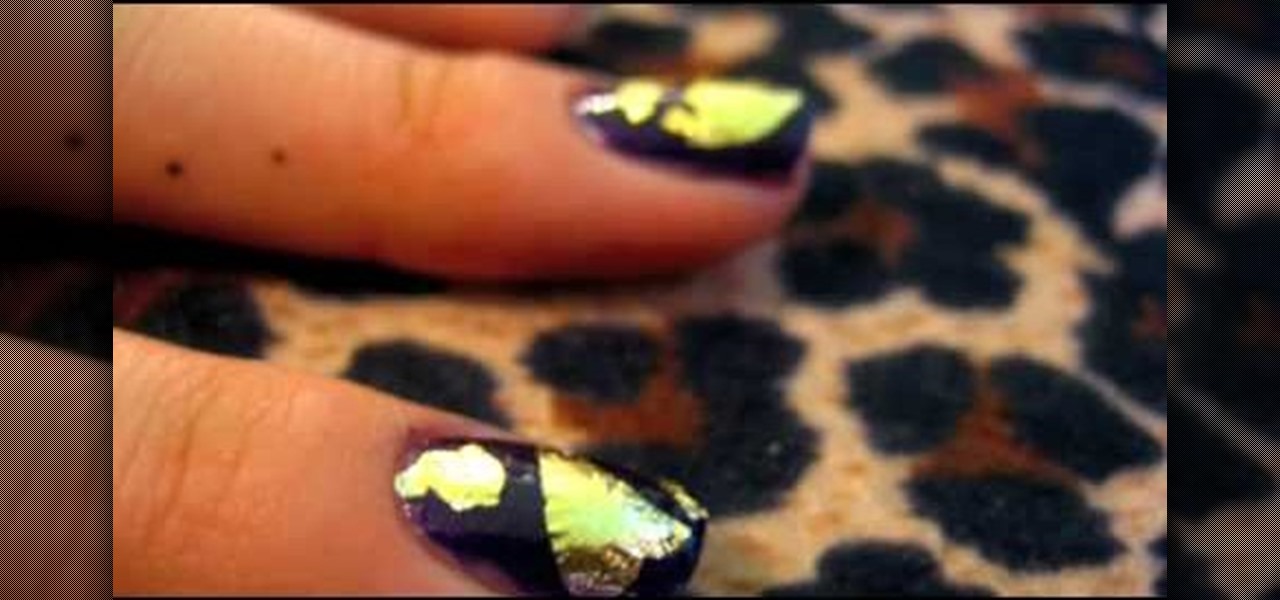
In this video, we learn how to apply gold leaf to your nails. First, paint your nails with a dark purple color over the entire nail, then let it dry. After this, apply a clear coat of nail polish and cut out small pieces of gold leaf from a large sheet. Once you have these broken apart, grab them with a toothpick and drop them down onto the nail in the spot you want them to be. You can place around two leaves on each nail. do this for each leaf, then apply the clear coast of nail polish over ...

In this tutorial, we learn how to paint your nails with blue glitter and black nail polish. You will need: blue nail polish, clear nail polish, blue and black acrylic paint, chopped thin brush, glitter, dotting tool, and a small flat brush to do this. First, paint the tips with blue polish, then use the small brush to stick the glitter onto the nails, patting it on thick. Next, add a clear coat and let the nails dry completely. Now, put the chopped brush into black acrylic and make a swirl de...

In this tutorial, we learn how to paint nail with a gold and blue rhinestone design. First, start off with your acrylic nail, then paint a white zig zag line throughout the entire nail. After this, apply a green nail polish to the top triangle of the nail. Next, apply a gold/pink nail polish to the triangle underneath the green. In the triangle underneath, apply a light green nail polish, and paint a pink nail polish underneath that. Add glitter to each of the different colors to match which ...

Acrylic nails make your talons look beautiful, long, and slender...until you rip them off, along with part of your own nail.

This video shows you how to remove acrylic nails using a nail tip. It takes a long time to soak the nails in acetone to remove them, and this method is quicker. To do it, slide one of the corners under any part of the tip. Force it in and slide it over across the nail and you will be able to see the acrylic nail lift up. Gently work on it to pull the nail off. It might hurt a little bit. The nail will look kind of rough, so you'll have to file it, and use some nail strengthener. Nail technici...

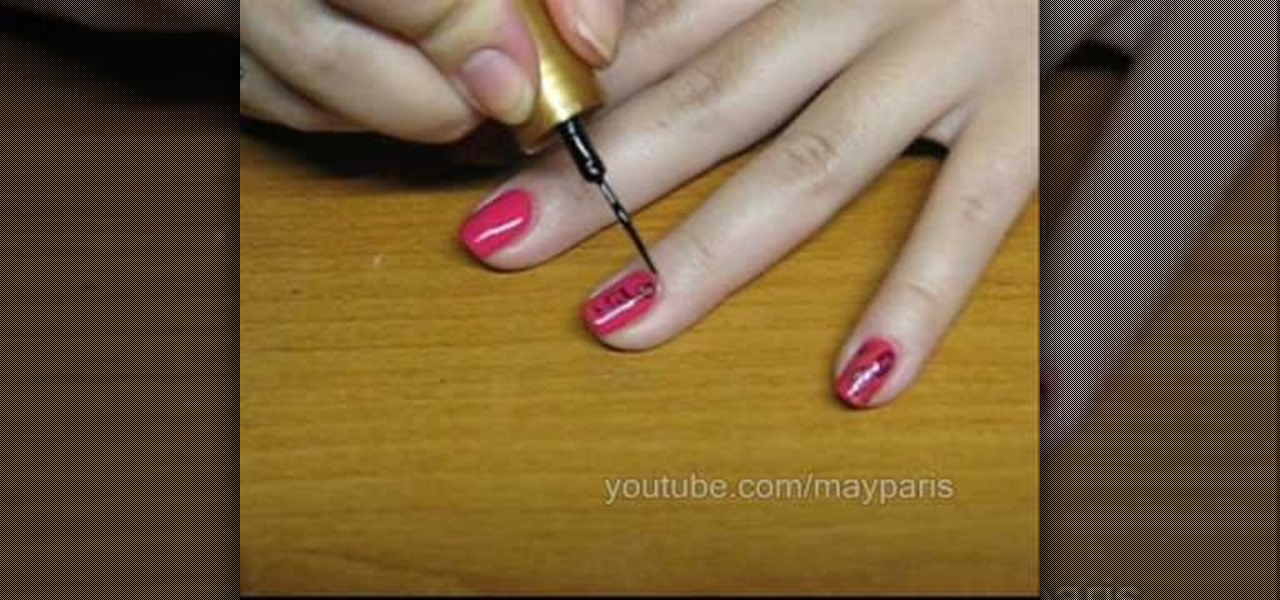
This video teaches you how to achieve an eye catching stained glass nail art effect without attending a nail salon. To achieve the striking effect, one needs between 4-7 nail polish colors, and a fine lined nail art nail polish in black. Beginning with the base color, one applies the desired outlines for the "panes" using the nail art brush. Once that is dry and you are satisfied with the outlines, you can begin applying your desired colors to the "panes" achieving the effect of pieces of sta...

This tutorial is about how to fix your nails after artificial nails have fallen off. When acrylic nails eventually come off they leave the nail uneven and soft. This video also explains what acrylic actually is and what happens to them when put under a UV lamp. The woman speaking is a nail technician and is able to give the viewer the tips and tools she will need to fix the nail problem. With the use of a nail file the nails will once again be one smooth even layer. When satisfied apply nail ...

QueenofBlendingMUA teaches us how to paint our nails purple black and add rhinestones. For the rhinestone nail you only need to add black nail polish two times and then add rhinestones individually. For the diagonal silver nail you use the Art Deco 3D silver to draw a diagonal line from the top on your nail. You then color it in using a silver nail polish called Chrome. You then use the black Art Deco to create a diagonal line on the clean line, in the opposite direction. For the purple tip n...

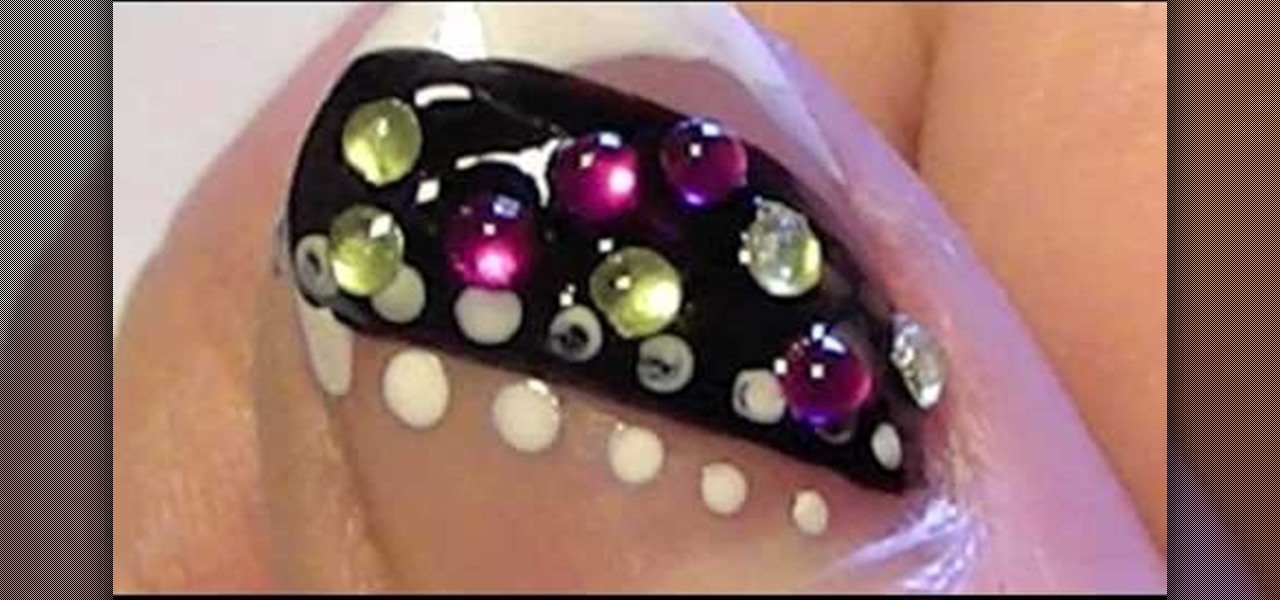
The rhinestone studded nails will be more attractive. To make your nails a perfect complement to any acrylic or polished nails use your wildest imagination to make it more attractive. The following steps will help to make beautiful, rocker rhinestone studded nails. The first step is to clean the nail surface where you want the stickers to be placed. The second step is to apply a base coat, and the third step is to apply nail polish color. The fourth step is to peel off the stickers carefully ...

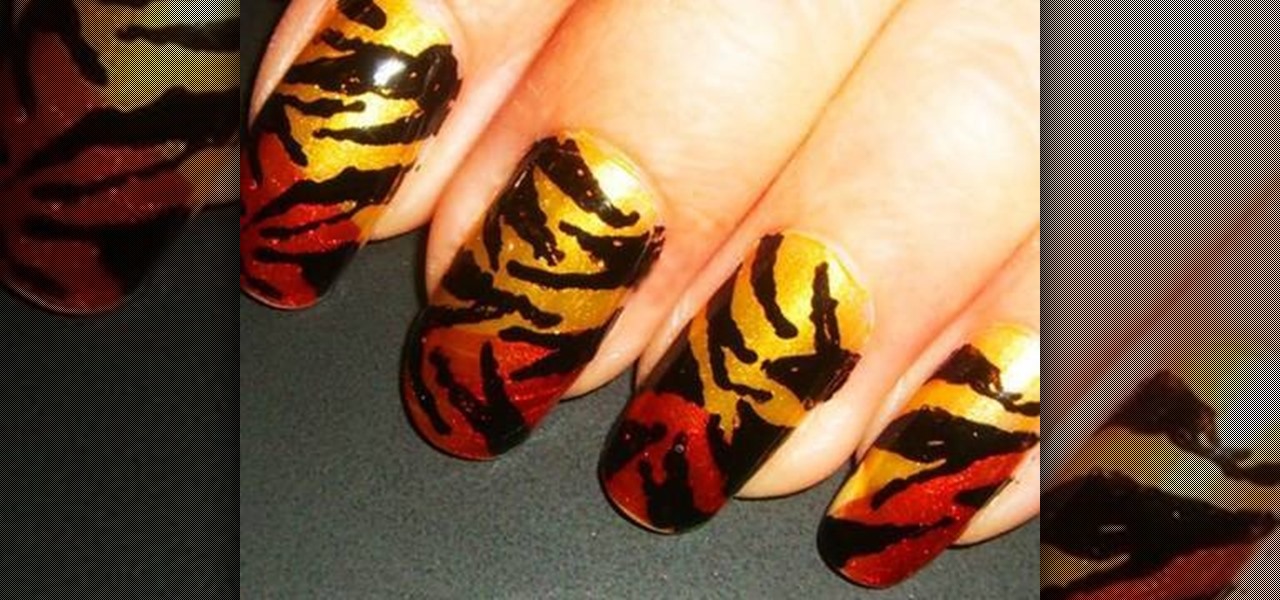
Julie teaches the secrets of creating tiger print nails inspired by Rihanna. You will need: a base coat, top coat, nail polish of gold, black and copper colors. First apply a base coat of your choice to the nails and let it dry. Now apply a gold color nail polish on the base coat. Use a copper color nail polish and fill in the tip of your nails as shown. Now use a black color nail polish to draw the tiger stripes. Start drawing a triangle and end up with a line in crooked directions to get ti...

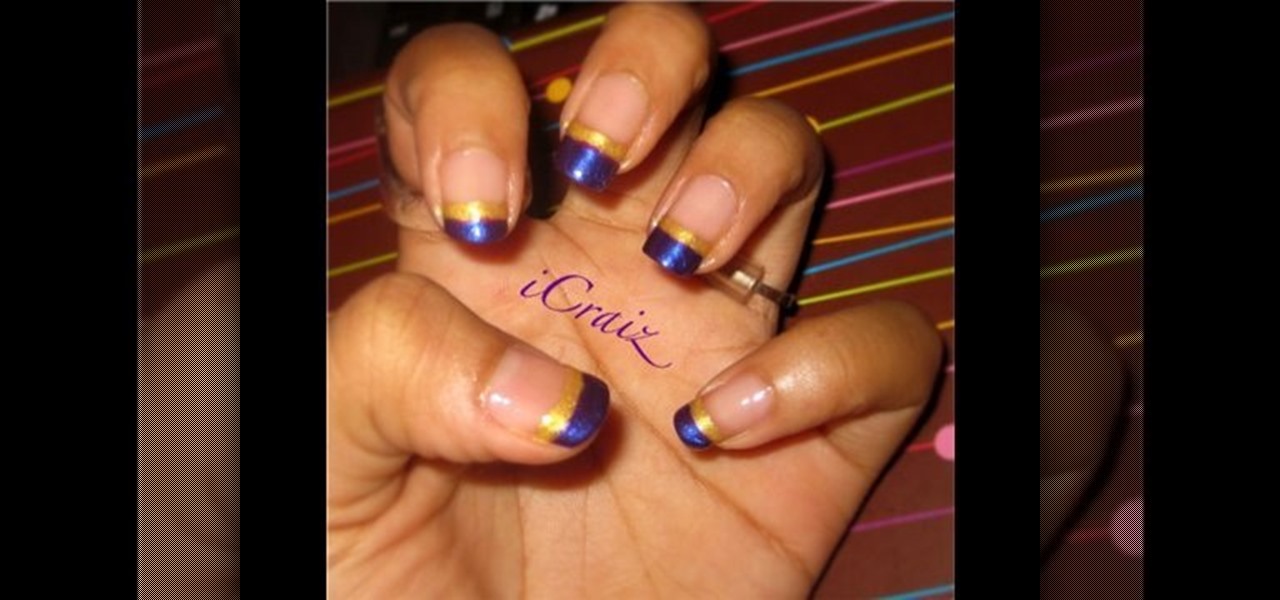
In this video, they show you how to do French nails with purple and gold tips. The nail polish used for the gold color is Ooh La La. The nail polish used for the purple color is N.Y.C. You also need a clear nail polish for a base coat as well as a skinny brush in order to paint the French nails with it. The base coat used is a Maybelline nail polish. You first apply a base of clear nail polish. Then you apply the purple nail polish to the tips. Using the brush, you apply the gold stripes. Fin...

Here are instructions on how to create a rainbow manicure 1. Apply a base coat to nails to protect them

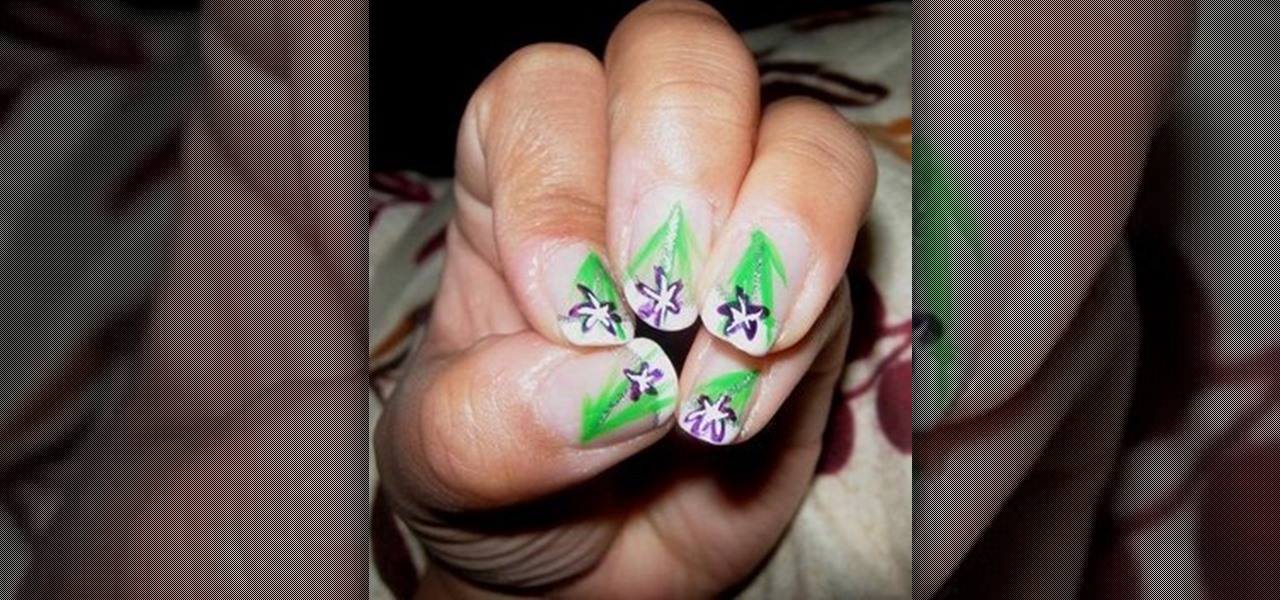
Lauren, AKA QueenofBlendingMUA has joined the ranks with the other YouTube beauty gurus. Lauren is a makeup artist with a large collection of eye makeup & nail art video tutorials. Her eye makeup look span from everyday makeup to creative, more expressive party looks. Her nail art/ manicure looks are also lots of fun. Check out this nail art tutorial video to learn how to create a purple flower nail art design. Search QueenofBlendingMUA on WonderHowTo for more beauty videos.

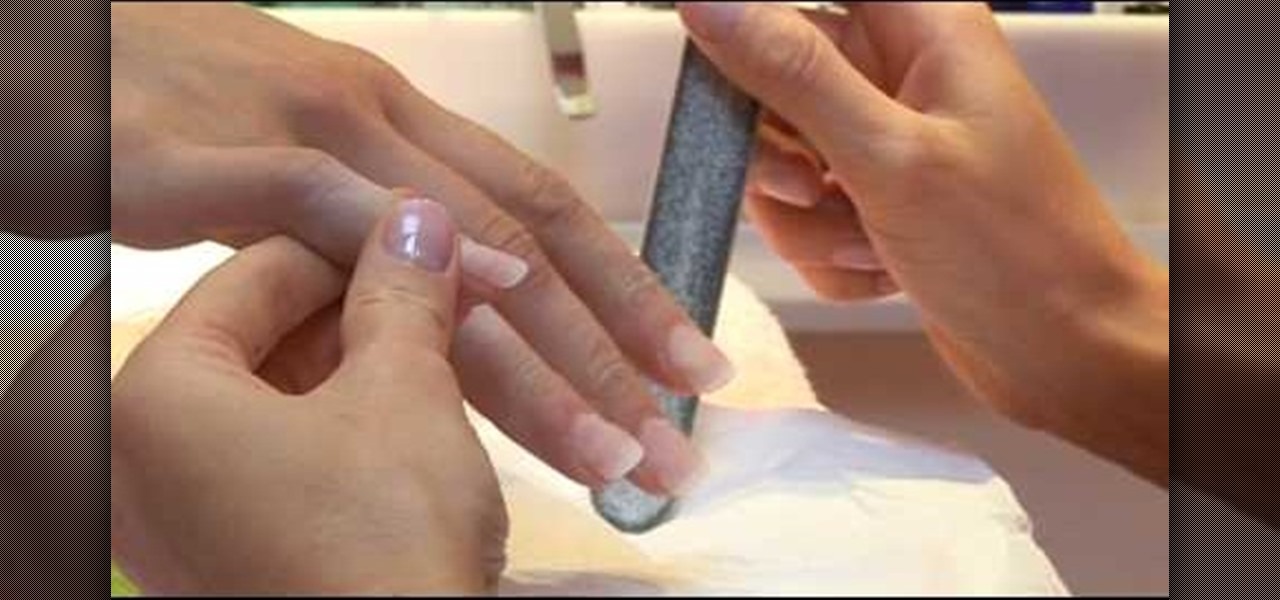
A great nail shape can be achieved with natural nails. To file without damaging the nail, never use a metal file and only ever file clean, unpolished nails. Watch this video manicure tutorial from nail artist Anna and learn how to properly file your nails.


