In this video tutorial, viewers learn how to make a juggling prop rack. The materials required for this project are: 2x4 pieces of lumber with proper length and space for the props, L-brackets, drawer pulls and trim. The 2x4 pieces of lumber are the shelves that will hold up all of the props. The L-brackets will mount the racks onto the wall. The drawer pulls will specifically hold clubs. The trims will decorate the shelf and provides re-enforcement. This video will benefit those viewers who ...

Turn a household item into an awesome hiding spot in just minutes! This video tutorial will show you how easy it is to make a peanut butter safe. Just make a hole in peanut butter jar, put a plastic cup on in, and trim the cut neatly. That's it. Follow the instructions in this how-to video, put your valuables inside, tighten the lid, and nobody will ever find them, unless of course, they are hungry for a peanut butter and jelly sandwich.
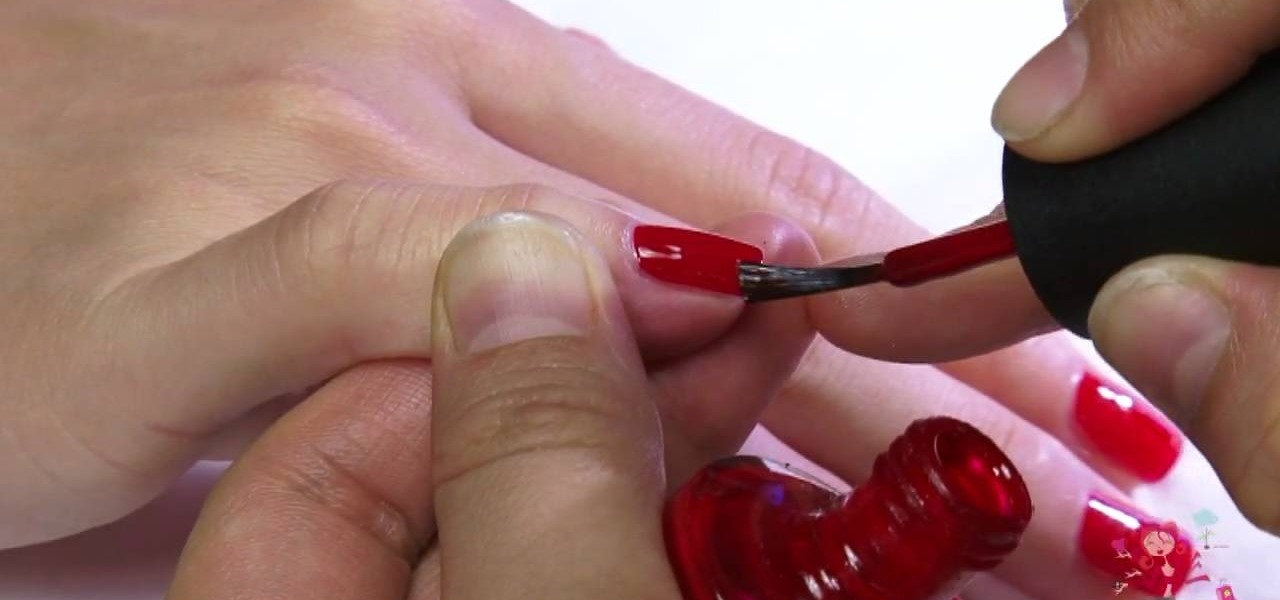
Nail polish is such a fun and quick way to display your mood - or current fashion fascination - with pizazz. But we hate it when, just a day into application, we notice the first few chips and tears and cracks.

Tiara-esque headbands are fun to make, and more importantly, fun to wear! You will need, 1 basic wide headband, 1 yard of cotton fabric, 1 yard tulle, flowers from the Crafts section, scissors, beads and rhinestones for details, a glue gun. Lay the headband over the fabric, towards the edge. Mold the fabric around the headband, leaving some extra fabric at the ends. Cut the fabric. Glue the fabric from the underside of the headband, and glue from end to end. Cut all excess fabric away, and tr...
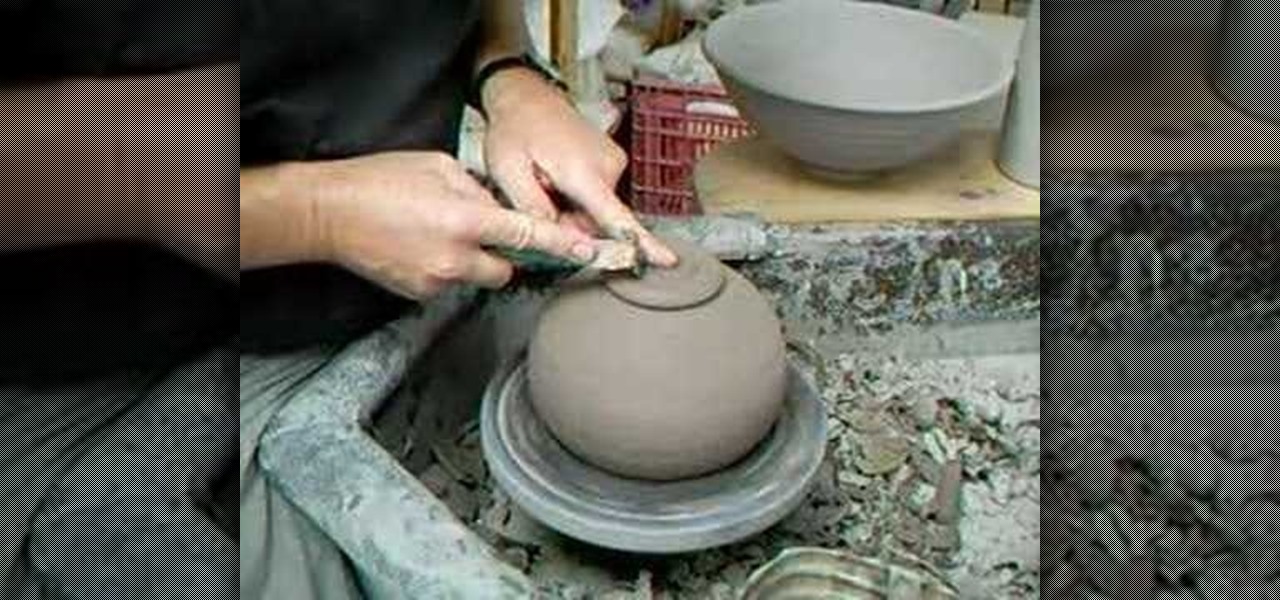
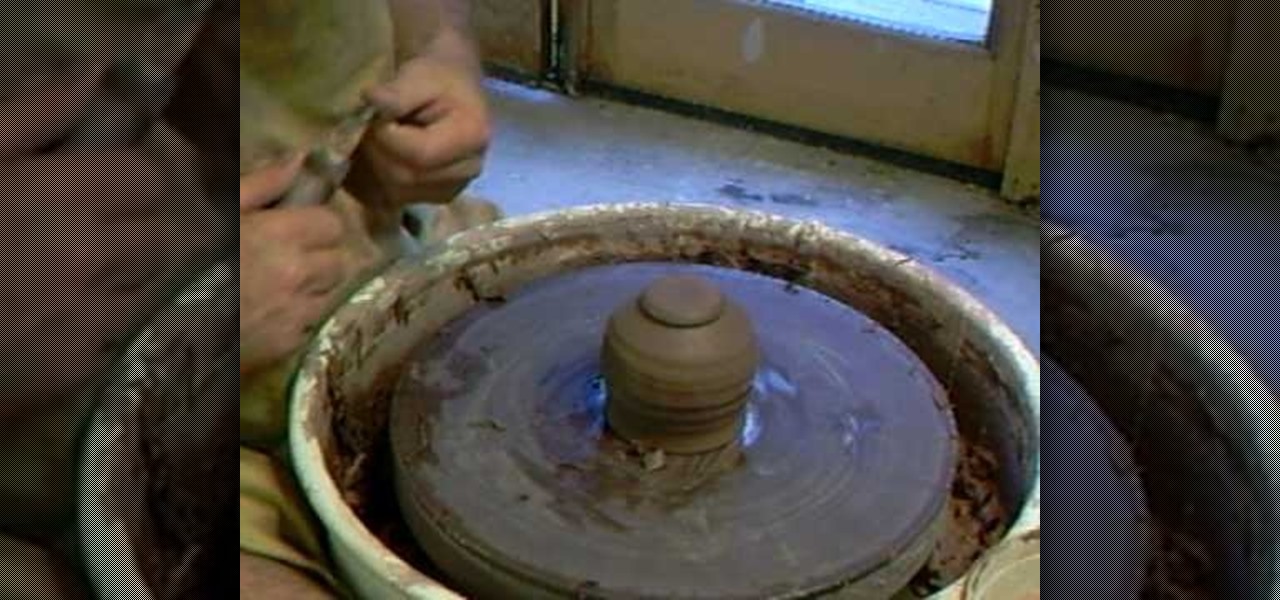
This instructional ceramics video shows you how to trim a round bowl. It is much easier of you have a centered pot to begin with. It is also helpful to leave a bit of extra clay in the base so that one can trim more freely. Once the clay is semi-dry, you can begin trimming. After trimming, smooth the trimming marks out using a rubber rib. A touch of water on the rim will re-elevate the rim after trimming your round pot.
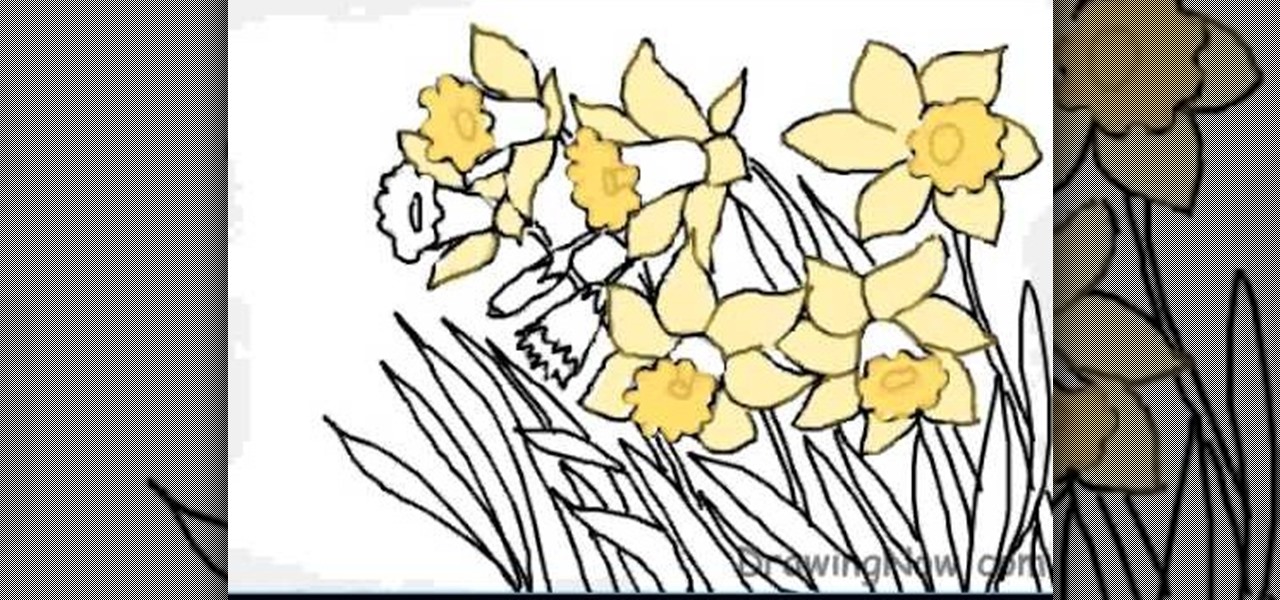
The first step is to draw the daffodil's outer parts carefully. The second step is to draw the circle shape for inner surface of flower.

To neatly cut into a pomegranate, you are going to need a paring knife. First, score through the flesh around the top, middle, and bottom. Next, take the edge of your knife and peel the skin upwards and off the fruit. Remove the white pith. Repeat with the bottom. Next, score a line going from the top to the bottom and peel the pomegranate into two halves. Peel from the last score and open. Keep making cuts to open up the pomegranate until you have four pieces. Now enjoy.
Before you paint the walls it is important to paint the trim first. A painting pad is a very useful tool for painting along the edge where the ceiling meets the wall. It has guide wheels on it and will roll right along as you paint the trim. Next you will want to paint your woodwork including your baseboards and trim. When you go to roll the wall first take some painters tape and run it along the top of the baseboard to keep the specks that fly off the roller from getting on the baseboards. U...
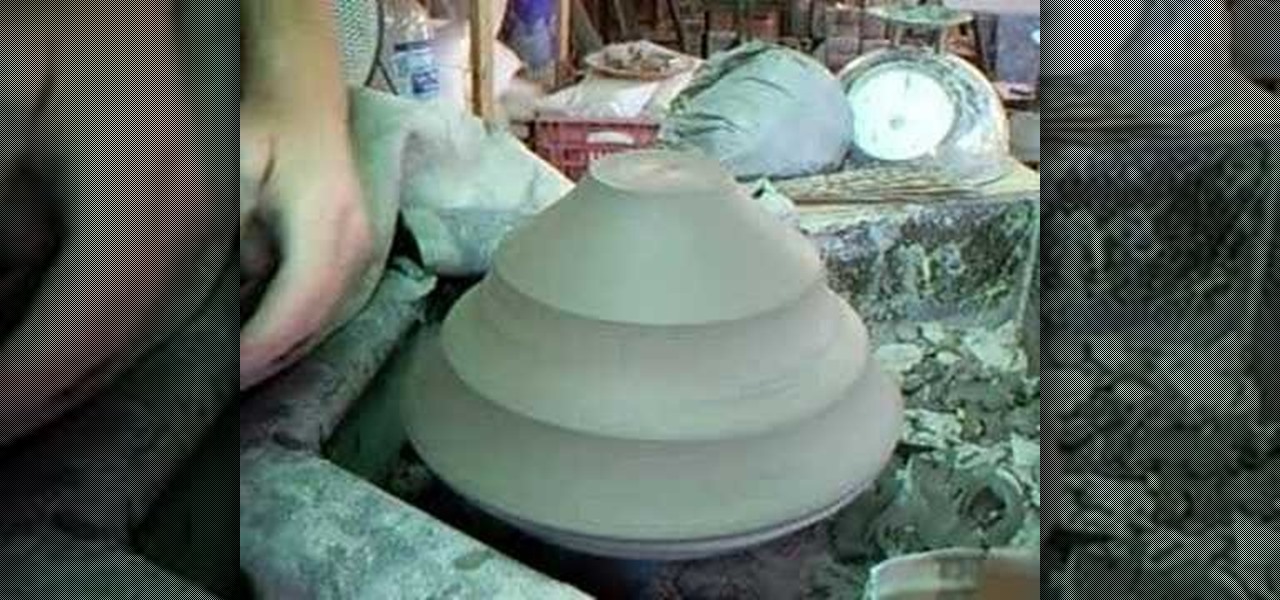
Watch this instructional ceramics video to learn how to trim a large tiered bowl with Simon Leach. With a thin bowl, one needs to be careful when balancing the upside-down bowl on the bat. Leach trims each individual tier with a large trimming tool. The large and possibly wobbly ceramic bowl can become once again even and graceful with some adventurous trimming. As we can see from the trimming process, when throwing a tiered bowl, it helps to leave some extra bulk.
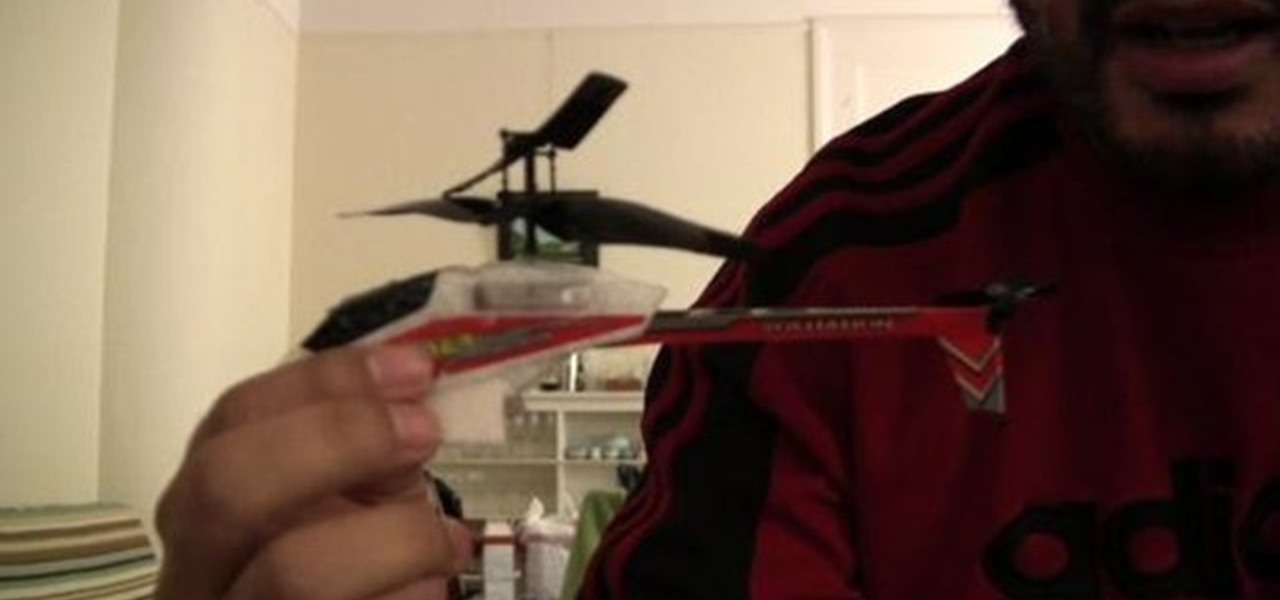
To begin in controlling the tail spin on your helicopter you need to turn your helicopter on and then turn the controller on. On your controller there are two trim bars. If it begins spinning to the left, tap the right trim; likewise, if it begins spinning too much to the right, tap the left trim. Unfortunately there is no memory in the PicooZ helicopter, so every time you turn on the helicopter you have to trim it. In the example video the helicopter needed to have the trim bar pressed 12 ti...
This clip provides a quick reference on how to create realistic trim quickly using splines and editable polys. Whether you're new to Autodesk's popular modeling software or a seasoned 3D artist just looking to better acquaint yourself with the application, you're sure to be well served by this video tutorial. For more information, and to get started modeling realistic trim in your own 3ds Max projects, take a look!
After you've assembled your clips in order, you can fine tune your sequence by trimming the edit points between each clip. This video explains the many tools you can use to make trimming videos easy and precise, including the ripple and roll tools. These tools allow for seamless editing.
Even the best potters don't always get a perfectly finished vase, pot, or jar immediately after throwing. In fact, it's actually quite common for a potter to go back over his work and trim off or reshape the uneven parts to achieve a balanced finish. This is precisely what master potter Simon Leach does in this pottery video.
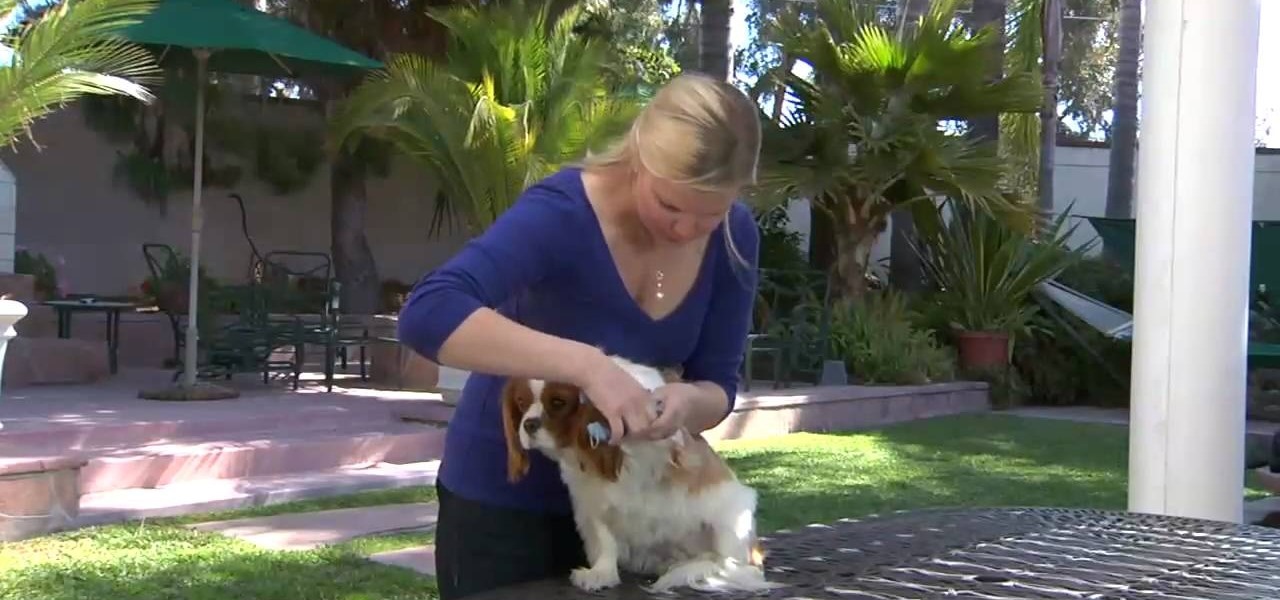
Dress and trim your dog to the nines by watching this video on how to trim or cut your dog's nails. Making sure their talons are nice and people-friendly is a necessary component of pet care and will also boost canine egos as they look at their sharp silhouette in the mirror.
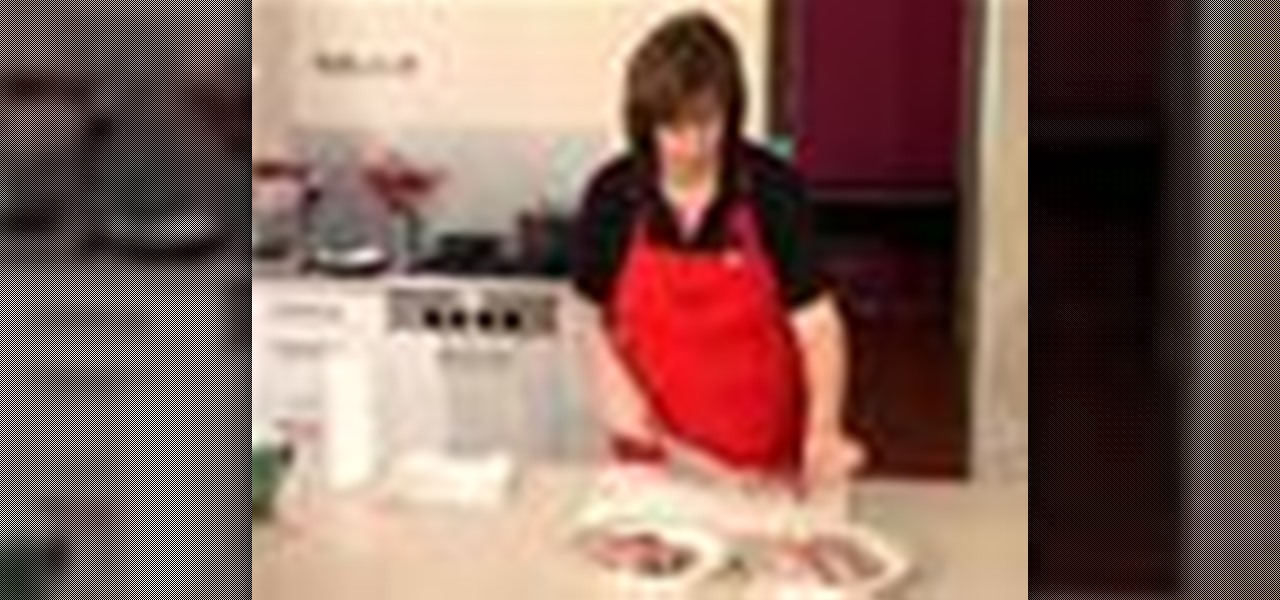
Check out this video cooking tip from The Chef's Toolbox in Australia. Watch this tutorial to learn how to trim chicken pieces like a chef. Trimming chicken is easy with a little know-how, see how to do it right here.
Watch this ceramics tutorial video to learn how to trim your bowls using the pottery wheel and some trimming tools. The instructions in this how-to video are very detailed and best for beginner to intermediate potters with some experience. These tips will help you improve your bowls by trimming them nicely.
Now that you've imported your footage into Windows Live Movie Maker, you're ready to edit it. A good first step is to trim the beginning and end points of the individual clips that will go on to make up your movie. This clip from Vimeo's excellent Video 101 series of video tutorials will teach you how to do precisely that.
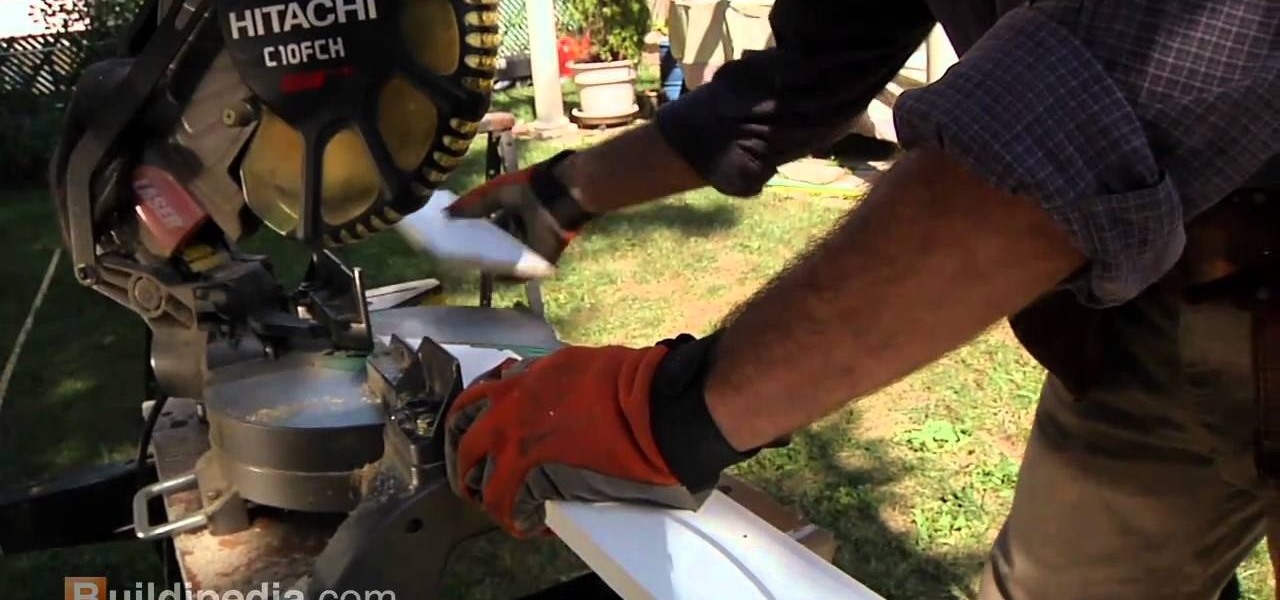
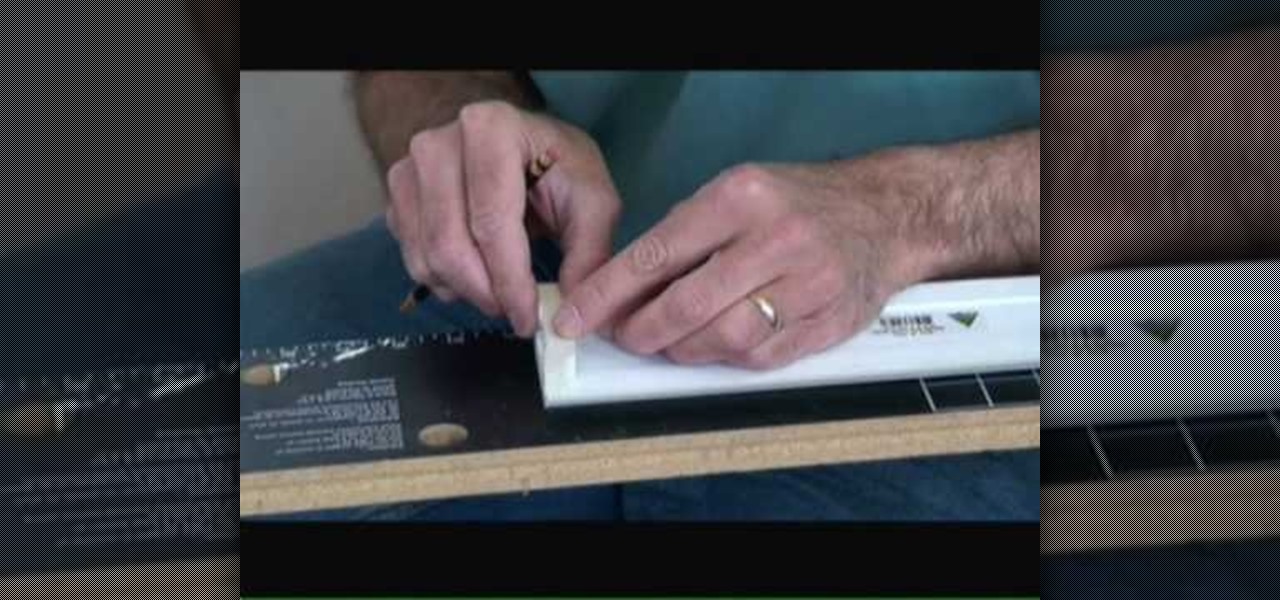
A little trim can really add a nice look in your house or apartment. This DIY from Buildipedia gives you clear, easy instructions on this task that any home DIYer can do with a few tools. Give it a look and give it a try!
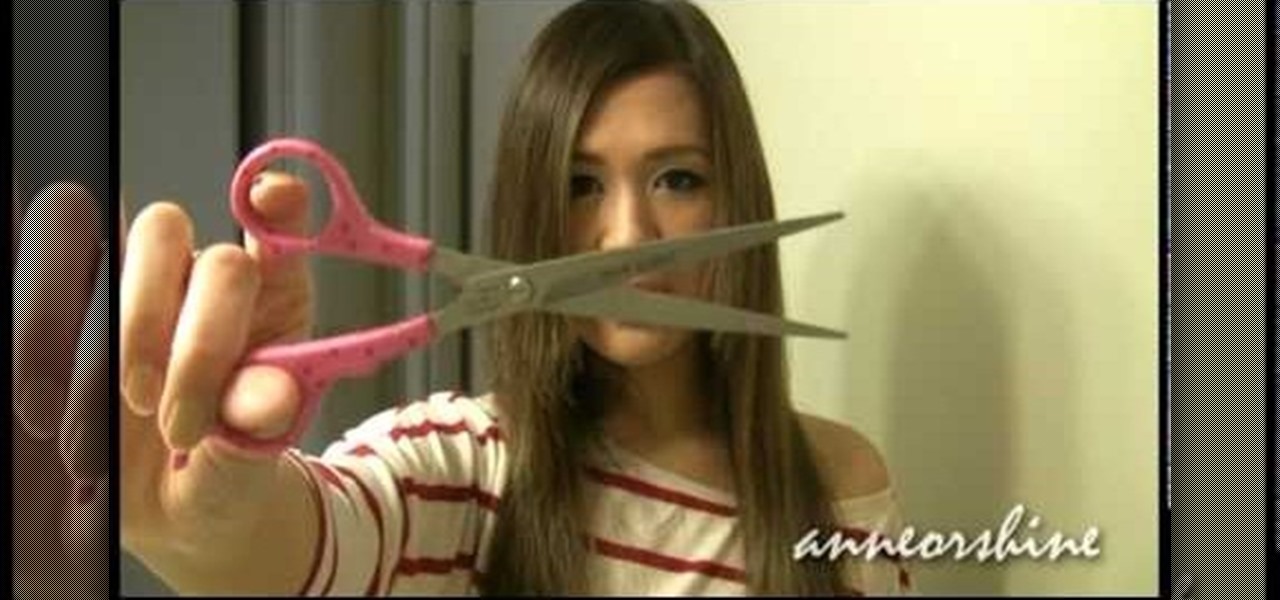
We know what you're thinking: You have two left hands and even cutting in a straight line is a monumental feat. But trust us, even butterfingers can cut their bangs professionally. In fact, if you tend to cut slightly slanted or jaggedy then your bangs will look even better!
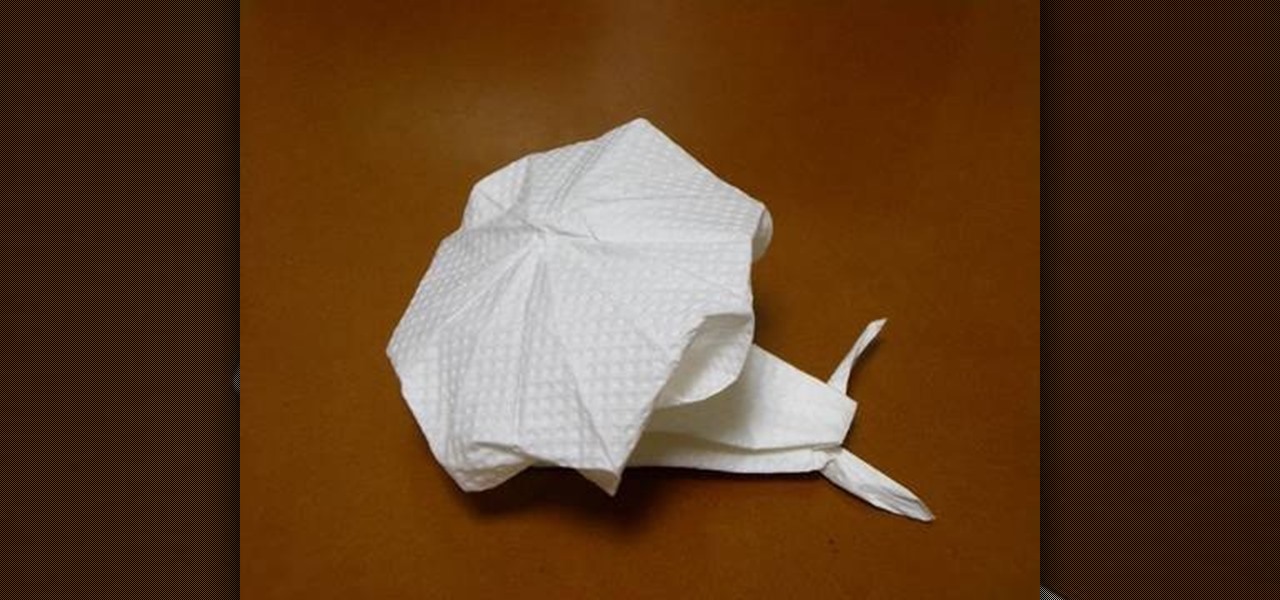
Bounty paper towels claim they can absorb up to 3X more than ordinary paper towels, but they can't transform into cutesy little snails unless you lend them a helping hand (or two).
This video will be very handy to all the Chinese painting enthusiasts out there. It demonstrates how to trim an old split brush in to a sharp liner by trimming it with scissors. This allows you to do multiple kinds of brushstrokes without changing brushes, saving time and allowing you to purchase fewer brushes.
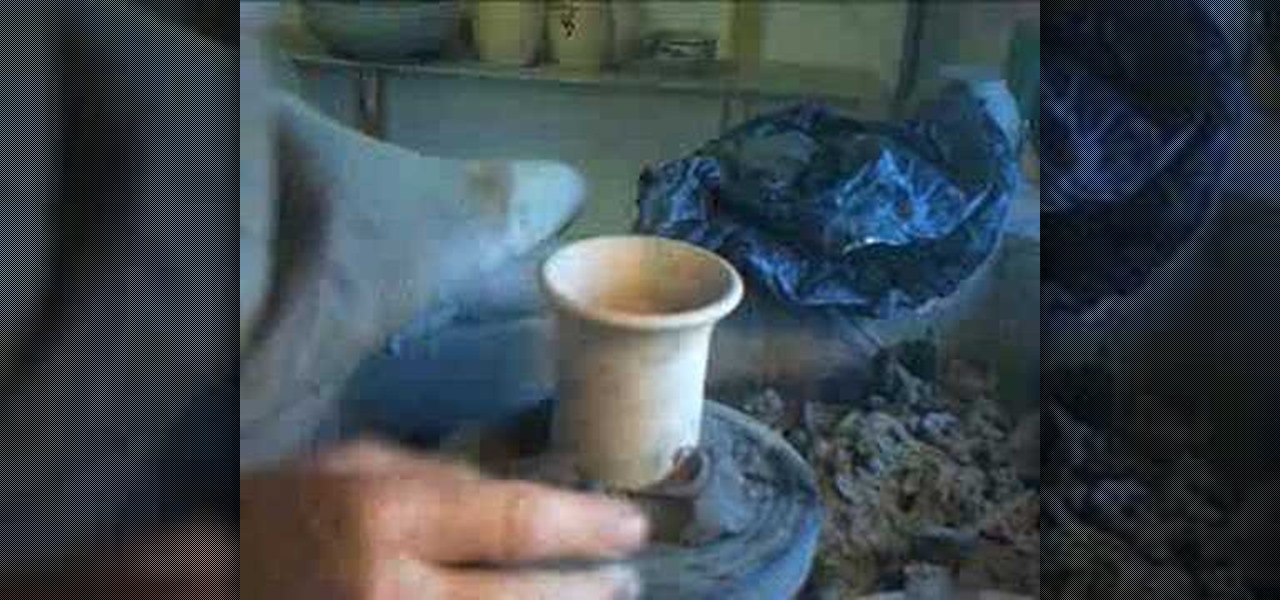
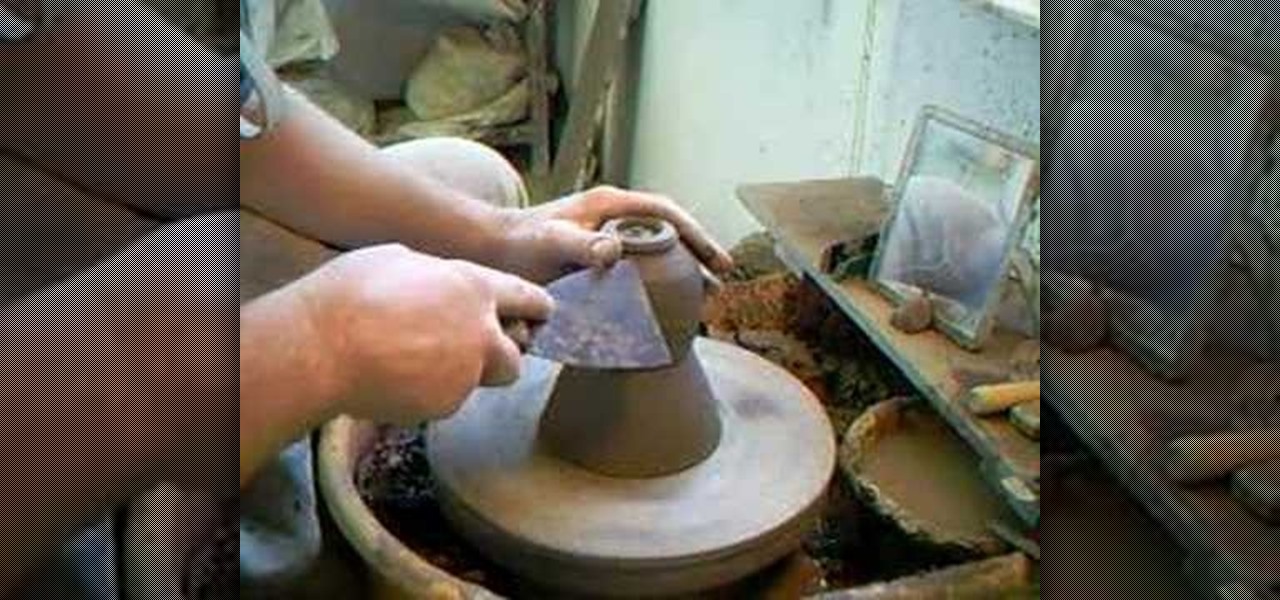
Simon Leach shows us how to quick trim bud vases.
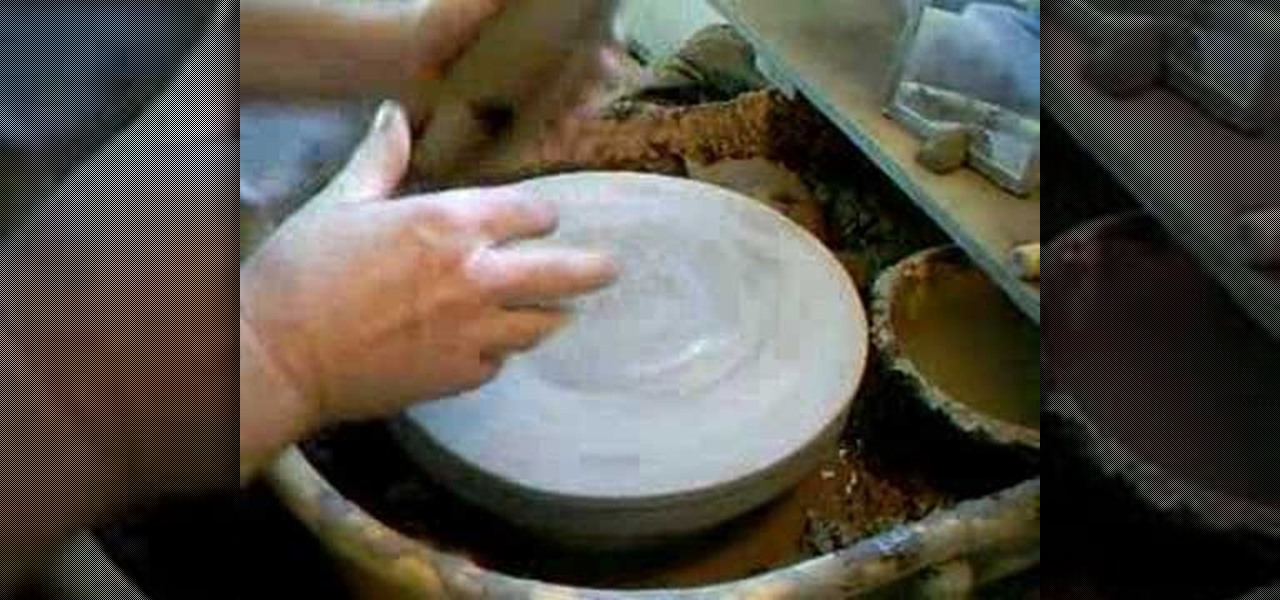
Simon Leach shows us how to trim a plate.
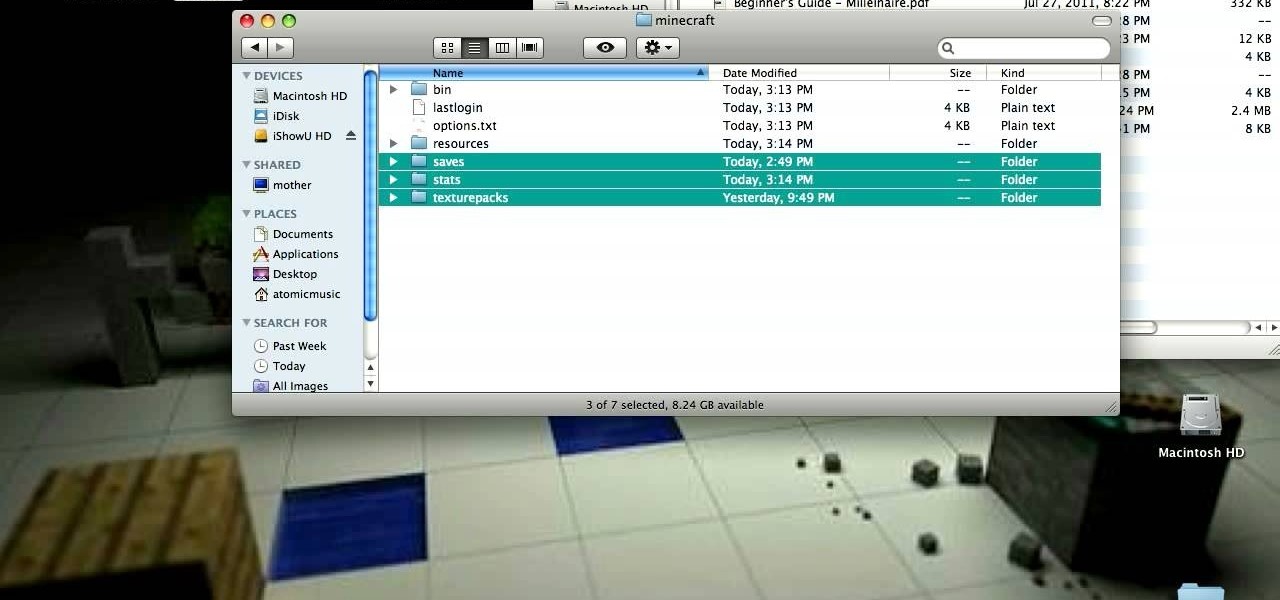
The Yogbox mod compilation pack features many different Minecraft mods, neatly bundled and ready for a quick installation via this walkthrough for Macs. Some of the more popular ones are 'Doors open Doors', 'Pfaeff's redstone blocks mod', 'More Health'.
An unknown individual demonstrates in this video how he makes a comic book. He shows the materials that are needed, which are plain white paper and tape. You then fold the paper very neatly in half length wise one sheet at a time. Then you put all the papers together as neatly as possible. Next, you take a piece of clear tape, tear it in half and place one piece on the inside bottom fold then fold it over to the front. You do the same thing with the second piece of tape at the top fold. Final...
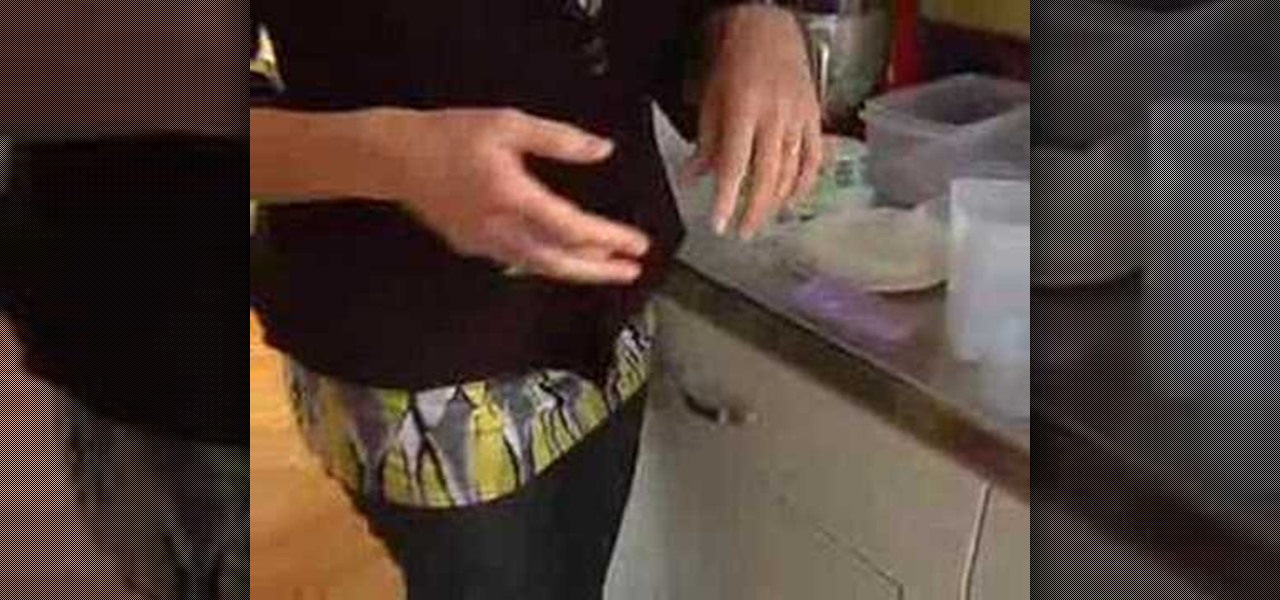
Trying to neatly store your plastic ware can be a chore. Watch this video tutorial for tips on how to get your plastic containers and lids organized.
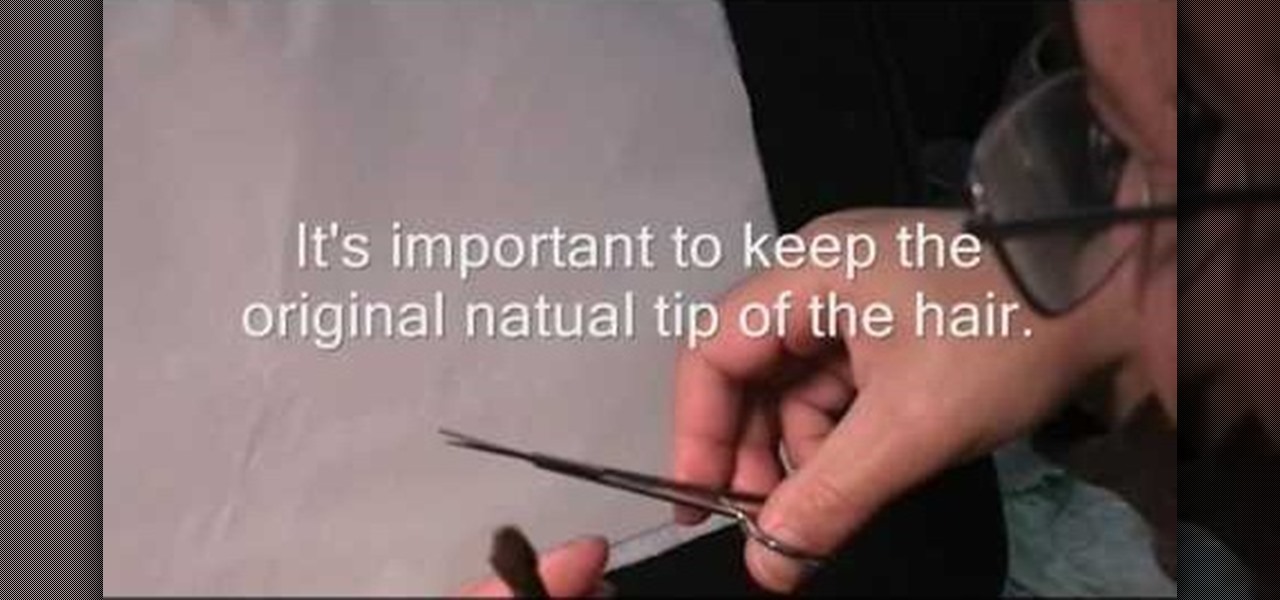
Haircuts rock - they get rid of unwanted split ends, trim up all of that dead, scragly hair that you've overdyed and overprocessed, and generally make your hair look healthier and bouncier. But they're also super expensive.
The fuel trim in your car is the mixture of air and fuel in the engine, which needs to remain in balance for an engine to run properly. This video will teach you about how to assess the fuel trim on your vehicle and adjust it.
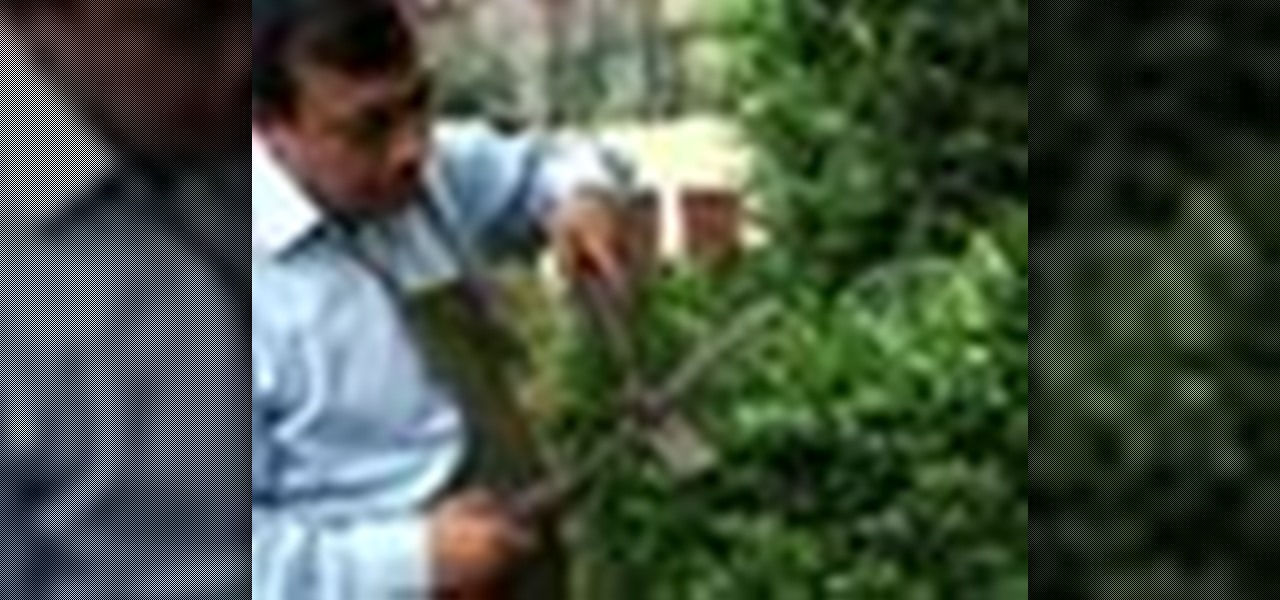
In this video, you'll learn some neat methods for making hedge trimming an easier chore. Save yourself the back ache and follow the steps in this video. Easier maintenance always begins with the proper tools. Lay down a drop cloth to avoid debris, and make sure you remove wayward branches. Doing the hedge trimming will be a snap from now on!
Painting a room can be an easy and quick way to add some character to any room. When painting a room, many people tend to paint the trim another color. This tutorial will show you how to properly paint the trim and make sure your painted walls are untouched. Good luck and enjoy!
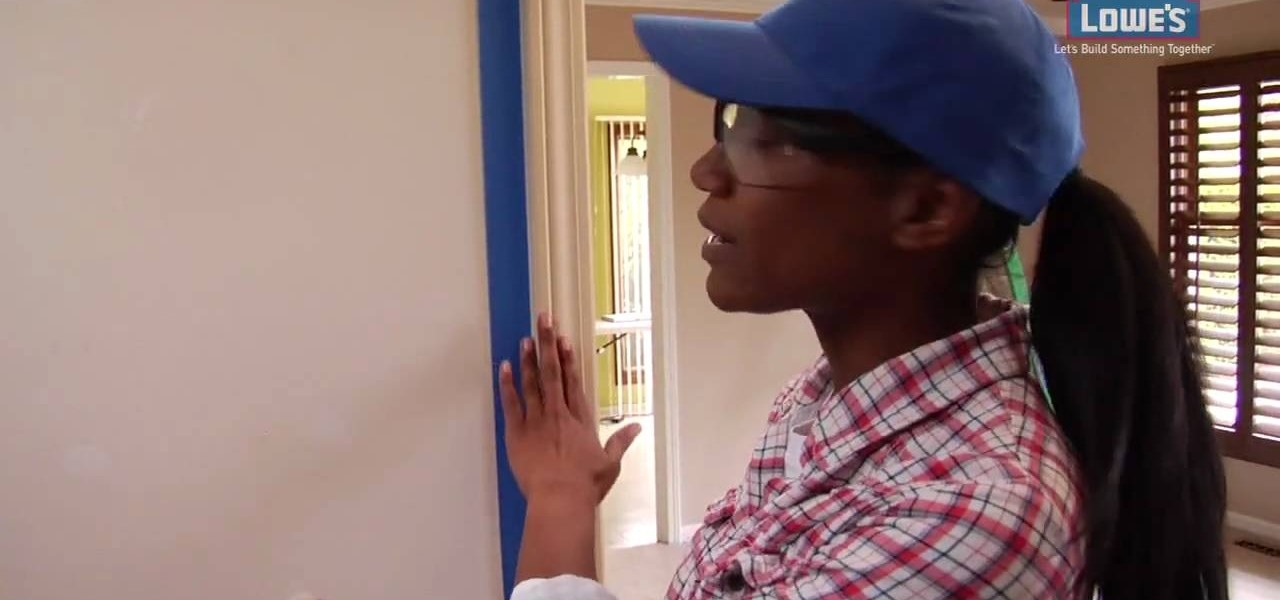
In this video tutorial, Mark Donovan of HomeAdditionPlus.com walks us through how to install baseboard trim. Baseboard trim can make a big difference in a room, if you do it right. Of course, if you do it wrong, it can make the wrong kind of difference!
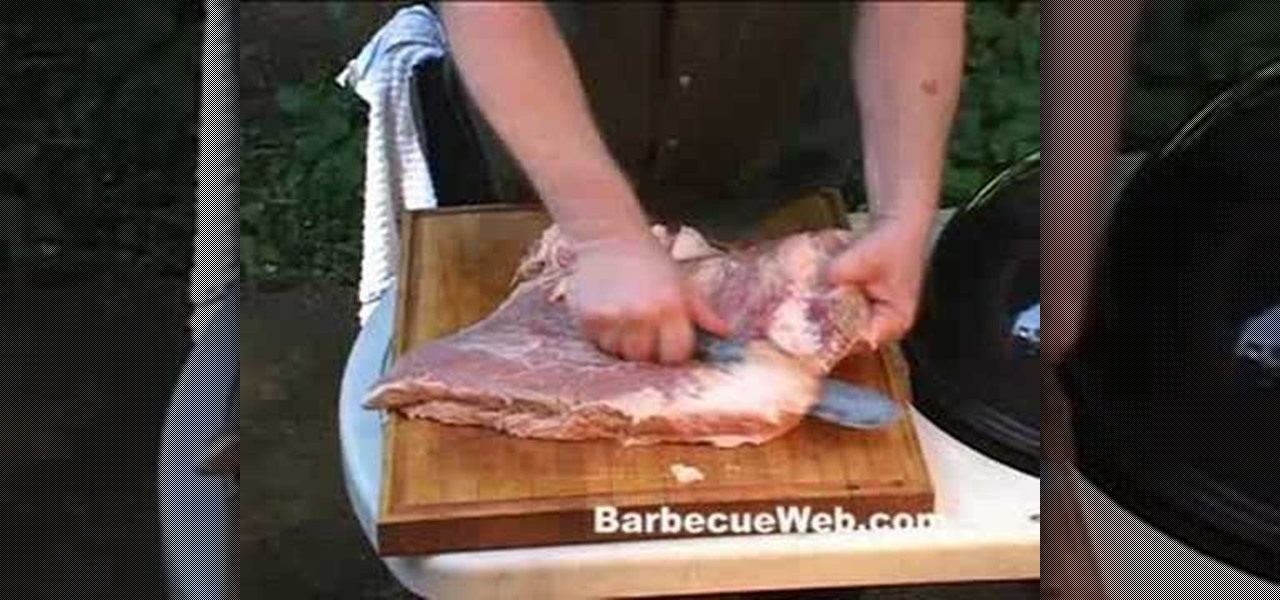
Buy yourself a whole beef brisket and then trim it up for a "low and slow" barbecue on your grill or smoker. This beef brisket trimming method will save you some money, and it's easy to do, as demonstrated by one of the BBQ Pit Boys!
Watch this ceramics tutorial video to learn how to trim your pottery using chuck. This technique and the tips on how to do it are best for intermediate potters with some experience. This instructional video will have you trimming you pottery using a chuck in no time.
Watch this ceramics tutorial video to learn how to trim your raku pieces. This how-to video is best for potters with some experience with the pottery wheel. The tips in this instructional video will help you easily trim your raku pieces.
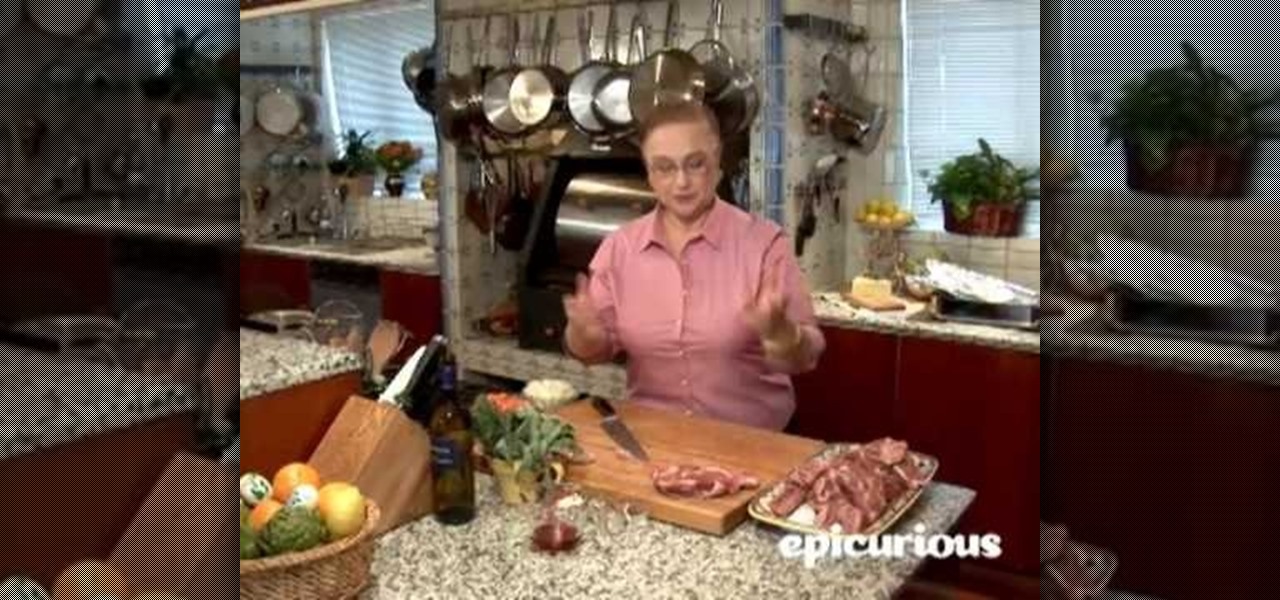
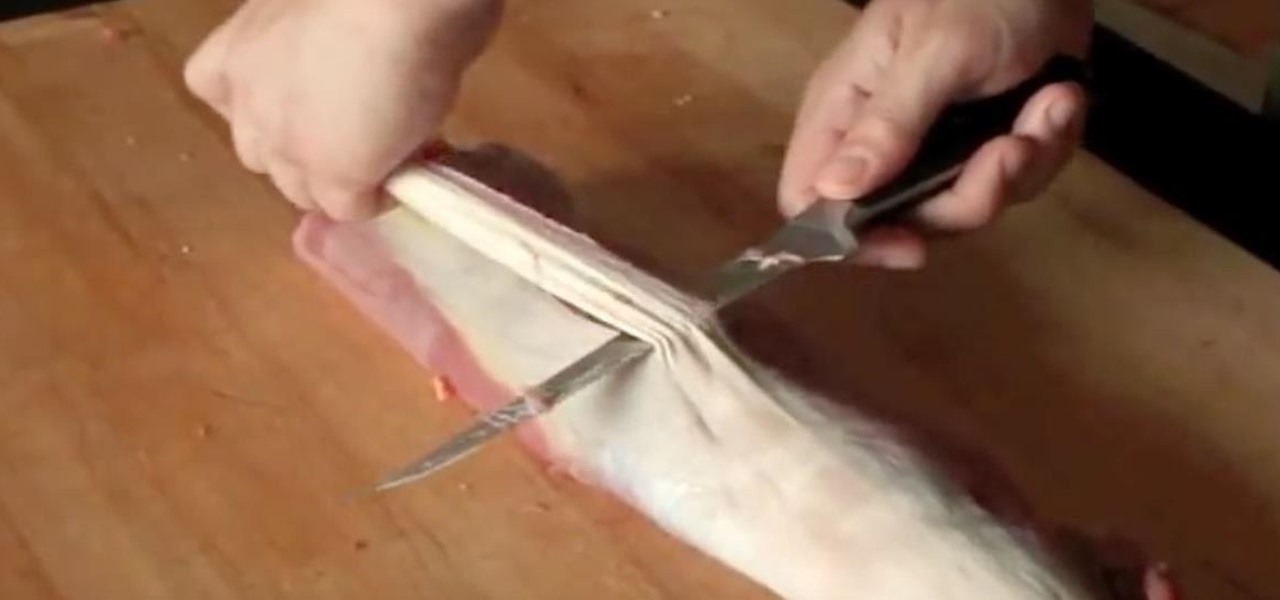
In this video, we learn how to trim a lamb shoulder with Lidia Bastianich. Start off with your raw piece of meat laid out in front of you. You will want to trim the meat around the outside where the most fat lies. Remove the fat that is excessive with a sharp knife. Cut as close to the bone as possible, then trim off the excess fat. Remember, some fat is good to keep on the meat for flavor. Cut the meat into cubes after you have removed the fat from it. Once finished, you will be able to roas...
Getting your tenderloin steak trimmed at the butcher is what most of us do when we're craving steak for the night, but why spend the extra bucks when you can trim that tenderloin at home?
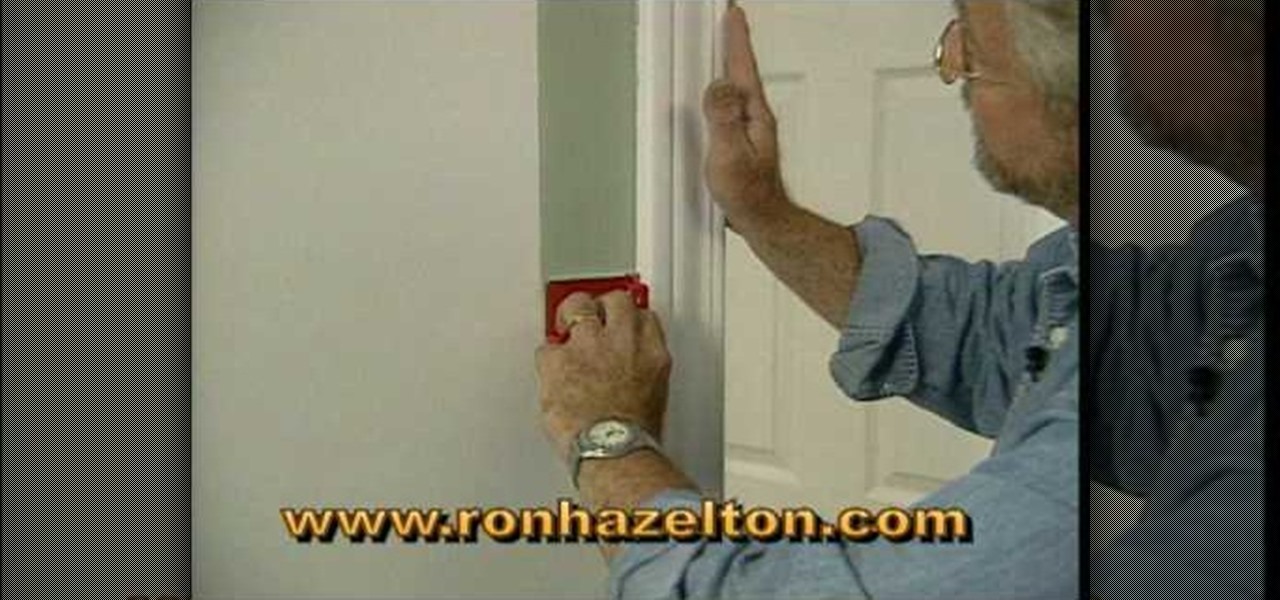
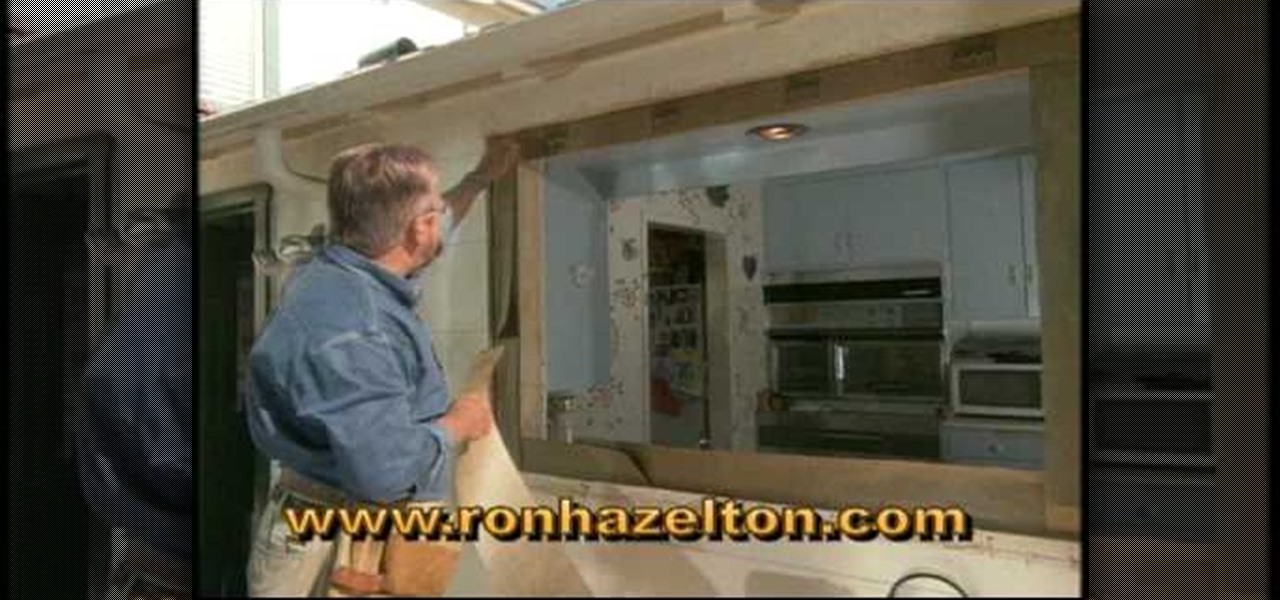
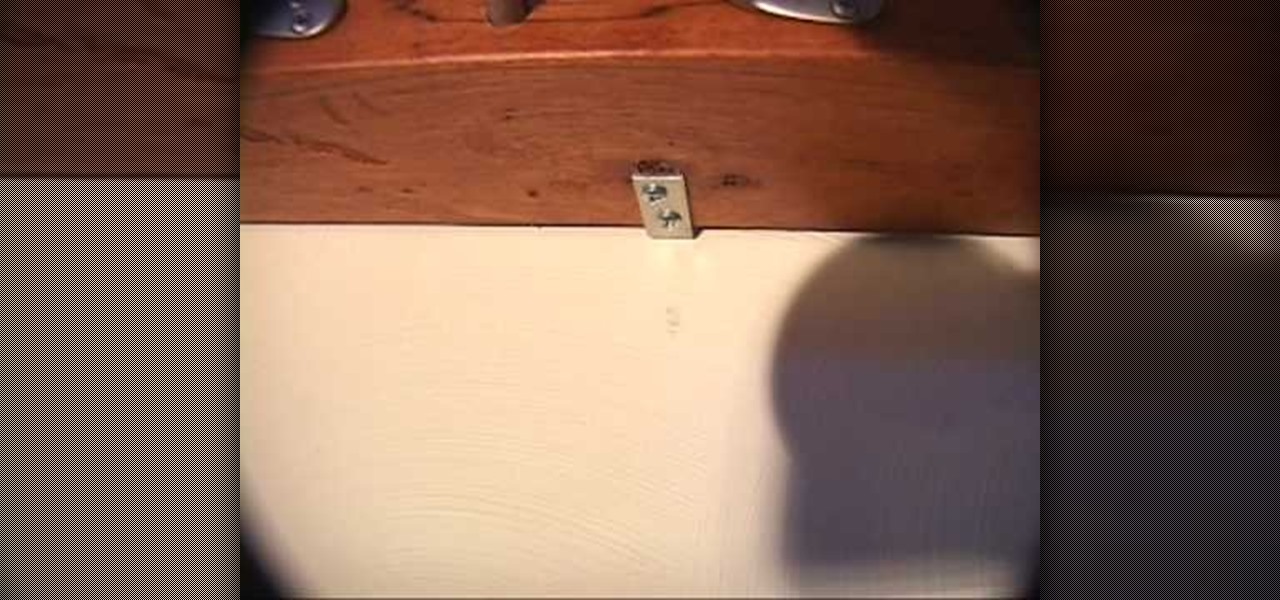
Ron Hazelton shows a great way to bring the outdoors indoors with a garden window. First remove the existing window. Pry off the exterior trim and remove the old window framing. Build a new frame for the new window with 2x4's and shims. Trim away any exterior siding if necessary. Use waterproof flashing paper and caulk to make the new window watertight. Install the new window into the frame with rust-resistant screws. Add another run of caulk, then trim off the excess flashing paper. Use anot...
Getting rid of split ends is easy and should be done between hair salon visits. Learn about trimming hair with expert tips in this free hair care video series.
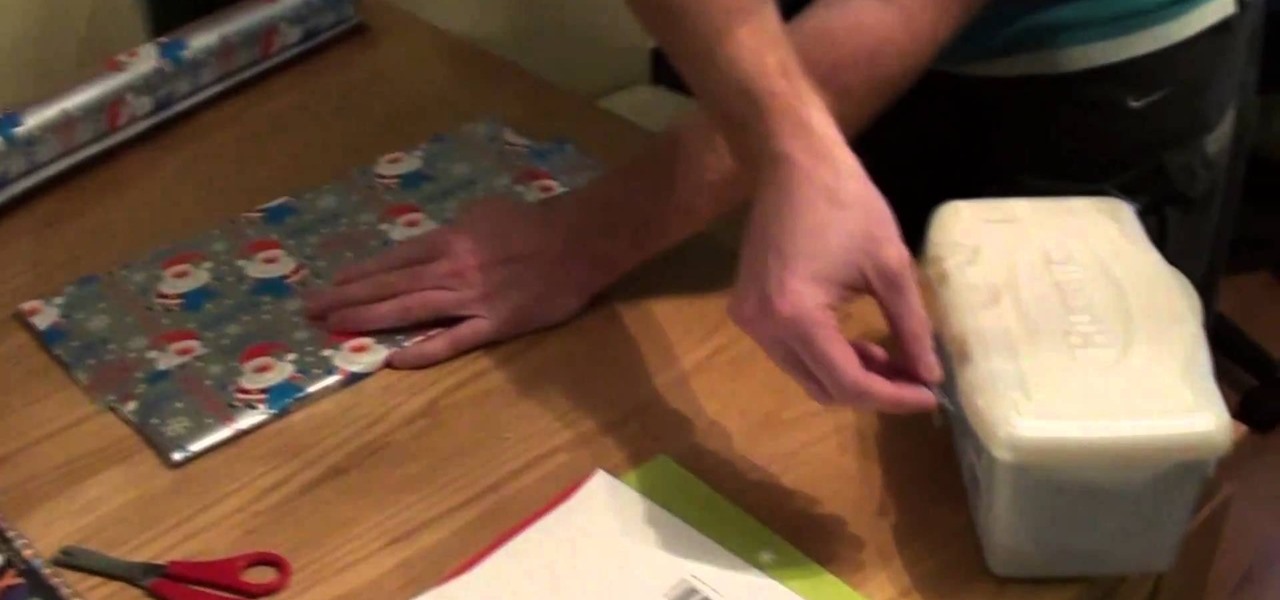
This will also work for any square or book shaped gift you have this year! A professional gift wrapper shows you the best way to neatly and professional gift wrap a book - all you need is the paper, some scissors and tape!
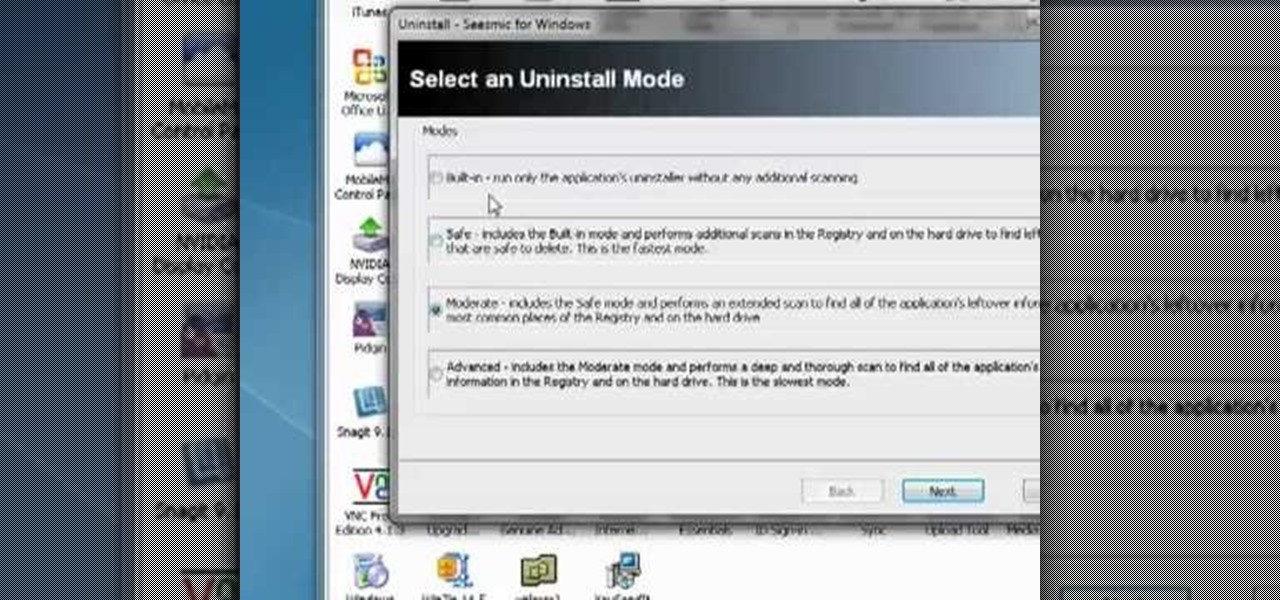
Want to fully uninstall an application from your Windows desktop or laptop computer? This brief video tutorial from the folks at Butterscotch will teach you everything you need to know. For more information, and to get started neatly uninstalling applications on your own Windows PC, take a look.