Pixel Perfect is the "perfect" show to help you with your Photoshop skills. Be amazed and learn as master digital artist Bert Monroy takes a stylus and a digital pad and treats it as Monet and Picasso do with oil and canvas. Learn the tips and tricks you need to whip those digital pictures into shape with Adobe Photoshop and Illustrator. In this episode, Ben shows you how to content-Aware scale and create 3D objects in Photoshop.
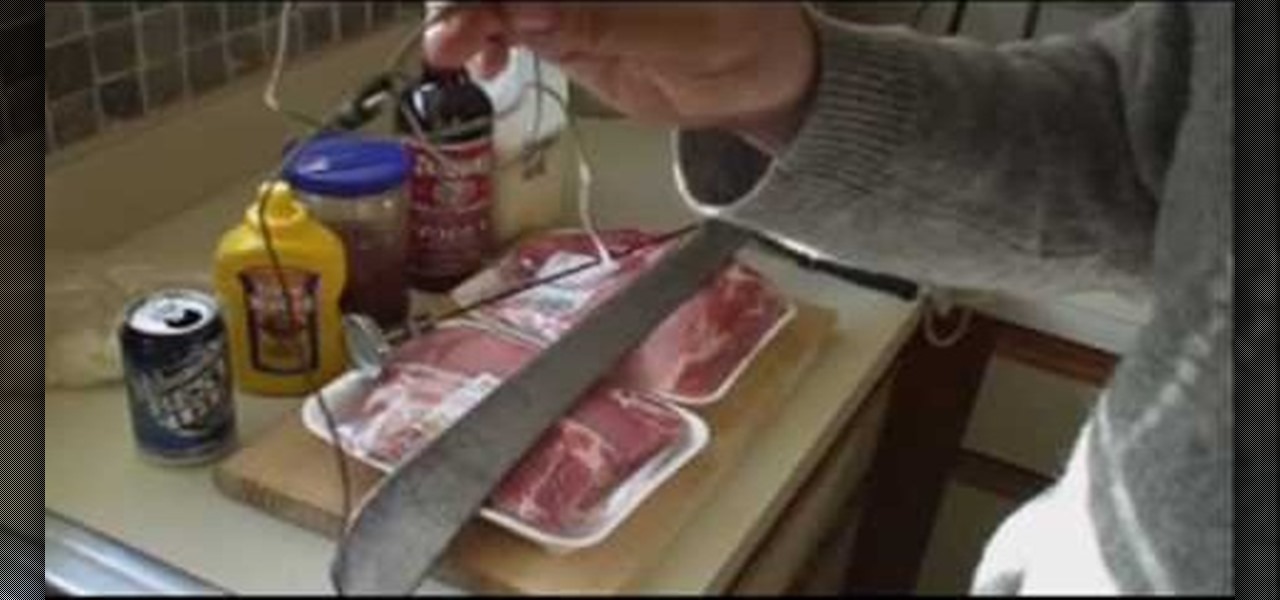
Chris Cosentino cleaning a beef heart. I have received a lot of questions about how to butcher a beef heart. I recently made a video to answer these questions. After the break you will find a recipe for beef heart tartare.
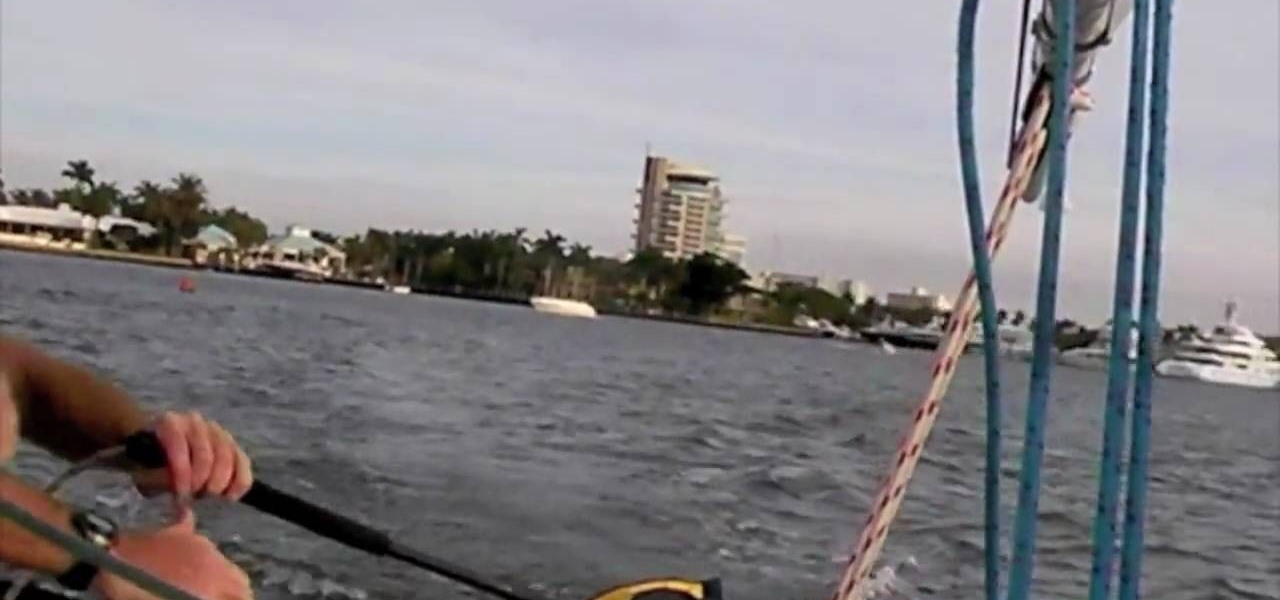
To some, sailing is more than just relaxing, it's a sport. When sailing at high speeds is races, you may find yourself in need of a way to get through a tack quickly. Being able to tack in sailing is good, but you need to perfect this into a roll tack. This allows you to turn more efficiently and with more speed. The ingredients of a good roll tack are a little hard to find. In this video, you'll learn the more straight forward things you can do to improve your roll tack.
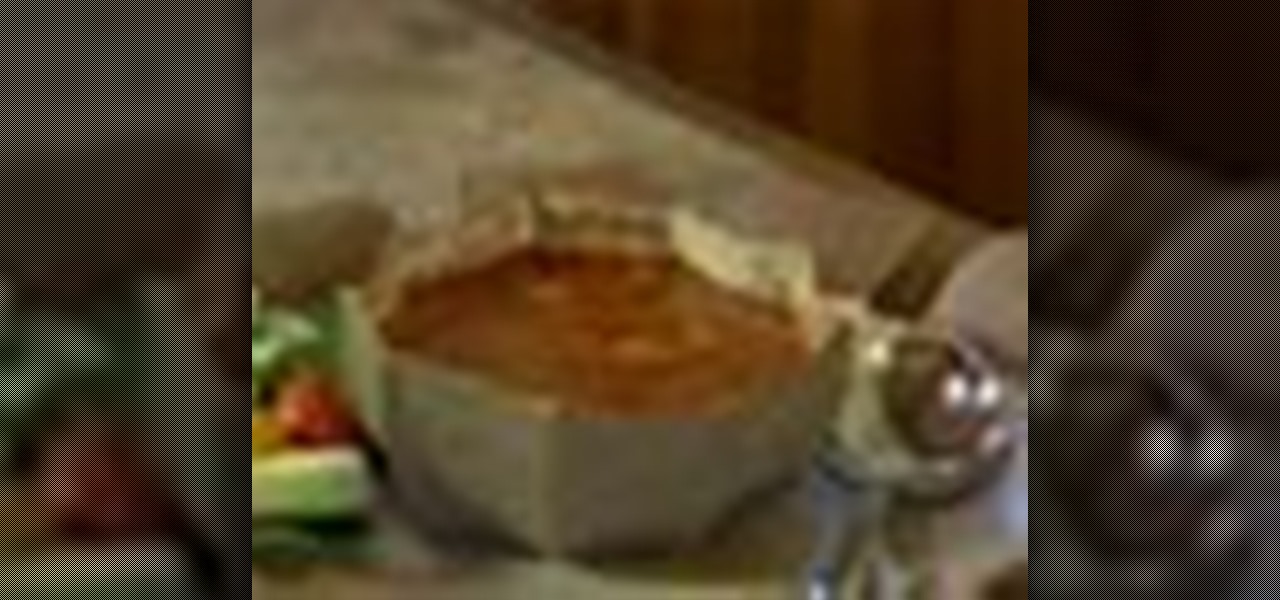
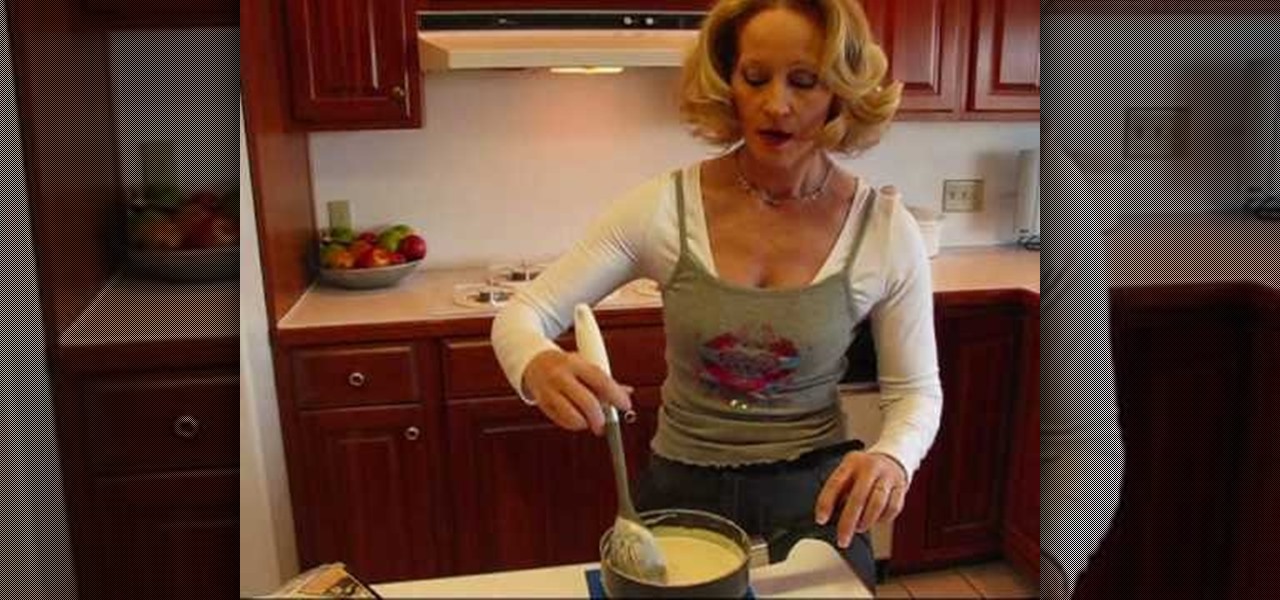
Gazpacho is a Spanish-style soup served cold, made from vegetables (especially tomatoes) and spices. There's nothing better than chowing down on a nice bowl of gazpacho during a hot summer day. It's refreshing, healthy, colorful and delicious, with cucumbers, bell peppers and tomatoes. Check out the recipe for this chunky gazpacho soup from Chef Hubert Keller.
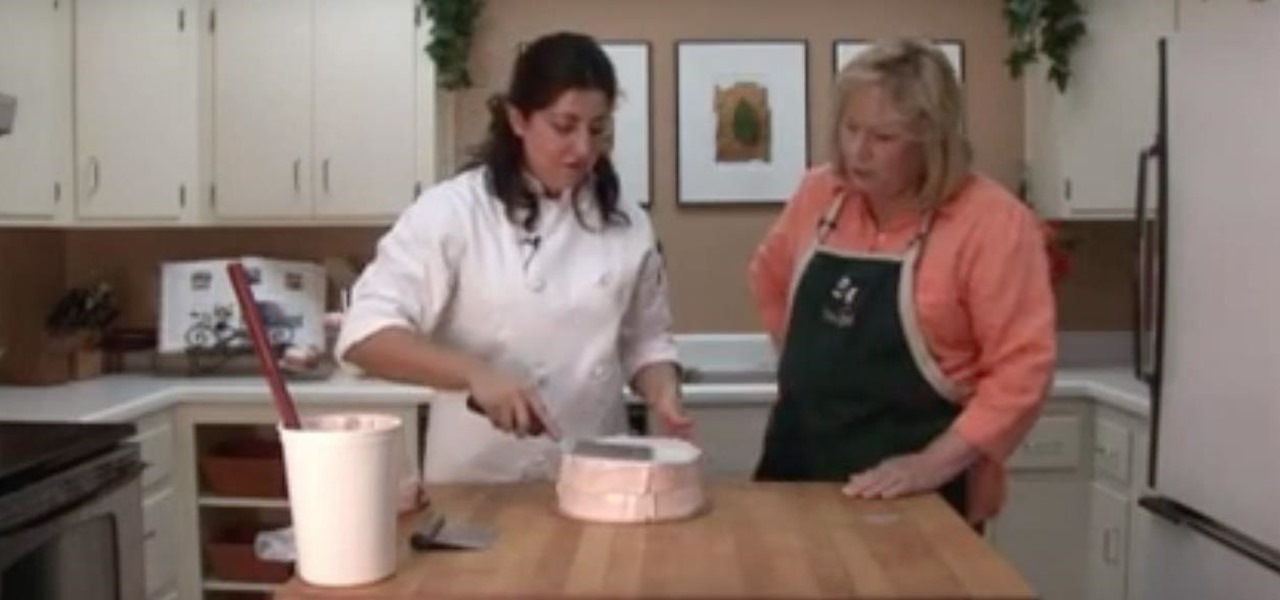
The first thing that should be done when icing a cake with buttercream frosting is to wrap the cake in plastic wrap and chill it in the freezer. This will ensure that when you trim the top of the cake there will not be as many crumbs. After triming the top of the cake to make it even, turn the cake over so that the bottom of the cake is now the top. Now take a piping bag filled with buttercream frosting fitted with a large basket weave tip and pipe horizontally going around the entire cake.

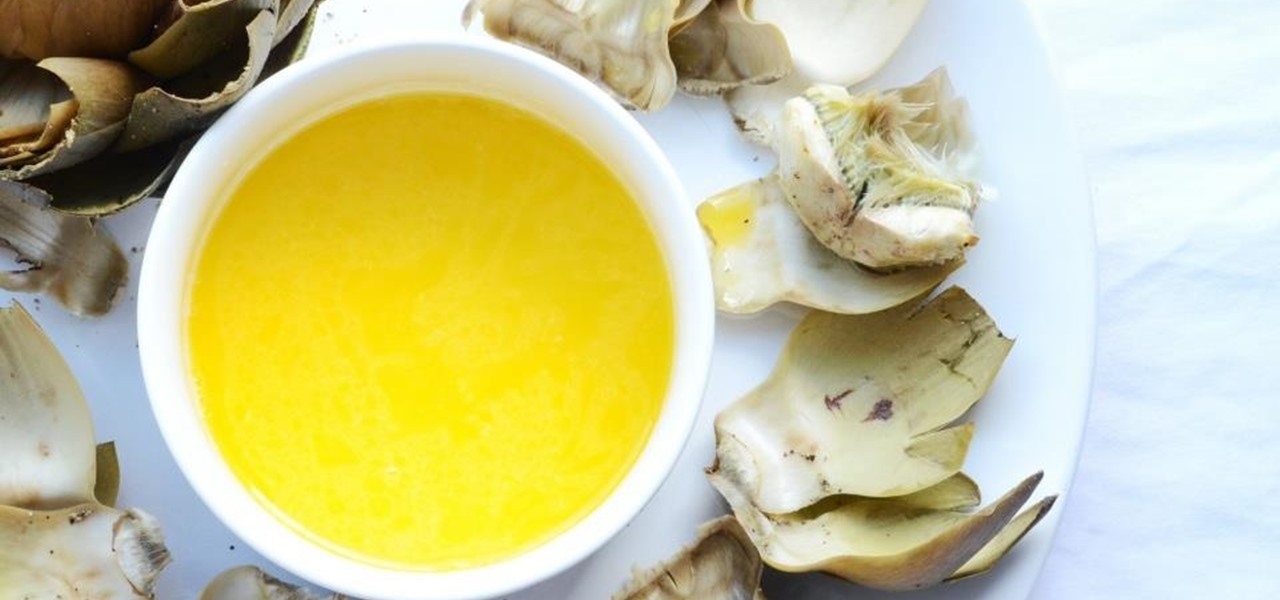
This is a video tutorial telling you how to prepare artichokes italian-style. The first step is to add olive oil and onion to your pan. Then add four cloves of garlic. Next you will need to stir the ingredients together. Then you can add your mushrooms to your pan. Saute them together and let them cook down for a few minutes. Add prosciutto and parsley to a bowl and then add a bit of salt and pepper. Next pull out your artichokes. Cut the top off and trim the base. Cut the tops of every leaf....

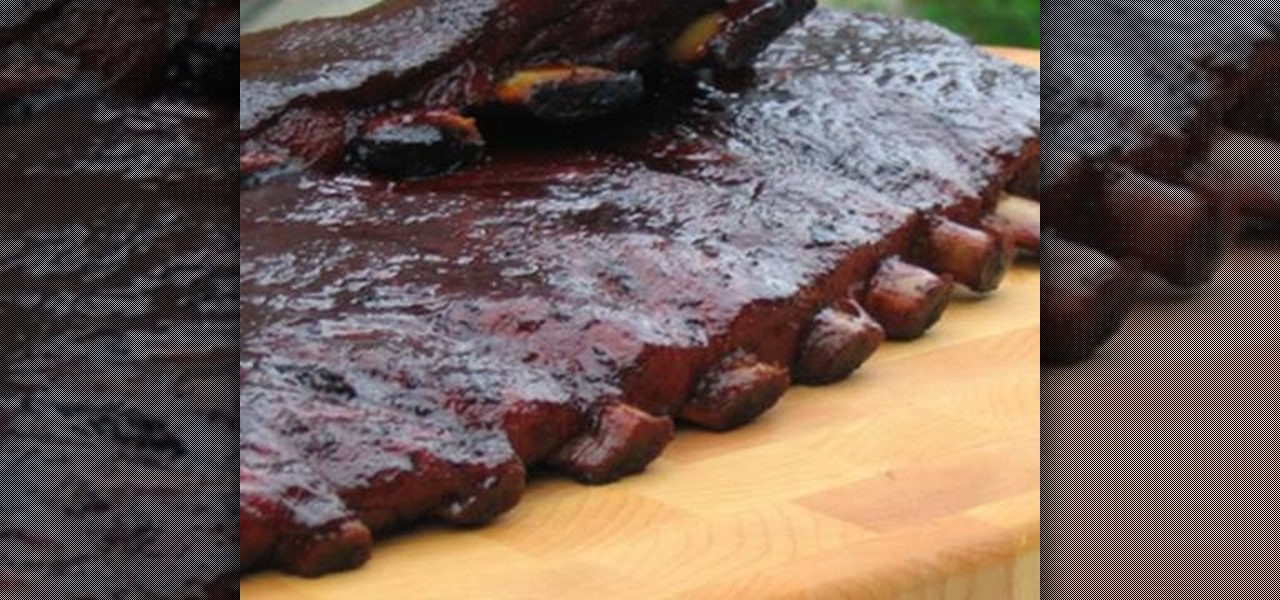
Babbabooey begins his master piece by introducing the ingredients that are required to make St.Louis style BBQ ribs. He starts with two packages of ribs that contain 6 ribs in each package. He then goes on to describe the special BBQ sauce he uses, and includes the ingredients used to make that sauce. Utensils are needed such as a machete, and two types of probe thermometers. After chopping an onion he mixes it with the BBQ sauce and pours the mixture into a small bread tin.
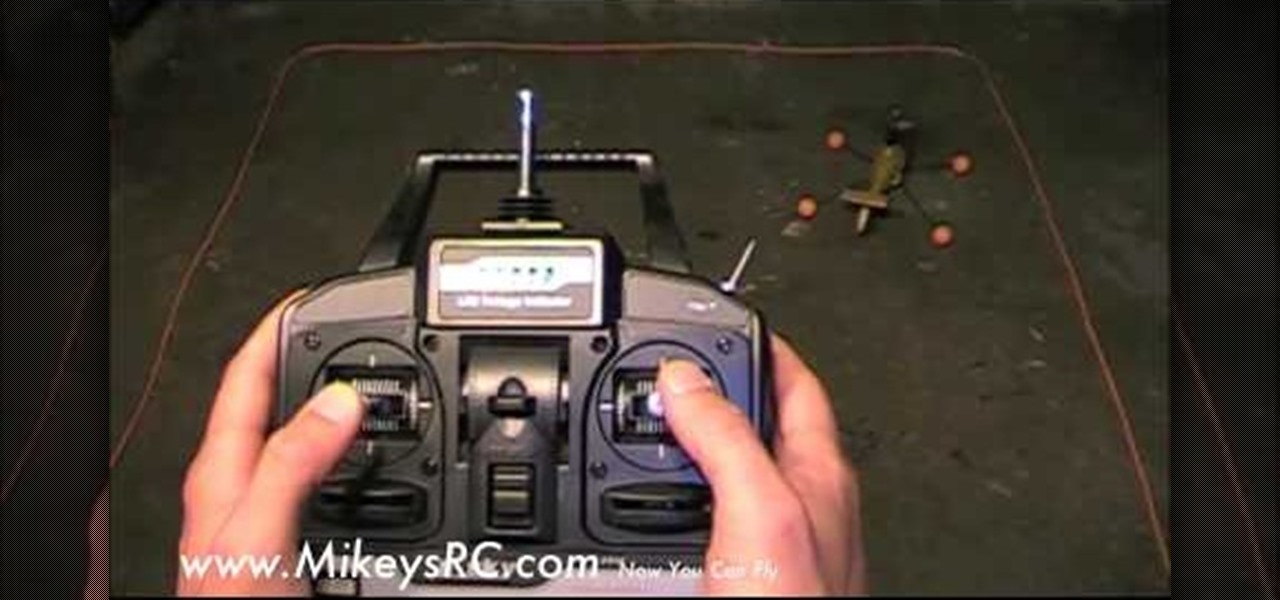
Mikey shows you how to use the cyclic controls on a 6-channel helicopter radio controller. Cyclic controls move a helicopter forwards and back, as well as side-to-side. If you're comfortable with using the rudder controls, you're ready to move on to the cyclic control, usually found opposite of the rudder controls on the radio controller. The control is easiest to use while the helicopter is in the regular orientation, with the tail pointed towards you. Mikey also demonstrates how to use the ...
This video is a demonstration on how to make a festive and colorful birthday cake. The frosting on the cake is made of rolled fondant, which comes in bright colors already made. Roll the fondant about 1/8" thick. The cake should have a thin layer of buttercream frosting on it. Lay the fondant over the cake and mold the fondant over it with your hands, trimming the extra off the bottom. Fondant can also be used for decorations on the cake. They cut out squares of fondant to make birthday prese...
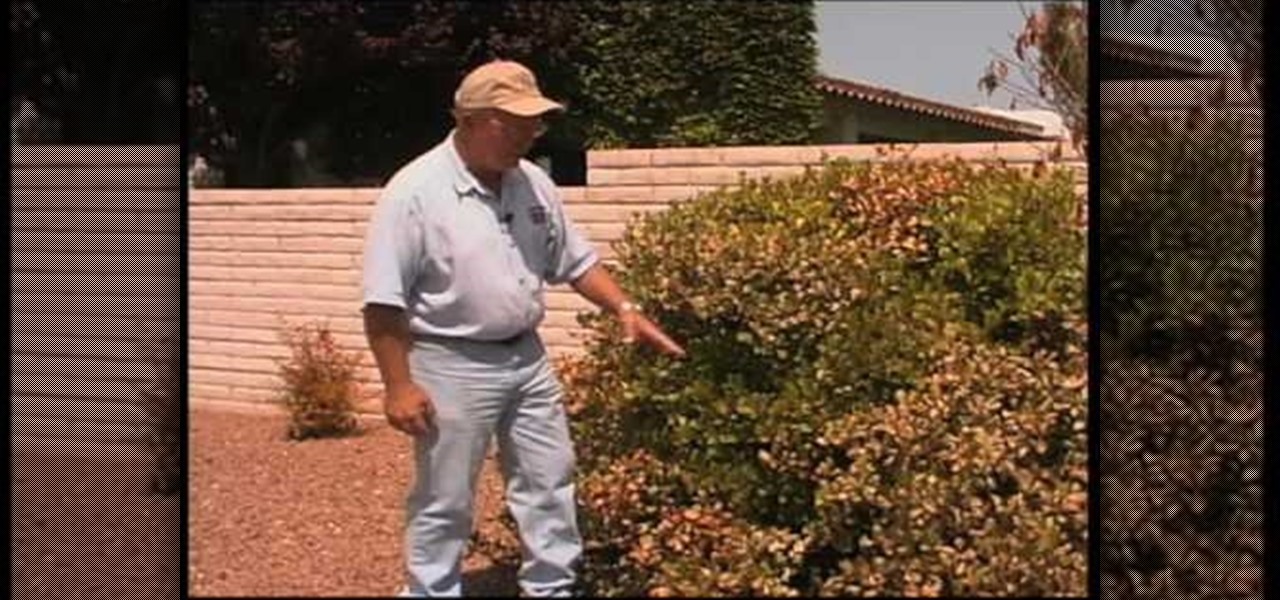
In this how-to video, you will learn how to indicate if tree damage has occurred due to a natural gas leak. In this example, a Mexican Elder tree has been damaged by the gas leak. You can tell by the brown leaves. The plastic around the soil has trapped the gas in the soil, cutting off the oxygen from the tree. The Indian Hawthorne in this example has also been damaged. There is some foliage burn on the leaves. The bush will have to be trimmed back in order to save it. There are several plant...
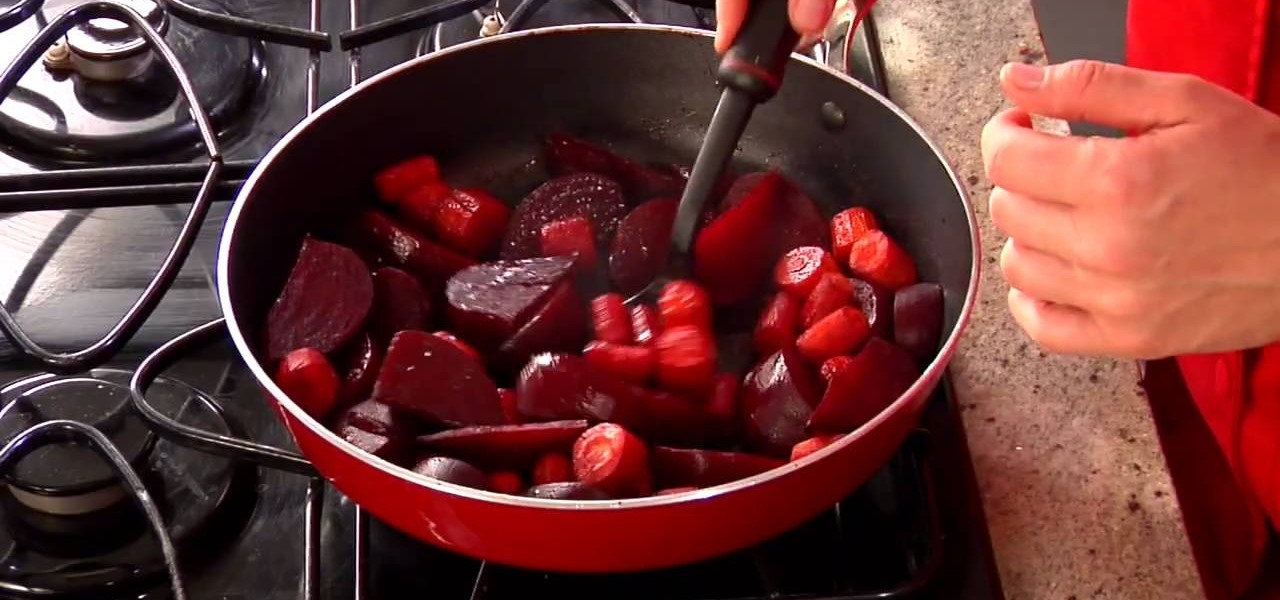
Here is a healthy and flavorful recipe for roasted vegetables that is perfect to make while your preparing your main course because this dish goes with just about anything. This video goes through how to prepare beets, carrots and make a balsamic vinegar and honey glaze to create this colorful side dish.
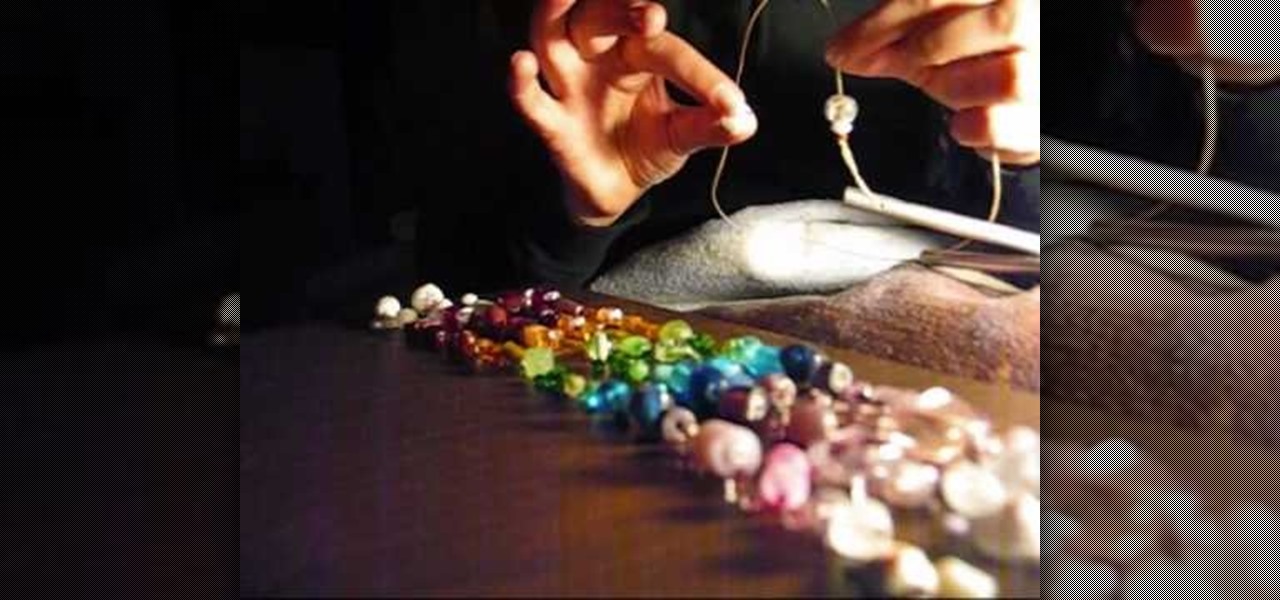
Do you have a bunch of flawed beads left over after you make your crafts? You know the ones, the chipped, cracked, sharp ones that don't make the cut and usually get tossed in the garbage? Why not make those into something lovely, where the cracks don't matter? In this two part tutorial, learn how to turn your discarded beads into a beautifully shiny wind chime for your backyard. This chime is unique and makes a lovely noise in the wind. Let's get crafting!
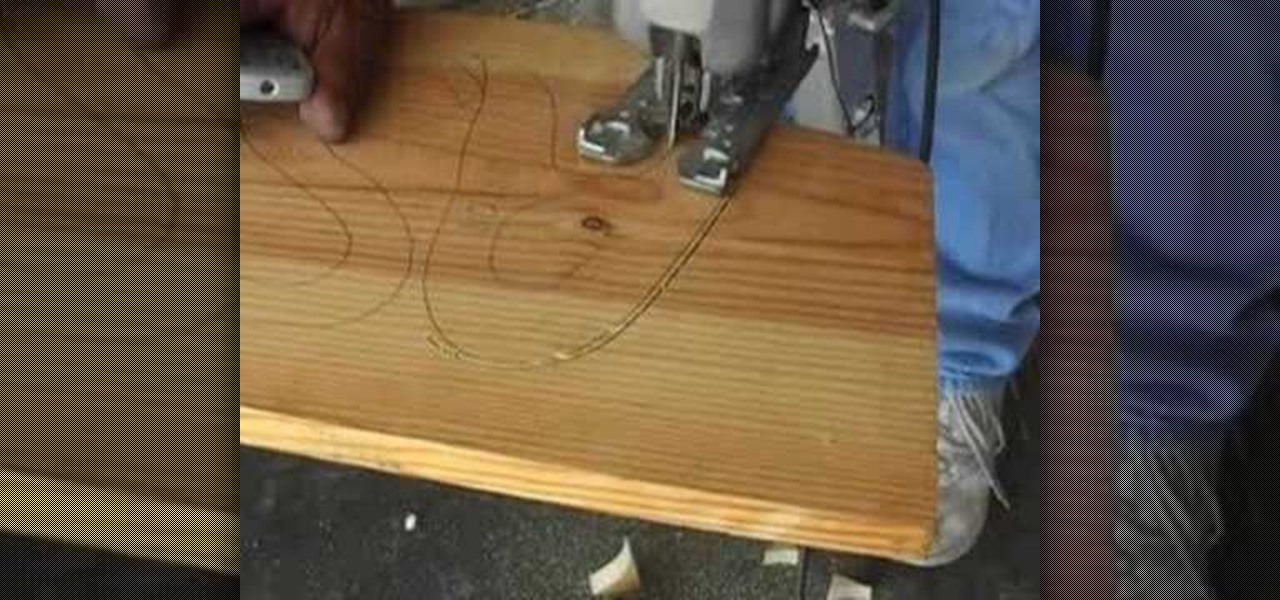
In this video presenter Dominic shows you how to use a Jig Saw correctly. Dominic suggests that if you are going to make a tight turn then you should use a skinnier blade in order to avoid banging up the wood or breaking the jig saw blade. He adds that you should be patient and try not to go too fast. With the jig saw you first have to drill a hole in the wood and then put the jig saw through as the blade is flexible and cannot be pushed through by itself. He suggests trimming off the first p...
This tutorial describes how to make a Hershey Kiss holder. This is a quick and easy project that you can make to use as little gifts in your kids' lunches, for co-workers, party favors, place-holders at holiday meals and more.
Chris from Backyard Gardening shows us how to build a raised island garden bed with retaining wall bricks.
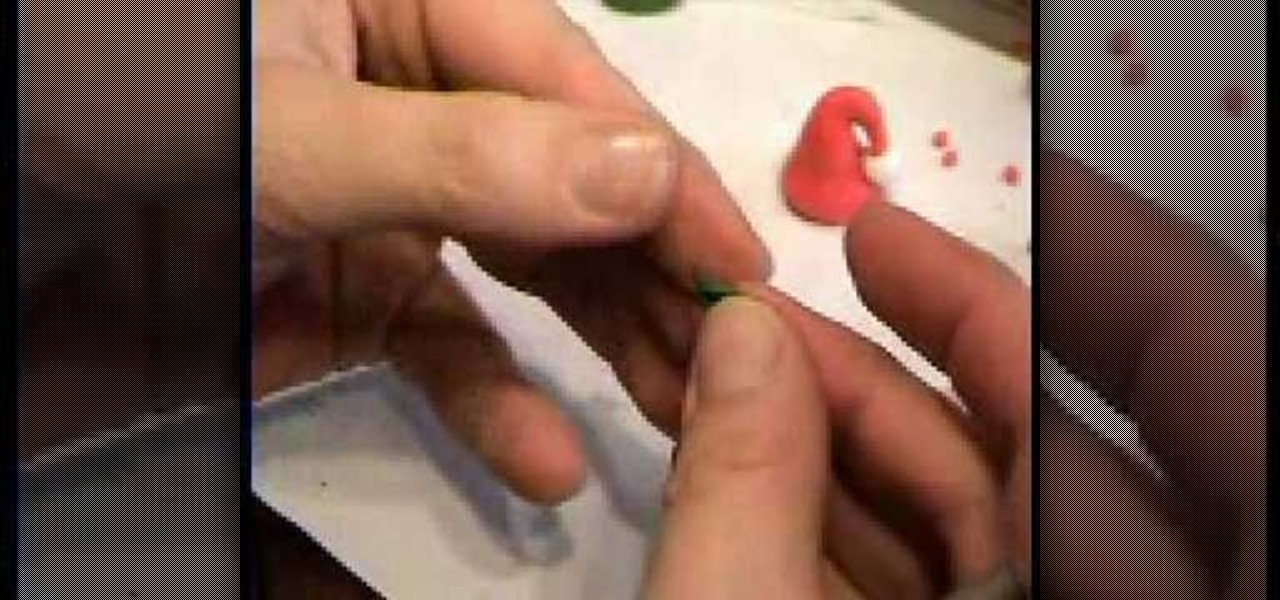
To make a Santa hat bead, begin with red clay and condition it by kneading it with your fingertips. Form the clay into a thick worm shape, with it being the thickest at one end then tapering off. Use your fingertip to make a shallow indentation on the thicker end, and remove any excess clay from the thinner end (total length should only be an inch or two). Curve the thin end over slightly to create a hook shape at the top of the hat. Take a small ball of white clay and make a small hole in it...
Looking to recreate the Brown Hotel's signature open-face turkey & bacon sandwich in your home kitchen? If so, you're very much in luck:
Demonstrator Andy Hirsch offers a tutorial on how to perfectly bind a book using two different methods. The first method is with binding clips the second with a binding jig. You will need and cutting mat, X-acto knife, paint brush, ruler, binder clips and binding glue. Use use 8 1/2" X 11" paper folded in half for the book pages and 11"x 17" page for the cover. In the 'Binder Clip Method', you make all the pages and cover flush and use the binder clips to keep everything together. Ad glue to ...
This do it yourself centerpiece is brought to you by A-Bnc parties and more. This starts of by making the bow, shown by painting a dowel and letting it dry. Then glue the 'frogs' at the ends of the dowel and glue fishing line to both frogs and trim to fit. Next take a polystyrene cut out of a violin and seal it. This helps paint stick to the surface of the cut out. The violin is painted brown to replicate an actual violin. Using black paint you detail the 'f' holes and allow to dry before pro...
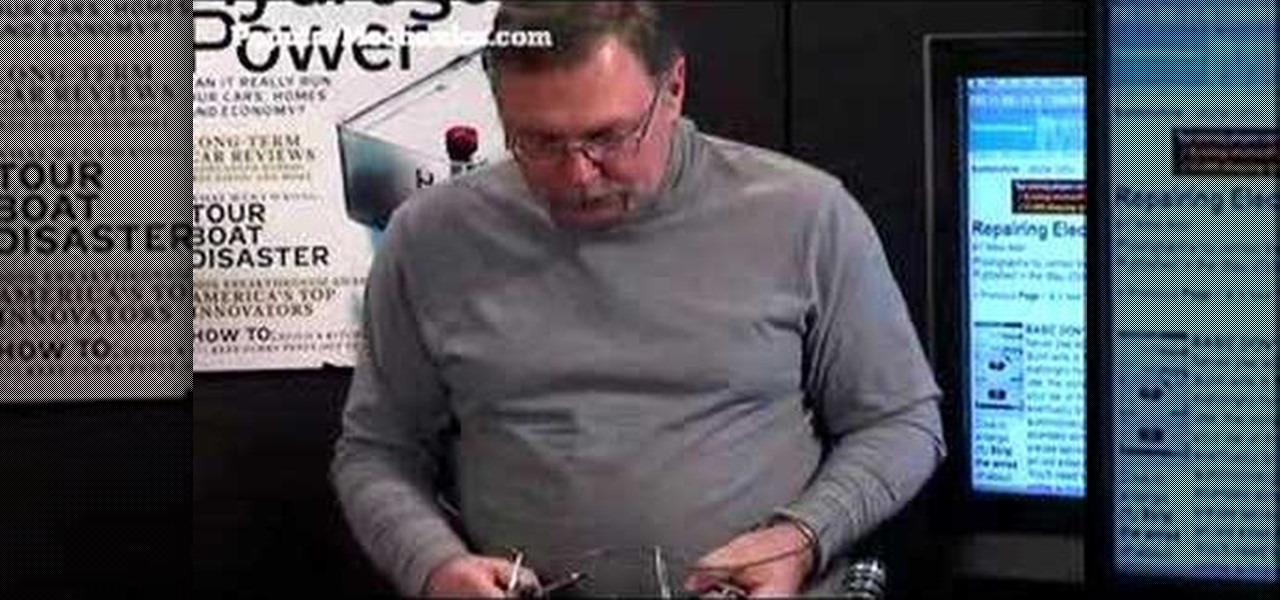
This video describes how to solder a wire. The first thing you have to remember is that the wires should be cleaned, shiny, and bright. Then trim about 1/2-inch of the insulation of the wires and then make a secure mechanical connection. Next, put some soldering pencil clean and shiny 60/40 rosin core solder. Do not use 50/50 core solder. Start by making sure that the soldering iron is tint. Put the soldering iron underneath the joint. Heat tends to rise and then touch the solder to the joint...
1. First moisturize the face. 2. Trim and cover the brows, to conceal the eyebrows. 3. Apply foundation, use Studio fix powder set foundation. 4. Use Contour with TANTON blush and the 242 on the sides of nose and the eye brows. Blend using the 217 5. Use random Lise Watier Brush for the cheeks. And blended base contour with the 217. 6. Use CARBON+ANGLE BRUSH to mark the eyebrows. 7. Use CARBON+217 to get dark contoured lids and use 282+CARBON harshly lining and winging out to enhance the eyes...
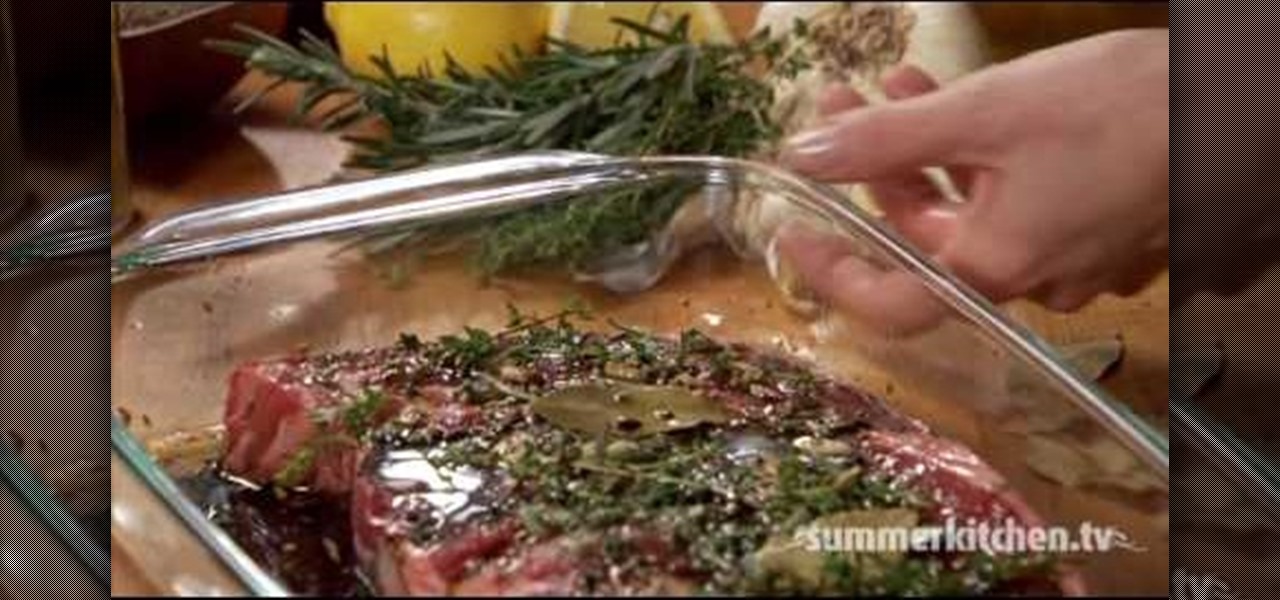
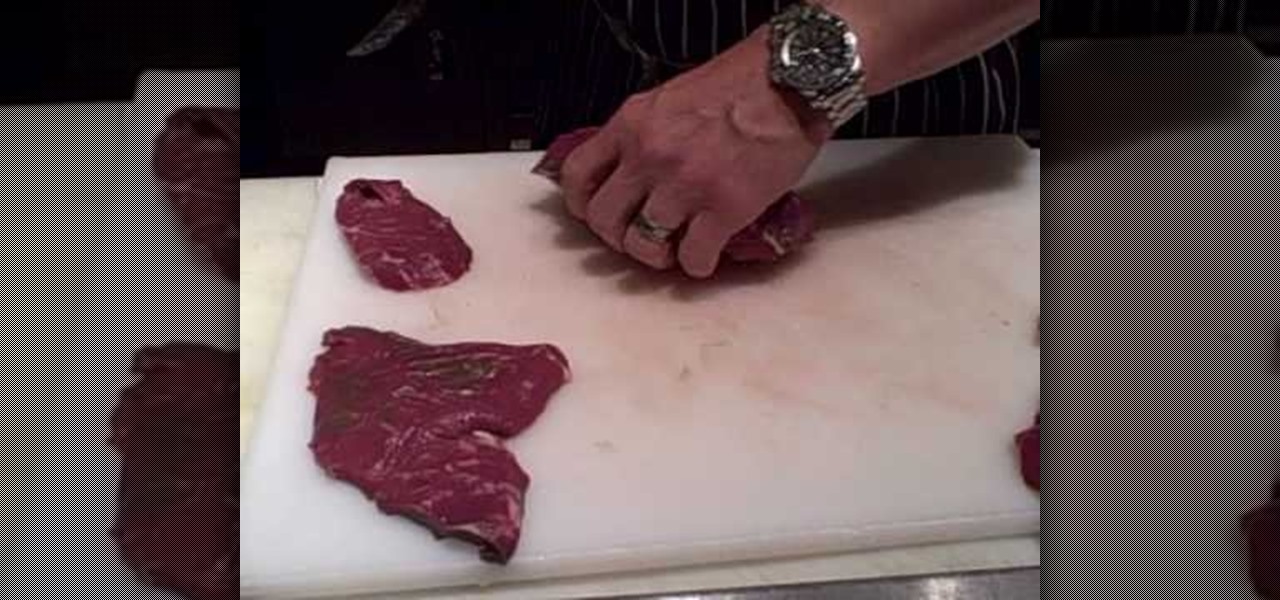
Summer Kitchen shows us different ways and options in preparing steaks for grilling. Basics on preparing steak for grilling: Let steak sit at room temperature for at least 30 minutes before grilling to allow for even cooking. Trim excess fat from the steak. Brush the steak with oil and season with kosher or sea salt and ground pepper. For even more flavor, you can also make rubs, glazes or marinades and use them on your steaks before grilling. For a sample rub mixture, you will need: chili po...
To fill a gouge on a table edge you start by using auto body filler. Auto body filler is a two part substance. The catalyst is red and the resin is grey. When they are properly mixed it will be a uniform pink color. To keep the substance from spilling out of the damaged area put a piece of tape on the side of the table. Take some filler and force it down into the cavity formed by the tape along the side of the table. Let it dry for 3-4 minutes. Take the tape off and use a knife to trim off th...
This video demonstrates how to make a holiday punch needle ornament. First choose an ornament design and fit cross stitch fabric to a small embroidery hoop. There are designs on the CyberSeams website that can be traced onto the fabric. Put the fabric with the traced design into the embroidery hoop, thread the needle, dial it to "2", and begin punching the needle through the fabric to make the design. You can choose embellishments that can be sewed or glued on. When the design is finished, re...
Scott Cutaneo reveals how to make a flaky pie crust.
First trim the pork ribs. Then remove the rib membrane so that you get a softer rib. Now we are ready to go. Use some all purpose rub and apply that all over the rib. Apply this on from and back.
What's a national holiday without a sheet cake featuring Old Glory? Luckily, it's simple to make….And delicious too!
K'NEX is one of the most popular construction toys on the market, right next to Lincoln Logs and LEGOs, but what makes K'NEX stand out is the fact that children can build mechanically derived toys. Instead of blocks or little logs, kids use interconnecting plastic rods and connectors, which give them tons of contraptions to build and play with. Today, K NEX has even more possibilities with wheels, pulleys, panels and flexi-rods to make amusement park roller coasters, airplanes, animals, bikes...
Watch this instructional video series to begin making several variations of finger loop braids. Finger loop braids are braids woven using loops of string on your fingers. Finger loop braiding reached a high point in Medieval Europe and England between 1200 and 1600 CE. Finger loop braids have a multitude of uses. They can fasten objects together, lace bodices, trim sleeves, close purses and hold wax seals to parchment. Modern uses include drawstrings for pants, hair ties, shoelaces, and frien...
Watch this visual demonstration on how to fold the paper airplane Nakamura. The Nakamura is a awesome plane. Do not squeeze the nakamura's keel together like you are throwing a paper dart or airplane. This nakamura does not have a trajectory. It follows a distinct and flowing flight path. With the nakamura at rest, and the keel in its natural 'V' shape, is the shape it must be flown in. Do not throw the nakamura. Gently push it on its way and if it is trimmed properly, it will find its glide ...
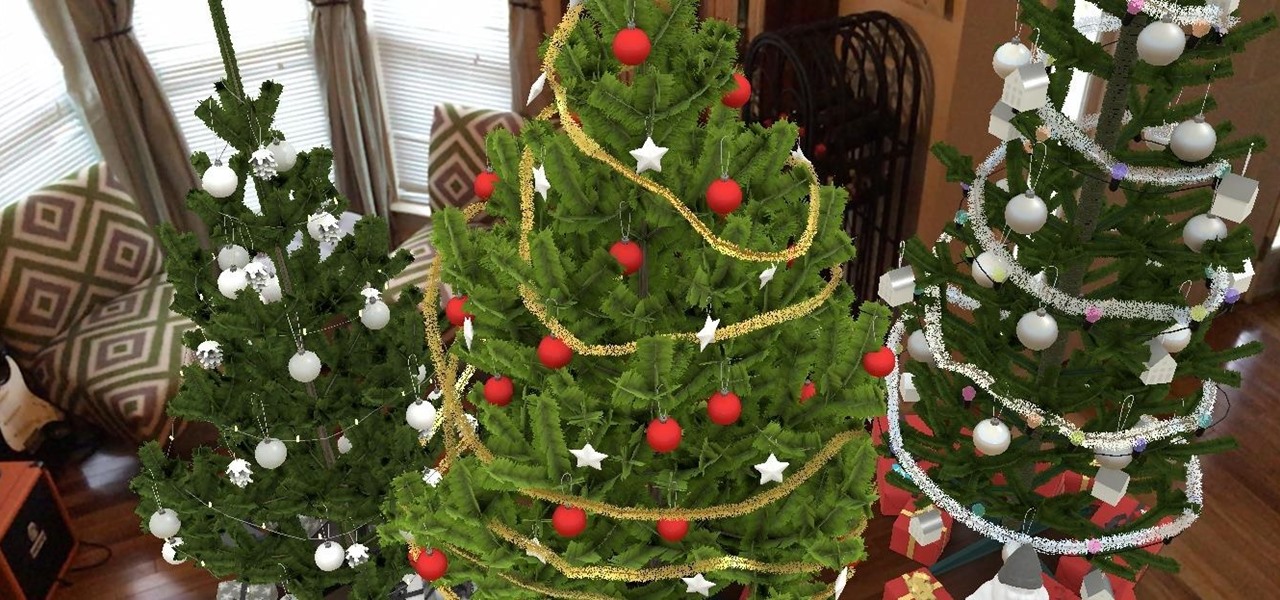
They say if you don't believe, you don't receive. Therefore, I'll choose to believe that this holiday season, Santa's elves have learned how to code in Unity and leverage ARKit to deliver these jolly AR apps for helping children of all ages virtually decorate their homes.
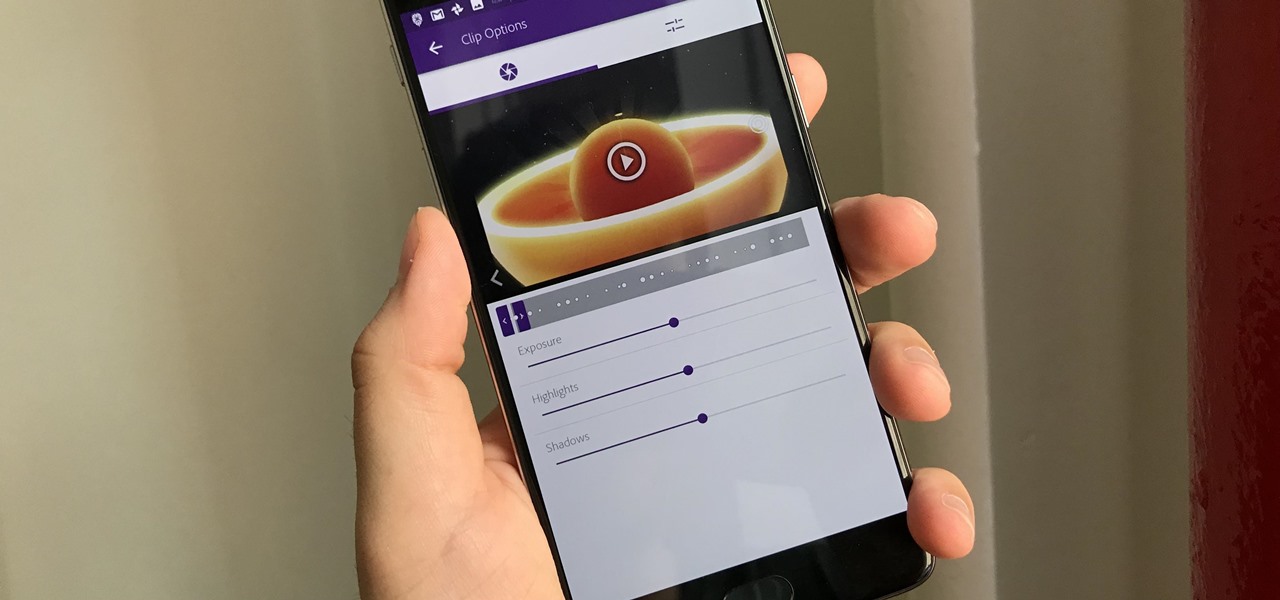
Adobe Premiere Clip gives mobile video editors the tools they need to make some great looking projects from their iPhone or Android device. Editors need ways to organize and trim clips, edit the look of those clips, add music, and more. For a smartphone app, Adobe Premiere Clip has these features in spades.
A perfectly-roasted artichoke is a thing of beauty, but not everyone has the time (or patience) to deal with the extra fuss. So if you want an artichoke and you want it now, look no further than your ever-convenient microwave, which lets you steam one in only 10 minutes—no steamer basket necessary.
In order to make a Pork Pie/Buster Keaton Hat, you will need the following: a felt hat, water, scissors, and a ribbon.
In order to make a piecrust from scratch, you will need the following ingredients: flour, cold butter, cold water, salt, sugar, and a pie plate.
Apple pie is the classic dessert enjoyed anytime, breakfast, lunch or dinner! And granny smith apples make the best filling. This golden, crisp apple pie is delicious with cinnamon, whipped cream or à la mode. Watch the full video recipe for baking apple pie with Chef Hubert Keller.
Drawing Japanese schoolgirls is one of the staples of manga-style art. Here, the drawing instructors at Drawing Now demonstrate how to draw Konata, one such character from teh manga series Lucky Star. Here are step-by-step instructions from the artist:
This video tutorial from burnworld shows how to use Wondershare DVD ripper on Mac computer. To start, open the application. Click Load DVD. Browse for DVD you want to rip.
This tutorial guides you through the process of making a mennorade star with origami. It begins with a square of paper that is folded in half and then folded from the corners to make guides on the paper. The paper is then cut in half to make two rectangles. Each rectangle is then folded and trimmed to form a 'Z' shape. It is necessary to complete these steps for ten more pieces of paper. The next step is to take to of the 'Z' shapes, perhaps of complimentary colours, and link them together so...
Dede demonstrates a traditional Mediterranean dish known as Malfouf, or Stuffed Cabbage. In addition to cabbage, the recipe calls for white long grain rice, ground beef, minced garlic, tomato sauce, butter, lemon juice, salt and black pepper.