Removing/adjusting any odd shape in Photoshop is a pain in the ass. But it probably doesn't get more complicated than cutting out hair. Whether you need to trim a bit off that fro or just want to fix your hairstyle, check out this Photoshop tutorial to learn how to cut your hair using layer styles.
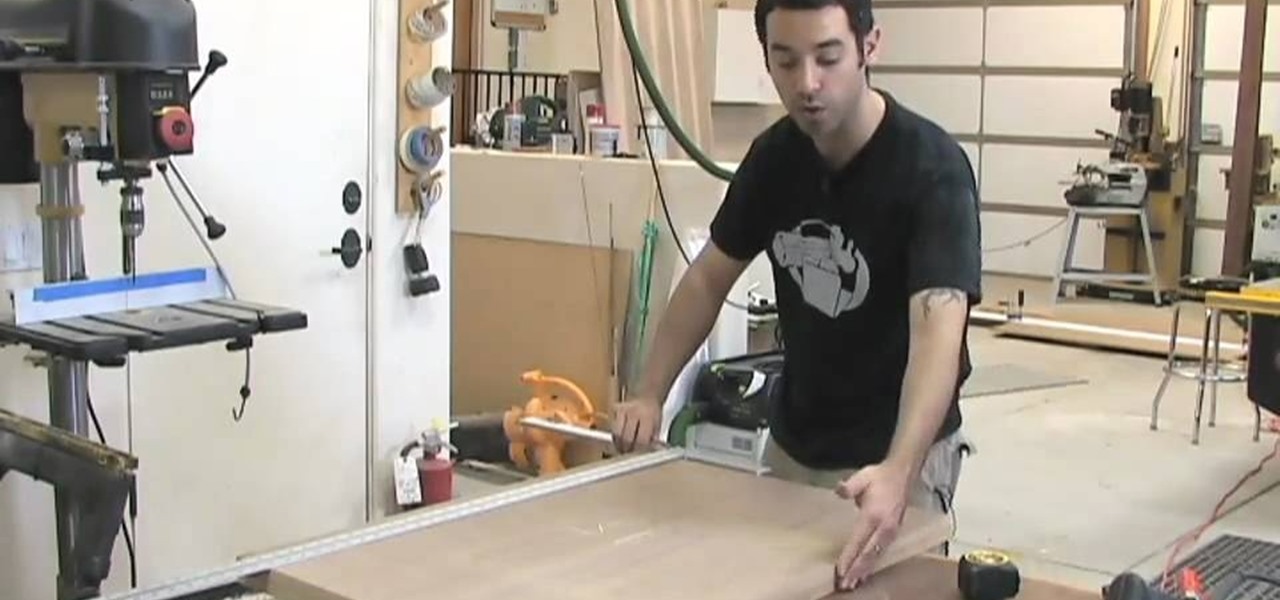
The Wood Whisperer thinks you have what it takes to build furniture. Be sure to watch this entire 5-part tutorial to learn how to build a low entertainment center that is attractive and pocketbook-friendly. Impress your friends with your expert woodworking skills.
Check out this informative video tutorial from Apple on how to trim edits between video clips in iMovie '09.

Right out of the box, iPhone is incredibly easy to use. If you want to get the most out of every feature, you’ve come to the right place. This video tutorial straight from Apple will teach you how to shoot and share video on the Apple iPhone 3G. The iPhone redefines what a mobile phone can do.
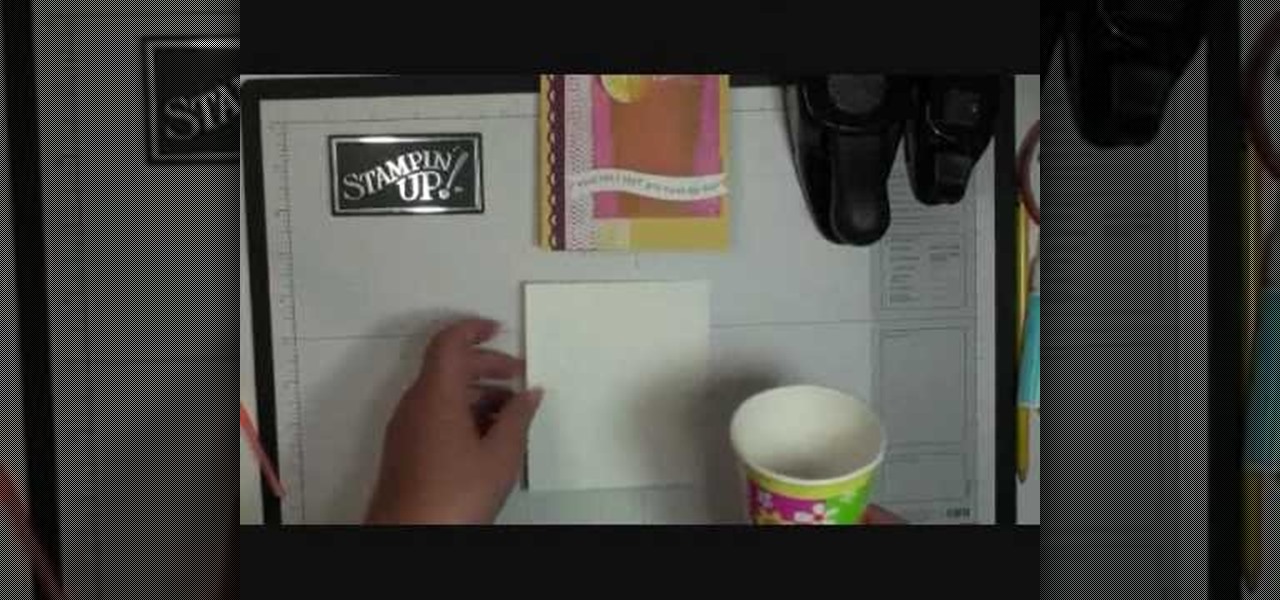
Dawn Griffith creates a cute card with a 3D lemonade glass embellishment from start to finish. Create a template by making a rough sketch of an 8 ounce paper cup onto a piece of white cardstock and cut it out. Take the template and either trace it onto a piece of vellum cardstock and cut it out, or use Dotto adhesive to attach the template directly to the vellum and then cut around the shape. Score each side at about 1/4", fold on the score lines and trim the overlap at the top. Apply sticky ...
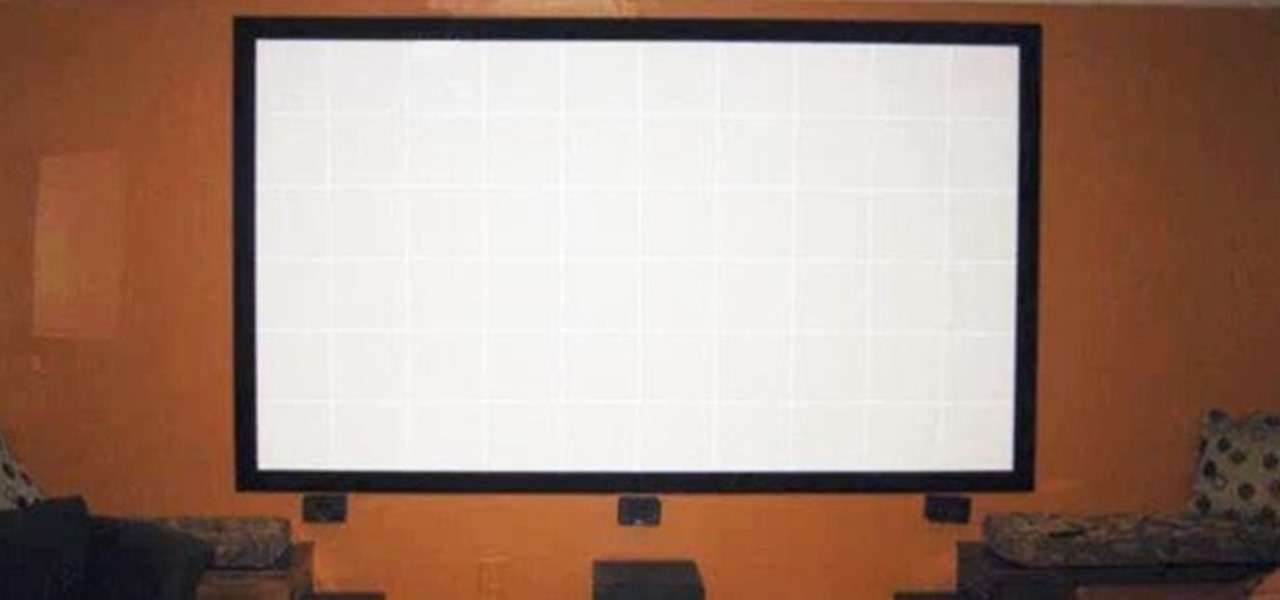
A few weeks ago, we saw a simple 128 inch DIY Projector Screen that looked like a pro built it—and it only cost $200. But this one is even cheaper, and looks just as good. It's also simpler because it's painted right onto the wall. In the video below, How To Lou shows us how to make it with just some white or silverscreen paint, a few pieces of casement molding, and some black velvet for the trim.

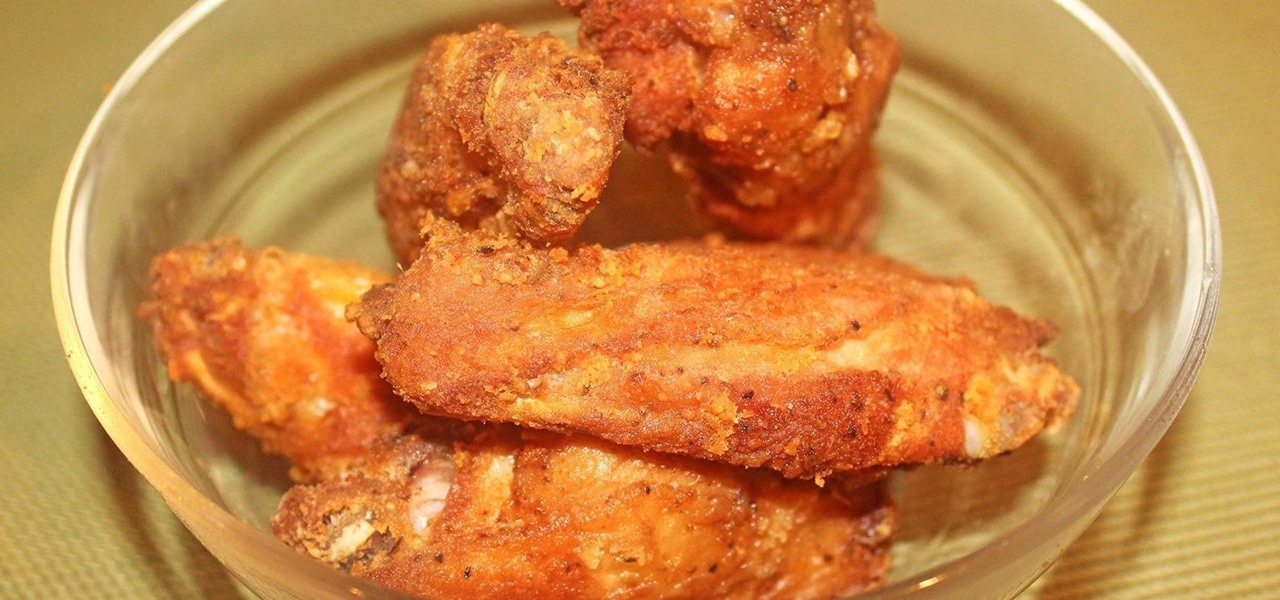
Be it happy hour, a Super Bowl party, or just a gathering of friends, buffalo wings are a universal favorite. Since they're usually prepared for large groups, there is always a mix of both those that aren't counting their calories and others who are.
Getting a Rapunzel-like mane takes time, but you can speed things up with these valuable tips. You Will Need
You may know how to cut and sand plywood, but bending it is a totally different skill set you need to master, but this woodworking how-to will show you the right moves in seven easy steps. In the video, a bend is being applied to plywood for a curved chair leg, but this method could be used for any kind of plywood bends.
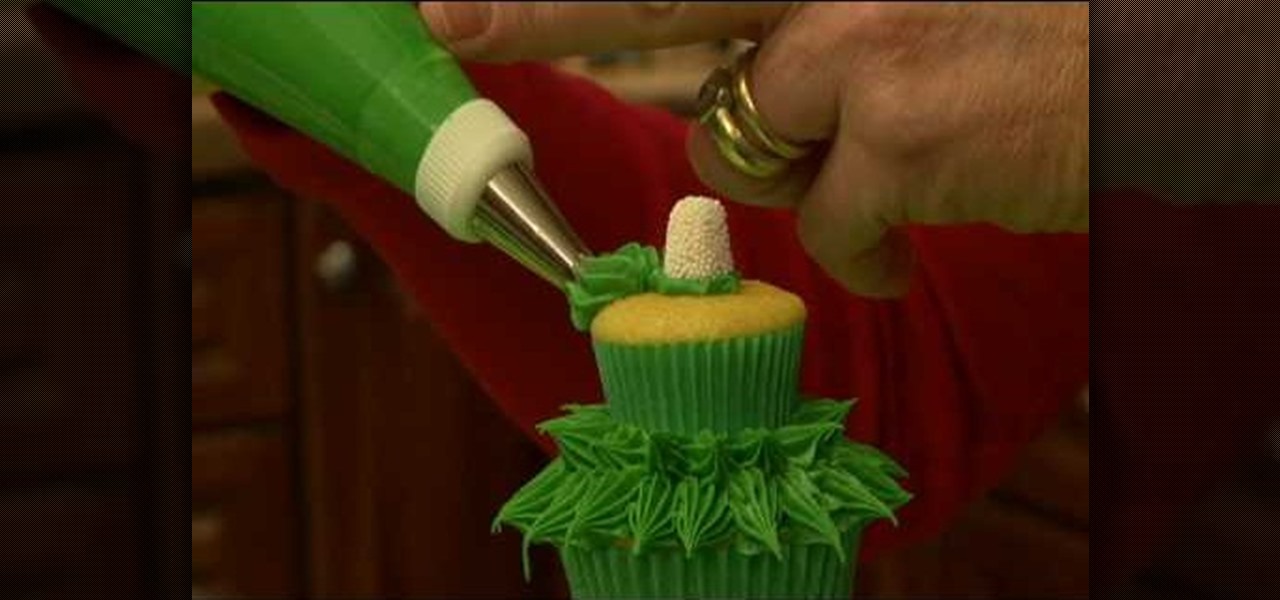
The only thing better than eating a cupcake is eating two cupcakes, and the only thing better than eating two cupcakes is, as it follows, eating three. So imagine the way your kids' faces will light up when you bake them these gigantic Christmas tree cupcakes!
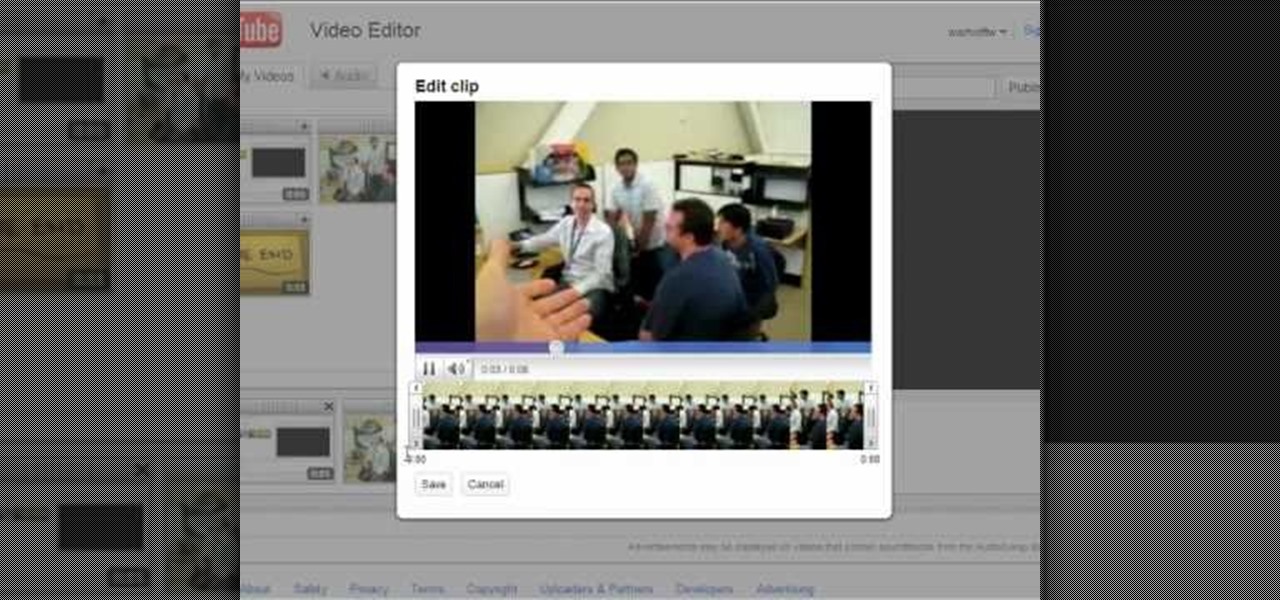
In this tutorial, learn how to use YouTube's new video editor to combine, slice, edit and add effects to your YouTube clips. You can add music, create montages, cut pieces that you don't want and polish your videos right inside the site. This tutorial, from the experts at YouTube will walk you through everything you need to know.
Need to import your videos into Flash CS3? Look no further, this tutorial is for you. In the following video, learn how to import and compress your video files and convert them to flash video! Matters covered in this tutorial include: Importing flash video, compressing the video using presets, compressing just the video or just the audio, adding cue points and using cue points, and cropping, trimming, and resizing your video. Also learn how to use the basic skins provided by Adobe in Flash to...
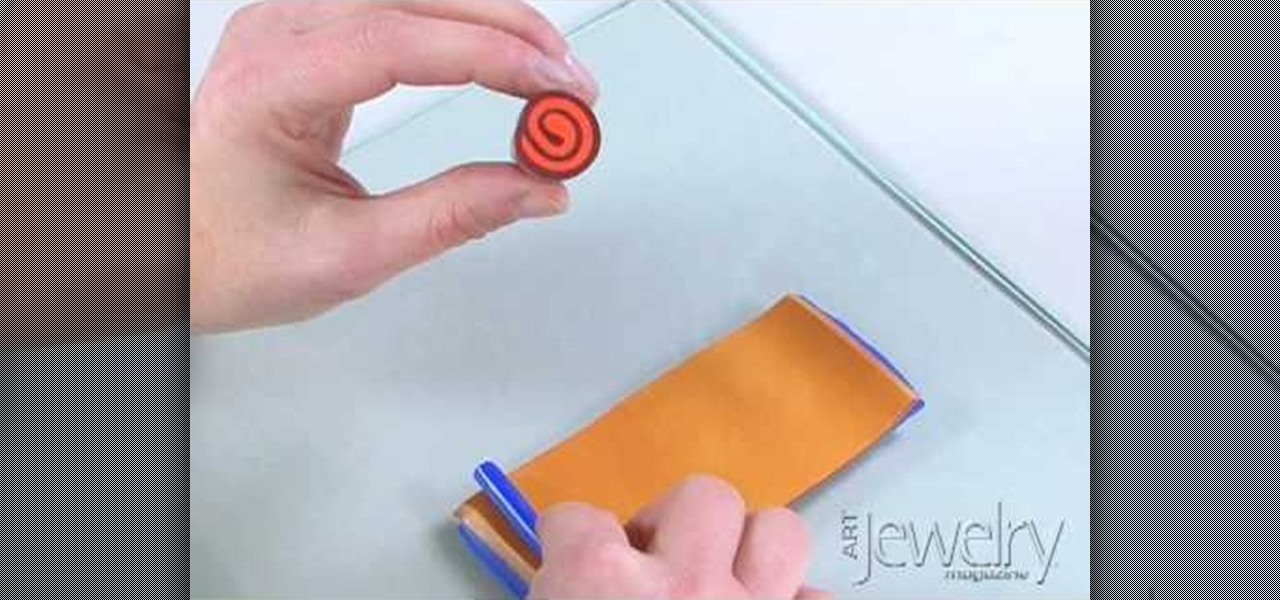
Jill Erickson from Art Jewelry Magazine demonstrates how to make a Jellyroll cane with polymer clay. Condition two different colors of clay by running them through a pasta machine set on medium. Then, trim off any rough edges. Stack the clay on top of each other and place a little bit of pressure on it to confirm the two layers. Using a blade slightly bevel the edges. Slide the blade underneath the two layers of clay for easier handling. Place a think snake of clay in the contrasting color on...
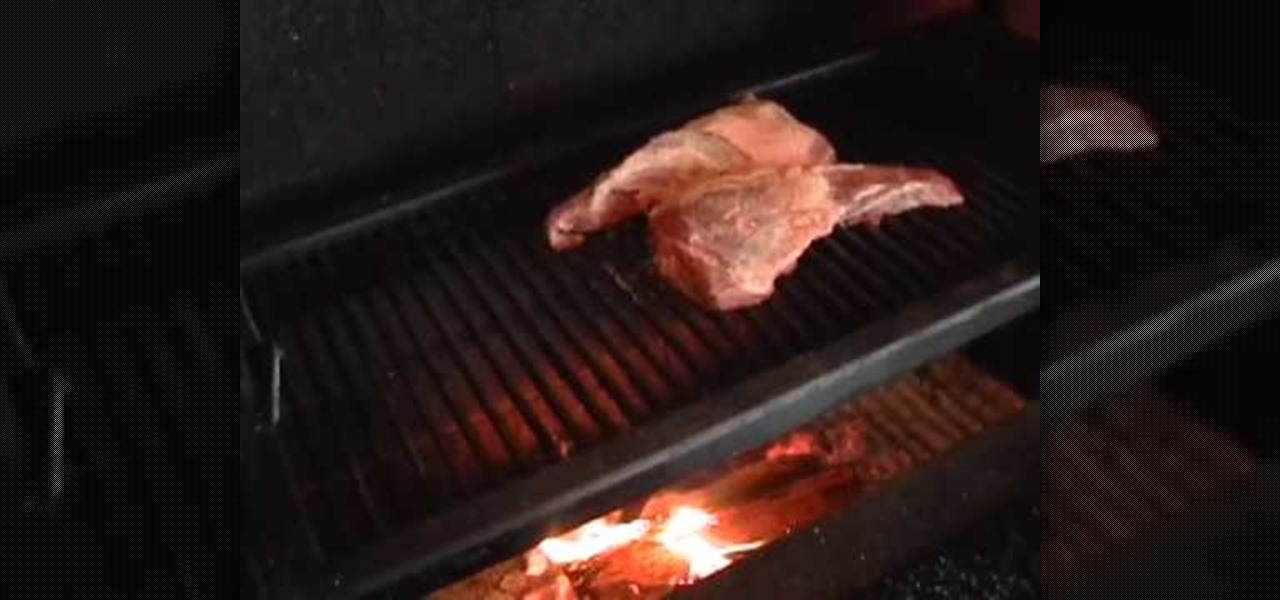
Mr. Paul Righetti teaches us a Santa Maria BBQ tritip lesson. The beauty of Santa Maria Style barbecue is that it delivers big flavors while being relatively easy to prepare. You can even take some flavorful shortcuts with Santa Maria Style Barbecue products by Susie Q,s Brand and Cowboy Flavor, among others. So fire up the grill and let'€™s get started!
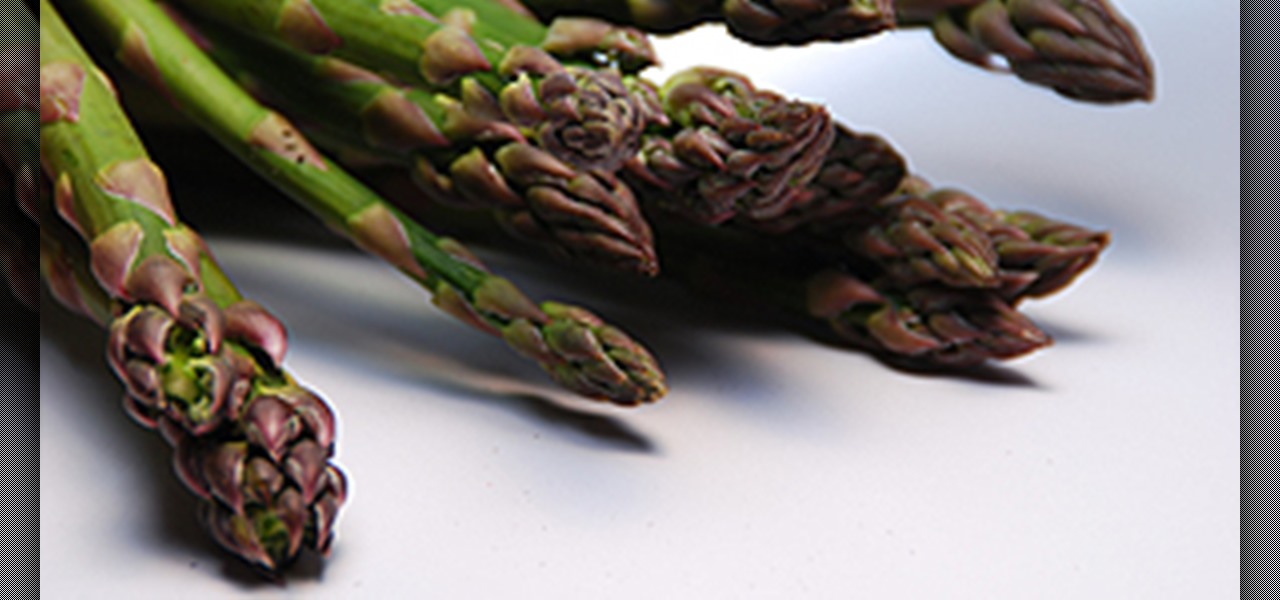
If you're interested in learning how to cook asparagus, check out this video. Asparagus can be quite tasy when cooked right!
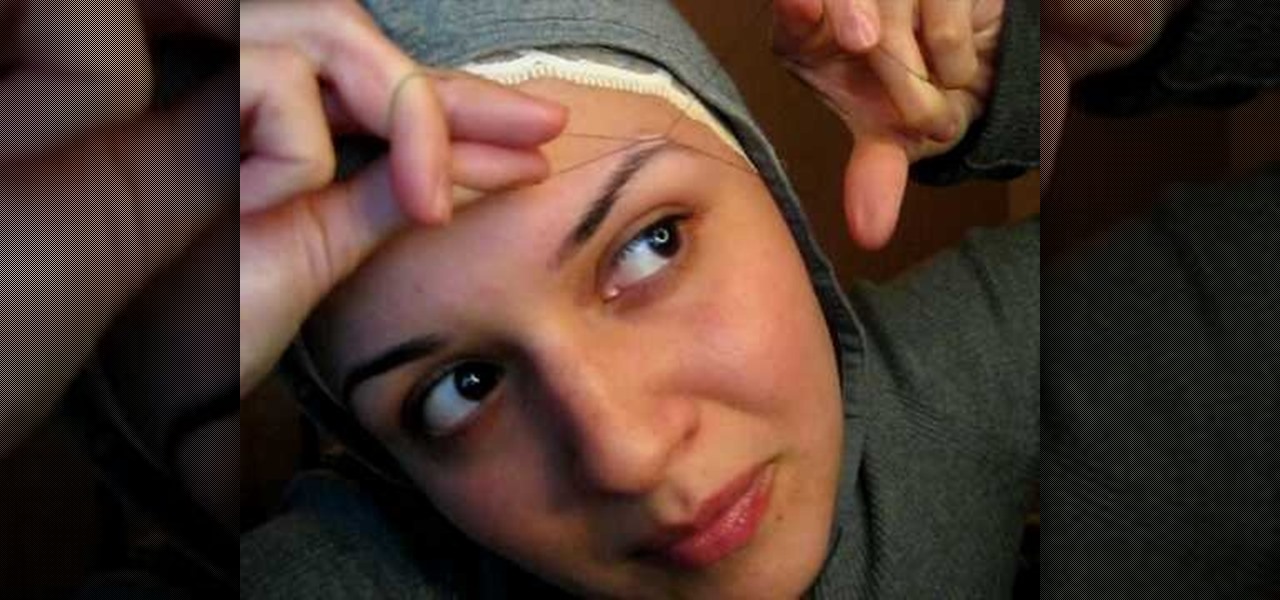
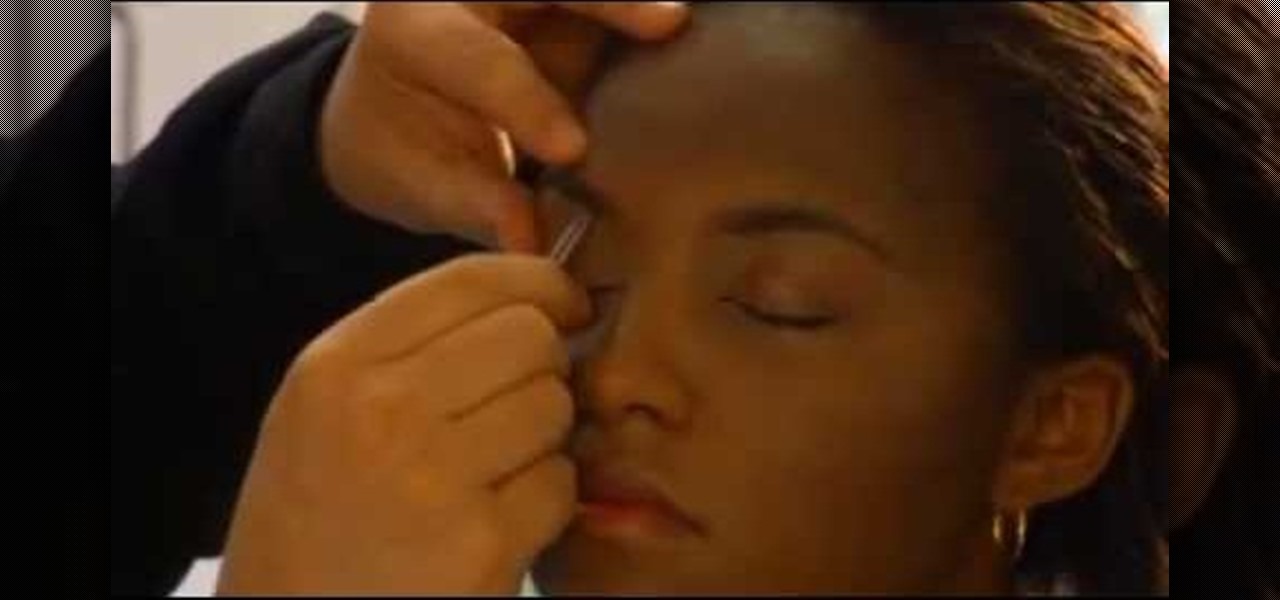
This helpful cosmetics video will teach you how to thread your own eyebrows. If you regularly pluck your eyebrows, this tactic is actually more efficient and the results last longer. You can get you eyebrows professionally threaded or you can shape an style your own eyebrows with this helpful eyebrow trimming technique. All you need is some strong thread and steady hands.
Learn how to use the couching technique to create depth and dimension to your quilts. Add borders and trim to intricate quilted patterns. You'll need a large eye needle and various couching material, such as yarn, ribbon and scraps of fabric. Couching adds texture and finish to quilted fabrics.
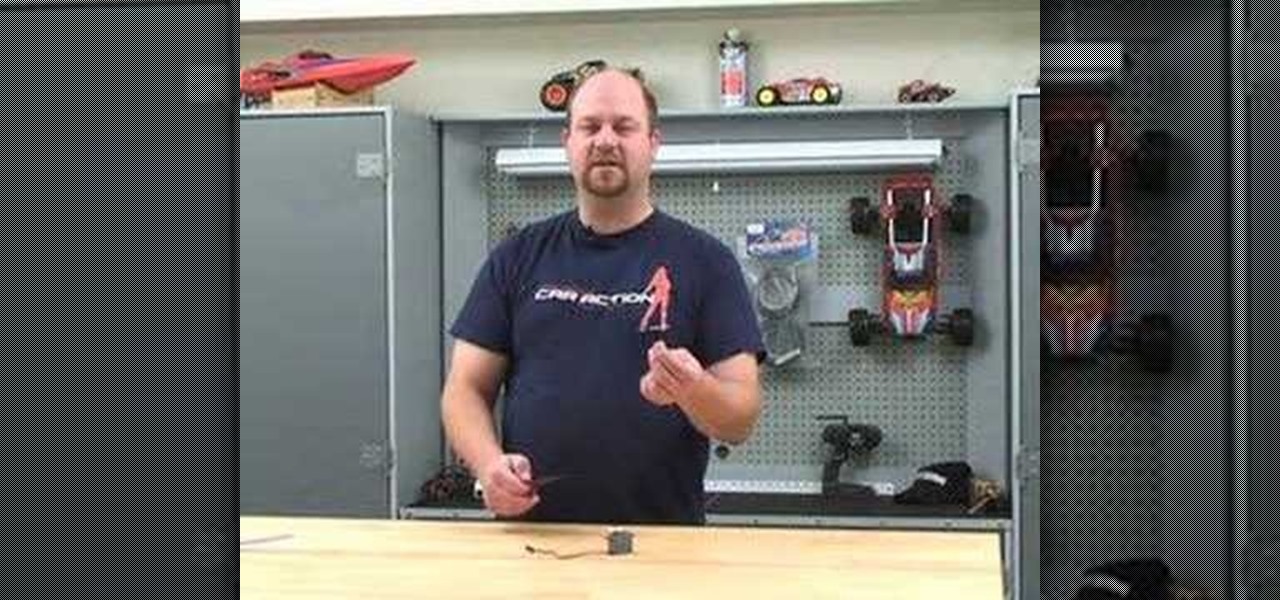
RC Car Action Magazine Editor Kevin Hetmanski shows us how the pros shorten servo leads. Sometimes the servo leads come to long, so trimming them better suits the need. Watch this video tutorial and learn how to shorten servo leads on an RC car.
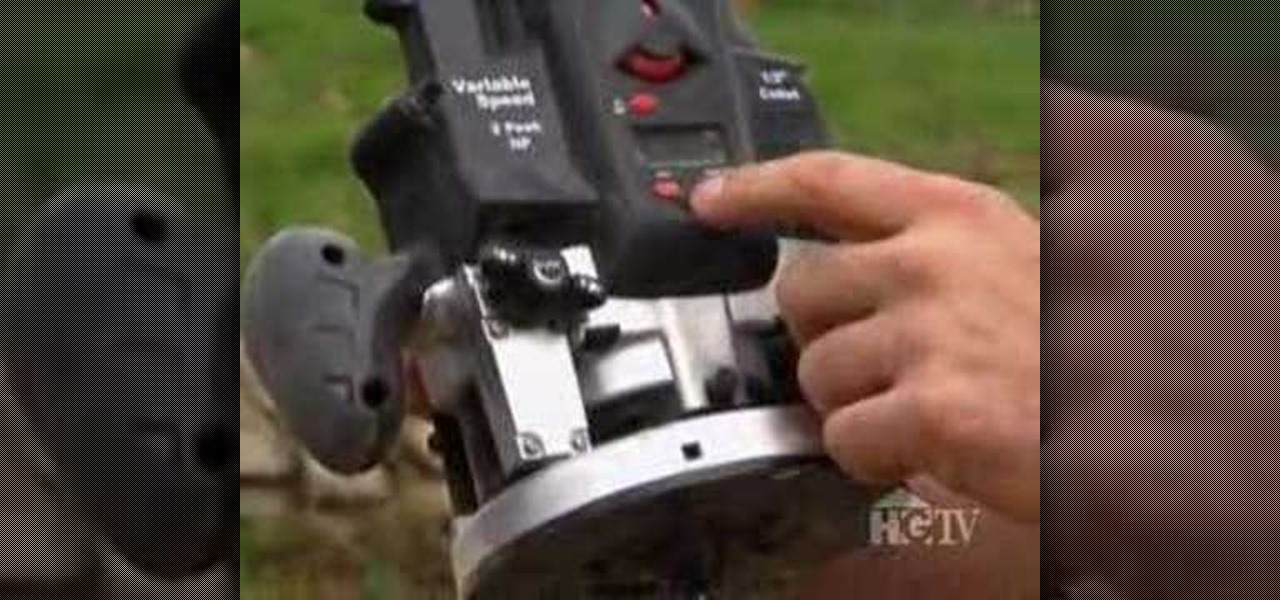
A router makes a great tool to have when working on fine finish work. This Home & Garden how to video demonstrates the proper operation and use of the router for finishing work on cabinets. Remodeling your home doesn't have to be such a daunting task. Create beautifully rounded edges and trims with a router.
This tutorial video will show you how you can use various makeup products to make the MAC eyebrows. With these makeup tips, you can define your eyebrows and have them looking better in no time.
In this video Bob Schmidt shows you some procedures for removing, saving and replacing mouldings on your home remodel projects.
Tim Carter from AsktheBuilder.com shows how to easily cut perfect angles for trim in the corners of your room.
Tim Carter, of Ask the Builder, demonstrates three easy ways to remove nails from pieces of wood, like trim or baseboards, so they can be reused in future home projects.
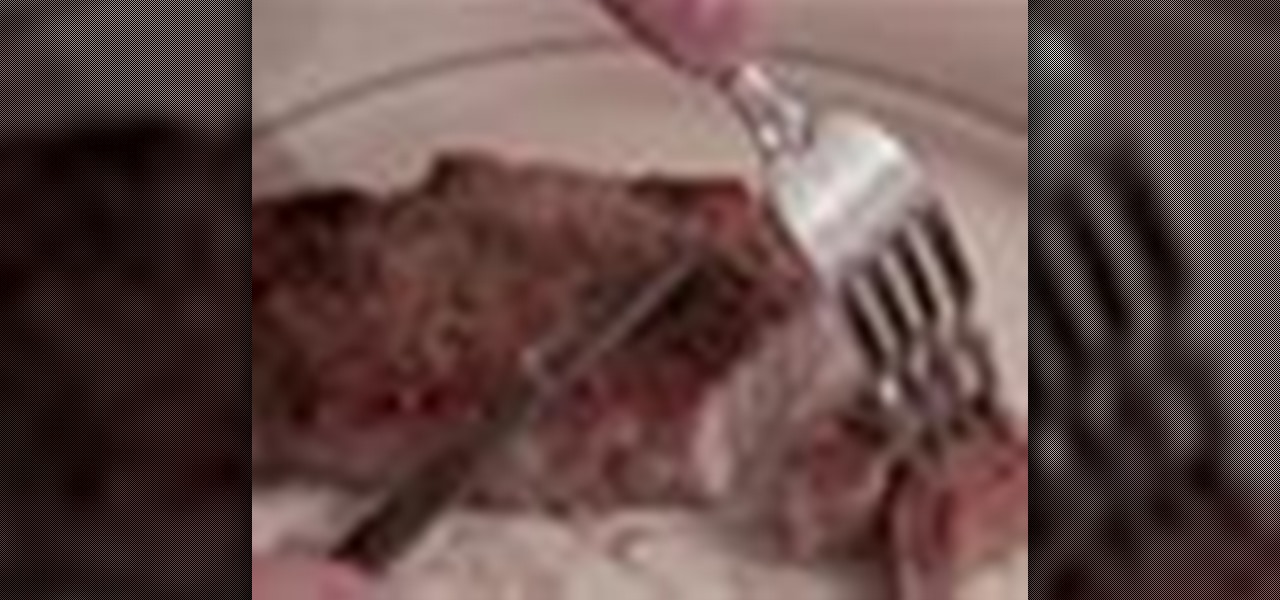
Watch this video to learn how to easily remove the silver skin from a flank steak.
Watch this video to learn how to make perfect Miter cuts when trimming interior doors and windows.
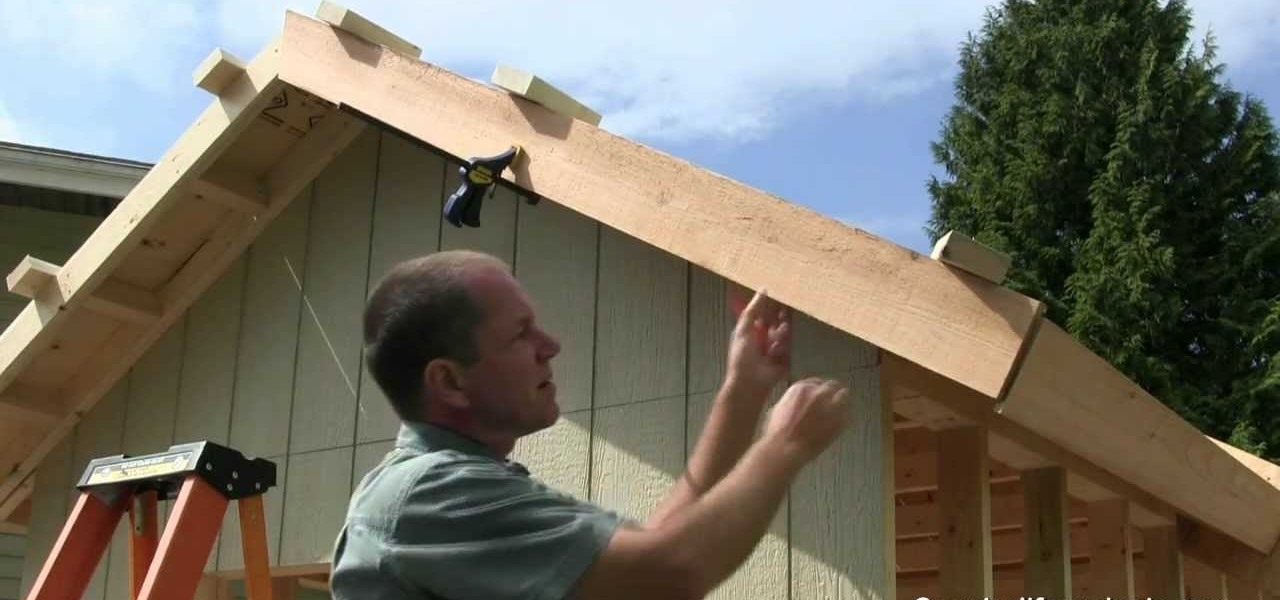
The fascia boards and soffit material installation is very important. This is the finishing part of the shed. Henry shows you how to do this in great detail and get perfect results. In this video he shows you how to use his exclusive jig to make it easy to install long trim without any help!
Depending on where you live, the type of skirting option you choose is important (Skirting is the base trim around the shed). Henry shows you three different ways to do this including the Drip Cap options for wetter climates.
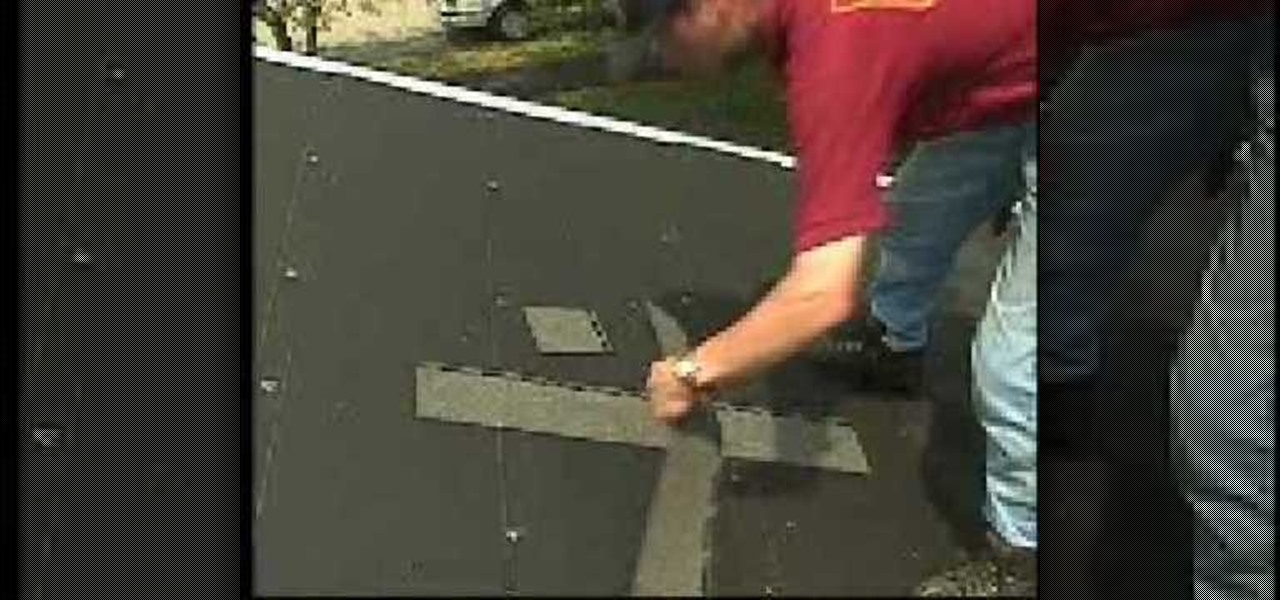
GAF roofing has a four nail pattern. The shingles come in 2 sizes: English and metric. In this video we will be using English sizes. Place the shingles in a row by row pattern. You may move left to right or right to left but never move up the roof. You may have the shingle hanging over the roof by 1/4 in. Install the leak barrier in high wind areas. Place the second shingle next to the first. Five inches of the underlying shingle should be exposed. Use a whole shingle for the first course. Th...
Pineapple and bananas make a great complimentary dish to go along with pork or shrimp or many other items you are cooking. First you want to make a rum glaze. Start by melting down some butter. Add some dark rum, pepper, and some brown sugar to the butter. Then stir it up and set it aside. Take some bananas and cut off both ends of the banana leaving the skin on. Then cut the bananas in half length ways. Put them skin side down on a baking pan. Next take a pineapple and cut the top and bottom...
Well-shaped eyebrows will give you a sharper, sleeker look. Eyebrow guru Ramy Gafni takes us through the nuances of the art of shaping eyebrows.
The USDA recommends that adults eat 2 to 3 cups of vegetables a day. Make it easier to enjoy the taste of fresh garden vegetables year round by freezing them.
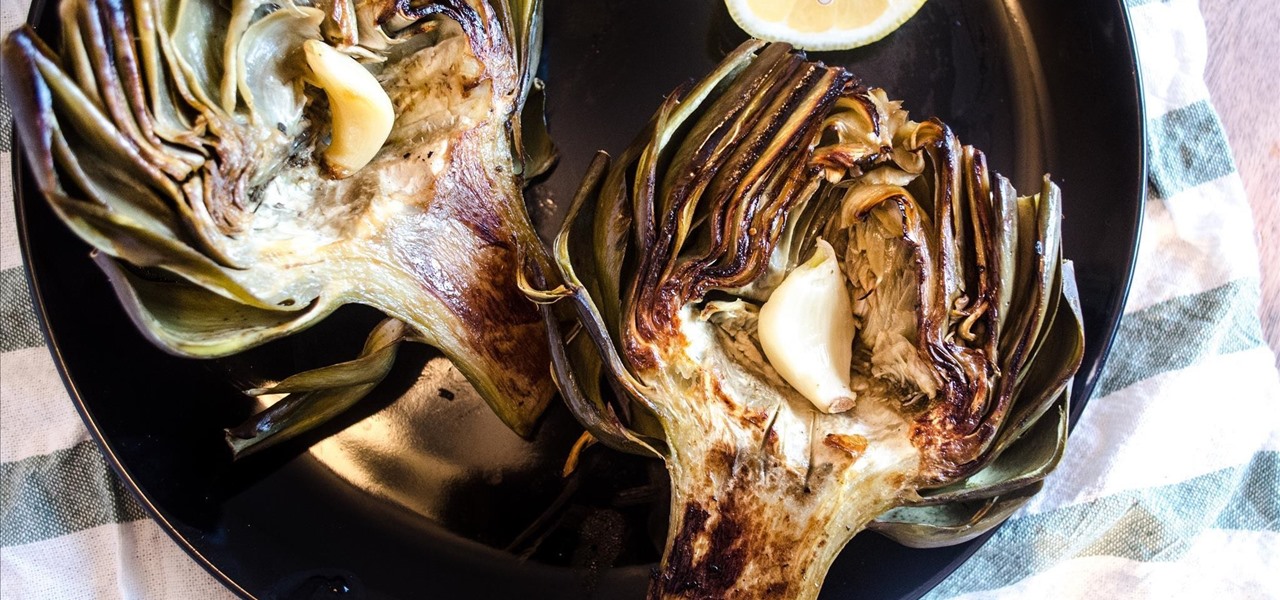
You've probably noticed artichokes at the front and center of your local grocery store or farmer's market recently, as spring is artichoke season; They may look like strange, complicated vegetables if you've never cooked them before.
Celebrate the 4th of July by making holiday earrings. You will need:
Charles M., an attorney and bonsai cultivator, demonstrates how to transfer a field grown Japanese Black Pine that is ready for training. A 5-gallong nursery specimen was purchased and planted in the ground with a bonsai compound soil to keep its roots close and compact during trunk thickening. The tree was allowed to grow for three years, with the main foliage under four feet, but with two “sacrifice” branches allowed to shoot out without trimming. One sacrifice branch at the top of the tree...
In this video, Betty demonstrates how to make tasty pork ribs. Pay special attention to the sauce she makes: that's the best part!
This video shows a demonstration of how to make crepe paper rosettes. The materials used are four strips of paper, two small paper circles, and double sided tape. First put double sided tape on one of the circles and trim the edges. Put a corner of one strip of paper onto the sticky edge of the circle. Fold and crease the paper as you go around paper circle, forming fan-like folds in the crepe paper. Put a tiny piece of double sided tape to hold the end. Trim the edges with scissor to make a ...
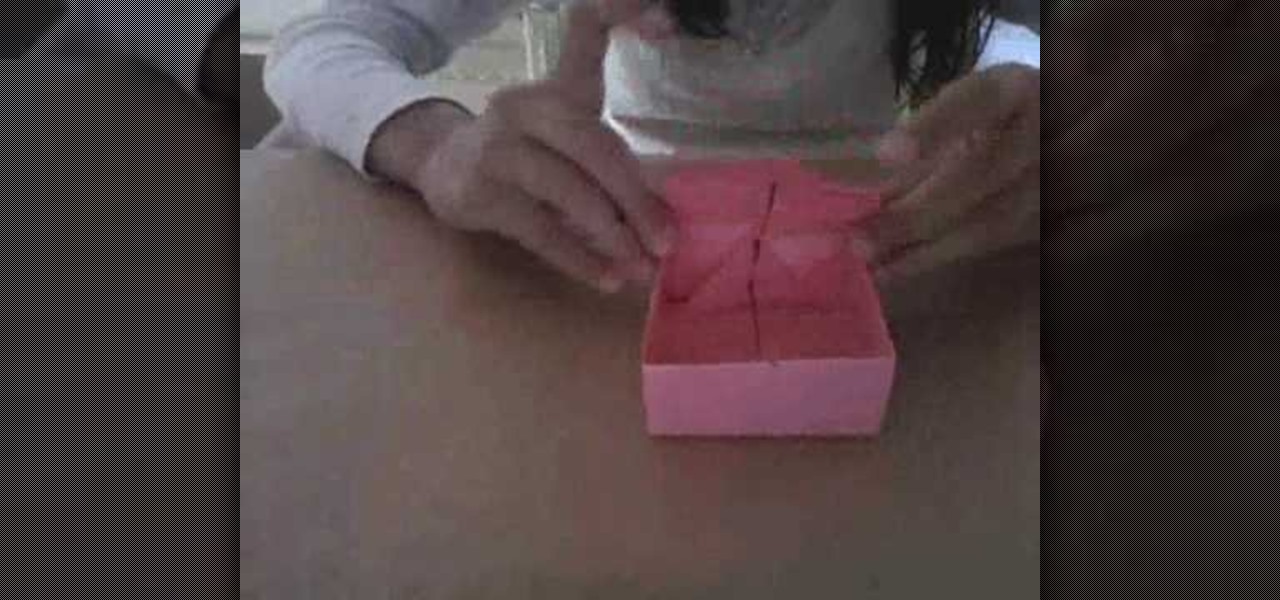
Learn how to make a paper gift box by following the steps in this video tutorial. The first series of steps shows you how to make the lid. Take an 11" by 8.5" piece of paper. You can use whatever color you want. Fold one corner toward the opposite end creating a triangular shape. Trim the remaining rectangular shape. Unfold the piece of paper and create another fold in the opposite direction. Take a marker to mark the center and bring all four corner to that dot. You will create an additional...
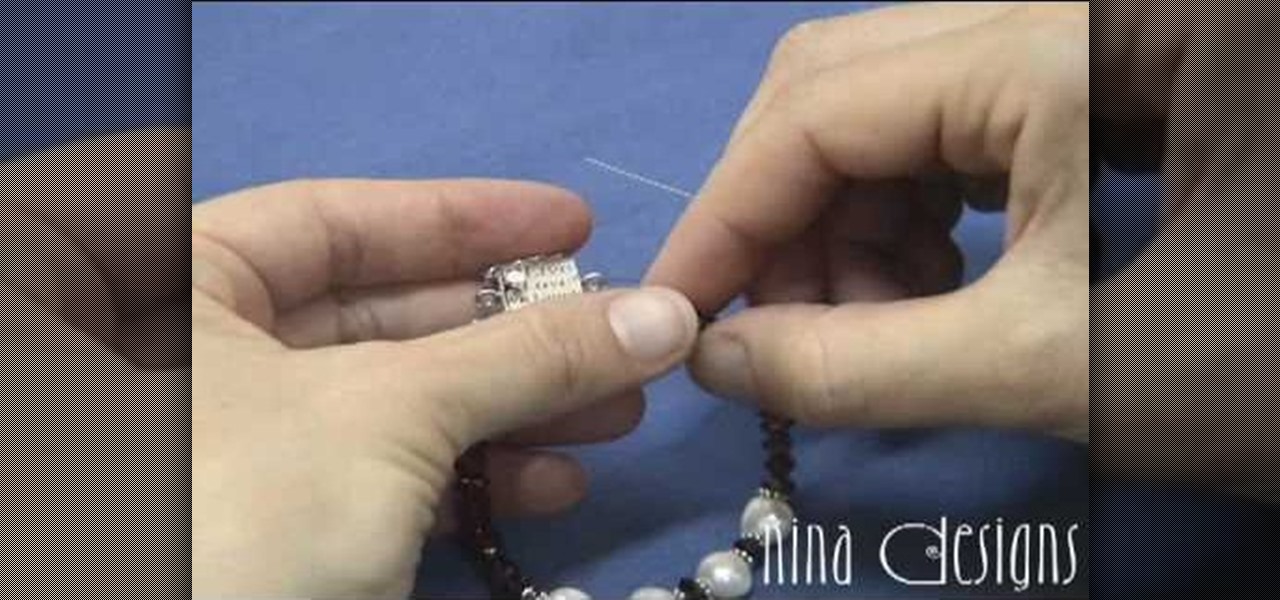
Learn how to finish a bracelet with crimps and covers to finish a bracelet start by putting a crimp bead over your beading wire and then add a clasp. After putting the clasp on the wire run the beading wire back through the crimp. Move the crimp bead up toward the clasp leaving a little room for play in between the clasp and crimp bead. Take your crimping pliers and put the crimp bead in the backspace of the pliers. Squeeze the pliers firmly to smash down the crimp bead. The crimping pliers w...
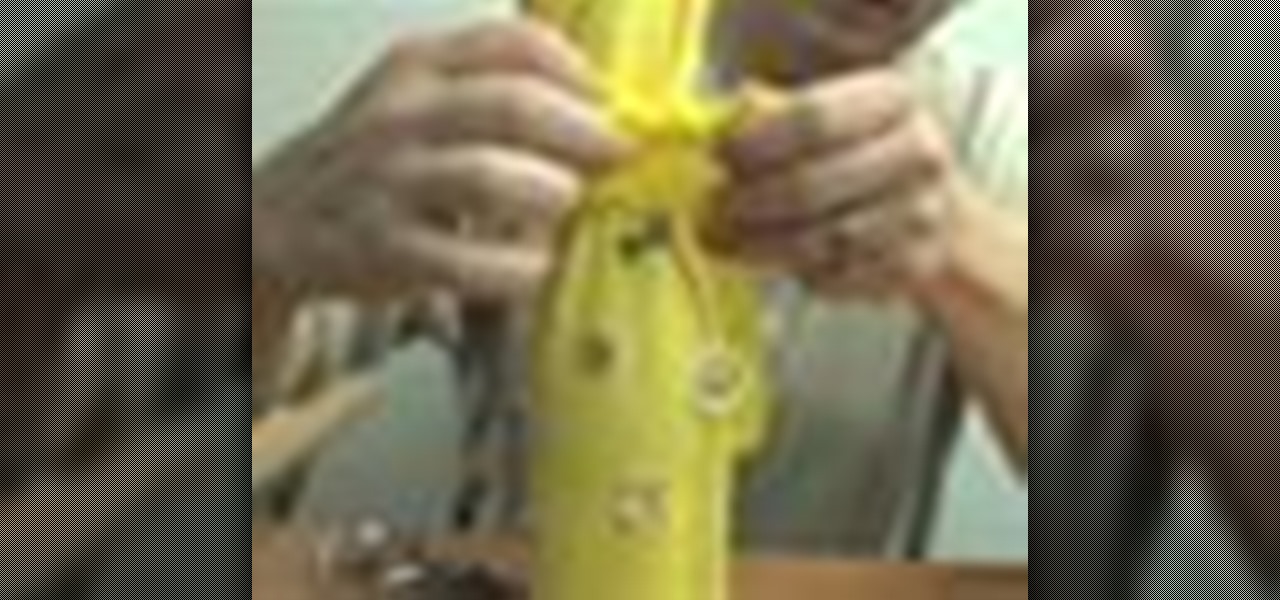
Not sure what bottle of wine to get your wine-loving friend for their birthday? Don't sweat it. Get them a wine bag, and save money by making it yourself from old clothes!! Why spend money on wine gift bags when you can craft your own from stuff you already have in your closet?
Looking to learn how to bake delectable pork chops? Follow these steps and you will soon be enjoying a delicious and easy pork chop dish that will please any palate.