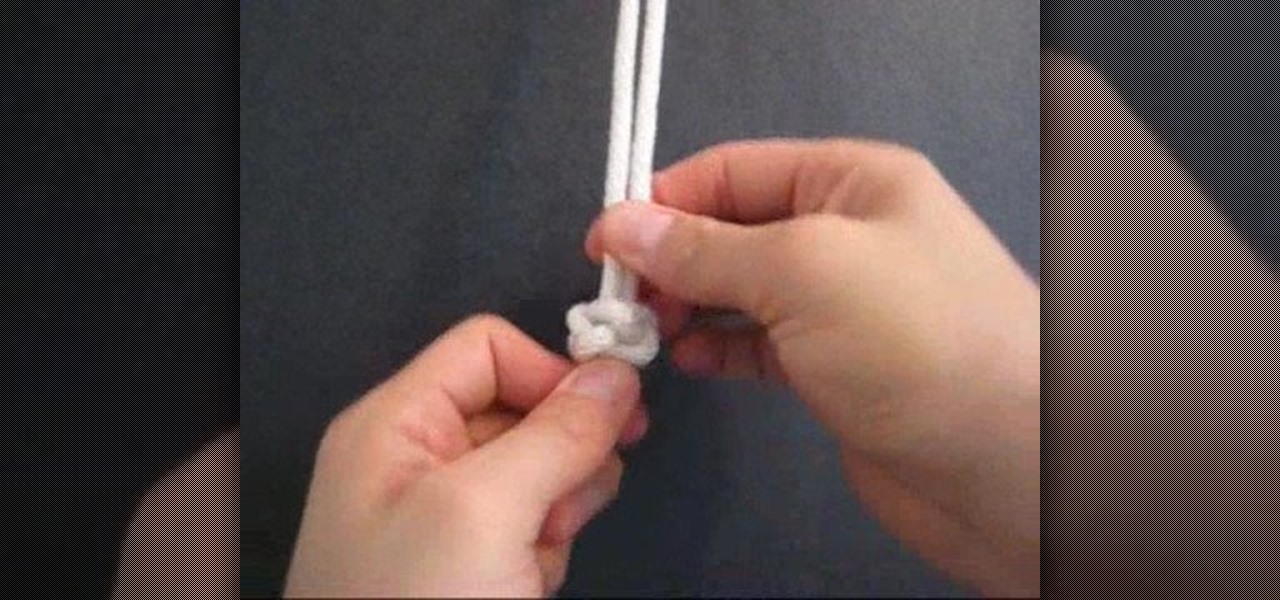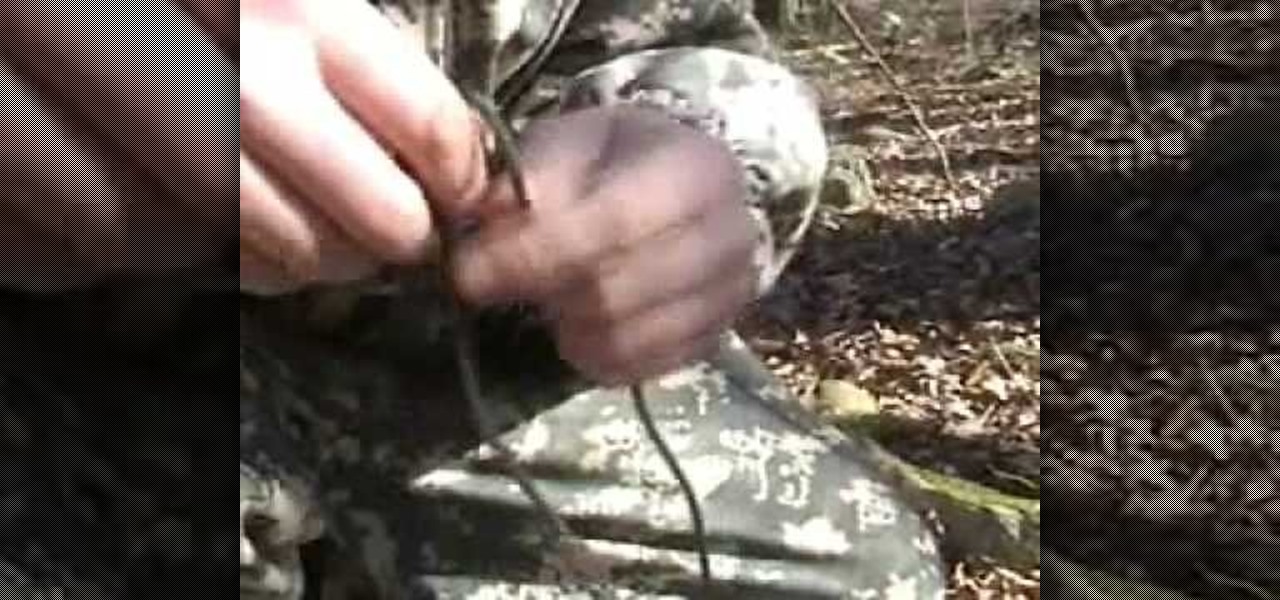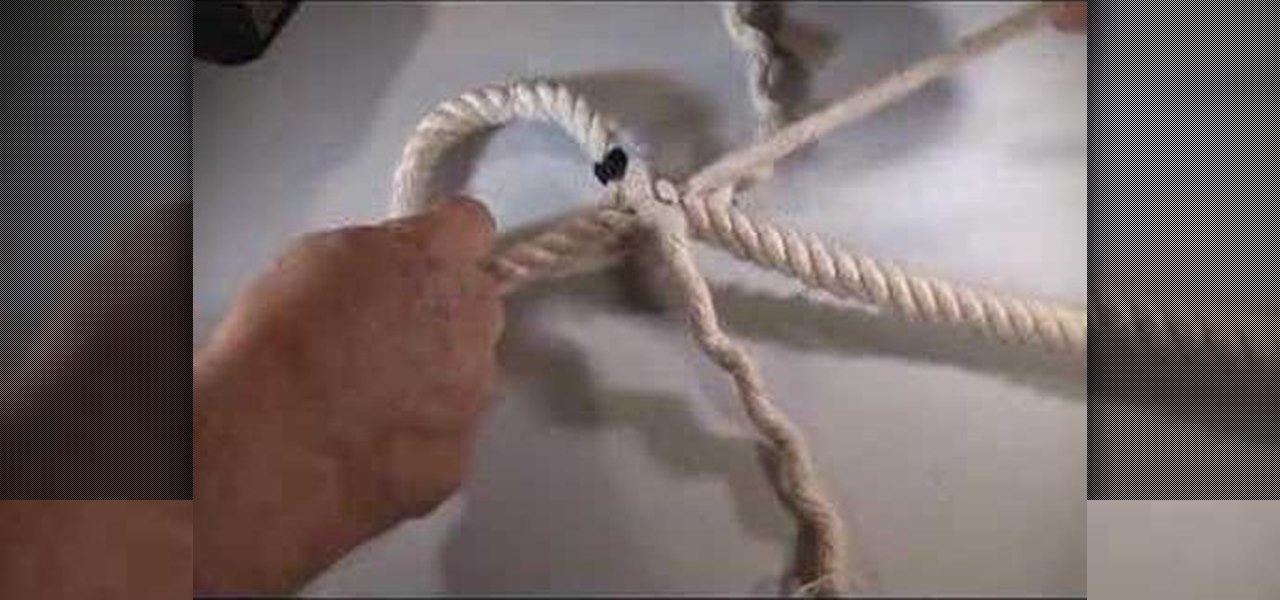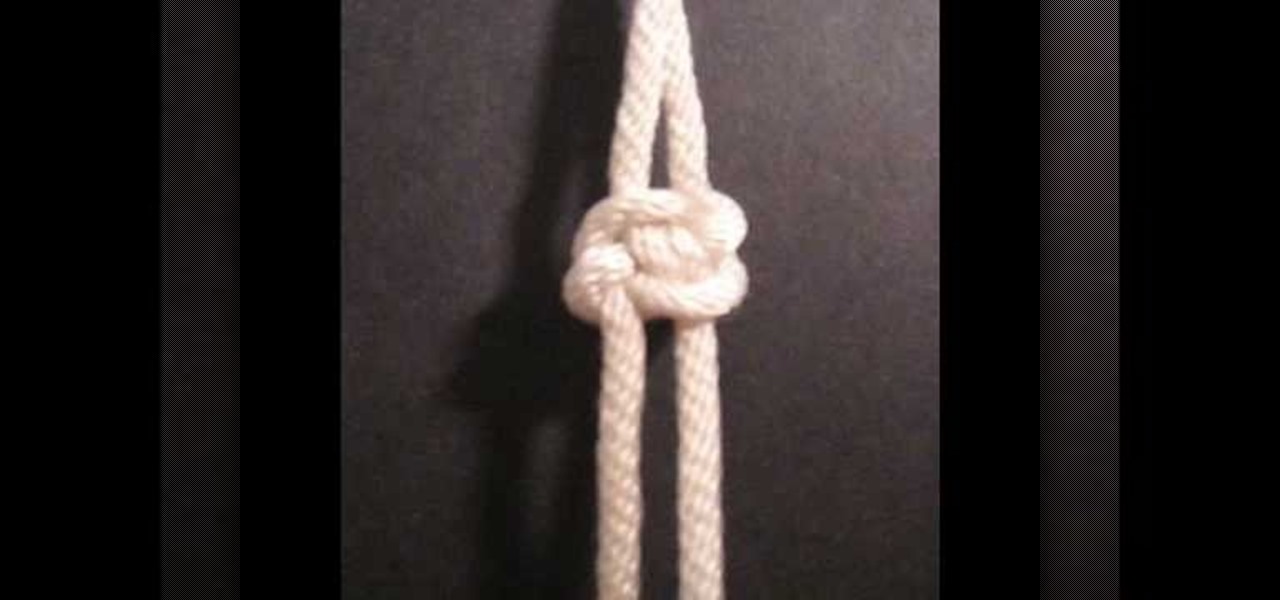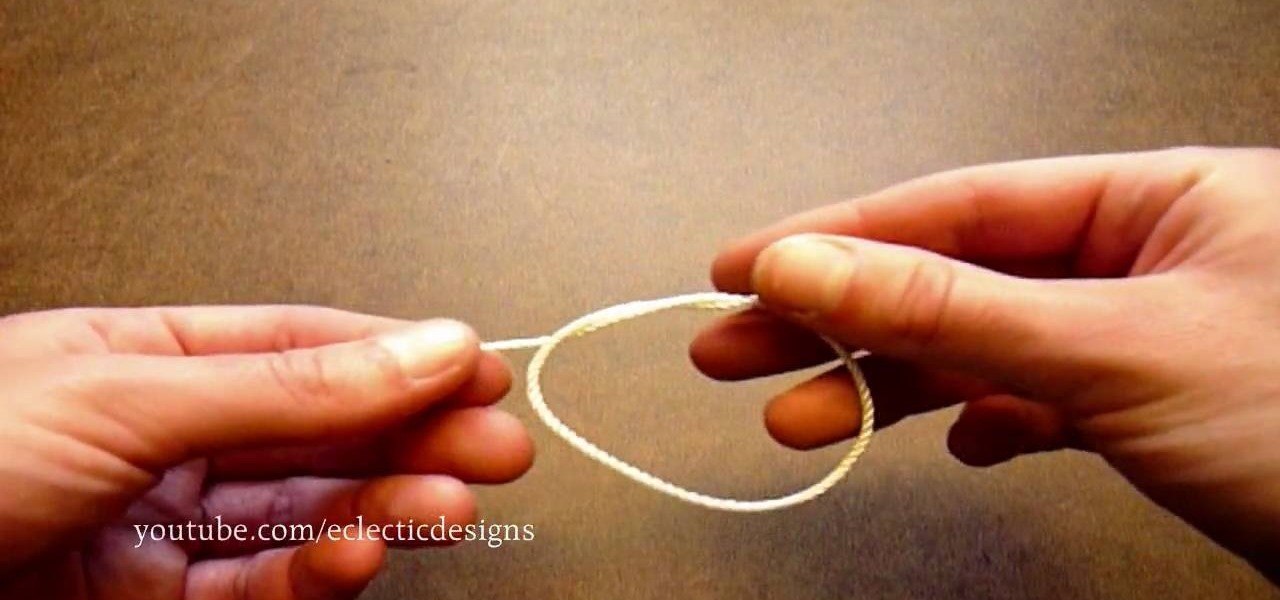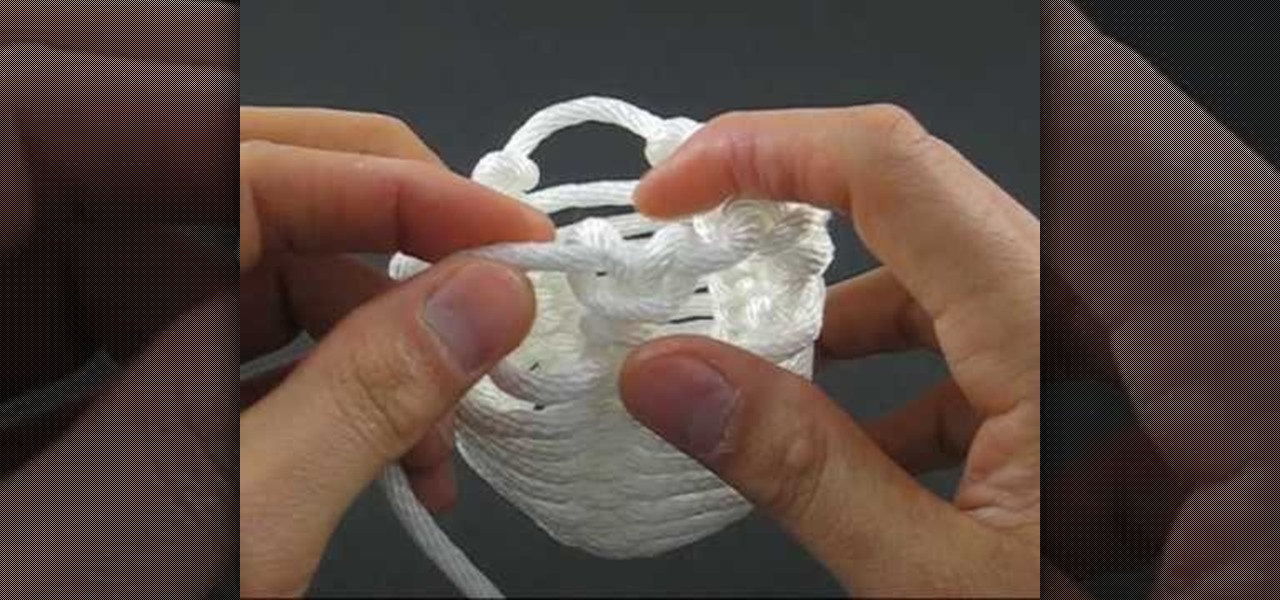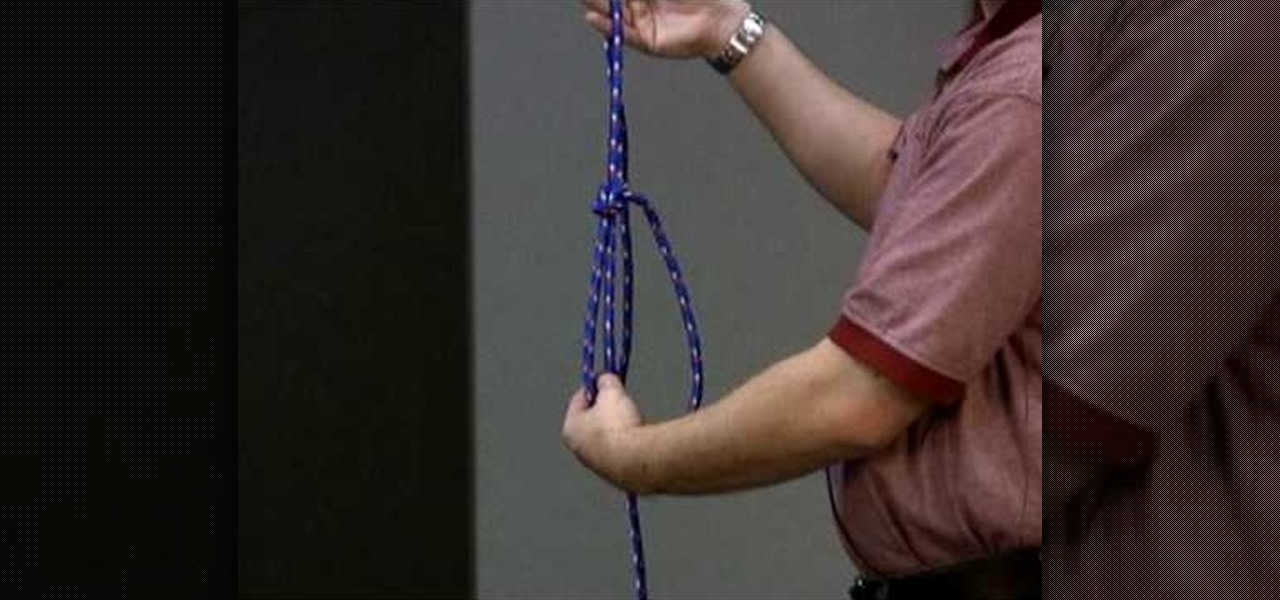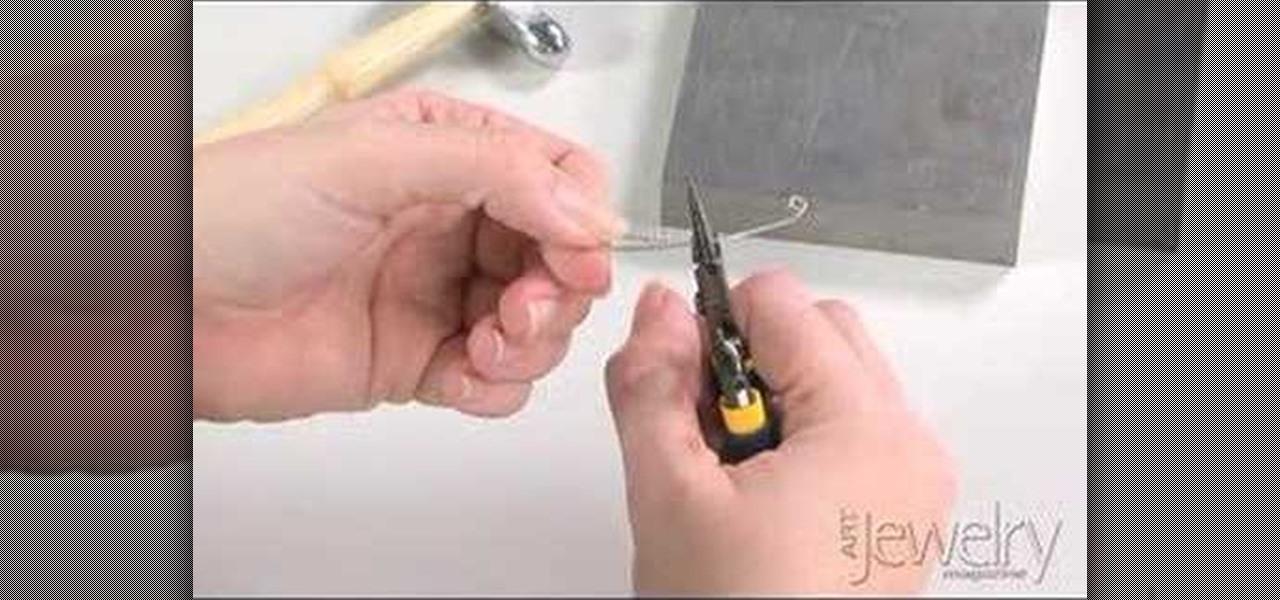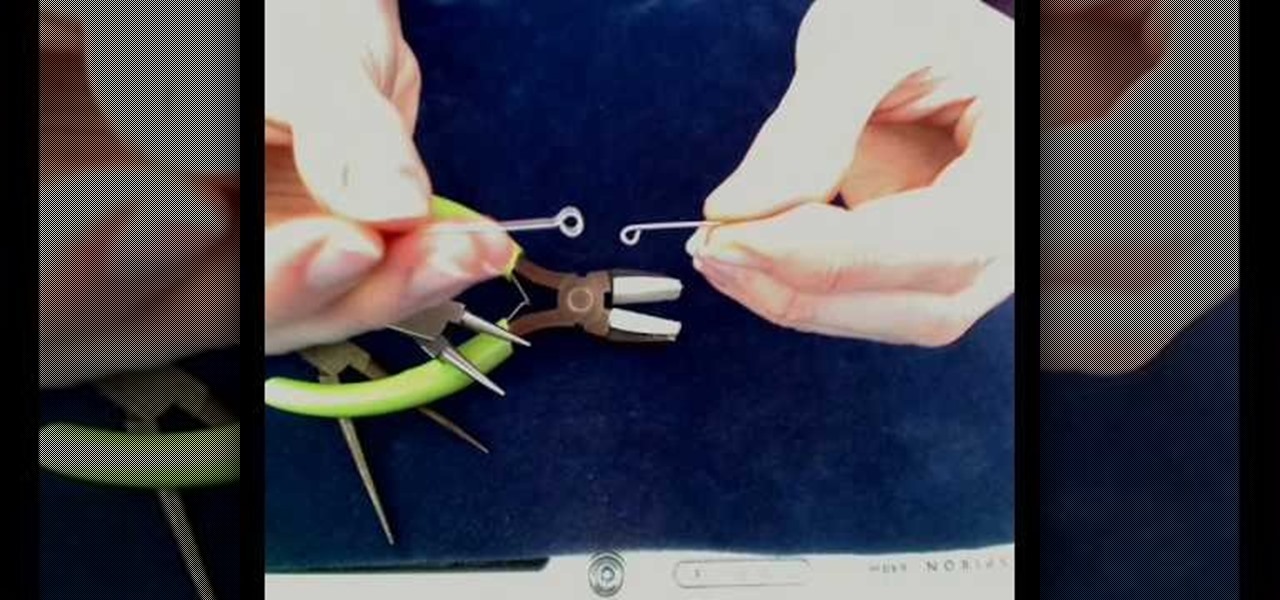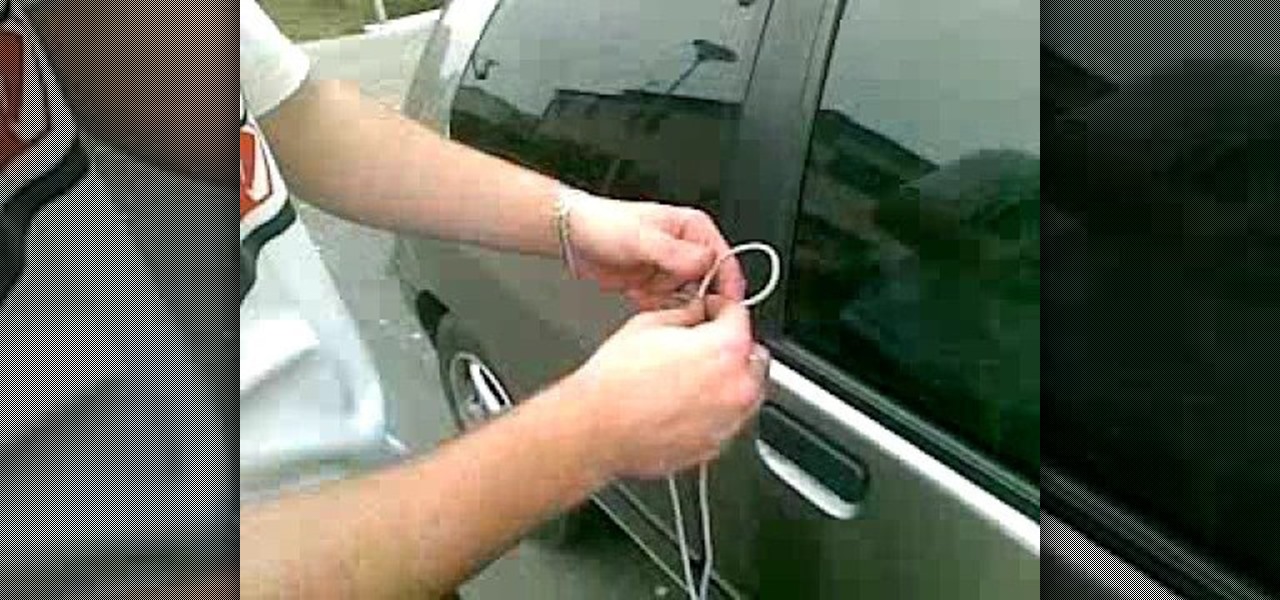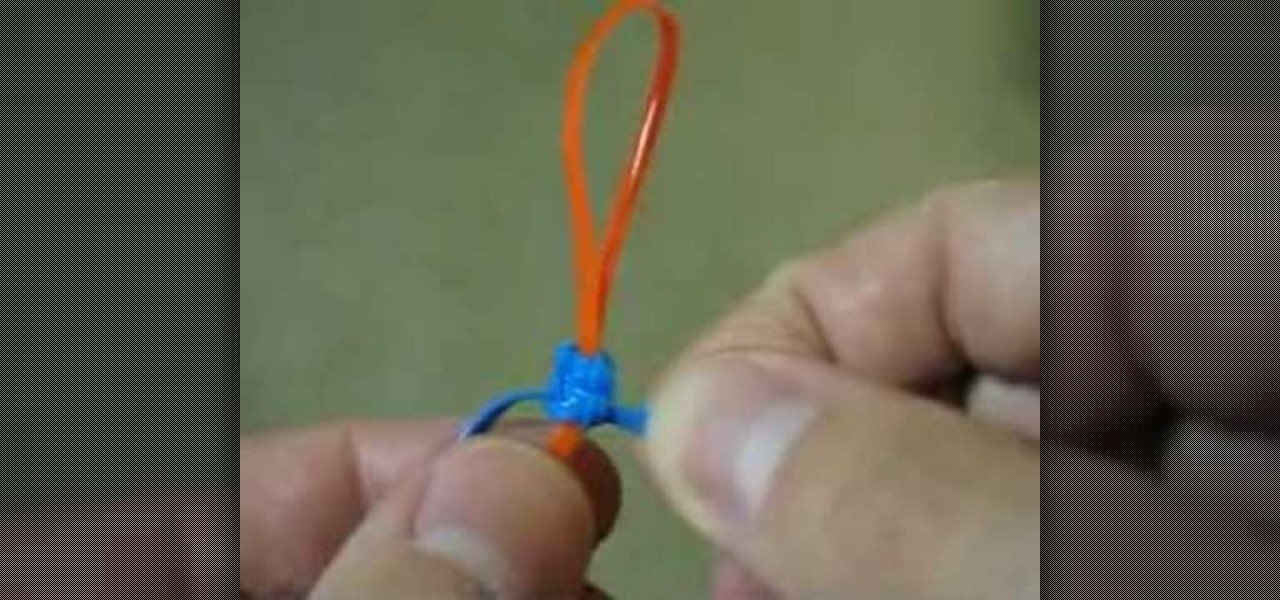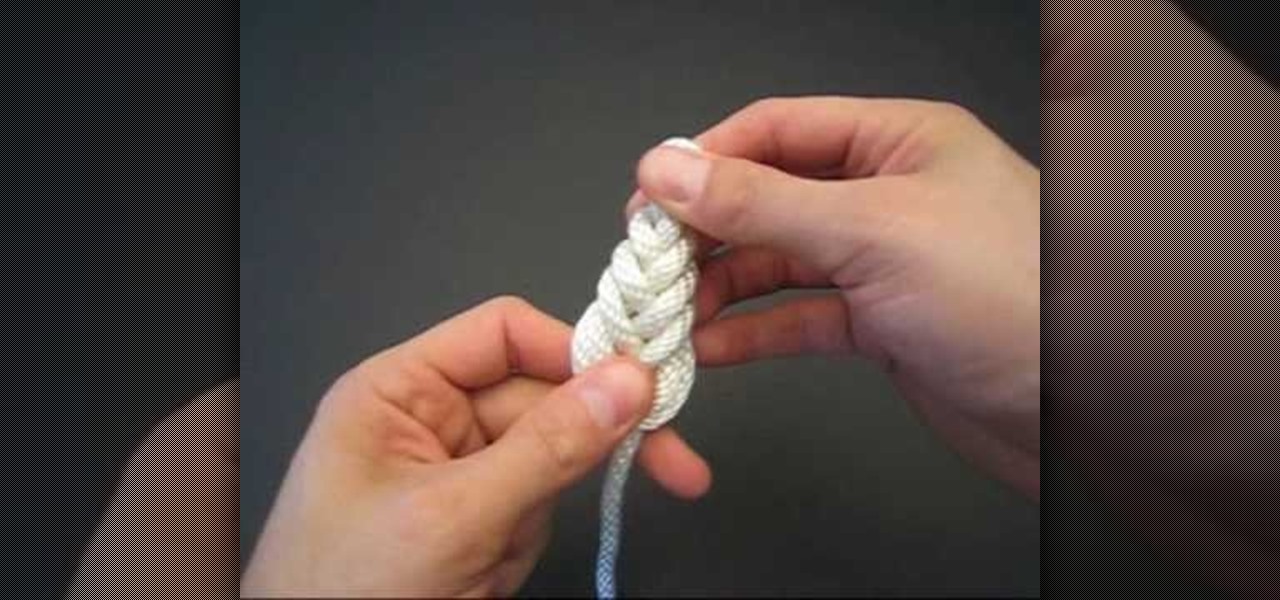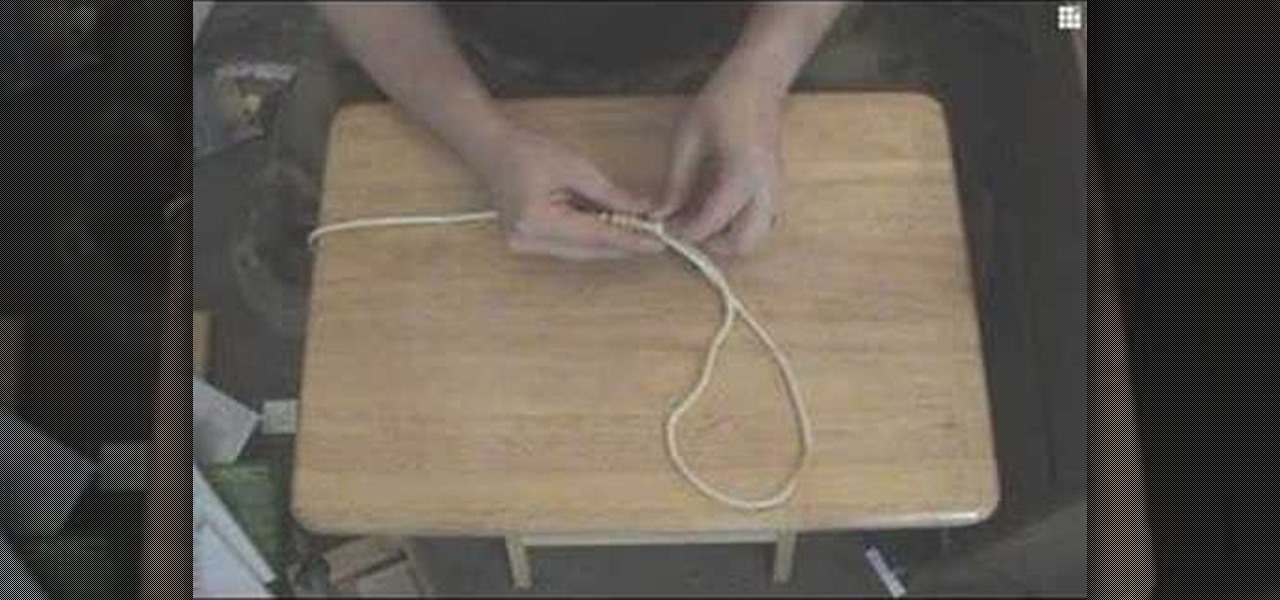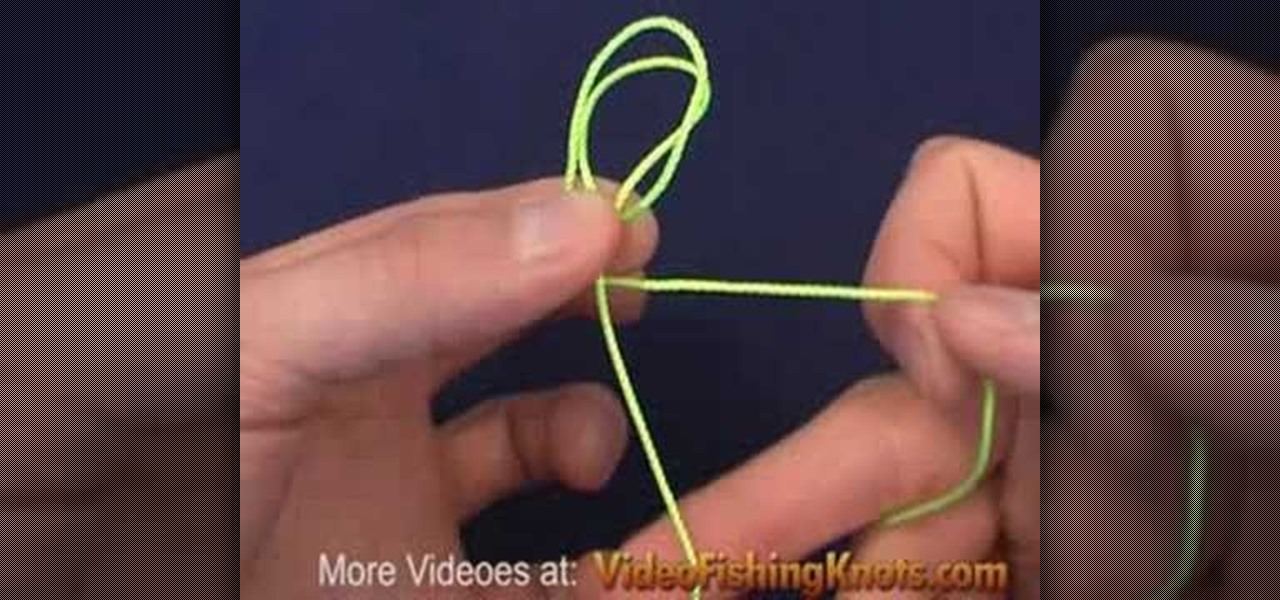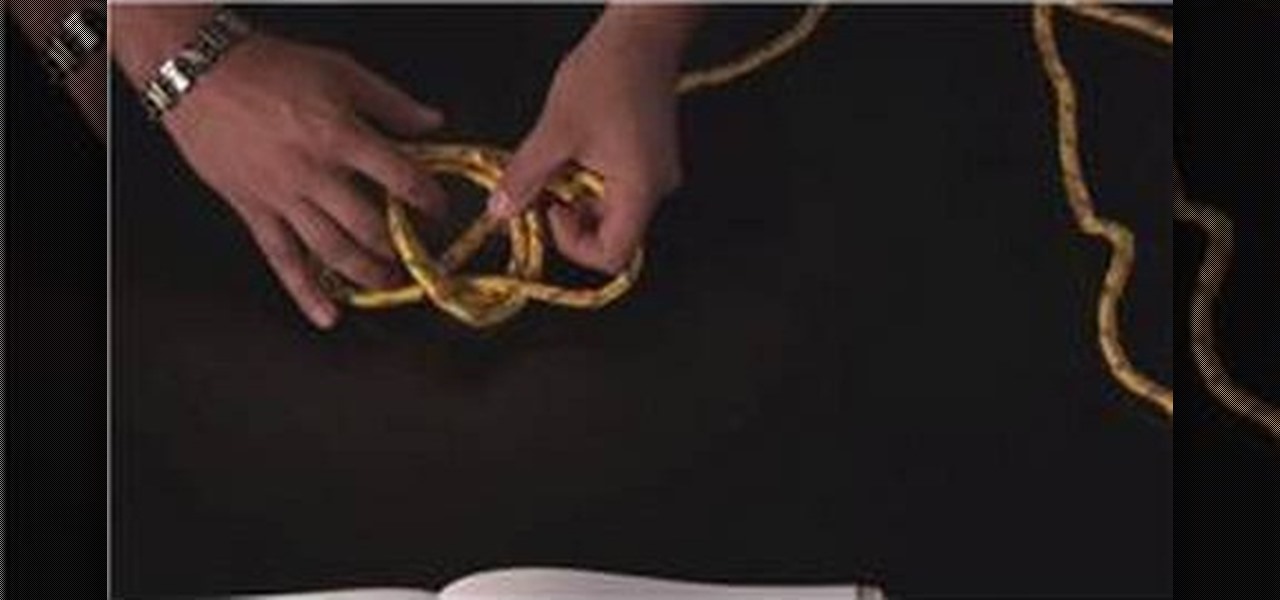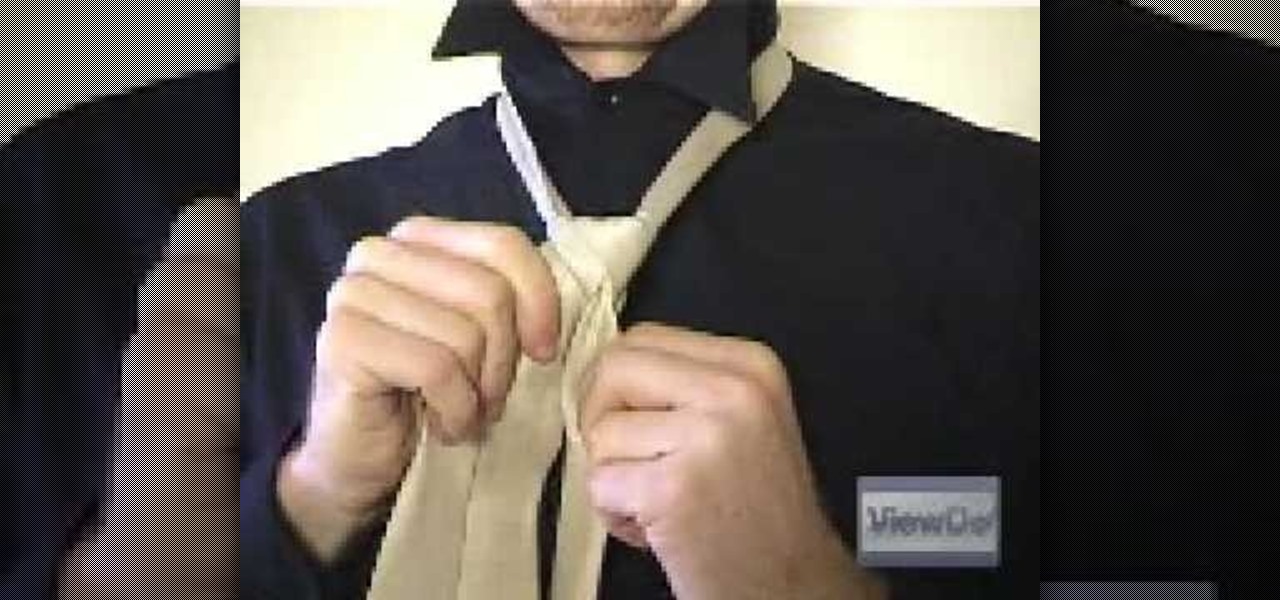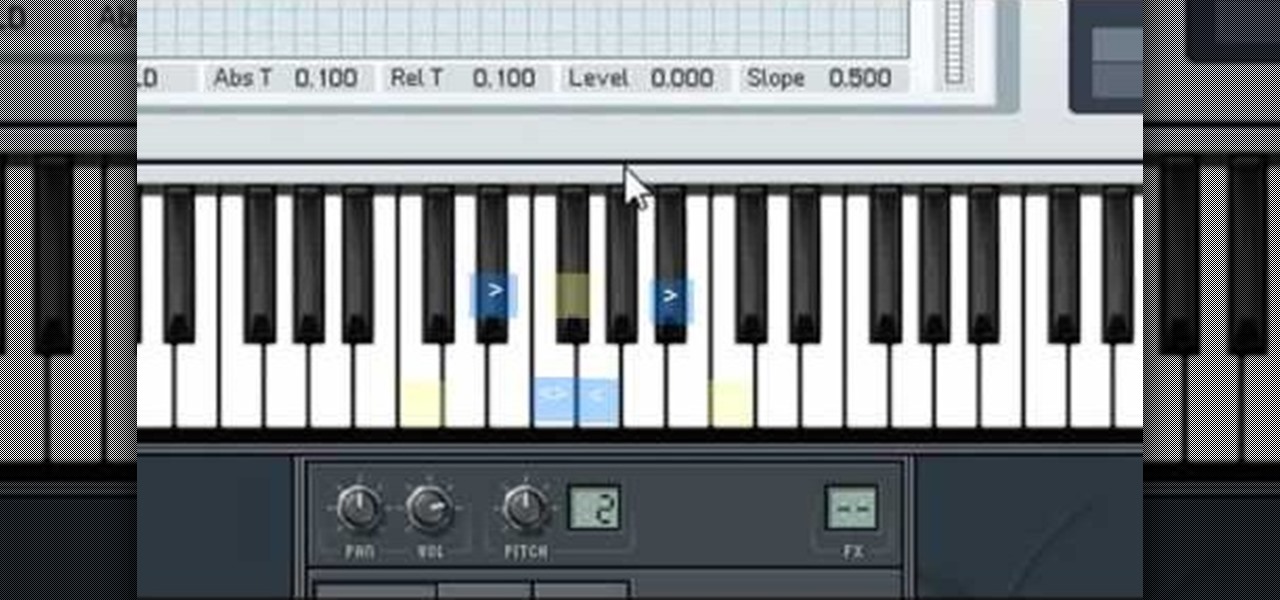
This is a video demonstrating how to tie a perfection loop. This is a loop that is necessary for fishing. It can be using for sinkers and fly fishing. It is good for any purpose where a loop is needed. A loop is made first. The loop is held between the left thumb and index finger. The end of the line is taken and put over the loop. Then switch hands and take the end of the line below the main line, making two loops. Then the end of the line is placed between the two loops. Take the top loop n...
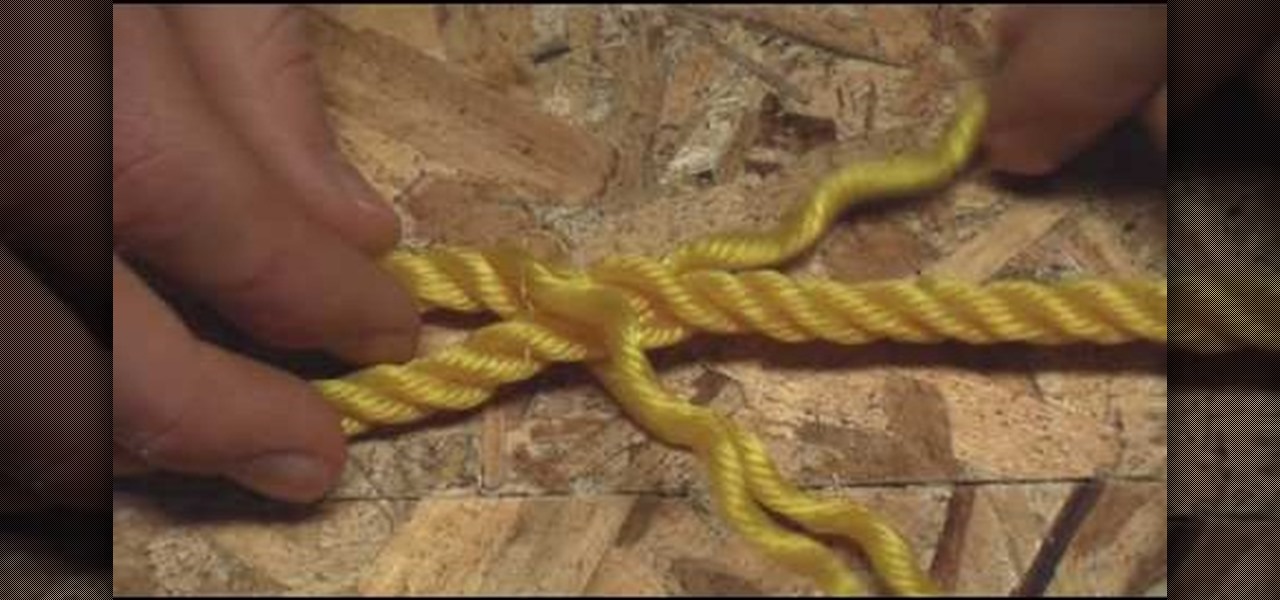
Sometimes when you're camping it's necessary to pitch a little something called a tent after a long trek hiking and exploring the great outdoors. And when you're ready to call it a day, make sure you can do so peacefully without the fear that your tent contraption will fall down on you during the middle of the night.

In this Arts & Crafts video tutorial you will learn how to tie a Padlock style decorative knot. Padlock knot is a clever way to achieve the look and function of a padlock without having to bother about the key. Take a piece of rope, bend it in the center and make two loops on either side of the rope. Ensure the working end is over the rope in the left side loop and under the rope in the right side loop. Now overlap both the loops so that the left side loop is over the other loop. Now pass the...
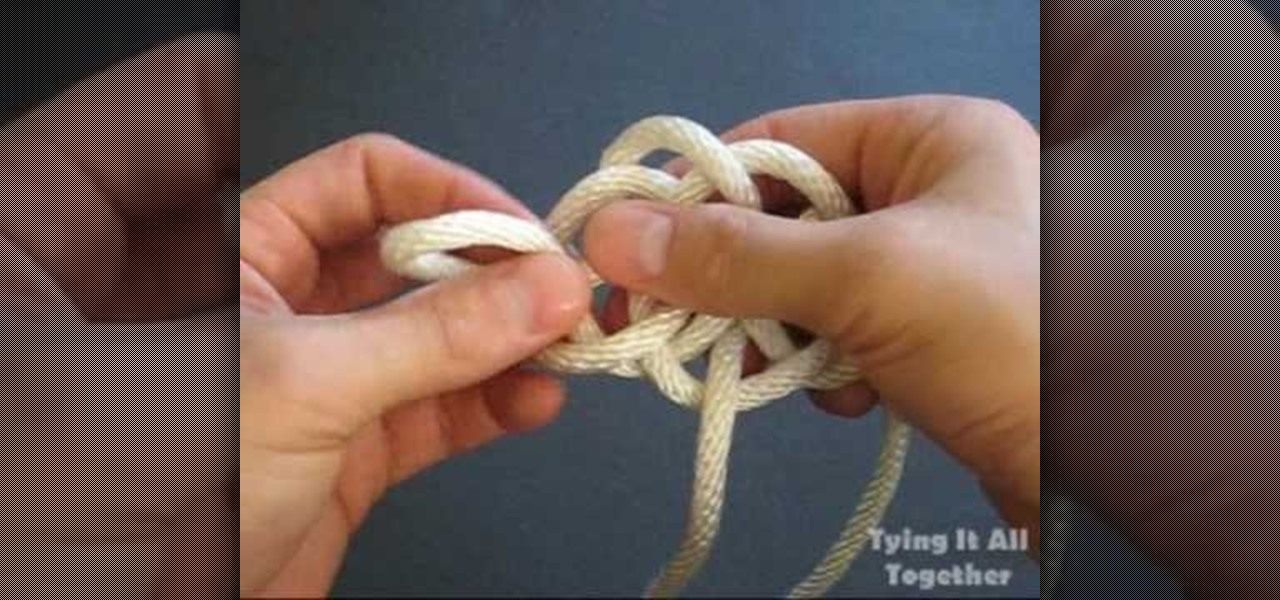
This video from Tying It All Together demonstrates how to tie a river knot. Holding the rope in your left hand, make a loop to the right and bring the rope down so it lies over the loop. Bring it up behind and pull it through the loop. This makes a loose knot with three overlapping loops. Make another loop on the right and pull the end through the lower part of the right loop. Then make another loop on the left and pull it through the lower part of the left loop. Take the rope from the left s...
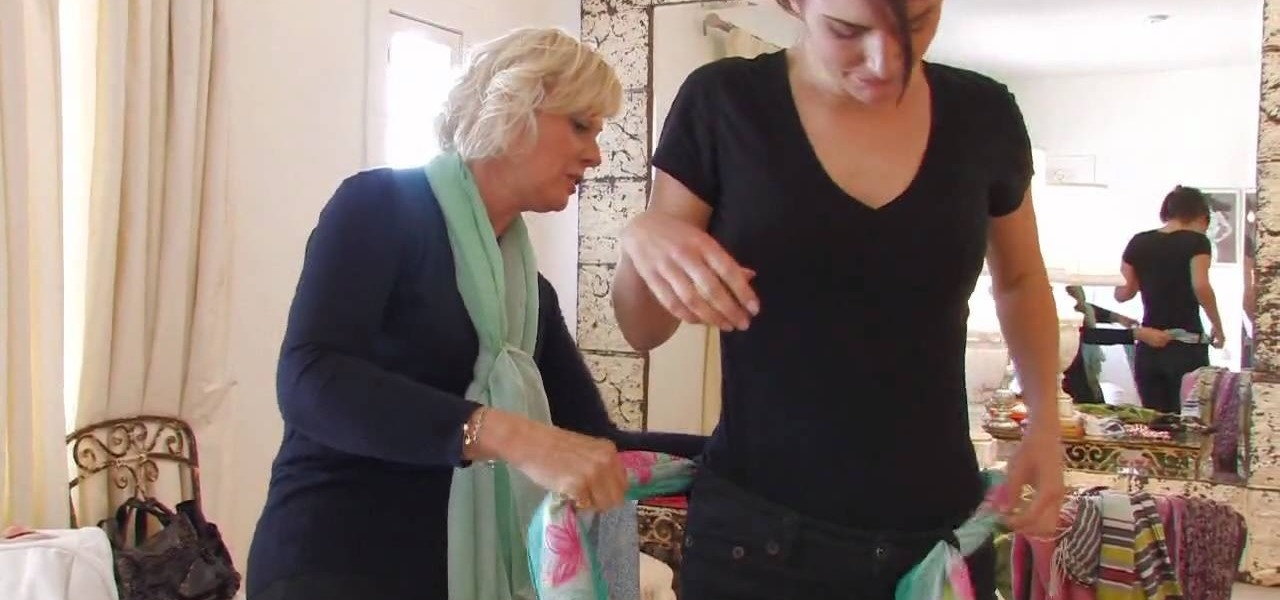
First, remember not to be afraid to experiment. A scarf is not a big investment. Once you have a scarf, you can proceed to tie it on a handbag in a knot. Next, you can get another scarf and use it in place of a belt around your waist. To do so, just run the scarf through each of your belt loops like a belt, and continue until you have reached the front belt loops. Tighten up the scarf so it is taut. Then, you run both ends of the scarf through opposite ends of one of the two front belt loops,...
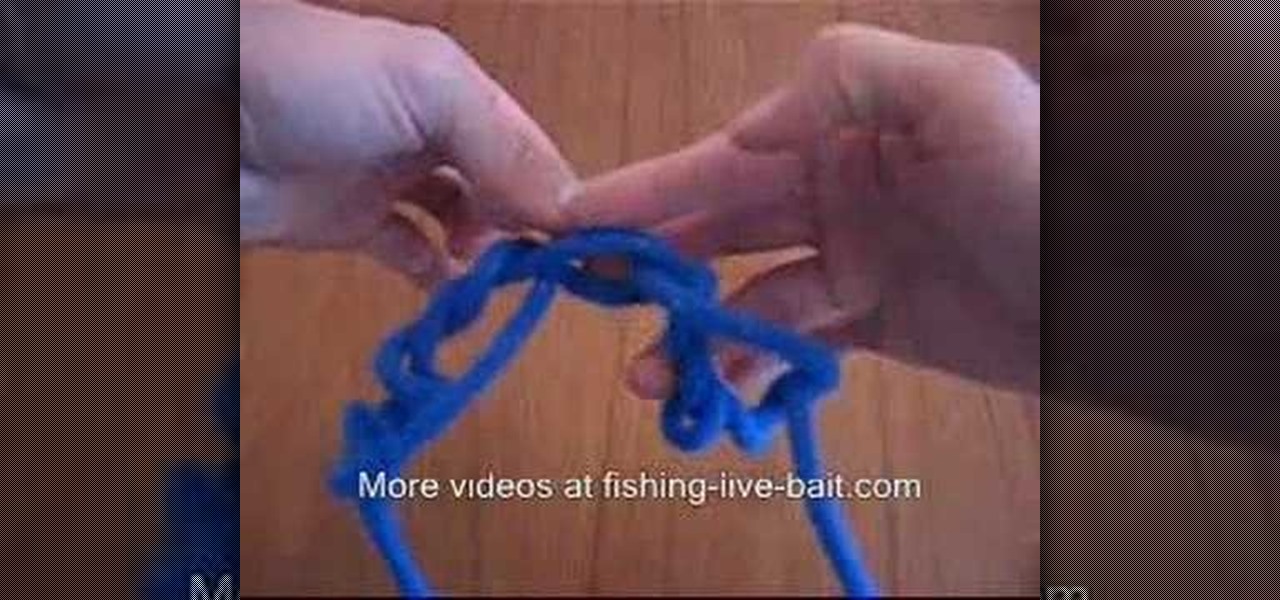
Learn the right way of tying 3 handy fishing knots by watching this video. The first knot shown is the 'Clinch Knot'. One end of the fishing line is passed through the eye of the fishing hook. This end is pulled and wound around the main line about 6 to 8 times. Thereafter, the free end of the line is passed through the small loop formed at the beginning of the winding process. The winds are gently pushed to tighten the knot. The free end is then tucked in to complete the clinch knot. The nex...

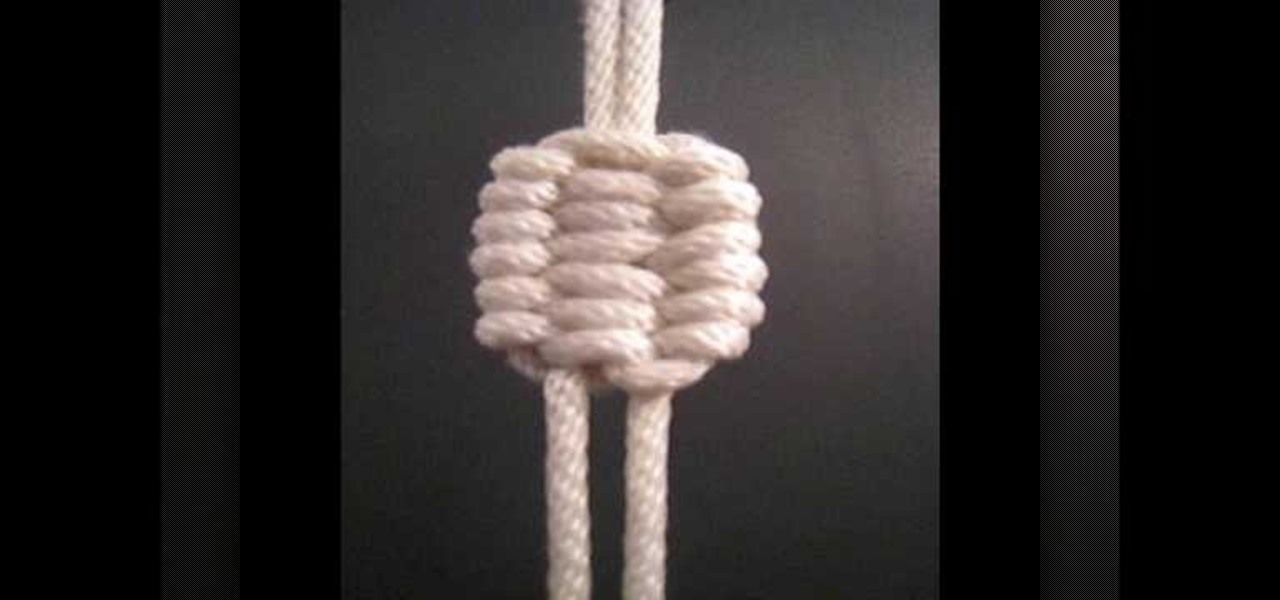
"How to Tie a Decorative Diamond Knot: Tying It All Together" explains how to tie a decorative diamond knot. The diamond knot is a decorative cylindrical knot, which is also known as the lanyard knot and the knife lanyard knot. Make a loop with one end of the string, and fold the other end parallel in the center of the loop. Feed the end of the right string over the left string and pull down. Fold the right string over and feed through the left side of the loop. Pull a second loop behind the ...

This video tutorial is in the Arts & Crafts category which will show you how to tie a decorative Door Knocker knot. Take a piece of rope and make a loop at the center with the left hand end of the rope over the right hand end. Now pass the right end above and through the loop to make a half knot. Twist the loop to make a figure of eight, pass the right hand end through the lower loop of the "8" and back through the upper loop. Repeat this once again. Now repeat these steps with the left hand ...

In this tutorial, we learn how to do useful survival knots. To make the sheet bend knot, you will join two different ropes together. First, make two loops, one on each end of the separate ropes. Next, take one of the ends and insert it into the other. After this, take the loose end and push it through the loops. After this, pull it tight and you have your sheet bend knot! The next knot is the bowline knot, which is a secure loop knot. First, make a loop in the rope, then take the smaller end ...

An eye splice is the best way to create a permanent loop on the end of a multi-strand rope. Whether you need an eye splice loop to hold a hammock up in your backyard or need one for your nautical voyages, this survival training video will teach you step by step how to tie one.

To make a Kinky Lover's knot, first hang or keep the tag on something. Then take the first end. Tie it by keeping a loop. Then take the second end and pass it through the loop by leaving a loop. Then take the second end, which was taken earlier , through the loop made by the first end. Then pass the second end through the loop, which was made by the second end. The knot is ready! All we have to do now is to tighten the knot by pulling the two ends. Make it beautiful by arranging the tag clearly.

To tie the overhand knot, make a loop and pass one end of the string through the loop and tighten by pulling both ends. To tie a double overhand knot, make a loop and pass one end of the string through the loop twice before pulling both ends to tighten the knot. To tie a surgeon's knot, take the left string and bring it over and around the right string twice. Then take the right string over and around the left string and pull both ends to tighten, leaving a complete loop of string below the k...

Learn the right way of tying the ‘Decorative Trilobite Knot’, by watching this video. Take a rope and form two bends, as shown. Now pass each bend over a hook to form two loops at the center, resembling number eight. The free end of the rope on the right side is then passed over the lower loop of the eight, to the left. The free end of the rope on the left side is then passed under the rope, just passed from the right. Thereafter, it is passed under the lower loop of the eight, and pulled thr...

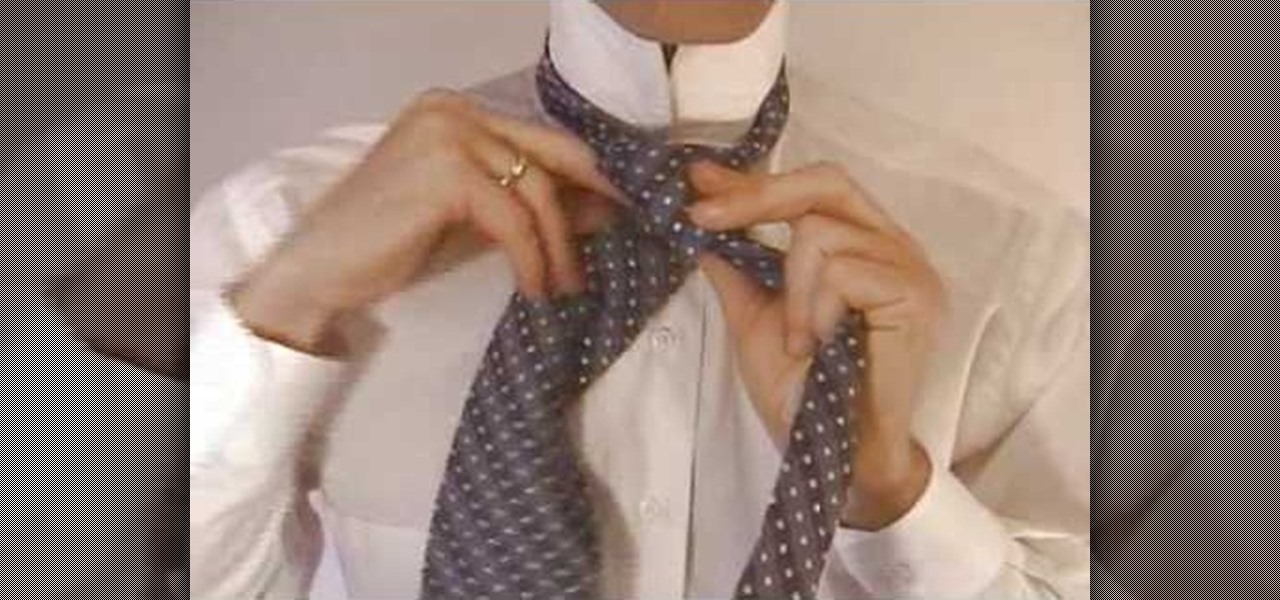
This video shows expert instructors tying a tie in the full Windsor knot. First you cross the wide end of the tie over the narrow end. After that you put the wide end up through the loop (behind the narrow end) and then you pull it through the tie. Next you cross the wide end behind the narrow end of the tie and then pull it back over the loop. Then you cross the wide end in front of the narrow end, go up the loop around your neck, and then down through the loop in the tie. You have now tied ...

The perfection loop is used for attaching lures or sinkers to a heavy monofilament leader. The Perfection Loop knot is designed to easily create a loop at the end of the fishing line. The perfection loop is also often used by fly fisher men use the perfection loop to connect the fly fishing line and leader in a loop to loop connection.

In this tutorial, we learn how to tie a compound double coin knot. First, take two strings and make a loop with the left one, then loop right right one into that. Tighten these together, then bring the end of the right working string over the loop and through the bottom of the shape, then continue to thread it through. Now, repeat this on the left side with the left string. Next, loop the right side of the string and push through the loop with the end of it. After this, tighten up the ends of...

In this video, we learn how to tie a honey rope basket knot. To do this, you will need a 10ft of nylon rope. Start off by tying a counter-clockwise slipknot at one end of the rope. After this, pull the loop of the slipknot out four inches. Then, tie a second slip knot clockwise next to the first slipknot. Draw the loop length of the second so it's equal to the first. Next, continue to create slipknots next to each other until you've done five. No, hook your working end into the first loop and...

Place you tie around your neck. Make one side longer and one side shorter. Then you will criss-cross the two sides of the tie, with the longer end being placed over the short end. Take the long end and loop it around the shorter end. Then you will take the longer end and bring it through the little loop that you have already formed by looping the end around. This will give you the ascot. To do a scrunchy tie, take the ends and pull them through the loop that has formed, and then you will have...

This video describes and shows you how to tie a loop in the end of a rope with a bowline knot. A bowline knot is used in rigging by the ground rigger to create a point for the up rigger to have a point to pull up. This is how you create a bowline knot. First you must create a loop in the middle of the knot. With the free end, come up through the loop, then you go around the standing end of the rope and then you move it back through the loop. You pull the knot tight. That is how you create a b...

Parisians often wear beautiful scarves. They look chic, and keep you warm. The first way to wear it is the European loop. Double the scarf in half and loop then loose end though the loops. Second, you can loop the scarf around your neck then loop the end though the wrap. Third idea is to wrap the scarf around the neck twice then pull the loose end through the loop. This creates a very warm bundle around the neck. With a large square scarf you can fold it into a triangle and tie it around the ...

Art Jewelry Magazine associate editor Addie Kidd shows you how to make an S-hook clasp with looped ends. You will need wire, pliers, and a hammer. Learn how to make an s-hook clasp with looped ends for necklaces or bracelets by watching this video jewelry-making tutorial.

In this video, we learn how to tie the qianjing on a erhu. First, measure and cut 60 inches of Qian Jin string, then place one end on the neck and make a downward loop. After this, loop the rest of the Qian Jin over the neck, across the loop which you just made. Then, loop five times around the neck going down. Loop over the strings then use the thumb to space the strings between the neck. Next, move another five strings around the poll in the same direction. To finish, tie the end of the loo...

This video teaches how to tie the Dropper Loop fishing knot. The presenter explains the uses of the Dropper Loop, then begins the instructions. First, make a loop in your line, remembering that the size of this loop will affect the size of loop you have when the knot is tied and sizing accordingly. Take the end of the line and make another loop that goes inside of the big loop and then wraps around the line 4 times. Now you have a big loop, and a length of wrapped line with a hole in the midd...

Starting out with a brief summary of what type of pliers to use when making a wire loop with tips on how to prevent markings on wire when using a certain type of plier. This video is used to teach crafters on how to make loops with wires that are useful for many jewelers Making the loop requires 2 certain types of pliers, one called needle-nose plier used to create the loop. Tips near the end on how to fine-tune the loop so it ends off perfectly as well as explanation on why a 45 degree angle...

In this video, we learn how to use cones when jewelry making with Christina. First, take a half inch hard wire with a looped end and use a pair of pliers to open up the loop slightly. Next, take your strands of beads and place them onto the loop. After this, close the loop making sure it's secure and the beads won't fall off. Then, take the cone and insert the wire through the wide end and pull it through the narrow end. Using your fingers, bend the wire to a ninety degree angle, then trim of...

Have you locked yourself out of your car? Well, as long as you have a shoelace, you may be able to get back in.

This video shows us how to do a lanyard cobra stitch. Here are the following steps. Step 1: First of all take two threads and make a loop of one thread.

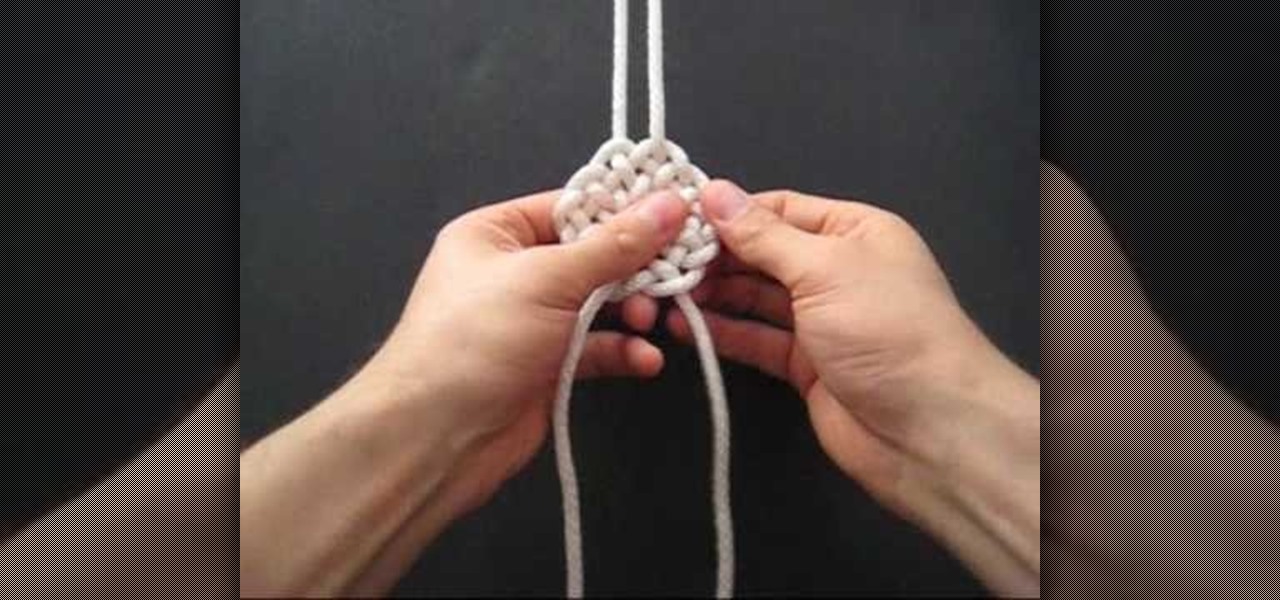
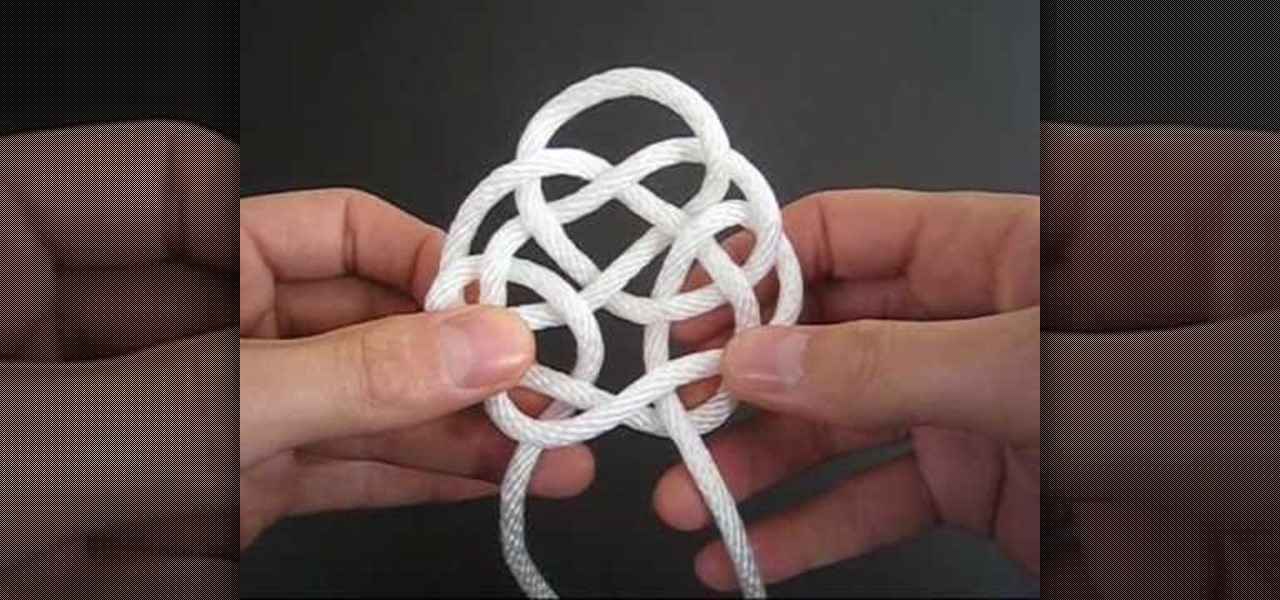
In this Tying It All Together video tutorial, you will learn how to tie a decorative pipa knot. To begin, take a piece of rope and fold so that you have two strands. Create a loop and take the left strand and loop it around the original loop. Continue doing this until you have layers of loop-like structures, gradually getting smaller and folding into one another. The effect is a woven-like structure. To actually secure the knot, fold the end strand into the last loop and then pull this end st...

In this tutorial, we learn how to tie a decorative noose. First, form a loop and then and wrap the end around the loop thirteen times. Next, take the loose end and stick it into the coils you just made. Use a pencil and long scissors to help you do this. After you are done with this, tie a knot at the end and pull so the loop is tight. You can also clip off the loose end and pull the loop to make it larger if you prefer. When finished, use this as you wish but do not use it for violent activi...

Learn how to make a River Bar bracelet, which is also known as a Paracord bracelet, by following the steps outlined in this video tutorial. To start your bracelet, you will need to tie a reef knot. This is done by taking two loops (in two different color strings) and then placing one loop within the other, pulling this through the first loop to secure the two loops together. This knot creates the end of your bracelet. To actually make the River Bar design, bend the two colors of string so tha...

The Perfection Loop is a great knot for tying a small loop at the end of the line. The Perfection Loop is perfectly in line with the standing part of the leader and it is both quick and easy to tie. Follow along with this how to video to learn how to tie the perfection loop for fishing.

In this Disaster Preparation video tutorial you will learn how to tie a double bowline knot step by step. Robert Segundo, knot tying expert, presents this video. This knot is stronger than the regular bowline knot. When you put a knot on a rope, its strength reduces. This knot will retain about 70-75 % of the original strength of the rope. For this knot you will need a piece of rope or twine. Start off by putting a loop on the rope and then put a double loop. Then take the working end of the ...

In this video, we learn how to tie a tie in ten easy steps. First, you will need to put the tie on and put the wide end in your right hand and the thin end in your left hand. After this, place the wide end over the top of the narrow, then put the wide end back over top the narrow end. Next, put the wide end through the loop made with the tie and your neck. After this, put the wide side through the front loop of the knot and pull the wide end down tightly. After this, hold the knot and pull th...

This video demonstrates how to tie a double Windsor knot, which is the neatest and most uniform looking tie knot. This knot can be tied in a few steps. First flip the shirt collar up and drape the tie around the neck as shown. Make sure to adjust the tie length so that the narrow end is just above the navel ring. Cross the wide end over the narrow end, pull the wide end back up the loop you just made, wrap the wide end behind the narrow end and back through the neck loop as shown. Pull both e...

Learn to tie the triple goddess knot with this video tutorial. First you will need a nice size piece of string. Make a small loop with one side of the string close to the middle. Second, make a second loop with the other side of the string close to the middle. Third,cross the right hanging part of the string over the left string to form a small circle under and between the two bigger loops. Insert the end of the left string into the underside of the left loop to form a split loop. Do the same...

When creating loops, or even playing the keyboard, you're going to end up using your pitch bend wheel on your midi controller. And don't diss the pitch bender, Stevie Wonder used it, and that guy is richer than you! If you're using Fruity Loops Studio and are wondering how to use the pitch bend plug in, this video is where to look. You will get a full walkthrough of using the pitch bend features in FL Studio.

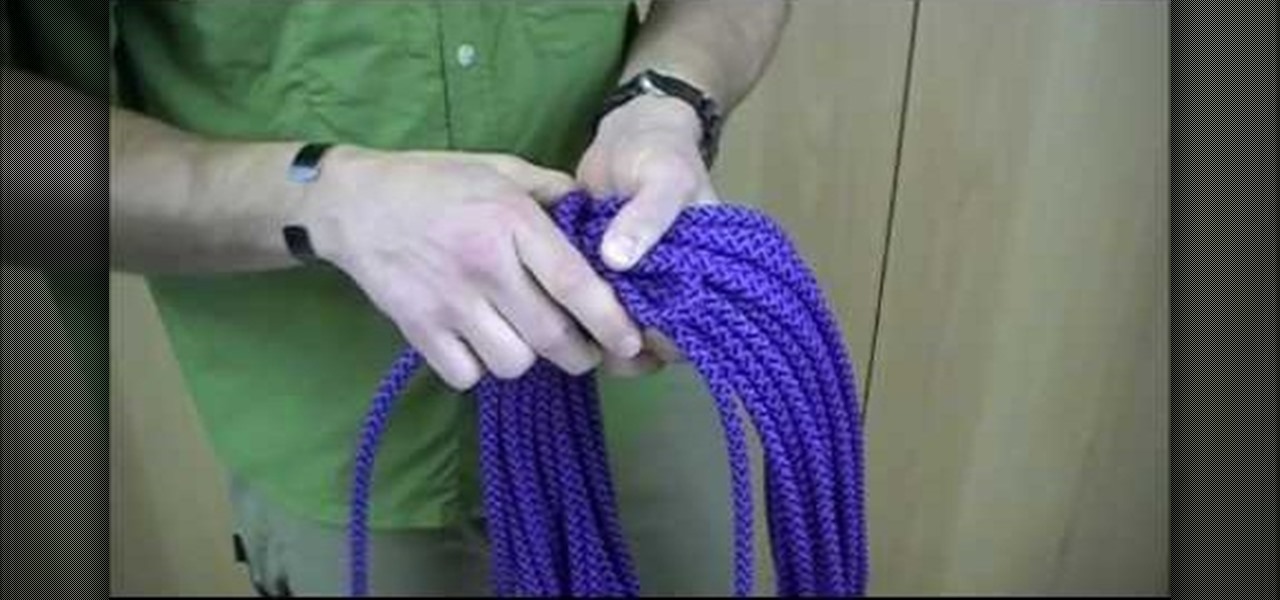
In this tutorial, we learn how to tie an Alpine Coil knot. When you start your coil you want the starting end to be inside your hand. First, take the working end of your rope on your last coil and make a loop in your rope. Then, wrap a couple of turns around the rope and lock it into place. Once you've made a couple of turns, the working end will go into the loop. To secure, go over to the end from the loop and give it a tug, which will lock the working end into the rope and make a nice way t...

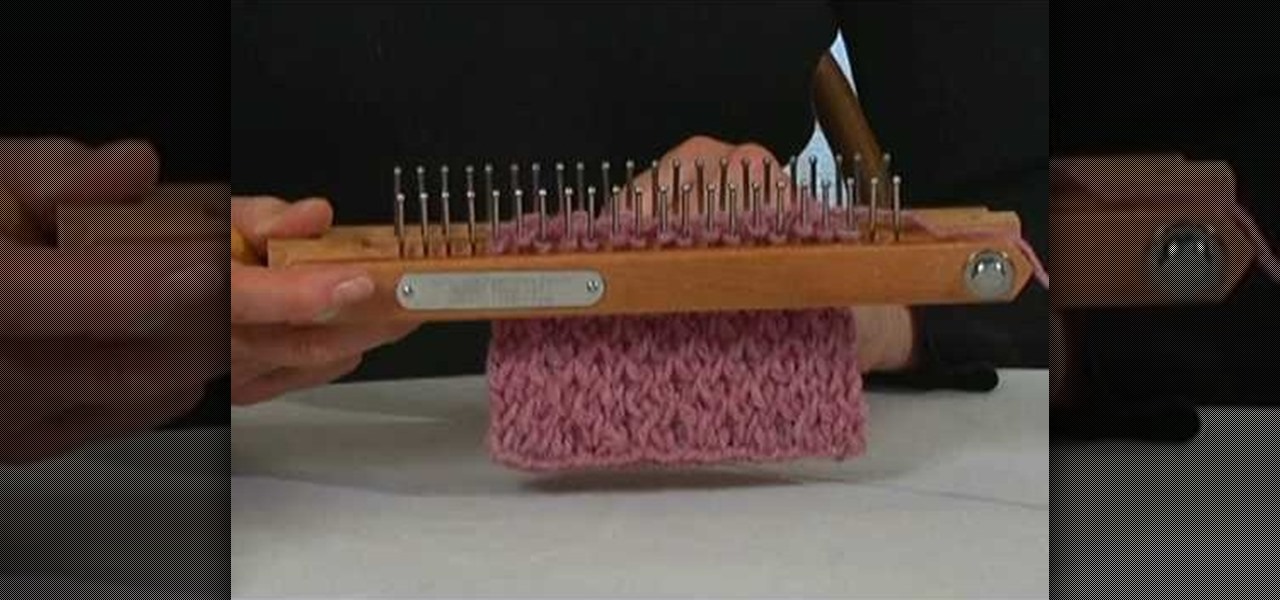
The instructor from the Knitting Board shows you how to make a criss cross stitch. This stitch has two weave patterns that you alternate to create a pretty textured look. Using a knitting board, the first stitch starts on the first pin of the back board down to the fourth pin. Then you weave back and forth across the board skipping a pin. At the end, take the yarn straight across the board and turn the board around. Return by picking up the pins that you skipped. Each pin will have two loops ...

In this tutorial, we learn how to tie the rising sun decorative knot. First, loop your string on the left side, then pull the right side over the top. Now, bring the bottom of the right side over and place the end into the first loop going over the other string. Next, remove the string from the last loop it was in, then bring the right over to the right loop and push through to the bottom. Next, bring the right string over to the left side and thread through the left loop closest to it. Next,...

This video describes how to tie a bowline knot in a few easy steps. To start, take a loose piece of rope in your right hand and make a loop about a foot away from the end. Then, take the loose end, bring it up through the loop you just made. Immediately after, wrap the loose end around the rest of the rope, and then bring it back through the loop and pull tight. Think of the loose end as a "bunny." Bring the bunny out of the hole, around the tree, and then back through the hole. Once you pull...


