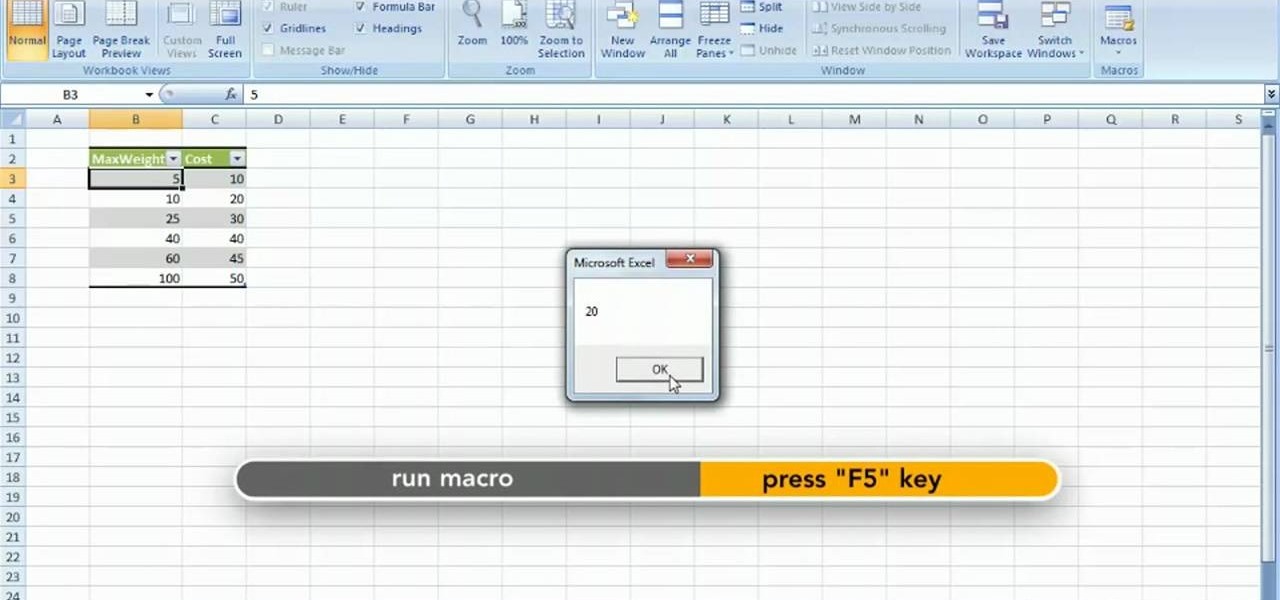
Repeating a task using a For...Next loop : Excel: VBA in Depth from lynda.com Watch the entire course at http://www.lynda.com/home/DisplayCourse.aspx?lpk2=62906&utm_source=youtube&utm_medium=viral&utm_content=youtube&utm_campaign=youtube

Want to program your own Java games and applications but don't know beans about object-oriented programming? Never you fear. This free video tutorial from TheNewBoston will have you coding your own Java apps in no time flat. Specifically, this lesson discusses how to use build and use conditional for loops when writing code in the Java programming language. For more information, including detailed, step-by-step instructions, watch this helpful programmer's guide.
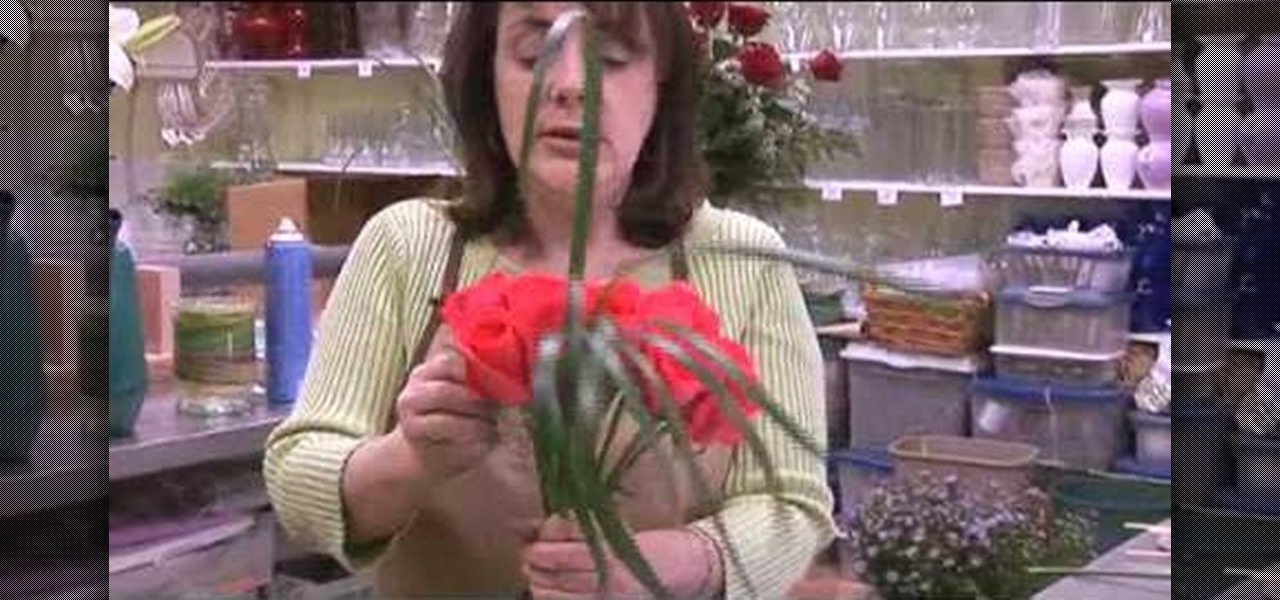
This is a demonstration of making a hand tied bouquet.Keep all the required articles nearby on the table.Take a few stems of lemon grass and bind them with a wire to form a single bunch.Tie the aspedestra leaves in a loop with wrapping a wire to the stem.Now take the stems with single flower like movie star roses or carnations or iris or tulips pluck or cut the loose petals.Now hold one of the stems loosely in the left hand,now with the right hand place the second stem so that the flower is o...
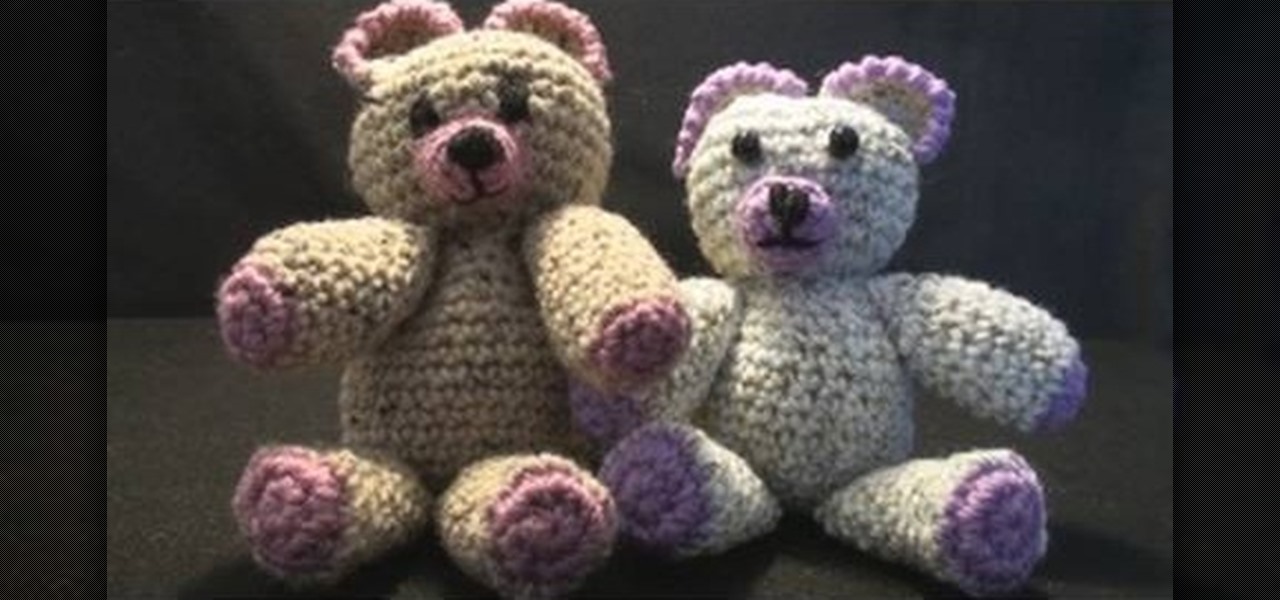
Using a size g four millimeter crochet hook, and four ply yarn Teresa shows you how to make a crochet bear. We start with the magic circle, and work six single crochet through the center. Pull the center rope close. From this point onward she begins detailing how many loops are in each part while the video demonstrates her completing the loops in each of the color segments. Piece by piece she combines the pieces together until she has created a crochet bear. Completing this project would take...
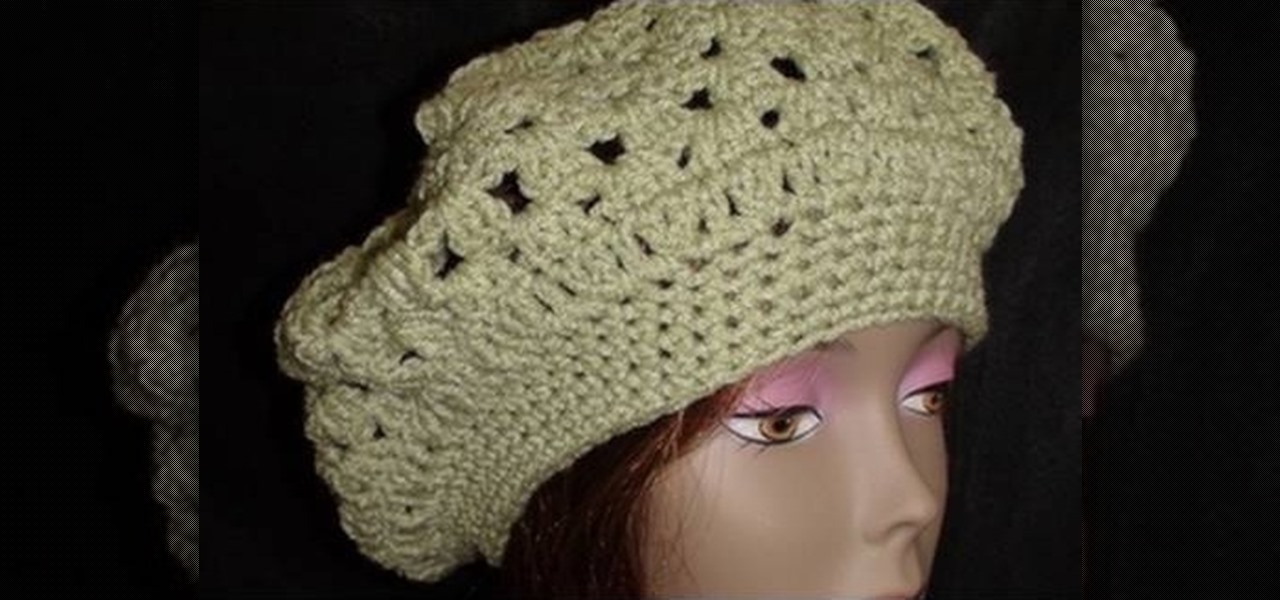
You can learn how to crochet a kingston cap! First step is to wrap the yarn over the hook and then slip the hook through the stitch. Next, wrap it over and pull through. After that you want to wrap the yarn over pull through to make two loops. Leave those loops on the hook. Then you want to wrap the yarn over the hook and insert it through the stitch. For more detail and visual demonstration of all of this, watch this how to video.
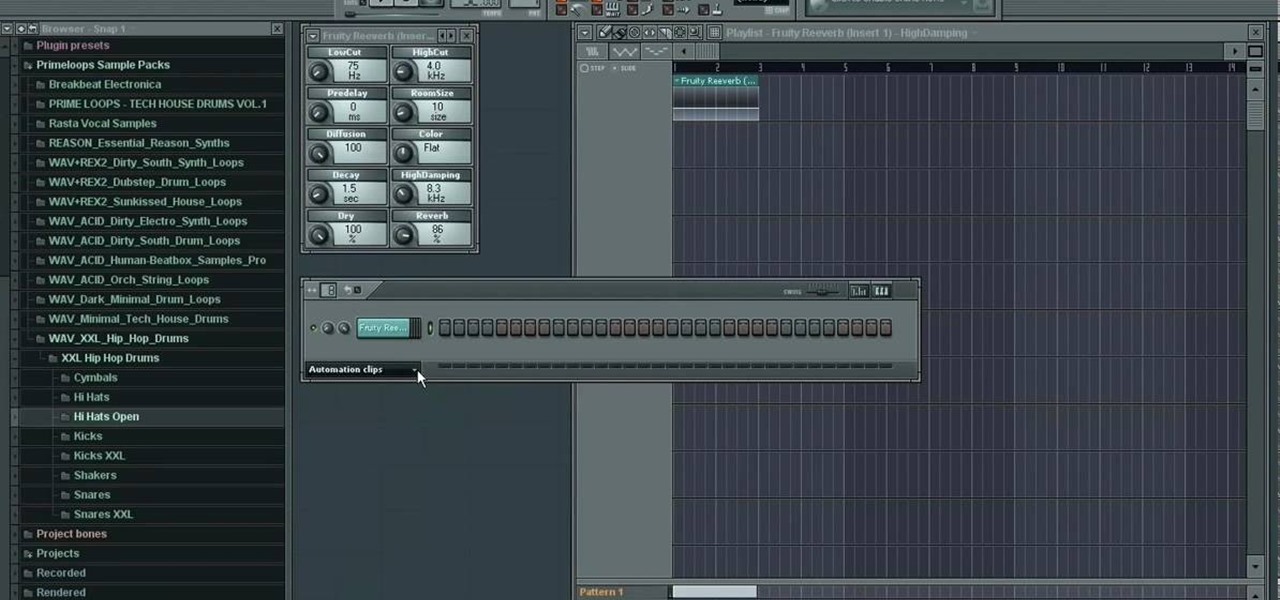
Prime Loops provides exclusive techniques from industry professionals to help enhance your music production, mastering skills & gain exposure. Their tips and tricks through tutorial videos are quick and easy to learn. In this video, they show the user how to add effects automation on beat. This video carries on from a series of previous videos. It goes through basic automation, adding it to the drum beat already made in the first FL Studio Tutorial. This tutorial gives the user the lowdown on...

Watch this instructional video to accomplish the knitting technique: M1R / M1L: Make One Right / Left. A make one, abbreviated M1 in knitting patterns, is an increase stitch. In some instances the slant of the increase does not matter, but, when it does, it's helpful to know how to make one left-slanting and how to make one right-slanting. A make one right slanting is abbreviated M1R:

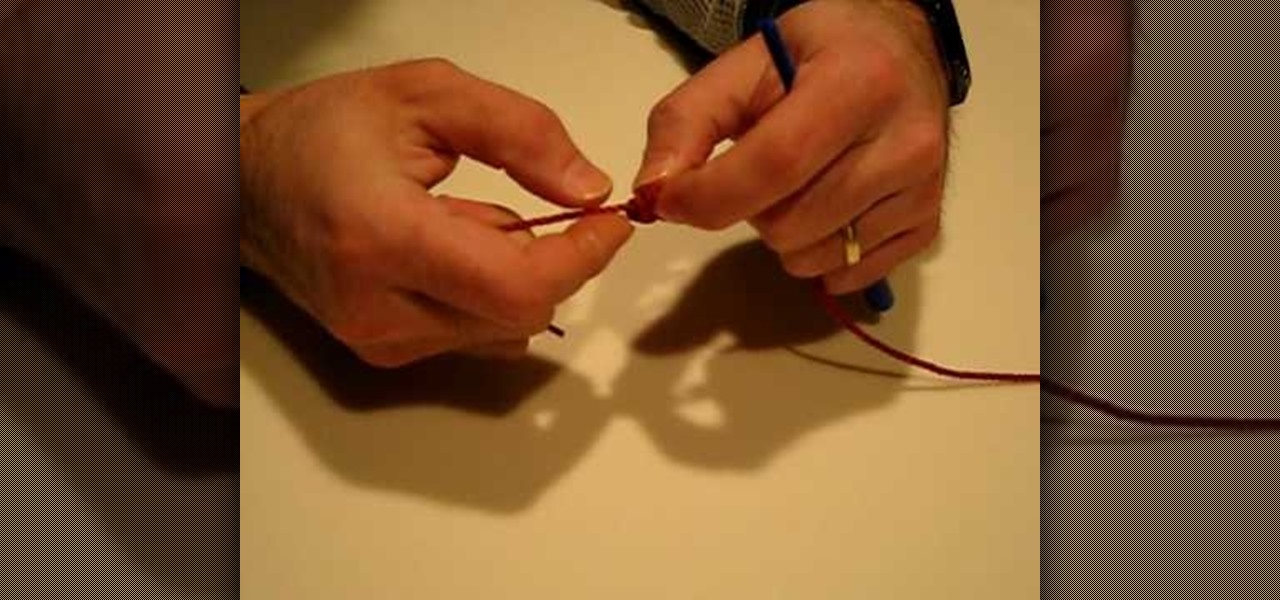
ShredBetties shows how to crochet a double crochet stitch in a round. To create the first double crochet in the second round, insert the hook of your needle into the loop at the top of the chain. Yarn over and insert your hook into the hole immediately to your left, below the three strands crossing over the hole. Yarn over and pull the yarn through the hole. You should now have three loops on the hook. Yarn over again and pull the yarn through two of the loops on your hook. You will now have ...

Video: . Being one of the most popular DIY/maker projects around, Musical Floppy Drives are nothing new. However, myFloppyDriveOrchestra includes a few unique features, which separate it from the crowd.

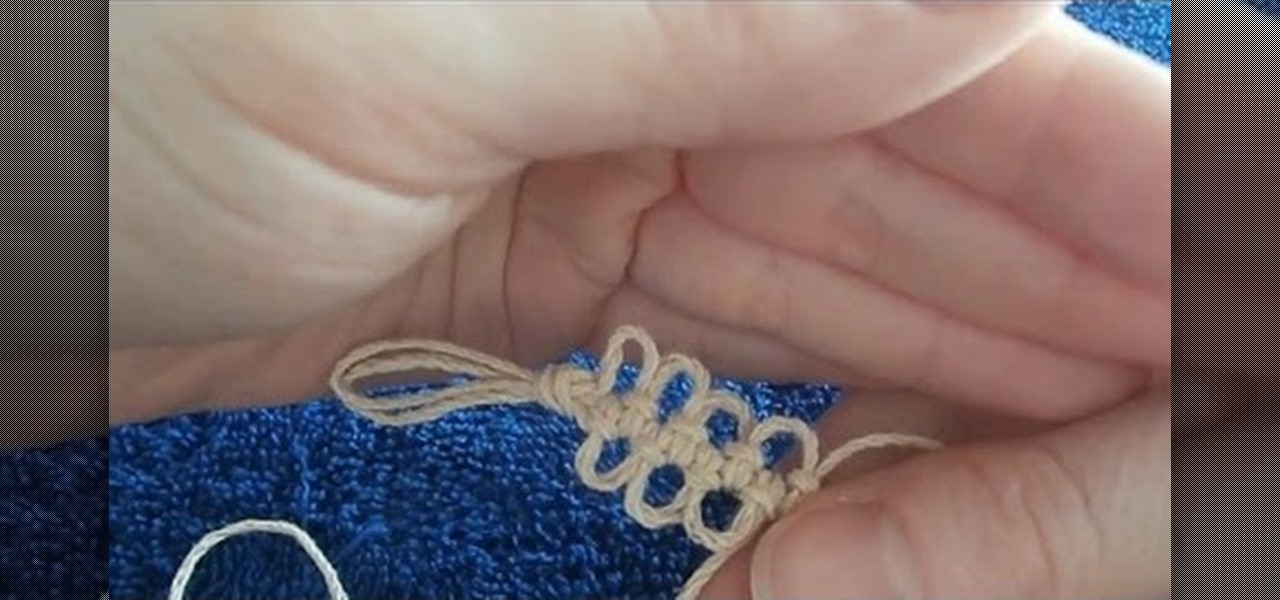
A step by step video tutorial that teaches how to tie an alternating Larks Head knot with loops.

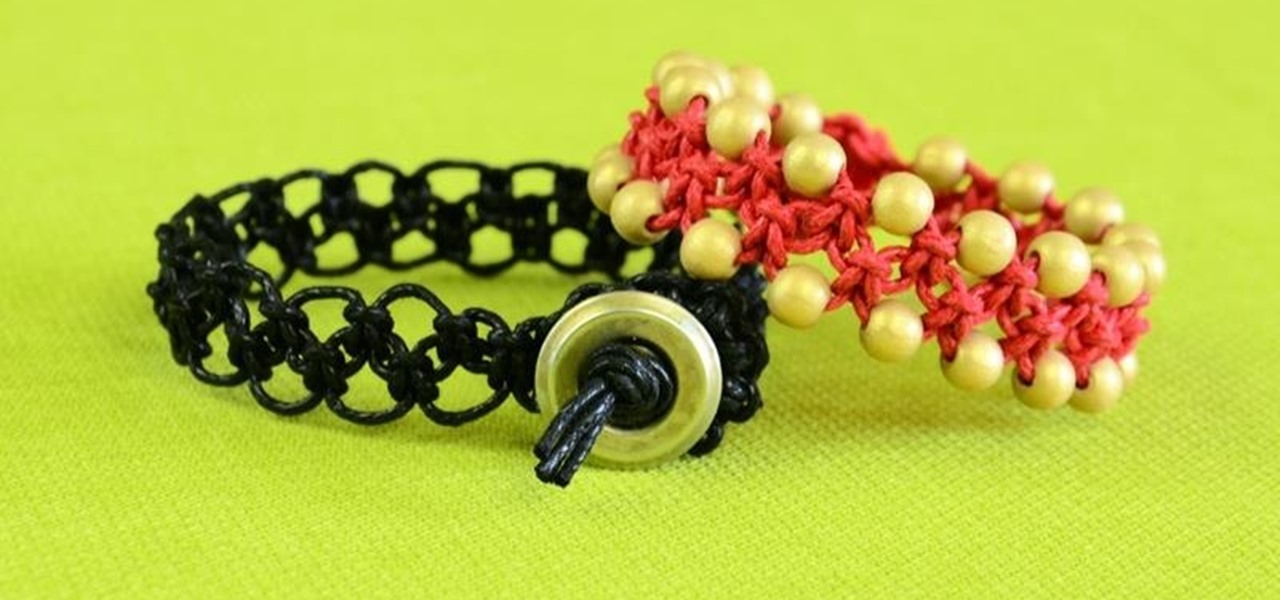
DIY Easy ZigZag Square Knot Loops Bracelet with Button Clasp. This is a good project for children and beginners to learn one of the basic knots frequently used in Macrame.

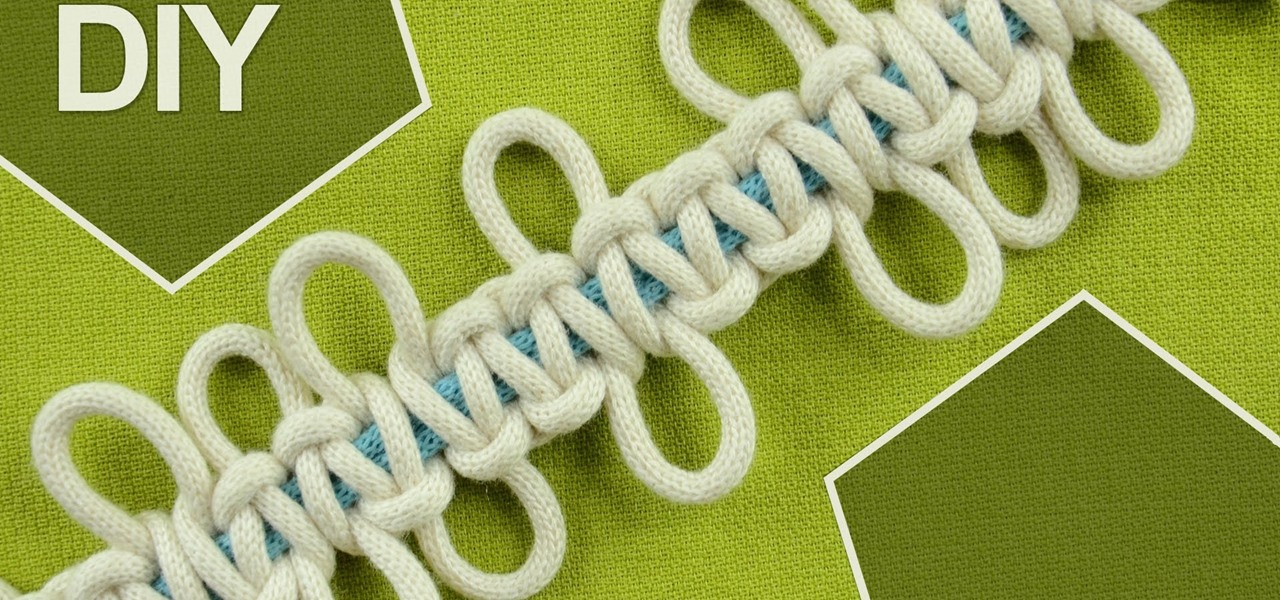
This Square knot design feature picots, which are small loops at the sides of the knot. Picots are simply loops along the edges. Picot Designs are vintage Macrame techniques. They are often used to make the edges of craft items to look like as flower petals. This is a good project for children and beginners to learn one of the basic knots frequently used in Macrame. To this pattern you can add pearls and have an interesting look.

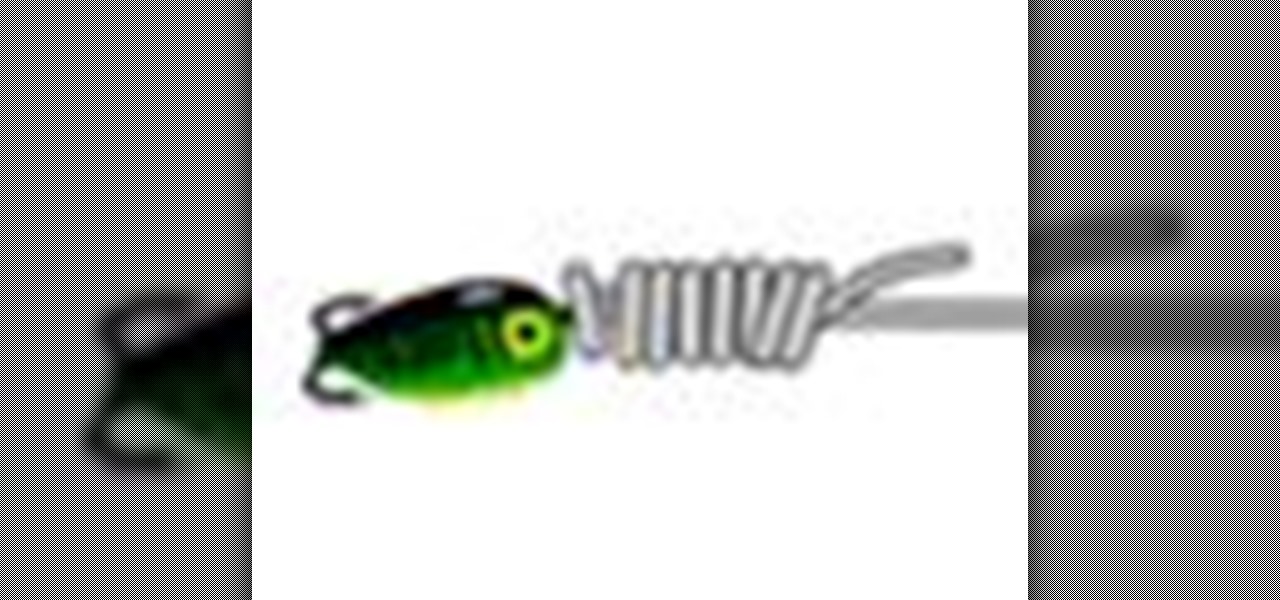
Popularized in Southern California, the San Diego Jam knot is used primarily by fishermen. It's a great, sturdy knot aimed at success, and is gaining popularity everywhere, even in South America. If you're up for a new fishing knot, give this one a try. Watch the animation to learn how to tie it.

In this video we learn how to make a zipper purse or mini fanny pack for your belt. First, fold a bandanna in half and cut out a rectangle. Then, cut a rectangle out for the belt loop too. Next, take one of the bigger rectangles and cut it about 1.5 inches from the top. Then, sew these two pieces together using a needle and thread with white thread. After this, pin down the zipper to the back and sew up the sides. Then take the other piece and stitch it to the front side of your other rectang...

In this tutorial, we learn how to crochet a fringe on a scarf. Start be going to the end of your last row with your hook. Then, chain one and pull it tight. Next, decide how long you want your fringes to be and pull your thread that long. After this, cut it on the bottom and pull the loop out of the chain. Now, take your hook under the first stitch and fold three twelve inch strands in half. Then, hook these onto the crochet hook and catch the tail with the strands. Continue to crochet the fr...

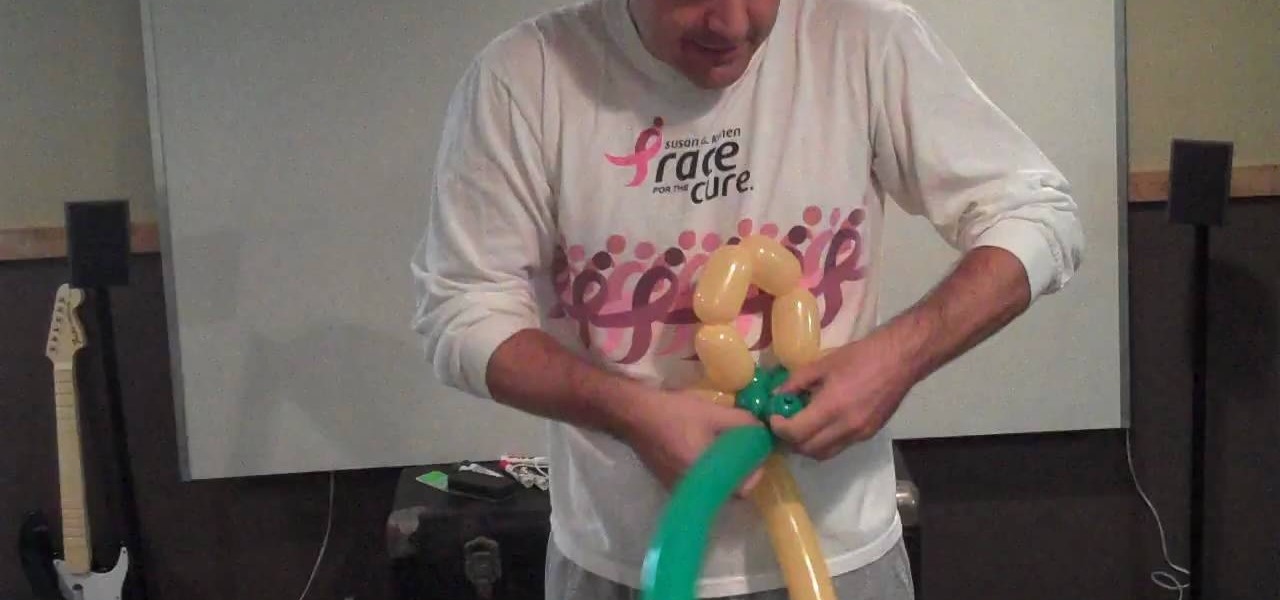
his video show viewers how to make a basic sunflower out of 2 balloons. First, you should begin with the green balloon which will make the stem. Make sure that both balloons have some empty space at the ends for allowance of air movement during folding. Make two small bubbles on the green balloon and then twist this together with the yellow balloon which will make the petals. Make 6 rather large bubbles to form the petals. Make a loop with the yellow balloon after all 6 bubbles are made and a...

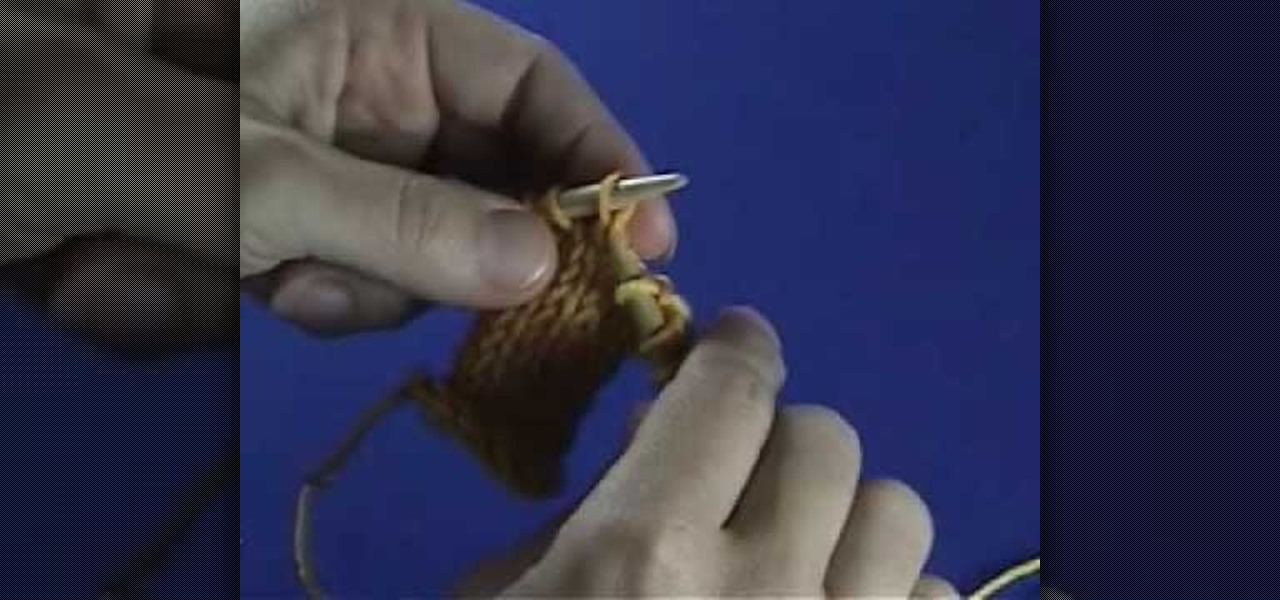
In this tutorial, we learn how to recognize a backwards knitting stitch. Sometimes if you have to undo stitches, you may need to recognize where the stitches are so you can fix the problem. The front leg will be sitting in front of the one in the back when it's done correctly. If done backwards, you will be able to see the front leg in the back of the back leg. To fix this, you can simply take the stitch off, turn it around, and orient it correctly. Or, you can knit through the back loop to t...

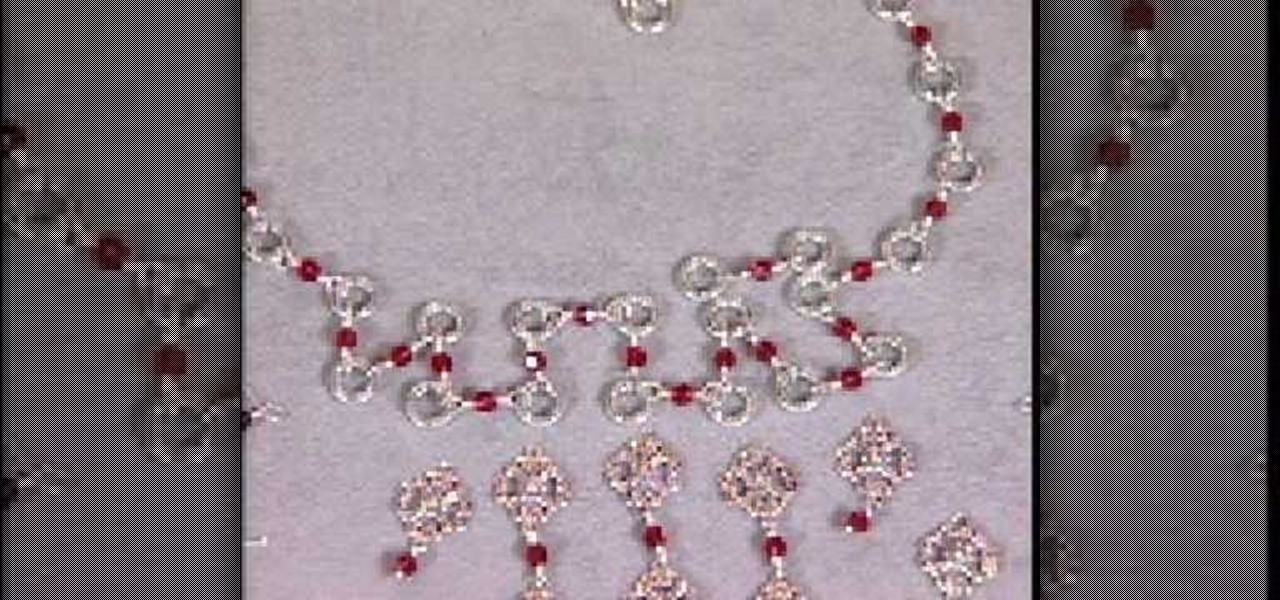
In this tutorial, we learn how to make a silver vintage-style bead necklace. First make sure you have silver wire and glass beads in the color that you prefer. Now, you will string the beads through individual wires and close them so these can be applied to the center of the necklace. This will create a long chandelier like quality on the necklace. After this, you will create the base of the necklace with the same color beads and silver. You will want to follow the pattern of creating silver ...

An EZ-Crimp is a very useful tool in jewelry making; with a rounded loop on one end and a flat rectangulr space equipped with a hole on the other, it allows for the attachment of a piece of wire (inserted through the hole) and can be used to close a necklace.

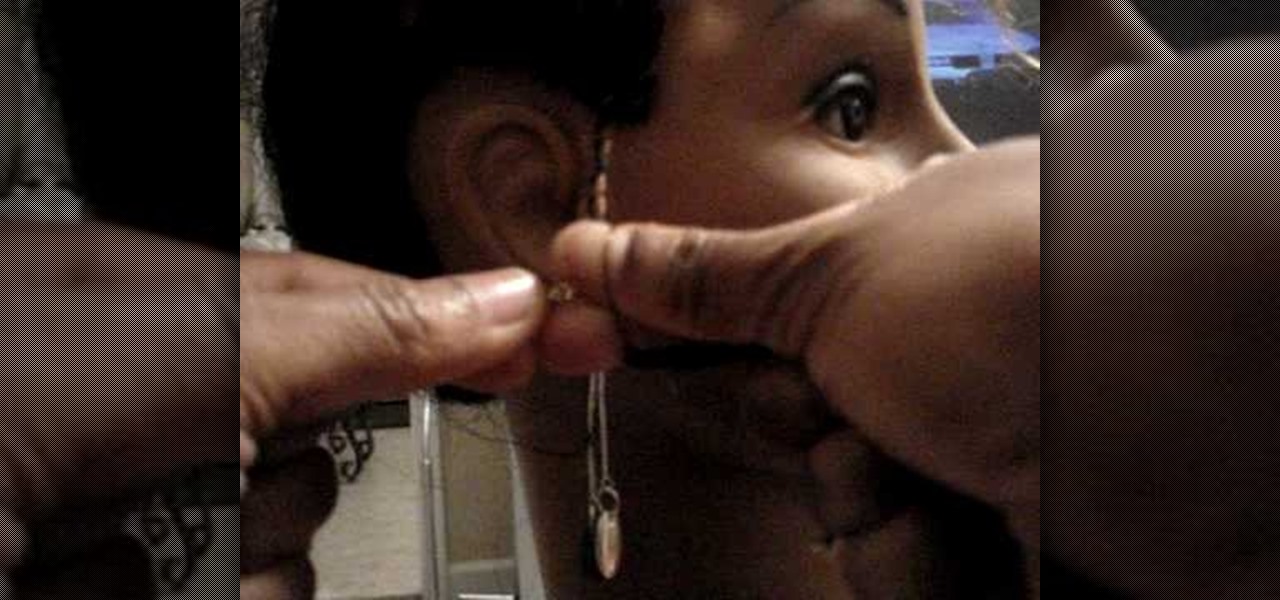
In order to make a hook for an earring, you will need the following: round nose pliers, a wire cutter, a nail file or sand paper, an ink pen, 20-22 gauge wire. With your round nose pliers, make little hook, in the end of the wire. Bend it, until it makes a little loop.

In order to make a ribbon tree, you will need the following: 50 2" pieces of ribbon, scissors, a hot glue gun, hot glue sticks, and a floral tree.

In this video from ChickerOutItsSARA25 we learn how to make a fake lip or nose ring using a spiral notebook. At the end of the spiral notebook, pull out the spiral so one loop is out and take your scissors and cut it. Bend it until it breaks off. Now you have a small ring. Bend it into a circular shape to it looks like a nose ring or lip ring. Now before you go and get an actual piercing, you can see what you would look like with a nose or lip ring by making your very own face lip or nose ring.

Following are the steps to describe how-to make small jewelry with head pins: 1. Materials needed are long head pins, beads, wire, cutting player.

An easy way to plait or braid hair is using this knotting technique. Separate two sections of hair into the same size of section. Then tie the two together one time by wrapping one section of hair over and then through the loop. Then both of those pieces of hair become one strand, and you section another piece. Repeat the knotting process again, and continue repeating these steps for the section that you want braided. It is very important to use a pick or the end of a comb to take out this ty...

Jen Spencer teaches how to save money by making a Ribbon Tree at home. You can create this by using some of your ribbon scraps. Cut them into two inch strips, you'll need scissors, a hot glue gun, and a green floral tree. They come in a variety of sizes and also white. Fold the strip in half making a loop. Add a dab of glue on the end and close it. Jen warns be careful with the glue gun. Do that with all the ribbon strips. Place a little glue on the tree and glue the strips on. On top you can...

In this how-to video, you will learn how to tie a slipknot on micro braids. First, braid the hair to the desired length. It is good to braid it close to the end, unless the hair is permed. Now, hold the braid and fix it so that it can be nice and neat. Take a few strands of hair and tie it around the rest of the hair. Now loop it around the finger holding it and put your thumb inside. Make sure to tie it up. Do the same thing about three or four times. Once this is done, take part of the same...

This video tutorial in Spirituality category will show you how to make a rosary bracelet. Jim Horn from real life rosary presents this video. For this you will need a nylon string and a bead making tool. With the string take three turns around the end of the bead making tool and pass the end of the string through the slot in the tool so that it passes through the three turns and tighten it to make a knot which makes a bead. Like this you make nine beads and then the father and the beginnings ...

In this video you will learn how to make a bow and arrow from household items. In order to do this, just follow these steps: The first thing to do is to get your tools. Get any tool that will help you to cut things. Now, you need 2 yard flags and an elastic. Take 1 yard flag and cut it in half. Use a tool to bend 2 loops on each end of the flag. Make the arrow using the same cutting process and put the elastic on the bow. Fire the arrow with the bow and you're done.

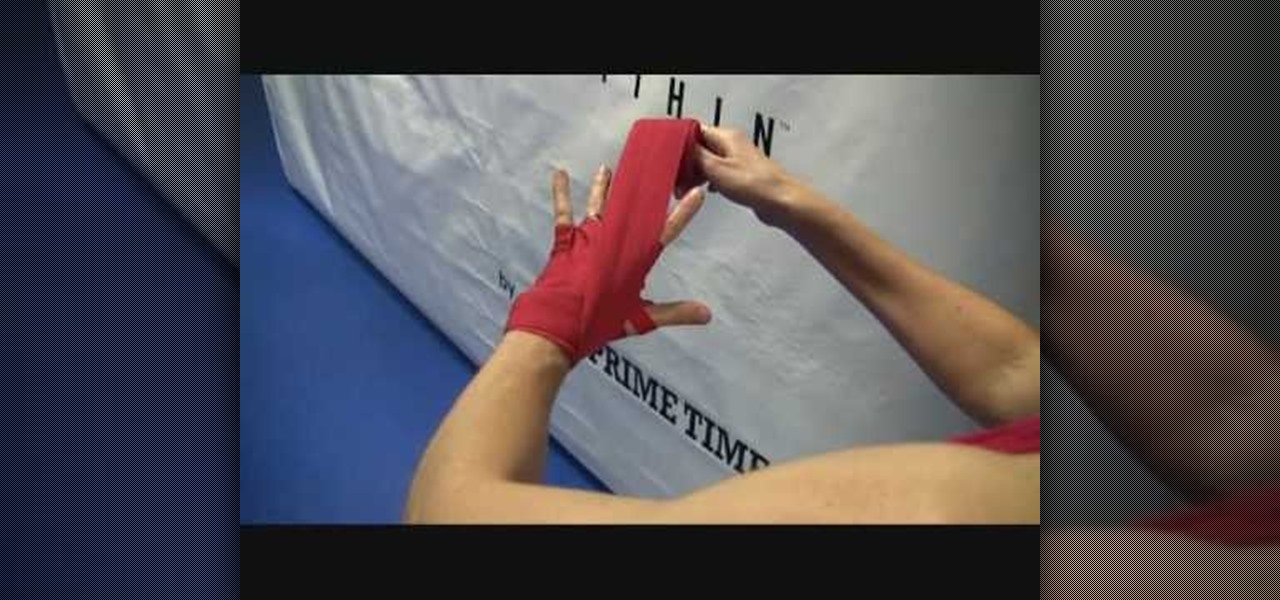
Laura Bateman, of Extreme Fitness Now, demonstrates how to wrap your hands for boxing. Wrapping is important for protecting your wrists and knuckles from injury. Mexican hand wraps are longer than the typical hand wraps. Place the looped end of the wrap over your thumb. Be sure to position the wrap the right side down. Next, wrap it around your wrist three times. Feed the wrap under your thumb, under the palm and up to the knuckle of the index finger. Wrap the knuckle two times. Cross down to...

Wrapping your wrists for boxing is very important to provide protection and support when you are throwing your punches. This video shows you the right way to wrap your wrists to prevent injury. You'll be putting the seam side of the wrap against your skin, and start by putting the loop at the end over your thumb. You will start by wrapping the wrist a few times, depending on how long your wrap is. Watch to see the correct way to cover the knuckles and secure the wrap against your hand before ...

Kay demonstrates how to create a bun hairstyle using a few easy steps. She shows how this hairstyle can be accomplished using only a few tools, such as: hair grease, a bristle brush, hair bands, and paddle brush. She demonstrates how to start it by smoothing your hair with grease first, then brush hair, putting it up in a pony tail, stopping on the last loop, and smoothing with a bristle brush. A hair band completes the look. Kay calls this style the "mushroom". She shows how to arrange the b...

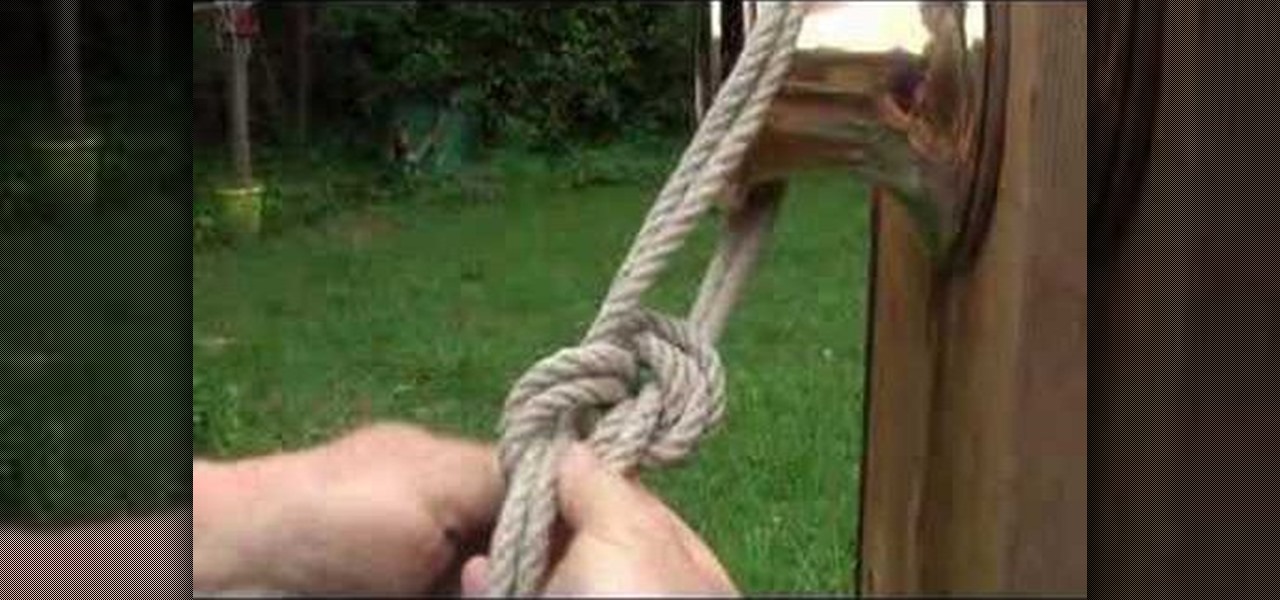
This is a home grown variant of the bowline, also useful for sailing. The bowline is tied in the standard manner in the bight of the rope. The running end is passed below the knot and follows the turn back around through the locking bend. The exiting loop can be used for lifting or for tensioning the line to tie down deck cargo. Check out this video sailing tutorial and learn how to tie a variation of the bowline knot.

Although you may not agree with Sarah Palin's policies, there is one thing we all can agree on. Sarah Palin's hair looks great This tutorial teaches you how to do an "updo" Sarah Palin style. This is a quick and easy way to put your hair up without having to use any product, teasing or backcombing. Gather you hair into a pony tail, twist your hair, loop it upwards and clip it in place with a good size barette. Let the ends show at the top of your head. Then, gently loosen sections of your hai...

In this Episode, you will learn how to set up a seamless looping particle system. We will be using Trapcode Particular and Starglow to create a stylized holiday snowstorm, but the concepts can be adapted for anything from backgrounds to lower 3rds.

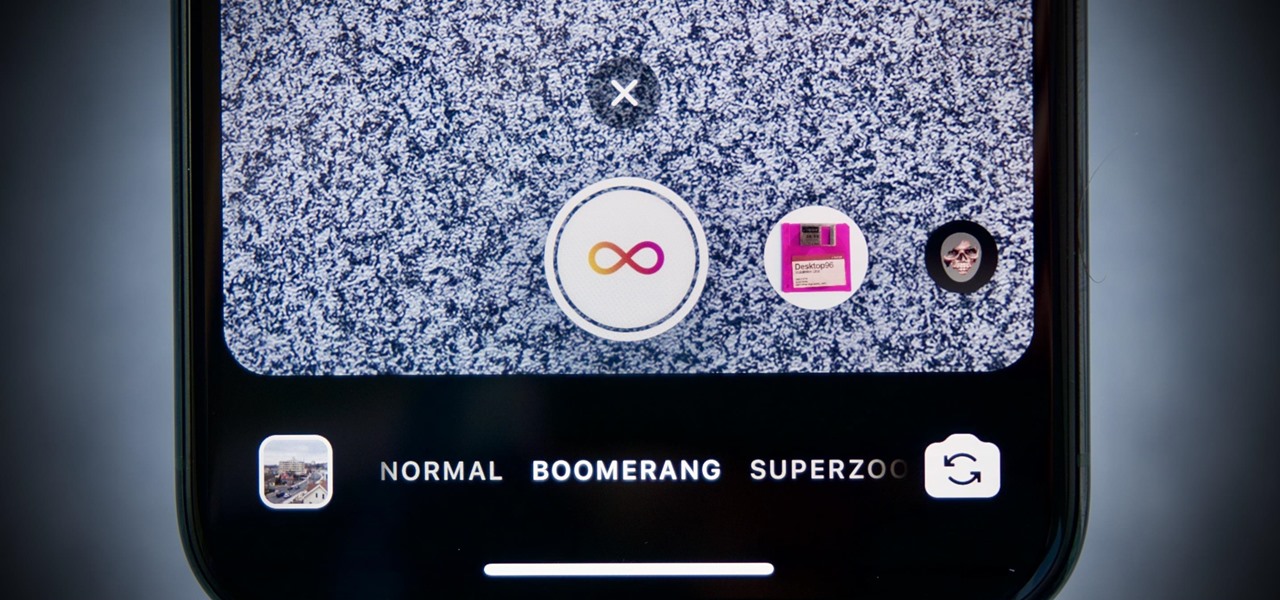
Boomerangs are perhaps the quintessential story tool on Instagram. Surprisingly, there's never been much to them — point and shoot, and your subject plays forward and backward in a never-ending loop. Perhaps its prolonged simplicity inspired Instagram to give Boomerangs a bit more depth because the company just introduced three new effects to try out.

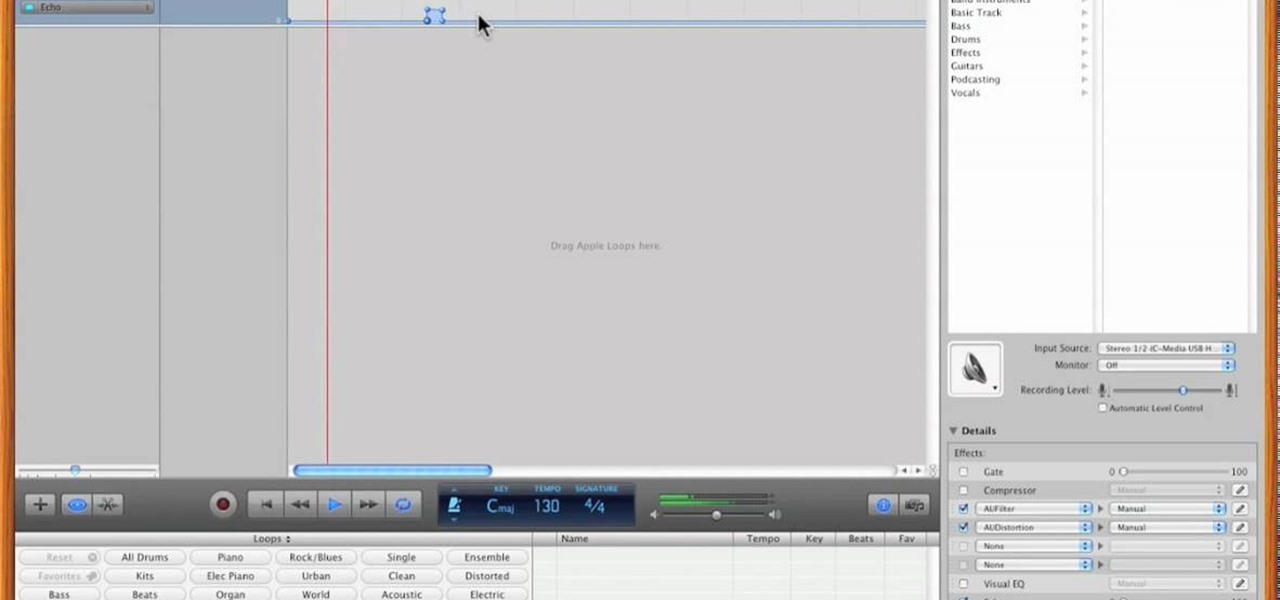
In this video, Nick teaches us how to use effects automation in Garageband. Any effects you use on your track will allow you to change the effects over time if you change how you want it. First, load up your track and loop it up by clicking on the loop button. Once finished, load up effects so you can automate them later. Hit the "i" button, then go to the details tab on the bottom. Now, change the effects you would like for automation. For the first one, go with the "au" filter, then for the...

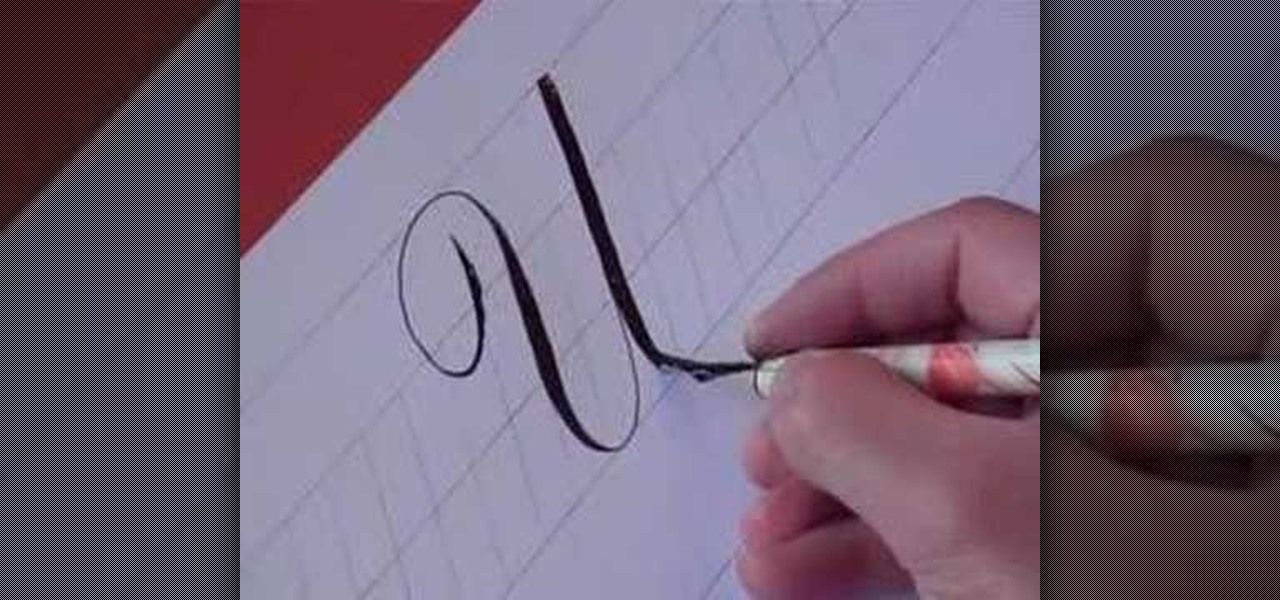
In this video, you will learn how to write the letter U in calligraphy copperplate. Capital U: Take the calligraphy pen with black ink and scaled calligraphy paper. Make a narrow, looped curve to start the "U". After the loop, make a broad brush stroke down. Narrow the brush on the up stroke and broaden again on the down stroke. Narrow the brush on the final upstroke.

In order to wire wrap briolette, you will need the following: wire, wire cutters, chain nose pliers, flat nose pliers, and briolette,

In this video, we learn how to tie off when sewing by hand. First you want to sew your fabric and complete your desired project. Next, you will push the needle into the bottom of the fabric where you won't be able to see the tie off from the front. Now, loop the thread and push the needle with thread through it, before you finish, push the needle through one more loop. Now, pull tightly until there is a tight knot at the bottom of the thread. Now, take your scissors and cut tightly next to th...

Want to make a Fruit Loop mixed drink like a champion bartender? This clip will show you how it's done. With the proper technique, mixing the perfect drink can be easy. So easy, in fact, that this free video bartenders' guide can present an overview of the process in about a minute's time. For more information, including a full list of ingredients and complete instructions on how to mix this drink yourself, take a look.


