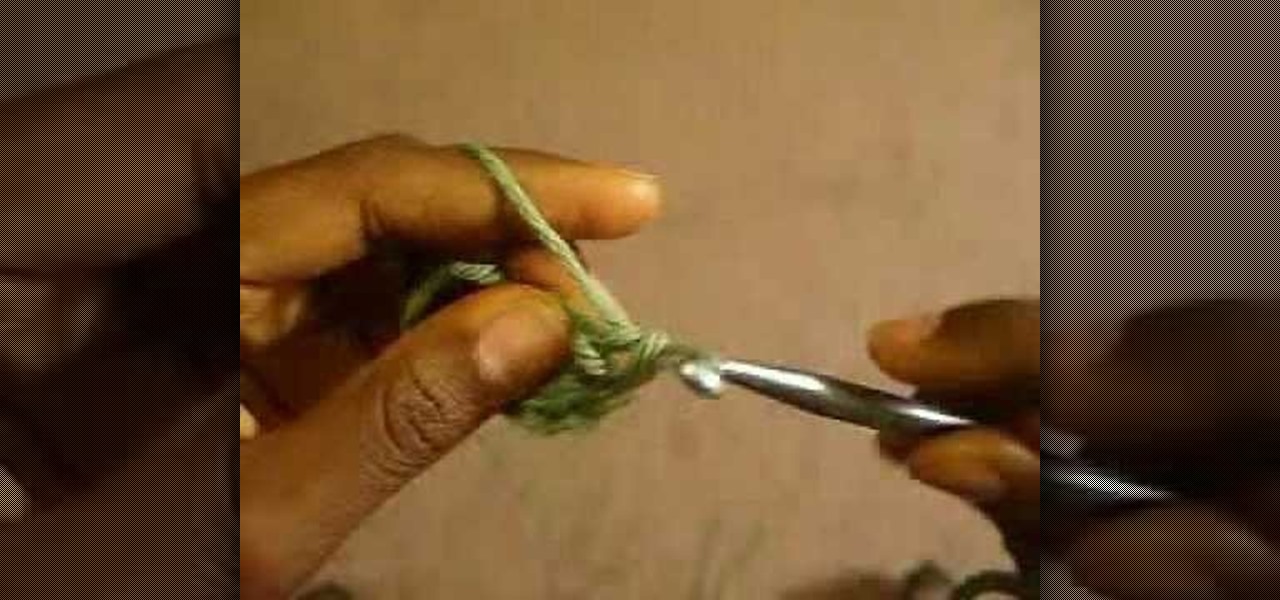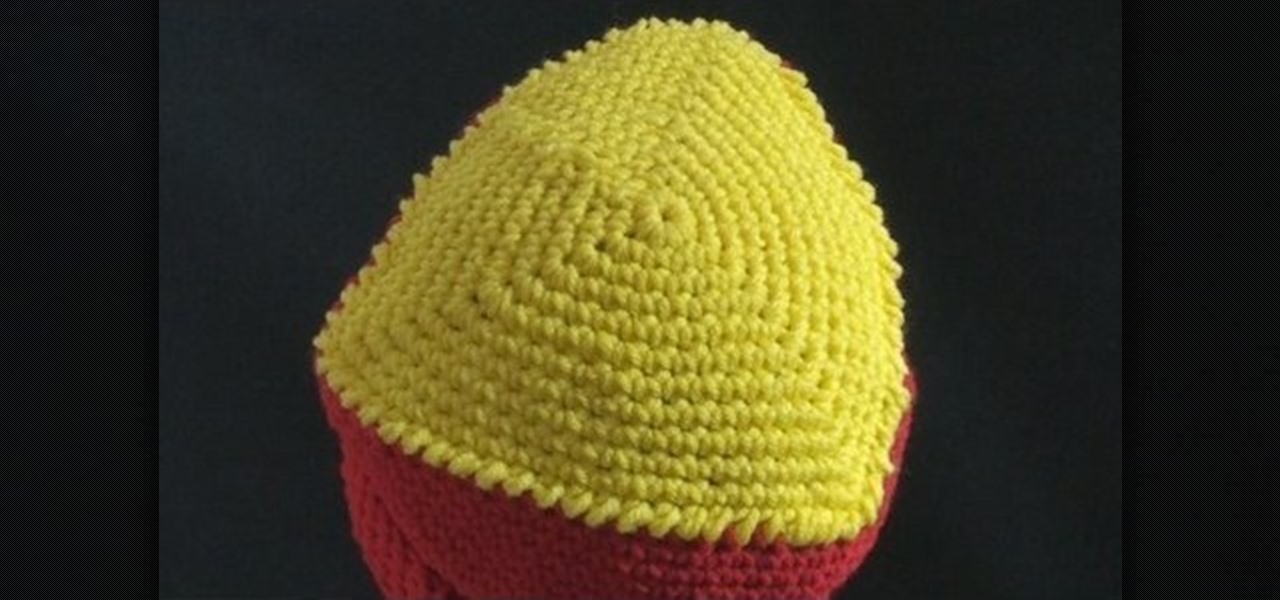
In this video we learn how to crochet a shell beanie hat. There are a total for seventeen rounds to make this beanie hat. Start out with a chain one and then single crochet in the starting loop. Continue to do this throughout the round and then join in the beginning single crochet. For the next round, you will single crochet and then create shells in the hat. Start out with round three, where you will start with a double crochet and then join the half double crochets with the beginning. When ...
In this tutorial, we learn how to tie a bowtie left- handed. First, put the tie around your neck and adjust the two tails. The right should hang 1" lower than the left. Then, cross the longer over the shorter and push up over and through to make a simple knot. Form a bow with the back bow using your thumbs and fingers. Next, take the front tail and pull it behind the just-made bow to create the center of the full bow. Then, push the new one right through the knot in the opposite direction. Th...
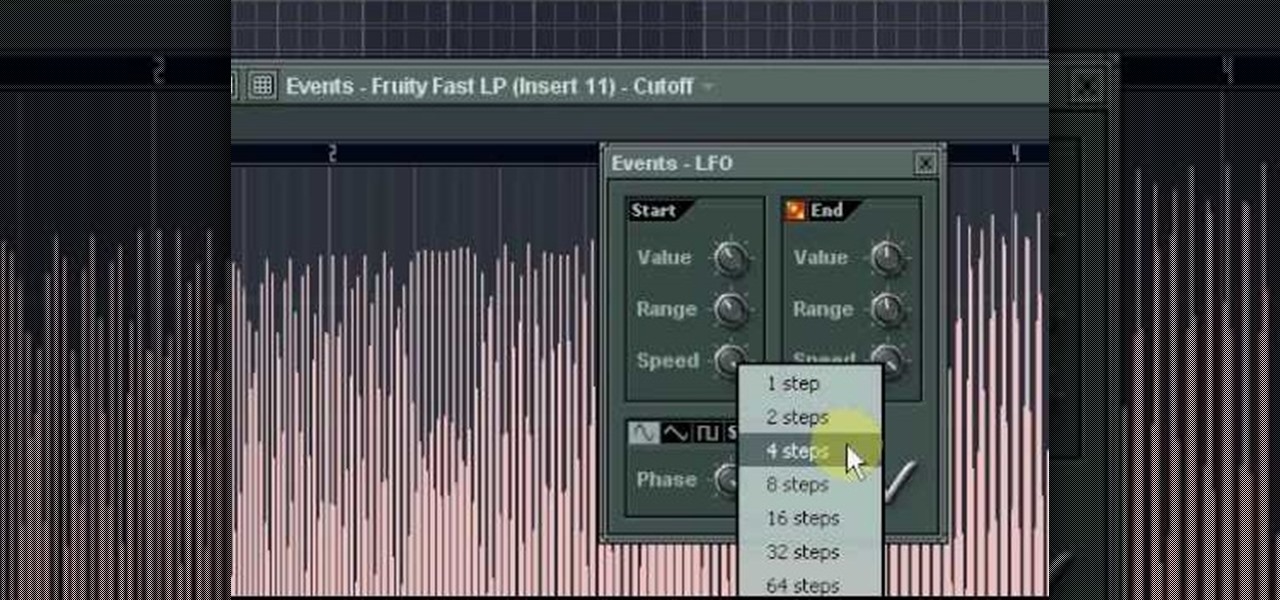
In this video, we learn how to make an effective dub bassline in FL Studio. Use a normal bass and add effects to make this. Add in different effects on the bassline, then go through the drop down menu to add in Fruity Loops fast LP. This will enable you to change the wobble on the beat as well as the cutoff. When you change this, you can control the sound by editing the knob until it's how you like it. After you edit the events, you can create the beat how you want it, then save it and use it...
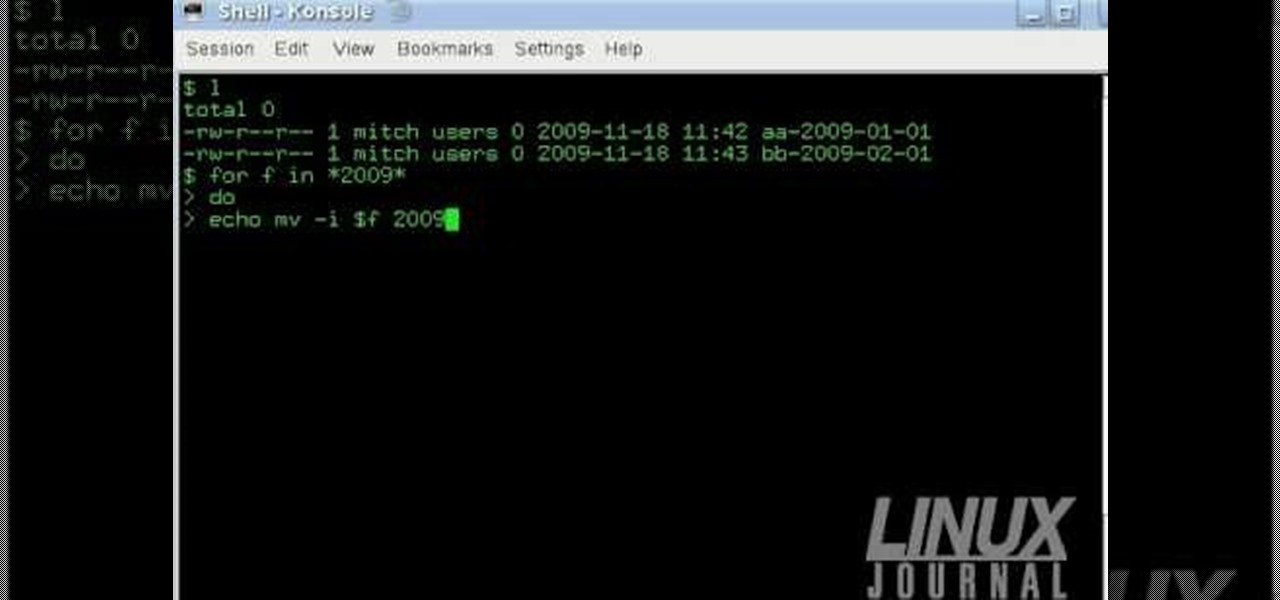
The Linux command shell provides a very powerful interface for doing various system tasks. This video explains with an example, how to use a bit of programming techniques to batch rename files with similar naming conventions.
Are you ready for the spookiest time of year yet? Get yourself in the mood for macabre (Halloween is in only two months!) by checking out this crafting tutorial for making a cute spider stamp-embellished Halloween box equipped with a ribbon holder.

In this video, we learn how to trick your trick or treaters on Halloween. You will need strong tape and a glove to do this trick. First, loop the tape and place it on as much surface area of the glove as you can (on the palm). Now, put the glove on your hand and wait for the trick or treaters to come. Now, take one piece of candy from the basket, making sure it's touching your hand. After this, place your hand in the bag and push it off, picking up other pieces of candy. Once you do this, you...

In this video, we learn how to start a beanie. During this, you will increase the number of single crochet stitches in a chain. Start off with a chain three, then join them by crocheting a single stitch in the first stitch you made. Do this by pushing the hook through and pulling the yard over, then pulling through. After this, you will have a circle. Start to crochet inside of this by using your circle and inserting the hook into the circle. Crochet around the tail of the circle, then yarn o...

In this video, we learn how to crochet a triangle-shaped bikini beanie hat. First, crochet nine single crochets through a simple loop. After this, join with the beginning single crochet and work a single crochet three times. next, work one single crochets in each of the next two, then three single crochets in the next stitch. Now, go join with the first single crochet. Continue to go around until you have a large circle shape, going down on the sides to make the entire beanie shape. After thi...

In this tutorial, we learn how to crochet a beanie hat. First, you must place the yarn around your fingers, then thread through the needle with a slip knot. After you do this, grab the yarn and move the string through the slip knot to make a chain stitch. The next type of stitch you will do is a seam stitch, where you will find a hole and grab the string, then bring the needle through so you have two loops around the needle, then bring it back through the hole. You will continue to do these s...

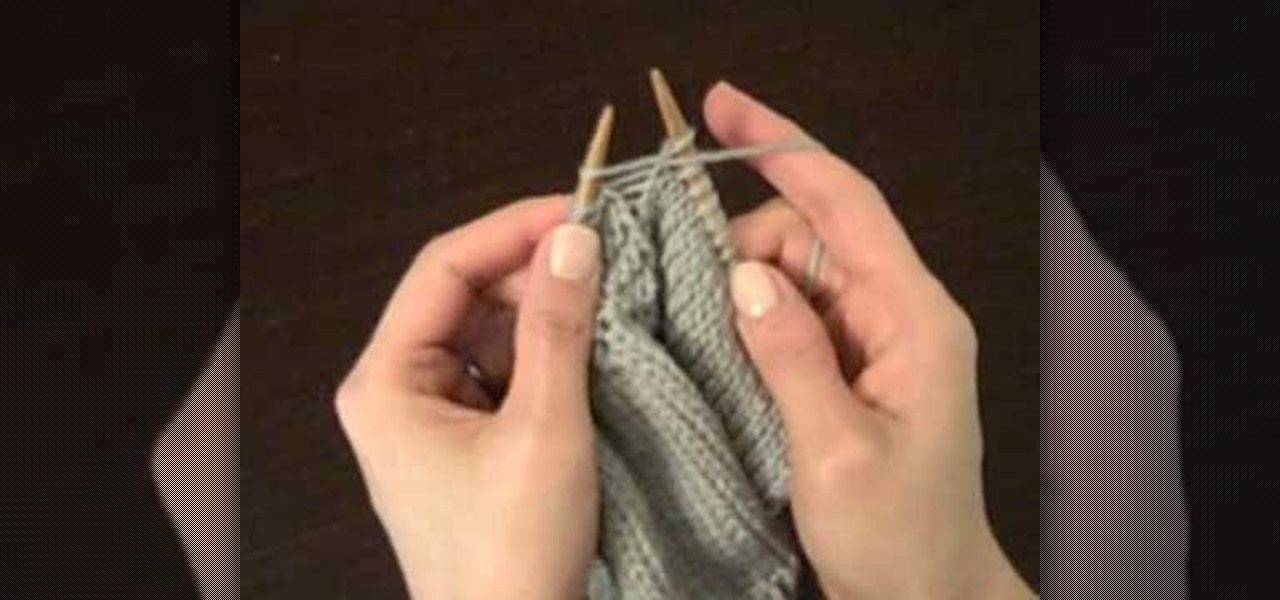
In this video, we learn how to do a purl increase stitch in knitting. First, make sure your yarn is in front, then do a normal purl stitch. Before you take your yarn off the left needle, go into the back of that stitch and pick it up from behind. Then, do a normal purl loop. After this, take the needle off. This is all you have to do to do a purl increase while you are stitching. If you don't understand it at first, then keep practicing and you will eventually learn how to do this. When you l...

For those of you not in the tack horror movie loop, "Army of Darkness" was a comedy horror flick which came out in 1993 that featured not so scary zombies and your typical aggregation of gnarly looking undead. While the movie itself was a bit of a snore, the prop guys did produce a rather cool-looking book, called the Book of the Dead.

In this tutorial, we learn how to make knit stitch markers. First, knit to the middle, doing two stitches together, then flip stitch over. When you get to the middle of your item, place your marker on the stitch to keep track of where the loops are at. You can purchase a knit stitch marker from a variety of different craft stores. Use this as often as you'd like, especially if you need help finding the gap when you are creating something. Set this aside when you are finished, and make sure yo...

In this tutorial, we learn how to make a left-hand crochet Valentine's puffy heart. You will need: a size G crochet hook and yarn. Start by working a chain of three then forming a loop and doing a chain one. After this, work 9 single crochets through the center of the ring. Next, do 18 single crochets making the first stitch on a single crochet. Keep doing 18 single crochets around the circle you have created. After this, make one single crochet for a total of 18. The edges will start to curl...

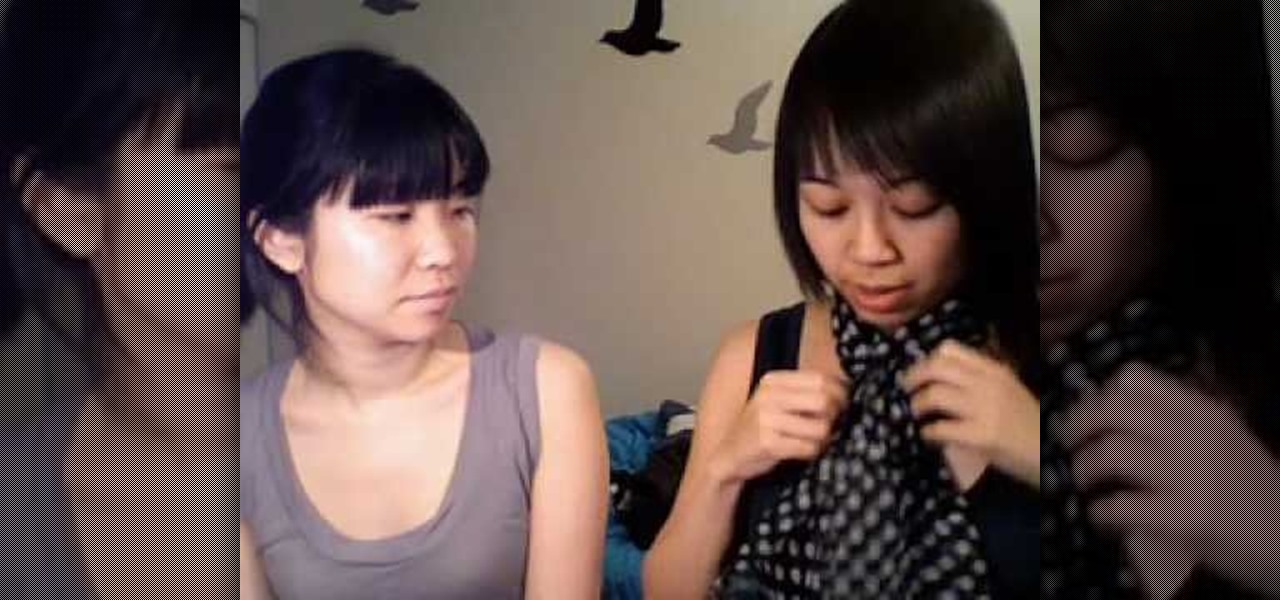
In this video, we learn how to tie scarves. The first way is to wear a scarf with tassels that is wrapped once around the neck with it's sides hanging down in front of you. With a skinny scarf, you can tie it around your head to make a headband or fold it in half and wrap it around a pony tail. If you have a rectangular scarf, you can tie it in a loop around your neck, or make a loose knot on your chest in front of you. If you want a polished look, tie a bow in front with the scarf. A square ...

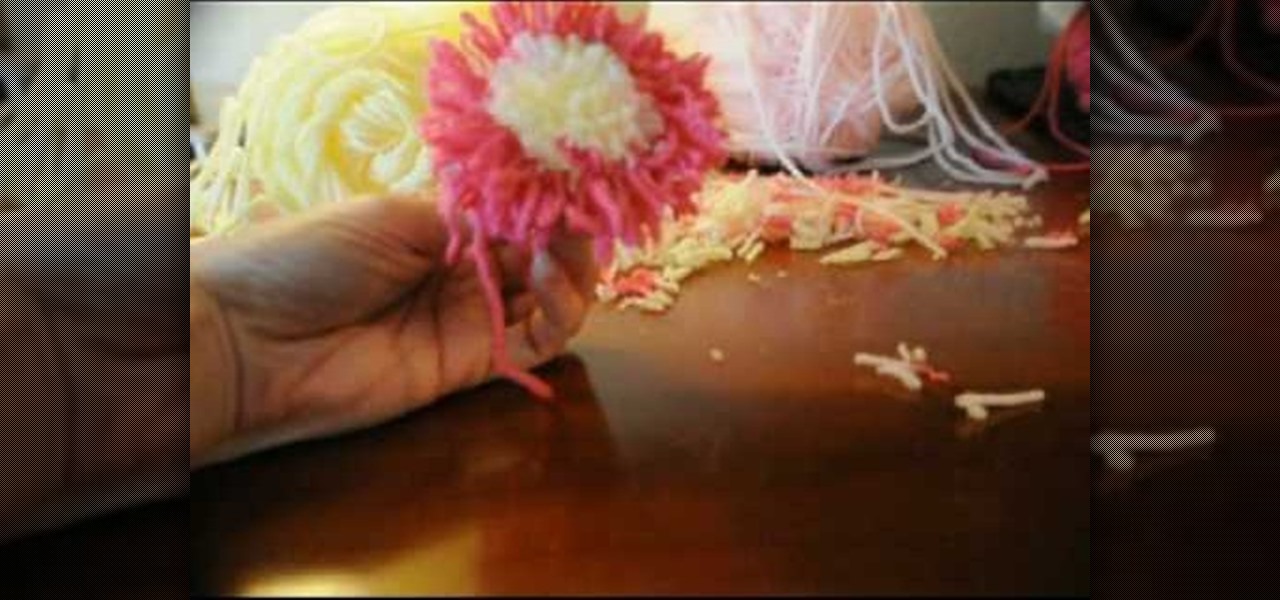
Tracey shows us how to crochet an easy pom pom flower in this tutorial. First, wrap your yarn around four fingers several times, and then wrap another color around as well. Last, wrap one last color on top of the middle color still wrapping around your fingers. Now pull the yarn off your fingers and tie a piece of yarn down the center of the wrapped yarn. Pull this as tight as you can and make as many knots as possible with this piece of yarn. Now cut your loops open with scissors through the...

In this video tutorial, viewers learn how to make an animated image on a Mac OS X computer. Users will need to download the GIFfun program. Once downloaded and installed, open the program and drag the images into the program. Then set the time delay for each image, amount of loops and configure the options. Once your finished configuring the image, click on Make Gif. The image will be produced in the small square window below. Then simply drag the image onto your desktop. This video will bene...

First of all, hairpin lace is a knitting technique using a crochet hook and a hairpin lace loom, which consists simply of two parallel metal rods. To use the loom, you wrap yarn around the loops to form prongs, and eventually get a delicate lacy pattern.

In this video tutorial, viewers learn how to mount ISO files without burning DVD. This task is very fast, easy and simple to do. The first way is to simply right-click on the ISO file, go to Open With and select Open with "Archive Mounter". The second way is to open the Terminal program and type in the command line: sudo mount -o loop -t iso9660.ISO [directory]. Users will need to create a directory before using the terminal command line. Finish by pressing the Enter key. This video will bene...

This video shows us the method to make simple GIF animations in Photoshop Elements 6. First we have to make a file with different layers. Click on the icon below the 'Layer' option to make a new layer in the file. After finishing the file, go to 'File' and the 'Save for Web' option in it. On the right side of the window, select 'GIF' as the file type. Check the 'Animation' option. Check 'Loop' to play the file again and again. Click 'OK' and the window to ask you the name of the file will be ...

In this video tutorial, viewers learn how to tie shoelaces faster. The knot presented in this video is the Ian Knot. Begin by doing an overhand knot by grabbing he two strings, cross one over, tuck it in the loop and pull down. Now grab the left string with your left hand. The string should be on top of your thumb and index finger. Do the same on the right side. Now crossover the strings and pull. This video will benefit those viewers who have trouble tying shoes or would like to learn a easi...

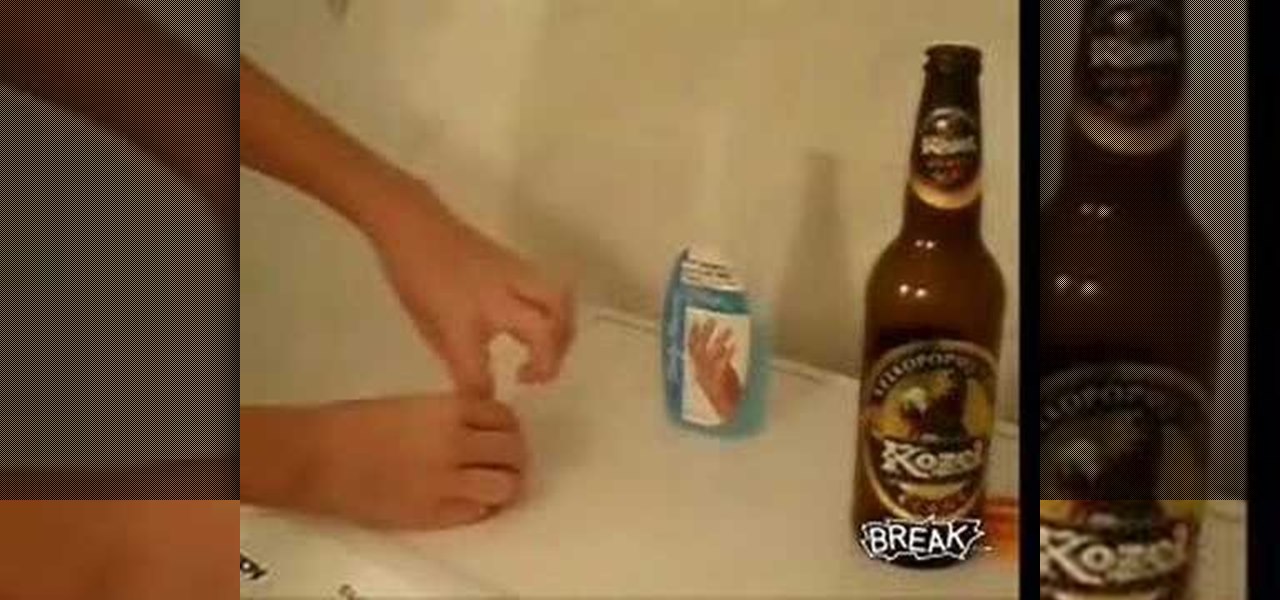
This video describes the process of cutting a beer bottle in half. First a piece of string is tied around a glass beer bottle to gauge the proper length that the string should be. Next, excess string is cut off and the tied string loop is slid up and off of the bottle. Next, the cap of a bottle of nail polish remover is unscrewed and the cap is filled with nail polish remover. The string is then wadded up and dipped into the nail polish remover for a couple seconds. The string is slid back on...

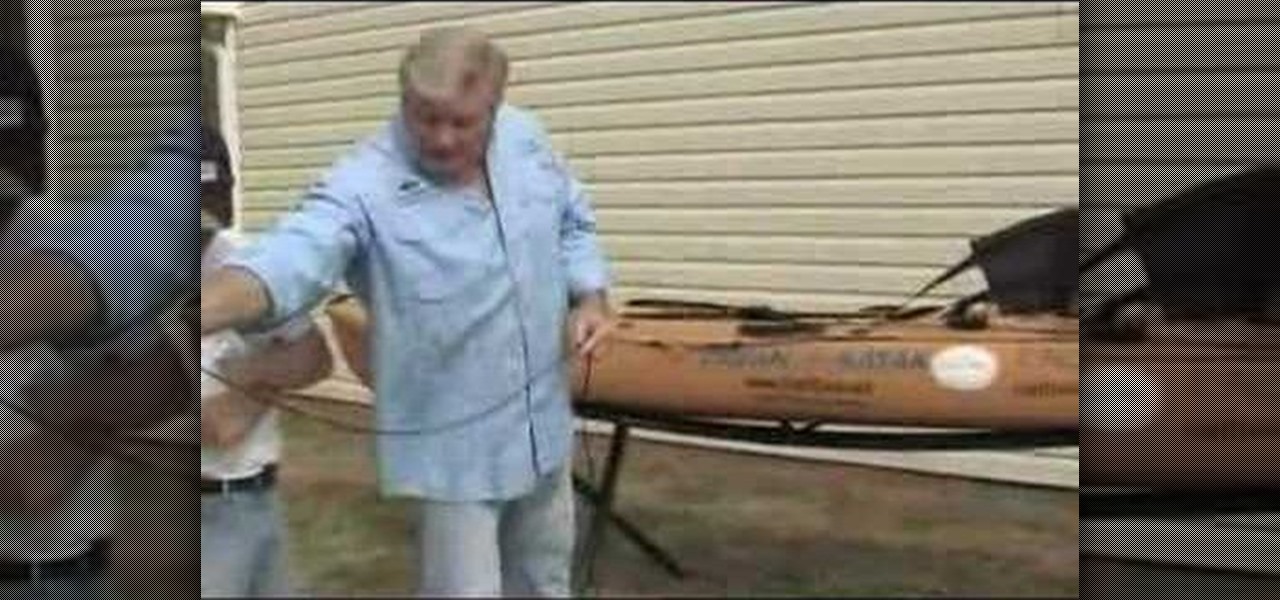
In this how to video, you will learn how to use an anchor trolley on your kayak. First off, the critical part with kayak fishing is being able to present your bait to the fish. This system anchors you in order to position yourself in any way to do just that. If you are fishing and anchored, there are many types of anchors to choose from. A fold up anchor allows you portability and space. Loop the line and run it through the bottom of the ring and attach it to the zig zag cleat. This allows yo...

Abigail Goss demonstrates a traditional Apostolic hairstyle, the vertical roll with pin curls. She starts by creating a poof, back combing the roots from the crown to the forehead. Then she creates a section of hair above the ears. She rolls this hair several times in one direction and then puts all of the hair into a ponytail at the base of the neck. At this point the style looks like a french twist with a ponytail at the bottom. She then coats the hair with gel. To make the curls, she takes...

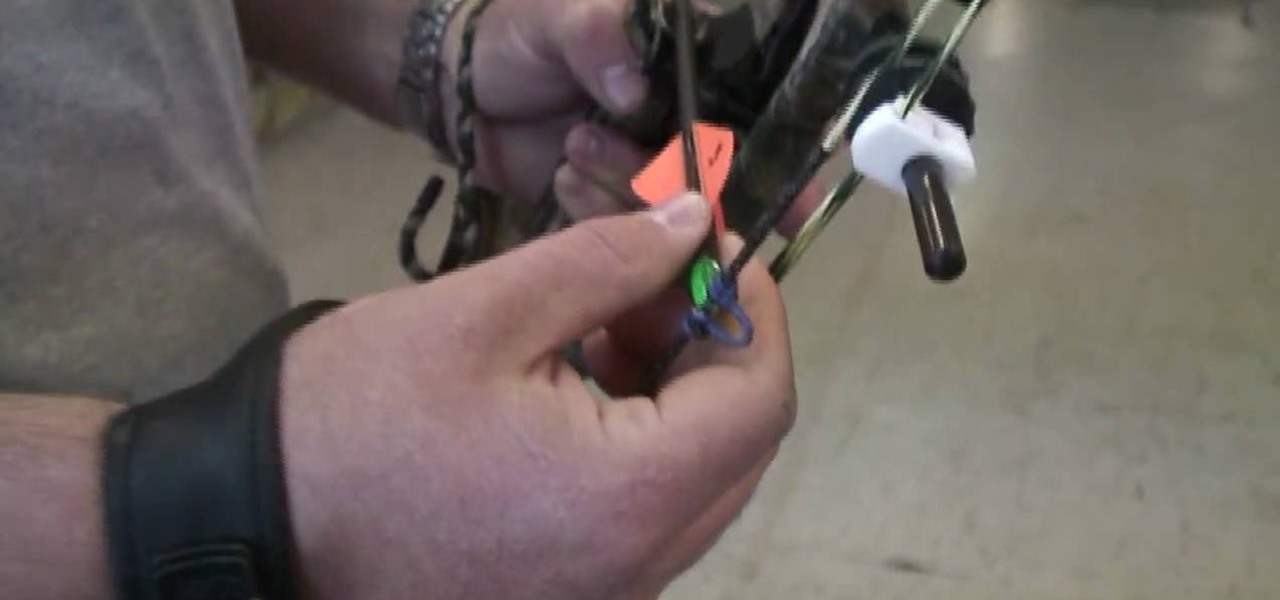
In this video tutorial, viewers learn how to shoot a compound bow. It is deeply recommended that users who use a compound bow should have a release. Put your arrow on the string and push it in until you hear a click. Now hook the release into the D-loop. Your feet should be shoulder width apart and the tips of your feet should be on the target line. Now look at the target and pull back the bow. Your hand should be at the point of your jaw, arrow at the corner of your mouth and string on the t...

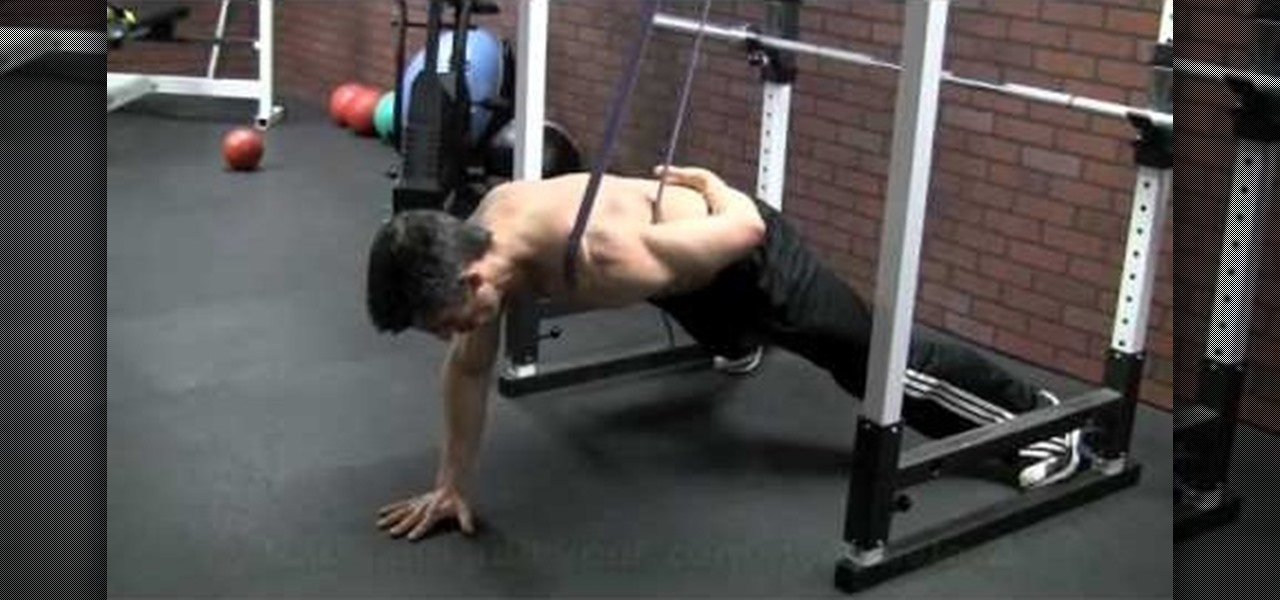
This video starts off with a guy doing several one-arm push-ups. He goes on by saying that since the days of rocky a lot of men have wanted to do the one arm push up. It takes a long time to develop the strength needed to be able to do the one arm push-up set. The video demonstrates a way to be able and start doing them now with the assistance of a power stretch band. Have the band tried up high and wrap the loop around the shoulder that you will not be using in the one arm push up. Press you...

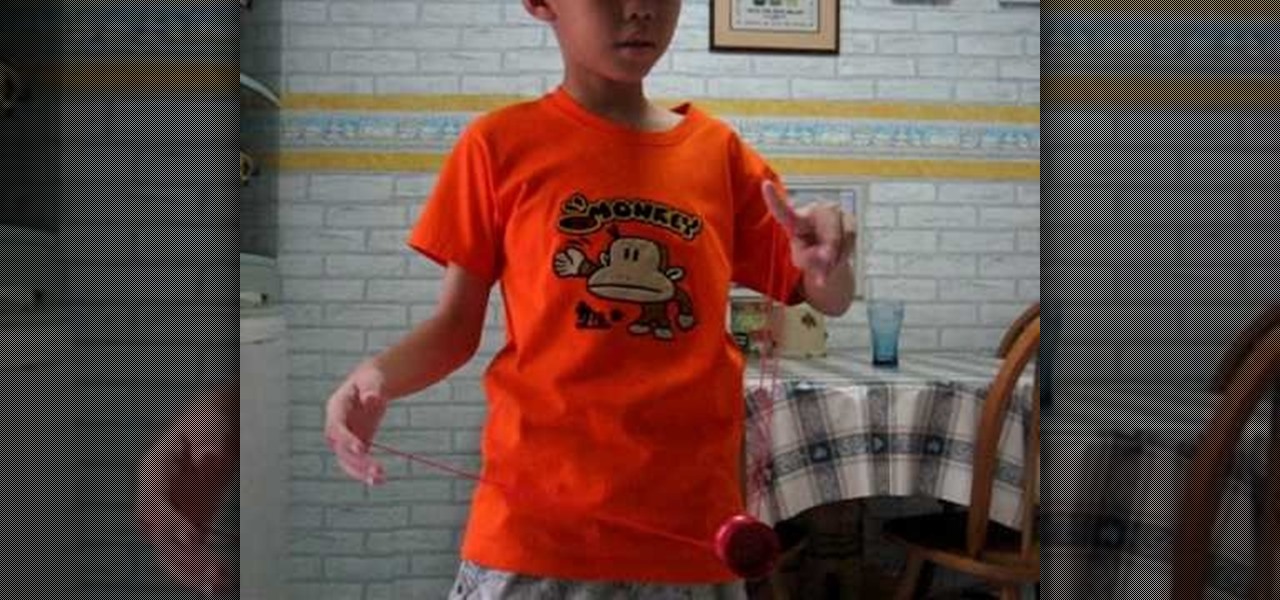
This is a demonstration of performing the green triangle yo-yo trick. You can start with a trapeze, lift your non throw hand middle finger and swing the yo-yo off the trapeze. Take care that you do not drop the yo-yo, you can use the middle finger to hold the string. Swing just like doing the trapeze so that the string lands at your wrist. Slide your throw hand out of the loop and you will form the green triangle. To dismount pop the yo-yo out of the green triangle and land on the string near...

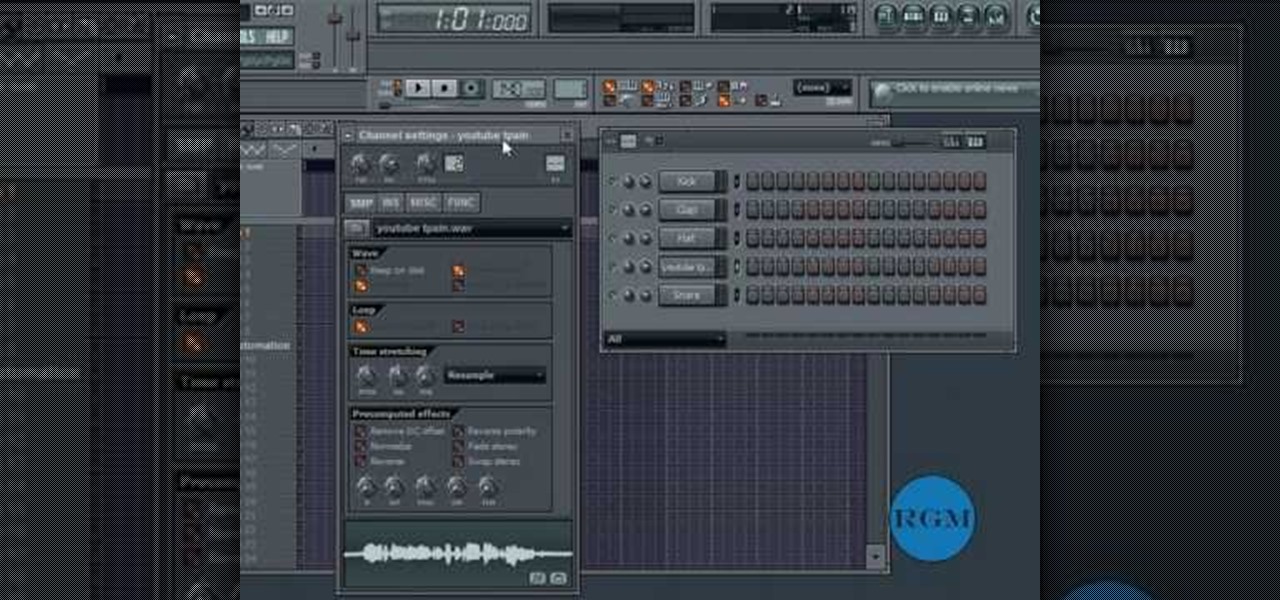
In this how-to video, you will learn how to get the T-Pain effect with Fruity Loops Studio 8. First, open the program. Insert the sound by clicking on the sampler and opening a recording. Next, click the arrow and select assign a mixer track. Select GSnap for the T-Pain effect. Change the settings, which will allow you to get this particular effect. You can also choose the Autotune effect to get this sound as well. Select this effect and set the effect up. You can save the settings with a pre...

The video is about creating a plank hitch making use of string and a couple of logs. The video begins with placing a piece of string in a particular pattern on the ground and then placing wood logs on top of it. The string is tied around the logs using a particular knot. The string is pulled tight around the logs and before tying the knot one piece of string is looped twice around the other piece. After the first knot the same process is repeated for the second knot. The video is extremely us...

In this how-to video, you will learn how to make irregular bead cages. Corinne Bradd will show you how easy this is. First, if you have a flat or nugget type bead, it will be hard to make the cage easily. First, place the wire through the bead and bend it up from the loop. Hold it in place and wrap the wire around the bead. Keep wrapping until you get to the top. Next, wrap the wire around the top so that it will be completely fastened. Snip away any excess piece of wire. You can hang it from...

In this jewelry-making basics tutorial, learn how to make an eye pin. To create an eye pin, you will need wire. Size 24 or 22 gauge wire is the best kind of wire to make an eye pin. The thicker the wire, the more difficult it may be to work with. To begin, straighten out your wire and cut the length you need to make your eye pin. Taking some round nose pliers, you will bend the wire up while rolling it toward yourself. Do not pinch the wire too tightly with the pliers because it can leave per...

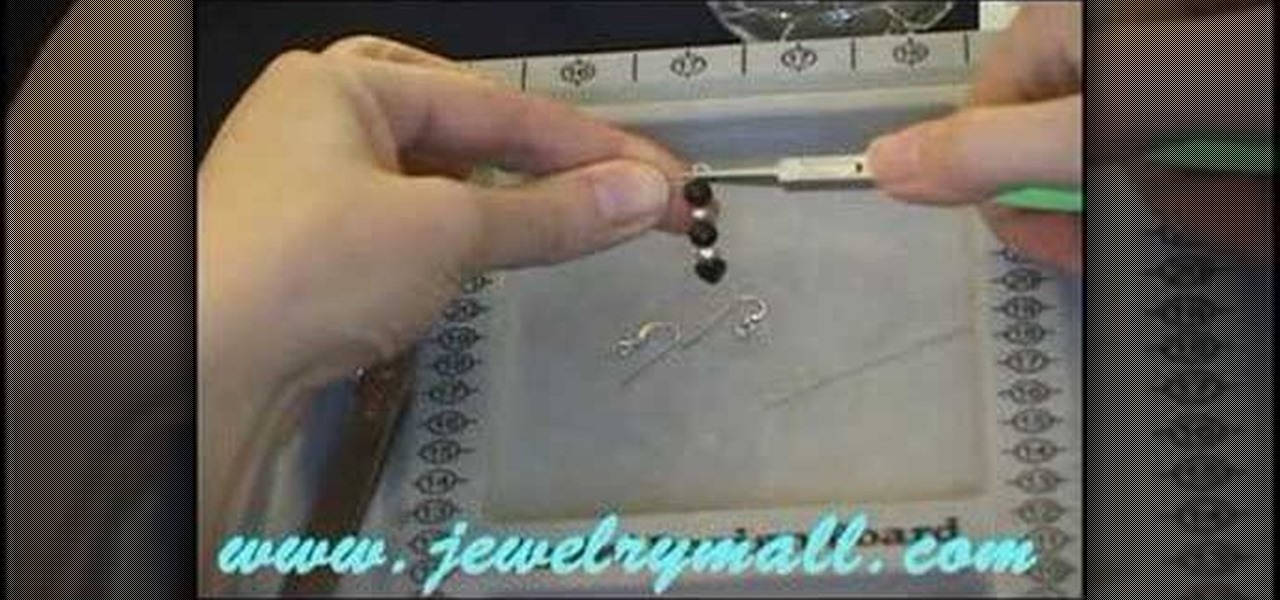
Learn how to make beautiful beaded earrings with this instructional video! The tools you will need are two head pins, ear wires, a pair of pliers, tweezers, and a nail clipper. First start off by choosing your favorite combinations of beads. Begin by stringing the beads in any order on the head pins. Next you will need to close the head pin off. The easiest way to do this is wrap it around with the pliers. You do this by easy twisting around the earring. You make sure to make a round loop whe...

In this video tutorial, viewers learn how to make a simple pair of earrings. This craft only takes a minute to do. The materials required to make these earrings are: 2 large beads, 2 medium beads, 4 small beads, 2 seed beads, 2 earring pins, 2 earring hooks and pliers. Put the beads on the earring pin in this order: small, seed, medium, large and small. Use the pliers to bend the pin to a loop and hook it with the earring hook. This video will benefit those young viewers who enjoy making arts...

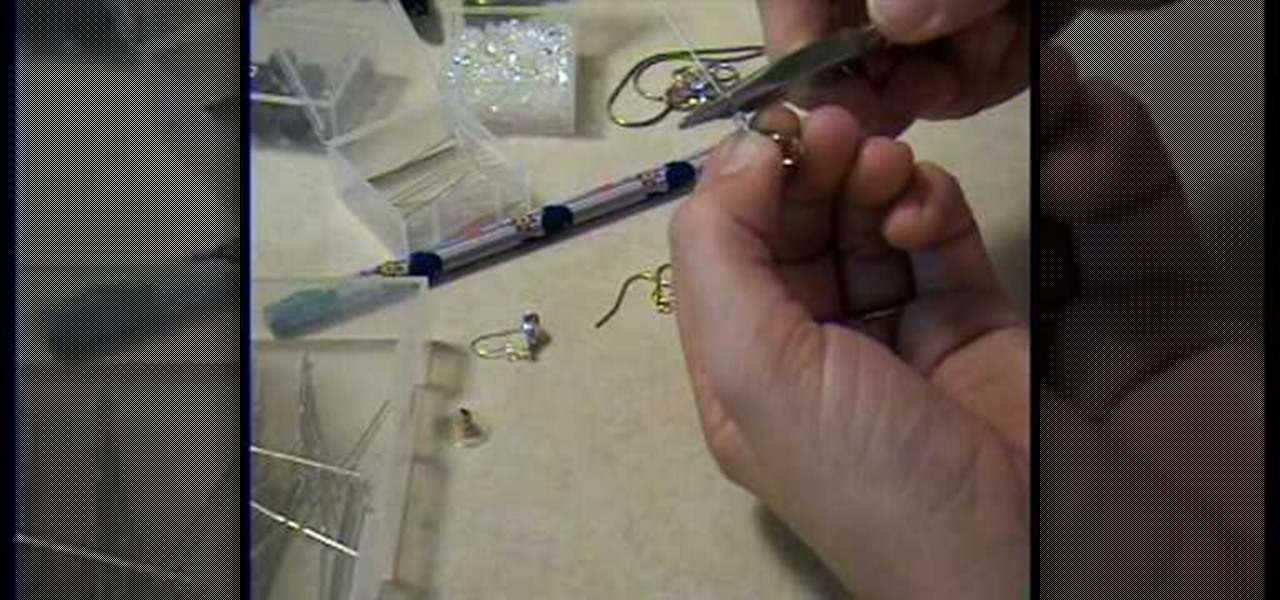
Take an inexpensive earring and use hot pliers to ease it away from the cheap metal fastening. Take a more expensive silver or gold earwire and pull it through the loop at the top of the pendant part. Squeeze the wire closed with the pliers. Using an inexpensive earring part as a model, bend your own wire to the same shape. You then take a 4mm Swarovski crystal and attach it. Bend your earwire round a smooth pencil and make sure the bead cannot slide off from the wire. You can use the same pr...

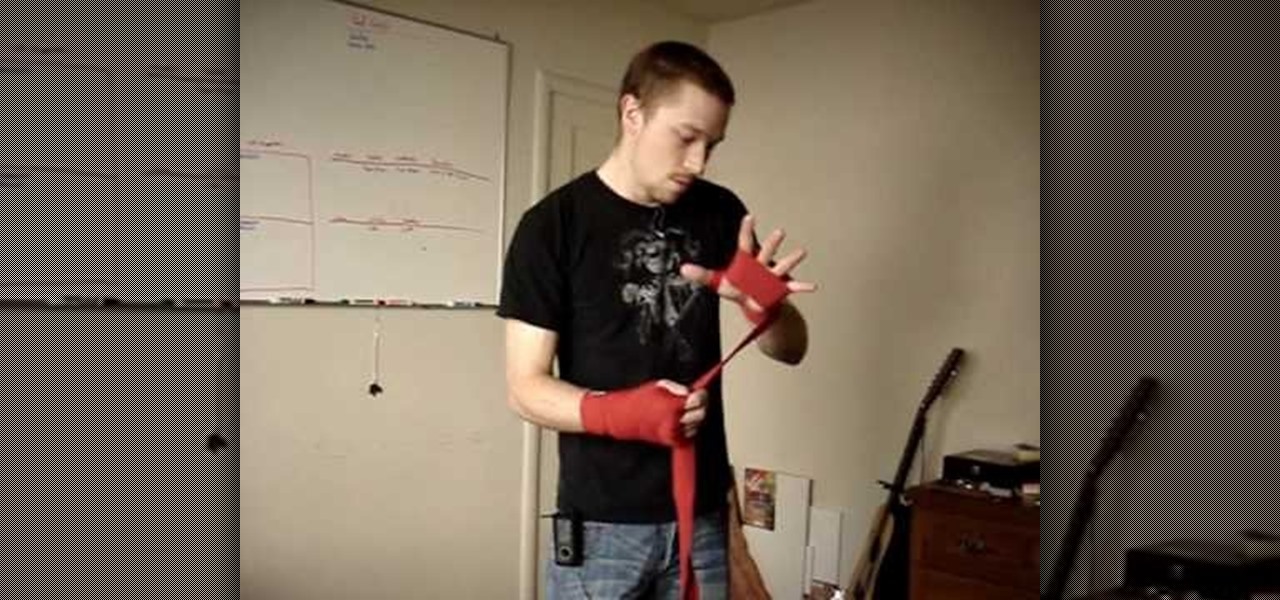
In this video tutorial, viewers learn how to wrap their hands for boxing. Begin by putting the hand through the loop and put the wrap over the hand. Now wrap it 3 time around the wrist and layer it. Then go back and criss cross the back of the wrist, as well as in between the thumb and index finger. Now wrap it around the thumb. Now wrap 3 times around the knuckles and layer it. Go through a pair of fingers, then wrap it around the thumb and repeat this for the other fingers. Finish by coveri...

This is a video tutorial on how to put on boxing wraps. There are many different ways of wrapping your hands so as to protect your hand. The hand wraps used are 180 inches. Unwrap the hand wrap and put your thumb into the loop and go around back and wrap your wrist twice. Be careful not to make it too tight nor too loose. After that, you wrap your knuckles twice and go back to your wrist. Then come up again and wrap through your fingers as shown in the video. Follow the rest of the video to p...

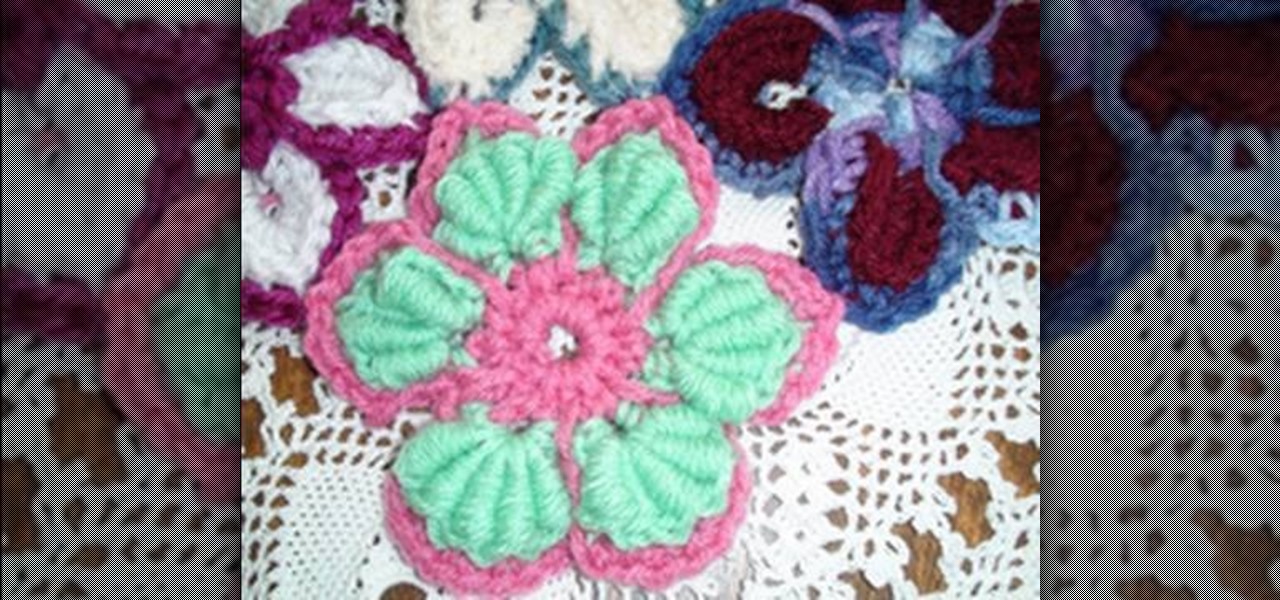
It is easy to make Crochet flower motif left-handed method by knowing the following steps. One who is interested how to make crochet motifs on their left hand can do easily by using bullion stitch. The two types of crochet hooks are H Crochet Hook and F Crochet Hook. The starting step is chain 5, join. First round to make crochet flowers is to join Ch 1, SC in loop, CH 5, continue around, 5 times in total, then join in beg SC. See how to do the rest by watching this video!

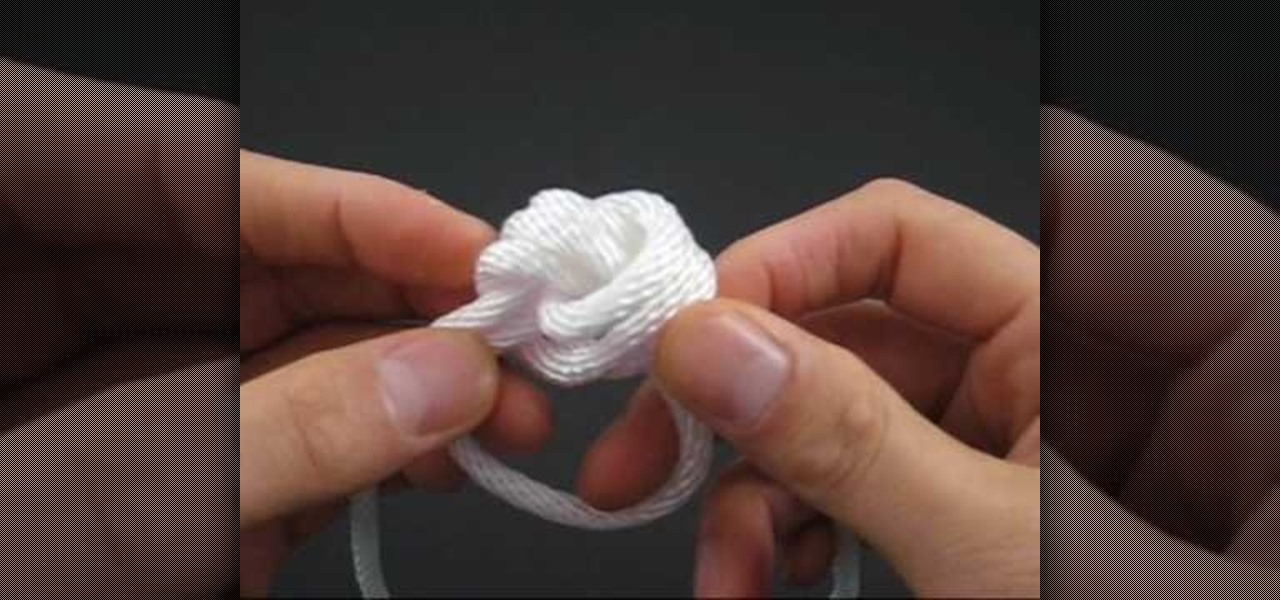
In this video tutorial, viewers learn how to tie the Diamond Knot. The diamond knot (or knife lanyard knot) is used as a decoration and joining knot in a cord with a loop. The Diamond Ring Knot is the fusion of an Overhand Knot and a tying technique called circling. The video contains a visual demonstration that allows viewers to have an example and easily follow along. This video will benefit those viewers who enjoy tying rope and to use knots to decorate.

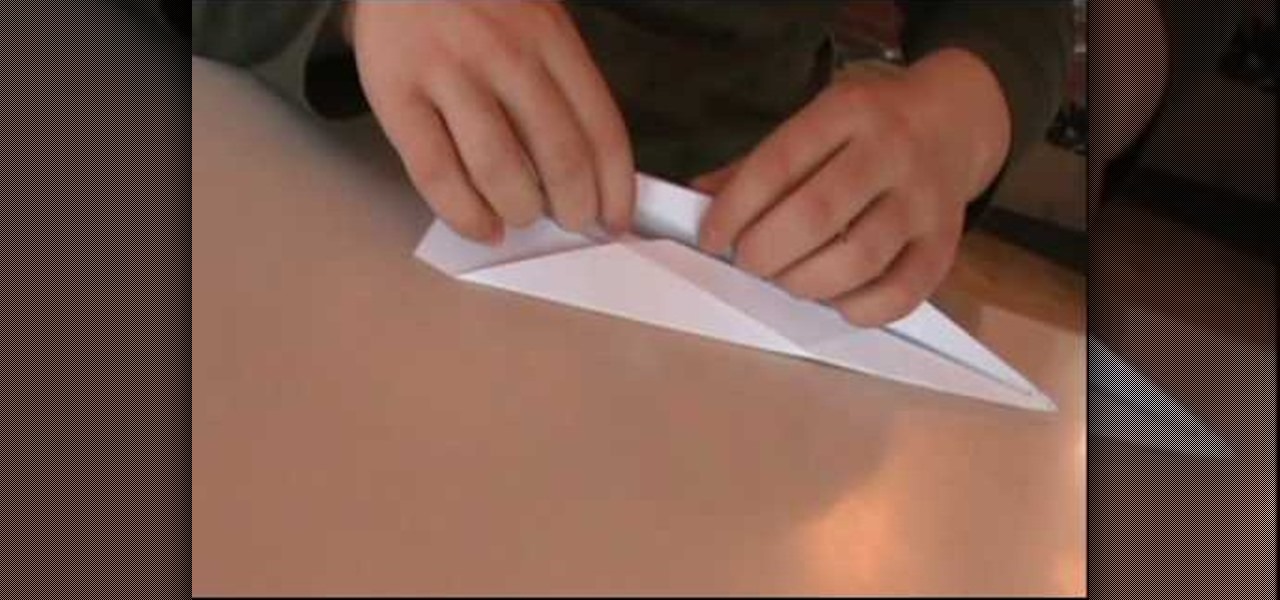
Tired of paper airplanes that glide for a second or two before they ultimately and inevitably crash to the ground? This paper-folding tutorial demonstrates an easy-to-build, easy-to-modify model that may be just what you need.

Watch this video to learn how to sew by hand! You need scissors, thread (or floss), a needle, and fabric. First, stick your threaded needle through the cloth and pull the thread through. To make a running stitch, push it back through to the opposite side. Your stitches should look like a dashed line. For a whip stitch, keep pushing the needle through the fabric from the same side each time, near the edge. It will wrap around the edge. To tie it off, push the needle back through the loop of a ...

Ever been impressed by fancy gift wrap but didn't know how to create it on your own? This video will show you how to make that perfect decorative bow. In this tutorial you will go step by step about how to use normal ribbon to create a special bow. You'll take two separate lengths of ribbon, one thick and one thin and combine them for a fancier look. This tutorial will show you how to adjust the length of the loops and tie the look off for a final look.


