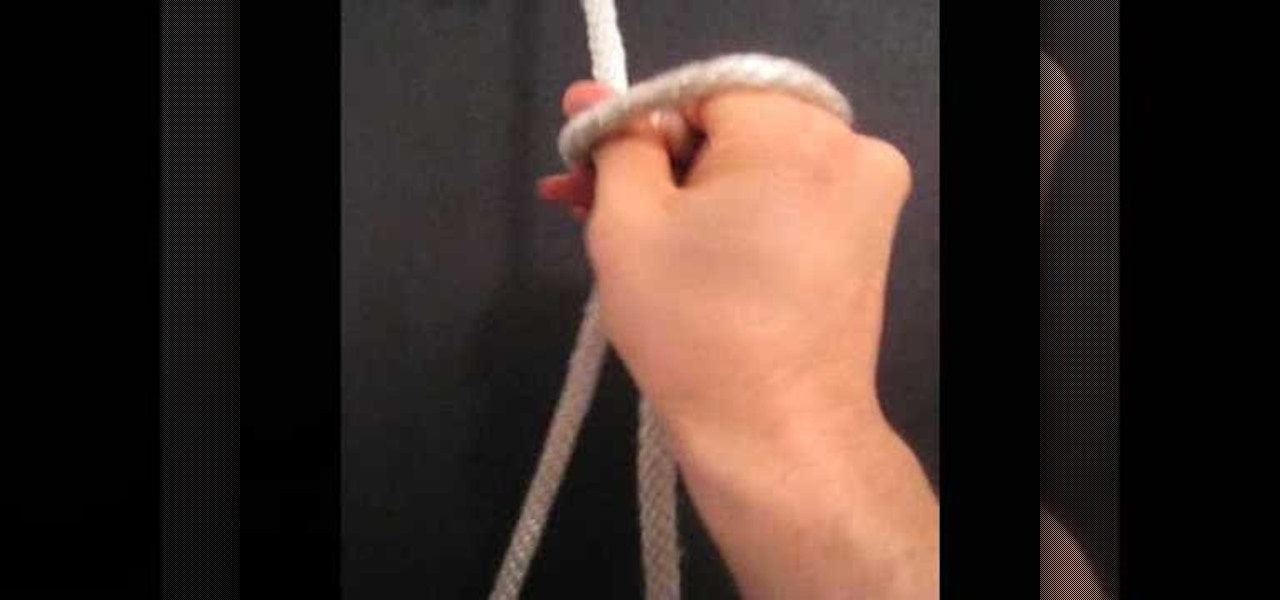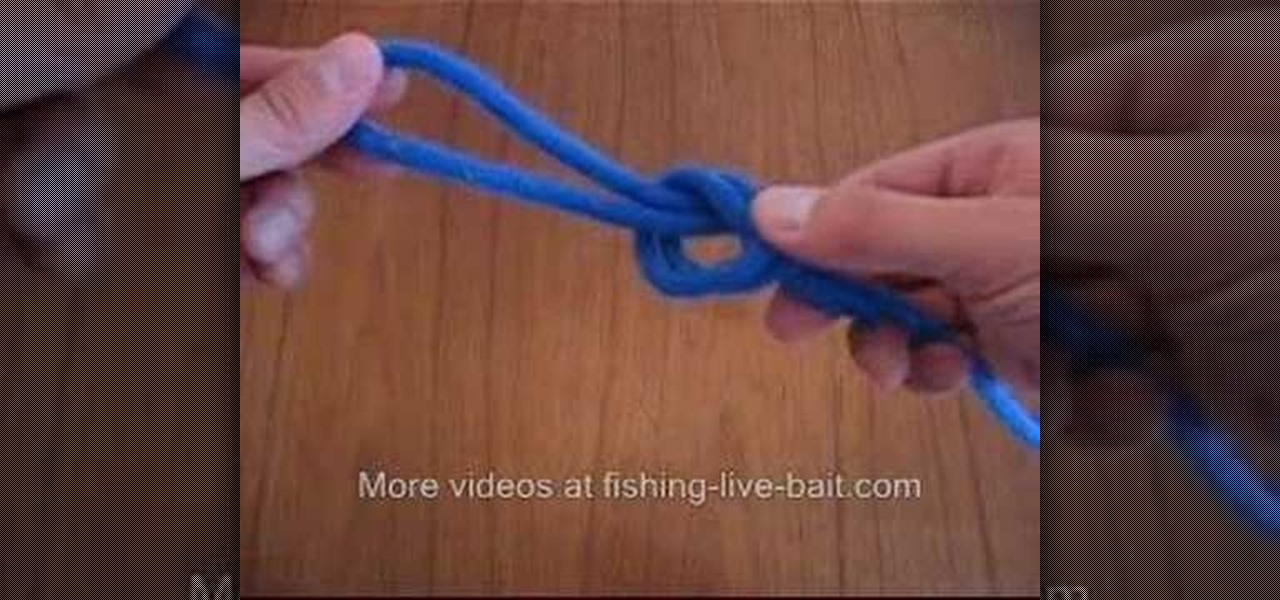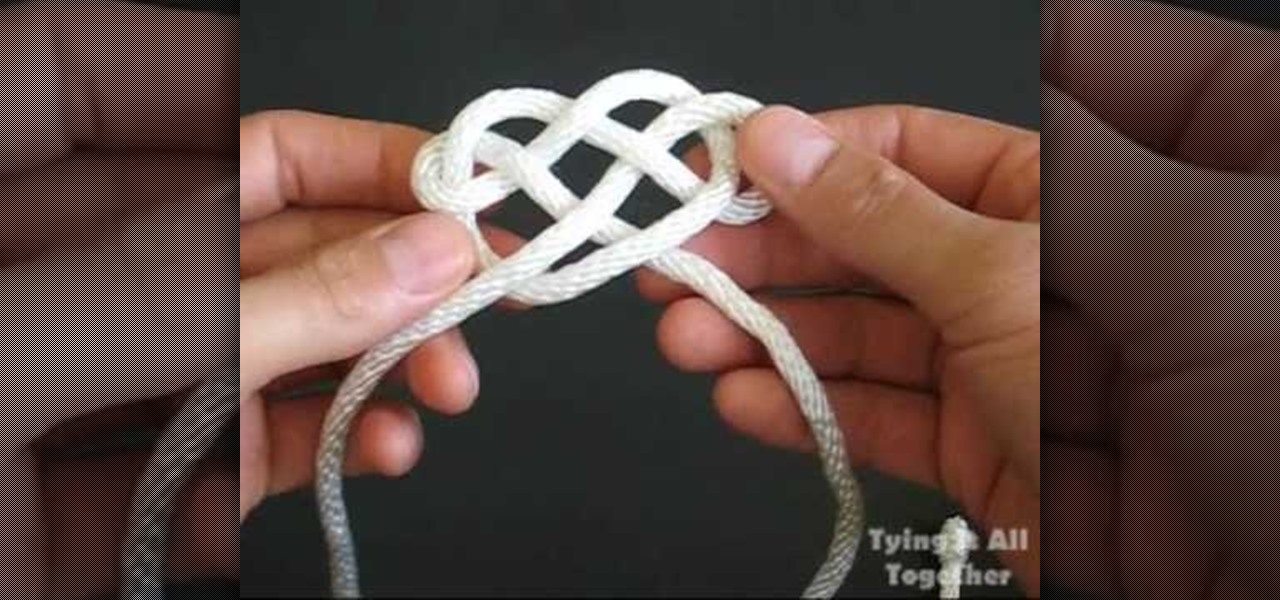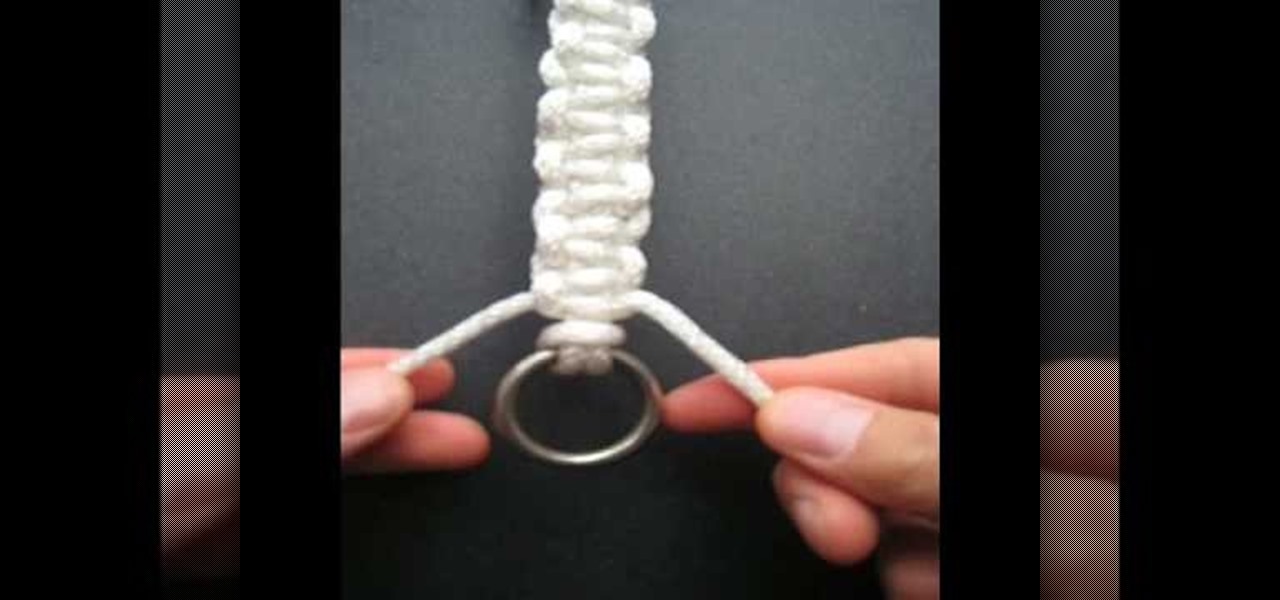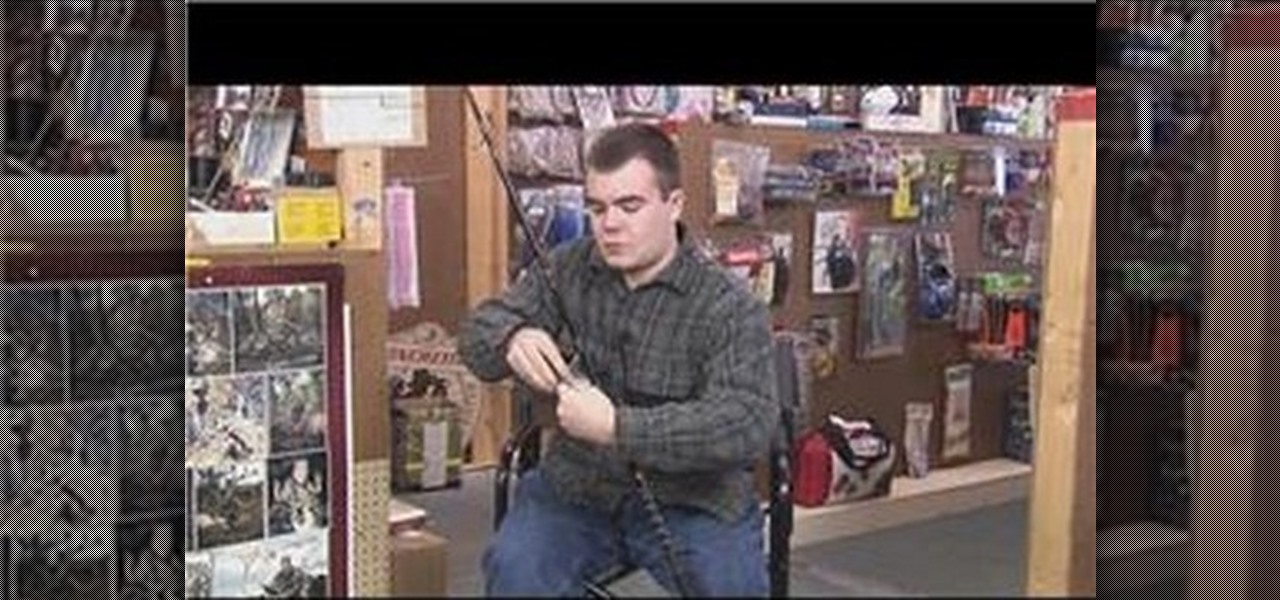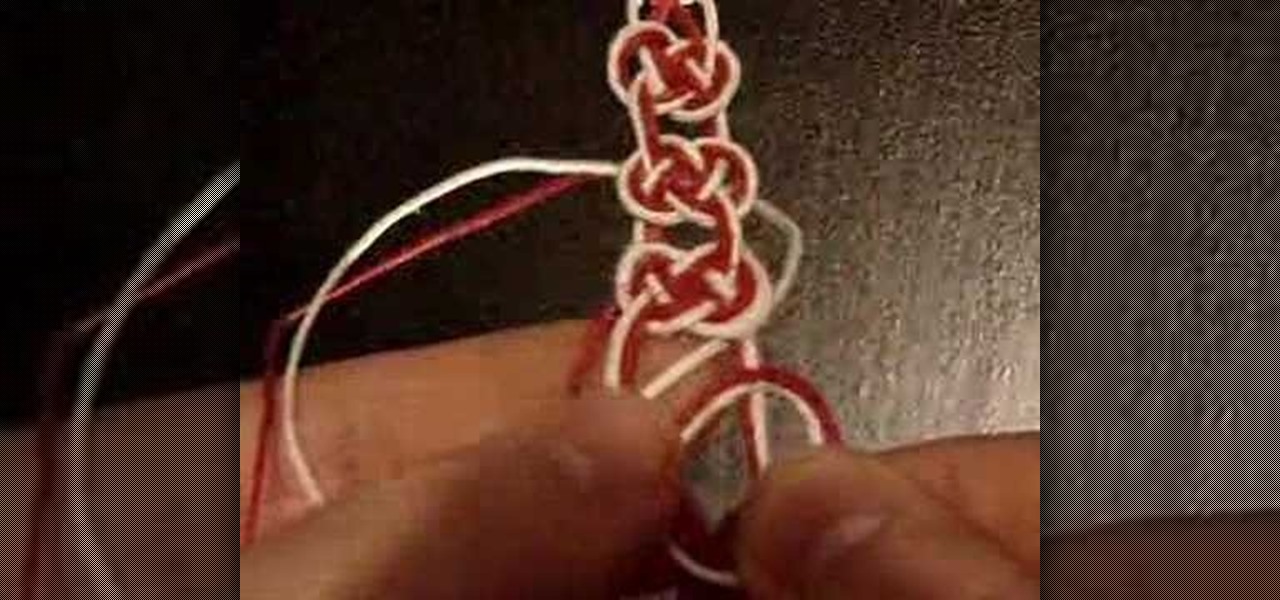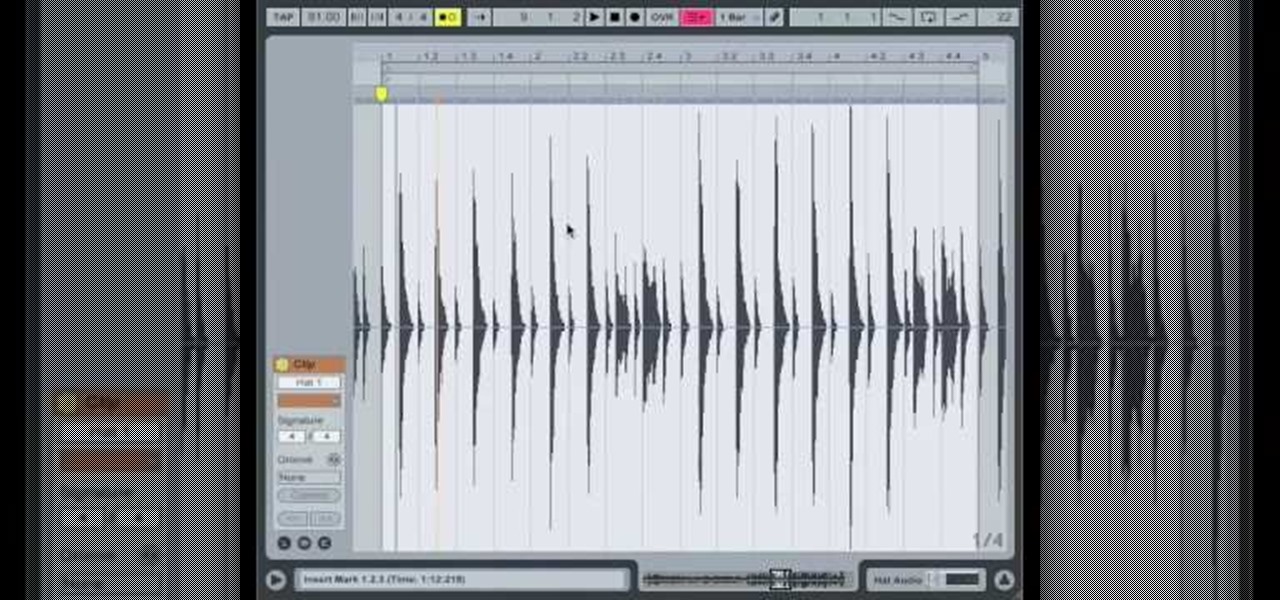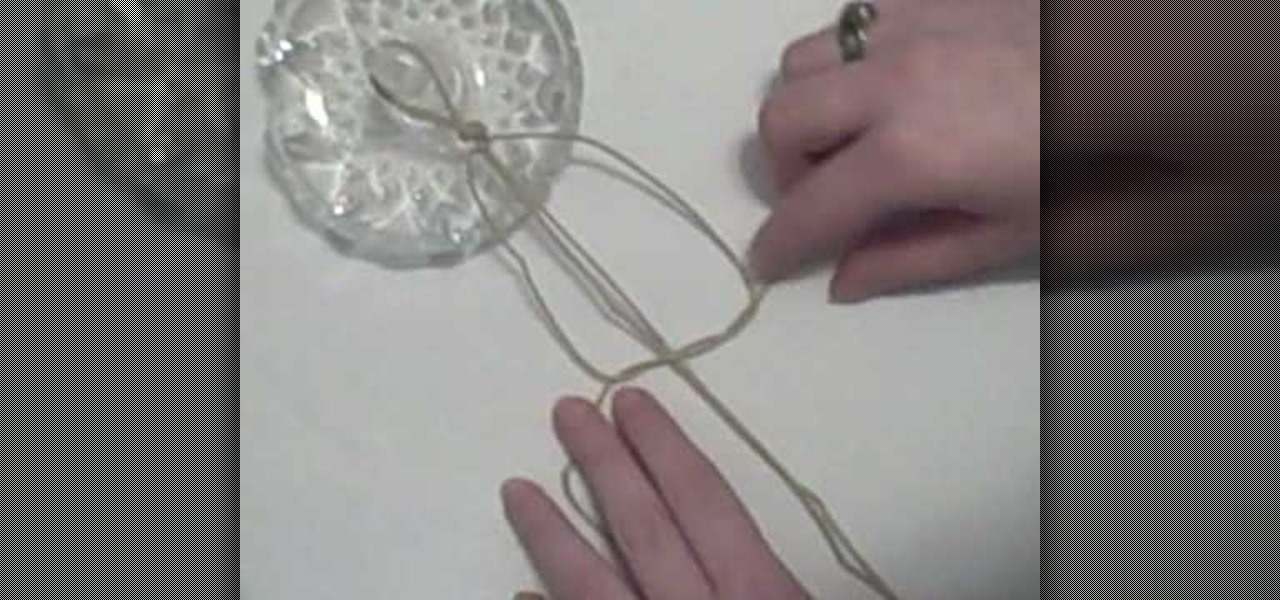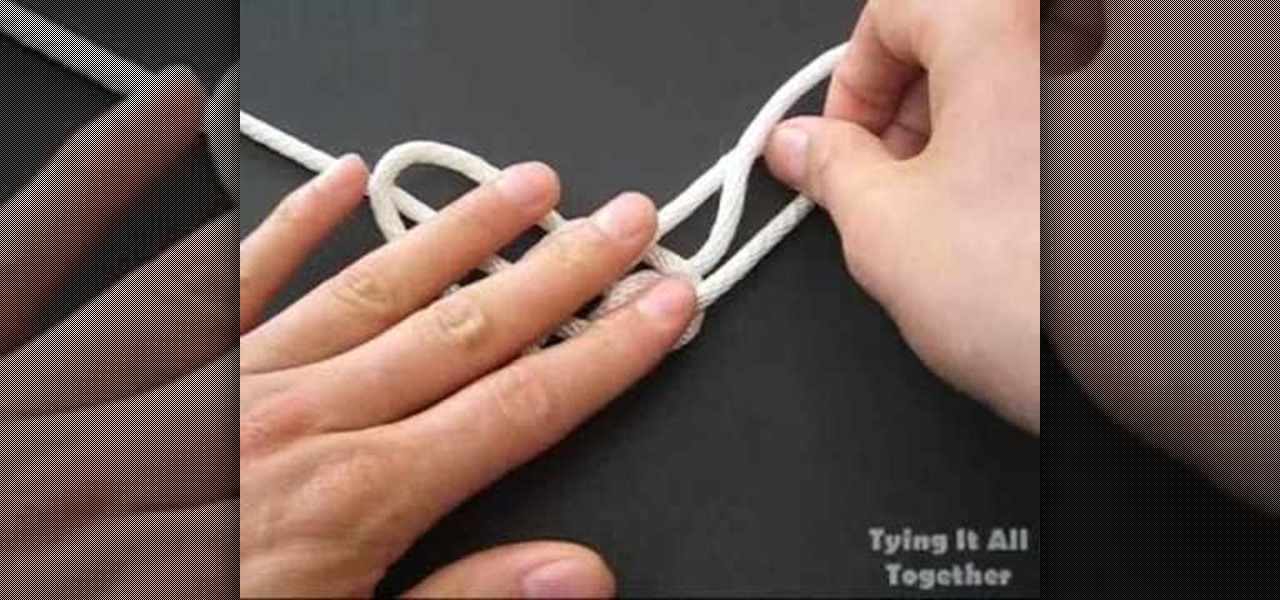
In this video, we learn how to tie the longhorn knot. First, make a spike with your rope, then push the rope around it and through it, making a circle. Then, push the loops on the bottom down and make a pretzel shape with it. Bring the left hand side string down and pull it through the loop, then do the same with the other side. Next, pull the strings on the top up to make larger loops, then pull the string through the left loop. Now, do this to the other side of the rope as well. To finish t...
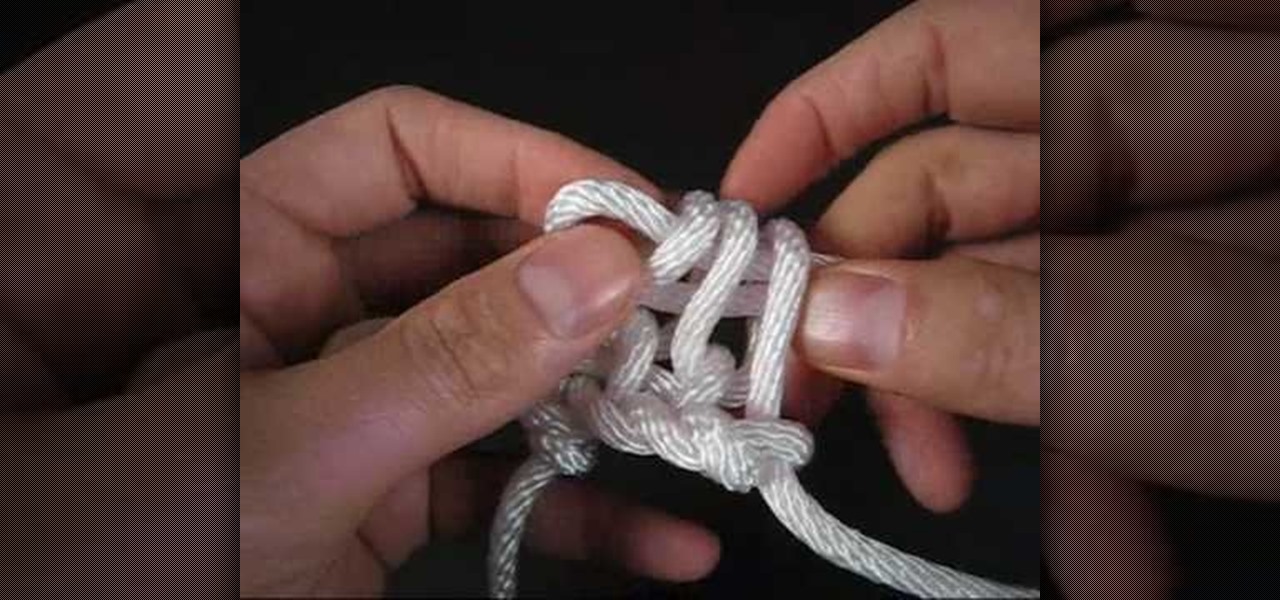
In this video TIAT shows you how to make a rescue belt. Begin by making a basic knot in the center, holding that knot on the top of your ring finger and between your thumb begin making loops. To create these loops extend the strand to the right side of the knot straight out parallel to your thumb, with your right hand curl the yarn first up, than forward, than back down forming a circle that you slid over your thumb. Take the tail of the cord and pull it snug. Repeat these circular loops unti...

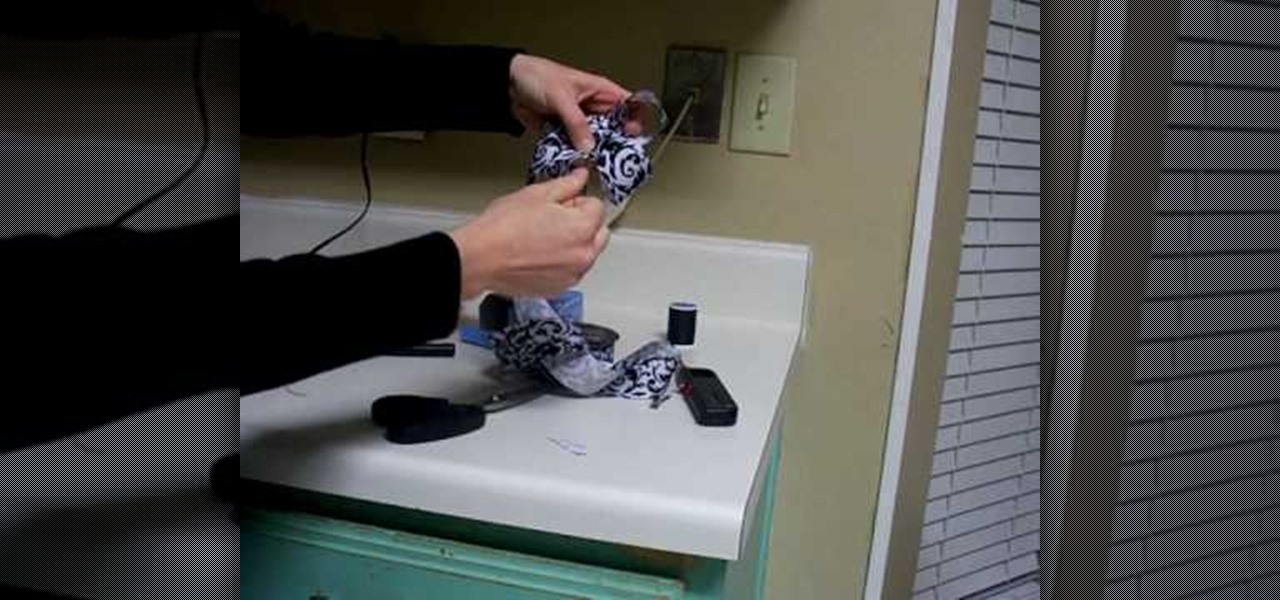
Butternutsage offers her technique for tying a perfect bow in a ribbon for use with cards or gift wrapping. You will need a length of ribbon four times the area you're going to cover. First, make a loop and pinch it with your fingers. You should "pucker" the ribbon as you pinch it, to achieve a smooth knot. Take the other end of the ribbon around your loop, as if you're tying your shoes. Push the tail end of the ribbon through your ribbon to create another loop, just like tying shoes. Pull on...

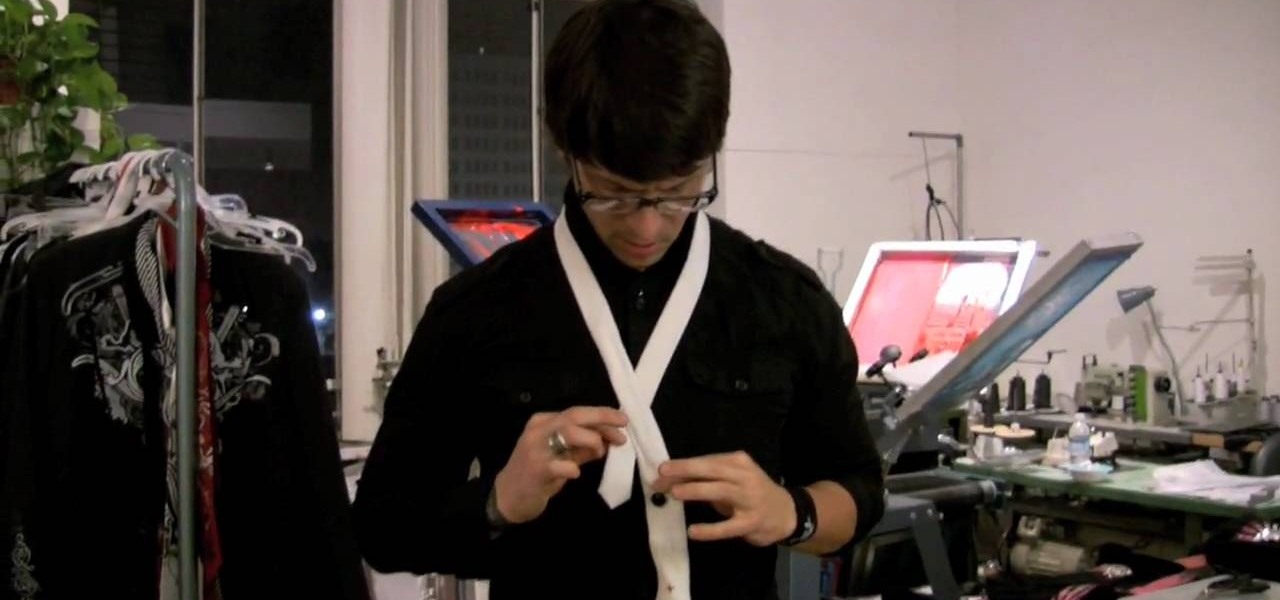
Linda shows us how to easily tie a tie for a woman. To tie a tie: Start with the wide end of your necktie on the right. make sure that it is longer than the one with narrow end. Then cross the wide end over the narrow end. Turn the wide end back underneath the narrow end. Do steps 2 and 3 thrice. Then, pull the wide end up and through the loop around your neck. Hold the front of the knot loosely with your index finger and bring the wide end down through the front loop. Lastly, remove your fin...
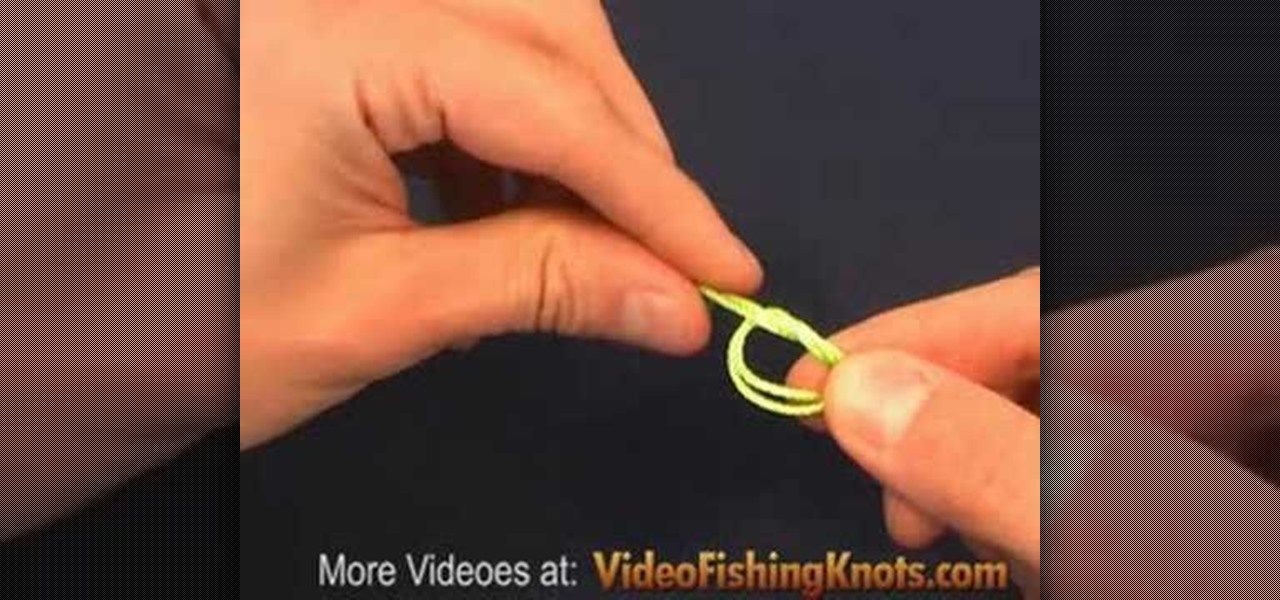
The Double Overhand Loop is a very quick and easy way to tie a loop at the end of the line. It is not a very strong knot but it is fine for attaching a sinker. For most other applications other stronger knots are better options. The double overhand loop retains around 55 percent of the line original breaking strength. A simple and yet reliable fishing knot. Watch this video knot-tying tutorial and learn how to tie a double overhand loop fishing knot.

The surgeon's end loop forms a loop at the end of the line. This provides a means to quickly attach leaders and other tackle. This end loop is very easy to tie and very reliable. It is sometimes tied with three overhand knots. Ever wonder how to tie the surgeon's end loop fishing knot yourself? Then stay tuned and practice. Soon you'll master this knot. Tie the surgeon's end loop fishing knot.

This is a video tutorial in the Arts & Crafts category where you are going to learn how to tie a Bowline knot with one hand. Doing this is really simple and easy and doesn't take any time at all. Hang a line from any support. Take the lower end, that is the running end in one hand and pass it around the standing end. Then take it out through the loop and pass the running end around the standing end and pull it out through the loop. Tighten the knot and it's done. It's really that simple and e...

In this video, we learn how to change the strings on the erhu. First, loosen and remove the inner string. After this, take and unwind the new inner string. Then, take the end with the loop and put it through the Qianjing. Then, loop it in the screw at the bottom of the erhu. Then fold the tip of the other end of the string and put it through the hole in the first peg. Then, loop the string one and push the tip into the hole. Now turn the peg clockwise to tighten it. Repeat this for all the st...

This is a video shows you how to tie a surgeon's loop. You start with a large loop, and treat it as one. Then just tie a normal overhand knot, but instead after that you pull it through once more as shown in the video. Then pull both ends to tie the knot up. This is a very strong knot so it's a very good loop to know. Their website also has much more information on how to tie this and other knots.

In this video tutorial, viewers learn how to tie a four-in-hand knot for a tie. Begin by putting the tie around your neck with the wide end on your right and narrow end on your left. Bring the wide end over the narrow end ad wrap it around. Wrap it around once more and bring it up through the loop at the neck. Now slide the wide end through the loop underneath it. Then hold the knot and pull the narrow end to tighten the tie. This video will benefit those viewers who are preparing for a forma...

The video is about tying a Zigzag braid knot design. At first, make the tag or rope into two by folding it. Take one end and make a small knot at the folded junction. Then take the second and pass it through the first made loop. Then take the other end and pass it through the loop made by second end. Continue the hitches to end the rope. Finish the knot by tightening the rope. Then rearrange the position of the hitches. This is done with care. The knot is made beautiful and prettier by making...

In this tutorial from the TyingItAllTogether Channel, you can learn how to make double and quadruple looped pendent knots. These knots are commonly found in Celtic designs. Once you learn how to create these knots, you can use them in arts and crafts projects for necklaces or bracelets. To begin, the double looped knot is done by taking a piece of rope and folding it in half, allowing the two sides to be next to each other. With one side of the rope, loop it around the other side of the rope,...

Want to write Java games and applications but don't know beans about object-oriented programming? Never you fear. This free video tutorial from TheNewBoston will help you on your merry way to accomplishing just that. Specifically, this lesson will demonstrate how to make a simple animation loop. For detailed instructions, watch this programmer's guide.

Materials Needed: - Use a Size K Crochet Hook - 2 strands of 4 Ply Yarn Round 1: Start with the Chain 4, then join and wrap. Pull a loop up. Work 12-Full Size Half Double loops through the loop. Then join in the beginning Half Double crochet. Round 2: Start with a chain (1 loop). then work 2-Half Double crochets, in each stitch around for a total of 24-Half Double crochet on round 2. At end of round 2 join in beginning Half Double crochet. Round 3: Start with a chain (1 loop). Do 1-Half Doubl...

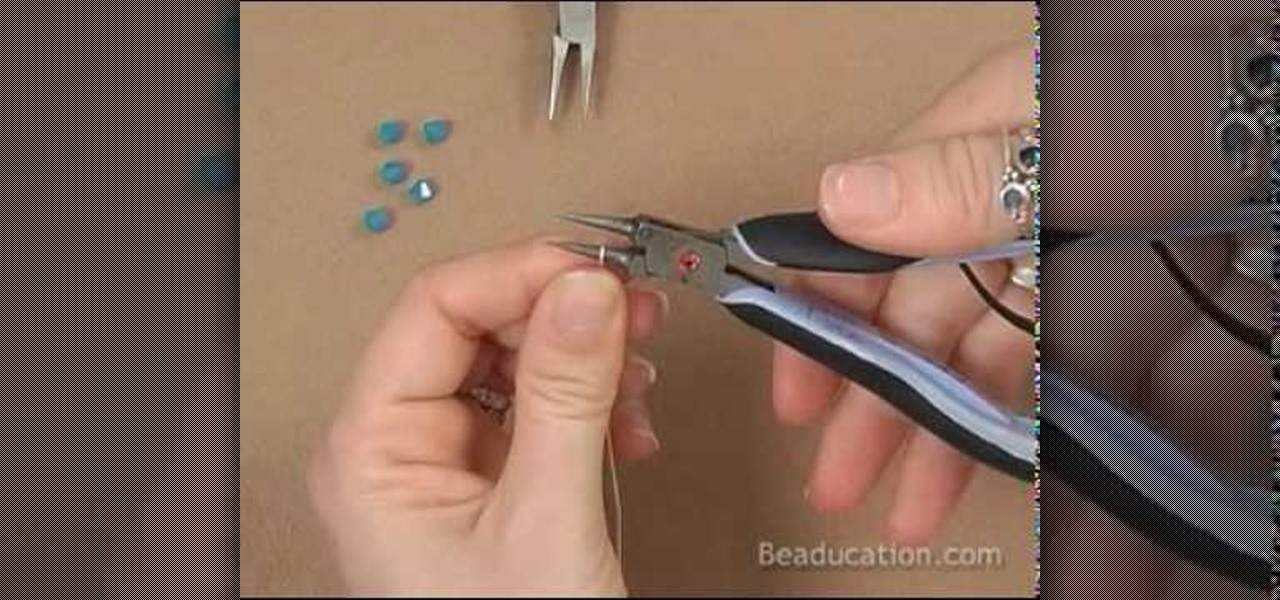
Do you want to learn how to make the perfect loops for your wire projects? Join Lisa Niven Kelly from Beaducation, and learn the basics on making basic loops! Lisa goes over what tools to use, and how to make even consistent loops. Learn how to make basic wire loops for your jewelry making.

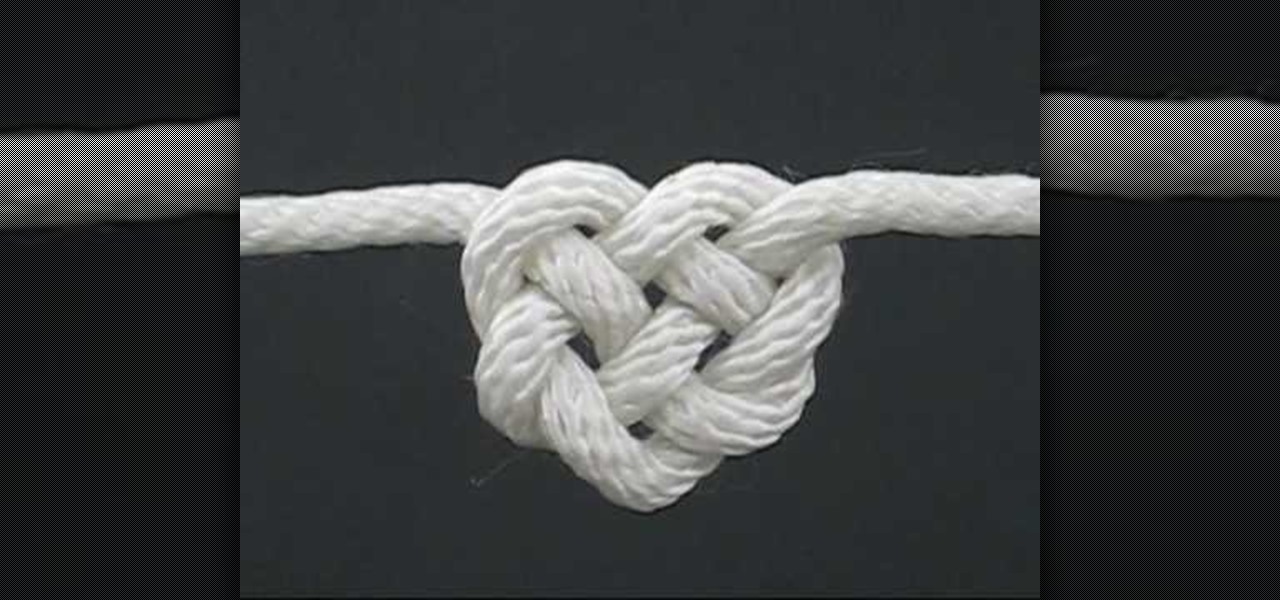
In this video, we learn how to tie the Celtic heart knot. Start off with your rope and make a loop in the middle of it. Now, bring the working en on the right side into the loop so you have a circle. Now, bring that end back into the knot and braid it through the other loop. Next, push this through the bottom loop, then braid it through the lines that are on the shape. After this, you will see a heart shape start to form. Pull gently on the heart with both sides of the rope and shape the midd...

In this video, we learn how to make friendship bracelets adjustable. First, tape both sides of your bracelet onto a flat surface. After this, bring both ends into a circle shape at the ends. Now, take any color of string and make a loop with it over the ends of the bracelet. Now, put one end over the other and then put it through the bracelets and into the loop. Then, pull the end of the thread and put the bottom over and under the top piece. Then, put it through the bracelet and tighten it. ...

In this video tutorial, viewers learn how to tie a necktie. Begin by placing the tie around your neck, with the wider end 2 times lower than the narrow end. Then cross the wider end over and under the narrow end. Now bring the wide end through the V gap between the neck and . Wrap it once more over and under. This time, create a small loop. Bring the tie through the V gap and through the loop. Finish by tighten and adjusting the tie. This video will benefit those viewers who are attending a s...

This video explains step by step how to create a "Lady Gaga hair bow with your own hair". The only materials needed are three bobby-pins, and your choice of hairspray. Take a section of hair from the side of your head and loop the hair (like a loop of a bow), pin this piece down (where the middle of bow will be). Take another section of hair close to the first loop, loop this second piece a crisscross the second bobby-pin with the first (creating the middle of the bow). Section off a piece of...

In this tutorial, we learn how to crochet an extra puffy puff stitch. First, insert the hook and pull it through. Pull all the loops up even so the hook is horizontal, then wrap the yarn over and enter the hook through the top of the stitch. Pull the loop up and then wrap the yarn over, pull it through, then pull the loop up so the hook is horizontal with your work. Continue to repeat this process until you get to the end of the row. Place chains on the top to secure them, then you will have ...

A classic demonstration on how to wind a center pull ball of yarn. take the end of the yarn and wrap it around Your fingers. Keep wrapping over the first loop to shape it like a ball but keep the first loop sticking out. When everything has been winded up, just pull the first loop out and start making a crochet or whatever project You may want to use Your yarn with. Follow these steps and You won't worry a again of tangling Your yarns.

Learn how to wrap a short electrical cord. Treat your power cords right, and make them last longer, by learning how to store them correctly.

Missa teaches us how to create a claspless lariat necklace in this video. First, cut your wire so it's 20 inches long and then make a loop on one of the ends, and attach a chain to it. Now put on the end bead and attach the chain to the metal wire. Now make a loop around the end where the bead is. Now take pliers and clamp the wire on the end down. You can now take wire cutter and cut an inch down on the chain and cut it off. You can now apply your favorite beads to the wire, and any pendants...

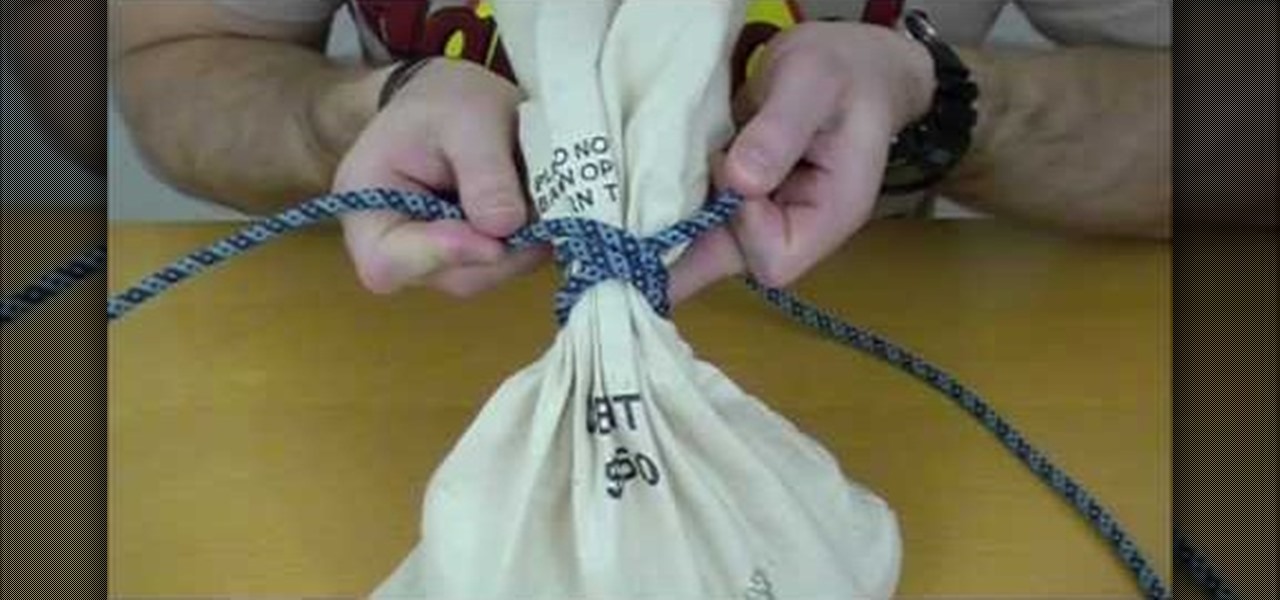
In order to tie a Miller's Knot, which is also known as the bag or sack knot, you should begin by wrapping the rope around the object you wish to bind: the Miller's knot is a binding knot. It is used to bind things. Next, wrap one of the free ends around it. You are, basically, wrapping one end around a second time.

In this tutorial, we learn how to make a Solomon bar decorative knot. You will start by grabbing the ring at the end of the string, then tie it to an opposite ring. Fold the left side of the string to the right and bring the right over to the left. Pull the left into the loop to create a knot. Now, you will have two string that are more up and two that are more down. Next, tie the top strings into a knot, then bring the right knot behind the bottom two, and thread the left knot into the right...

Start by making a loop around the needle. Next you grab the yarn string with the needle hook and pull it back through the loop. It should now be around the needle shaft. Do the same thing again, grab and pull through. When you have done as many as you want, turn the crochet around and put the needle through the last loop, grab the yarn and pull it through, ending up with two loops around the needle, grab the yarn and pull through both of the loops, you now have one loop on the shaft. Repeat u...

Take your fishing line and run it through the guides on the fishing pole. Of course, for you beginners, start at the bottom as the line in on the reel and work up. While doing this, release your bail. After you have finished running the line, pull the bail back over. This keeps the line from running out. Now we are going to do a overhand loop by making a loop which doubles the line. Make an overhand knot, about 8 inches up from the lower loop. You will twist the loop and then run the double l...

In this video we learn how to tie a pretzel knot for hemp jewelry. First, making a loop with the chords in your right hand and place them over the left chords. Hold the loose ends on the right side and take the chords from the left hand. Go over the right chords and then up through the top. Then go over the loop under the left side of the loop pulling the chords up. What you get here will look kind of like a mouse, so you will need to get the first color on the outside. Then, slide this up an...

In this video, we learn how to use Ableton Live 8: Quantizing audio. To find the bars you want to use, find the up and down arrow keys. These will jump the loops back and forth based on the width of the loop race itself. Press play to search around for the best four bar section in your music. Now, set your first attack in your loop by zooming in on the hit. Hover over the audio and create a warp marker to drag from each of the bars. Label it as the beginning of your clip to the end, then save...

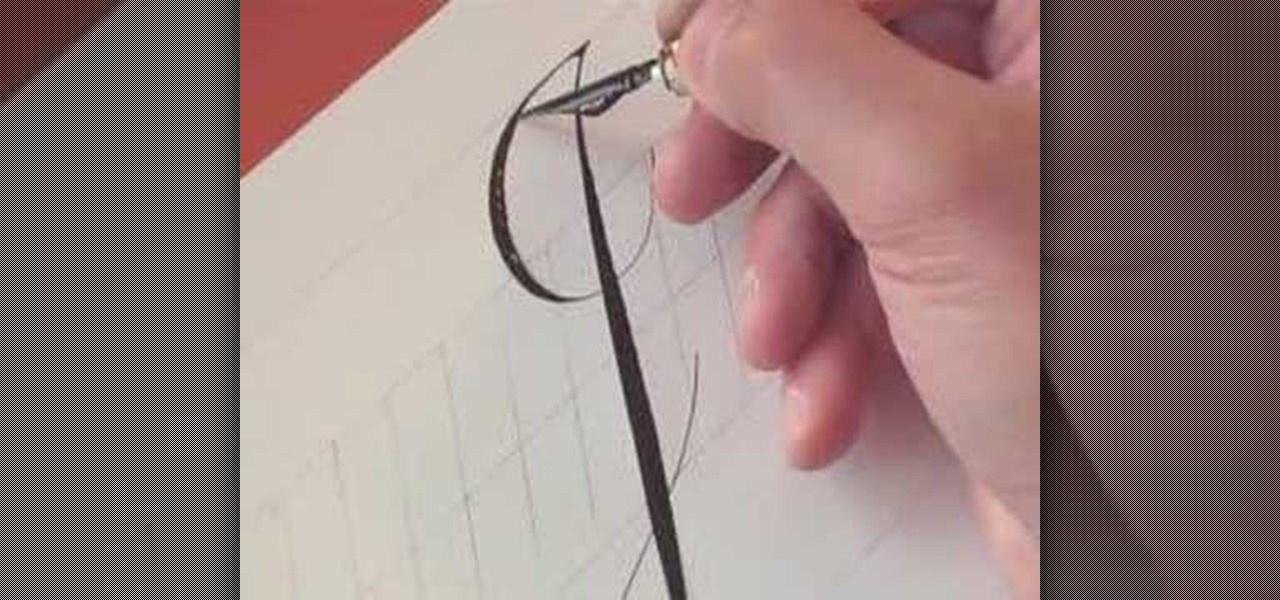
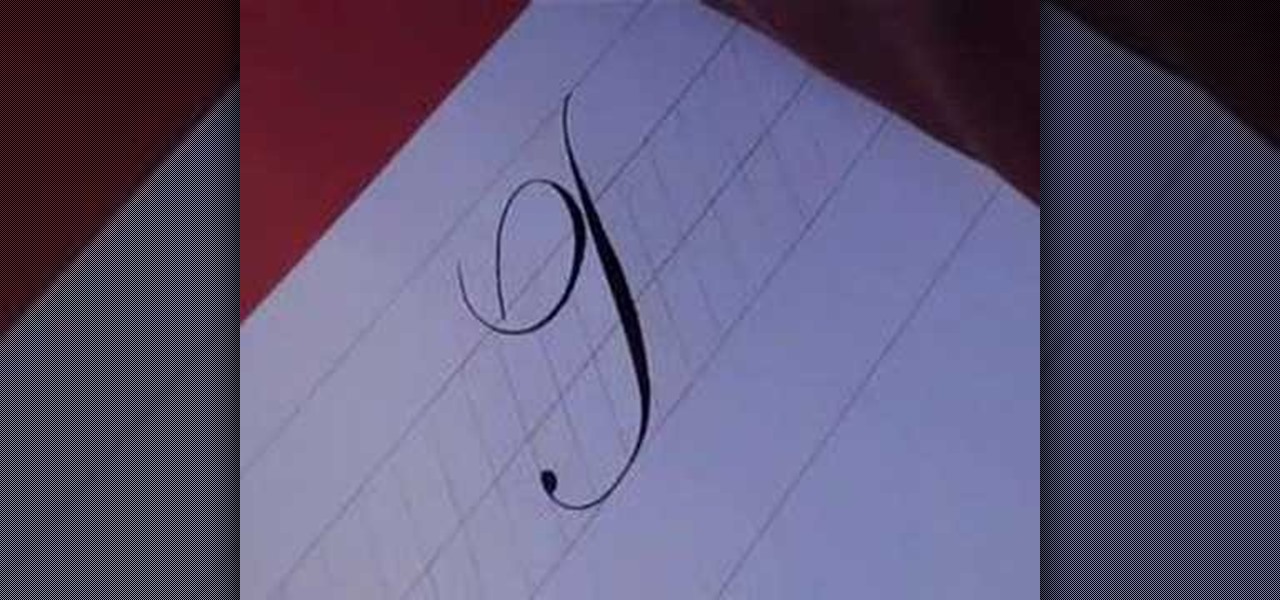
In this video, we learn how to write the letter J in calligraphy copperplate. For the uppercase letter, start by grabbing your calligraphy pen and drag it down so you have a thick black line with a thin line at the top. End the letter with a loop around it, then bring the top line to the left and loop it around, making a semi-thick line with it. To make the lower case letter, make a thin line going diagonally to the right, then dip the pen in ink and bring the pen down in a thick line down. C...

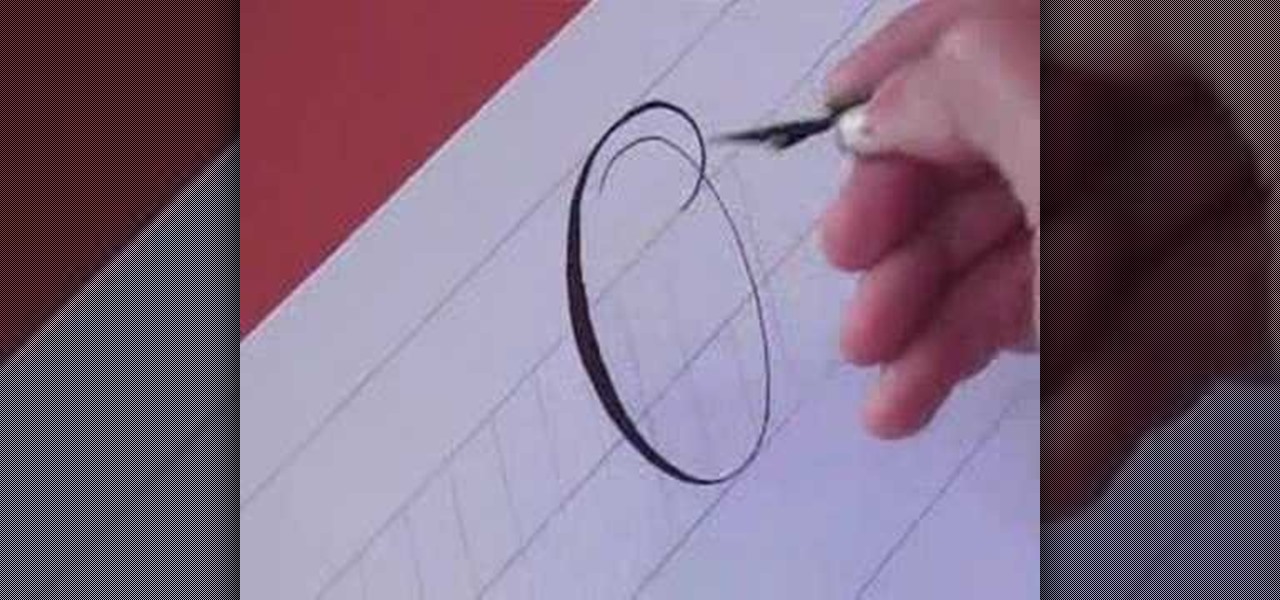
In this video, we learn how to write the letter O in calligraphy copperplate. Take your calligraphy pen and make a medium thick half loop at the top, dragging it down into a thicker line on the left side of the word. Then, continue onto the other side of the O with a lighter touch of the pen making a very thin line, finishing with a loop in the middle. Make the smaller O just like normal, making the thick line on the side and finishing with a small loop bending out to the right at the end. Wh...

In order to decorate your presents during the holiday season, this quick tutorial will show you how to make a beautiful gift bow. Using a somewhat thick ribbon, determine the size of your bow and wind it around itself about 8-12 times, the more winds, the thicker your bow will be. Squeeze the loops of the ribbon together, making the ends overlap on the inside and fold it over. Then make two cuts on a diagonal through the center, making sure that you do not cut through. Unfold the loop and tie...

In order to make a macramv© choker necklace, you will need the following: string, scissors, and beads.

Use this knot (buntline hitch boating knot) to fasten items such as snaps and rings to rope or cord. It forms a small, neat and very reliable boating knot. Not to be used however, for tying into a climbing rope. Watch this boating knot tying video tutorial for helpful tips. Pass the end of the rope through the shackle, then back up across the standing part. Make a turn around the standing line, forming a loop with the shackle at the base of the loop. Bring the free end across tops of both par...

Here's some video instructions on how to tie a Figure Of Eight Loop. The Figure Of Eight Loop is a quick and easy loop knot that forms an end loop. If the figure of eight loop is tied midline it is called a blood bight knot but the correct name when tied as an end loop is figure of eight loop. It will retain around 70 percent of the lines breaking strength and can be used to attach hooks, sinkers or droppers. Watch this video knot tying tutorial and learn how to tie a figure of eight loop kno...

How many stitches does your crochet art have? How can you tell? Why would you even want to know how many stitches are in your crocheted sweater or crocheted hat? Knowing how to count your stitches is a fundamental step in learning to crochet – assuming you want your finished product to be the right size and shape.

Dana Plazyk shows how to make a beautiful ‘Christmas Bow’, in this video. All that is required to make this bow are the following:•A decorative Ribbon•Toothpicks•A rectangular piece of foamShe begins by making a whole twist, near one end of the ribbon. The twisted part of the ribbon is placed right behind a toothpick, fastened on a rectangular piece of foam. She then fastens the ribbon at that point with a second toothpick, to hold it in place. A small central loop is created on the free end ...

Learn how to tie a perfect bow. To do a basic pony bow, place the gathered hair in the center of the ribbon and tie a single knot to secure it. Making two loops, cross one loop over the other and pull the loop on top through the hole you've created. Straighten out the ends and tighten so the two loops are on top and the two tails on bottom. Make a headband bow. Run the ribbon along the hairline, drawing the ends up on top of your head. Secure a knot and tie a bow. By tweaking the loops out a ...

In this video, we learn how to make a lariat necklace. First, cut your wire so it's 20" long. Then, make a loop at one of the ends and attach a small chain to it. After this, put on the crimp bead and make a loop through the bead. Once finished, take your pliers and clamp it down. Now attach your chosen beads to the wire until you reach the end where the chain is. After this, cut out three pieces of wire and attach them together in a slight v shape. After this, apply beads to them, then tie t...

In this video, we learn how to write the letter T in calligraphy copperplate. Start by drawing a thick line that follows out a loop that curves to the left hand side. After this, create a loop at the top of the line, on the left hand side. Draw this out and cross the line over the top to make the T shape, ending with a slight curve at the end. To make the lower cased letter, draw a thin line, then draw a thick line over it, then cross a thin line across the top middle of the letter. Now you w...


