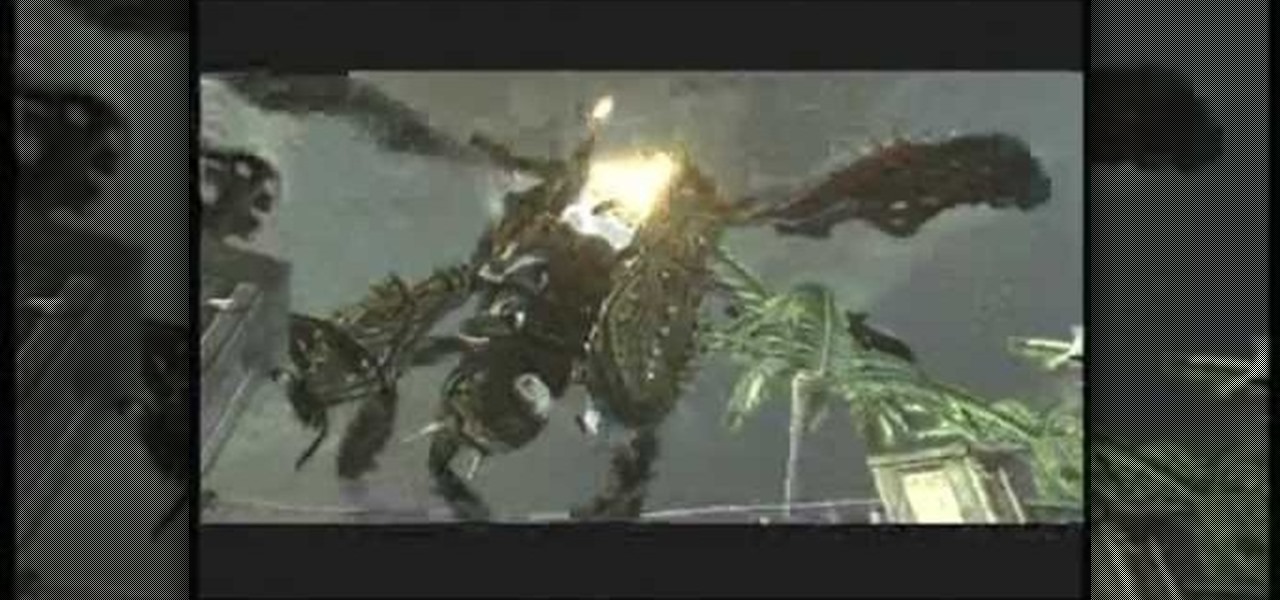
Trying to take out Tempest, the last boss fight in Gears of War 3? You'll find her in Act 5, Chapter 6 of the game. Take a look at this gameplay video to find out just exactly what you'll need to do to defeat her and beat Gears of War 3! Be careful, the ending of Gears of War 3 is hinted at towards the end.
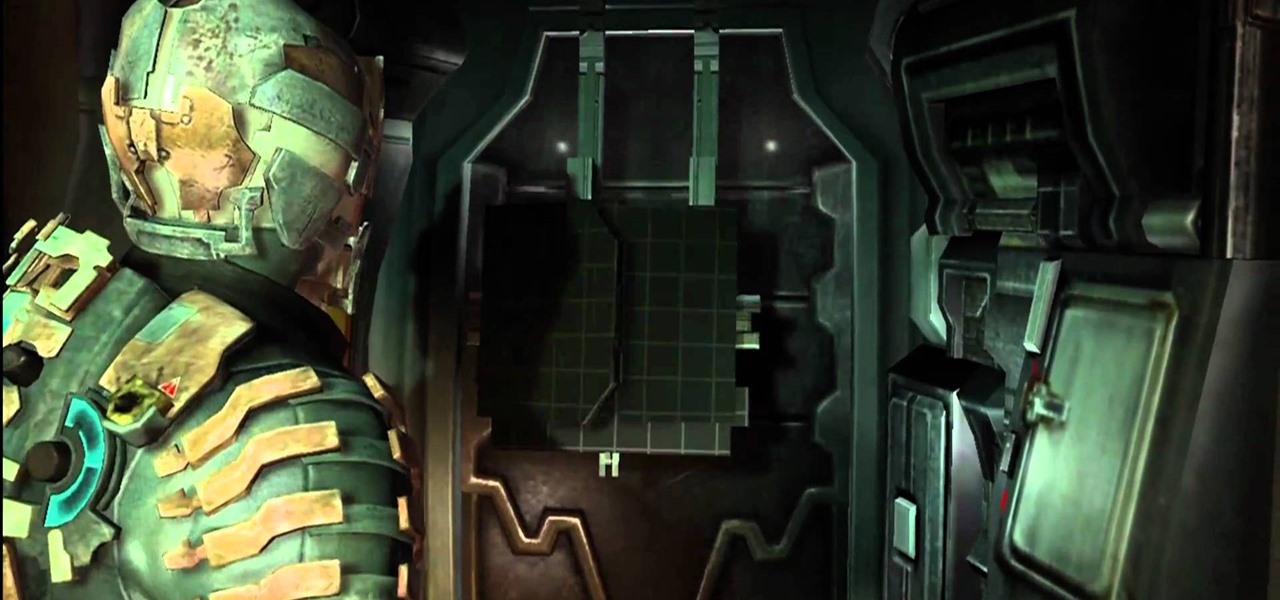
So you've survived to the end of Chapter 1, and now it's time to gear up for a pretty nasty boss fight. This video demonstrates a few good strategies you can use to bring this monster down. Make sure to stock up on armor and ammo beforhand!

This is the last video for the Machinarium game. Solve all the puzzles at the very end of the game, including one that looks like a very old school video game. Finally, you've made it to the end of this game!
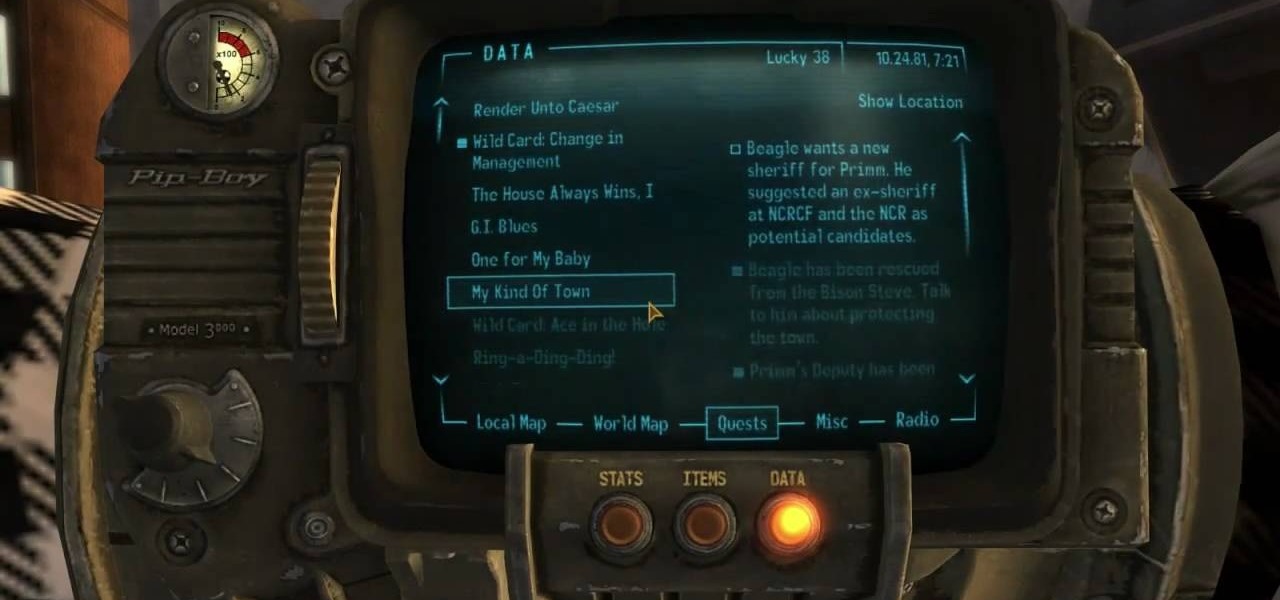
Mr. House is a character at the end of Fallout: New Vegas, about whom your character will have to make several choices. If you decide to kill or deactivate Mr. House, it will be challenging - but here is how you can.
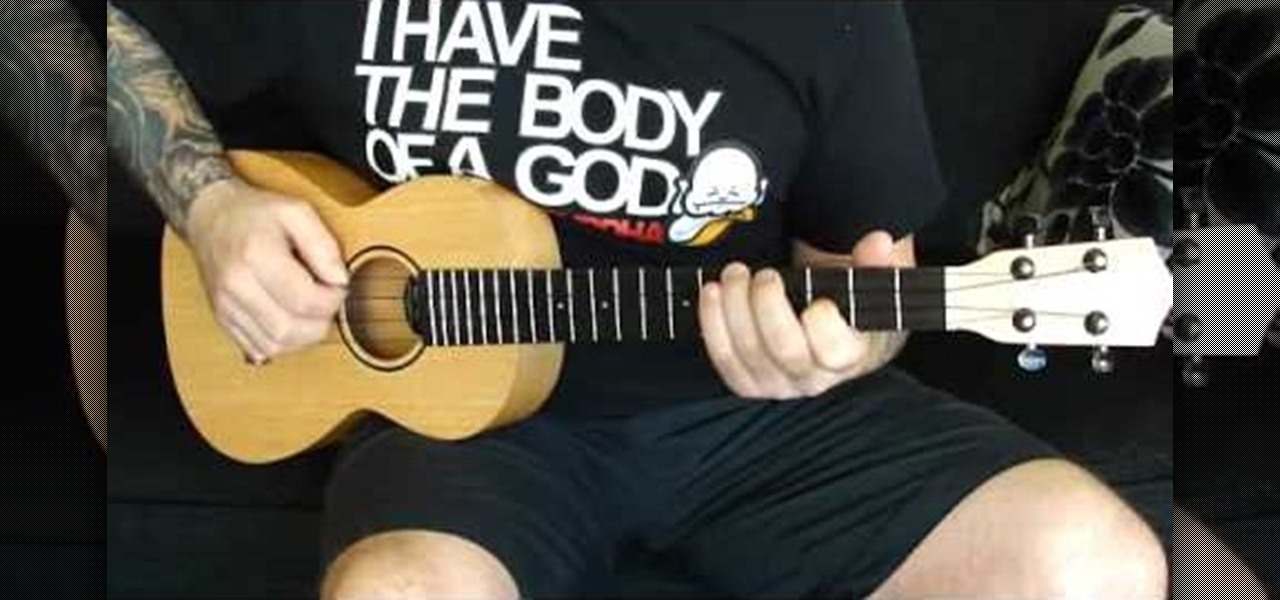
Want to play "When September Ends" by Green Day on baritone ukulele? Learn how with this video tab, which presents a complete breakdown of the song's component sections, chords and strumming & picking patterns. For all of the details, and to get started playing "When September Ends" by Green Day on your own baritone uke, watch this free video ukulele lesson.
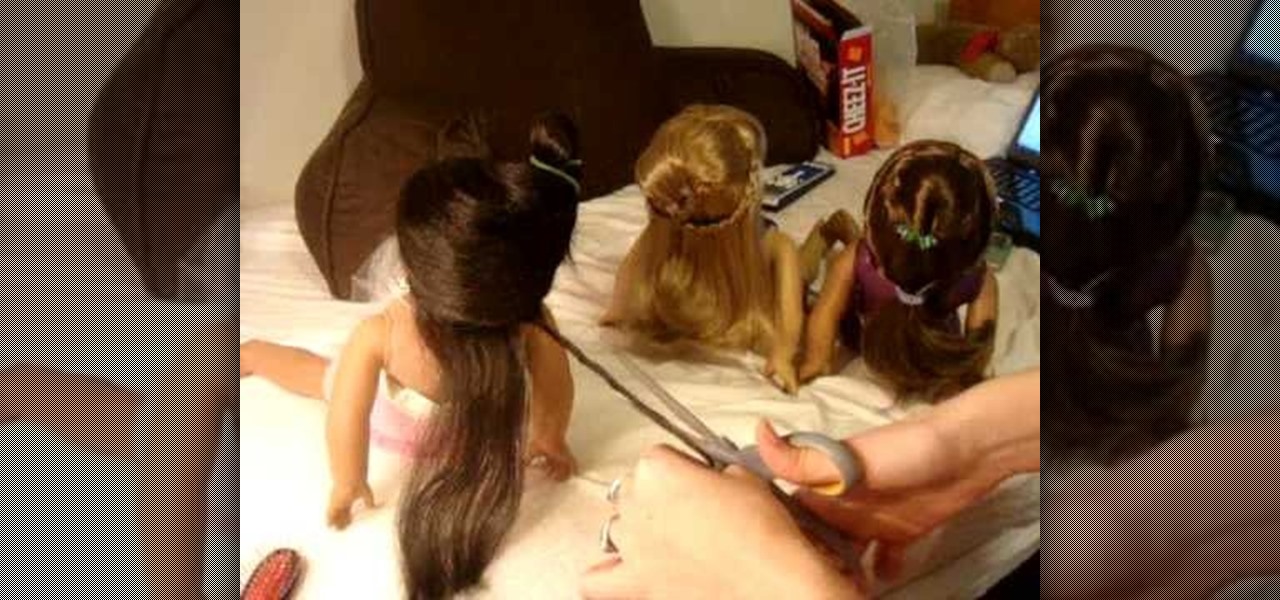
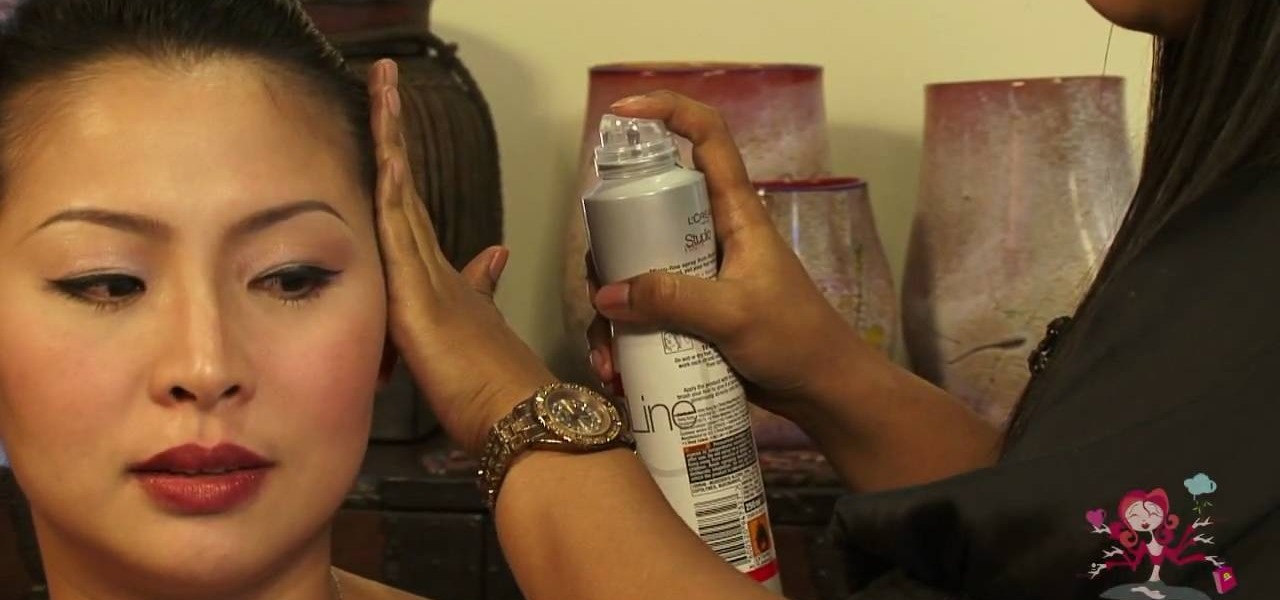
In this video, we learn how to fix your American Girl doll's frizzy hair or split ends. If the ends are frizzy or split, there is a way to fix it. First, you will need to wash the doll's hair the night before and brush it out. After this, take some scissors and start to cut small sections of the hair that have frizz on them. After this, you will cut the bottom of the section to make sure it's completely evened up. To make it easier, you can go section by section until you have it right!

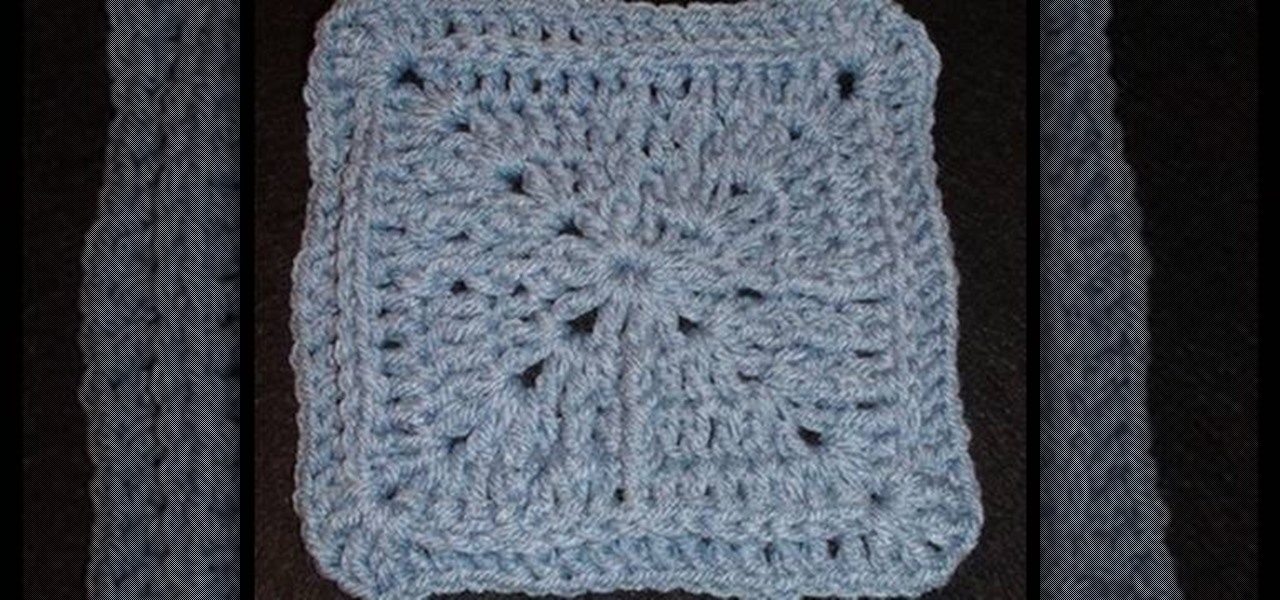
In this video, we learn how to finish a crochet never ending granny square. There is a spiral effect happening in this, because there is no place that is stopping, it's going in a continual circle. To finish one of these, you will see that the corners should be perfect. But, you will need to choose one corner to finish it off at. Go across, then choose a side to stop at. Then, chain over and double crochet in. When you come across with another color, you can weave in the end so that you can't...

In this tutorial, we learn how to jacmel crochet a granny square left-handed. In round 1, you will chain 1, then work 3 double crochets. Then, chain one four times from the original stitch and end with a single crochet. For round 2, you will chain 1 and work 2 double crochets in the same space. Next, work a double crochet in the next stitch and work over the next stitch. Work in 2 double crochets in the next chain 2 space, then chain 1 and chain 4 times ending with a single crochet. For the n...

In this video, we learn how to make friendship bracelets: The Wrap. First, clip your strings to a clip board at the top. Then, separate them into three colors, two strings for each color. Then, wrap the other colors around one color until you reach the end, then push it up to the top and continue to do this. Once you reach down the top of the bracelet, switch the colors and start to wrap the other color doing the same process. Then, switch to the last color and continue to do this until you a...

No matter how many blow outs we endure and curling irons we abuse, we always head back to our oldie but goodie ponytail when it comes to desiring comfort. Ponytails are by far the quickiest and easiest hairstyles to pull off, and there are loads of different ponytail styles to choose from.

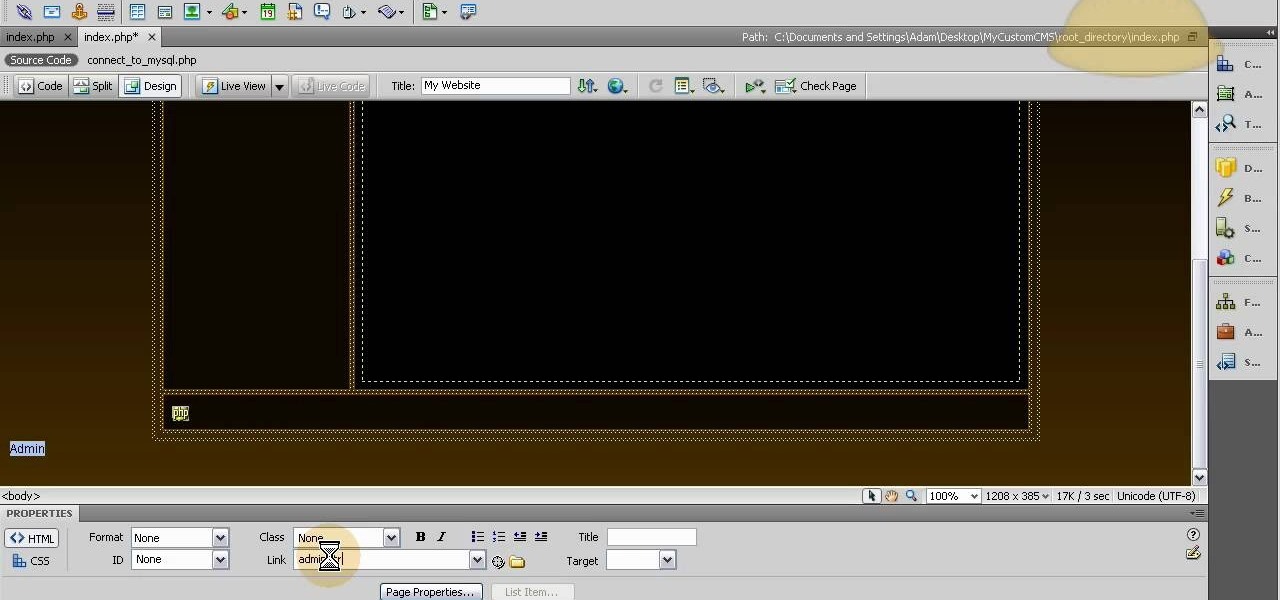
Designate a back end or administrator sector of the website, a place you can use to manage the content on the rest of the site. This tutorial shows you how to use Dreamweaver to set up this area of your website and cordon it off from the rest of your website.

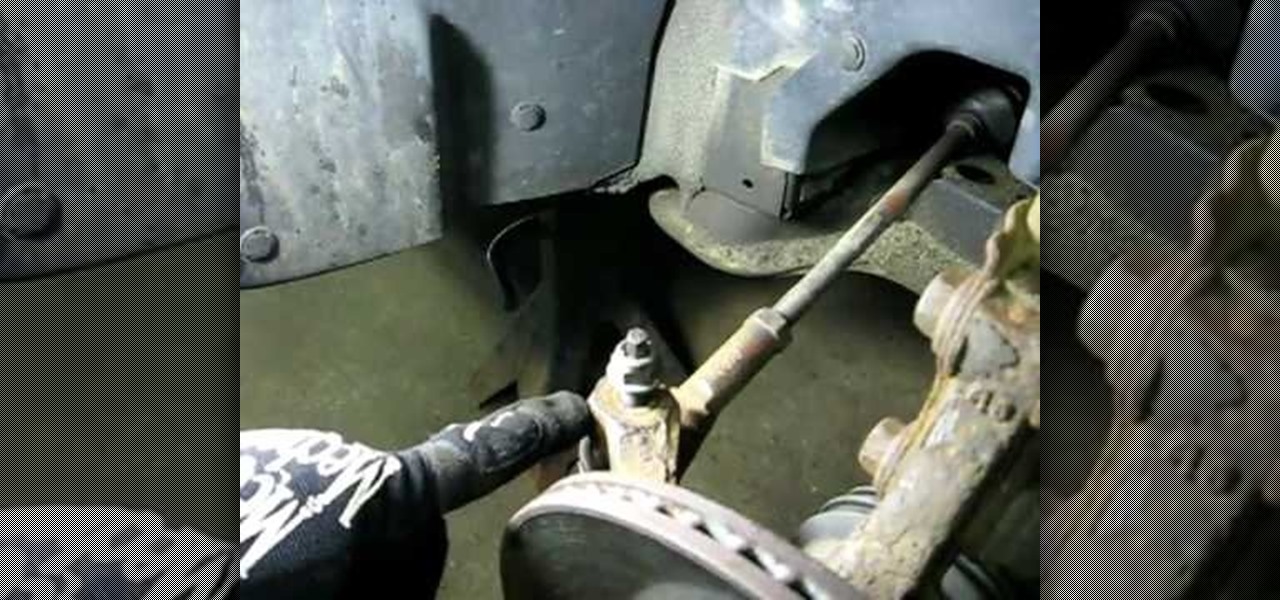
In this video, Rich Pin teaches us how to replace an outer tie rod end on a vehicle. First, get the vehicle in the air supported on jack stands, and remove the tire wheel assembly. Next, put a mark on the top of the tie rod shaft so you know where to line it up when you replace it. Next, loosen the jam nut from the rod, remove that and the nut. Remove the tie rod end after this by shocking it with a hammer. When it is removed, replace it with a new part and then attach all the bolts and nuts ...

When speaking German, nouns using the s-declension will sometimes have two different endings (-s or -es) in the genitive declension, which does not change the meaning of the word. This lesson teaches how to appropriately apply each ending. The video also teaches you a short list of German travel words.

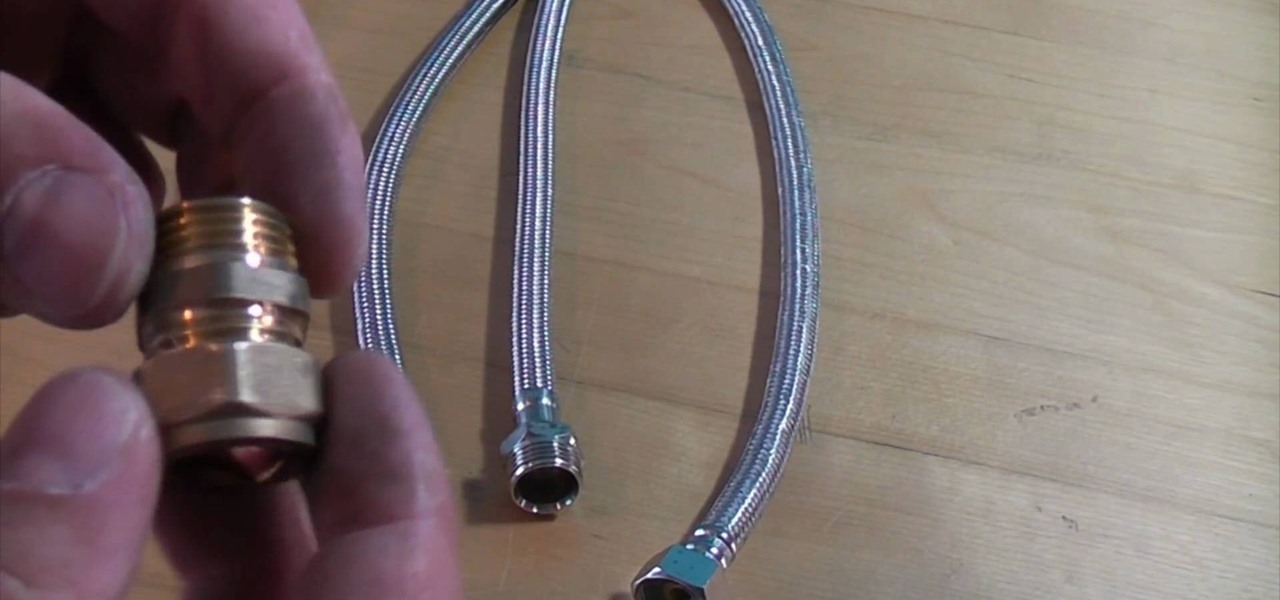
In this video, we learn how to connect flexi-tails properly. First, take your flexi-tails and grab one with a female end that will screw onto the end of a male. After this, use an isolating valve to fit the compression onto the valves and then tighten it up. Screw the flexible tail onto the end of this. Be careful buying this off Ebay, because a lot of fittings will not screw onto a compression knot. It is very simple to make this, you just have to connect the two tails and make sure they are...

In this video, we learn how to make single ended dreads. First, you will need synthetic hair, a hanger, and a steamer. First, take the hair out of the package and then cut a section out of it and put the other hair aside. Next, place the hair on a clothes hanger hook, then pull on the hair with your hands. After this, pull the ends down and then take a comb and back comb the hair piece. You want it to be in a big poufy mess what you are finished with it. After this, you want to braid the hair...

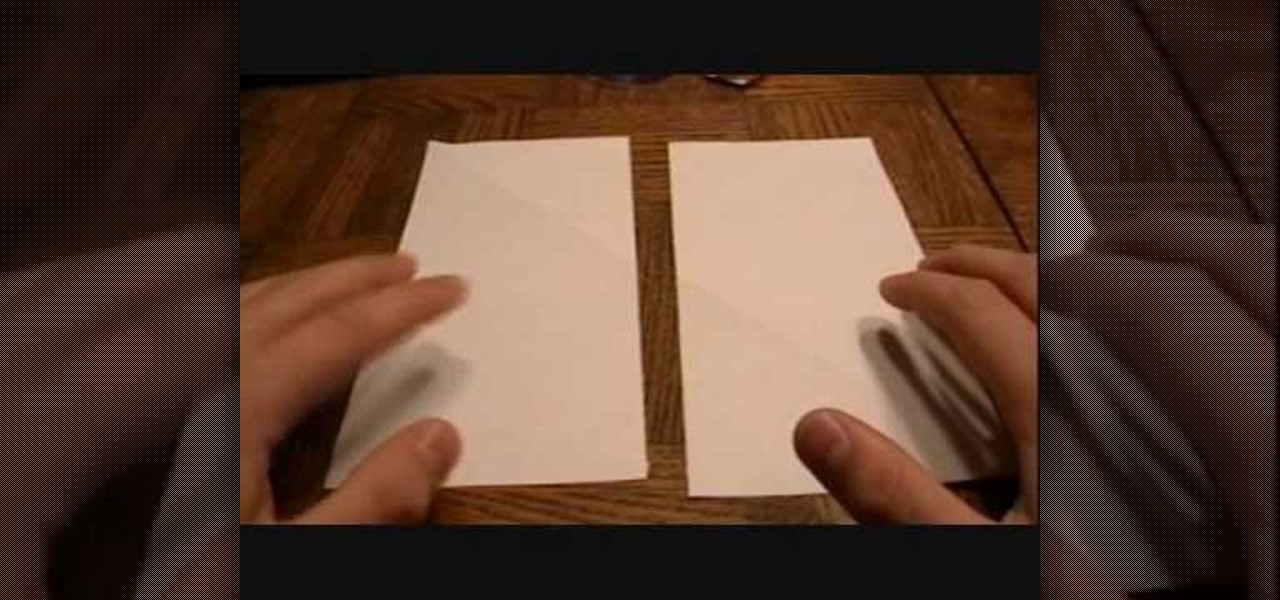
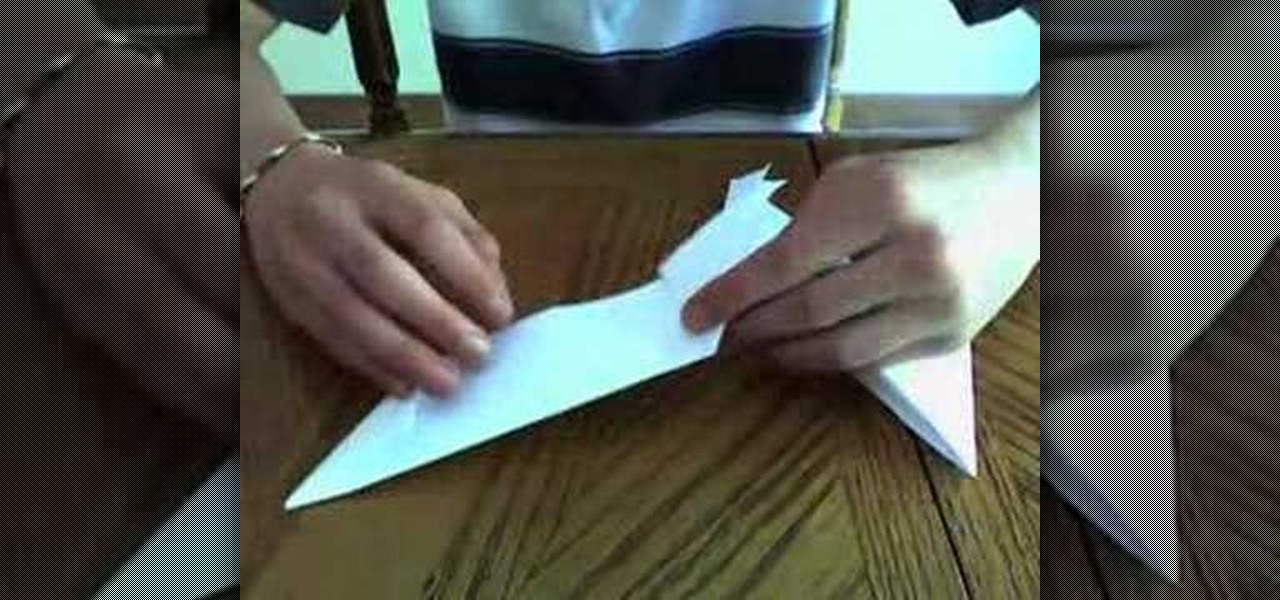
In this Arts & Crafts video tutorial you are going to learn how to fold an origami ninja star. Take a normal paper. Fold it diagonally from one corner and cut off the extra portion to make a square. Fold it in half and cut into 2 rectangles. Fold each piece in half along the length. Fold both ends of each piece in opposite directions to make a triangle. Now fold the ends again to make a bigger triangle at both ends of each piece of paper. Each sheet will form a 'Z' shape. Now place one sheet ...

In this tutorial, we learn how to make a paper rose with a paper towel. First, roll one end to the other, then stick your finger inside one end and pinch the tip while twisting a few inches down. This will be your bud and your stem for the flower. Keep twisting down until you reach halfway to the end of the flower. Now, fold the loose piece on the bottom so it's parallel to the stem. Then, twist the leaf and wrap it around the bud. Then, shape the bud to the type of flower you want, then enjo...

In this tutorial, we learn how to make a paper football for 1 dollar. First, grab your paper and fold it in half length wise. Next, make sure the crease is nice and clean, then fold it length wise once more. Now, fold one of the corners up into a triangle shape, marking the crease exact. Fold this up again and keep doing this until you get to the end. Once you reach the end, fold the other end in twice into the pocket you see. Crease this, then stand it upright and flick it with your other fi...

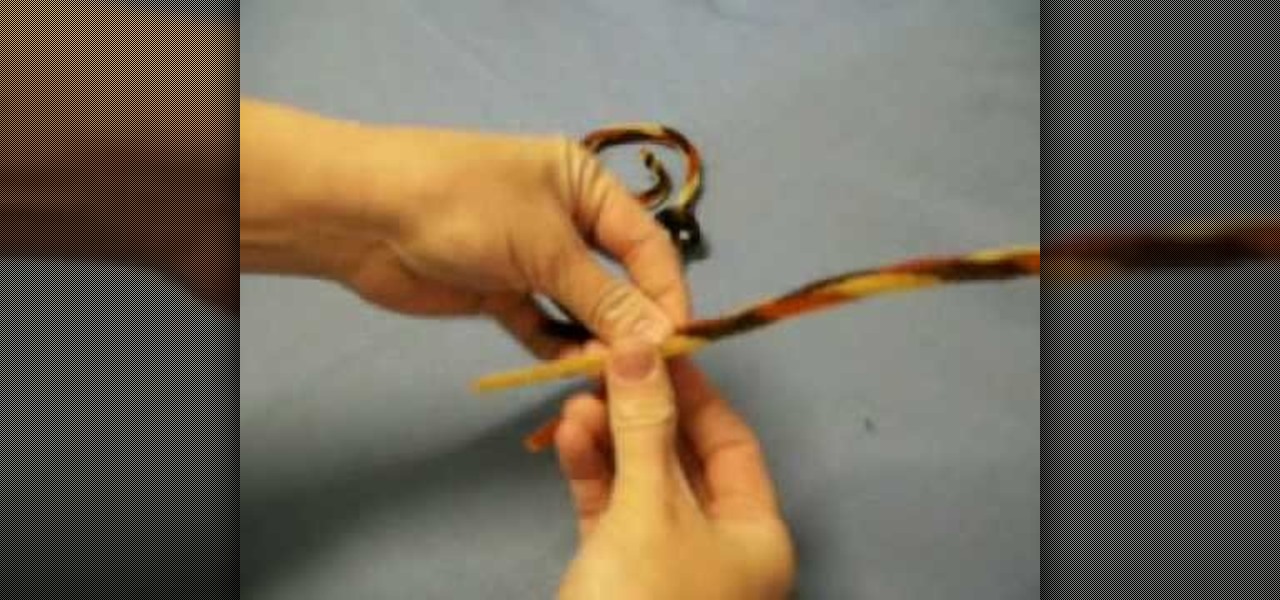
In this tutorial, we learn how to craft a snake out of a pipe cleaner. First, you will take three pipe cleaners and twist their ends together, then stick a large pom pom in between the pipe cleaners. Then do a braid with the pipe cleaners until you reach the end, and then twist the end together. Then, take some googly eyes and glue them onto the pom pom. You can now twist the snake to make it look like a rattle snake and add a piece of red felt to make the tongue. This is a fast and easy proj...

One of the hardest parts about jewelry making is the knot-tying. It's an intricate process, much like jewelry making in general, which is meticulous and dexterous. Working with leather is also more difficult because of it's thickness and un-malleable contour. This demonstration video will help walk you through the process of tying a knot end with leather.

This video illustrate us how to make ribbon woven headbands. Here are the following steps:

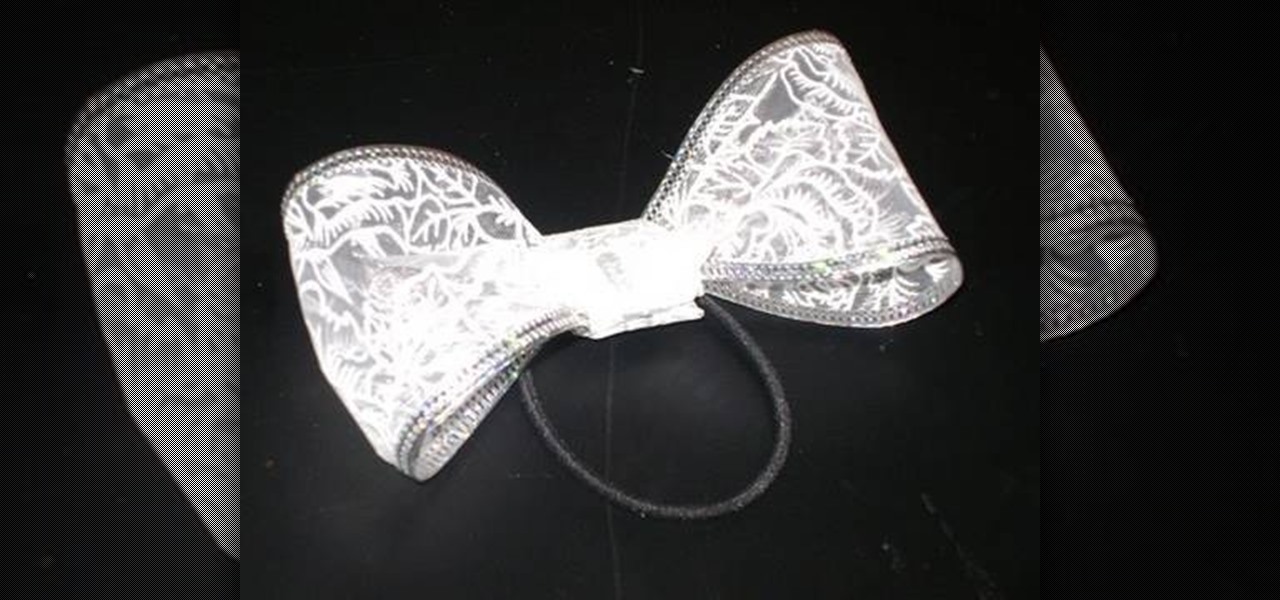
Materials required are lace, hair band, scissors and glue. Start by cutting off a piece of lace around ten inches length using a scissors. Now apply glue at the edges of one end of the lace. And then join the other end of the lace together to form a circle. Now hold this lace at the middle and then push in the middle. Press in at the centre so that it is divided into a Bow as shown. Spread the edges a little to make it appear fine. Now cut off a piece of lace around four inches using a scisso...

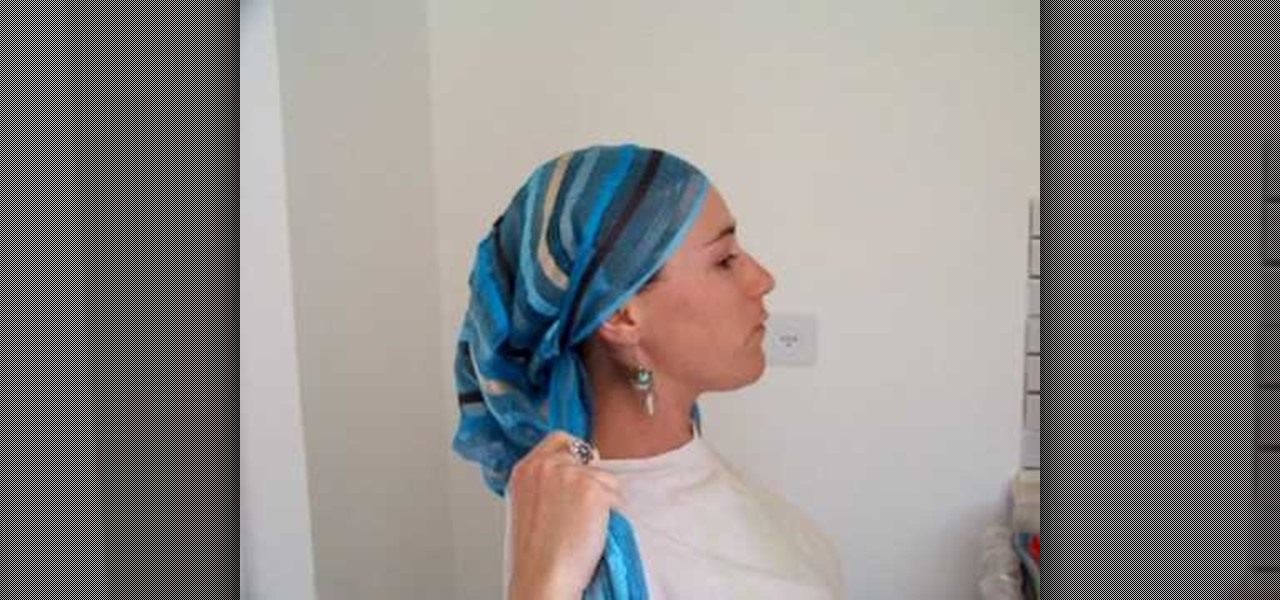
This how to video is for people looking to learn how to tie a scarf attractively. Get a long scarf for your head and place the middle of it on the top of your head. Gather each end in the hand closest to it in the middle. Turn it around by pulling it behind your head and tie the ends over each other. Next step tuck the scarf behind your ears if you like it that way. Then twist the left end around your head. Create a bun with your hair and the scarf in the back using the final side to tie it up.

In this Weapons video tutorial you are going to learn how to make a paper shuriken (or ninja star). Take a square size paper and cut it into half. Then fold each piece in half lengthwise. Fold one end to make a triangle and fold the other end in the opposite direction to make a triangle. Now fold the ends again to make a bigger triangle. Then each sheet will form a ‘Z’ shape. Now place one sheet on top of the other forming a cross. Then fold in the protruding triangles of one over the other p...

Take a square piece of paper to begin. Fold in diagonally in half to form a triangle. You then fold both ends up so that it will form a smaller diamond shape. You then repeat what you just did, but folding two of the ends up again to meet the other side. Fold your piece of paper in half again revealing another smaller triangle. Flip the paper over and unfold the smaller pieces that you folded up to meet the ends. Pull these apart and then fold down in the middle. Bend in the 4 pointy corners ...

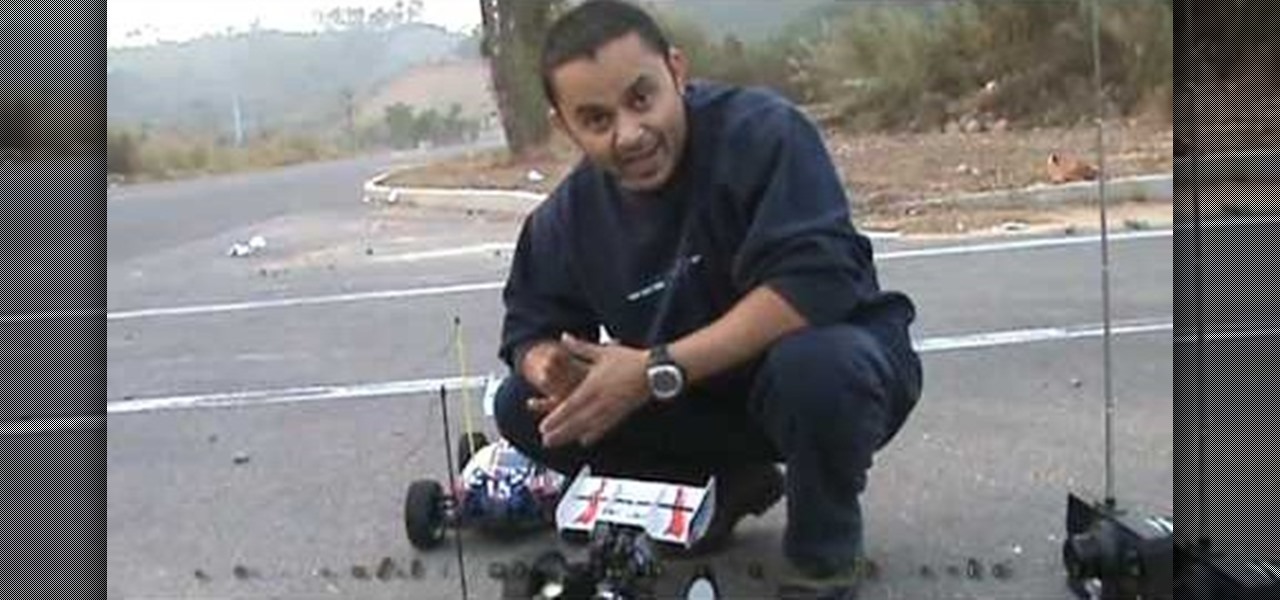
This video shows you how to tune the ACME attacker 1/8th scale nitro engine buggy. Use the high end valve and the idle speed screw as show in the film. Turn the engine and get it to the operating temperature and drive round to the see how the car performs. If the acceleration is sluggish then the low end valve should be adjusted. If the engine is having too much RPM then the idle speed should be reduced using the idle speed screw. If the engine bogs down and makes noise on full throttle and i...

You can make a rocket at home using these items found around the house. Icing sugar, measuring tape, a PVC pipe, black marker, hammer, flat headed bolt around 18 millimeters wide , mortar and pestle, drill, drill bit size 5 millimeter, potassium nitrate and kitty litter.

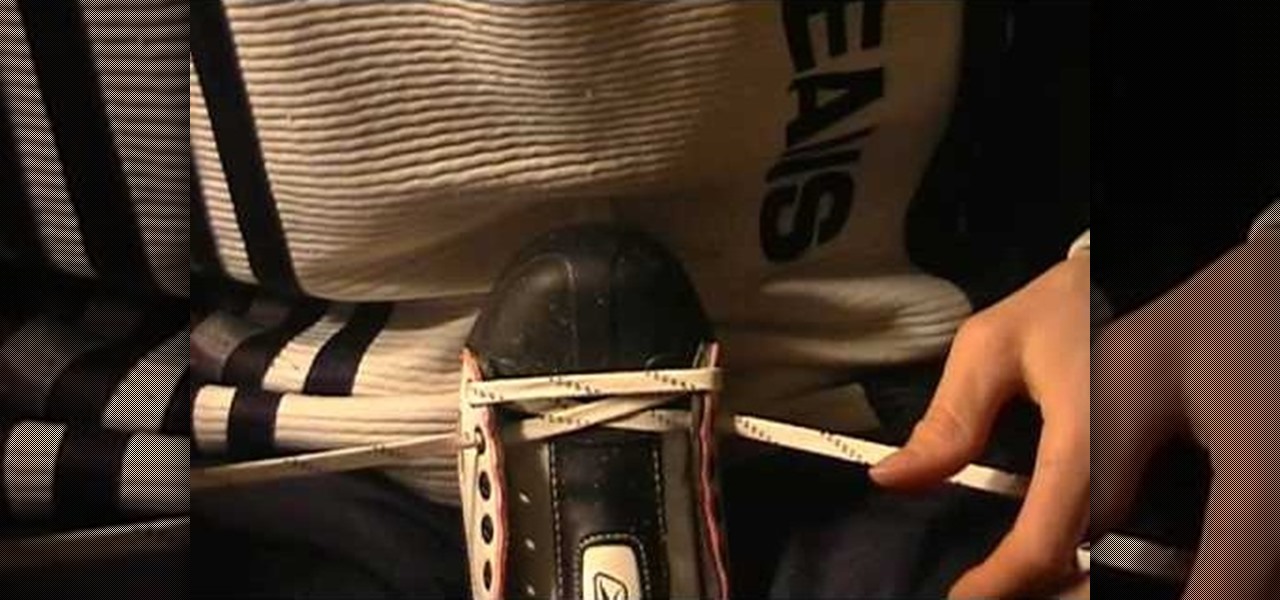
Dan Perceval, founder of the sport of Xtreme Ice Skating explains us in the video of how to properly lace ice hockey skates. It starts with the wax laces. There are different forms but he suggests heavy wax since it lasts long. These wax laces are used to grip the boots. We normally we use 120 inch if there is no wrapping around and it should be in excess if you wrap around. Now we start with lacing. You can start outwards or inwards in hole one. He prefers outward so he inserts the lace outw...

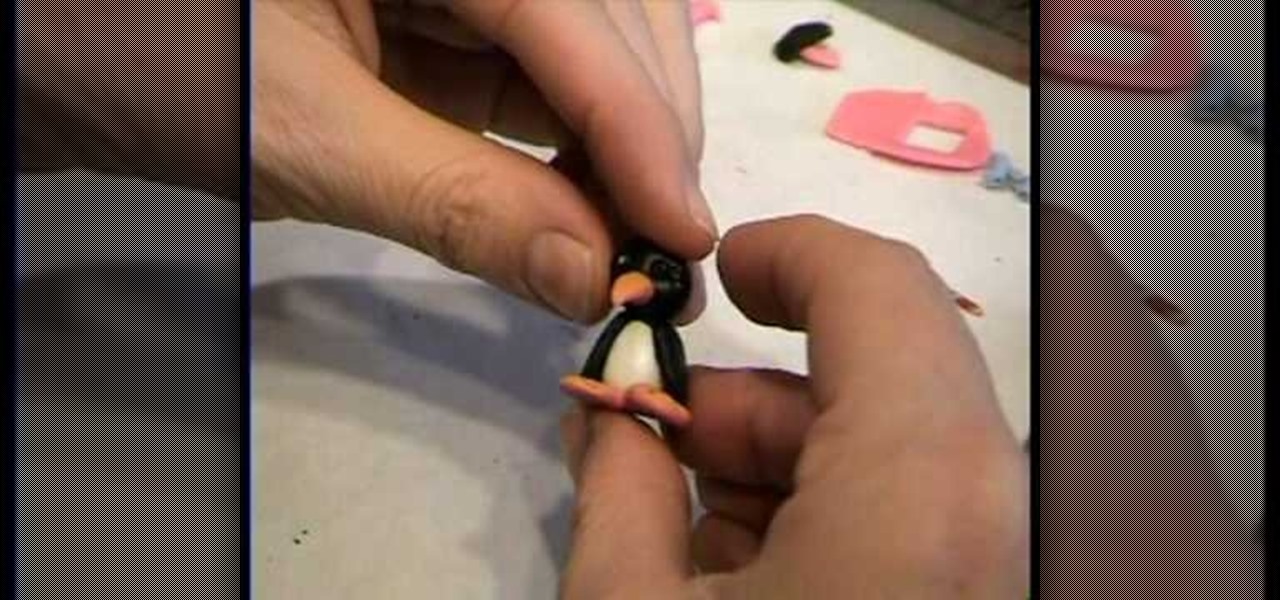
A piece of orange clay is rolled down to diameter of desired width of beak, and rolled down further at 1 end to make a point. Cone shape is cut to length of beak desired. A black ball of polymer clay is made. Base of orange beak is blended onto it. 2 clear seed beads are picked up individually with a pointed stick and pressed into head above beak. Stick is used to make 2 eye creases at right side of right eye and eyebrow over left eye. Repeat on other side. 2 flat oval pieces of orange clay a...

The video illustrates step by step on how to draw the flower by showing every pixel that is being painted. It includes the shape of the brush used and the color. Towards the end of the video, the 16 bit painting of the bullier flower is compared with an 8 bit painting of the same flower by the same artist - zed gamer. It is a 2 minute video at the end of which we can see how to draw and color the bullet flower

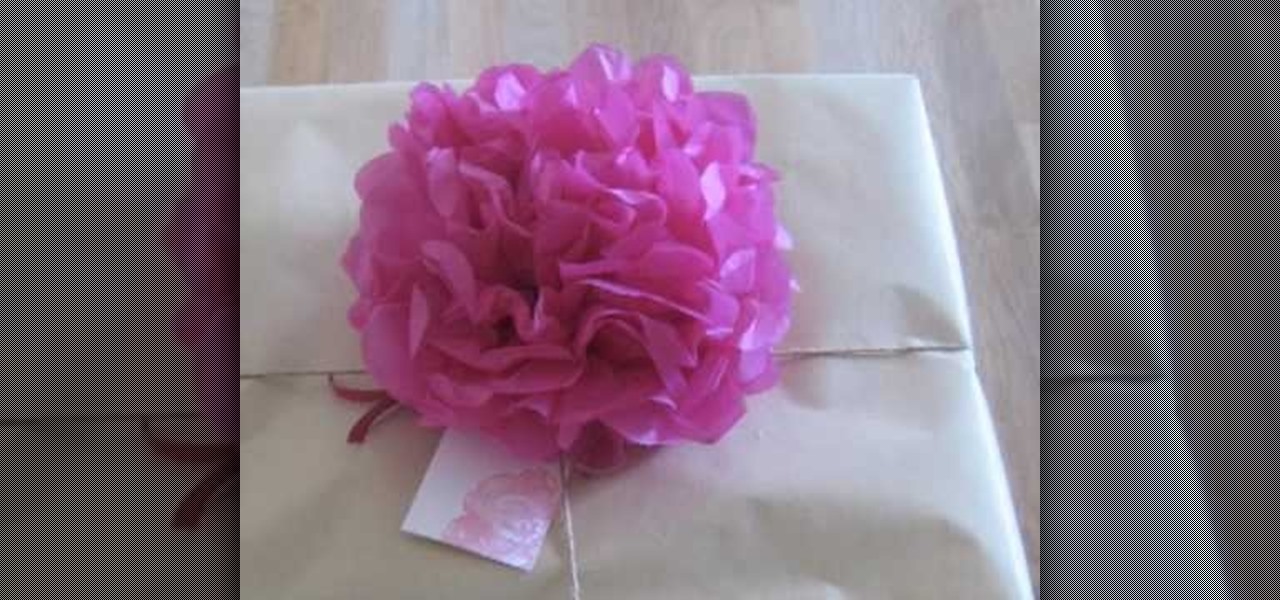
In this video tutorial, viewers learn how to make a paper flower. This video provides all the materials that are required in order to make the paper flower. The materials required include: colored tissue paper, scissors, and 10 cm of colored string. Begin by cutting the tissue paper to preferred size. Fold 1cm on the tissue paper, flip it over and do the same on the other side. Continue this until you've reached the end. Tie one end of the string onto the middle of the tissue paper and fold t...

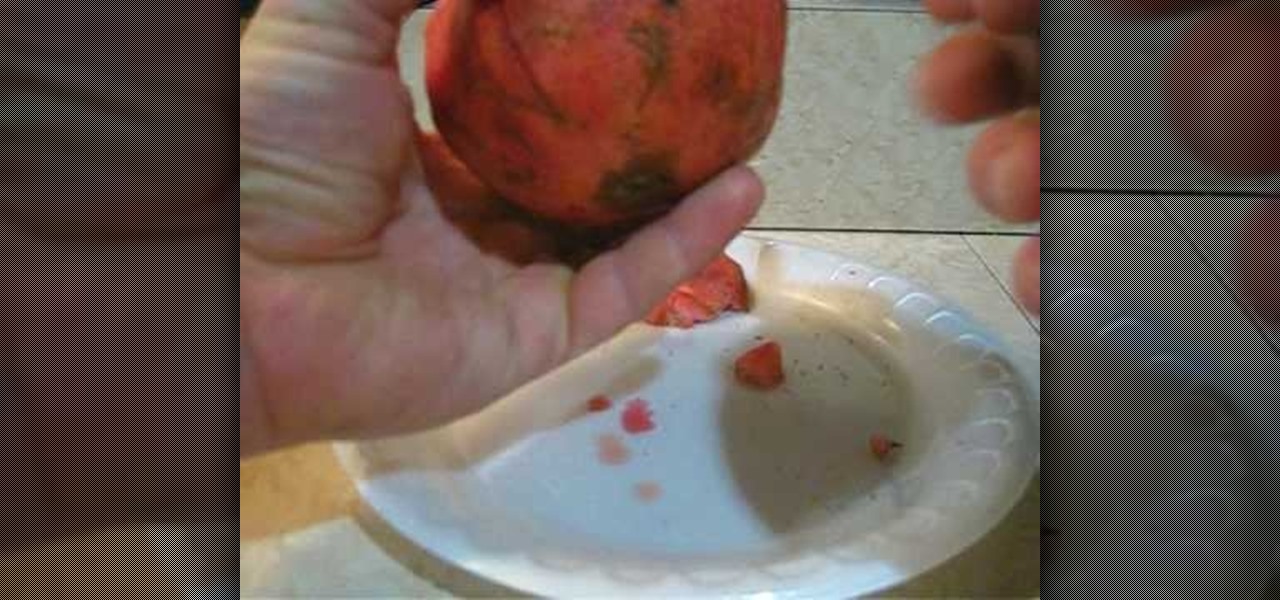
Ever wanted to enjoy the sweet taste of pomegranate but were confused about how to actually get to the fruit? Use this simple method to cut open your fruit. Take a small, sharp knife such as a paring knife or pocketknife. Slice a thin round off the top, stem end. This will leave several tops of fruit sections visible. Cut a small cone shape out of the center about 3/4 of an inch deep. Use the knife to slice from one end of the fruit to the other along the white pith dividing the segments of t...

Pamela Holmes starts off an asparagus stir fry by cutting up four cloves of garlic. She chops up some onion as well. She teaches us that you take the wooden end of the asparagus, and instead of cutting of the ends, you take the end and snap it. Wherever it snaps off, that is where it is supposed to be cut off. She then chops the asparagus into equal sections. She puts the onions into the pan first, then the peppers, and finally, the asparagus. She finishes it up with some seasoning. This vide...

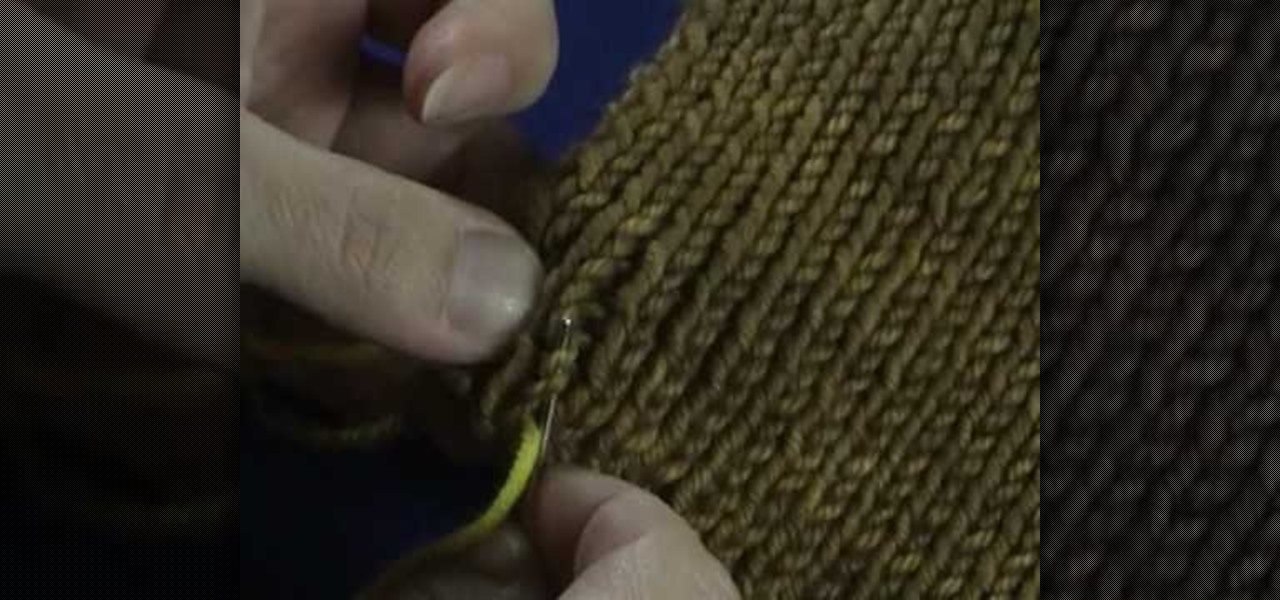
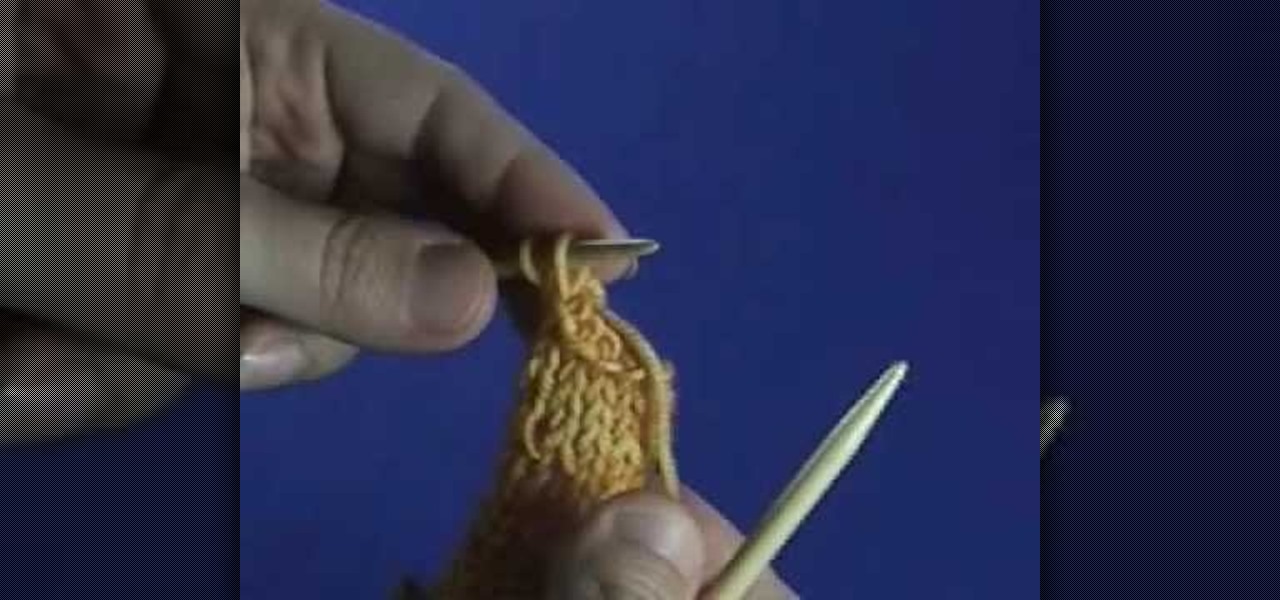
This video demonstrates a very simple method of weaving in the ends of the yarn that are hanging out after you have finished knitting your garment. With the end piece threaded into a needle, bring it in one or two rows so it's not right on the edge. Then working up the row, weave the thread in and out of each knit stitch for an inch or so. Pull the yarn tight, then go one stitch over and work the yarn down the other side in the same manner, weaving in and out of each knit stitch. This creates...

In this video the tutor shows how to find the midpoint of a line. He goes on and gives a formula to find out the mid point of a line. The x coordinate of the mid point of a line is the average of the x-coordinates of the end points of that line. Similarly the y coordinate of the mid point of a line is the average of the y-coordinates of the end points of that line. He notes down the formula and explains it by taking an example. This video shows how to compute the mid point of a line given its...

This recipe shows how to make Pinoy cheese sticks. You will need spring roll pastry wrappers, cooking oil, and cheddar cheese. Place a wrapper on a plate and add a rectangular piece of cheese diagonally closer to one end of the wrapper. Fold the ends in, then fold and roll up the cheese stick like an egg roll. Seal the end with a little oil. Assemble all the cheese rolls the same way, then deep fry in hot oil until they are golden brown in color, which takes about four minutes. Remove them an...

The video shows us how to perform a knitted bind-off on the right side of your work. It is recommended to use a cross hair hook for the right hand needle to make it easier but here is used with the normal needles. Firstly you need to knit the first few stitches and using the left needle take the first stitch and pull it over the second stitch. Then you knit it and again pull the first stitch over it. It is repeated in the same pattern till then end of all the stitches are knit. And after knit...

Mike gives us useful tips to make different sizes of baby socks with this video tutorial. Directions:

If you're drawstring fell out, it may seem like the end of the world, but take a deep breath -- it's possible to put back in!

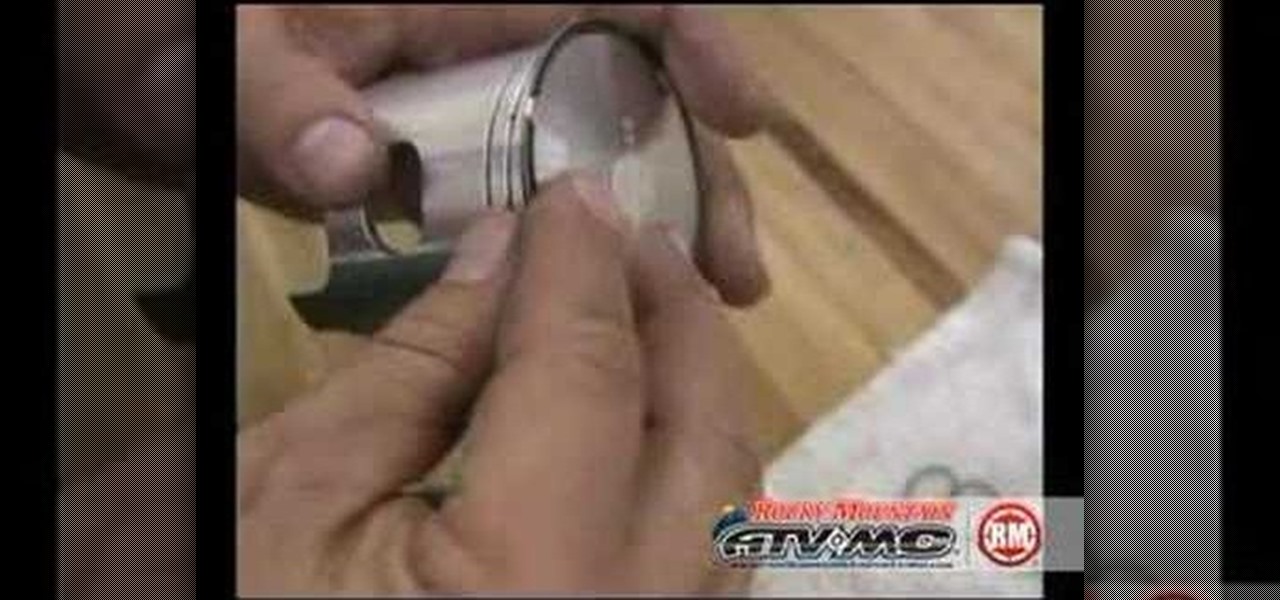
Rebuild the top end on your 2 stroke ATV or motorcycle. Replace the piston and rings easily.


