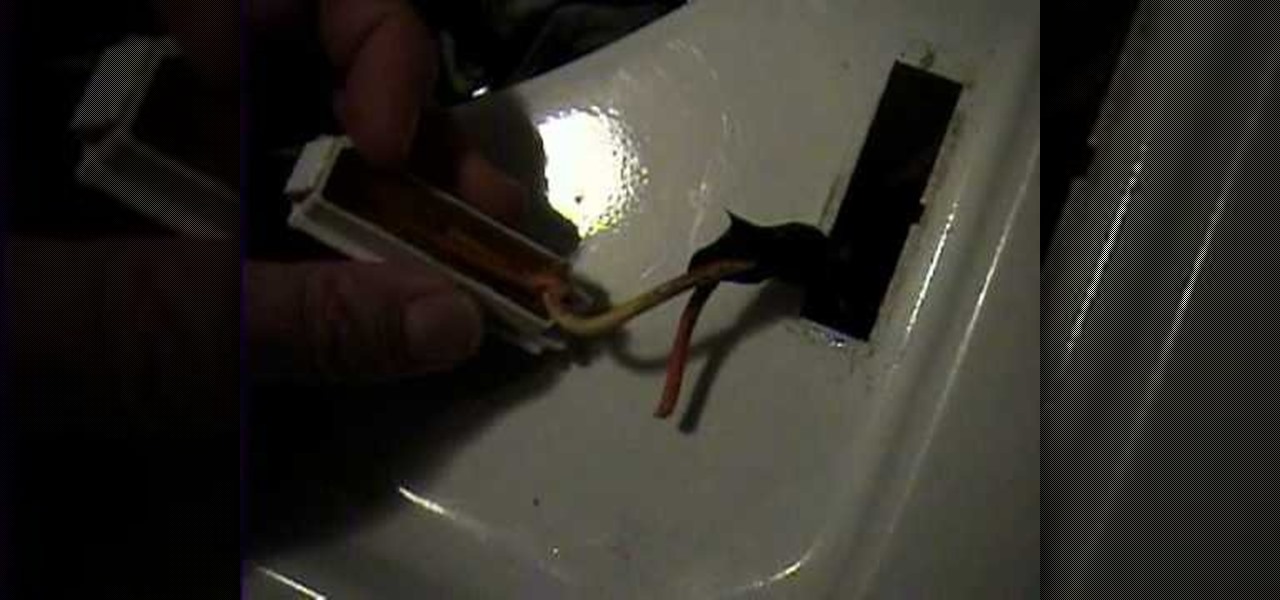
This Home and Garden video tutorial shows how to repair a wash machine lid switch. This video is on a GE Prodigy machine. Looking inside the machine under the switch, she finds that two wires are broken. Take a screwdriver and press down the clip of the switch from underneath. One end will come out. Then, pull out the switch. After that it is very simple. Cut off a bit of the plastic coating from the ends of the wires, connect them to the switch and put some electrical tape around them. Now y...
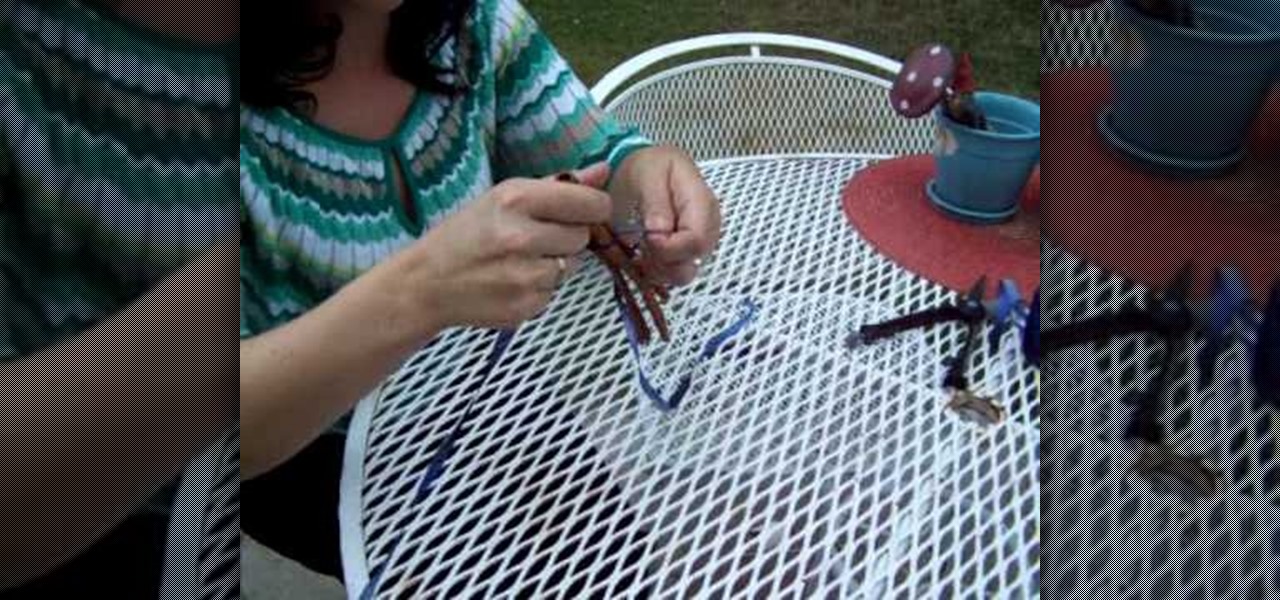
This Spirituality video clip will show you how to wrap a Wiccan cinnamon stick bundle for protection. You need some cinnamon sticks, scissors and ribbon. Cut a very long piece of ribbon, lay it down on a table, place the cinnamon sticks on the ribbon, tie a basic knot flip it over and tie another knot. With one end of the ribbon, go over and in between the sticks and with the other end, go under and in between the sticks. Now put one more knot in between the sticks. One more time go under or ...
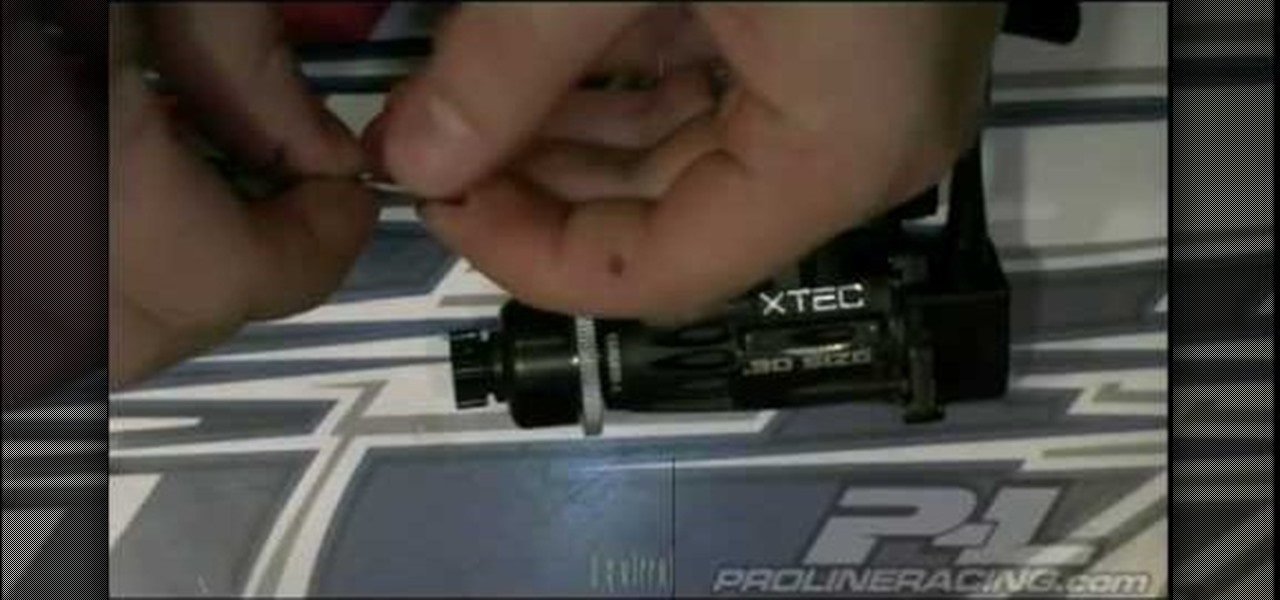
In this Hobbies & Toys video you will see how to remove the clutch bell and shoes from an RC vehicle. You will need a 2. 0 wrench, a 3. 0 flat end screw driver, a clutch shoe tool, T wrench, the fly wheel tool and a battery termination puller. The first step is to remove the clutch bell by unscrewing at the very end and it will come off. Now pull the clutch bell out slowly and it will come out. Next you got to remove the clutch shoe using the clutch shoe tool. You can watch the video for the ...
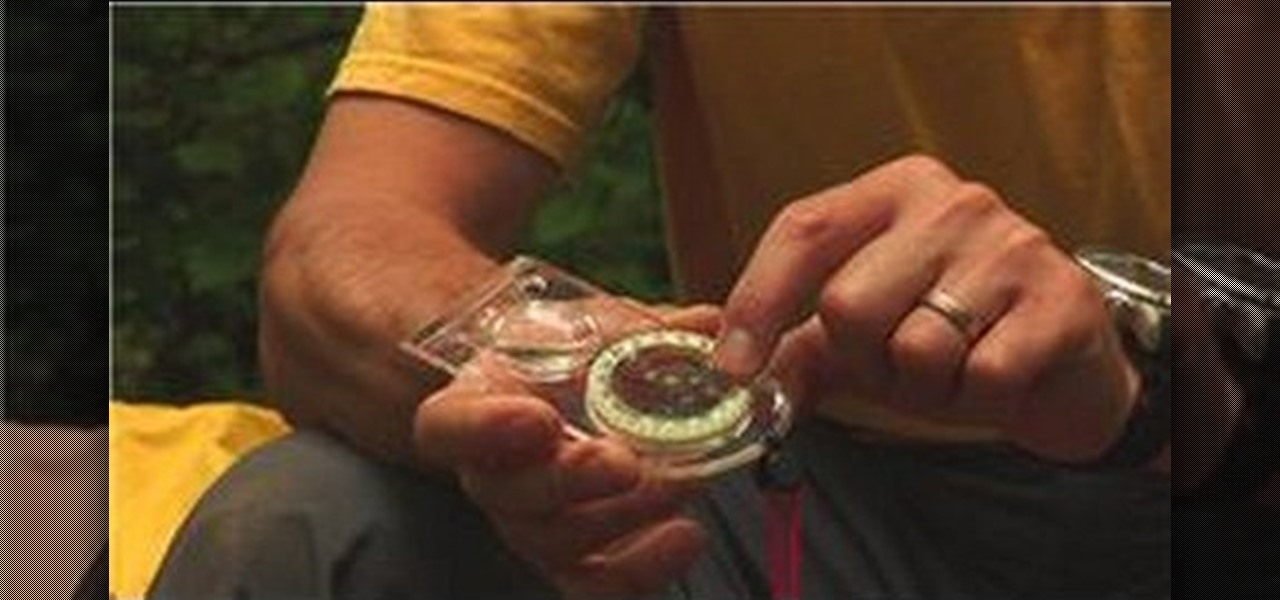
The parts of the compass are a base plate with different measurements for calculating mileage and distance. The magnifying glass is used to magnify things on your map. The arrow at the top of the compass is called the direction of travel arrow. To find the degrees on your compass, use the rotating bezel ring, with North being "0", East being "90", South being "180", and west being "270". The magnetic needle inside has a red magnetic north end, which is used to locate "North", and the black en...

Teresa demonstrates how left-handed people can complete a crochet project. The project is a round cap for a toy Ogeechee bear. Using her left hand to hold the crochet needle, she starts with a circle of crochet stitches to form the crown of the cap, and counts out the number of stitches needed for each row. A yarn marker is used to keep the rows organized, and Theresa shows how to utilize a slip stitch to make turns in the crochet to complete partial-rows that form a brim to the cap. She ends...
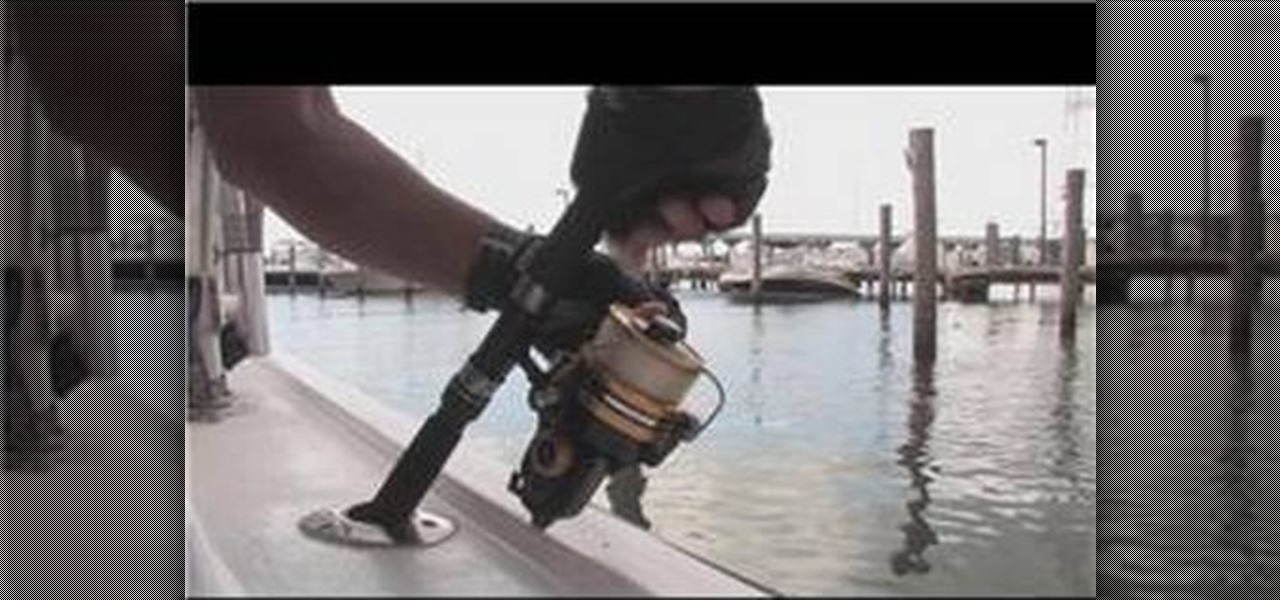
This Outdoor Recreation video tutorial shows how to spool a line on a deep sea spinning reel. This video is from marktheshark. First get the end of the line, put it through the guide at the top end of the rod, and then pass the line through all the guides making sure that you don’t miss a guide. Open the bell, go around the spool twice, twist the line six times, put a knot and tighten the knot fully. Cut off the excess. Close the bell and now add line to the spinning reel by rotating the spoo...

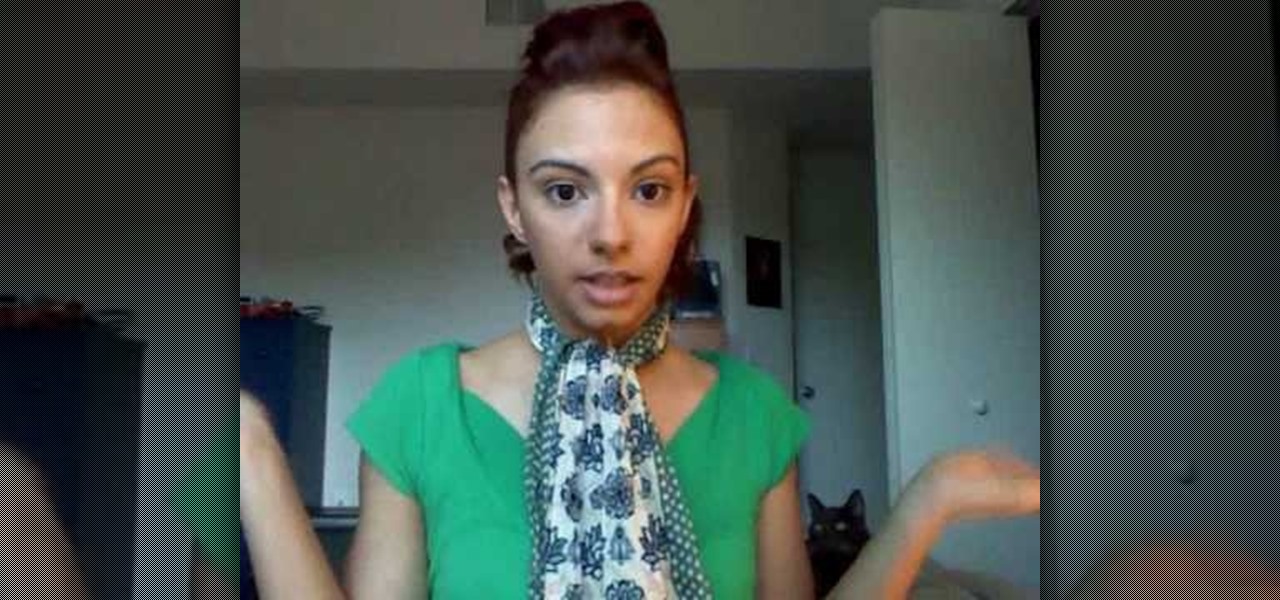
This video shows the viewer how to tie a scarf in an ‘Ascot’. Allegedly this is a preppy look and should appeal to young people. The knot is tied by placing the scarf around your neck, one of the lengths should be slightly longer than the other. Wrap the longer length three times around the shorter one before taking it behind the shorter length and pulling it over the ‘knot’. This end is usually the spread out to display the pattern of the scarf. It is suggested that this look is unisex and t...

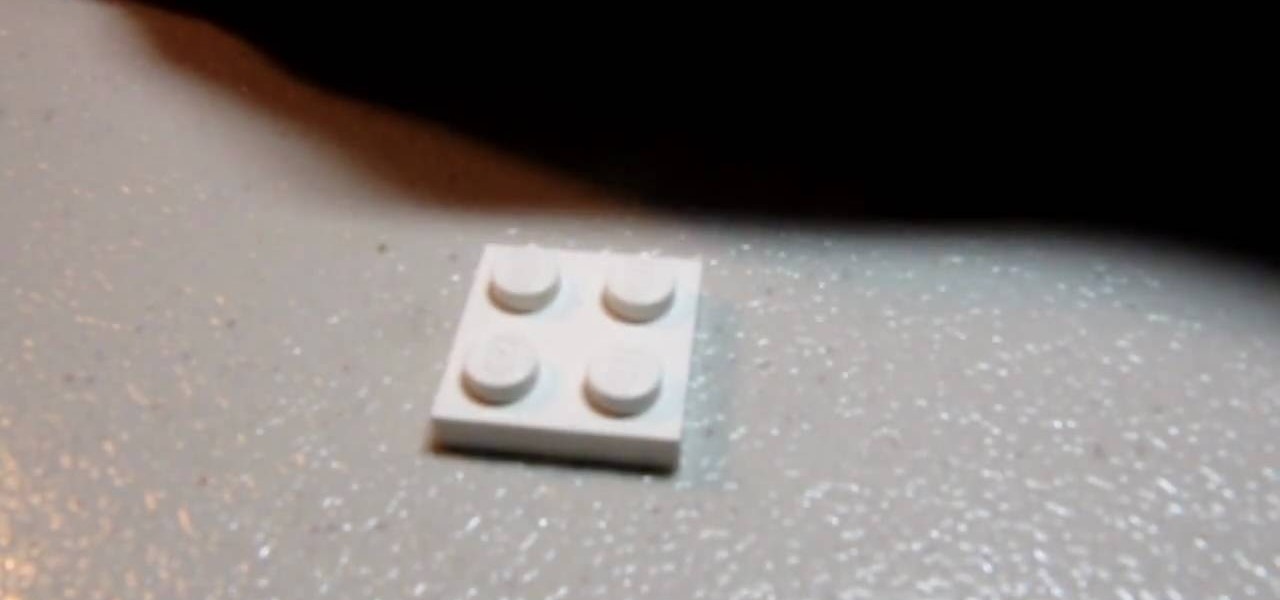
Building a LEGO sink is not difficult at all. You will need only 6 simple parts: 2 1x2 thins, 1 2x2 thin, one sink element (this is kind of rare so if you're not able to find it, you may have some trouble making the sink), and 2 1x1 right-angle elevated bricks. Starting with the 2x4 thin, stack the 2x1s on top of each other and place them on the end of the 2x4. Now take the elevated bricks and snap them on the other end. Finally, attach the sink element so it is facing the elevated bricks. Th...

To repair damaged hair. Cut off the dead ends. When shopping, remember that you get what you pay for in hair care products. Use a shampoo and conditioner that says "Strengthening" or "Repair" to rebuild the bonds in your hair. Use a leave-in conditioner that protects your hair from the heat, and protects from sun and wind. To keep it healthy, do not blow dry your hair. It causes too much damage. When you use a heat iron, use a heat protectant. Don't wash your hair every day. If your hair is f...

MRTV demonstrates how to make a scarf necklace. Making a scarf necklace is very easy and doesn't require cutting, sewing or altering. If you know how to tie a knot and you have a scarf then you can make a scarf necklace. Fold a square scarf into a triangle. Take the tip of the triangle and fold it in. Roll the scarf up and knot it loosely in the middle. Make knots in the loose ends of the scarf, using your desired length to determine how many knots to make. Tie the ends of the scarf together ...

This is a short, very fast paced (6x normal speed) demonstration of how to arrange a floral and green head table piece. The 54 seconds shows the designer how to complete an arrangement from beginning to end. It is difficult to see what the shape of the base is, but it is fresh flowers going into the design. The designer places long greens into the center of the base, adding some long white stemmed flowers. Red carnation heads are then placed around the base along with some additional greenery...

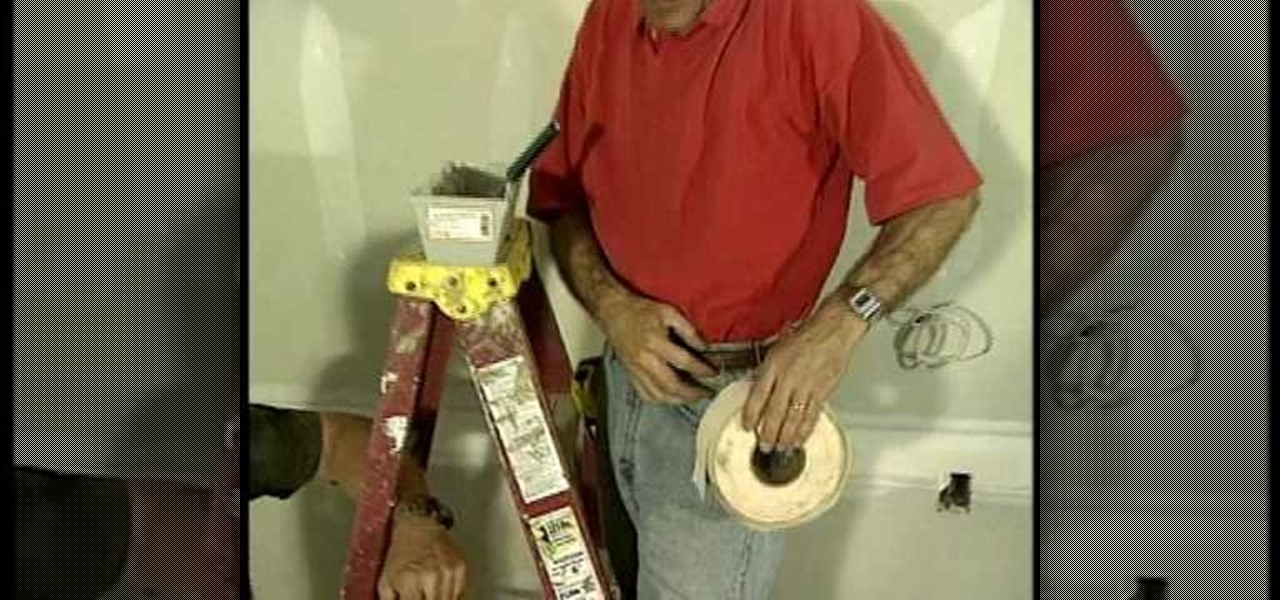
This video shows how to make your own dry wall dispenser. Trying to put the tape between two seams is difficult because you need both hands. This

This video shows the viewers how to create a simple but well done Halloween text in GIMP. Starting from a simple white background you will end up creating a creepy text perfect to use every year on the 31st of October . The video is actually a easy to learn walk through , showing your each and every step you need to make . Advance users but also beginners can benefit from this short clip . At the end of the video you will surely create the type of text you usually see only in horror movies su...

This video helps in making a bow and arrow using pencil, pen and rubber band. You can get these from school, stores, house etc.

This is a tutorial that will show you how to create a powerful bow and for under $5. The material you'll need is 1 curved pipe, poly poli string, tape, scissors, and a knife. First you want to cut a slit and a hole on each end of the pipe and then add some tape underneath it to prevent it from splitting. Next, you want to line up the string with the pipe and cut it at that length. Also, you want to tie a knot at both ends of the strings and attach it by using the slits you made in the pipe. T...

User mel_bone teaches you how to use navigation and selection techniques in Microsoft Word 2007. You will notice in the bottom right corner of the main window a slider. This controls the zoom. You can thus increase the page size or decrease it, as you need. When you have a document that has more than one page, you can go to the end of the document by pressing ctrl+end. Ctrl+home brings you to the start of the document. Clicking and holding the mouse button pressed on the navigation bar lets y...

This video is presented by Coco Joe from CocoJoesCoconuts. The video starts by demonstrating the technique for getting the coconut water from young coconuts. Coco Joe first uses a coconut opening tool by inserting it into the top part of the coconut and prying off the very top of the coconut. Next, he inserts the coconut opening tool directly into the top of the coconut resulting in a nice round opening. Joe then demonstrates the same technique with a 3 inch pocketknife. Finally, Joe demonstr...

Learn how to fix a loose dread using a crochet hook in simple steps. First you have to fix the loose ends by poking through and pulling back at the end of the solid dread rapidly. Fold the tail up, poke through, round it on the hook and pull the crochet back. Repeat the same if you have any spiky hair left. If any hair goes through repeat the first step again to clear it. Repeat these steps again and again until all the hair is stripped in. Finally palm roll it when you are satisfied.

For anyone interested in learning how to make their own jewelry, try the simple steps in this arts and crafts tutorial to make a Bali bead and lampwork bracelet. To make the bracelet, you will need jewelry wire, a sterling silver toggle and clasp, crimp beads, Bali stone beads, lamp beads, silver bead snowflake caps, and silver spacers. The pattern calls for a snowflake cap, two natural stone beads, medium-size spacer, followed by a small spacer. This pattern of sandwiching a stone bead betwe...

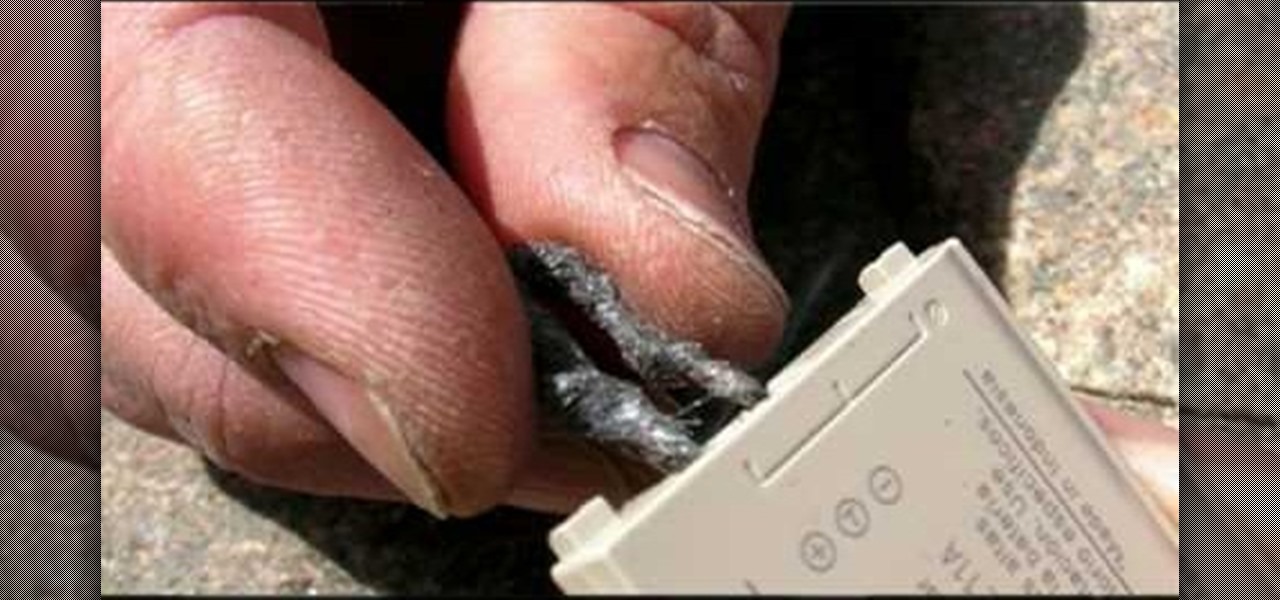
Ever wanted to know how to make a fire with your cell phone? All you need is a cell phone, a brillo pad, and material for tinder. First take the battery out of your phone and find the positive and negative contacts on the bottom of it. Next tear off a chunk of the brillo pad, roll it up until you have a twisted piece about an inch long. Bend the steel wool over and touch an end to the positive and the other end to the negative contacts on the battery. That causes the steel wool to smolder--no...

Dbltoe is showing you a simple way to get a French braid hair. You start at the back of the head with strands of hair from the middle that you gather together using a Hair Do accessory. You then take strands of hair from near the ears and place them on top of the first strand. You twist these once and use the Hair Do on top. You continue with the twisting until you run out of hair or you finish the hairdo. In the end, twist the ends of the Hair Do accessory and make sure everything is tight.

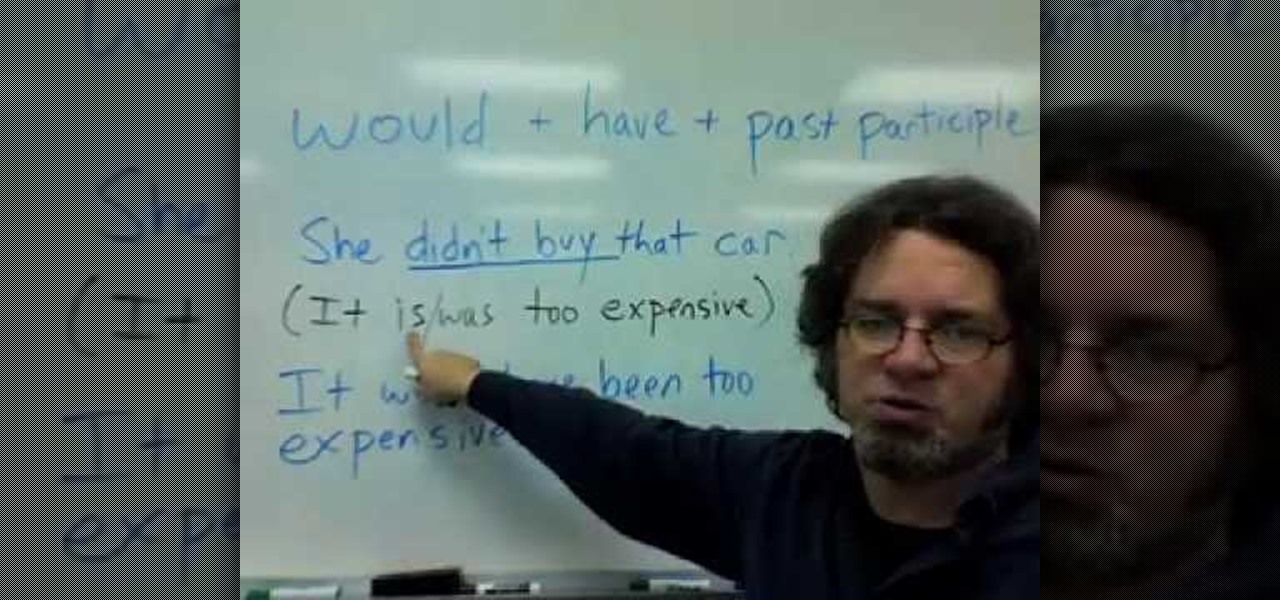
This video shows us how to describe the situations that are opposite of the future perfect tense. Here it is shown how to describe the situations that did or did not happen in the past using would, have and past participle. He gives us 3 very good examples that are describing such situations. In these examples he describes a situation which happened in the past which is actually a negative and uses a fact that is described in the present tense to give the reason why that situation ended in a ...

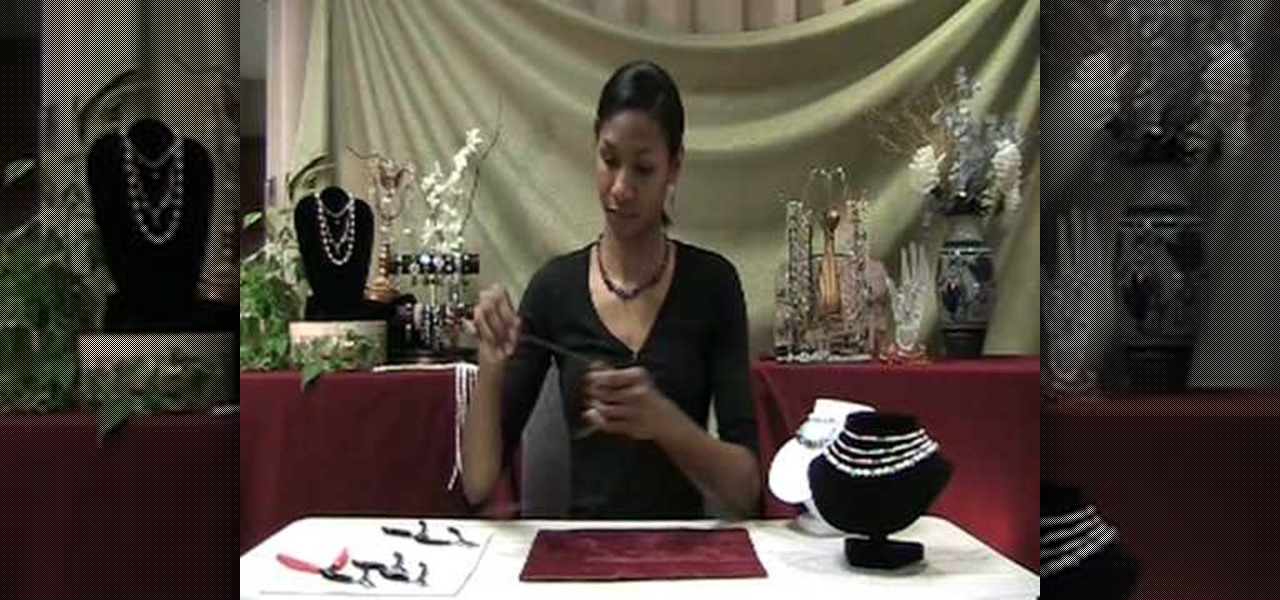
Christina of Bright ling Beads explains how to use a fold over crimp to finish an organza ribbon necklace. First, fold down the ribbon approximately an eighth of an inch. Then, fold it down over once again. Make perpendicular folds bringing each fold towards the middle and making the end of the ribbon as wide as the crimp bed. Lay the folded ribbon inside the crimp, leaving a small piece of the ribbon sticking out of the top. Use flat nose pliers to hold the tab of the crimp and hold the ribb...

It's never a bad time to get excellent abs. This instructional video demonstrates how to exercise your lower abdominal muscles with hanging leg raises. This routine is especially effective because it maximizes spinal flexion and extension. The focus of the exercise should be about rolling the hips up to generate an abdominal contraction, then returning to a good lumbar curve to relax and stretch out the abs. A good stretch at the end range of motion allows for a better workout and builds flex...

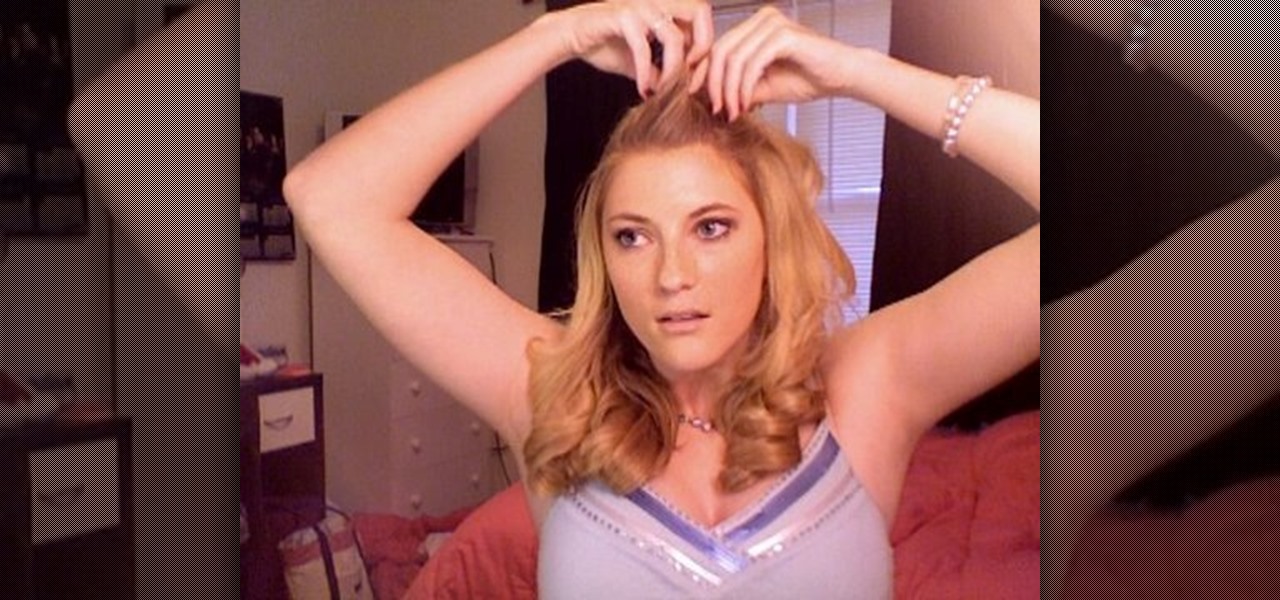
This video author explains how to curl hair with a curling iron. She uses a 2 inch curling iron for flipping the ends of her hair out, or to cover up frizziness at the ends. The next curling iron she shows is a one inch curling iron, and she explains how it snags her hair. The one she's going to use for the video is a different one inch curling iron. She uses two clips to split her hair into two sections. She curls the bottom layer first, and then uses hairspray to prolong the curls. She does...

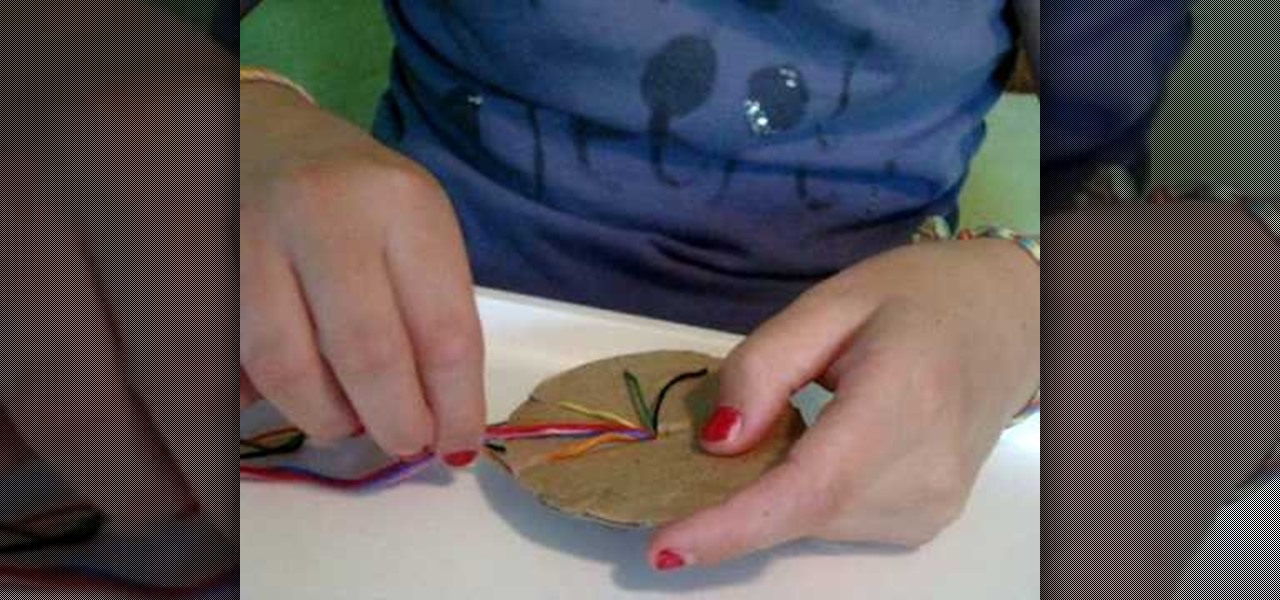
A little girl from Live Love Embroidery explains, in this video, how to make a circle woven friendship bracelet. The process involves seven strands of embroidery thread tied at the end with a simple half-hitch knot. The knot is fed through a small hole in the center of a circle of cardboard. The strings are then individually latched through seven of eight notches located at the end of the cardboard. After that, rotating in a circle pattern around the cardboard, the strings are exchanged aroun...

This video will show you how to make an interesting 3D paper snowflake. You will need 6 pieces of paper, some scissors, glue and a stapler. First, make 6 squares which are the same size. After folding the squares across its diagonal axis into a triangle and folding it over again, hold the triangle so that its open ends are facing outwards. Cut diagonal lines along the line of the triangle towards the center, stopping close to the middle line. After opening the paper, take the two ends of each...

This video shows how to do turning the bottle trick in few simple steps as follows: - Firstly we take two bottles, we have to start keeping the pouring ends of the bottles together and end by keeping the bottoms of two bottles one on top of the other.

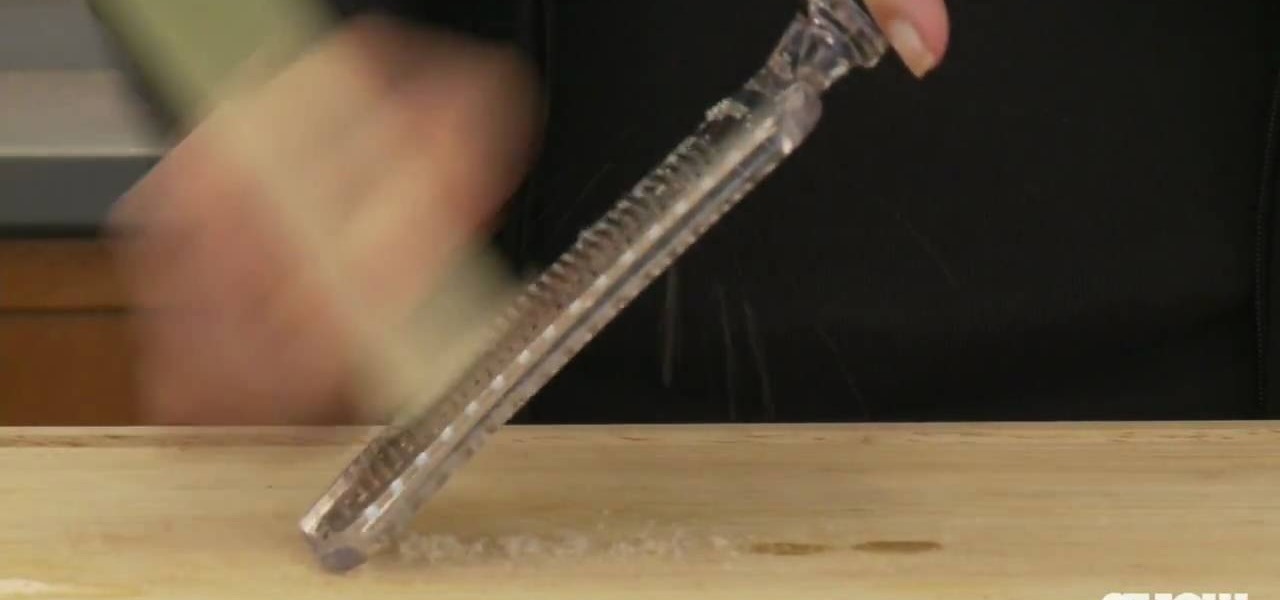
CHOW Associate Editor Corinne Trang teaches you how to use lemongrass in your cooking. 1. To use your lemongrass in your cooking, first strip away the dry outer leaves, and cut away the stumpy end and the dry leafy ends.

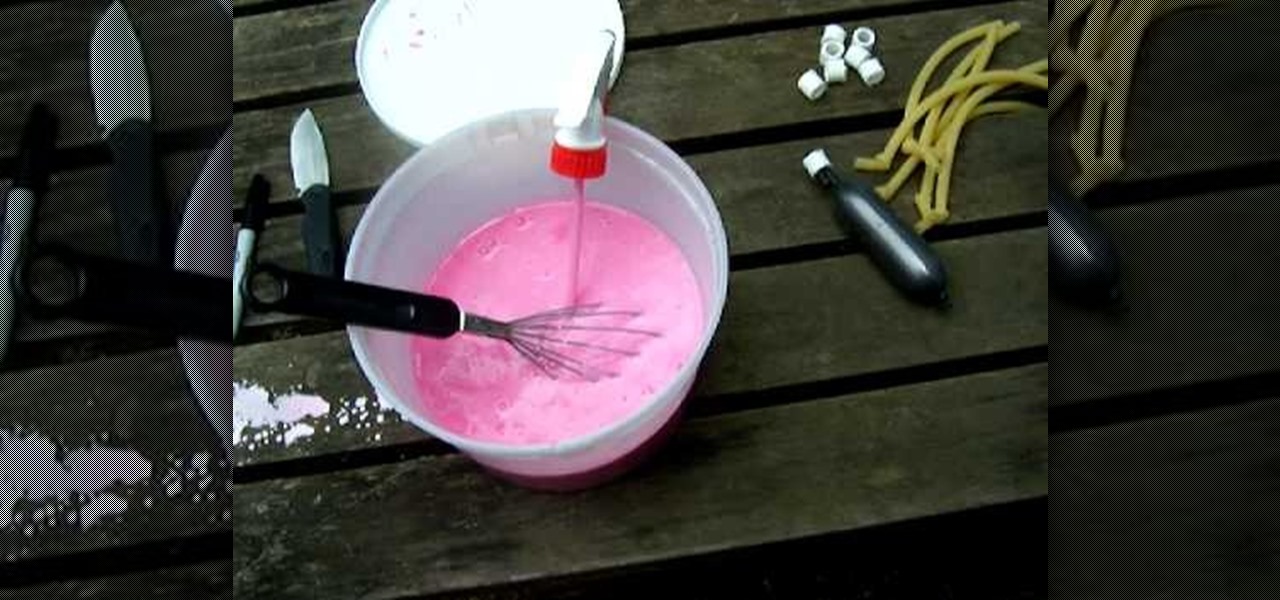
Want to make your own paint for your paintball grenades? Well, this video tutorial will show you how to make fill for your paintball grenade. This recipe is sure to make you happy, so give it a try. It's washable and biodegradable too!

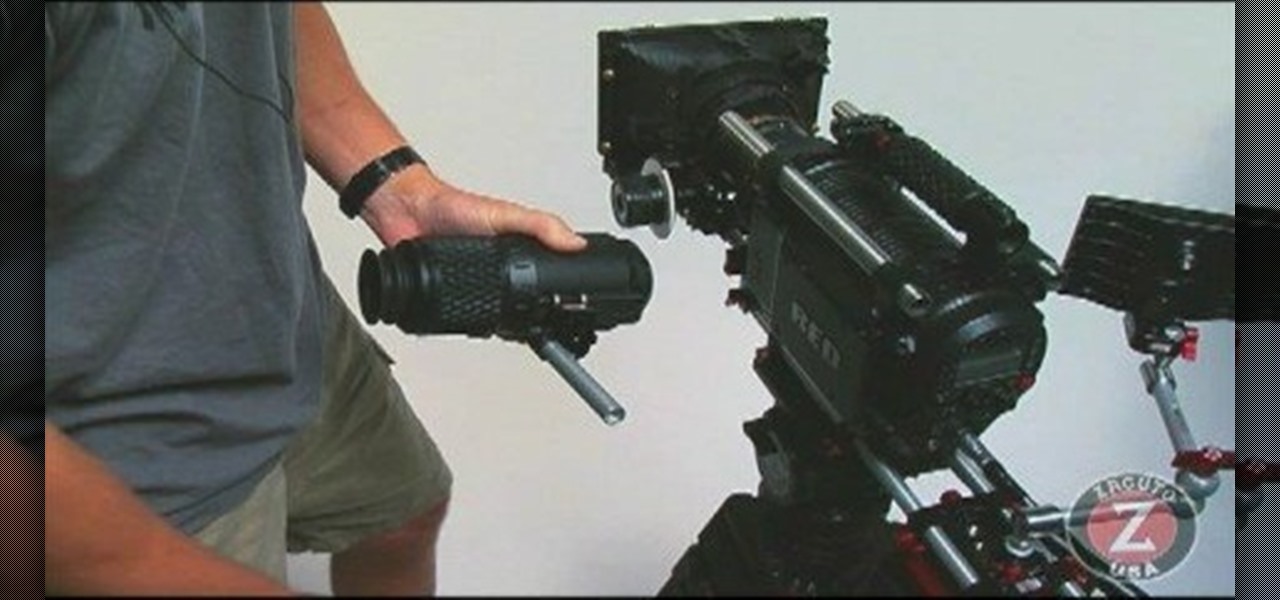
This EVF mount is the mount all RED users have been waiting for. It is inexpensive, adjustable and will not loosen. This simple three hundred dollar mount is a great addition to any RED ONE camera setup. This video will show you how to install the Zacuto EVF mount on the RED ONE Camera.

Devolped by the same team of engineers responsible for LightWave 3D, modo, lowercase, delivers the next evolution of 3D modeling, painting and rendering in a single integrated and accelerated package for the Mac and PC. And now, modo is a true end-to-end solution that includes true 3D sculpting tools, animation and network rendering! More than just features, modo is a truly elegant integration of technology, raw horsepower and refined workflow. With such a wealth of inbuilt features, however,...

Developed by the same team of engineers responsible for LightWave 3D, modo, lowercase, delivers the next evolution of 3D modeling, painting and rendering in a single integrated and accelerated package for the Mac and PC. And now, modo is a true end-to-end solution that includes true 3D sculpting tools, animation and network rendering! More than just features, modo is a truly elegant integration of technology, raw horsepower and refined workflow. With such a wealth of inbuilt features, however...

Developed by the same team of engineers responsible for LightWave 3D, modo, lowercase, delivers the next evolution of 3D modeling, painting and rendering in a single integrated and accelerated package for the Mac and PC. And now, modo is a true end-to-end solution that includes true 3D sculpting tools, animation and network rendering! More than just features, modo is a truly elegant integration of technology, raw horsepower and refined workflow. With such a wealth of inbuilt features, however...

Developed by the same team of engineers responsible for LightWave 3D, modo, lowercase, delivers the next evolution of 3D modeling, painting and rendering in a single integrated and accelerated package for the Mac and PC. And now, modo is a true end-to-end solution that includes true 3D sculpting tools, animation and network rendering! More than just features, modo is a truly elegant integration of technology, raw horsepower and refined workflow. With such a wealth of inbuilt features, however...

Developed by the same team of engineers responsible for LightWave 3D, modo, lowercase, delivers the next evolution of 3D modeling, painting and rendering in a single integrated and accelerated package for the Mac and PC. And now, modo is a true end-to-end solution that includes true 3D sculpting tools, animation and network rendering! More than just features, modo is a truly elegant integration of technology, raw horsepower and refined workflow. With such a wealth of inbuilt features, however...

Developed by the same team of engineers responsible for LightWave 3D, modo, lowercase, delivers the next evolution of 3D modeling, painting and rendering in a single integrated and accelerated package for the Mac and PC. And now, modo is a true end-to-end solution that includes true 3D sculpting tools, animation and network rendering! More than just features, modo is a truly elegant integration of technology, raw horsepower and refined workflow. With such a wealth of inbuilt features, however...

Devolped by the same team of engineers responsible for LightWave 3D, modo, lowercase, delivers the next evolution of 3D modeling, painting and rendering in a single integrated and accelerated package for the Mac and PC. And now, modo is a true end-to-end solution that includes true 3D sculpting tools, animation and network rendering! More than just features, modo is a truly elegant integration of technology, raw horsepower and refined workflow. With such a wealth of inbuilt features, however,...

Devolped by the same team of engineers responsible for LightWave 3D, modo, lowercase, delivers the next evolution of 3D modeling, painting and rendering in a single integrated and accelerated package for the Mac and PC. And now, modo is a true end-to-end solution that includes true 3D sculpting tools, animation and network rendering! More than just features, modo is a truly elegant integration of technology, raw horsepower and refined workflow. With such a wealth of inbuilt features, however,...

Developed by the same team of engineers responsible for LightWave 3D, modo, lowercase, delivers the next evolution of 3D modeling, painting and rendering in a single integrated and accelerated package for the Mac and PC. And now, modo is a true end-to-end solution that includes true 3D sculpting tools, animation and network rendering! More than just features, modo is a truly elegant integration of technology, raw horsepower and refined workflow. With such a wealth of inbuilt features, however...


