In order to make a scalloped edged bobby pin accessory, you will need the following: wire, a bobby pin, small beads, a ruler, and scissors. Cut about 2 feet of wire. Fold the wire in half. Lace the wire through the bobby pin. Anchor it by wrapping it around the exterior. Then, repeat with the other end of wire. You will repeat this, in order to secure each bead. Begin sliding the beads on the wire. Group three at a time, remembering to anchor them. When you reach then end, begin scalloping. A...
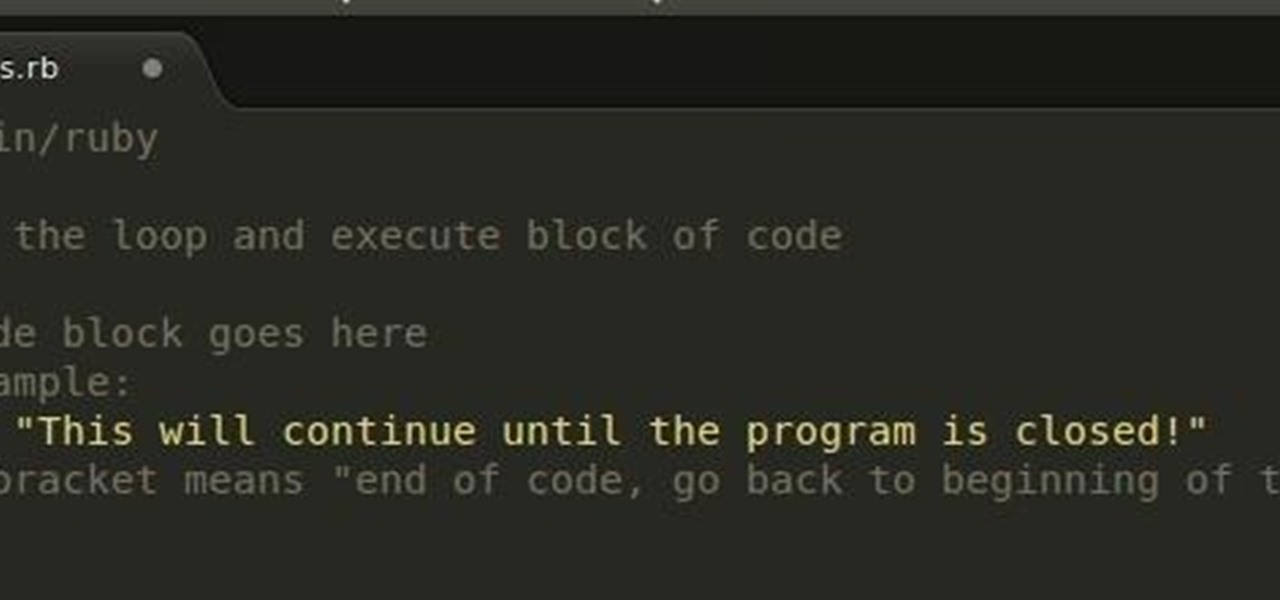
In the last Ruby article, we talked about how to store information in three different kinds of storages: variable, array, and a hash. After we get the data, we have many ways of using them, but, for right now,
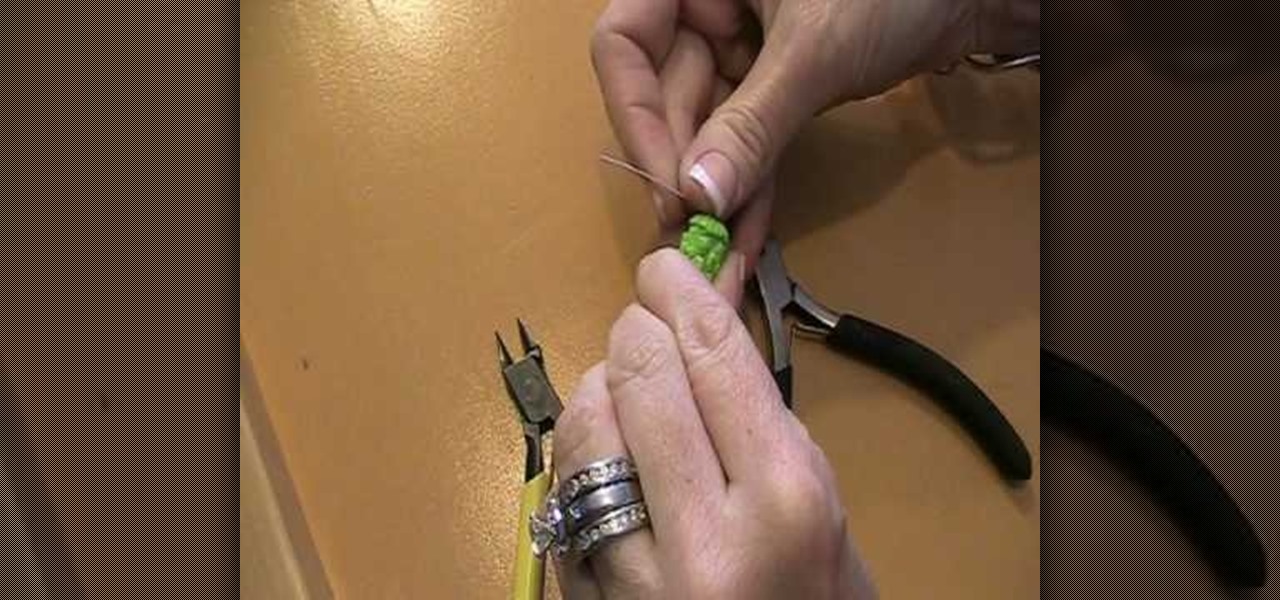
What exactly is a head pin? In jewelry crafting, a head pin is the small wire loop on top of a bead that allows the bead to be attached to a necklace or an earring. If you're looking to get into making your own jewelry, then creating a headpin is one of the most basic skills you'll utilize for the rest of your career.
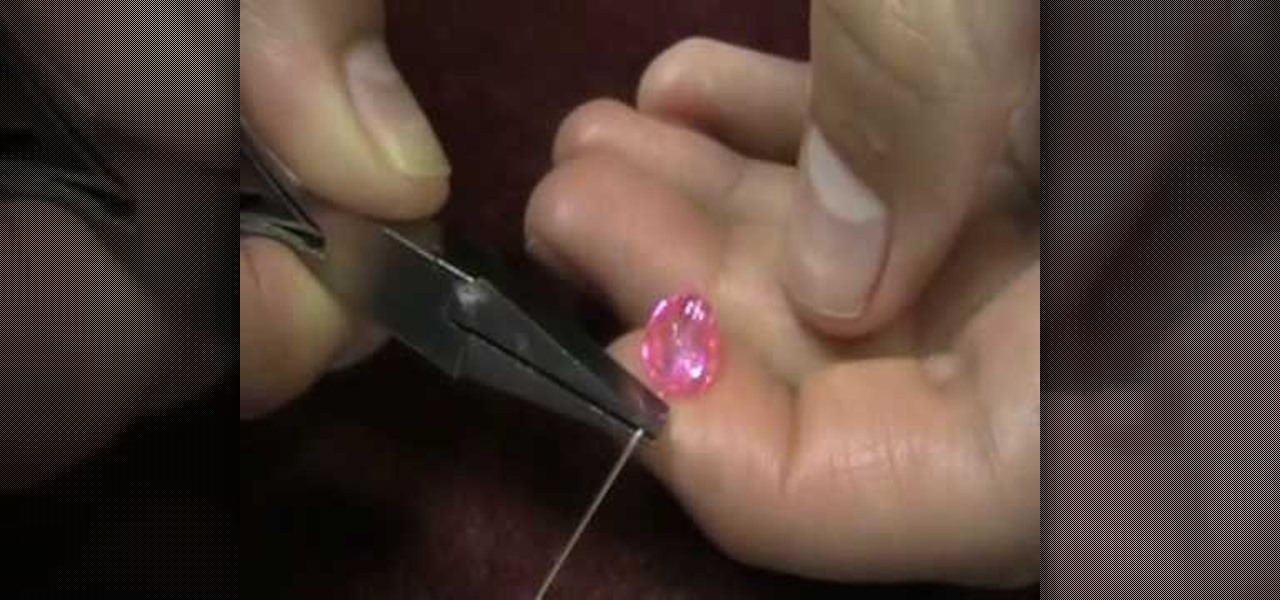
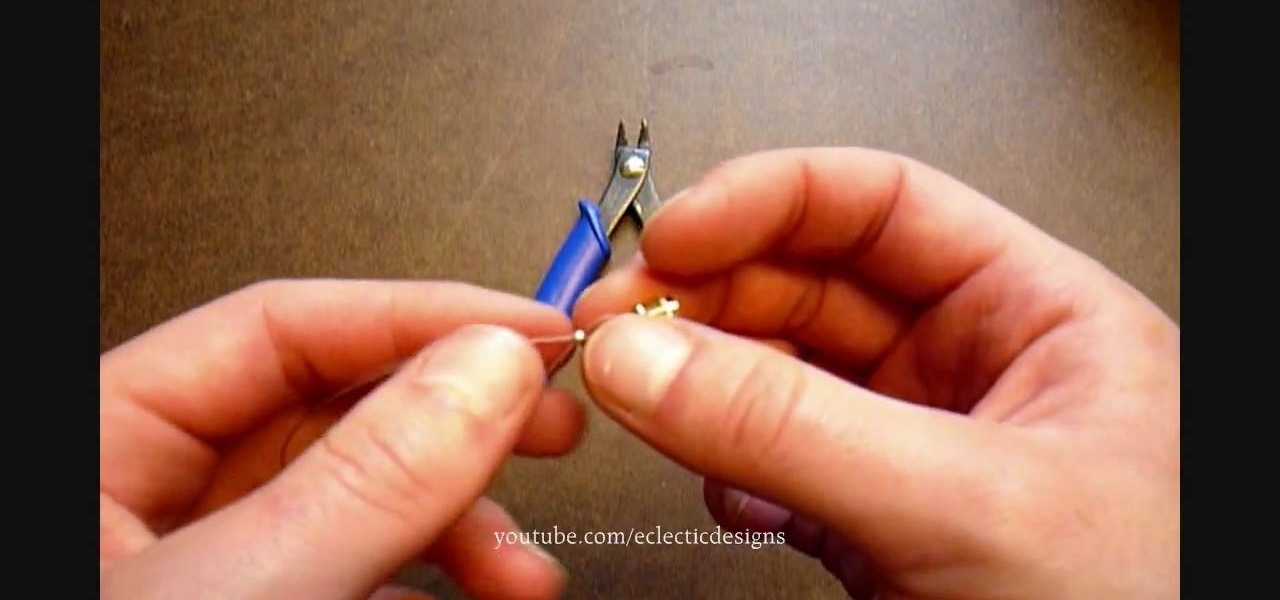
In this video tutorial, viewers learn how to wire wrap a head pin loop. Begin by placing the bead on the head pin, or on a 5 inch piece of wire. Then make a bend on the head pin approximately 1/8 inches above the bead to a 90 degree angle. Now wrap the pin around the jaw of the pliers, pulling it slightly to one side. Holding the bead and wire, rotate the pliers back to form a loop. Finish by wrapping the tail of the wire around the exposed part of the headpin as many times as possible. This ...
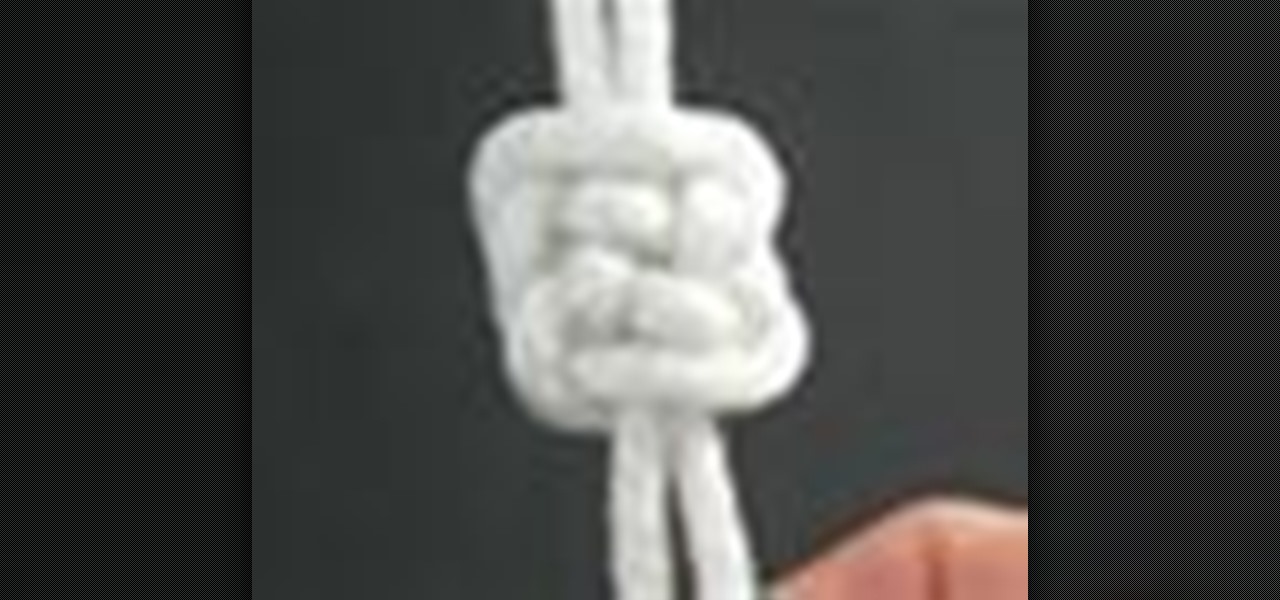
In this video, we learn how to tie a plafond knot. First, make a loop with your string, then make a smaller one directly underneath it. Make a larger loop underneath this, followed by another small one. After this, grab the bottom and lift it to the middle of the one on top of it. Next, bring the top down and push it into the middle of the bottom loop. Bring the left hand side of string through the top of the loop, followed by the right hand side through the right hand side middle. Now, pull ...
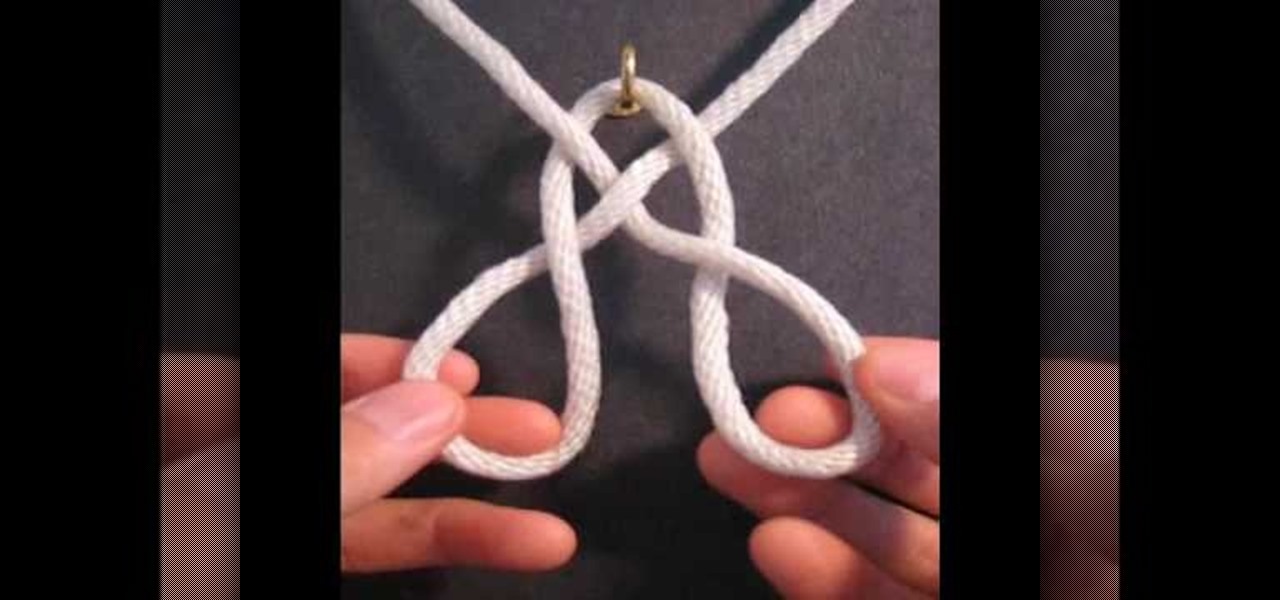
In this tutorial, we learn how to tie the Basket Weave decorative knot. First, hook your string to a hook, then tie a loop that is wide. After this, bring the strings to the top and make a heart shape. Now, twist the two loops on the side and twist them around each other. Now, bring the right string through the right loop and up through the left. Do this for the left string except using the opposite loops. When you are finished, pull on this tightly and release the string from the hook. Make ...

In this Outdoor Recreation video tutorial you will learn how to tie a Prusik friction knot. In case someone has fallen into a crevasse or you want to get back on a rope, Pruisk knot is required. It is used to tie two ropes of different diameters. It basically puts a loop of cord around another rope. It is named after the Austrian mountaineer, Karl Prusik. For making the knot, take the fixed loop made on one rope and pass it around the other rope and back through the fixed loop itself. Then lo...

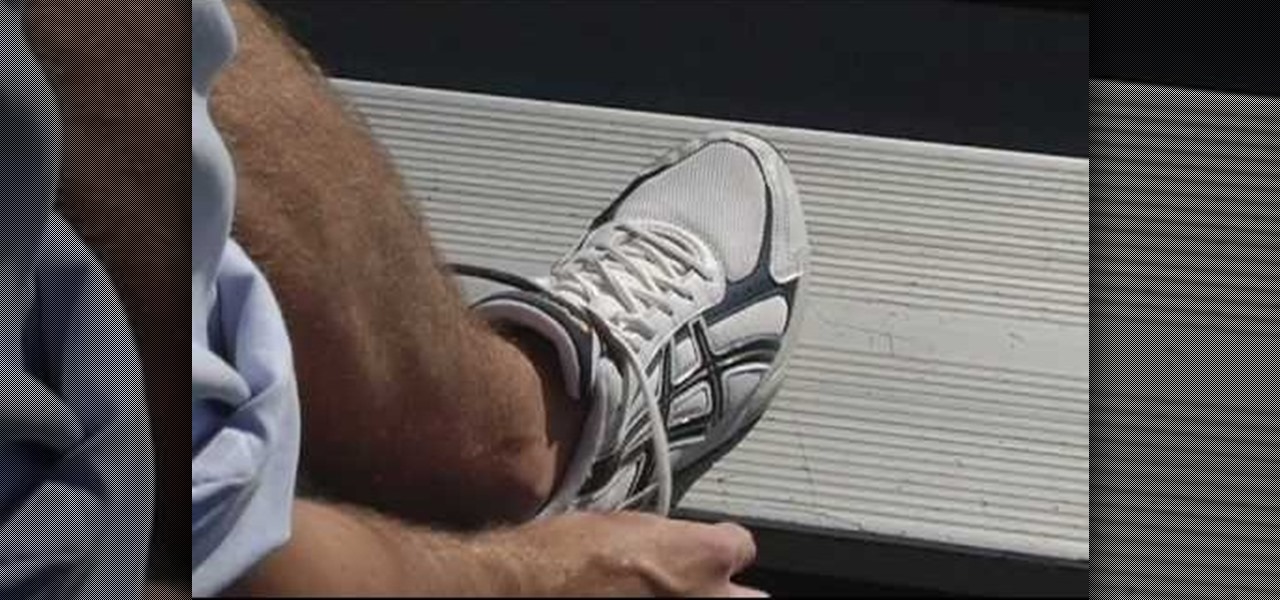
Chris from Hack College shows us the fastest way to tie our shoelaces. He starts with the regular twist-around knot on a shore. The key is to take two loops - one that crosses on the inside and one that crosses on the outside. Then put the loops through each other so that they switch positions and pull the loops to tighten the knot. A better description is to make two arches (loops) - one towards him and the other away from him. Then switch them in the middle and pull. Since practise will mak...

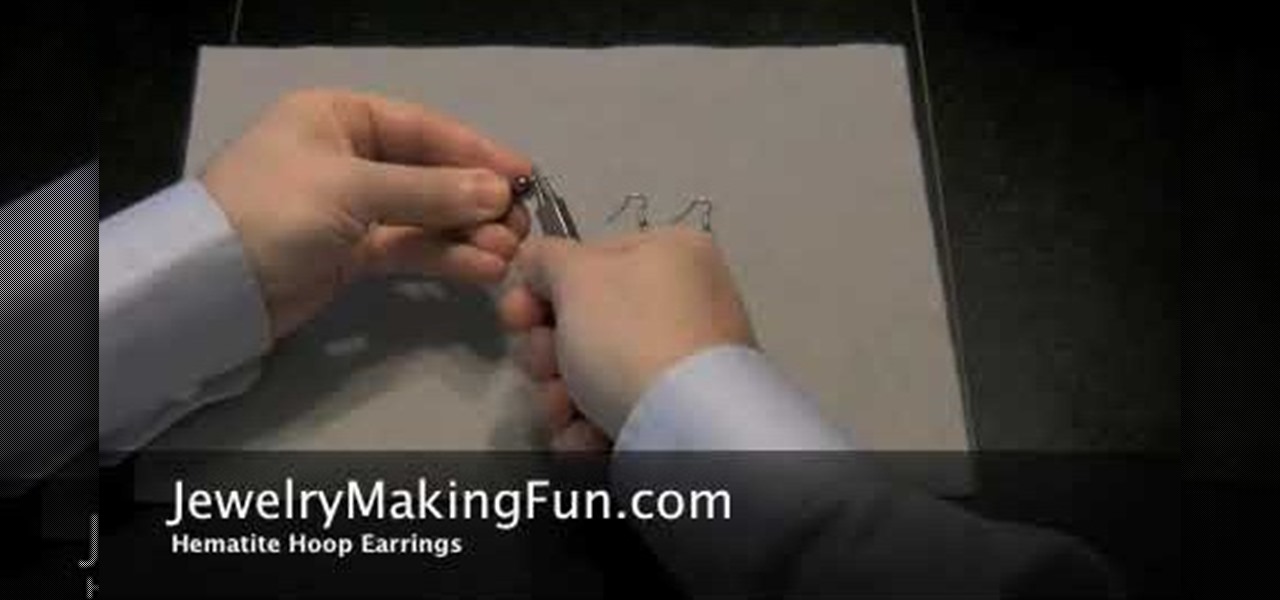
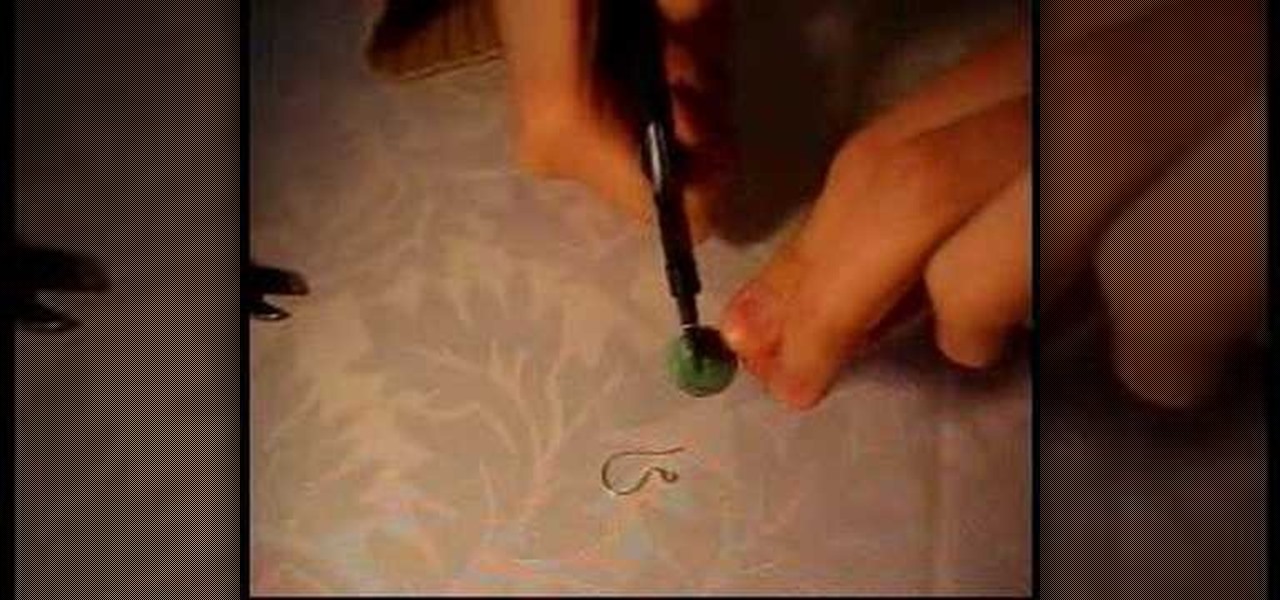
The first step in making a pair of hematite hoop earrings is to gather your supplies. You are going to need some needle nose pliers, two head pins, a hood bead, a small bead, a bigger bead, and two French earring hooks. First, take a head pin and insert it into one of the holes on the loop bead. Follow with the smaller bead and then the larger one. Then, taking your needle nose pliers, bead the remaining wire of the pin 45 degrees. After that, go above the bend about a quarter of an inch and ...

Here's some video instructions on how to tie a Double Figure Of Eight. The Double Figure Of Eight is a quick and easy loop knot that forms an end loop. If the double figure of eight is tied midline it is called a blood bight knot but when tied as an end loop the name is double figure of eight. It will retain around 70 percent of the lines breaking strength and can be used to attach hooks, sinkers or droppers. Watch this video knot tying tutorial and learn how to tie a double figure of eight k...

Learn how to tie this Boy Scouts knot. The tautline knot builds a loop that will easily get bigger - by sliding the knot up the rope toward the free end. But, when pressure is applied to the loop, it will not get smaller. Its most common use in Boy Scouts is on the ropes that attach a tent to tent stakes in the ground. The loose end is attached to the tent. The loop goes around the stake and the knot slides by hand to tighten or loosen the rope. But the tautline hitch knot will not slide by i...

Torrin creates a Victorian up-do with long hair. The style can be done with hair that is at least just past the shoulders in length. Make a ponytail at the base of the neck. Slide the band down a bit and poke fingers through the middle of the ponytail to split the hair. Then pull the ponytail through the split from top to bottom. Separate the ponytail into three sections and make three English braids. Attach the three braids together with one rubber band, leaving several inches of hair left o...

In this how-to video, you will learn how to make jewelry using cord in less than four minutes. Corrine Bradd shows you how to easily do this. First, take a satin braid and tie it in a knot. Trim the excess off with scissors and take a cord end. Place the knot inside the groove and then clamp the cord end with a pair of pliers. Turn it around and do it again for the other side. These cord ends come with a loop on top for further use. These look great on jewelry such as charms. You can use a sl...

In order to make a hair bow out of old magazines, you will need the following materials: a bobby pin, colored duct tape, a ruler, scotch tape, scissors, and old magazines.

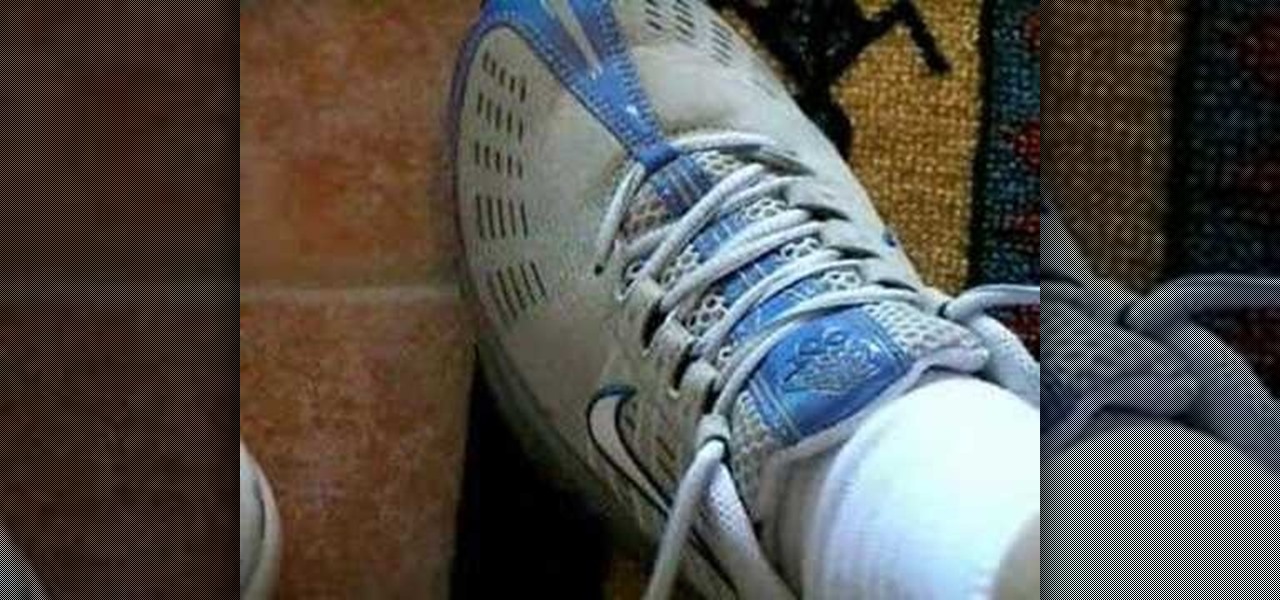
You've been tying your shoes for years but did you know you could be tying them the wrong way. This guide is going to show you how to make a reef knot in your shoes instead of a granny knot. To figure out whether or not you need shoe lace training look at the knot you make, if it sits evenly on foot with the bows going left and right then you've got a reef knot. If your laces go north and south and point towards your toes then you need to watch the guide. Step 1, is to make a starter knot, wh...

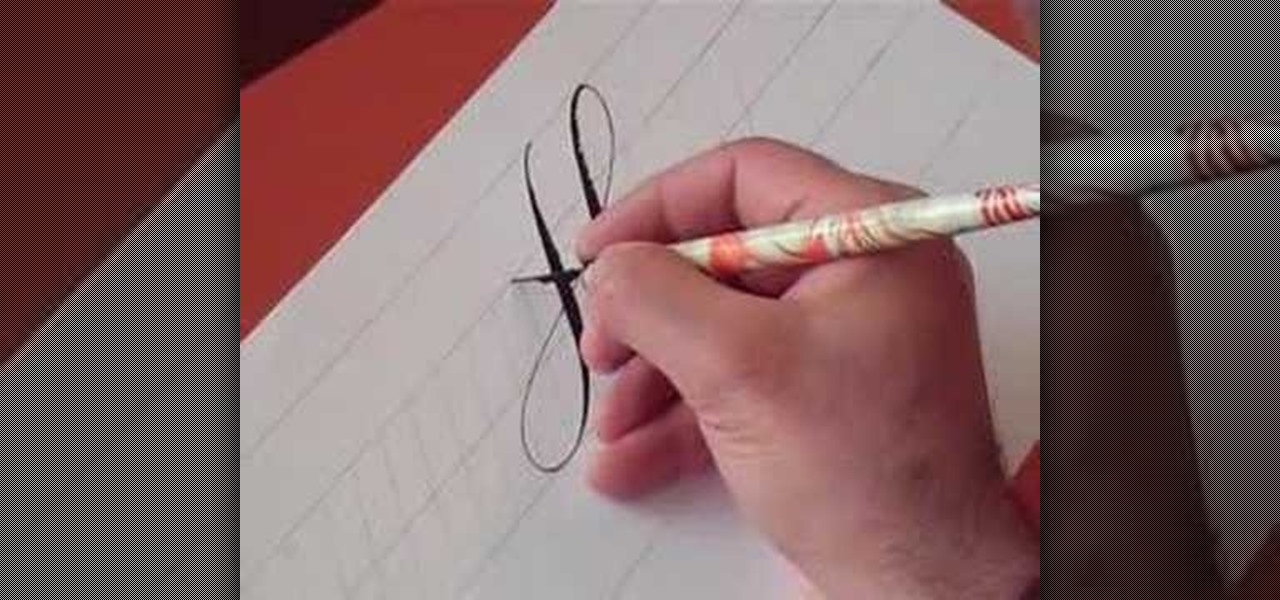
In this video, we learn how to write the letter H in calligraphy copperplate. To make the upper-case letter, start off drawing into a thick line, with a curve at the end of the letter. Make the curve end touching the line, then draw it out to the right side of the letter, bringing it back down to a line to make the "h" shape. Next, draw a line across the two lines with a curve at both ends. To make the lower-case letter, start by drawing a thin line to make a loop at the top, then bring it do...

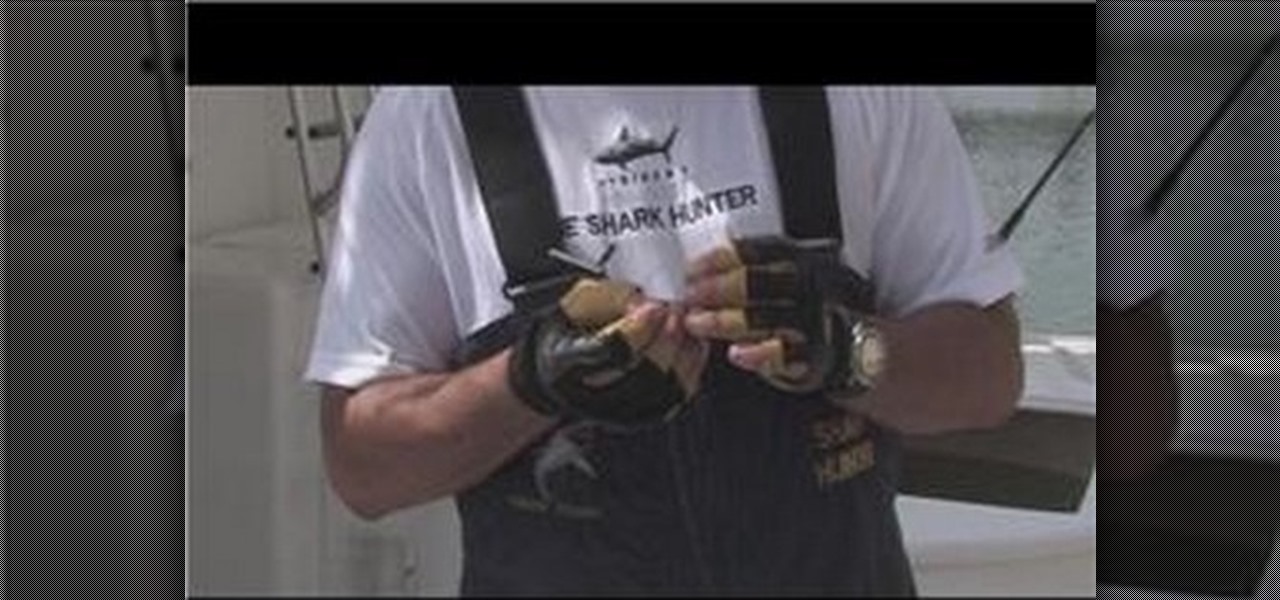
Learn how to tie the snell fishing knot. 1. Run line through the eye and down the shank of the hook. Form a loop behind the eye with the line against the hook shank. 2. Pass tag end around line and shank and through loop four plus times. Keep turns in a neat row and pull tag end to tighten turns around the shank. 3. Work coil or turns down the shank to the eye by pulling on standing line. Pull alternately on tag end and standing line until snug. Congratulations! You just learned how to tie th...

This version of the slip knot is basically a uni knot tied with rope and with just one or two wraps around the double line. It does the trick and is easy to tie.

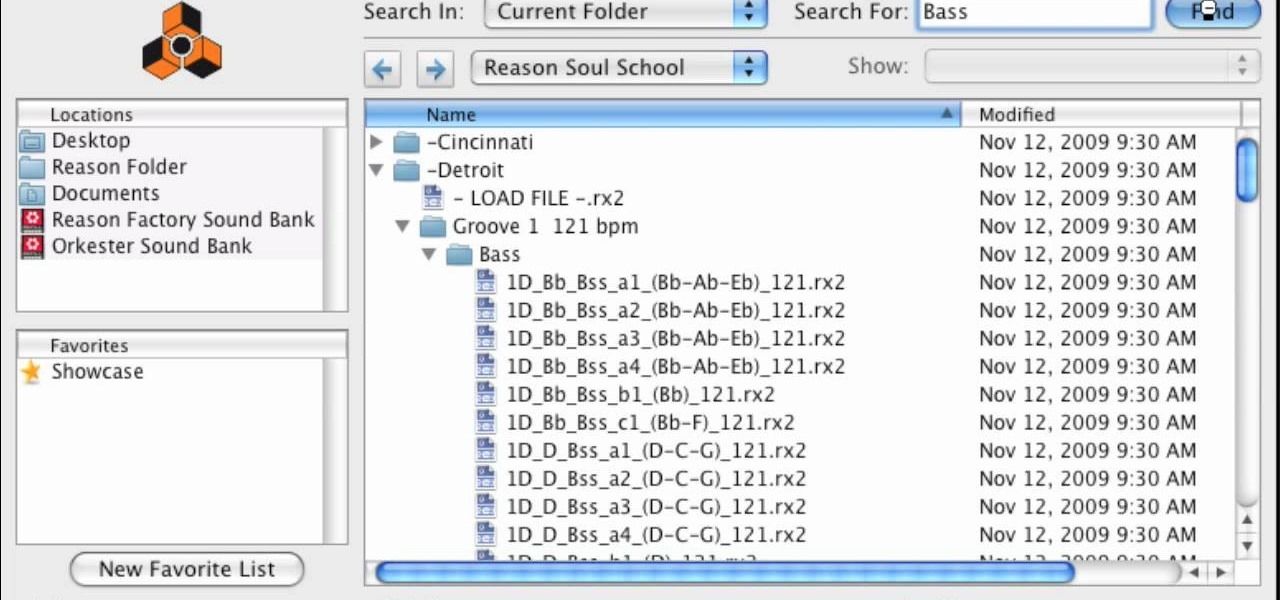
In this video, we learn how to find soulful loops in Reason Soul School. First, select to create an instrument. Then, browse through the Reason SoulSchool Refill. There will be several categories of instruments with soul styles. Select either Cincinnati, Detroit, or Memphis. In each of them, there will be instrument loops, drums, and grooves. Each are tailored to match each other. By loading these, you can start a tight groove easily. Find the different loops and then select the one that you ...

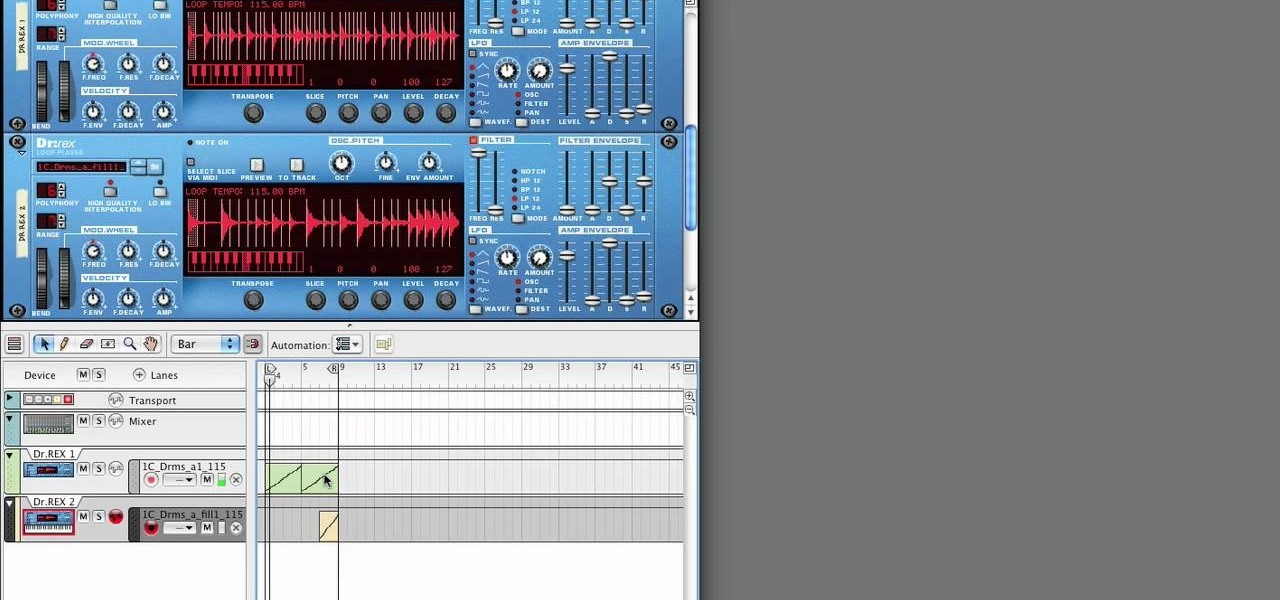
In this tutorial, we learn how to use Reason Soul School. First create a Doctor X loop layer. After this, browse for a loop and search through the different folders that contain loops. These will mimic different sounds depending on which one you want to use. Each category contains drums, bass, tempos, and more. Load the different sounds from the folders as you would like. Then, when you have your desired sounds, start to edit them and change how they sound. You can then add in new loops to th...

In this video, we learn how to tie your shoes. First, tie a knot at the base by crossing the laces over each other. Then, make a loop with one lace and wind the other one over it. Come underneath with a loop and then grab both loops and pull. To do this with the other hand, you can do the same thing just use your dominant hand to make the loops. This is only one of the many different ways to tie your shoes. It will take practice, but it can be done and once you do it it's very simple!

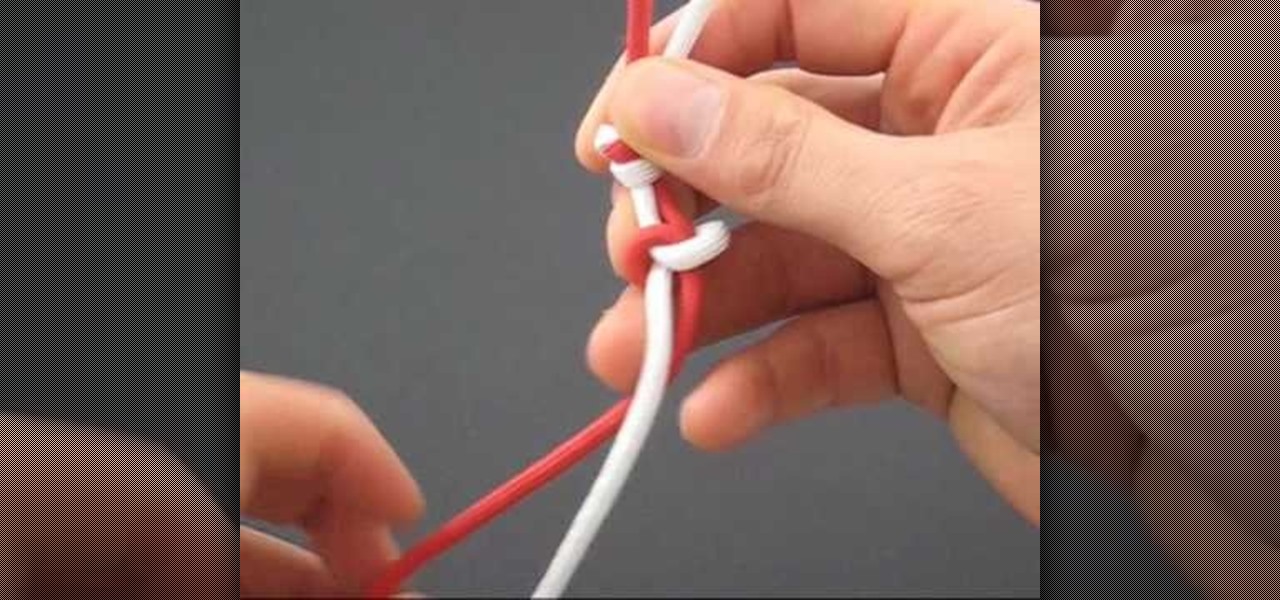
In this tutorial, we learn how to tie a paracord snake knot. Start out with a double overhand knot, by making a loop with two strings and tying it through. After this, start the snake knot by taking the left piece of string and wrapping it around into a loop. Then, take the other piece of string and place it inside the loop, then pull it to the left and wrap it around the other string, then push it through the loop. Continue to do the snake knot until you reach the bottom, then finish it off ...

In this tutorial, we learn how to do a feather stitch while embroidering. To begin, you want to place your finger right next to where you are sewing so you are making a loop shape and helping guide your needle as you are doing this. You will want to chain the loops together, making the thread look like feathers as you continue. There should be no lines that are straight, all should be looped by placing the needle in between each circle and pulling it into the loop shape. When you are finished...

First of all you need to work around the stitch that you have made in the previous row. To make this front post double crochet you have to first loop over the yarn on the hook. Now pass this into the first stitch of the previous row at the bottom. Go around the stitch to the back and from there you have to come back again to the front. Now yarn over and pull it through the loop. Again yarn over and pull it through the two loops as shown. Again yarn over and pull it through the last two loops ...

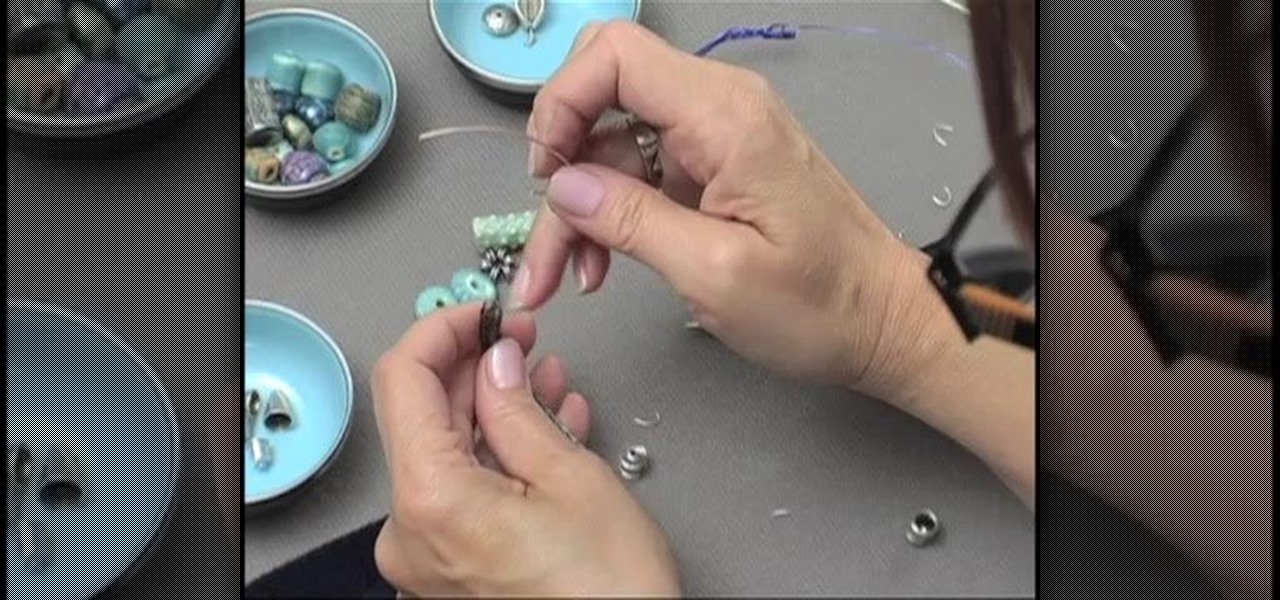
In order to make a simple hair pin you need a couple things first, a small and big bead (although you can use other items), an ear wire and a head pin. Tools that you will need are a pair of round nose pliers and a pair of cutlets. Now take the head pin and loop the beads through it. Take the nose pliers and bend it, about half way up the head pin and gently bend it with your fingers, making a 90 degree angle. Twist the pliers up and bring the head pin over the nose pliers. Then twist it cloc...

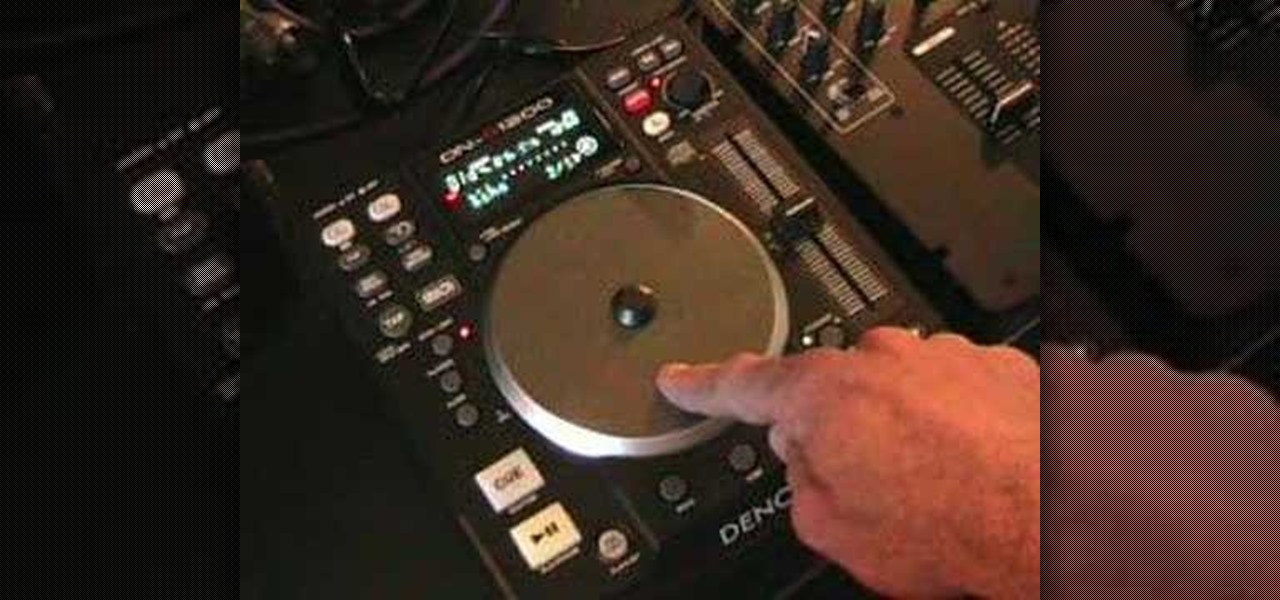
Want to mix and scratch like a professional DJ? To be a good DJ you need to understand the concepts of mixing tracks, adding cool effects, and of course you need a good sense of rhythm to line up the beats. This how to video explains how to use the echo or loop effect on the Denon DN-S1200 mixer. This is a small demonstrational on the echo/loop fx button. Watch this DJ tutorial so you can learn how to use the echo or loop effect on the Denon DN-S1200 mixer.

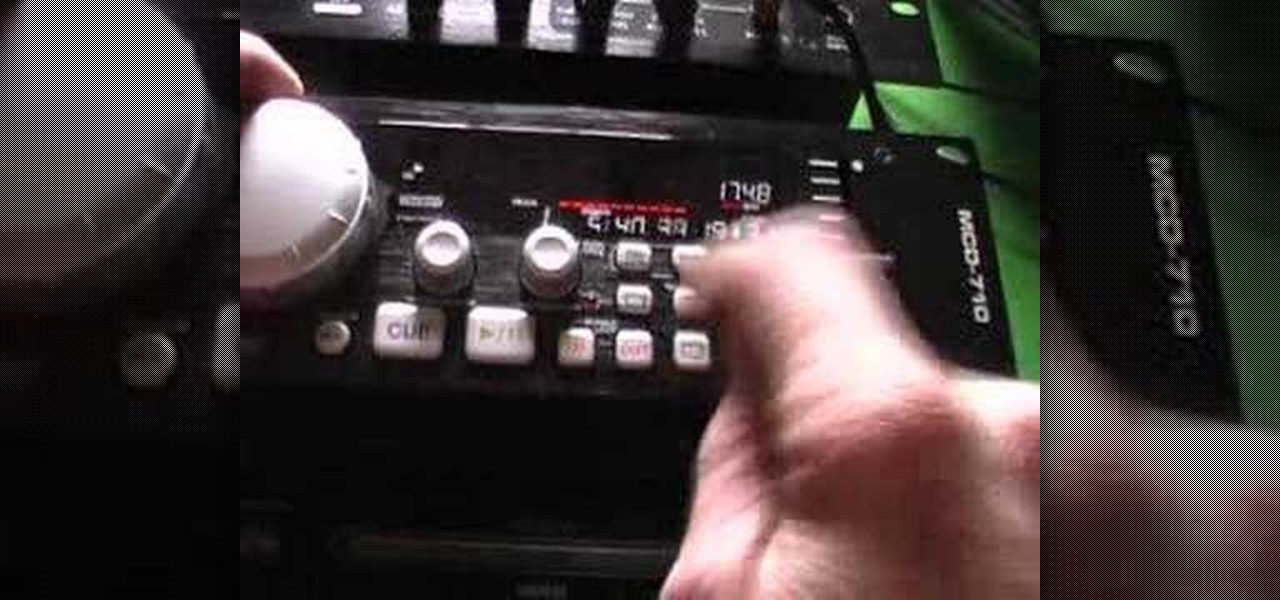
Want to mix and scratch like a professional DJ? To be a good DJ you need to understand the concepts of mixing tracks, adding cool effects, and of course you need a good sense of rhythm to line up the beats. This how to video explains how to use the seamless loop and reloop on the Audio MCD-710. This video gives you a demonstration on how to loop and an explanation on why you would need to use this feature. Watch this DJ tutorial so you can learn about using the seamless loop and reloop on the...

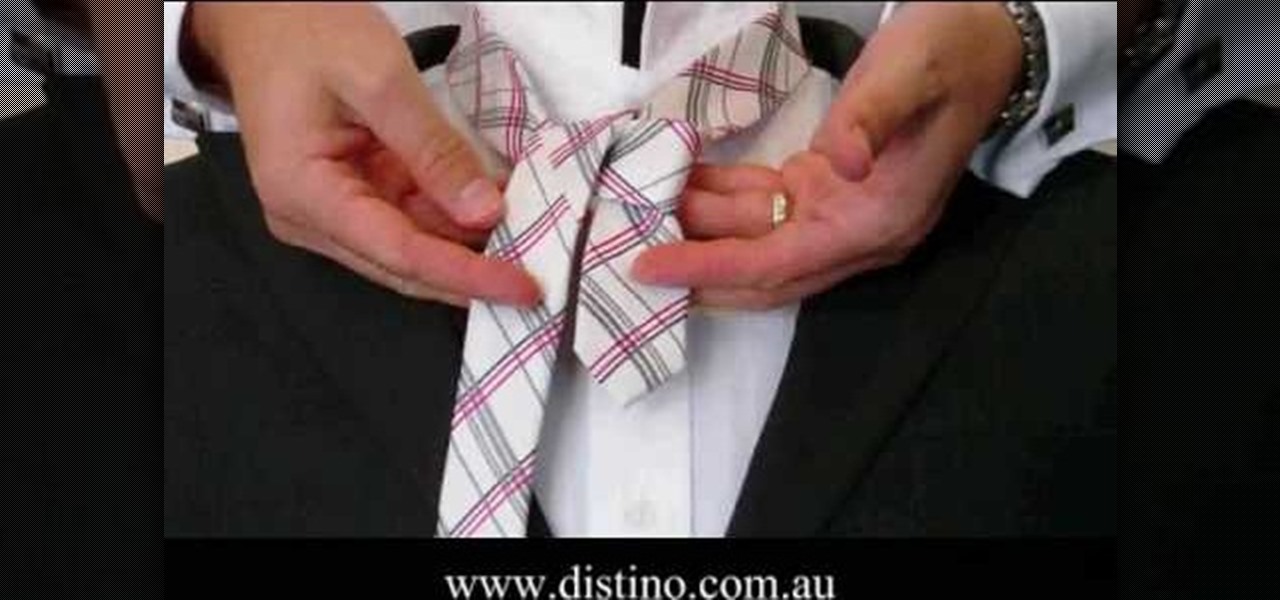
In this video we learn how to tie a necktie in a Full Windsor knot. First, take four inches on the skinny side and bring the long end over it. Then, bring the tie up back underneath and pull it through. Drop this down to the right hand side and then bring the long end back up underneath the other side. Bring the tie across the front of the knot towards your neck and pull it through the back of the tie. Next, bring the tie across the front of the knot and create a cross section. Bring it back ...

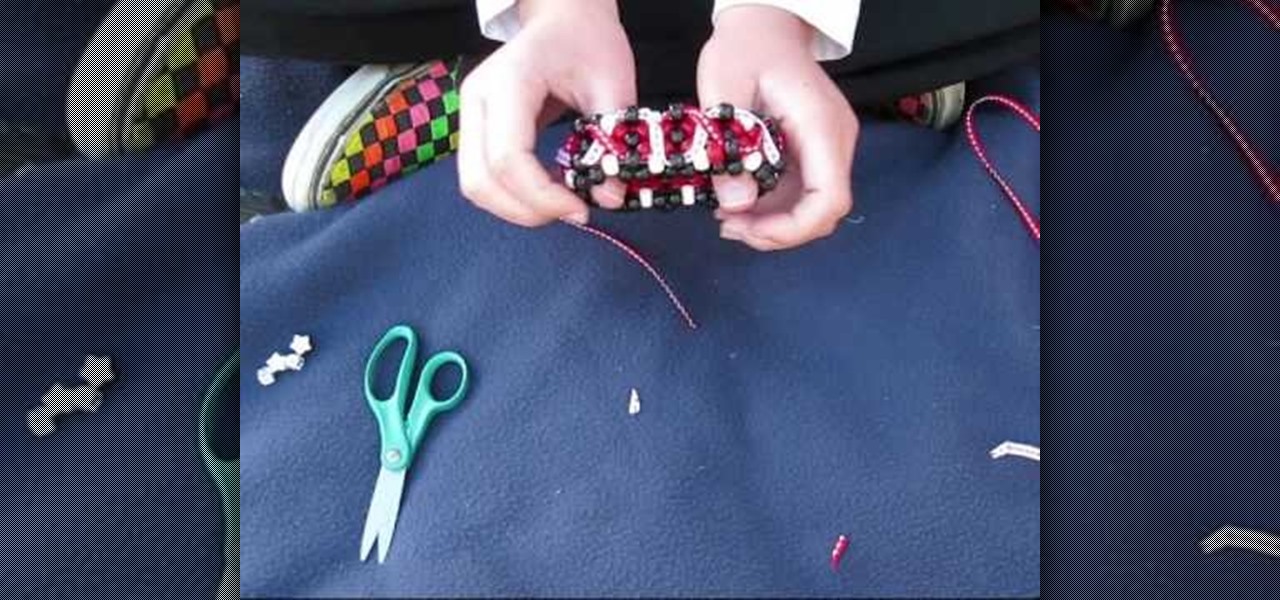
In this tutorial, we learn how to make a 3D ribbon cuff out of beads. First, you will need a cuff that is already made, then use the string that is hanging off the end. Put on one bead, then thread it through the bead next to it. Continue this all the way around the cuff. Now, tie the string off by threading it through the original loop. Now, string a ribbon around the cuff to make an "x" shape, then add in another ribbon around it. You can tie these into a bow at the end so you have a more g...

In this tutorial, we learn how to recycle plastic grocery bags into a dog leash. To begin, you will cut the plastic bags in half, then cut off the handles of the bags. Next, apply glue to the entire bag, then roll up into a straight line. Continue to do this for several different bags, depending on how long you want your dog leash to be. When you finish this and the glue is dried, tie several bags together end to end, and have three rows of these. Now, take the bags and tie them in a knot aro...

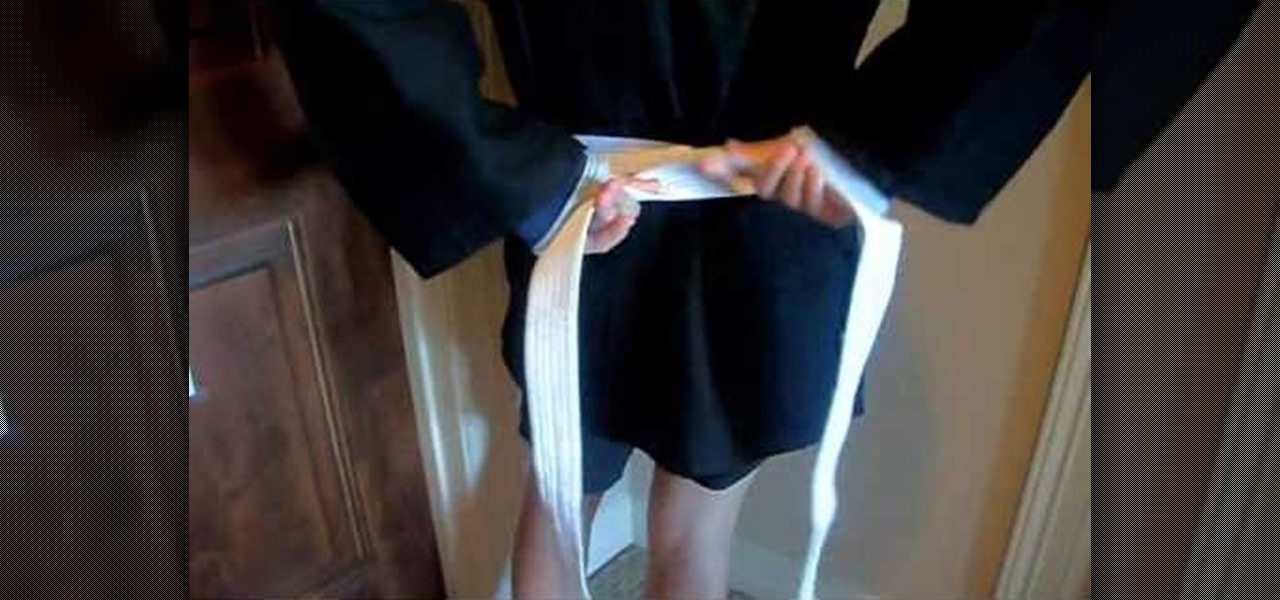
This video demonstrates how to tie a karate belt in a proper manner. Take the belt and fold it in half. Place the fold in the middle part of your abdomen where you need the knot. Cross the ends of the belt behind your back. The end in your right hand should be on the top and tuck in the end in the left hand underneath till the front. Take the end on the top and tuck beneath the belt, bottom to top on the other side. Pull the ends tightly, the two ends should be of almost equal length. Cross t...

In this video we learn how to tie a skinny necktie in a Half Windsor. First, take the wide end over the thin end and then go over and under the loop. From here, take your wide end over the knot and then under and through the hole. Now, adjust your knot up to your neck where it's comfortable. Place your collar down and then you will be finished with the half Windsor knot. This is a very easy way to tie a tie that a guy can do on himself or have someone else do to him. Practice this to get good...

In this tutorial, we learn how to tie fishing jigs. First, go through the eye of the jig with your thread, then make a fisherman's knot making seven to eight turns. Now, go through the loop with the end of the string and pull it tight. Then, cut the end off and make sure you have four to five feet of lead left. You can put a swivel on the end of it, then tie another fisherman's knot. When finished, this will go to your main line on your other rod and you will be ready to go! This is easy to m...

In this tutorial, we learn how to make a beaded Viking knit bracelet. First, pull a craft wire through a draw plate in the largest hole. After this, you will have a knitted weave bracelet. Now, place a hook in the loops at the end of the bracelet, and twist it down, then cut the end of the wire off and place an end cap on. After this, attach different beads and jewels to your bracelet, using wire to keep them in place. These will be one of a kind jewelry pieces that you can't buy in any store...

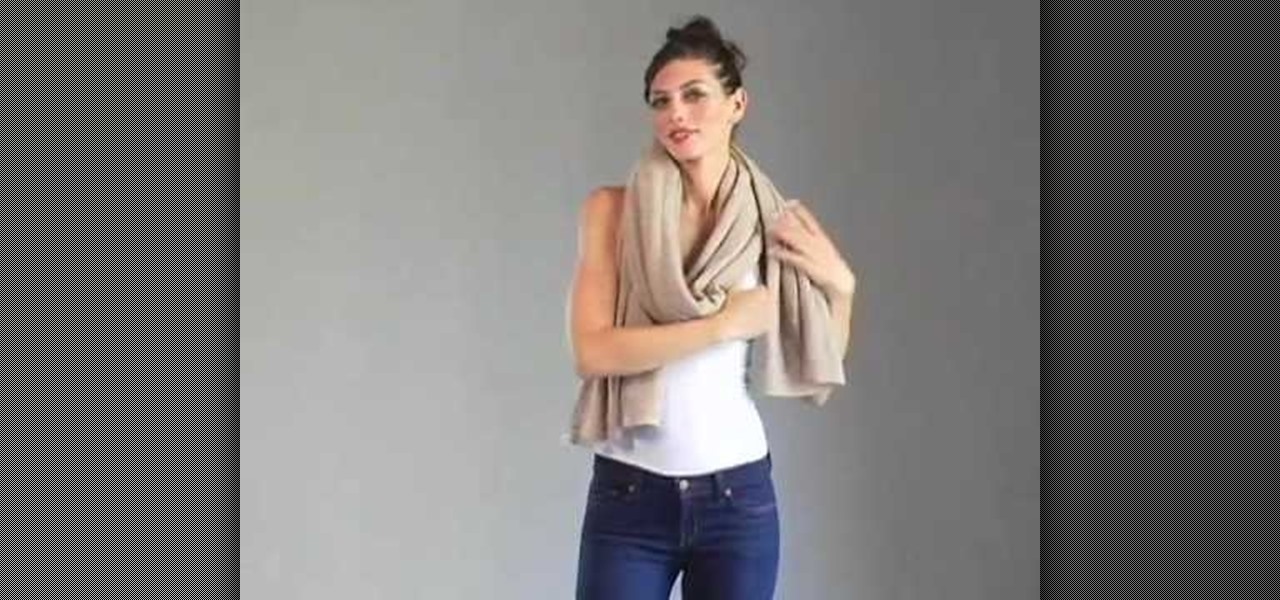
In this video, you will learn how to wear your White + Warren Cashmere Travel wrap. There are four different ways to wear this wrap. The first way involves placing the wrap around your neck. This is similar to a scarf. The second way involves wrapping the cloth around the back of your neck and having the ends go across your chest. Tie the ends behind your back. The third way involves a fancy loop and knot, similar to a fancy scarf. Lastly, you can wear the cloth behind your neck with the ends...

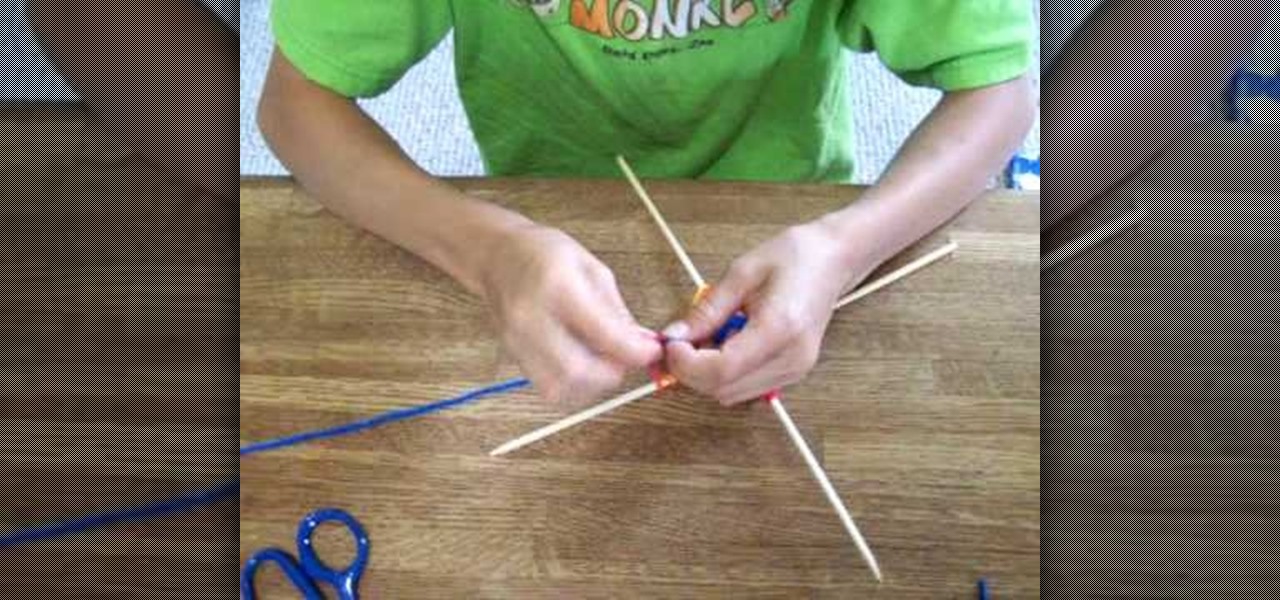
In this video and boy and a woman are showing you the steps to create a "God's Eye" or "Evil Eye". The materials that you will need are 2 sticks, yarn of your selected colors, and scissors. First, you take 2 sticks and use the yarn to knot around the middle wrapping diagonally to form a "t" shape. Then you take another piece of yarn, hold the end in the middle, and start wrapping around each stick going over one and under the next. Continue this pattern until you are done or unless you decide...

Brittany helps guide you throw the steps of making your very own homemade earrings with beads and the right tools. She shows you everything you need with a subtitle description to help you understand just what you are looking at. Brittany demonstrates how to make the earrings with using the heaviest bead on the bottom so they are weighted down and by sliding them up the head pin and cutting the end of the pin off with a pair of wire cutters. Next she bends the end of the pin with needle nose ...

Jewelry-making Techniques demonstrates how to finish your jewelry with crimps and covers. To use crimps and covers to finish your jewelry you will need 2mm crimps, 3mm crimp covers, crimping pliers, a clasp and beading wire. First, attach the clasp by stringing the crimp bead and one part of the clasp onto the wire. Take the end of the wire and string it back through the crimp bead to make a loop. Adjust the crimp bead up to the clasp and use the crimping pliers to crimp the bead. Repeat on t...

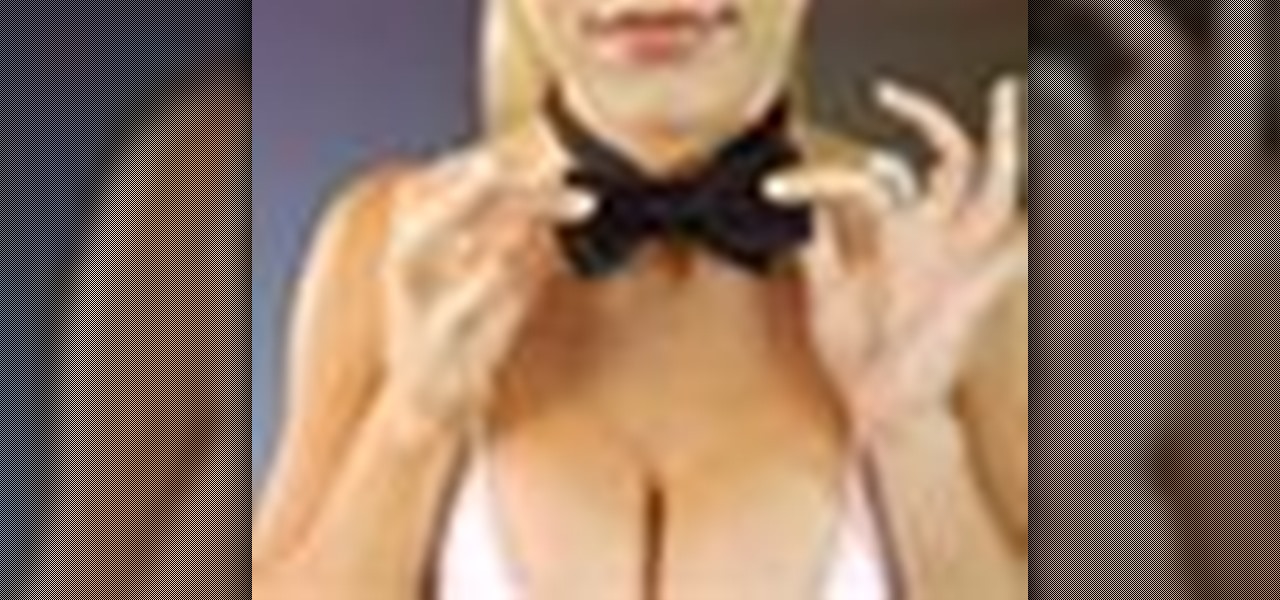
You've got style. You've got class. You've got... No reason to still be wearing a clip-on. Show off your suave side with a perfectly knotted tie. Watch this video to learn how to tie a bow tie.

Welcome back! Sorry for being so quiet, I've been rather busy with this project lately! Anyways, in the last iteration of how to train your python, we covered lists. Today we'll be introducing iteration and the two loops python has to offer, for and while. Also, we'll be covering a couple general use functions. So, let's get started!


