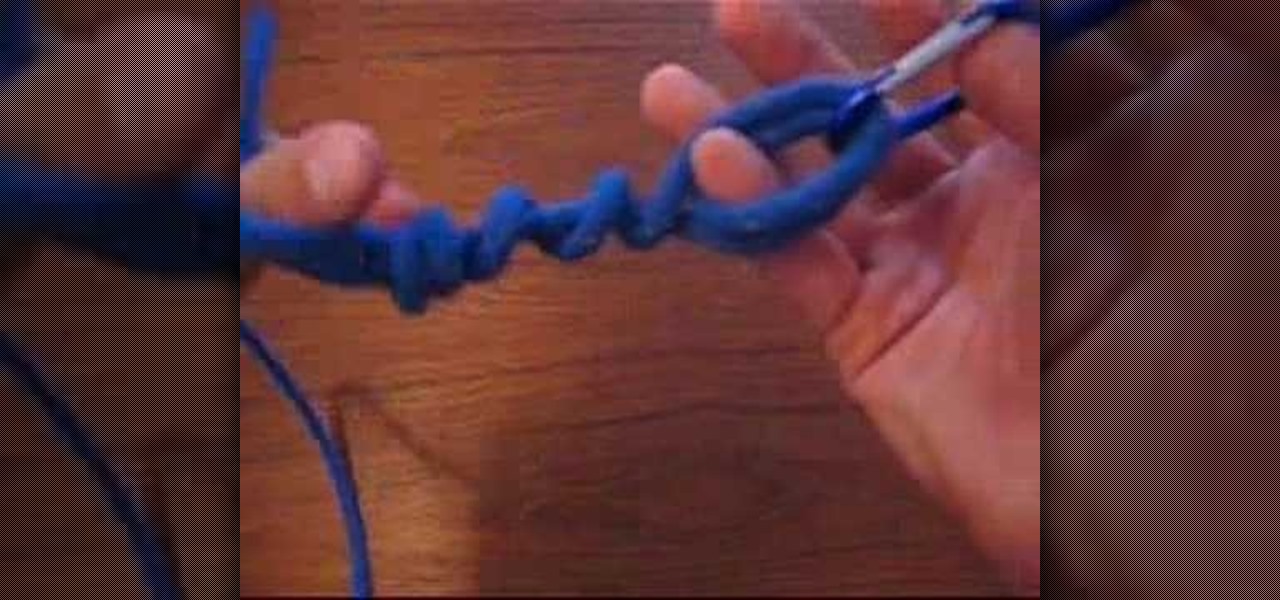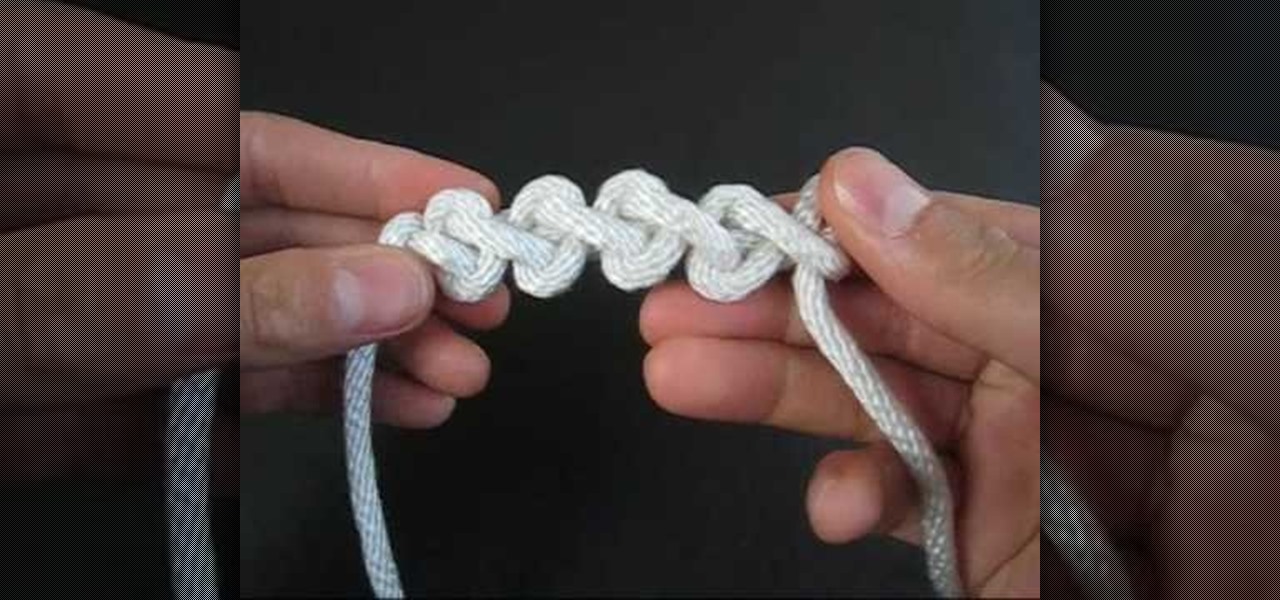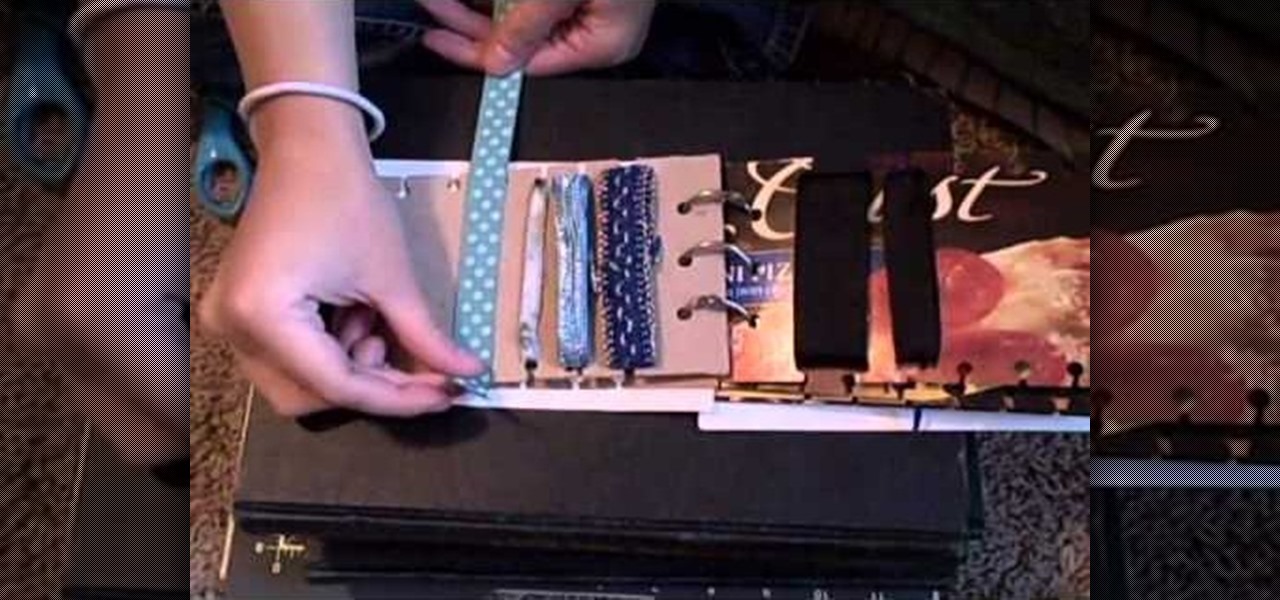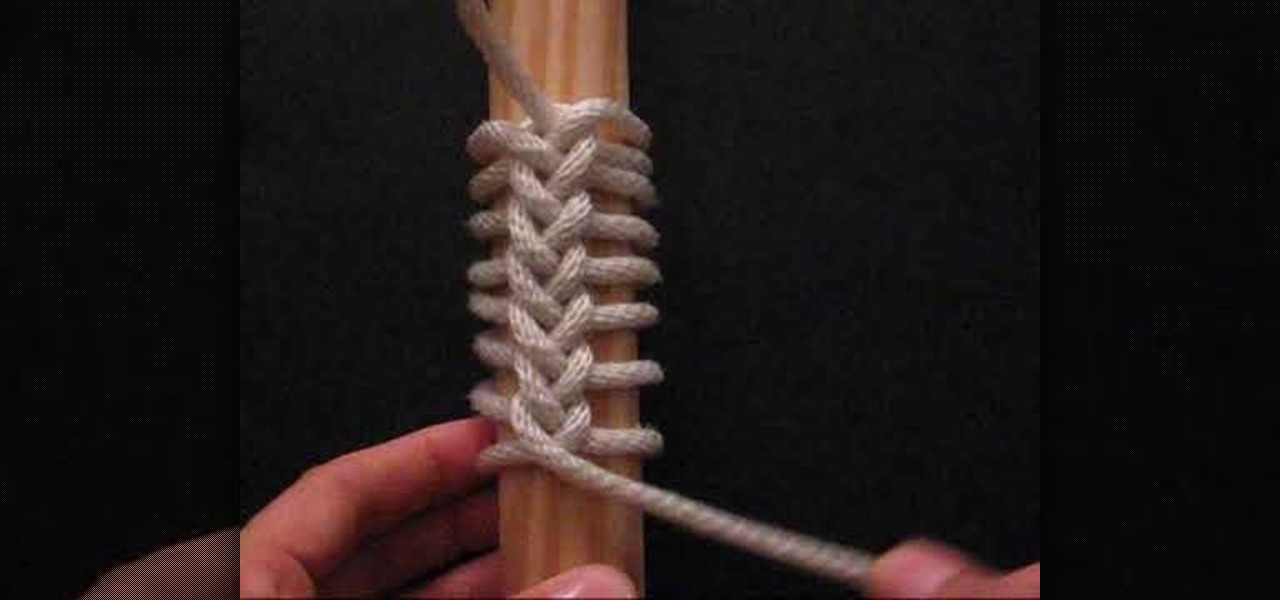
In this video, JD, from Tying It All Together, demonstrates how to tie a knot known as a "Ringbolt Hitch". This is also known as "coxcombing". This type of knot was once a common tie used by sailors to dress-up items and parts of their ships. When tying a wheel, a "Turk's Head" knot was used to cover the part of the wheel where the two ends of the ring bolt met, which would firm up the hitch, and help to keep the tied ends from unraveling. It is a nautical tradition to use this type of knot t...
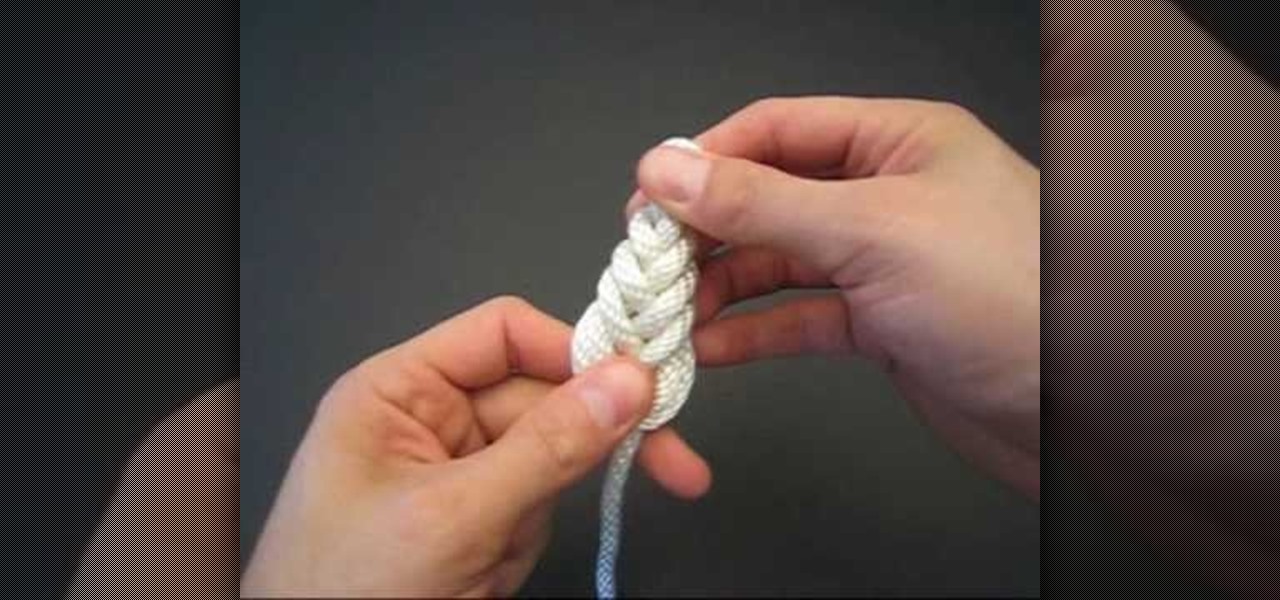
In this Tying It All Together video tutorial, you will learn how to tie a decorative pipa knot. To begin, take a piece of rope and fold so that you have two strands. Create a loop and take the left strand and loop it around the original loop. Continue doing this until you have layers of loop-like structures, gradually getting smaller and folding into one another. The effect is a woven-like structure. To actually secure the knot, fold the end strand into the last loop and then pull this end st...

This is an instructional video on how to fold an octahedron with Post-It notes. Use 3 different colors of Post-It notes. Take 2 Post-It notes in the same color, fold it horizontally and diagonally to make four squares. Fold diagonally the sticky side, you will end up with a cross or a star. Put the tight corner between the gap, alternating the color. That's it! You will end with an octahedron Watch this video and make an octahedron using Post-It notes by yourself.
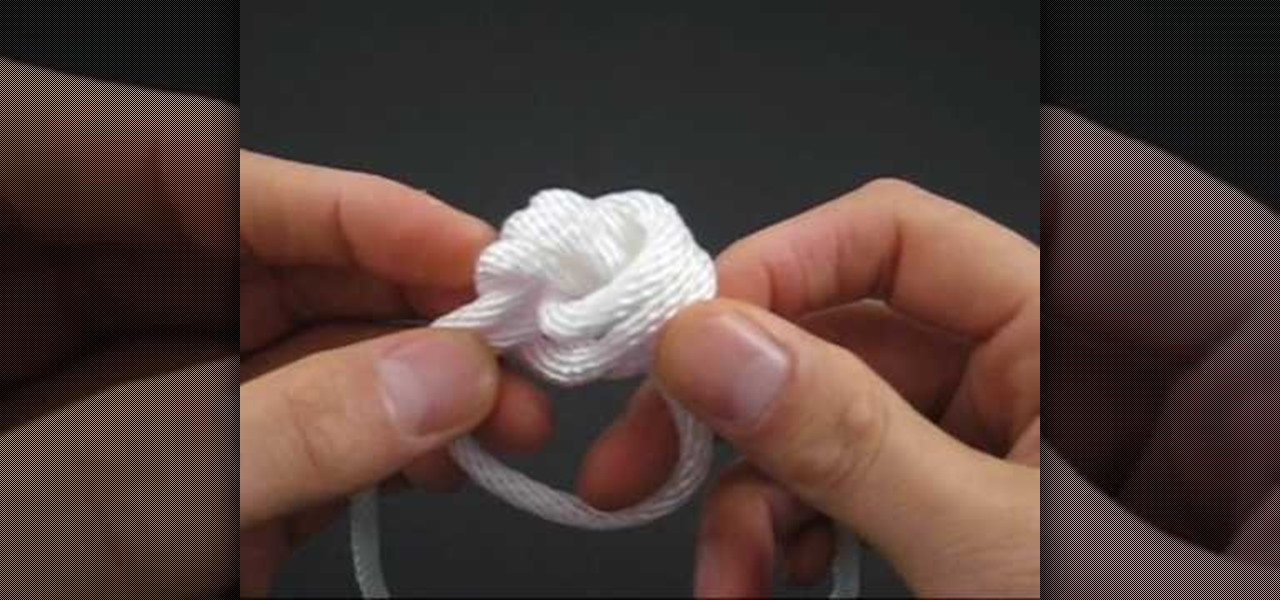
In this video tutorial, viewers learn how to tie a diamond ring knot. The name refers to the similar appearance of an actual diamond ring. The Diamond Ring knot is the fusion of an Overhand Knot and a tying technique called circling. Begin by making a loop; put one end of the string through the loop and pull it to form a pretzel shape. Continue putting one end the string through the loop. Eventually it will build up and it will just need to be tightened. This video tutorial will benefit those...
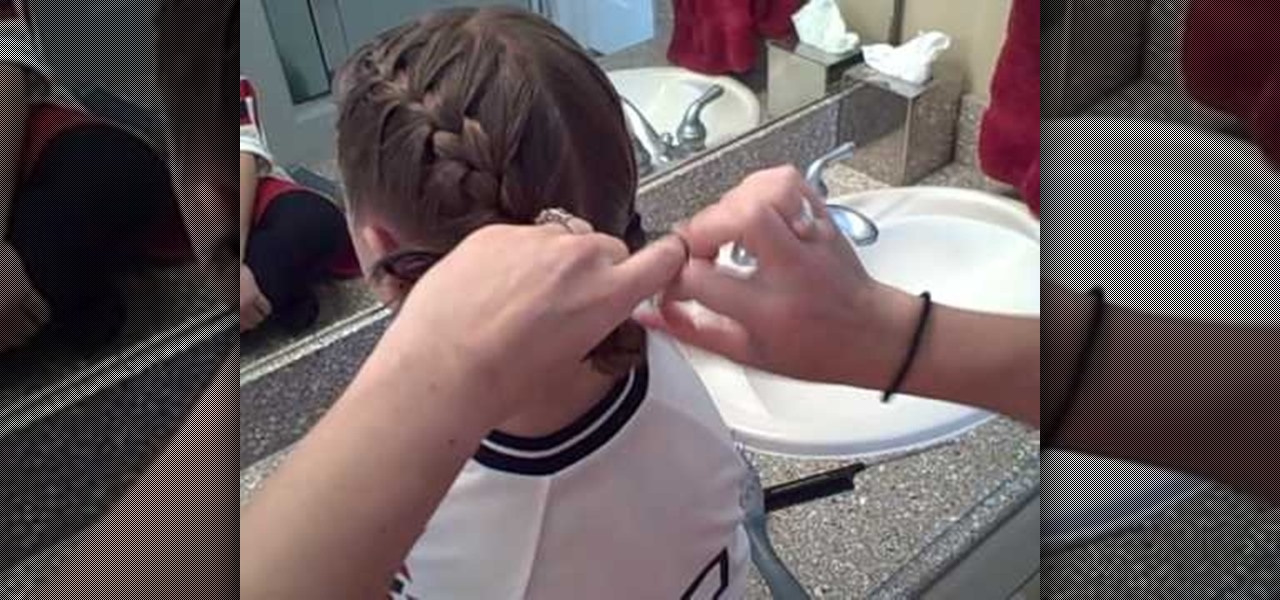
Cute Girl Hairstyles shows you how to create a French braid hairstyle for your hairstyle. Firstly, divide the long hair into two parts with a zig-zag parting on the top of the head. Keep one half of the hair in a ponytail to keep it out of the way. Wet the hair down, and take a small section of the hair. Section that part into three and repeat. Cross the first piece with the second piece, and then cross the third piece over (braiding). Pick up hair and add it to the left lock and repeat. You ...
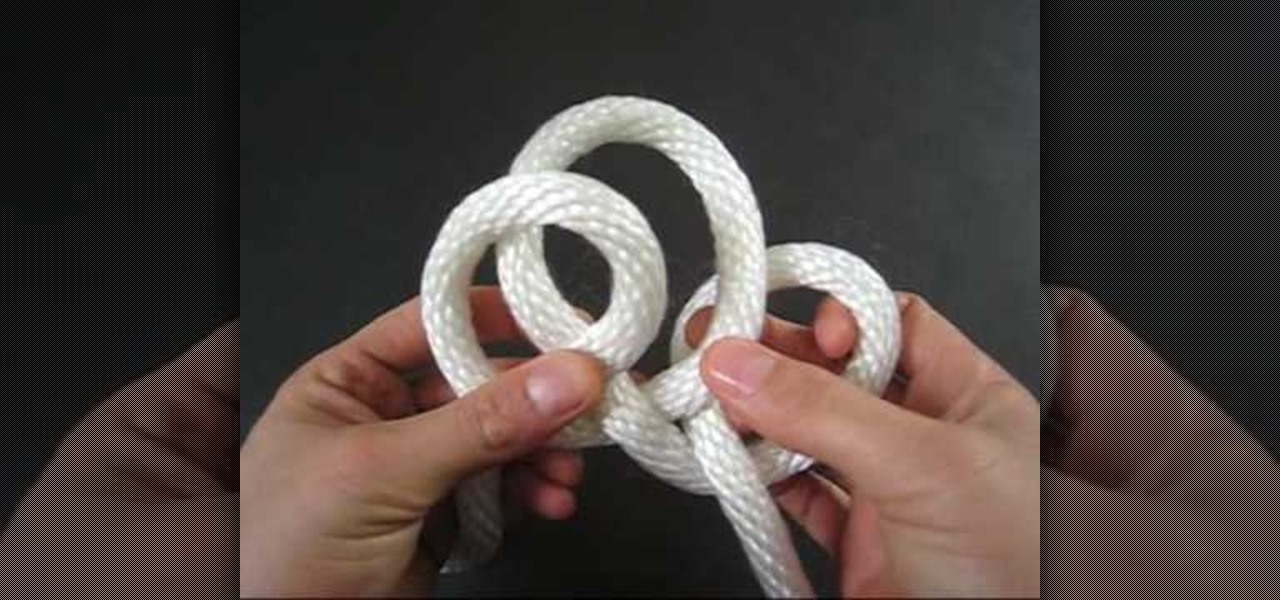
To tie a quick rope shackle, take a flat thread to make this knot. Take the thread and hold it in your hand fold it from right to left and hold it at the cross hold it once again catch both the crosses and fold it once again. Insert the send fold into the first hole and the third hole. Now pull the middle of the thread to make a tight. Pull the loose ends of the thread to make it tight. Now hold the two circular holes and insert a round stick or a bamboo stick and pull the loose ends of the t...

Watch this video to learn how to make simple turquoise hoop earrings. Start by taking some 20-22 gauge wire and wrap it around a soda bottle cap. Overlap the wire a little bit so that it forms a complete circle plus a little extra. Clip the wire off just a little bit past the overlap point. Do this twice so that you can make two earrings. In one end of the wire make a little loop and bend it back just a little. Put the beads that you want on the earring onto the wire loop. Put a slight bend i...

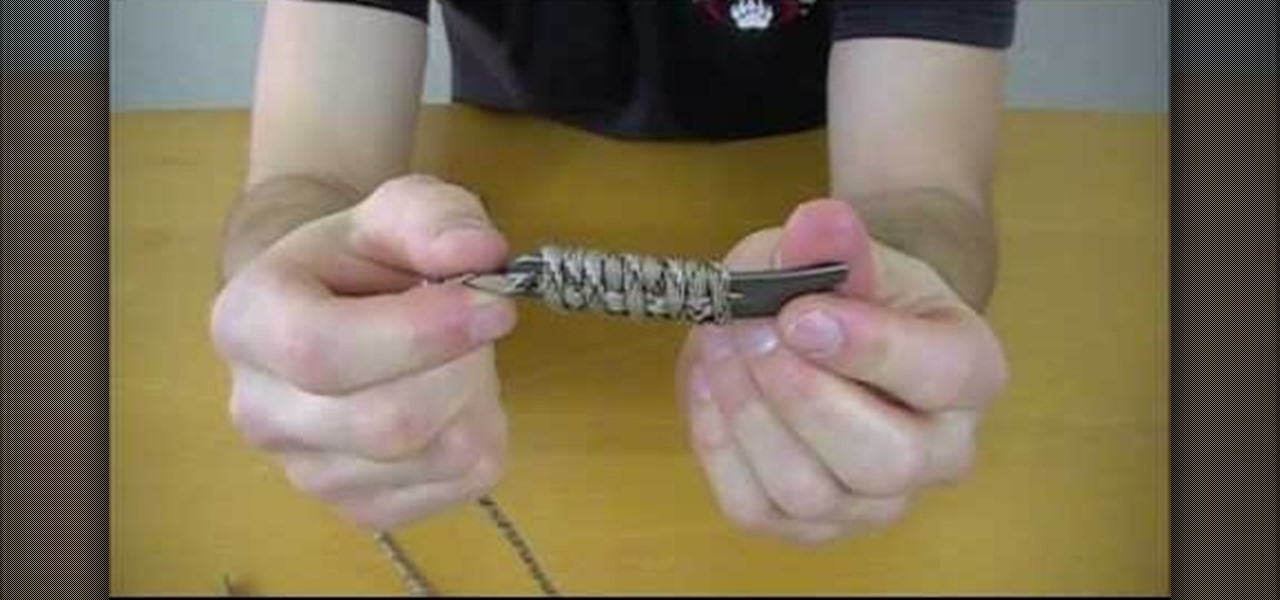
When is a knot not a knot? When it's a grip. The knot outlined in this video isn't a knot per se but a way to wrap objects to increase their grip and also to store extra paracord. Specifically, this video demonstrates how to County Comm Micro Widgy Bar, which is a miniature pry bar. It’s made from hardened D9 steel and is around 3? in overall length.

The Trilene knot is a multi-purpose knot that can be used in fishing to attach hooks, swivels and lures. This is a great knot because it resists slips and failures.

To tie the spinal sinnet, take the thread folded from left to right and hold it at the cross. Now insert the right thread in to the hole and pull the left thread to make it tight. Take the end of the thread and insert it and pull the thread which is close to the knot, you will get another hole. Now cross the hole and then insert the right side of the thread and pull down the thread close to the knot. Repeat the same till the end of the thread. Now the spinal sinnet is ready to use.

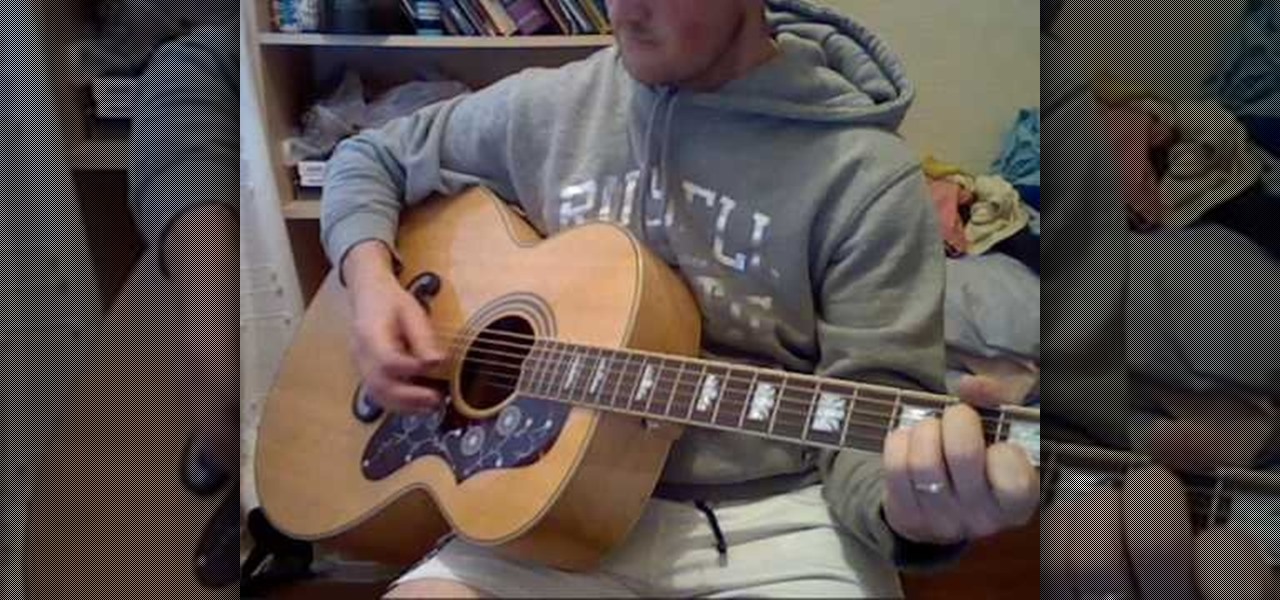
James, also known as Tbone Wilson, shows you how to play Street Spirit by Radiohead. With an acoustic guitar you begin the intro on A minor, then pick 5, 3, 1, 3, 2, half finger up. On your picking hand you need to hold your pinkie down to contact the hardboard deck of your guitar's face, this makes it easier. Repeat the sequence four times for the intro. Move to the E minor repeating the number sequence twice, then the E minor 7 (repeat sequence twice), first finger is on the second string, ...

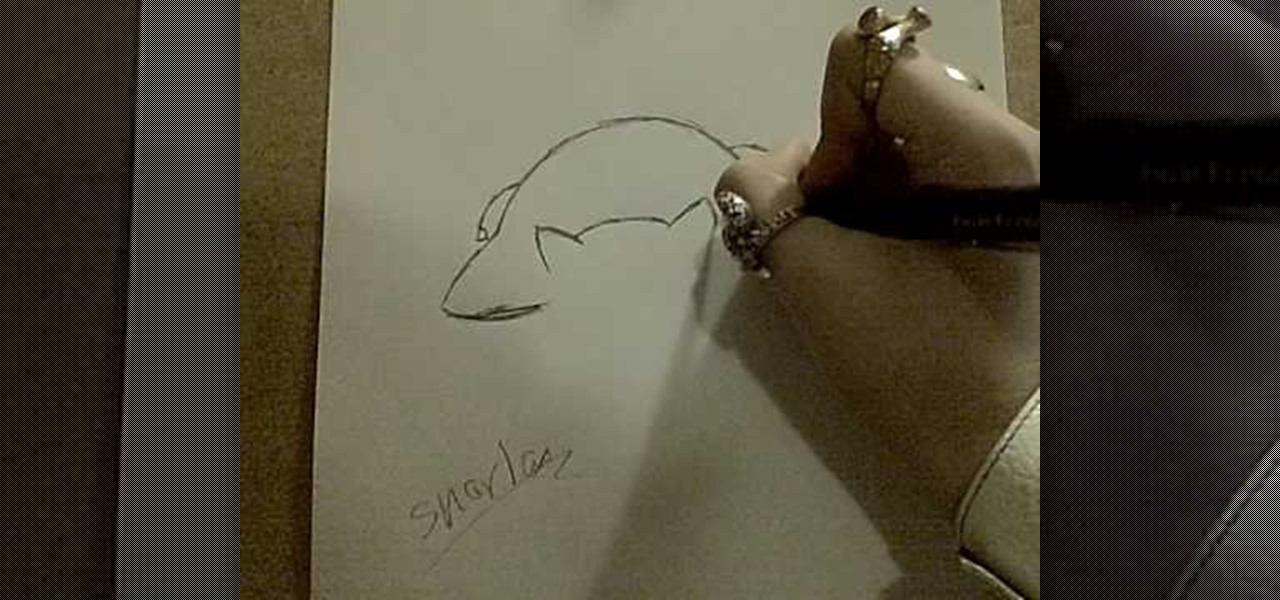
MAZE2510 teaches us how to draw the perfect Snorlax. Draw out an oval for its head, a large body and two small circles at the bottom on each end for its feet. Begin to work on the head. Add in the ears and the curve at the top of the head. Then add in two rounded cylinder-like shapes for its arms and finally add two smaller circles inside the feet circles that were already there. Add in the detail on the face and then the half circles on its body. Add in the fingers on both hands. Each little...

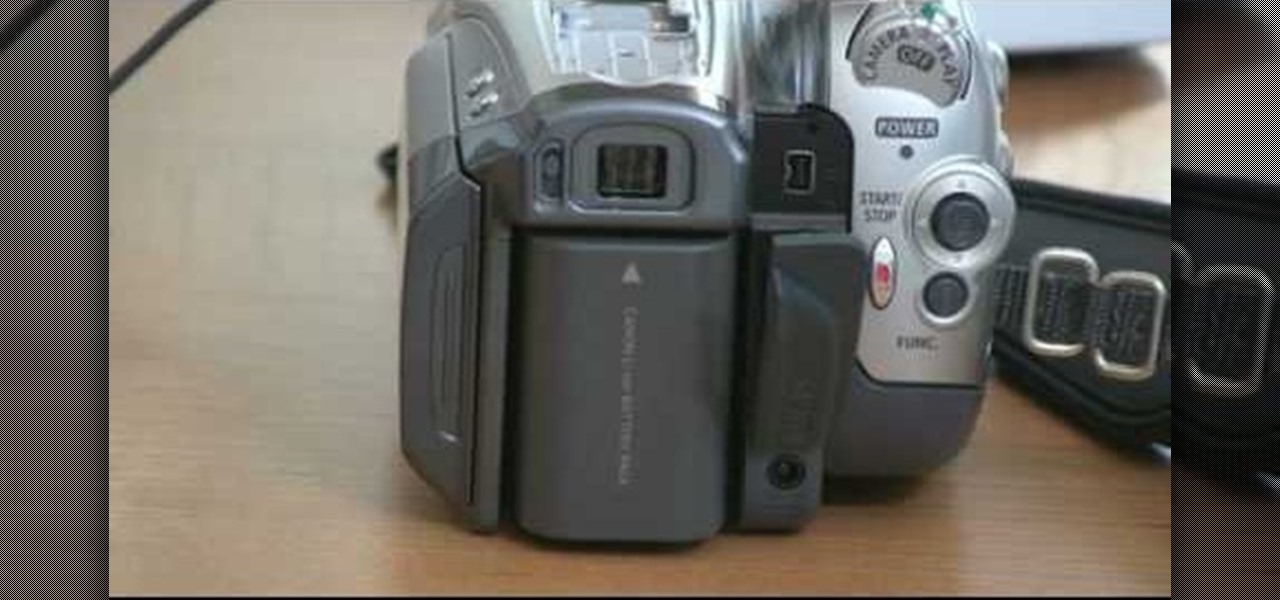
Bill Myers shows us how to record live video direct to your computer from your camcorder. You will need: long firewire cable, camcorder with firewire output, computer. Procedure: Connect one end of the firewire cable to your camcorder, then connect the other end to your computer. Start your video editing program. Turn the audio down on your speakers to avoid feedback. Turn your camcorder on then check the capture option in your screen. Record the video then hit the stop button when you're fin...

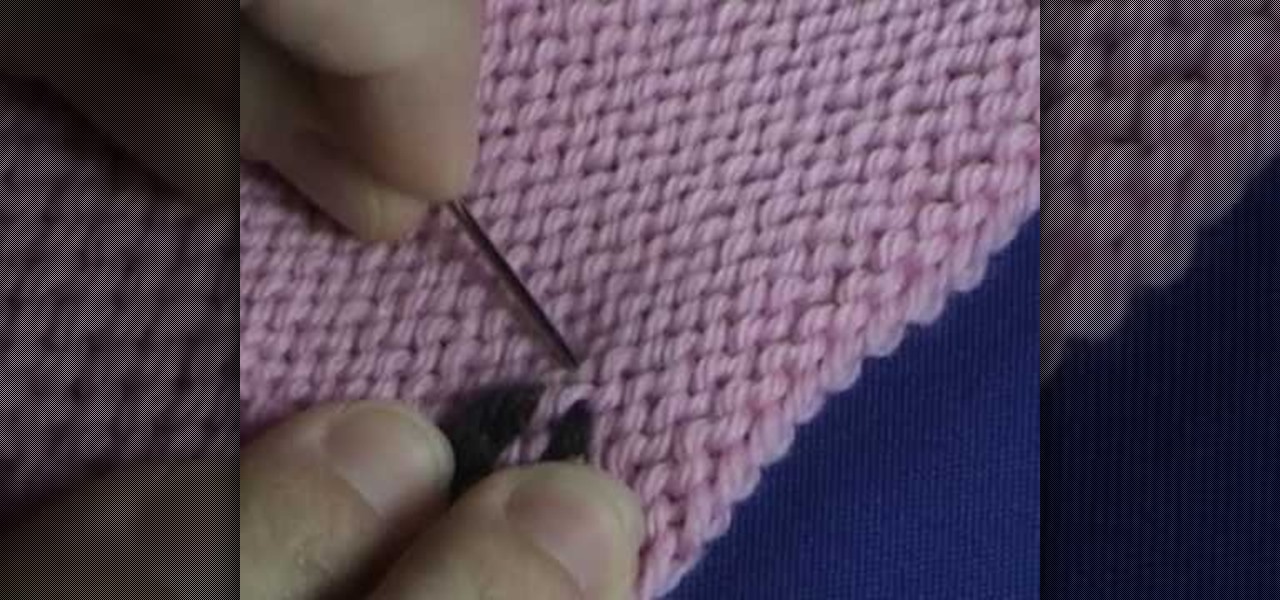
Let the Knit Witch show you how to weave the ends on your stockinette stitch project with this video tutorial. She takes a simple swatch of knitted pink fabric and shows you how to accomplish this simple but useful trick with black yarn so that it can be easily seen. Don't let your yarn unravel or ruin a project by skipping this easy to learn step! She explains it so clearly and demonstrates the technique so thoroughly that you'll be sure to have mastered it in just a few short minutes!

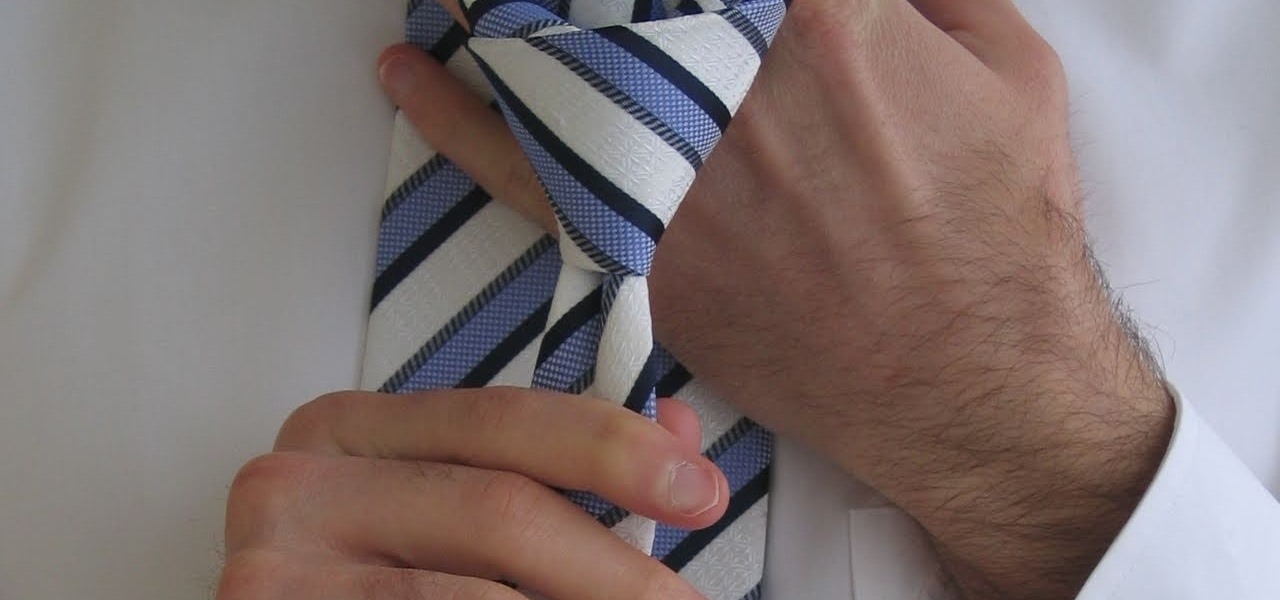
Tying a tie is a very useful skill, in this video, we are shown how to tie a Double Windsor knot, a very popular knot due to its symmetry. After placing the tie around your neck, if you are a right-handed person, make the thicker side the longer side on your right and pass this longer piece over the other one. Place the tie behind the other end and pull it through the hole and down, forming a small knot. Twisting the tie around itself backwards, pull the longer edge through on the other side ...

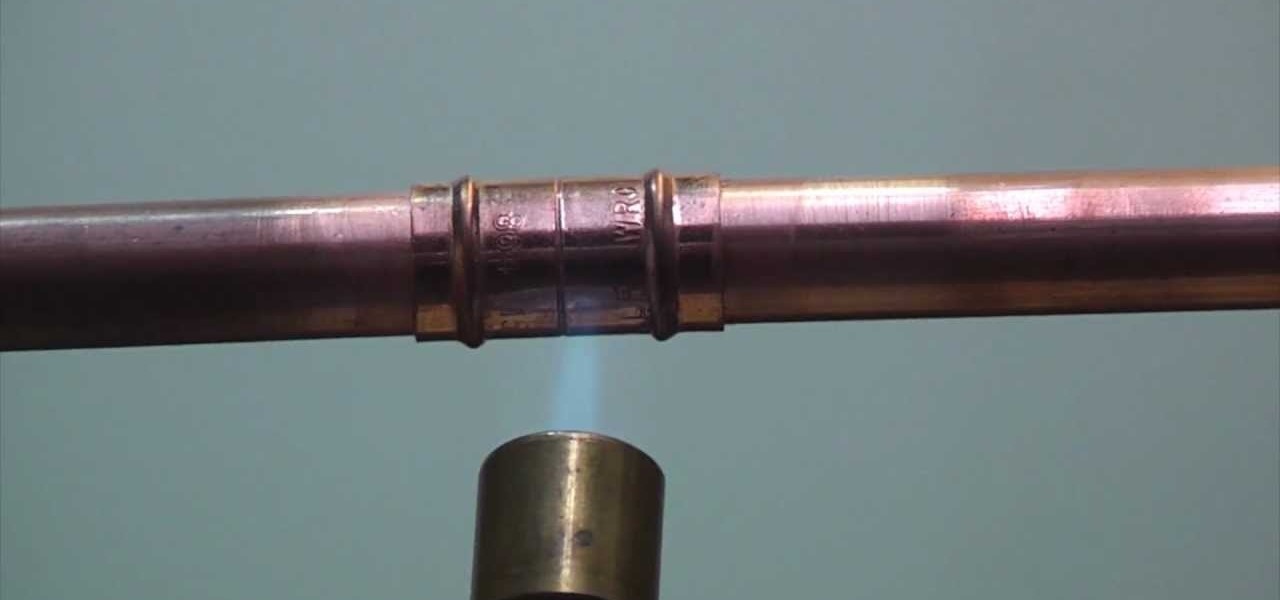
To solder copper pipes, start by using a sharp blade and scrape the end of the pipe you are going to solder. This will get all the burrs off of the pipe. Next, take some steel wool and clean the pipe so that it is nice and clean and shiny. The next step is to apply some flux. Use a rag to apply the flux to the end of the pipe. You want to make sure that the flux goes all the way around the pipe. After putting flux on the two pieces of pipe, put them together using the fitting. Take the blowto...

The video guide shows how to play the song “No Woman, No cry” on the guitar. Mr. Kiplan is the producer of this video.

This video tutorial will show you how to use water vines to get water in the wild, if you fancy yourself the next Bear Grylls. There are different kinds of vines and not all vines are made equally. If you open them up they all contain water. Some vines produce bitter water and some are sweet.

This trick will show how to magically diffuse two pieces of dental floss together. The magic trick works like this: Take two pieces of dental floss. Put the ends in your mouth. When you take them out the two pieces have magically become one.

Learn about the L4D2 gameplay for Campaign 1: Dead Center - Atrium. Get the goodies and walk out of the safe house. Turn right and go down the hallway, making another right through the door at the end. You will find yourself back in the mall. Continue on the makeshift walkway, bearing left at the end until you reach an elevator. The blue door across from you is a dead end. For more info, watch the whole gameplay.

Abusive relationships are unhealthy and should be remedied immediately. There are many steps that can be taken to help end an abusive relationship.

Developed by the same team of engineers responsible for LightWave 3D, modo, lowercase, delivers the next evolution of 3D modeling, painting and rendering in a single integrated and accelerated package for the Mac and PC. And now, modo is a true end-to-end solution that includes true 3D sculpting tools, animation and network rendering! More than just features, modo is a truly elegant integration of technology, raw horsepower and refined workflow. With such a wealth of inbuilt features, however...

Devolped by the same team of engineers responsible for LightWave 3D, modo, lowercase, delivers the next evolution of 3D modeling, painting and rendering in a single integrated and accelerated package for the Mac and PC. And now, modo is a true end-to-end solution that includes true 3D sculpting tools, animation and network rendering! More than just features, modo is a truly elegant integration of technology, raw horsepower and refined workflow. With such a wealth of inbuilt features, however,...

Devolped by the same team of engineers responsible for LightWave 3D, modo, lowercase, delivers the next evolution of 3D modeling, painting and rendering in a single integrated and accelerated package for the Mac and PC. And now, modo is a true end-to-end solution that includes true 3D sculpting tools, animation and network rendering! More than just features, modo is a truly elegant integration of technology, raw horsepower and refined workflow. With such a wealth of inbuilt features, however,...

Devolped by the same team of engineers responsible for LightWave 3D, modo, lowercase, delivers the next evolution of 3D modeling, painting and rendering in a single integrated and accelerated package for the Mac and PC. And now, modo is a true end-to-end solution that includes true 3D sculpting tools, animation and network rendering! More than just features, modo is a truly elegant integration of technology, raw horsepower and refined workflow. With such a wealth of inbuilt features, however,...

Devolped by the same team of engineers responsible for LightWave 3D, modo, lowercase, delivers the next evolution of 3D modeling, painting and rendering in a single integrated and accelerated package for the Mac and PC. And now, modo is a true end-to-end solution that includes true 3D sculpting tools, animation and network rendering! More than just features, modo is a truly elegant integration of technology, raw horsepower and refined workflow. With such a wealth of inbuilt features, however,...

Devolped by the same team of engineers responsible for LightWave 3D, modo, lowercase, delivers the next evolution of 3D modeling, painting and rendering in a single integrated and accelerated package for the Mac and PC. And now, modo is a true end-to-end solution that includes true 3D sculpting tools, animation and network rendering! More than just features, modo is a truly elegant integration of technology, raw horsepower and refined workflow. With such a wealth of inbuilt features, however,...

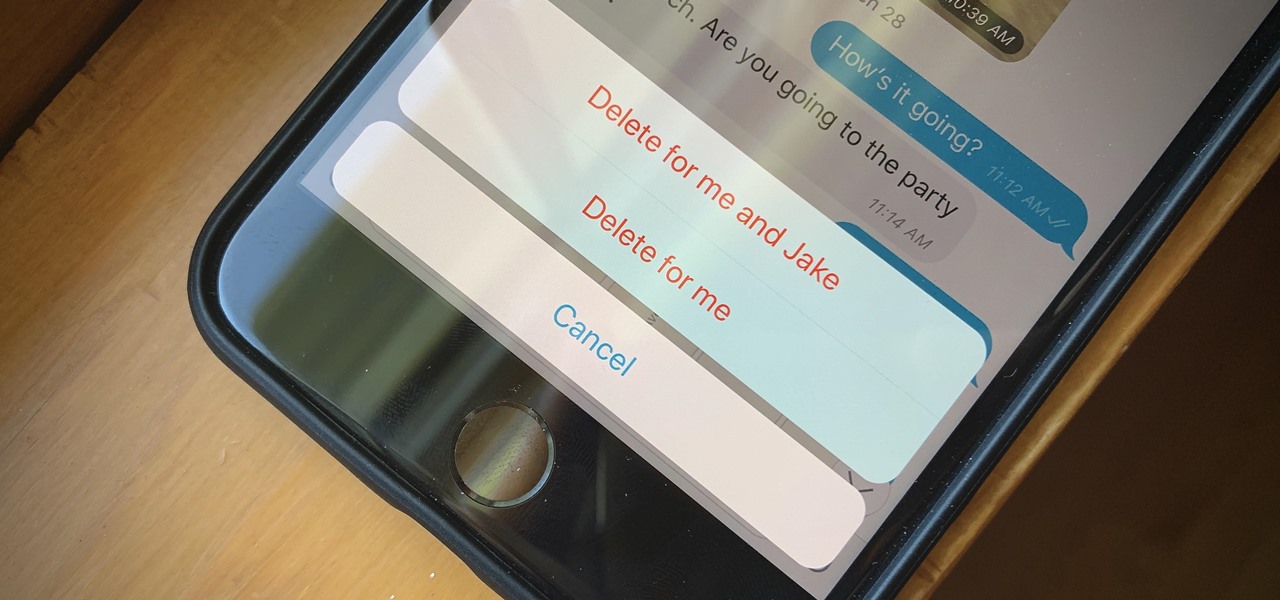
If you're looking to keep your conversations private, look no further than Telegram. Its cloud-based chats are secure and its optional end-to-end encrypted chats even more so, but you can't really prevent someone in the conversation from sharing your messages. However, you can lessen that chance by taking back your messages, deleting them for both you and the other end of the discussion.

Telegram routinely boasts about its secure messaging for truly private conversations between two parties. However, default cloud chats in Telegram are only encrypted between client and server, not client and client, which means you have to be a little proactive in making sure your private conversations on Telegram are really private.

Fades are a classic video transition technique, either at the beginning or end of a scene. They can dramatically begin a film as the picture fades in from black, or they can slowly end the story as the screen moves into darkness. They can also be used within a movie as dramatic transitions to signify time has passed, but we won't cover that in this guide.

Android lovers out there might be sad to hear that a high-end version of the Samsung Galaxy S8+ with 6 GB of RAM and 128 GB of internal storage won't be released in the US, but rather, in China.

In the wake of the NSA scandal and celebrity-photo hacks, lots of people scrambled to find more-secure ways to send text messages, share emails, and surf the internet. Known for their incredibly secure data networks, Germany's email services saw a remarkable increase in new users from across the world. Last year, we covered Sicher, a German app that lets you send and receive encrypted self-destructing messages on your smartphone.

Every now and then, you'll bite into the end piece of a perfectly good cucumber only to get an unwelcome bitter and acrid taste. This happened to me for years, no matter how carefully I selected my cukes, although I generally had better luck with ones I got from local growers and the farmer's market.

It's no surprise that Costco has great deals, and that's why millions pay annual fees for the privilege to shop in their wholesale outlets. Just take their hotdog and soda combo for $1.50—it's the same price now as it was 27 years ago.

Yu-Gi-Oh! represented the third wave of collectible card gaming, taking the mantel from Pokemon and Magic and bringing the style of game to a new generation of kids. This video will teach you how to build three awesome decks for one of the video game versions of the game, Yu-Gi-Oh-Gx! Tag Force 2! They are called Cyber End, God, and Blue Eyes respectively.

There's a big, BIG difference between professional cake decorating and what most of us do after we've baked a cake - i.e., slathering a bunch of storebought icing onto our cupcakes with a spatula and patting the clumps down.

In this video, we learn how to cut a sirloin into steaks. Find the two ends to the sirloin and these are the sides you will cut into. The top is the New York cut, which tends to be more tender. Cut off the bone skin with a sharp knife from the very top of the meat. After this is out of the way, flip it to the other end and find the piece that is the flat part of the rump roast. Start by taking this off of the meat by going into the seam that opens up. After this, you will have cut pieces of s...

This is a video tutorial in the Fine Art category where you are going to learn how to make a hippie chiffon one shoulder top. The materials you will need are chiffon, studs, elastic thread and elastic. Use a simple tank top pattern to cut out the chiffon. Elongate the center of the fabric; this will give it the flowy look. Shirr 5 rows into the middle of the fabric making sure the elastic is on the wrong side of the fabric. Fold in half, right sides together. Sew the side seam and the shoulde...

The first step in this video is to draw a rectangle on a piece of paper to gauge the length of the hair stokes. The artist then makes long pencil marks along the inside of the rectangle that are much less defined towards the middle. It is explained that you need to go in one direct with your pencil strokes as going back and forth gives an unrealistic final product. It is shown that you must begin at the beginning of the hair source and bring the strokes downwards for more realism. Four exampl...

If you're an arts and crafts fanatic then you probably have more than your fair share of ribbons lying all around the house. You snip off one long piece from the roll and then you have to go and tape it to itself again to keep everything in place, and then eventually you give up and the remaining ribbon ends up in an odds-and-ends jar.


