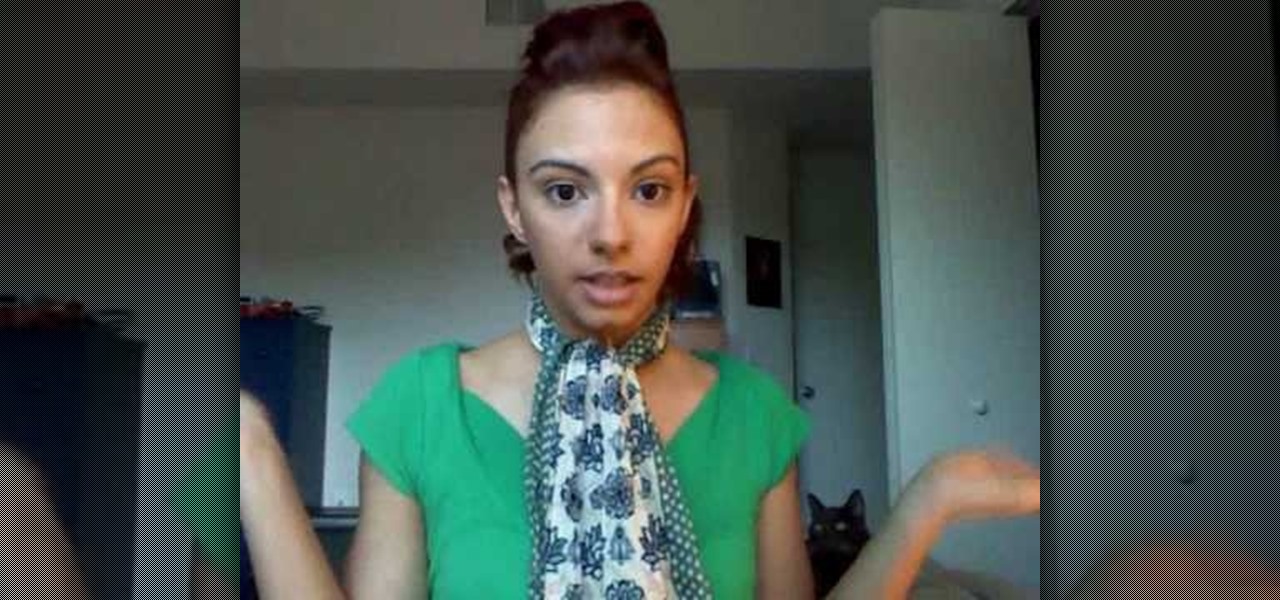
Pashmina are warm soft clothes to be worn in cold and comes out well with your dress during evening or night parties. Wear it around the neck. Accentuating the back with loosely holding it with both hands with ends towards the front is another way of wrapping it. It can be a casual towel over the shoulders. It can be draped to one shoulder with its end coming from the other side of the body. It can cover the front and both ends can hang at the back, by baring the neck area, or else closing th...
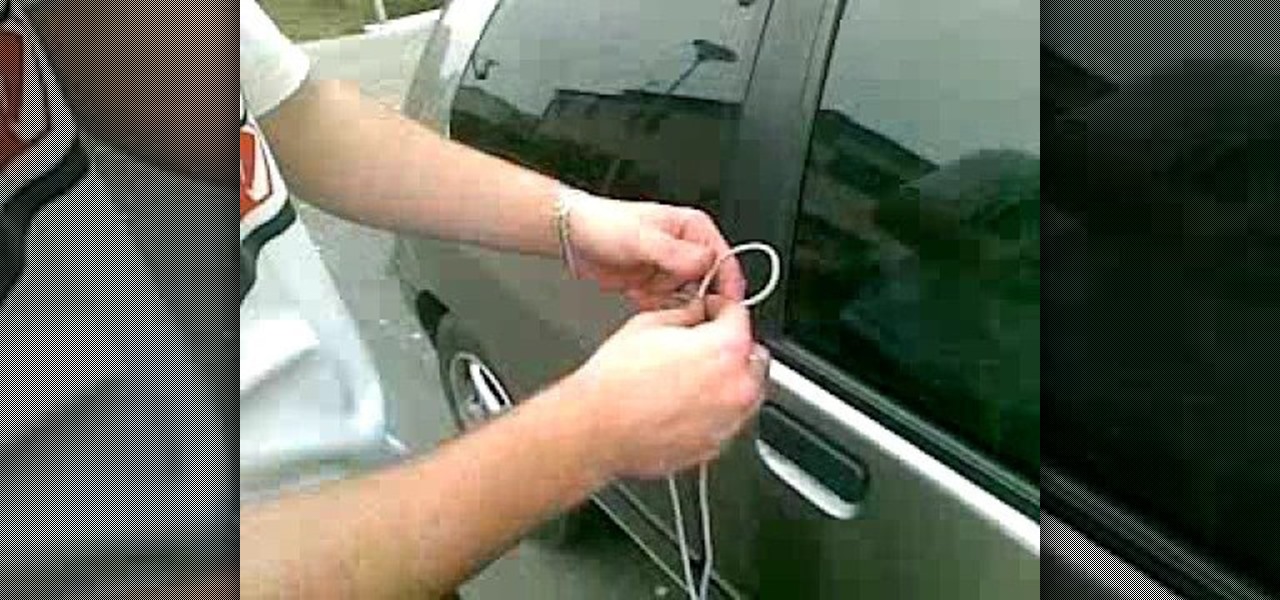
Have you locked yourself out of your car? Well, as long as you have a shoelace, you may be able to get back in.
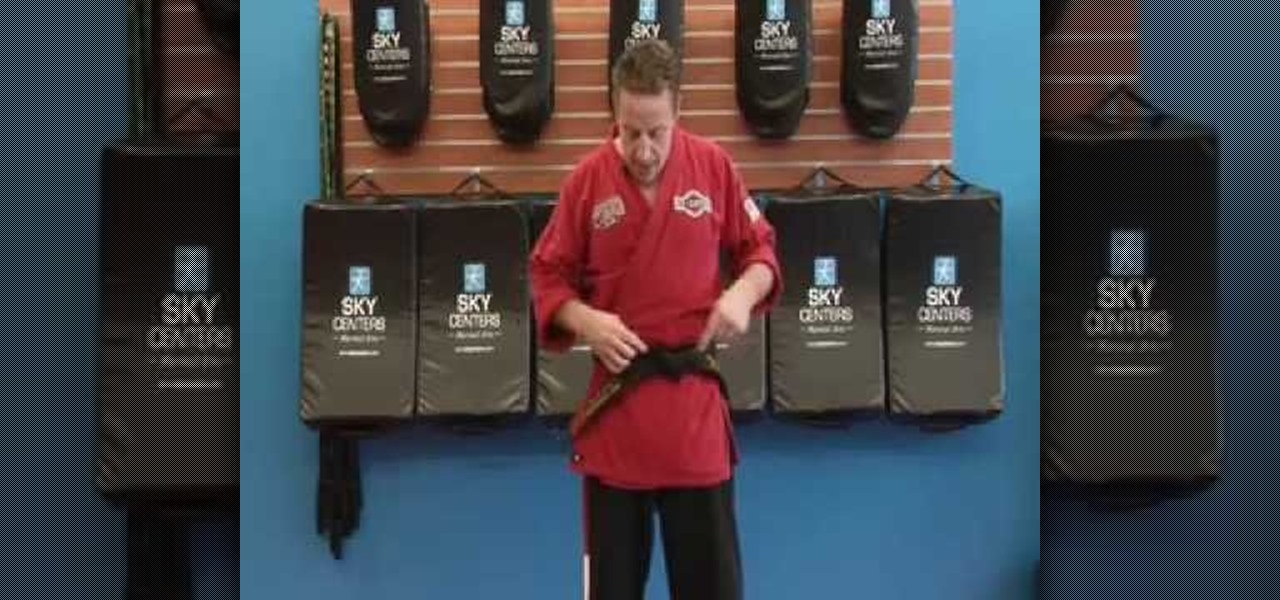
To tie your karate belt tightly and efficiently you only need to follow a few simple steps. First, find the center of the belt; do this by putting the two ends together. Put the center on your belly button, and wrap completely around yourself, now finding the two ends in front of you. Bring the left end over the right, and grab both pieces with your left hand. Now tuck the left end under. From there, place the right side over the left. Now take the bottom flap and wrap it around the right pie...
This is a video demonstrating how to tie a perfection loop. This is a loop that is necessary for fishing. It can be using for sinkers and fly fishing. It is good for any purpose where a loop is needed. A loop is made first. The loop is held between the left thumb and index finger. The end of the line is taken and put over the loop. Then switch hands and take the end of the line below the main line, making two loops. Then the end of the line is placed between the two loops. Take the top loop n...
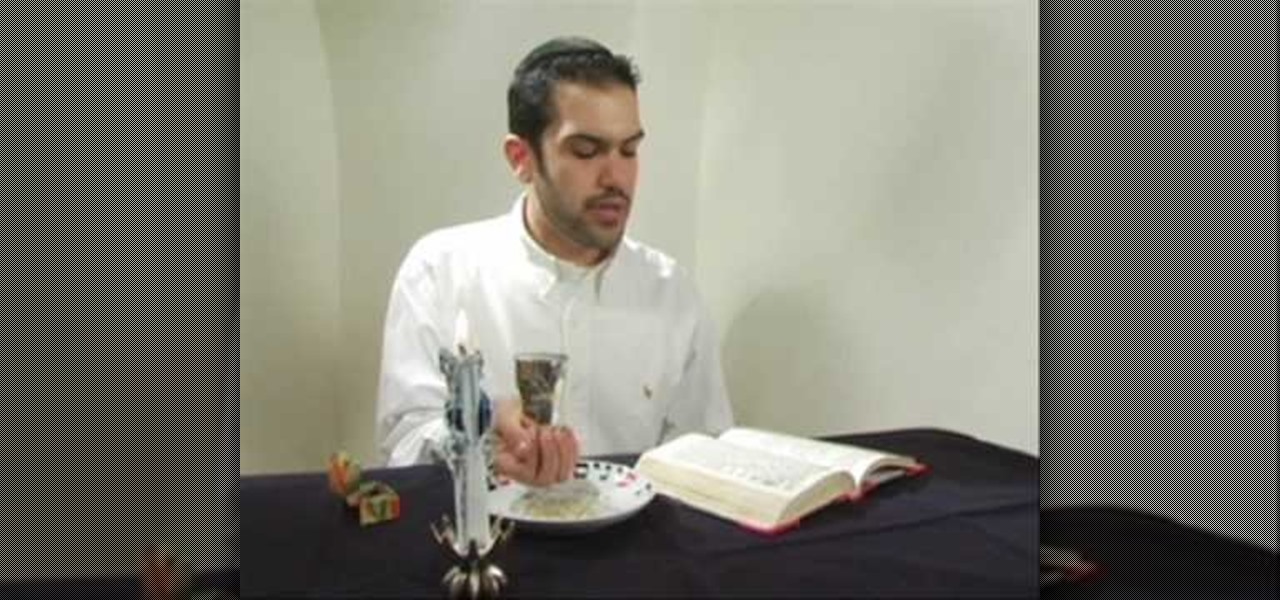
This instructional video, produced by Jewish Pathways, demonstrates how to perform Havdallah after Shabbat ends. Hadvallah is a Jewish religious ceremony that marks the symbolic end of Shabbat and holidays, ushering in the new week.

See a hose end sprayer demonstration and get expert tips and advice on lawn care and maintenance in this free gardening video.

With all these elements in place, you're well on your way to a great song. Garageband makes it easy. But just like you wanted a clever intro, you'll want to come up with a way to end your song. An ending can provide resolution and let your audience know the song is coming to a close. Gradually fading out is a great, if a little old-fashioned, way to end your song.

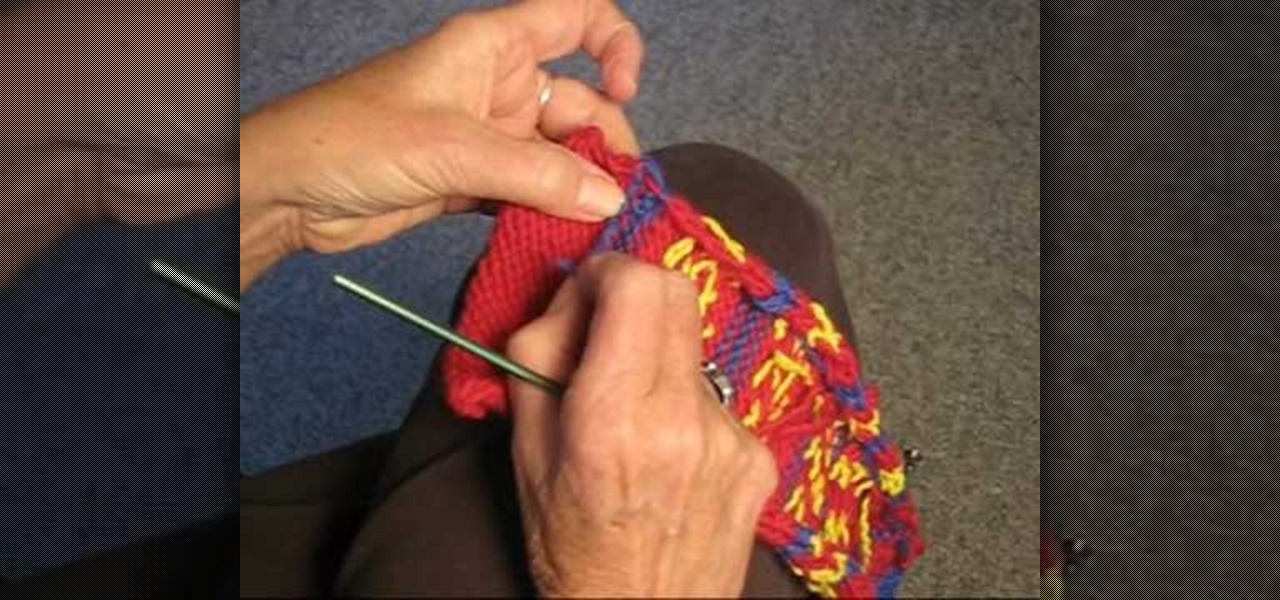
Check out this video to learn how to bind off and weave in ends while knitting. Learn different binding off methods to discover which is easier for you.

Learn how to play the Greenday song 'wake me up when september ends' on the guitar. Very easy to follow.

Split ends suck. And while paying a visit to your hairstylist every two months or so helps to get rid of most of them, regular styling and wear and tear will cause split ends on even girls with the strongest hair.

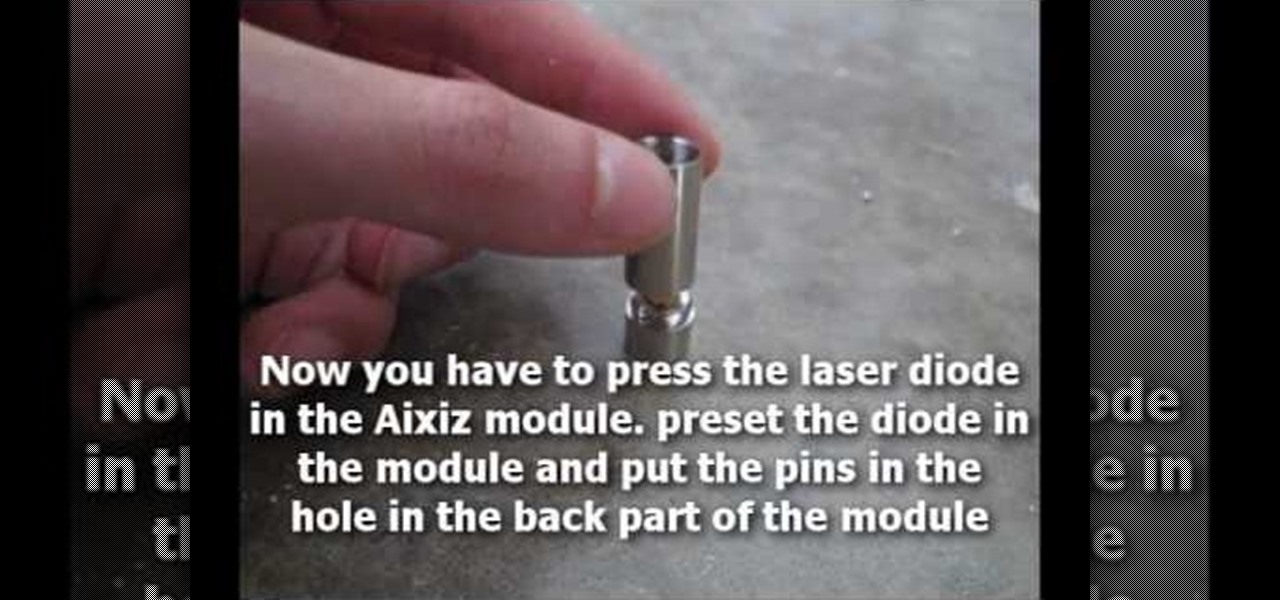
This mod will run you about $130, but you'll have your own laser torch at the end of it. You'll need a high end flashlight, a Aixiz module, an AR coated lens and a blue diode. Then assemble according to the instructions, and get a laser at the end of it!

In order to make your own silver wire wrap earrings, you will need the following: sterling 20-gauge wire, chain nose or small round nose pliers, fine sterling wire, and multicolored crystal beads.

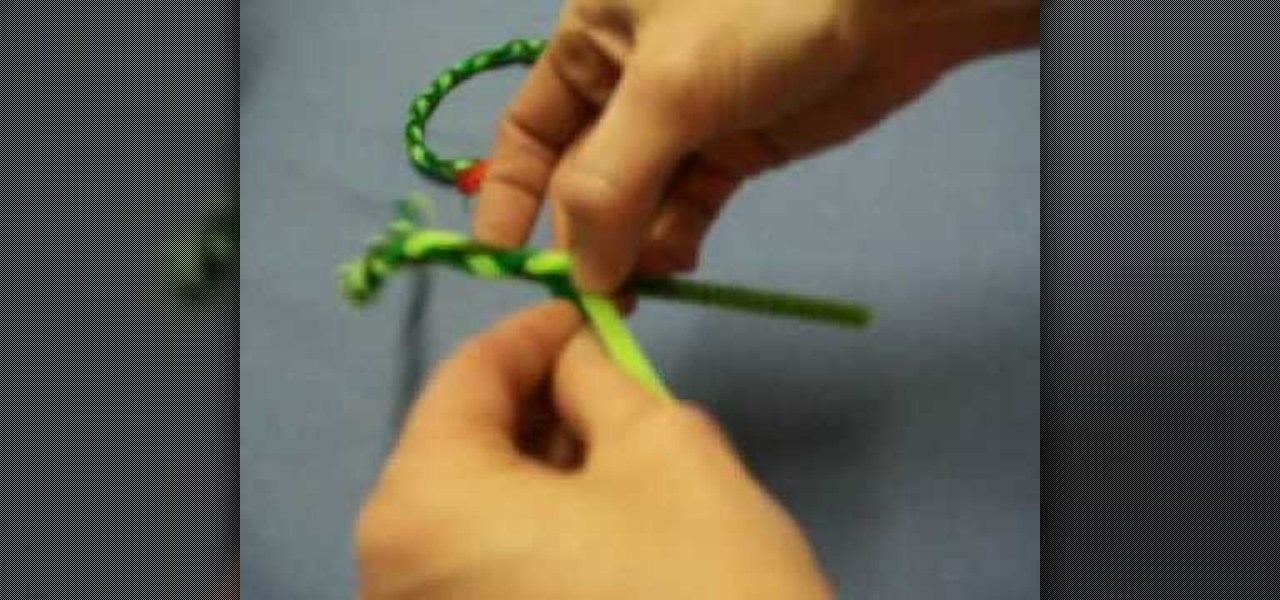
In this video, we learn how to make friendship bracelets adjustable. First, tape both sides of your bracelet onto a flat surface. After this, bring both ends into a circle shape at the ends. Now, take any color of string and make a loop with it over the ends of the bracelet. Now, put one end over the other and then put it through the bracelets and into the loop. Then, pull the end of the thread and put the bottom over and under the top piece. Then, put it through the bracelet and tighten it. ...

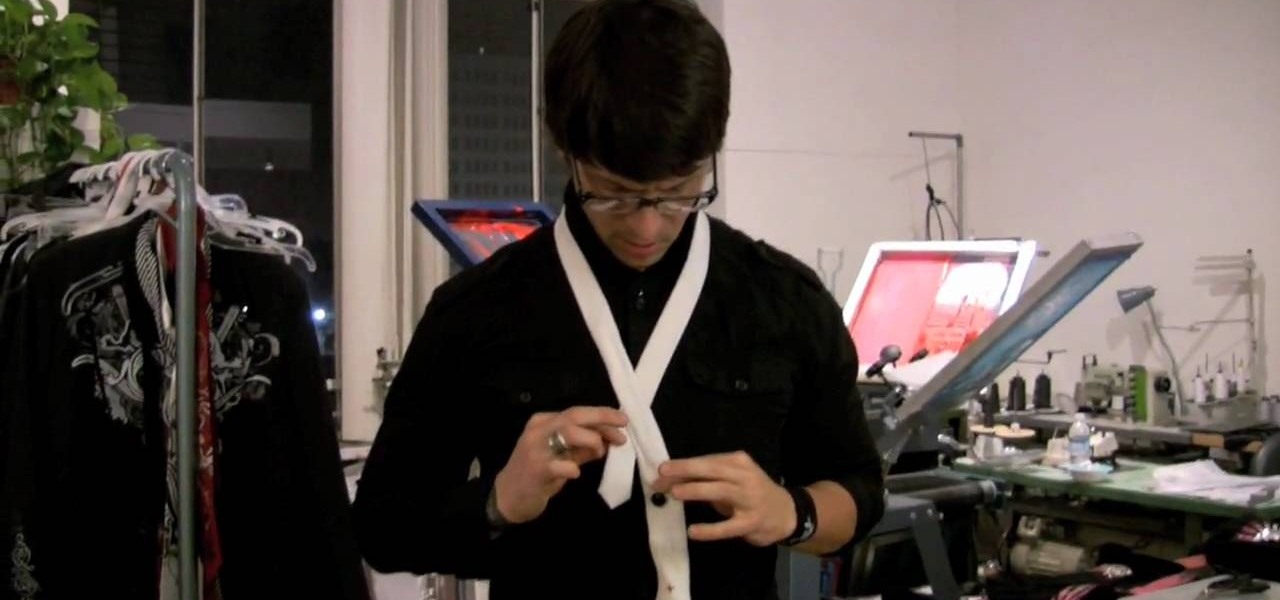
In this video tutorial, viewers learn how to tie a necktie. Begin by placing the tie around your neck, with the wider end 2 times lower than the narrow end. Then cross the wider end over and under the narrow end. Now bring the wide end through the V gap between the neck and . Wrap it once more over and under. This time, create a small loop. Bring the tie through the V gap and through the loop. Finish by tighten and adjusting the tie. This video will benefit those viewers who are attending a s...

In this video tutorial, viewers learn how to tie a four-in-hand knot with a skinny necktie. Begin with the wide end at least 12 inches longer than the thin end. Then put the wide end over the narrow end and wrap it around once more. Now bring the wide end under the loop and down through the front of the knot. Then pull the knot tight and adjust the tie. This video will benefit those viewers who have a skinny tie, and would like to learn how to tie it because hey are attending a formal dinner,...

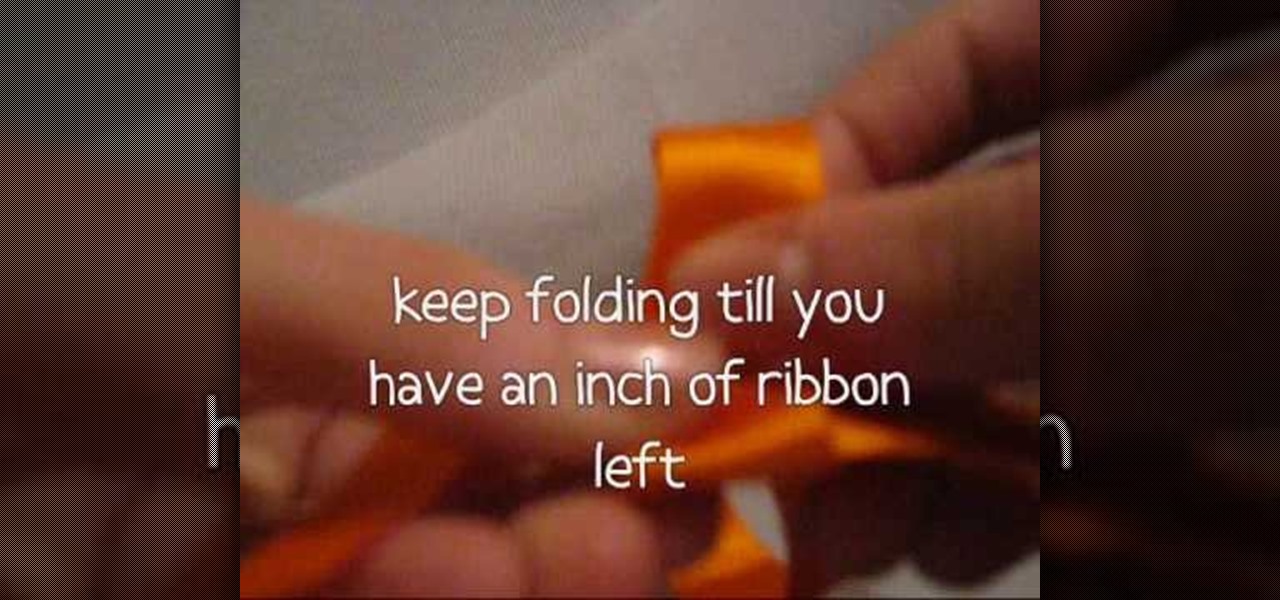
In this video tutorial, viewers learn how to make a ribbon rose. Users will need approximately 60 cm of 16 mm of satin ribbon. Begin by folding your ribbon in half and then pinch fold the end. Now fold the front half sideways and pinch it in place. Then turn it over and fold the ribbon to the opposite side. Keep folding until there is only about 1 inch of ribbon left. Users should end up with a pile of little folds. Pinch the two ends together and let go of the pile. As you pinch the ends tog...

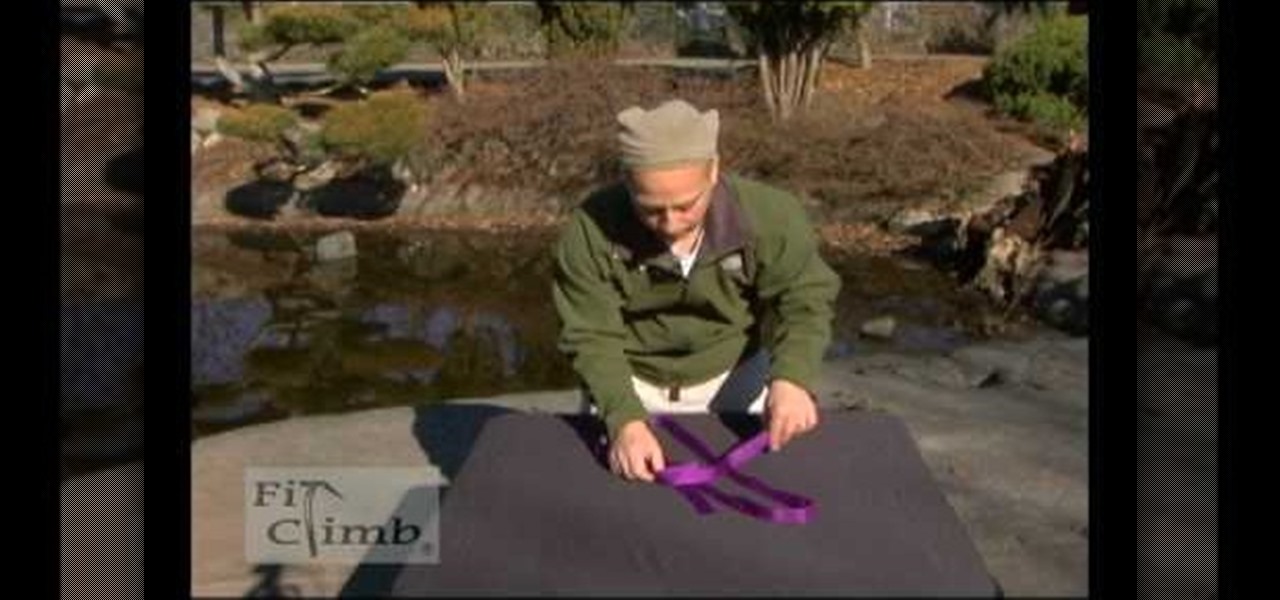
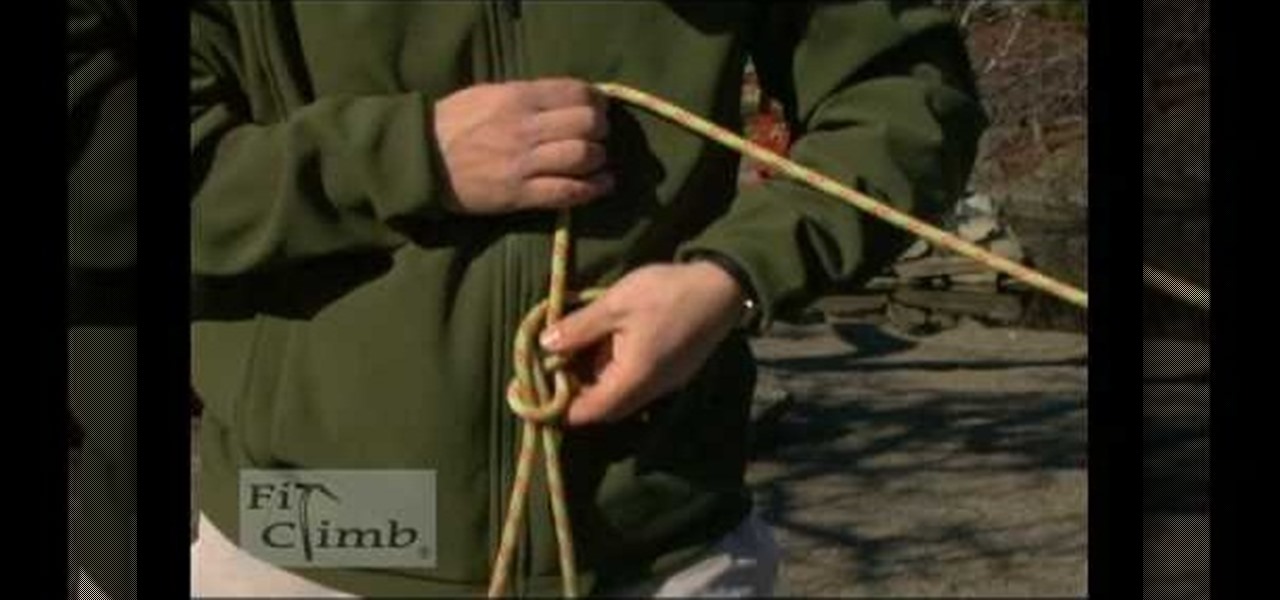
Webbing is not only used in sports like rock climbing and caving, but it also comes in handy in camping and hiking. This video shows you how to tie two webbing ends together to make a loop that will not come off. A square knot does not work for webbing as it will slip through, therefore a water knot is used. Take 4 inches (10 cm) from one marked end and tie an overhand loop. Ensure that the webbing is not twisted. Slip the other end in the knot and trace the second end around the overhand kno...

How to tie a Eight Figure Knot.

How to make mini Christmas wreaths out of pipe cleanersIn this video we are about to see how to make mini Christmas wreaths out of pipe cleaners. To start with we get colors of pipe cleaners. Now take them of equal length and twists their ends together so that they don’t come off. Start braiding from the attached ends. The art of braiding is very easy. Just take the middle over the left and the middle over the right. Repeat the process till the end of the pipe cleaners. Leave out a small port...

This video illustrate us how to tie an ascot. Here are the following steps:Step 1: Take a scarf and hang it around the neck so that it is parted into two equal halves.Step 2: Now take one end and move it towards the other.Step 3: Now bring this end under the first half of the scarf and taking it out from above ,this will form a loop like structure.Step 4: Now bring it out from the loop formed and pull the end downwards to form a knot.Step 5: Now move this knot sideways for a better fashion st...

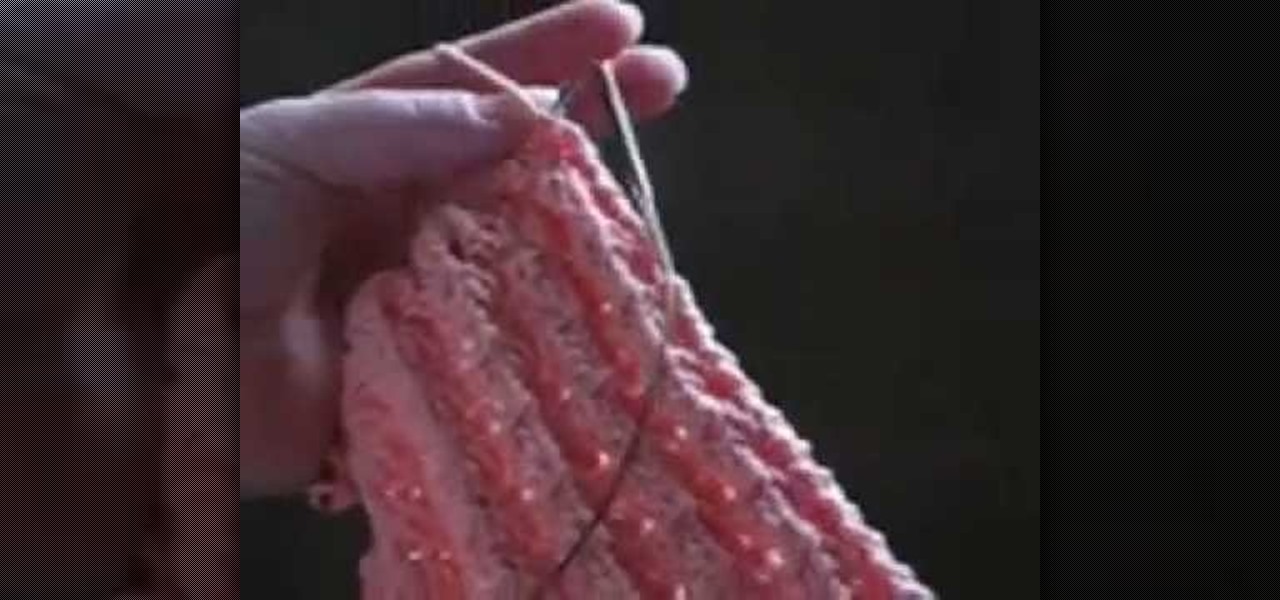
Iknitwithcatfur teaches us how to knit perfect puffed ribs. Cast on a multiple of 3 stitches plus 2 stitches. This means that any number of stitches that you want to cast on for you project must be divisible by 3 plus 2 extra stitches to create the selvage. Purl the first 2 stitches of row 1 then begin the repeating pattern of yarn over, knit 1 stitch, yarn over, purl 2 stitches. Repeat this pattern until the end of the row. This will be the right side of your knitting. In knitting abbreviati...

This video is about how to trim your split ends. This video gives detailed instructions about how using heat and trimming too often can lead to split ends and how they can lead to breakage. The instructor teaches you that just randomly clipping your ends does not fix your split ends, but makes them worse. She tells you to twist your hair before you start to clip to expose the hairs that are hidden from you. This last step is very important.

You've got style. You've got class. You've got... No reason to still be wearing a clip-on. Show off your suave side with a perfectly knotted tie. Watch this video to learn how to tie a bow tie.

An easy, up close, demonstration of HOW TO WEAVE IN ENDS By Judy Graham, Knitter to the Stars, who's knits have appeared in movies, TV, and concerts for over 30 years and who has been hand knitting for over 50 years. Check out the web-site for more knitting tips, what it's like to make knits for the movies and fun celebrity stories. Watch this knitting tutorial to learn how to weave in ends when knitting.

This is a demonstration of High End exercises on the saxophone. This exercise involves the last five notes on the top, starting from B up to a high F and back down. There are also different combinations. This tutorial video is great for beginners and advanced sax players. Check out this instructional sax video that shows you how to practice these high end exercises and improve your saxophone playing skills!

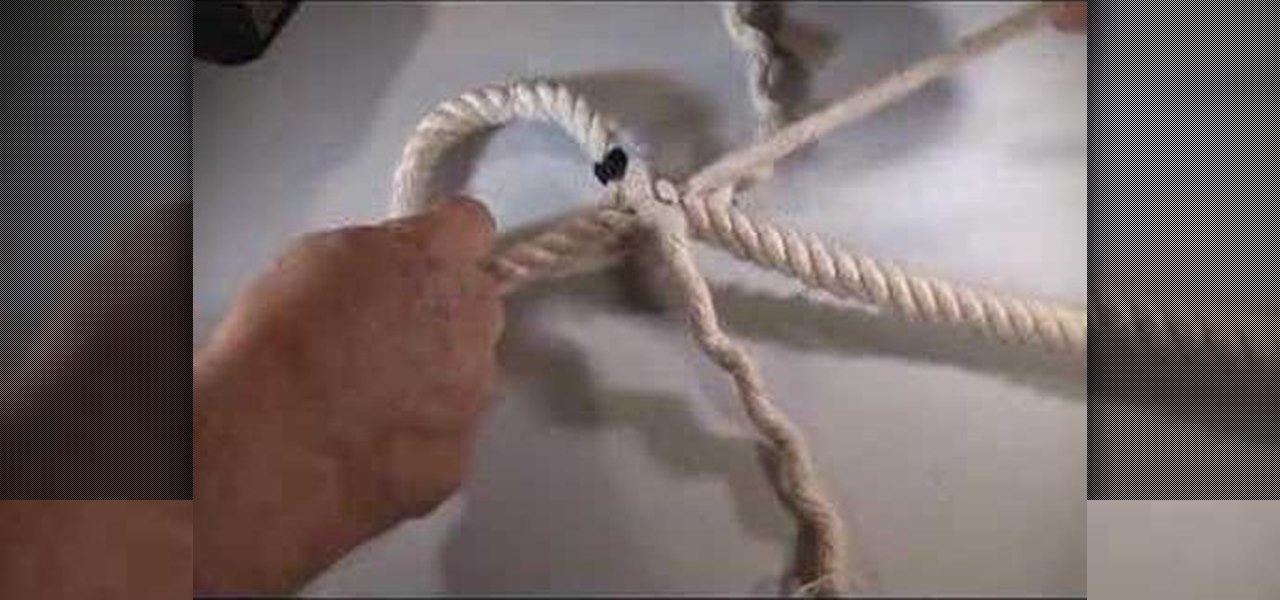
An eye splice is the best way to create a permanent loop on the end of a multi-strand rope. Whether you need an eye splice loop to hold a hammock up in your backyard or need one for your nautical voyages, this survival training video will teach you step by step how to tie one.

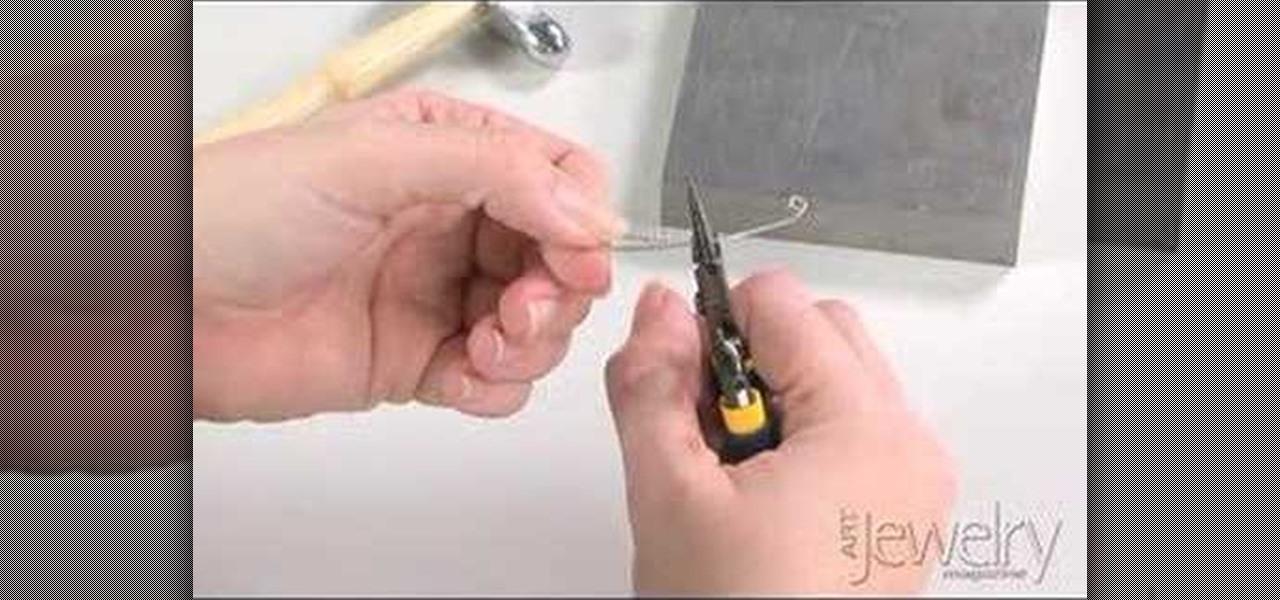
Art Jewelry Magazine associate editor Addie Kidd shows you how to make an S-hook clasp with looped ends. You will need wire, pliers, and a hammer. Learn how to make an s-hook clasp with looped ends for necklaces or bracelets by watching this video jewelry-making tutorial.

Art Jewelry Magazine associate editor Jill Erickson demonstrates how to use a torch to ball up the end of a piece of sterling silver wire. This wire can now be shaped into an earring or whatever jewelry desired. Learn how to ball up the end of sterling silver wire with a torch by watching this video jewelry-making tutorial.

The way to wear hijab shown in this demonstration with a simple wrap around the head, securing the hijab with bobby pins at the back of the neck. The ends of the hijab are pulled forward to the chest. Then a thin scarf in a contrasting color can be wrapped around and tied at the nape of the neck as well. A portion of the hijab is pulled forward over it and pinned over the ear. Then one of the ends is pulled under the chin to the opposite ear and pinned to the head. The other end is wrapped ar...

For this hijab style, start with hair completely covered and a large rectangular pashmina scarf. Pull the scarf over the head with one side hanging longer than the other. Pull the scarf tightly over the forehead to the nape of the neck and pin it together at the nape. Take the shorter end of the scarf and tuck it back toward the nape of the neck. Then pull the long end under the chin and up around the head until it is tight. Secure the end with a pin. Earrings can be worn through the scarf as...

Several Tanzanian girls demonstrate how to tie a kanga (an African sarong). The first method is to wrap the kanga around the waist and tuck the end in at the waist to secure. The second method is to wrap the kanga into a cylinder to use it as a base for carrying a parcel on the head. Another way to wear the kanga is to wrap it around the neck like a shawl or wrapped under an armpit and tied over the shoulder for a fancier look. To wear the kanga as a scarf, fold it into quarters the long way,...

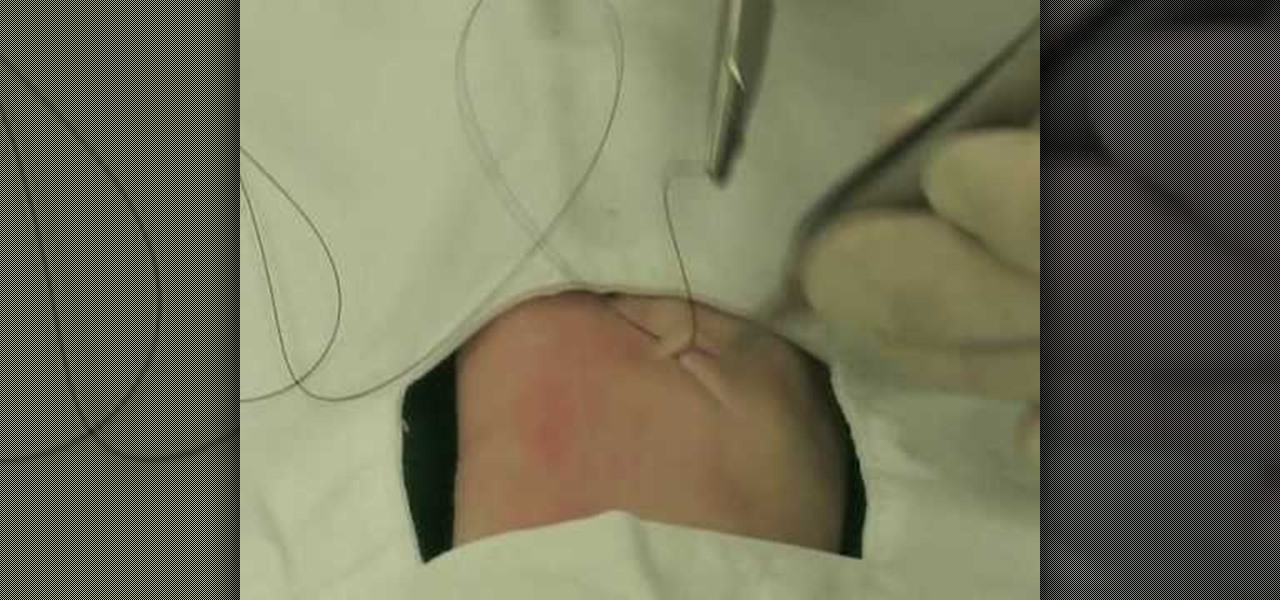
Lee T. Dresang, MD of the University of Wisconsin School of Medicine and Public Health from the Deaprtment of Family Medicine give a discussion and demonstration of suturing techniques. Before beginning a procedure, you will need consent. One should irrigate lesion before beginning. A simple interrupted suture is easy to learn and fast, but unable to withstand stress. Vertical mattress sutures provide a good eversion of skin edges, closure of dead space, and strength, but also lead to scarrin...

First of all you need a handkerchief or a cloth napkin. Make sure that it is clean for use. Now start by folding the two opposite corners together. This shall make a triangle. Now you have top fold the two middle bits so that they overlap at the center. Now start rolling them together upwards. It is very important that you are rolling them very tightly. This shall make the body of the mouse solid otherwise it may fall apart. When you have made a solid roll then fold the two ends upwards as sh...

In this how to video, you will learn how to make the finishing edges on pieces of ribbons. The hardest part is getting the spikes even on both sides. Fold up the ribbon so the two ends meet. If the spike is just a single angle, tape the edges at the top. If the spike has a center to it, bring the ends together and fold it in half. Take a piece of tape and place it around the ribbon ends. This will hold them in place for when you make the cut. If you want to make an angle cut, take your scisso...

Tiara-esque headbands are fun to make, and more importantly, fun to wear! You will need, 1 basic wide headband, 1 yard of cotton fabric, 1 yard tulle, flowers from the Crafts section, scissors, beads and rhinestones for details, a glue gun. Lay the headband over the fabric, towards the edge. Mold the fabric around the headband, leaving some extra fabric at the ends. Cut the fabric. Glue the fabric from the underside of the headband, and glue from end to end. Cut all excess fabric away, and tr...

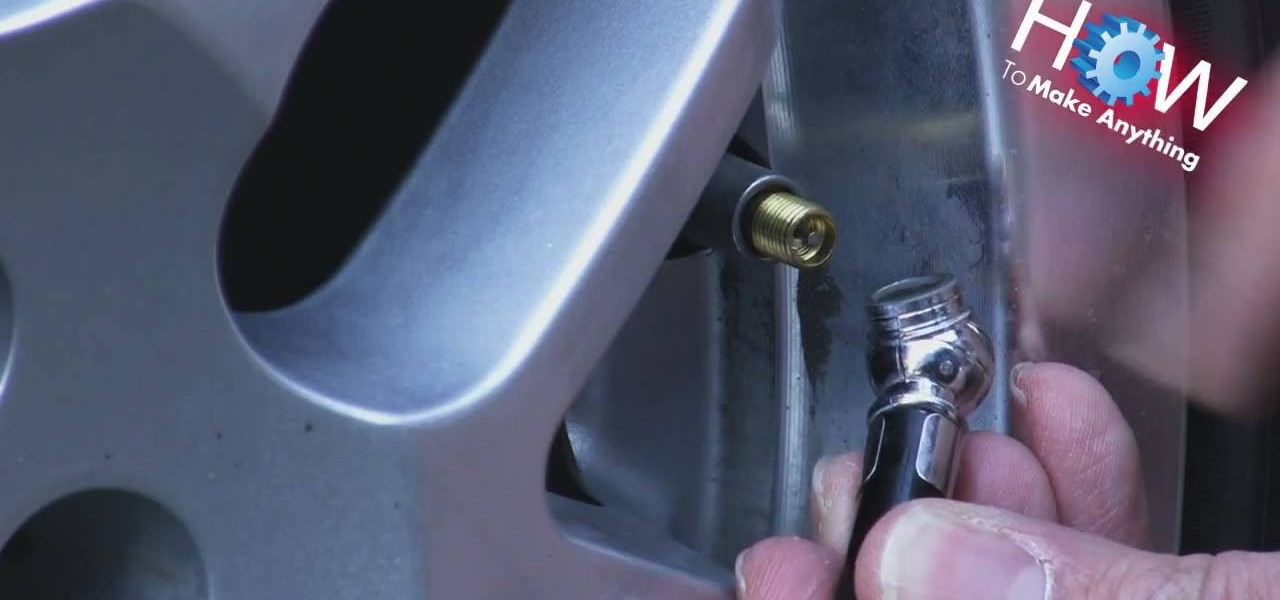
This video shows how to use a tire gauge. The first thing that you do is remove the valve cap off of the tire. Use the open end of the tire gauge. Put is onto the end of the valve. Don't use the other end of the gauge. The part of the gauge with the little round center piece in it is used to let air out of the tire. Once you have put the gauge on, push it firmly onto the valve. The air pressure in the tire will push the gauge measuring device out of the end of the tire gauge. You can look at ...

This video describes how to tie a bowline knot in a few easy steps. To start, take a loose piece of rope in your right hand and make a loop about a foot away from the end. Then, take the loose end, bring it up through the loop you just made. Immediately after, wrap the loose end around the rest of the rope, and then bring it back through the loop and pull tight. Think of the loose end as a "bunny." Bring the bunny out of the hole, around the tree, and then back through the hole. Once you pull...

The video is about tying a Zigzag braid knot design. At first, make the tag or rope into two by folding it. Take one end and make a small knot at the folded junction. Then take the second and pass it through the first made loop. Then take the other end and pass it through the loop made by second end. Continue the hitches to end the rope. Finish the knot by tightening the rope. Then rearrange the position of the hitches. This is done with care. The knot is made beautiful and prettier by making...

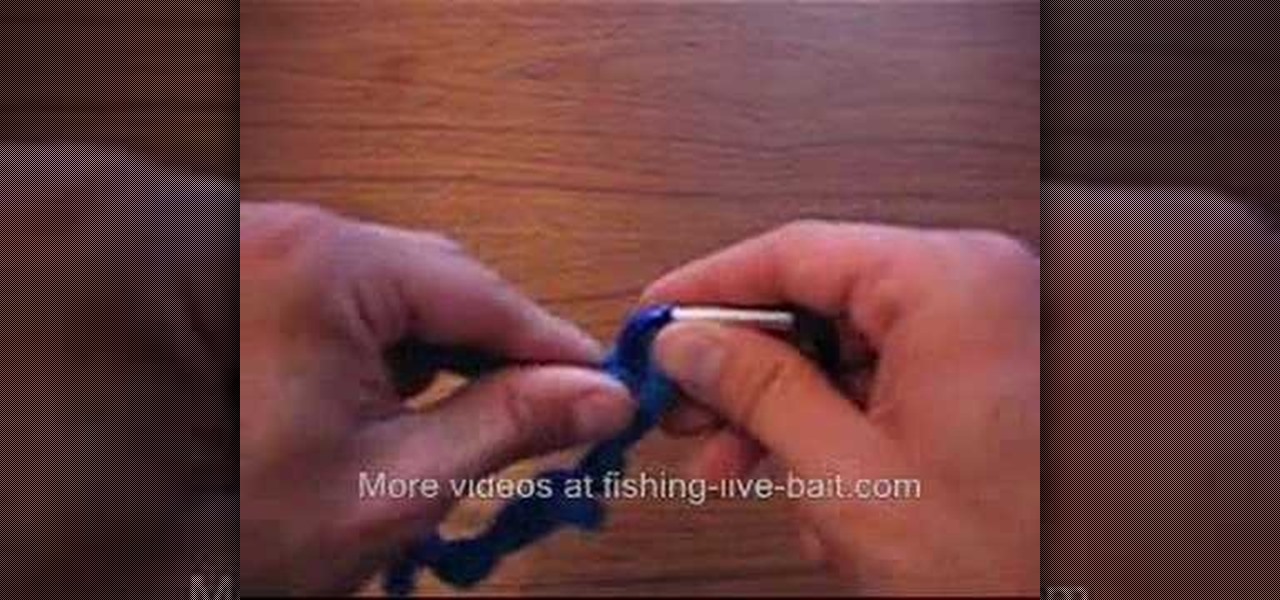
Fishing-Live-Bait shows how to tie an improved clinch knot, combining basic knowledge of how to tie a regular knot with an improved technique to make the knot even stronger. You begin by putting the line through the hook and then wrap the end of the line around the main line a total of six times. Wrapping the line that many number of times ensures the strength of the knot. The end of the line goes through the loop next to the hook. The difference between a normal clinch knot and this improved...

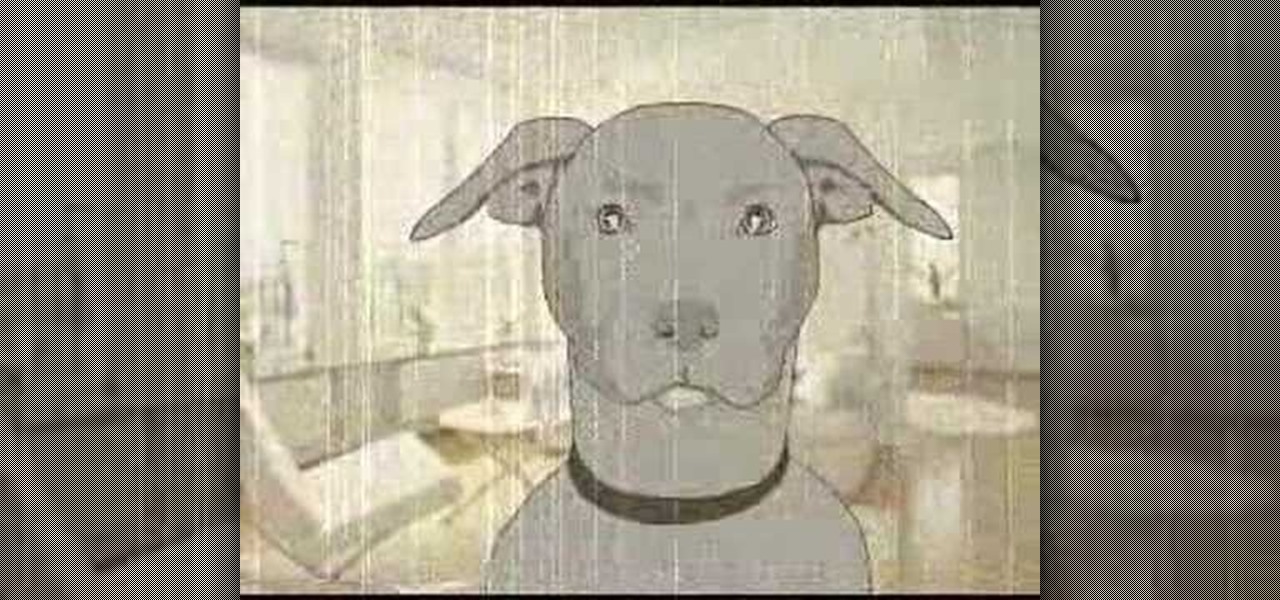
If this is your first novel or you want to make a better one then this video will give you good advice on how to write fiction character for a great novel. The animated animals and people in this video will give you some great advice to improve your novel.


