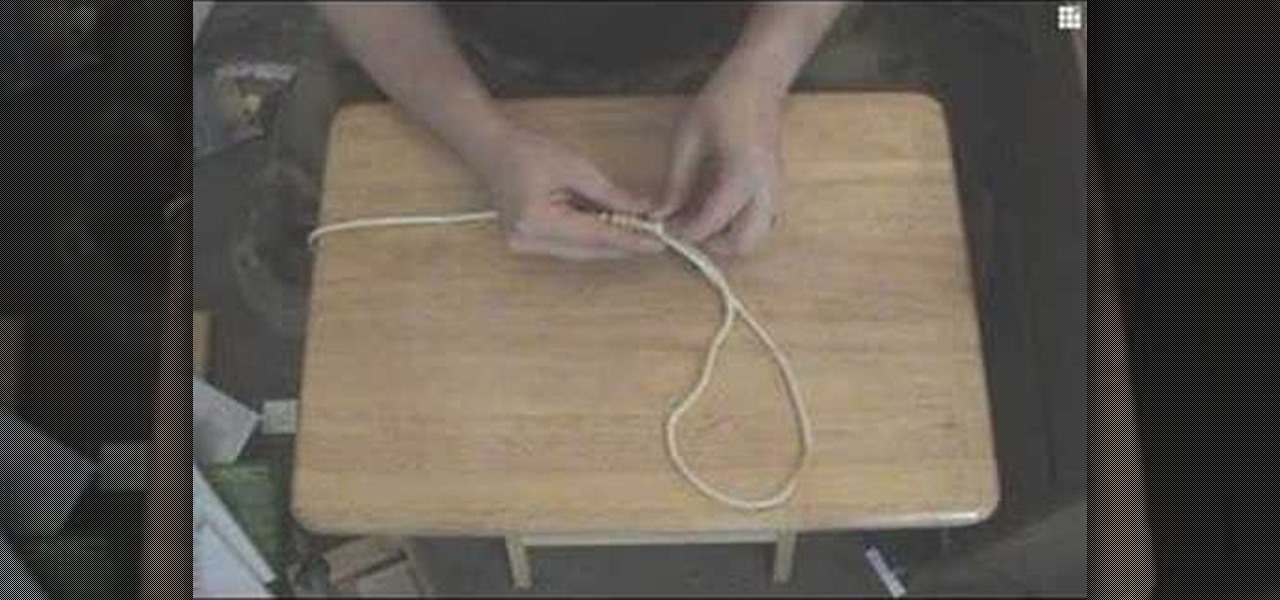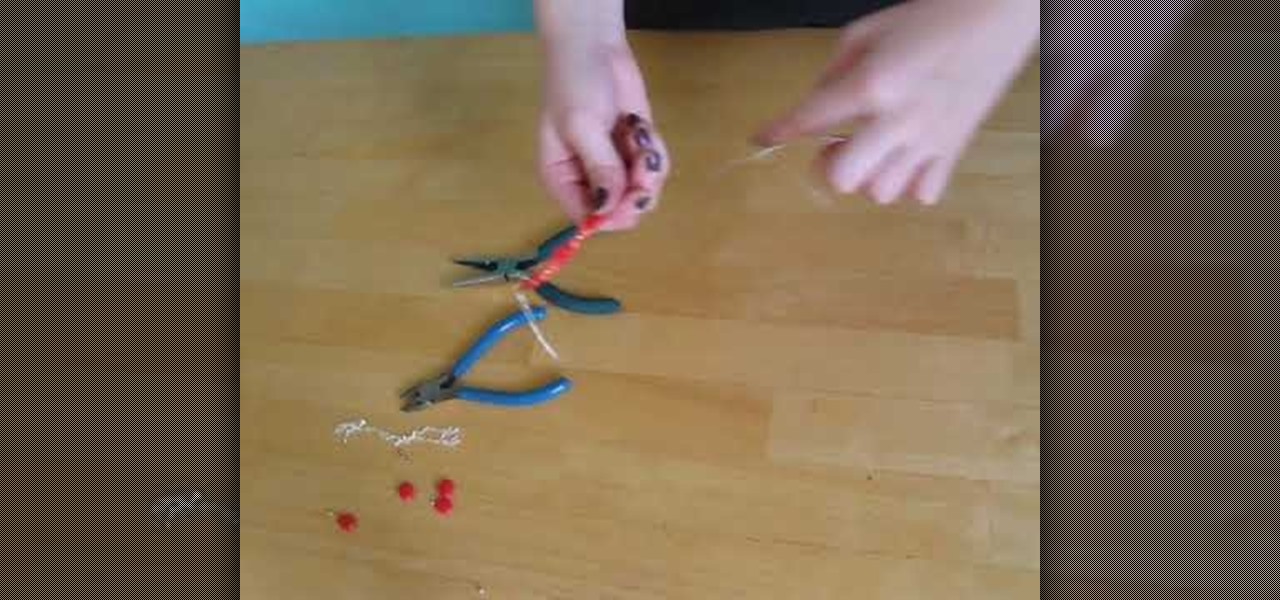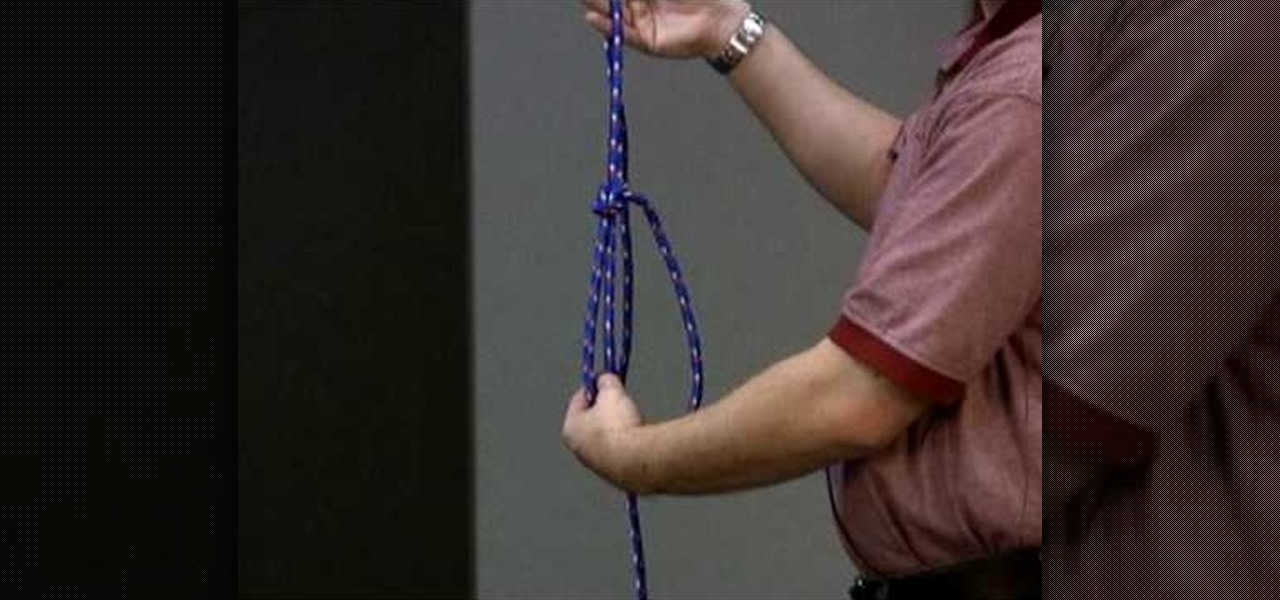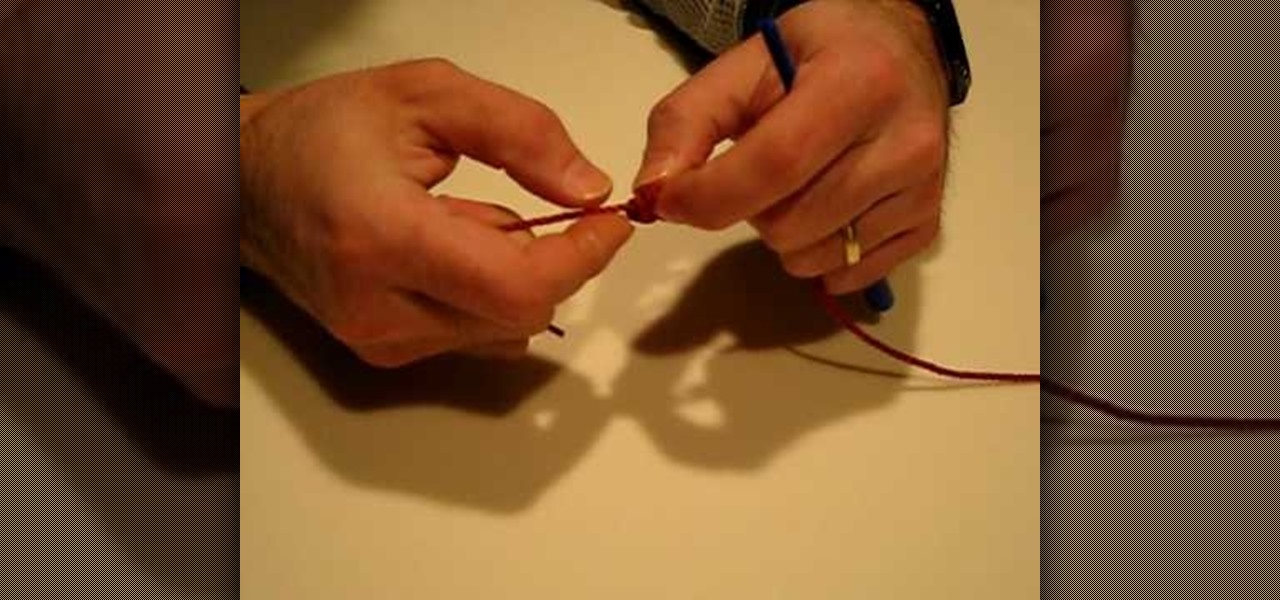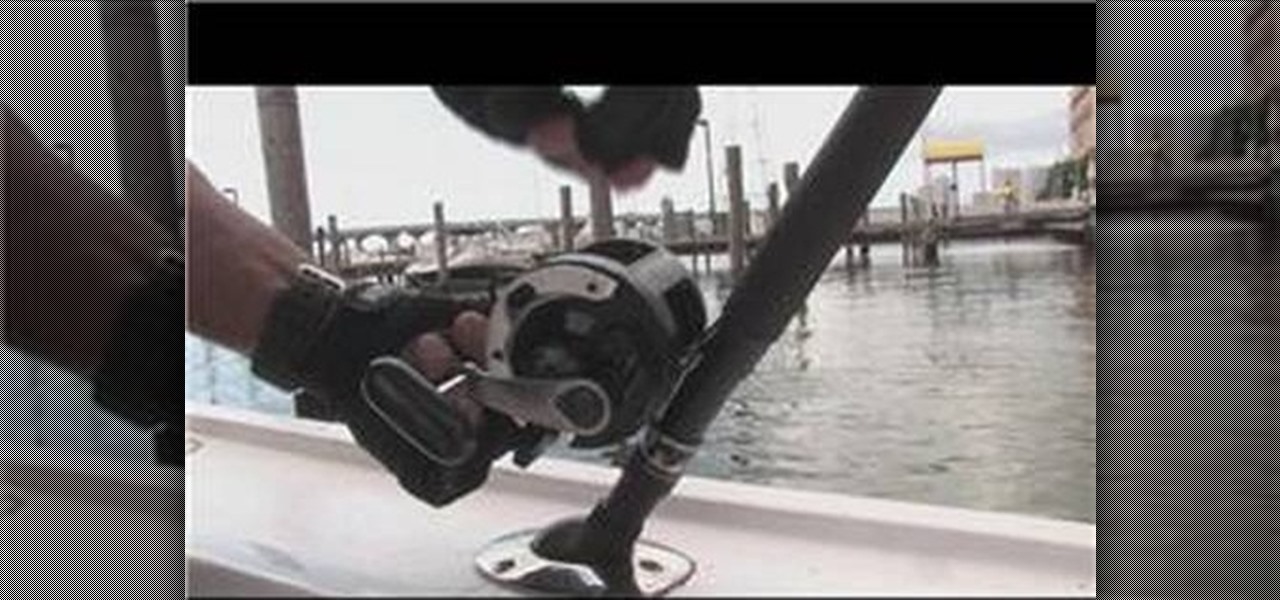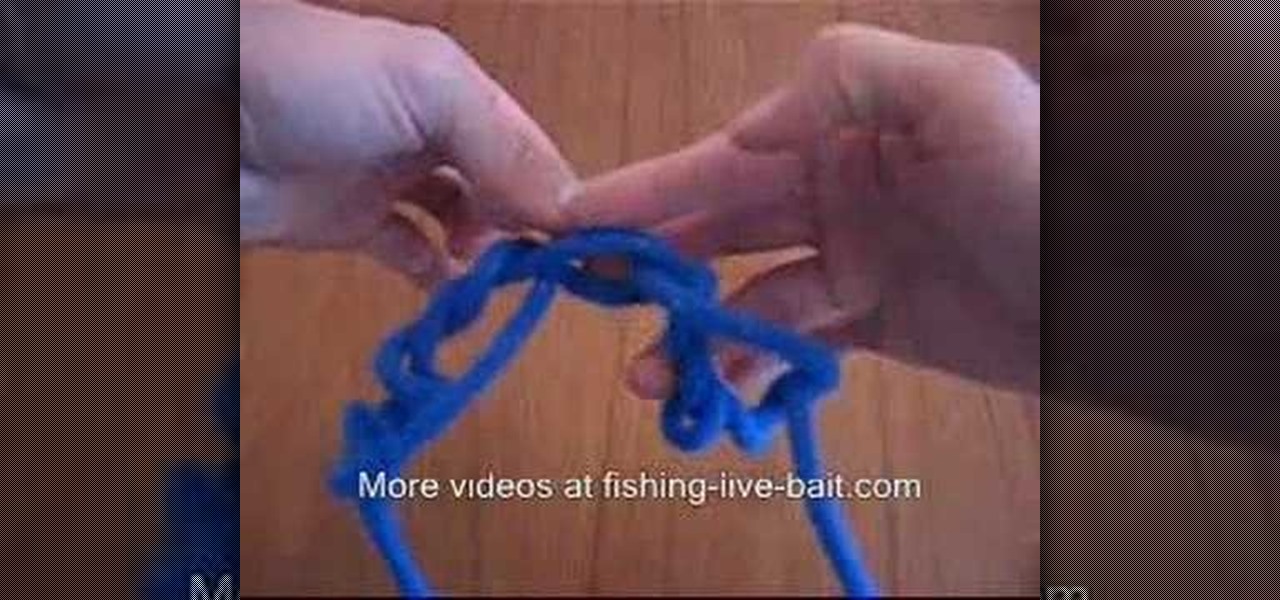
Tie a double overhand knot 4" from the end of the shock tippet or other material to which you want to connect your class tippet. Gently tighten the double overhand knot, but only until it turns over and forms a figure-eight. This leaves two gaps through which you can pass the tippet material. Create a doubled section of your tippet 18". Putting a sharp angle on the tip of the doubled loop will help it pass through the figure-8. Pass the doubled tippet line through the top of the figure-8 knot...
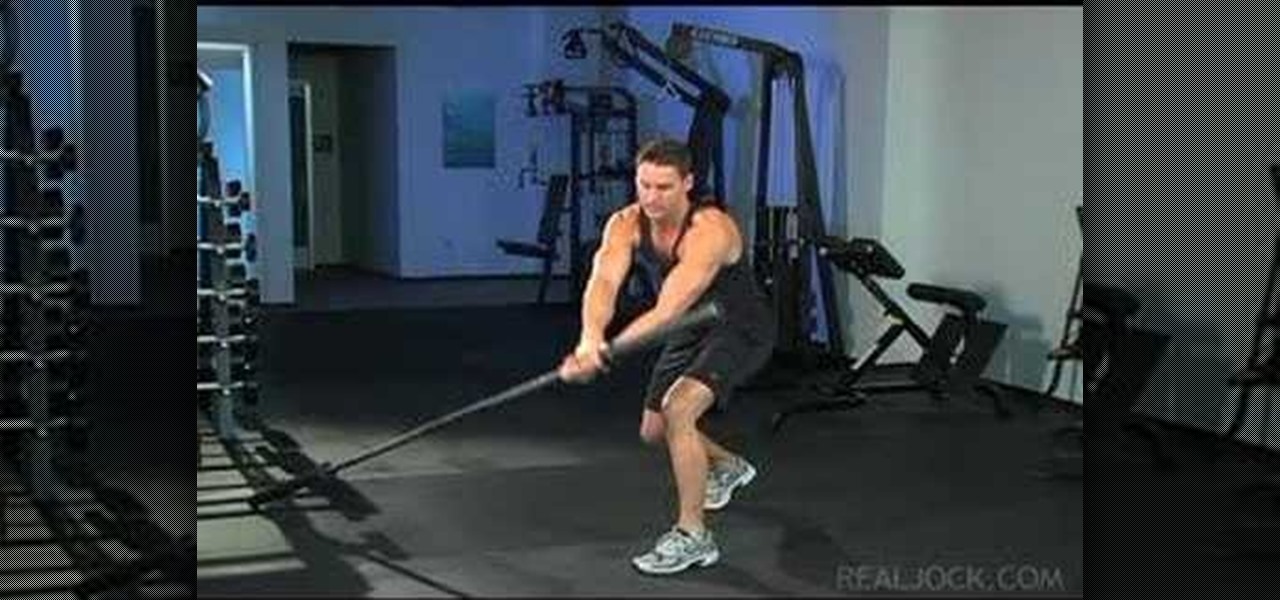
Learn how to do landmines with a barbell. Presented by Real Jock Gay Fitness Health & Life. Benefits
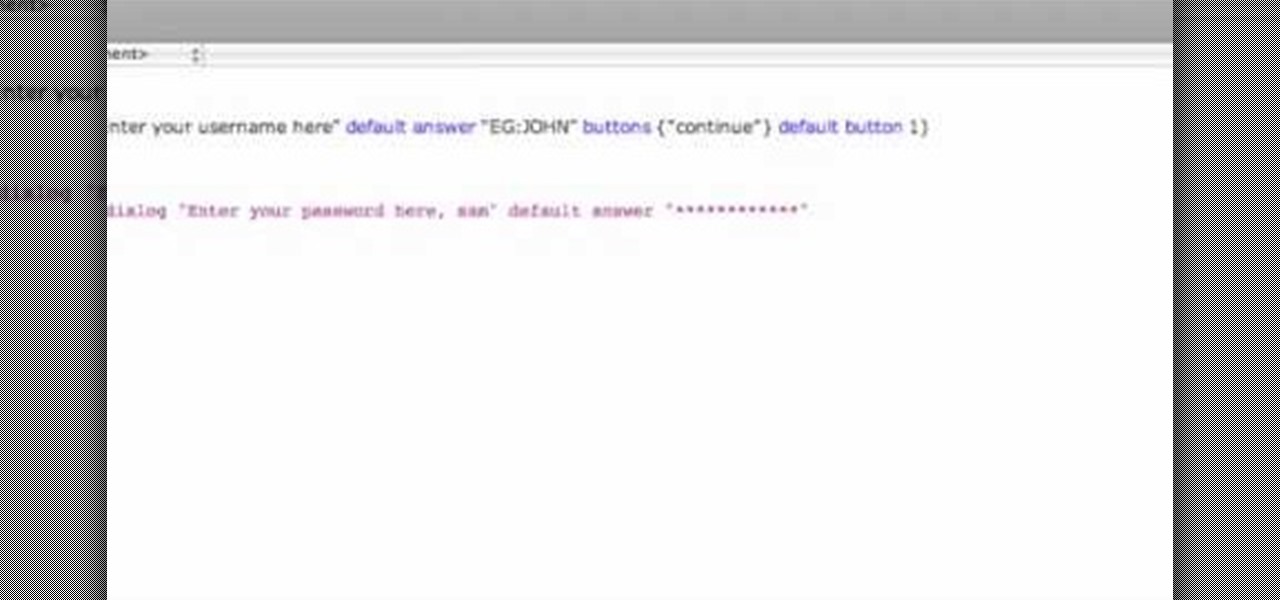
This video shows how to program a password and user protected application in AppleScript.
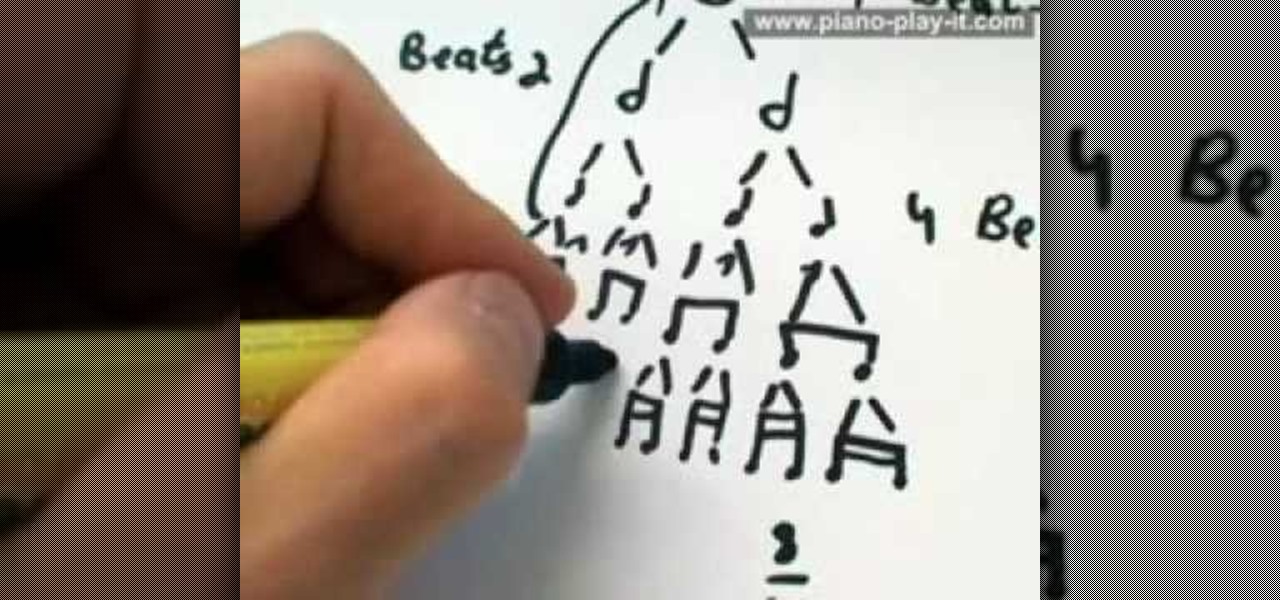
In this video, we learn how to play sixteenth notes and sixteenth rests. Start with the whole note and figure out how many beats it is worth. Treat this as a whole and then find the half note for each whole notes. If you continue to divide, you will end with two quarter notes for the half notes and will end with four beats. Two eighth notes and a quarter note will end the process and you will have eight eighth notes. You can divide all eighth notes to two sixteenth notes. There are many diffe...
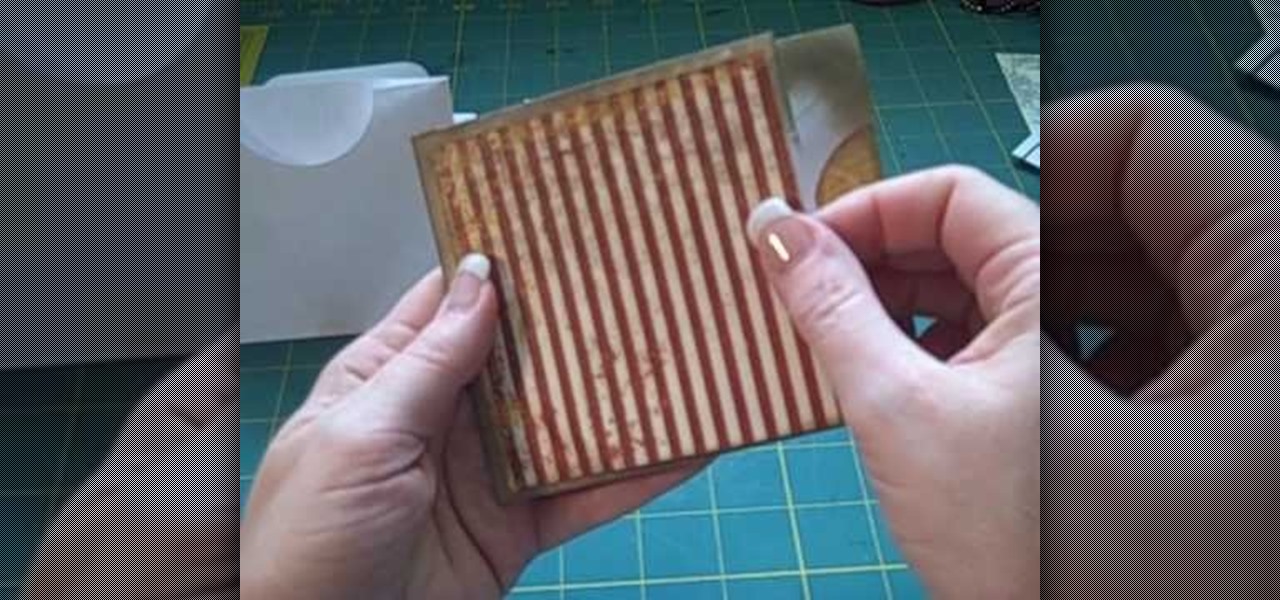
In this video, we learn how to make a multi-pocket/tag envelope page for mini scrapbook. To start, you will need to put the different pieces of paper together. You will need to use a standard number 10 envelope, then trim off each end so that the envelope body is nine inches long. Then, stick down the flap and then score from one end out four inches to the middle. Then, fold this down. After this, you will cut the ends off and two pockets will be created. Now, cut out half circles to create s...
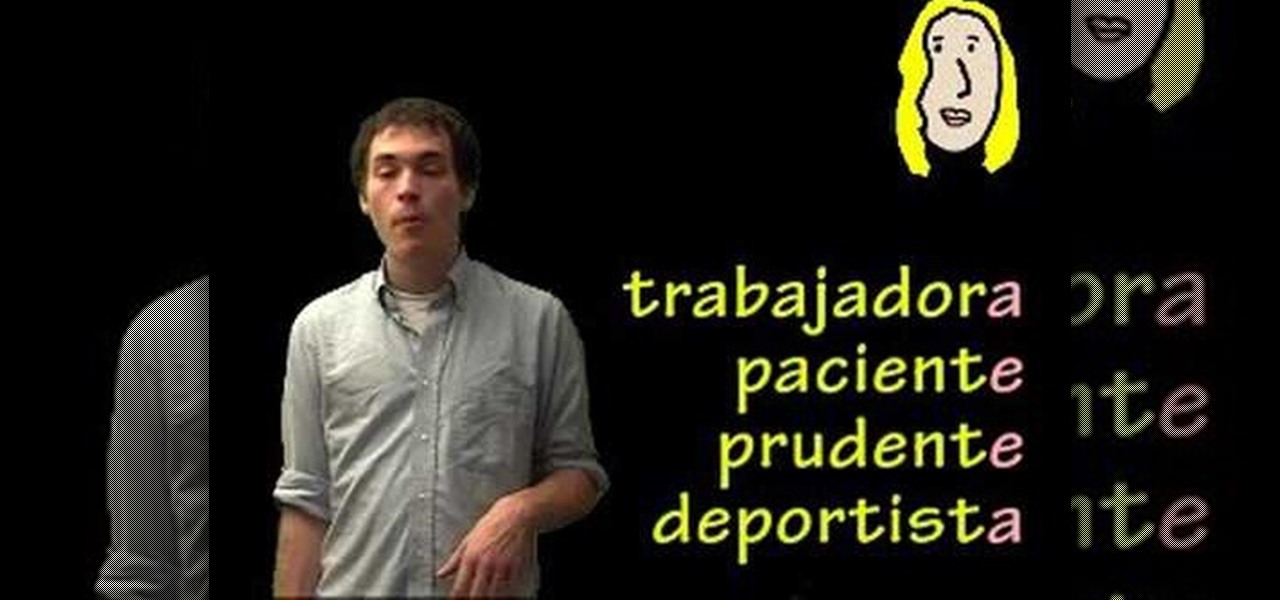
In this video, we learn how to speak Spanish by describing personality. There are many words to express personality and how you are. Some of these words include "generoso" (generous), "simpatico" (nice), and "ordenado" (organized). The most common ending to words is "o", which can be used to describe yourself. Only a few words will end in "r", "e", or "a". The end of the word is important because it tells us the gender of the word. This means the adjectives will change depending on who they a...

Hydrogen can be used to improve mileage. The hope with this method is that hydrogen will increase the amount of gasoline combusted and increase fuel efficiency, as you trickle hydrogen into the tank. Often propane is used to increase gas mileage. The studies are still being done. There's no official data at present, but there is significant experimentation.

In this tutorial, we learn how to fix false lashes when the ends detach. First, when you are applying glue to the lashes, make sure you get the end corners so you can prevent them detaching. If this does happen, use a small stick from a beauty supply store and place some eyelash glue onto the tip. After this, place the glue onto the part that has become detached. Push it down so it sticks onto the skin securely, then use some black eyeliner to cover up any glue marks that you may have made. T...

The beauty of crochet patterns can only be compared to the delicacy of snowflakes. A talented crochet veteran can craft motifs that mimic and rival patterns found in nature.

Forget the standard one-ended candle— this two-ended spinning candle beats even the biggest candle. It's a simple trick, which needs only a couple glasses (wine glasses used here), one nail, a long taper candle, and a lighter or pack of matches.

Before beginning to tape your hockey stick, take your desired cloth grip tape and score it in half with a knife making sure to not cut through the cardboard core. The purpose of this is to make thinner strips of tape. To begin the taping process, start at the top of the stick and go down the stick in a diagonal for about six inches. Then, back at the top of the stick, wrap with white (shin guard) tape around and around to make a knob. Now, we focus attention on the blade end. Run a thin strip...

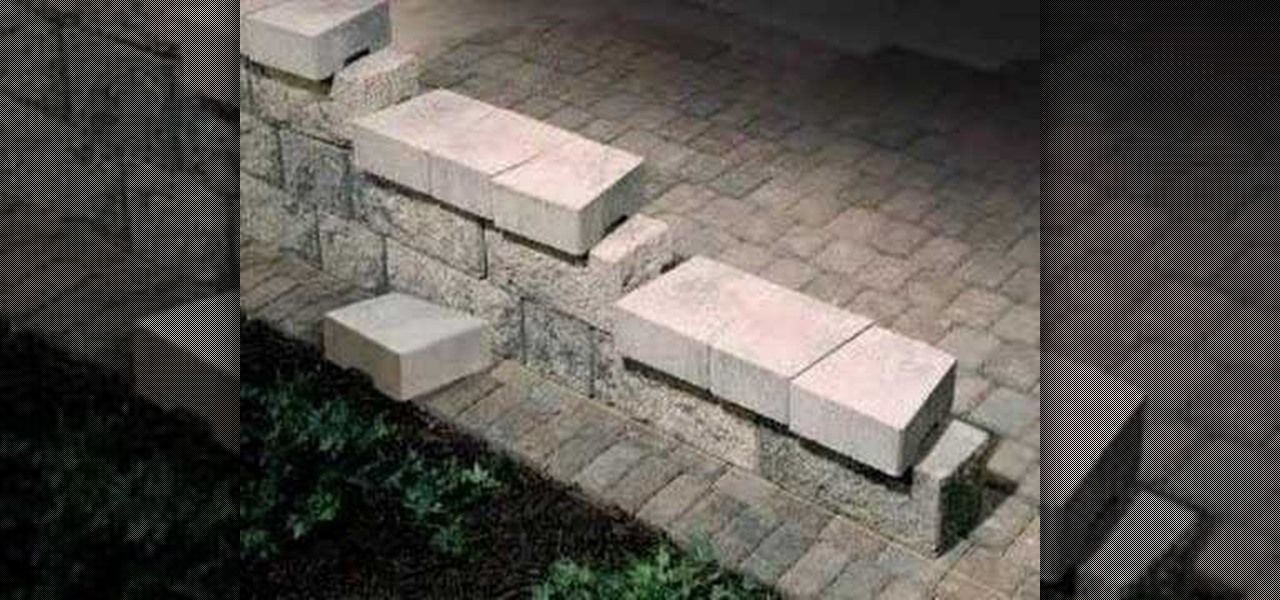
In this Home & Garden video tutorial you will learn how to step down or end your patio wall. This video is from www.allanblock.com. Get the installation details and the location of the nearest dealer from the website. The instructions are on How-to sheet #160. The easiest way to create step down is to create corner blocks. Simply place corner blocks at the end of each course overlapping the block as the wall steps down. Finish the wall with wall caps. Once the wall caps are in place, you can ...

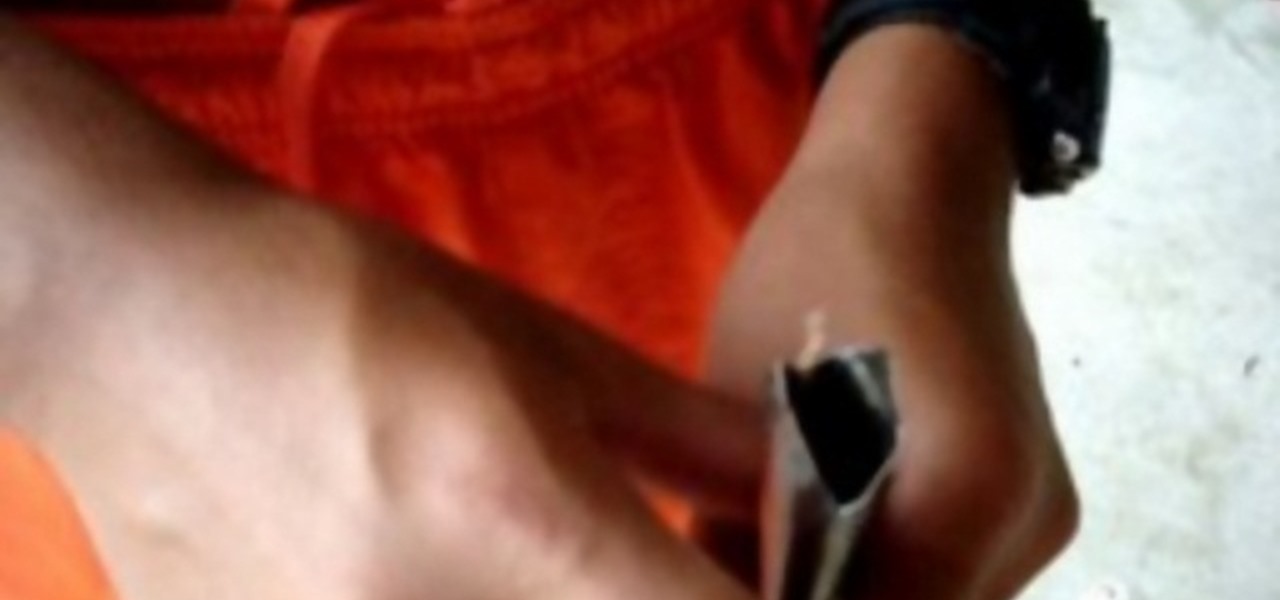
To make your very own Spartan Spear, like in the movie 300, you just have to follow a few short, easy instructions. Start off by taking a broom stick, and cutting off the end. Make sure your broom stick is empty inside. Then take a hammer and flatten the last few inches of it, hammering it into a point or a flat blade at the end. Cut off part of the tip at an angle on either side, then open it back up with pliers. A few inches below the opening, take your pliers and press in on the broom stic...

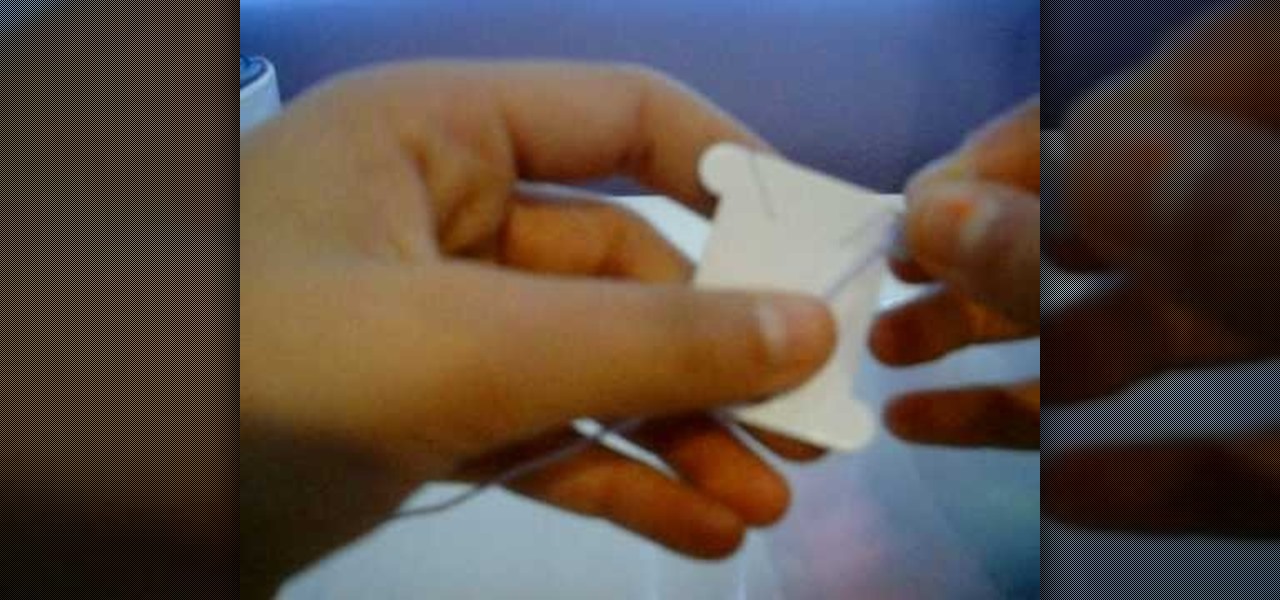
In this how-to video, you will learn how to wrap embroidery thread around a bobbin. In this example, the embroidery thread is both purple and light purple, but you can choose whatever you want. First, take the end of the embroidery thread and place it through one of the slots. Hold it back, and then wrap the embroidery thread around the bobbin until you get near the end of the thread. The end should be placed in a different slot on the bobbin. By viewing this video, you will learn how to quic...

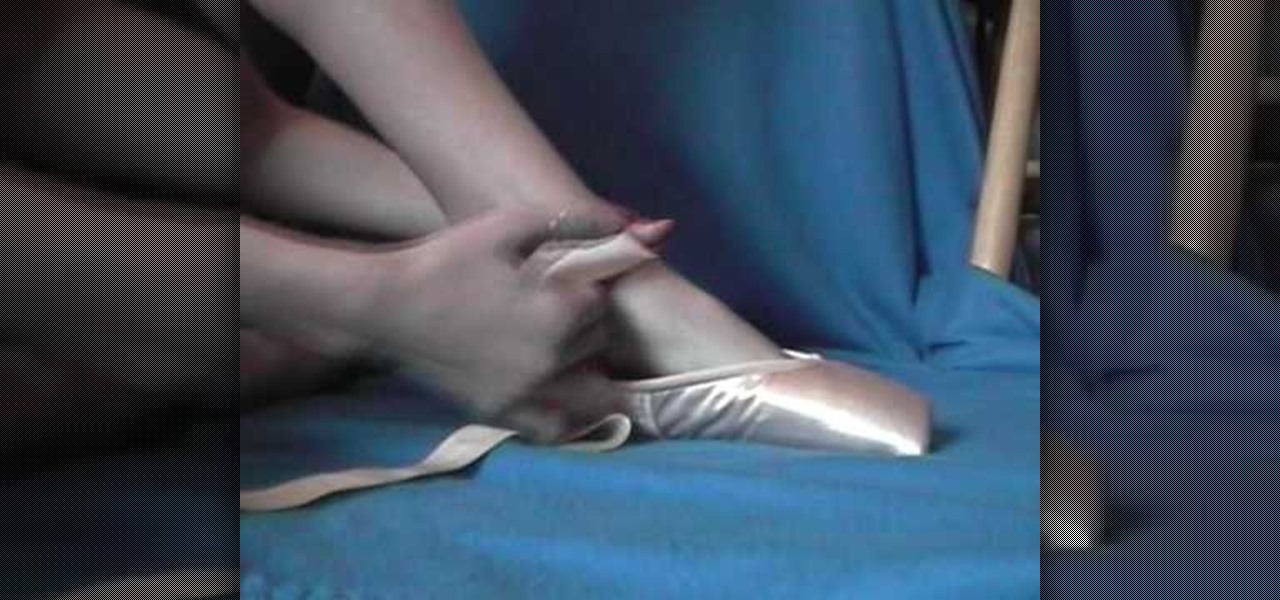
Elizabeth while showing us the way to tie your pointe shoes tells us to put the foot through the elastic first and then put some padding on and then stick your foot inside the shoe. Adjust the ankle part of the shoe properly after stretching the elastic up. You can use the thumb to get the shoe properly in. To tie the ribbon take the right side and take it up to the ankle and not further and same with the other end too. Make the two ends meet at the back of the leg. Then double knot the two o...

This is part one of two in how to make a beautiful tree of life pendant. It is very easy, and you'll only need a few items. Things you'll need: wire 2-3 mm thick, Round nose pliers, 4 pieces of thin wire, 12 inches long, wire cutters. With your round nose pliers, bend the thick wire about an inch form the end. Make a question mark shape, and twist the end around. Go down about 5mm, and make a 90 degree bend. Go across as far as you want, and make another 90 degree bend. Keep making bends unti...

Learn how to make an origami "orchid" by slightly altering an origami iris / lily flower. This origami video shows how to make what I call an orchid flower... really it's something I made by mistake when first learning to make an origami lily / iris. You'll need to start from the frog base.

Check out this highly educational science video tutorial on how to stand an egg on end during the spring equinox, but wait... does it have anything to do with the spring equinox... no, it doesn't, standing an egg upright has nothing to do with the first day of spring. A lot of eggs have little bumps on the bottom of the egg, so the bumps actually help support the chicken egg when standing upright.

For years, Skype has been synonymous with video calling and messaging. However, as the industry moved toward encryption and privacy, Skype usage was discouraged by experts due to its murky encryption. To combat this, Skype has introduced true end-to-end encryption.

In this video, we learn how to use French wire when jewelry making. First, you want to take your wire and cut it to the length you need, using wire cutters. After this, you will place a stopper next to the pendant or bead that you are applying inside the necklace. Next, string on the clasp to the wire and then bend the end of the wire to the inside of the stopper, then cut the end of that with wire cutters. When finished, your clasp should be secure at the end of the wire and ready to hook on...

In this tutorial, we learn how to tie a decorative noose. First, form a loop and then and wrap the end around the loop thirteen times. Next, take the loose end and stick it into the coils you just made. Use a pencil and long scissors to help you do this. After you are done with this, tie a knot at the end and pull so the loop is tight. You can also clip off the loose end and pull the loop to make it larger if you prefer. When finished, use this as you wish but do not use it for violent activi...

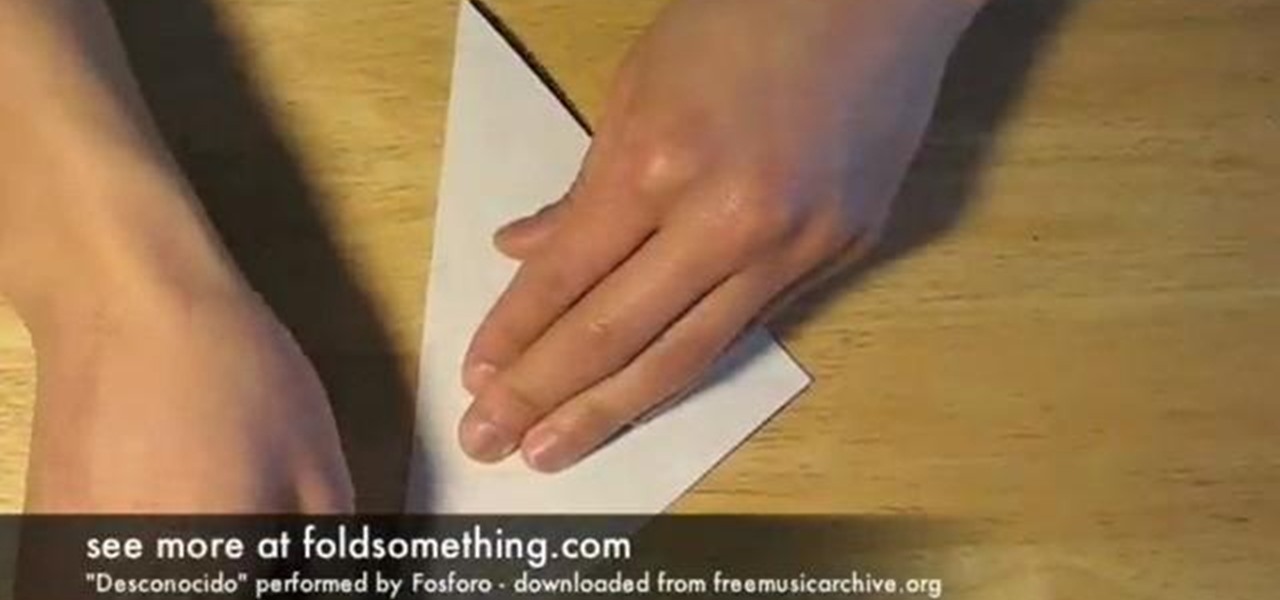
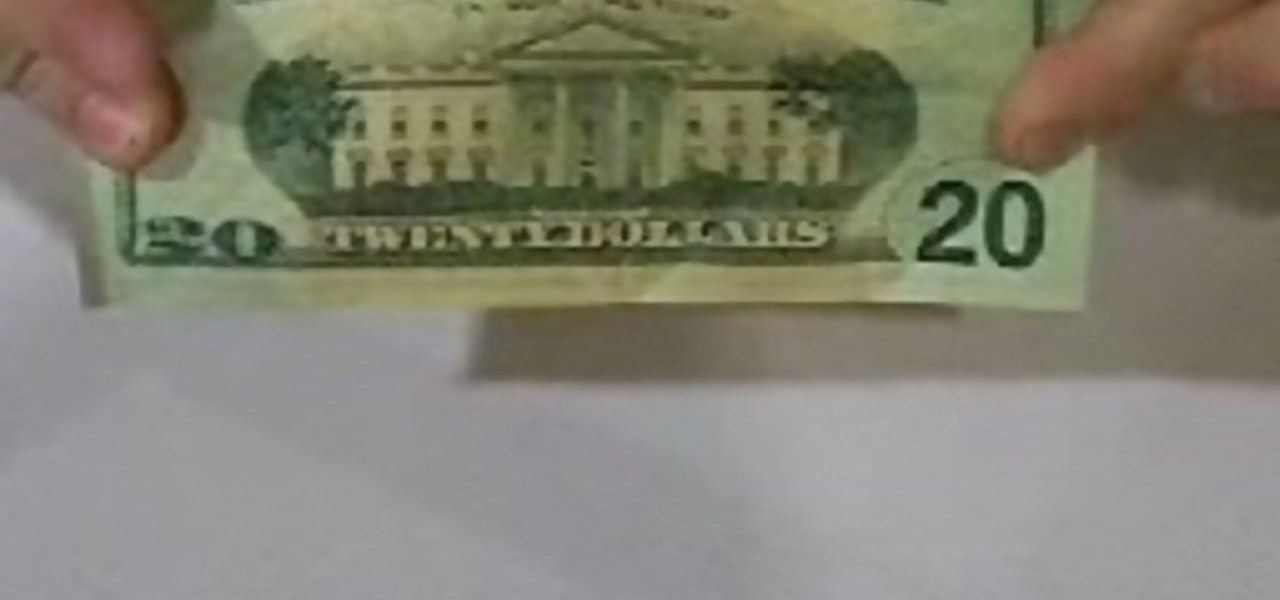
In this tutorial, we learn how to make a paper football with a $20 bill. First, take the bill and fold it in half length wise. Next, take the bill and fold one of the ends into a triangular shape. After this, fold the triangle over and keep doing this until you get to the end. When you reach the end, and tuck the flap on the end into the pocket you created. After this, you can hold the bill up with your fingers, and flick it with your other fingers. You can use any type of bill to make this, ...

Missa teaches us how to create a claspless lariat necklace in this video. First, cut your wire so it's 20 inches long and then make a loop on one of the ends, and attach a chain to it. Now put on the end bead and attach the chain to the metal wire. Now make a loop around the end where the bead is. Now take pliers and clamp the wire on the end down. You can now take wire cutter and cut an inch down on the chain and cut it off. You can now apply your favorite beads to the wire, and any pendants...

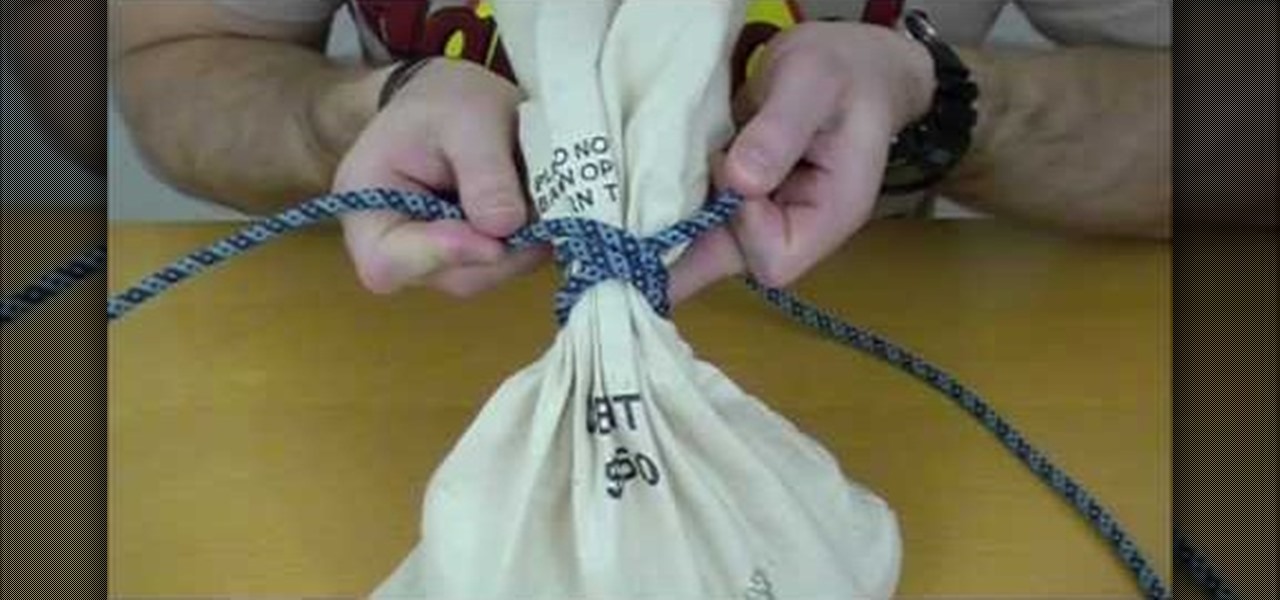
In order to tie a Miller's Knot, which is also known as the bag or sack knot, you should begin by wrapping the rope around the object you wish to bind: the Miller's knot is a binding knot. It is used to bind things. Next, wrap one of the free ends around it. You are, basically, wrapping one end around a second time.

In this tutorial, we learn how to work with memory wire to make jewelry. This is a coil material that remembers its shape and comes in a variety of different sizes. First, decide how thick you want your jewelry piece to be, then cut the excess wire with wire cutters. Next, apply a drop of superglue to one end of the coil followed by a Memory Wire end cap and let dry. Now, string your beads onto the wire. When finished, put a bead stopper onto the wire and apply glue to the very end with anoth...

Torrin creates a Victorian up-do with long hair. The style can be done with hair that is at least just past the shoulders in length. Make a ponytail at the base of the neck. Slide the band down a bit and poke fingers through the middle of the ponytail to split the hair. Then pull the ponytail through the split from top to bottom. Separate the ponytail into three sections and make three English braids. Attach the three braids together with one rubber band, leaving several inches of hair left o...

This is a video on how to weave in ends on kniting. First take two ends at a time, tie the new color and a half not around the current working color, and tie them. The thread the end onto the yarn needle, and go througha few of the yarn stitches. Next give it a little pull to make sure nothings coming loose. Go up to the next yarn ends, and do the same thing. What you have to make sure you do is weave the yarn through light colors. Also make sure the knots are secure, and are not going to com...

Michael Andrew, from Meals Americana, gives us some interesting tips on dicing an onion without tears.

This video shows how to wear a Pashmina, also called ladies muffler, in several different style of fashion. First, with a Pashmina, half fold it, then wear it around your neck accordingly, and pass it from the closed end as tie. Then, stretch to close around the neck. Now, for the second way, open it again, wear it from the center, in a way, that it hangs from the back of the neck, give it two folds and stretch it in opposite directions, so that it is tied around the neck, then make a knot fr...

In this how-to video, you will learn how to make jewelry using cord in less than four minutes. Corrine Bradd shows you how to easily do this. First, take a satin braid and tie it in a knot. Trim the excess off with scissors and take a cord end. Place the knot inside the groove and then clamp the cord end with a pair of pliers. Turn it around and do it again for the other side. These cord ends come with a loop on top for further use. These look great on jewelry such as charms. You can use a sl...

The Pashmina master shows us three unique ways to wear our pashmina shawls. The first one involves putting your pashmina on your left shoulder and gently slide it over your chest till you reach your other arm. Then you easily raise it until you cover your other shoulder too. Don't forget to leave the other end hanging up front as it's part of the process. The second example needs the pashmina to go over your neck like a scarf. Then you take both ends and run them through the pashmina just lik...

This video describes and shows you how to tie a loop in the end of a rope with a bowline knot. A bowline knot is used in rigging by the ground rigger to create a point for the up rigger to have a point to pull up. This is how you create a bowline knot. First you must create a loop in the middle of the knot. With the free end, come up through the loop, then you go around the standing end of the rope and then you move it back through the loop. You pull the knot tight. That is how you create a b...

In this Weapons video tutorial you will learn how to fold a ninja star (shuriken) out of paper. Take a square piece of paper and fold it in half and tear it off to get two pieces of rectangular paper. Fold each piece of paper in half lengthwise. Then fold one end of each paper like a triangle. Fold the other end in the opposite way. Now fold both the ends to get a bigger triangles and the final shape of the paper should be like ‘Z’. Put both the pieces over each other in the form of a cross. ...

In this Hobbies & Toys video tutorial you are going to learn how to make deadly homemade bolts. Take a pencil and remove the ferrule from the end of the pencil. Make sure to pull it off completely so that you expose the flat end. Then take three pieces of electrical tape and tape them on the pencil and on to each other so that they form three wings. Now take a tack pin and with the help of nose pliers and pliers break off the rear end. Apply some hot glue to the ferrule end of the pencil and ...

First of all use a grey color shade to draw the outline sketch of the figure. First draw the trapezium in the front. Now draw a rectangle at the side of the trapezium. Make a flat top to the figure. From the middle of the trapezium draw a string protruding downwards. Now divide the figure into three equal sections. Now you have to darken sections on the rectangular side. Draw the vertical lines of the rectangular side curved outwards at the far end. At the front end of the rectangular side ma...

This video tutorial in Spirituality category will show you how to make a rosary bracelet. Jim Horn from real life rosary presents this video. For this you will need a nylon string and a bead making tool. With the string take three turns around the end of the bead making tool and pass the end of the string through the slot in the tool so that it passes through the three turns and tighten it to make a knot which makes a bead. Like this you make nine beads and then the father and the beginnings ...

This video teaches you how to make glitter wands using a simple and fast method. For a wand measuring about 18 inches long, you will need a sheet of A4 printer paper, glue, 2 strips of 1 inch wide 2 ply tissue paper, a pair of scissors, black and gold paint, an old sponge and glitter. First roll the sheet of paper and stick it so you have one small end tapering towards a slighter bigger end. Stick tissue rolls on the rolled paper and seal off the ends by twisting gently. When the glue dries a...

Mark the Shark demonstrates how to replace fishing line on a reel for deep sea fishing. First make sure to thread the fishing line into the guide ends and that you don't miss any. Put the rod in the rod holder so that you have two free hands to work with the line. Thread the line twice in the spool and make a knot to hold the line in place. Pull the line tight so it's snug against the reel and snip off the loose ends. Turn the crank and make sure that the line feeds into the spool very evenly...

This video shows the way to name a line segment. A line segment begins and ends with an end point. We can name a line segment by naming the two end points of the line segment. The example shown in the video shows a line segment that ends with points named 'A' and 'C'. So, we can name this line segment as segment 'AC'. This can also be named as segment 'CA'. The example shown consists of a point 'B' in between 'A' or 'B'. We cannot name the line segment as segment 'AB' or 'BA' and segment 'BC'...

Learn the right way of tying 3 handy fishing knots by watching this video. The first knot shown is the 'Clinch Knot'. One end of the fishing line is passed through the eye of the fishing hook. This end is pulled and wound around the main line about 6 to 8 times. Thereafter, the free end of the line is passed through the small loop formed at the beginning of the winding process. The winds are gently pushed to tighten the knot. The free end is then tucked in to complete the clinch knot. The nex...


