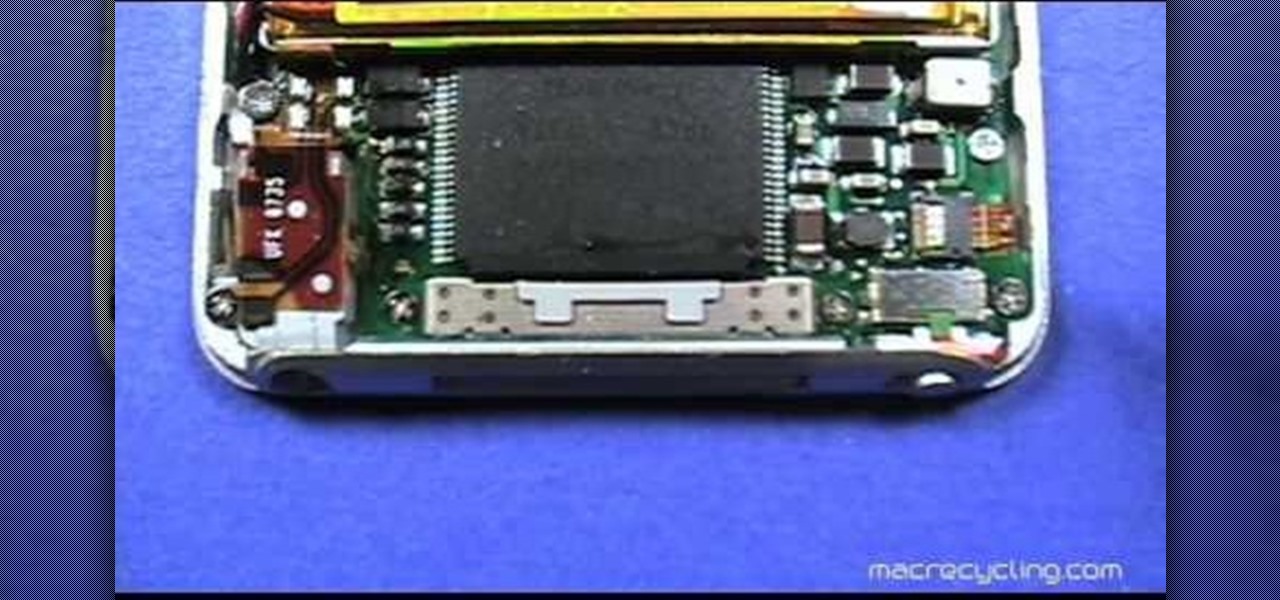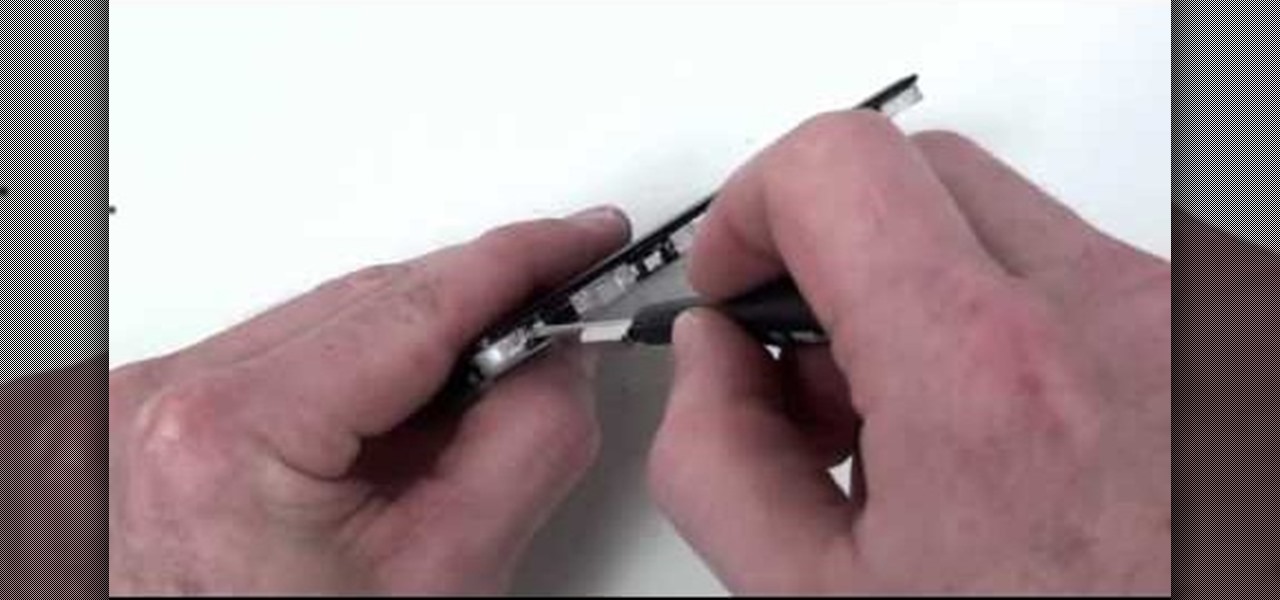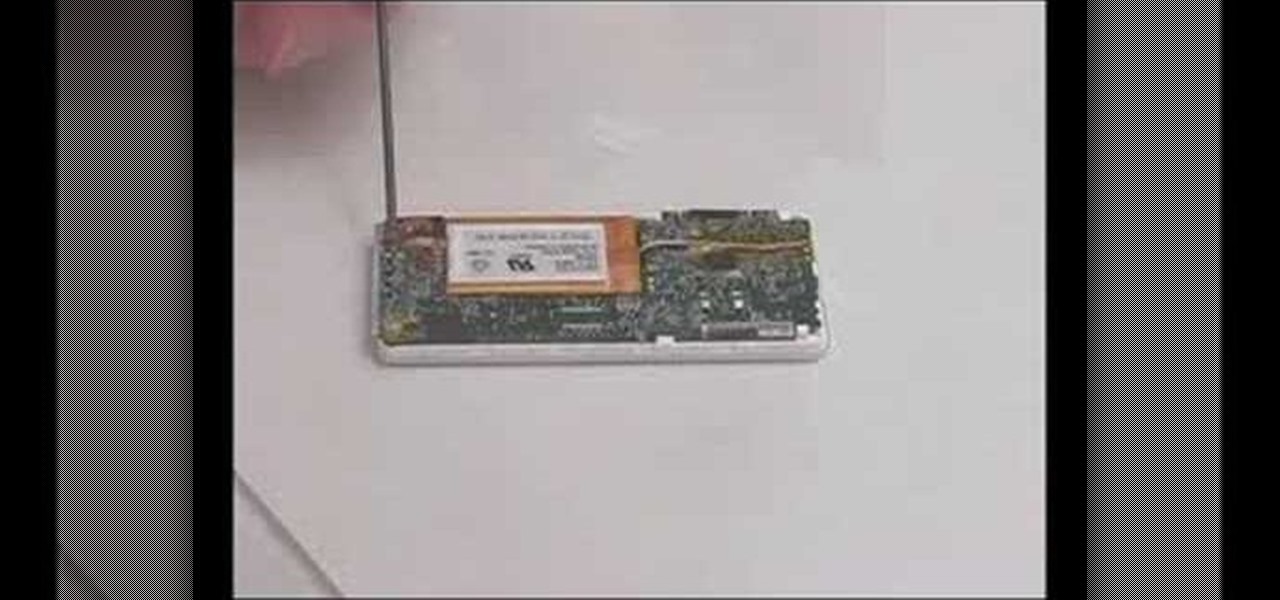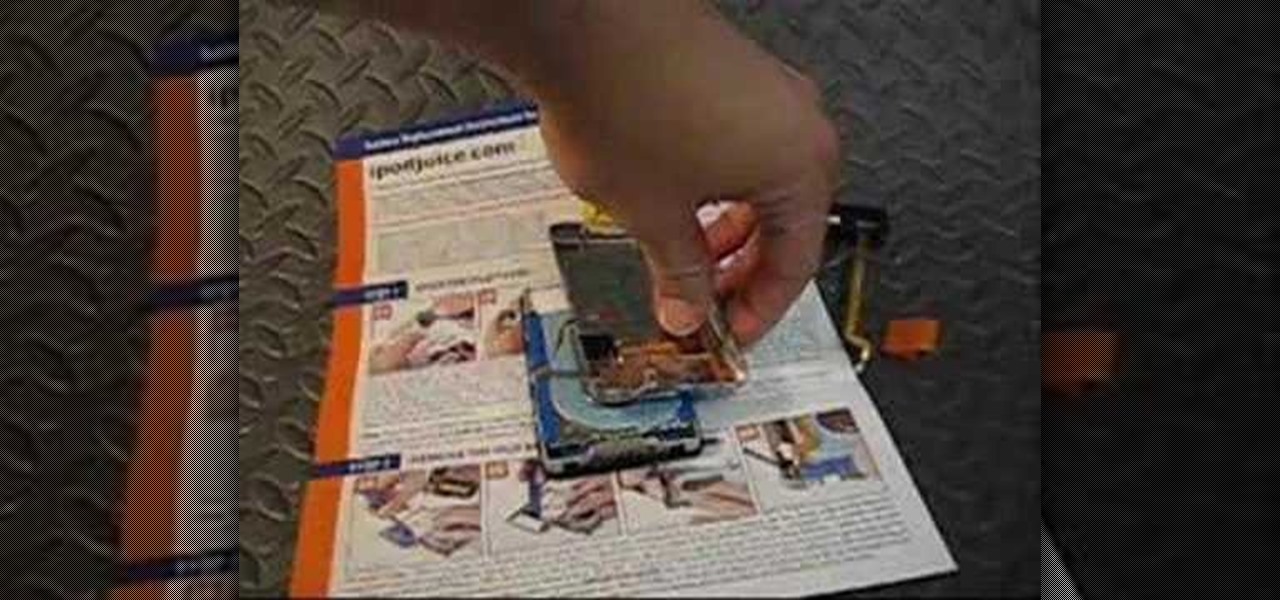
Check out this electronics tutorial video to learn how to replace and install a fifth generation ipod video battery. This instructional video illustrates the procedure of installing a battery on a 5th generation iPod video. See how it's really done!

Having trouble opening the 5th generation iPod video? Check out this instructional electronics video that shows you how to open your fifth generation video iPod. Try this simple trick if you are having a bit of difficulty getting the iPod video open, shown to you here by a technician. Fix your iPod and start listening to music again with this tutorial video.

Devil May Cry 3 is arguably one of the best 3rd person slashers for the last generation console platforms right next to God of War, Ninja Gaiden Black, and Kingdom Hearts II. The combat system leaves the possibility of generating combos largely open ended for the player. In this instructional video, learn how to perform impressive combinations you can continue connecting further with Vergil through one technique, sword hanging.

While Magic Leap may have plans to eventually introduce sign language translation for smartglasses in the near future, students at New York University have demonstrated that such a feat is possible today with a smartphone and a prototype app.
In a move that will increase production capacity for its TrueDepth camera system, Apple has awarded vendor Finisar with $390 million from its Advanced Manufacturing Fund.

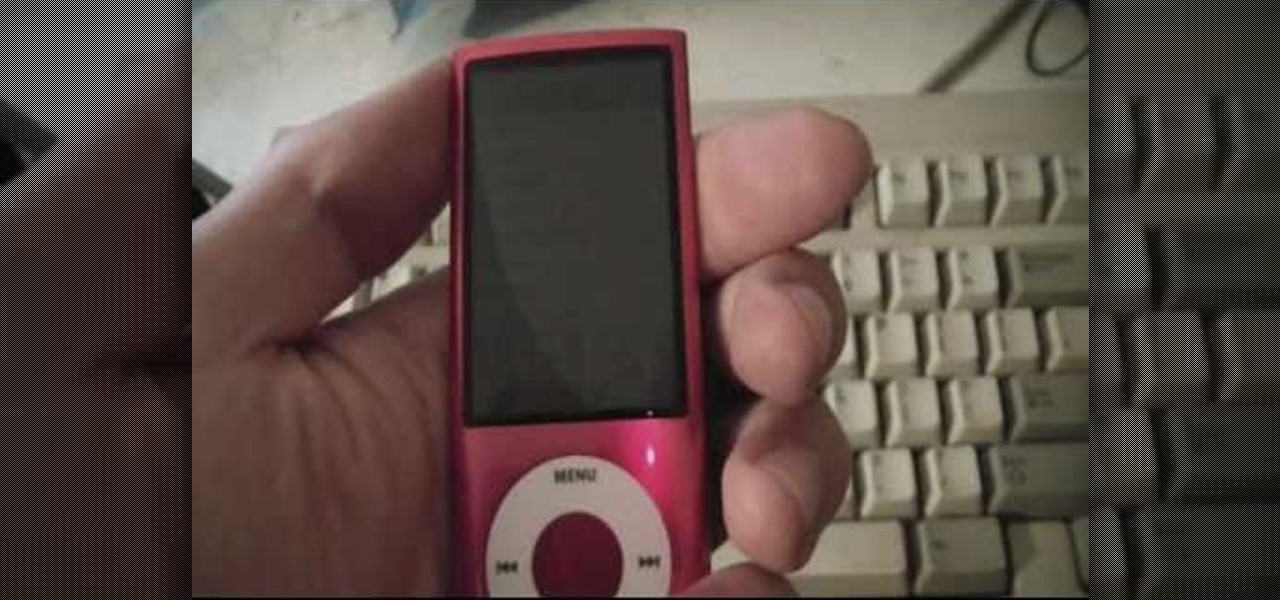
Learn how to reset a third generation iPod Nano from this video in simple steps. First take your third generation iPod Nano and switch it on. Now press the hold switch at the bottom of the iPod. Now hold the menu button and middle button together for a few seconds. After a few seconds your iPod switches off and restarts again. Now your third generation iPod Nano is reset and ready to use.

This how-to video serves as a disassembly guide for MAC's 3rd generation iPod Nano, breaking it down into the pieces: display, battery, logic board, housing, cables, etc. If you're determined to do your own iPod repairs, installations, or modifications, at least follow some advice on you to open up the Nano without causing damage. You will need a Phillips head screwdriver, a black stick, a plastic pick, and a chisel tip screwdriver. Watch this video iPod tutorial and learn how to take apart a...
Google, Facebook, and Huawei have made an investment in nurturing the future of augmented and virtual reality through $6 million in contributions to the opening of a new center at the University of Washington.
A pair of organizations recognized companies working in augmented reality for their innovative technologies over the past week. Meanwhile, another company used augmented reality for a sector that is overdue for a technology makeover, while another company has developed new camera modules that could usher in the next evolution of mobile AR.
As the tech world patiently waits for the advent of mainstream consumer smartglasses, Google is content to stick to the business world (for now).
If you're still rocking a 2nd generation iPod Touch, the frozen screen you have no is probably not the first problem you've had with it, Fortunately this one shouldn't be too hard to fix and this video will show you how to unfreeze you screen and get back to music.
Accidents will happen. This brief how-to will guide you through the process of disassembling, cleaning and reassembling a sixth-generation iPod Class (A1238) quickly and efficiently without damaging any of the components, the first necessary step of any successful repair or restoration. This tutorial will also be of use to those who wish to learn more about the guts of their iPods without actually disassembling their units.
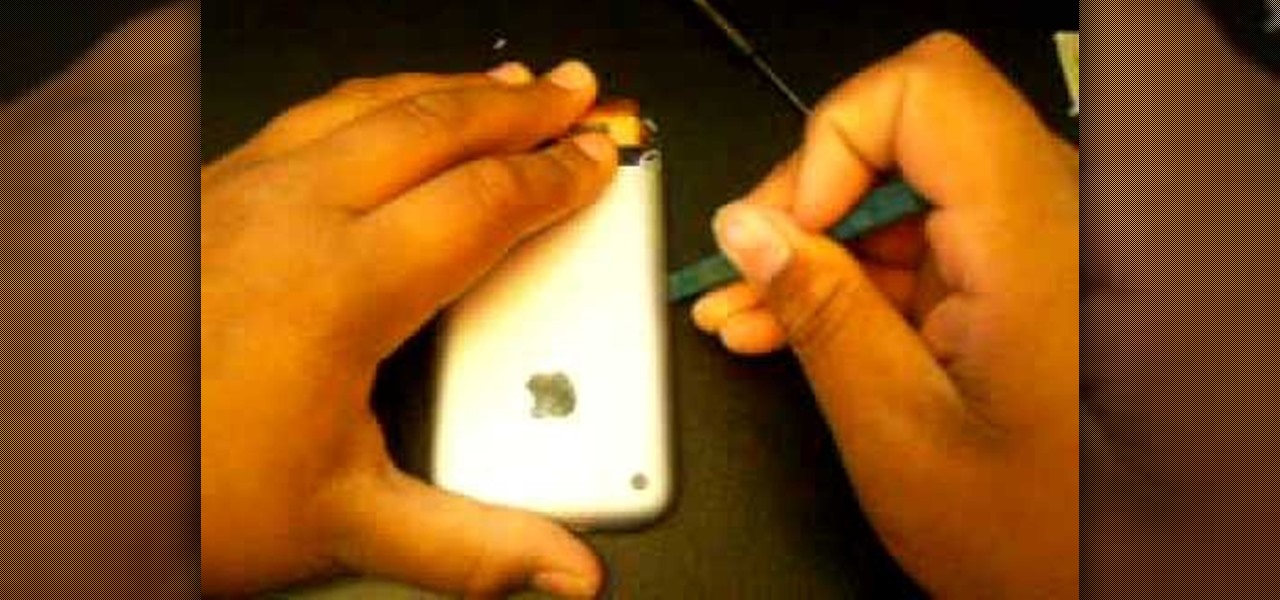
In this video, learn how to crack open, dissaemble and take the back off an Apple iPhone 2G (1st generation). Advice from the Internet: Don't try this unless you have done like-attempts before successfully. It is very difficult to replace an IPhone 2G back cover with a new one, so beware!
PowerBook Medic is the ultimate resource for Mac computers and electronics repair. They have helpful tutorials on most Apple products including the MacBook, MacBook Pro, PowerBook, iBook, iPhone, iPod, and more, covering topics from disassemblies, to RAM upgrades, to replacement hard drives.
DigiLens, a company specializing in optical waveguide technology, recently announced that they had closed a $22 million round of strategic investment, also known as Series B funding. This round brought in Sony, Foxconn, Continental, and Panasonic, as well as more traditional venture investors such as Alsop Louie Partners, Bold Capital, Nautilus Venture Partners, and Dolby Family Ventures.
Adding interesting themes to your iPhone and iPod is like wearing vintage clothes to school rather than clothing yourself in a few finds from Abercrombie & Fitch like everybody else: You stand out. While we'd be happy with any (current generation) iPhone, iPod Touch, or iPad, installing a theme makes our iGadget extra special.
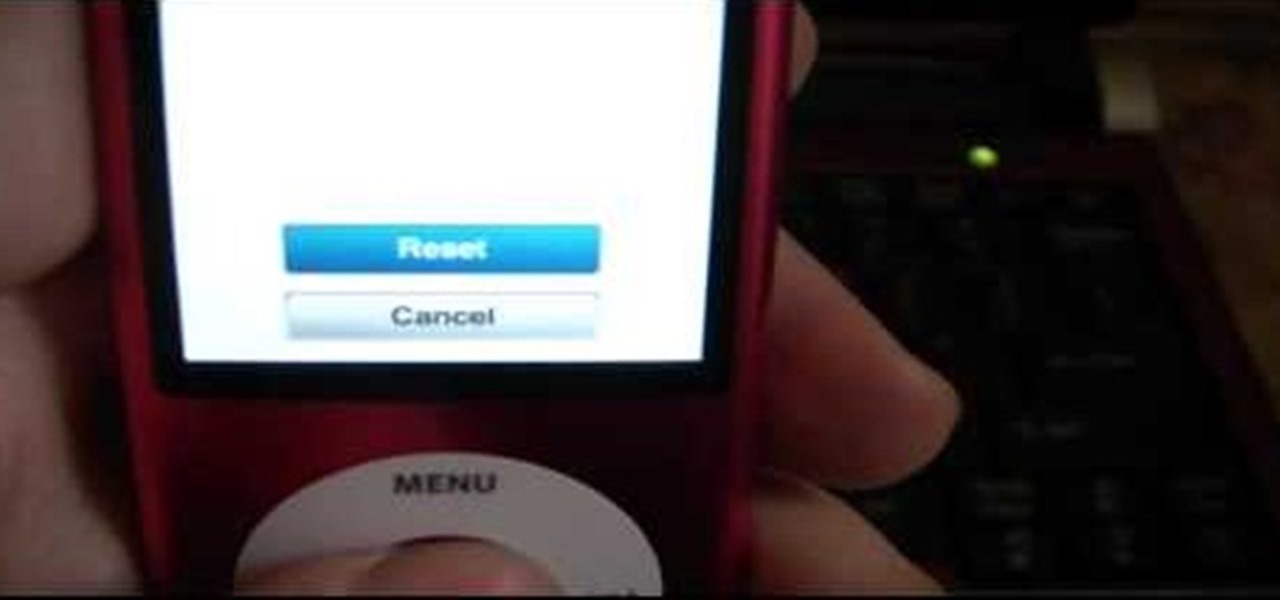
If you're 3rd generation 8GB iPod Nano has frozen or broken in some other software-related fashion, you probably have to restore it to factory settings. DOH! Fortunately this isn't a hard process, and this video will teach you how to do it.
The iPod Nano is a great little device, but if you've messed it up somehow you may want to reset it. This video will show you how to do just that on a 3rd generation 8GB Nano, allowing you to change your language settings and other basic options.
In this video by PDA Parts, learn how to take apart and disassemble your Apple iPhone 2G (or, 1st generation iPhone, the same phone). By taking the back off and opening your iPhone, one can replace a broken screen. It is wise to listen to these instructions very carefully, as a small mishap can ruin your phone. Also, it should be noted, by doing this any Apple warranty will be void.
Just as Apple, Snapchat, and other tech giants are working on augmented reality wearables in the race to replace smartphones for the future of mobile computing, so is Samsung.
On Thursday, waveguide maker WaveOptics announced that semiconductor and microelectromechanical systems supplier EV Group (EVG) will provide the manufacturing infrastructure for the production of its waveguide displays designed to support lower-cost, third-party augmented reality wearables.
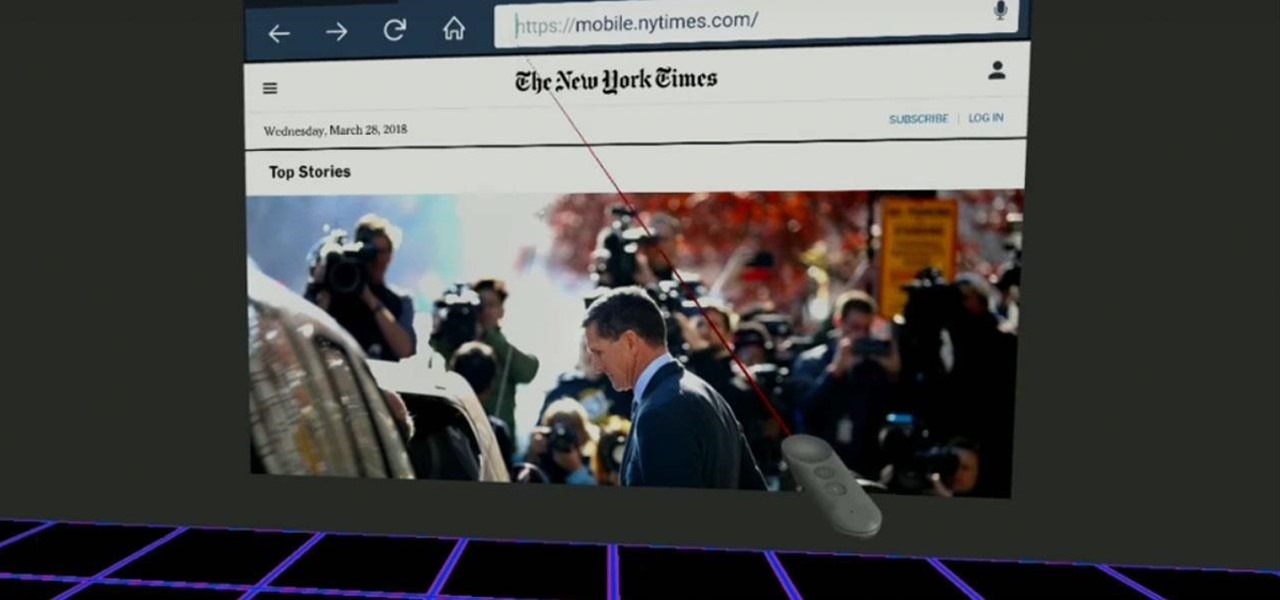
Before Google Chrome entered the scene and subsequently dominated the market, Firefox trailed only Internet Explorer as the most popular web browser. Now, Mozilla has its sights set on a new opportunity to revive its browser for immersive experiences.
If DroneBase's new AR platform inspires even half the creativity among its users as Minecraft did with its community, then drone pilots are about to enjoy acres of blocky worlds to explore among the clouds.
A potentially groundbreaking new app targeting retail financial services hopes to bring augmented reality to your local bank and credit union.
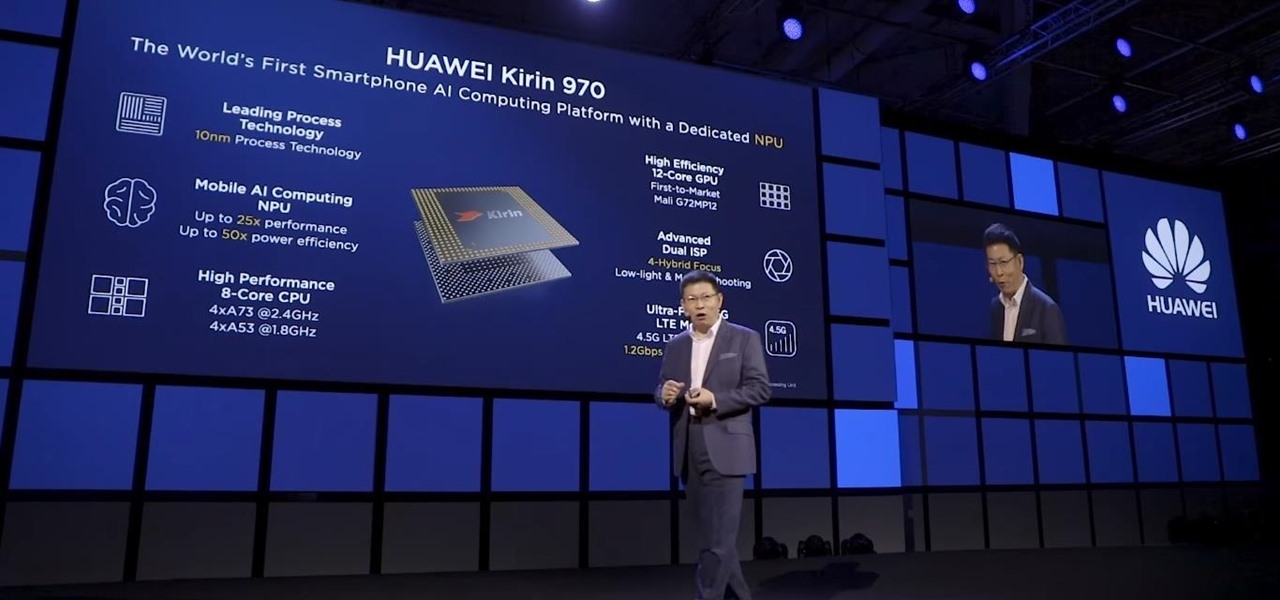
Over the weekend at IFA 2017 in Berlin, Huawei introduced the Kirin 970 processor, the first of its kind to include artificial intelligence baked into the chip.
We are in a pretty major technology boom at the moment. One that will likely make the industrial revolution look tiny. And one of these technologies that are building up to lead the way is something called augmented reality.
Traditional artists re-create reality using paints, colored pencils, and air-brushing. Digital imaging technology has given a new generation of artists an entirely new way to create photo realistic illustrations in Photoshop. Create photo realistic illustrations in Photoshop.
In this how to video, you will learn how open an iPod classic. Notice that the sides of the interior of the bottom case have tabs. There are metal locking clips at the bottom of these. The plastic clips on the front cover engage these to lock the cover into place. This means you will need a pry tool in order to remove the cover. First, you will need to use the pry tool and insert it into the side of the device. Try to get under the clip and pry it from the front base plate. Work around the si...
This video shows you how to replace the LCD screen on a third generation iPod nano. Using a plastic safe pry tool, run it along the edges of the iPod, releasing the clips. Once the clips have been released, you should be able to remove the back cover. There are six exposed screws on the bottom of the inside back cover, remove all of them. Next remove the click wheel ribbon cable from the jaw connector. To do this, use the pry tool to lift the connector. Use a pair of tweezers to gently remove...
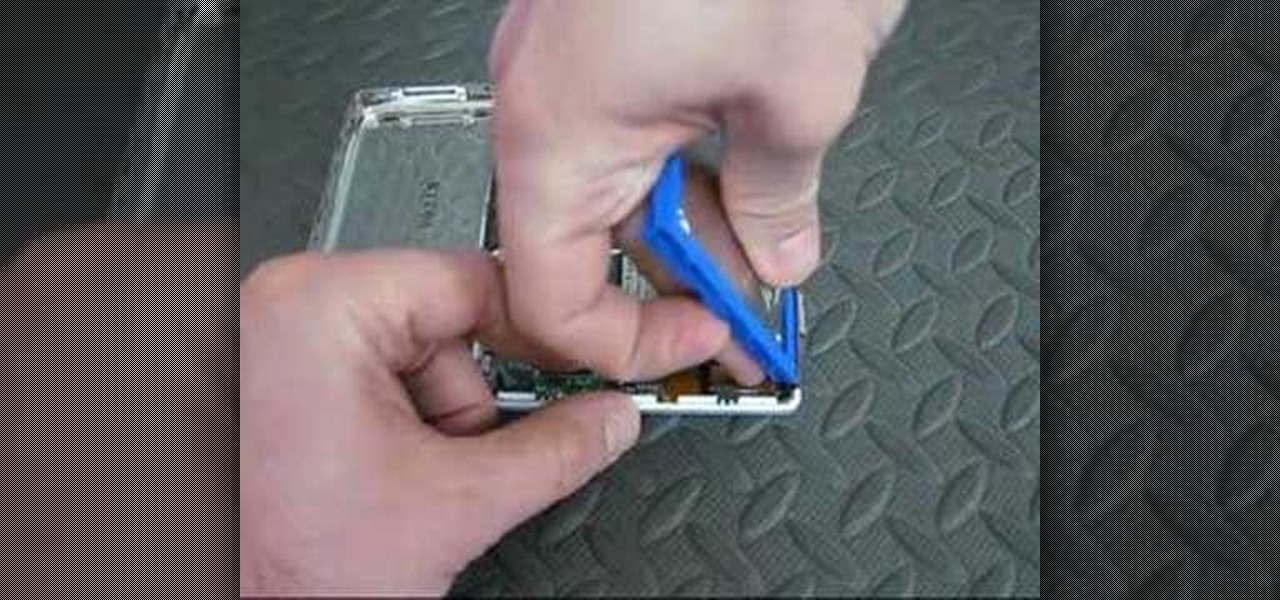
This is a video tutorial that is showing its audience how to replace the digitizer screen on a 2nd generation Ipod Touch. The first step is to remove the screen from the Ipod touch. Secondly use a safe pry tool and run it between the backing of the screen and the glass, this will release the necessary clips that are holding your screen in place. Next take the screen off. Next separate the digitizer from the mid section with the safe open pry tool again. Pry apart the digitizer and the mid sec...
Do you own the first generation iPod Touch and have a broken screen? You just might be able to fix this, with help from this vieo. Here, Donald Bell repairs a cracked screen on a first-generation Apple iPod Touch.
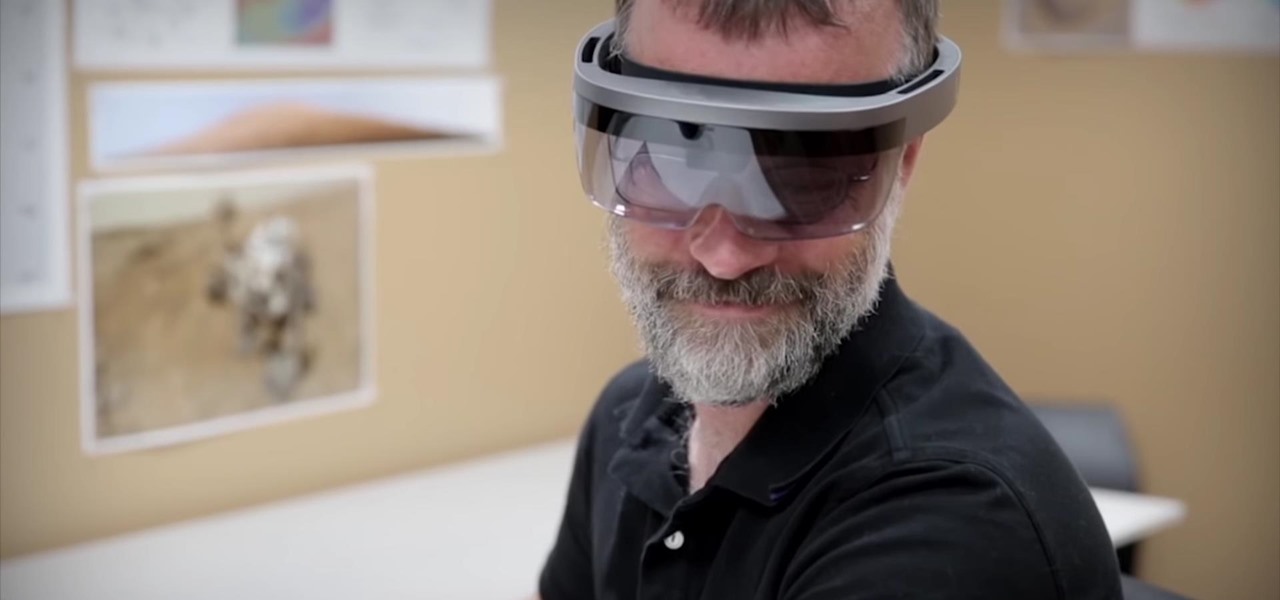
Rumors are swirling today that NASA's Jet Propulsion Laboratory (JPL) may have shown us the first public glimpse of the next-generation HoloLens. Are they real? Or just a prototype? We've been digging in all day to find the answers.
Every year, football fans get excited about the next crop of blue chip prospects joining their teams, from five-star high school recruits graduating to college to first-round rookies drafted into the NFL.
Every Tuesday, Next Reality will give readers a rundown of the augmented and mixed reality news briefs from the preceding week that we didn't cover already. This way, you'll never miss anything of importance in the Next Reality landscape, and will always know what's going on with new augmented and mixed reality tech and applications.
The tradition of using cutting edge technology to prepare for missions in space, in this case, augmented reality, continues with a new team of international astronauts slated to board the International Space Station (ISS) later this year.
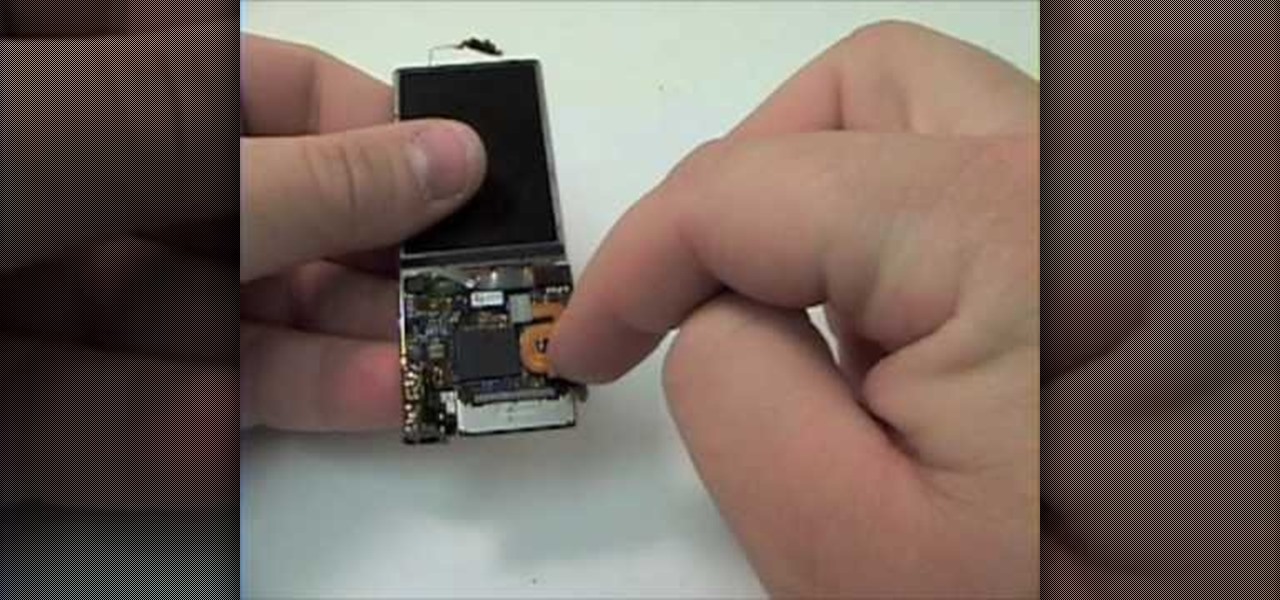
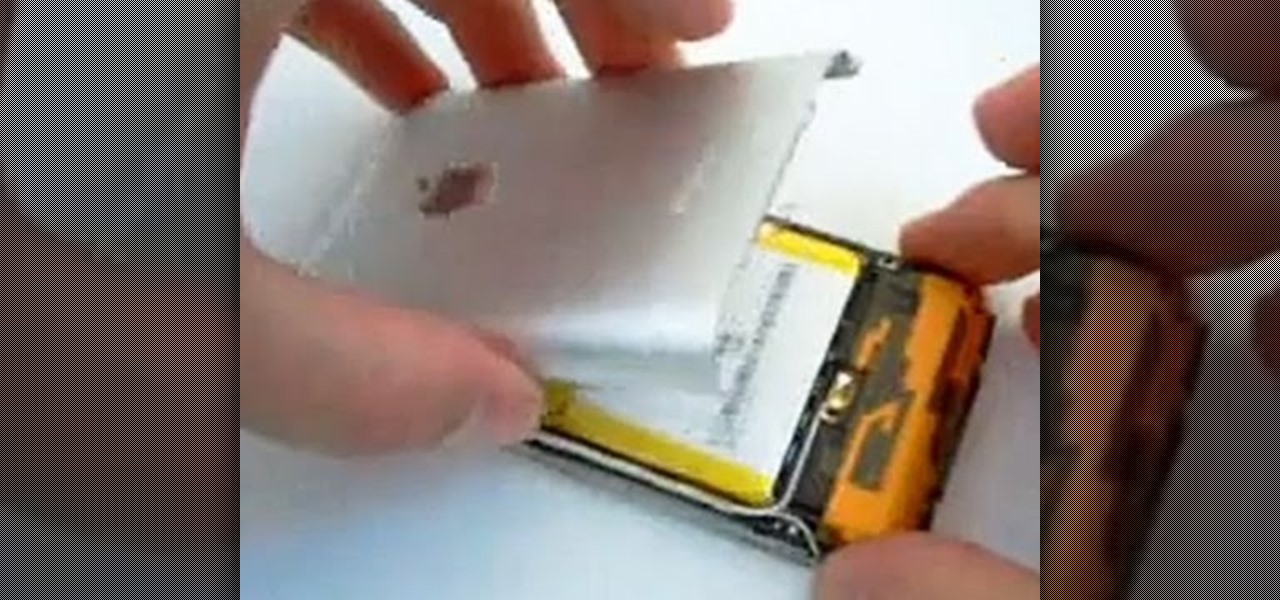
This video will show you how to install a battery or LCD screen in a first generation iPod Nano. If the Apple warranty no longer covers your iPod, it may be more inexpensive to do this simple repair yourself, instead of purchasing a new iPod. Watch this video iPod tutorial and learn how to replace a battery or LCD screen in a first generation iPod Nano.
This video will show you how to remove your old LCD from your 4th generation iPod or iPod Photo and replace it with a new one. If the Apple warranty no longer covers your iPod, it may be more inexpensive to do this simple repair yourself, instead of purchasing a new iPod. Watch this video iPod tutorial and learn how to replace a the LCD screen in a 4th generation iPod or an iPod Photo.
When your iPod is no longer holding a charge, the battery is most likely dead. If your iPod is past Apple's warranty time, you might want to try replacing the battery yourself. You will need a prying tool and a new battery. Watch this video iPod tutorial and learn how to replace a 2nd generation iPod battery.
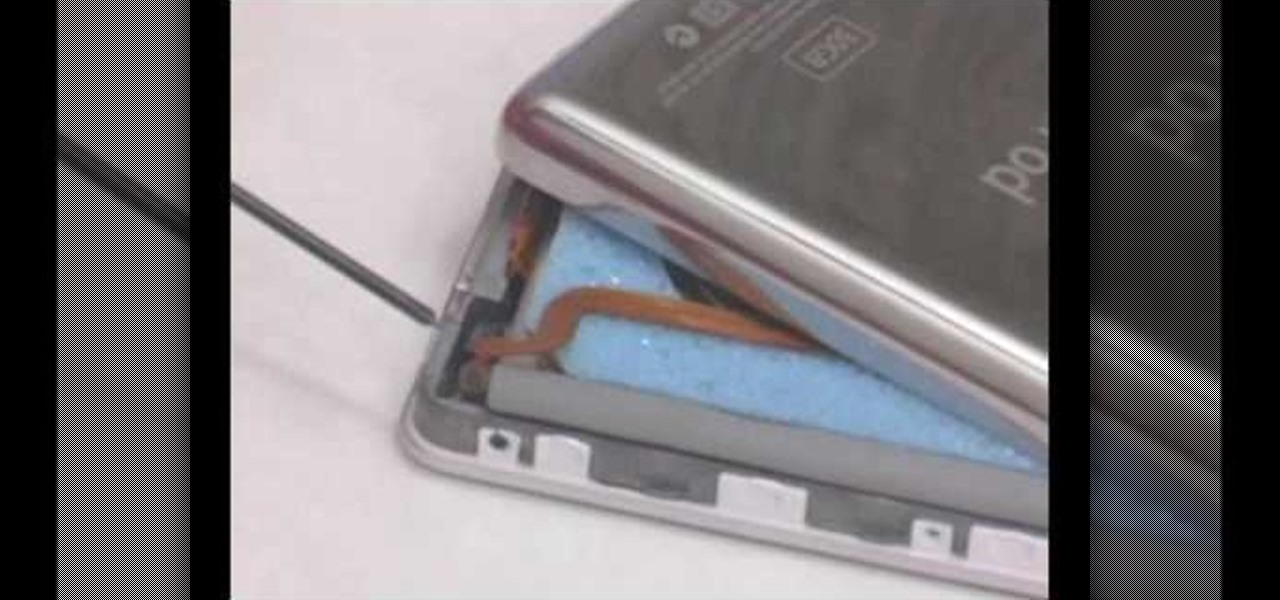
You can save a lot of money doing your own iPod repairs and updates, but make sure you're doing it right. Make sure to use the right tools and follow the tips listed in this instructional video. Opening the iPod the first time can be especially tricky. Watch this video iPod tutorial and learn how to change the battery on a fifth generation iPod Video or Classic.
Check out this electronics tutorial video to learn how to reconnect the hard drive for a third generation iPod. Getting the hard drive re-connected to the logic board inside a 3rd generation ipod can be a little tricky to do, but watch as a technician shows you how to do it. Try to connect the hard drive first and then lay it flat dowon on top of your new battery. This instructional video illustrates this simple process.