Is the battery in your Apple iPod just not up to par? Well, maybe it's time you replaced it with a high capacity battery. These detailed instructions will get you through the difficult, but easy process of doing so. Make sure you observe static safe precautions. Ground yourself before opening your iPod and don't walk around while performing this upgrade. This video tutorial will guide you on how to install a high cap battery in a 4th Generation iPod Photo.

Is the battery in your Apple iPod just not up to par? Well, maybe it's time you replaced it with a high capacity battery. These detailed instructions will get you through the difficult, but easy process of doing so. Make sure you observe static safe precautions. Ground yourself before opening your iPod and don't walk around while performing this upgrade. This video tutorial will guide you on how to install a high cap battery in a 1st Generation iPod.
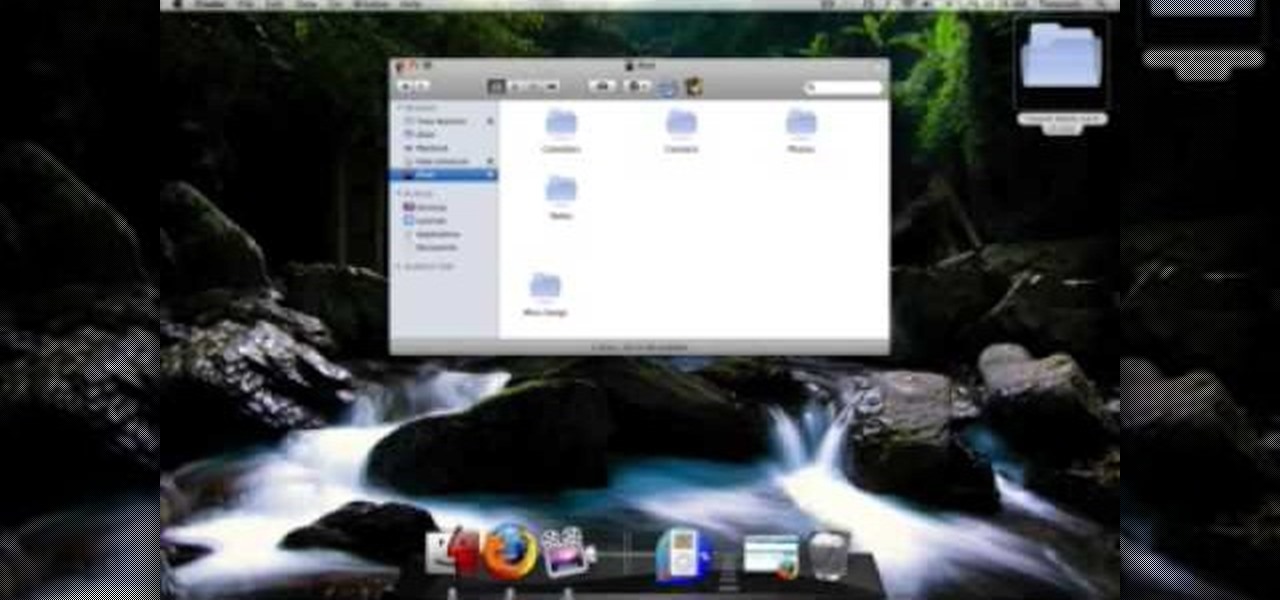
Take a look at this instructional video and learn how to hack into your iPod's firmware on a Mac. In order to hack into the 5.5g iPod's firmware, you need to download the Alterpod, a firmware editing software. With this program, you'll be able to download themes onto your iPod. Keep in mind that this hack is for the 5.5 generation iPod and does not work for the 6th generation or the older ones before 5.5. When downloading themes, make sure to download the correct version.
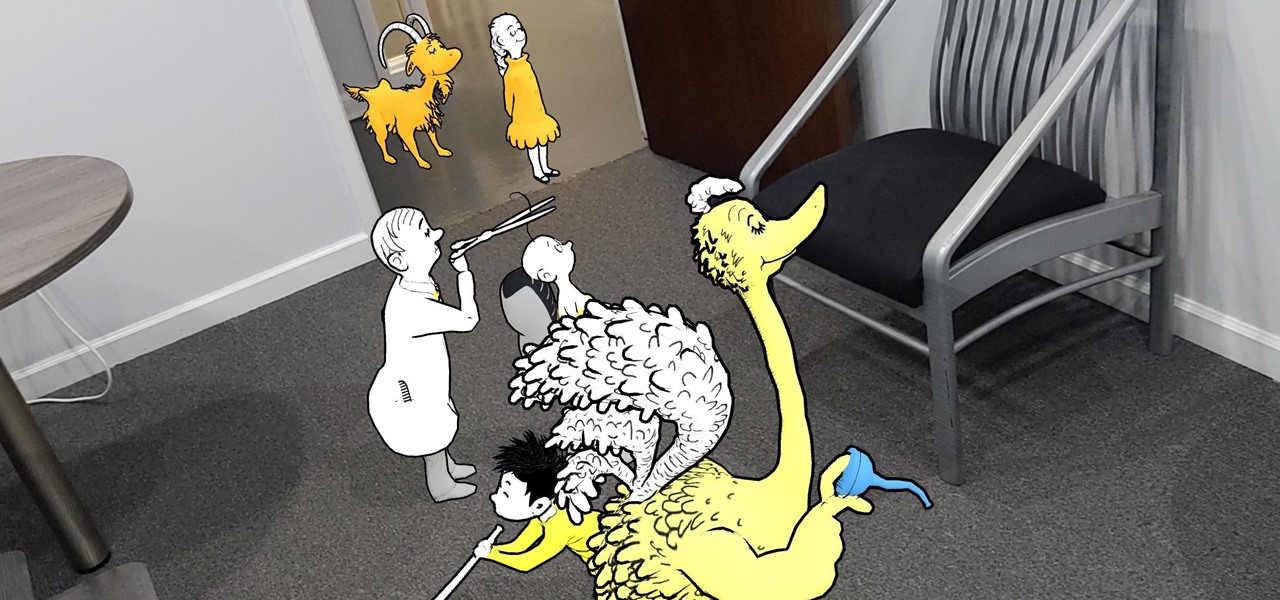
Alongside Sesame Street, the Dr. Seuss universe has been a constant presence in the formative years of several generations of children in the US.
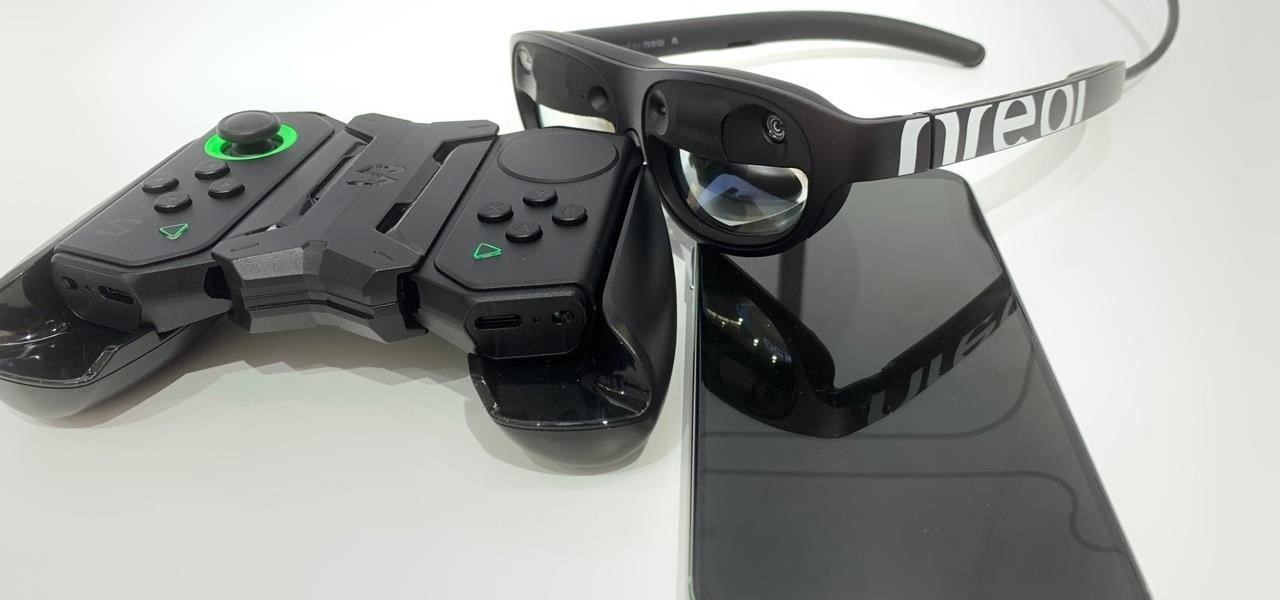
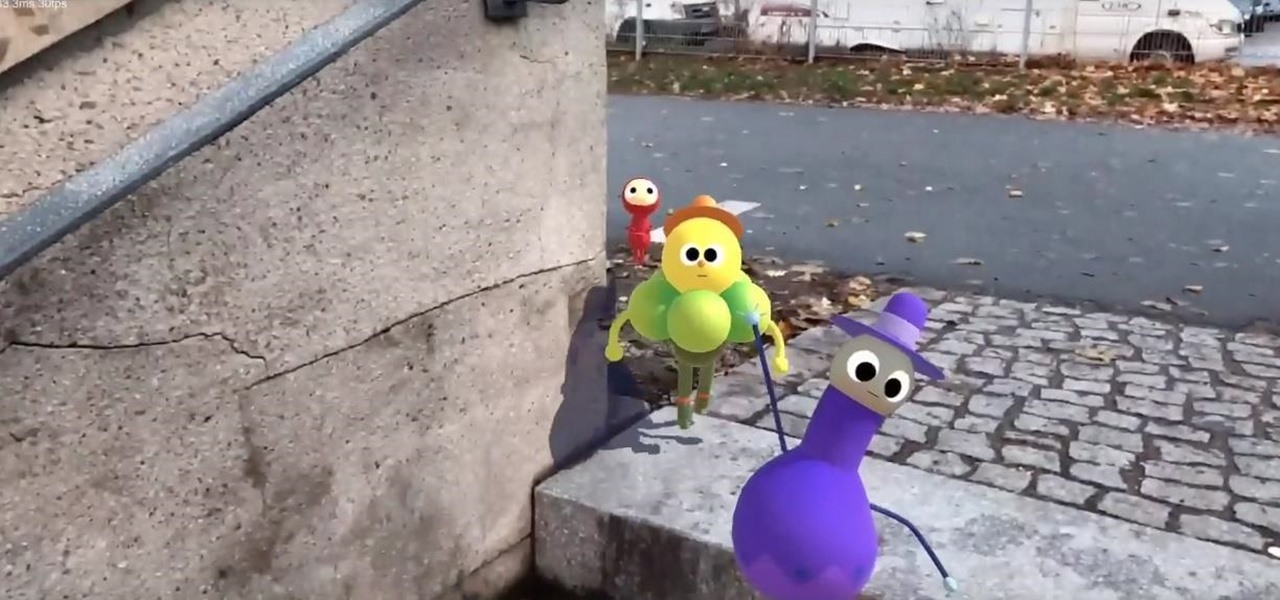
With the consumer edition of its Nreal Light headset, scheduled to ship in 2020, Nreal is prepared to bring the entire Android app ecosystem into augmented reality.
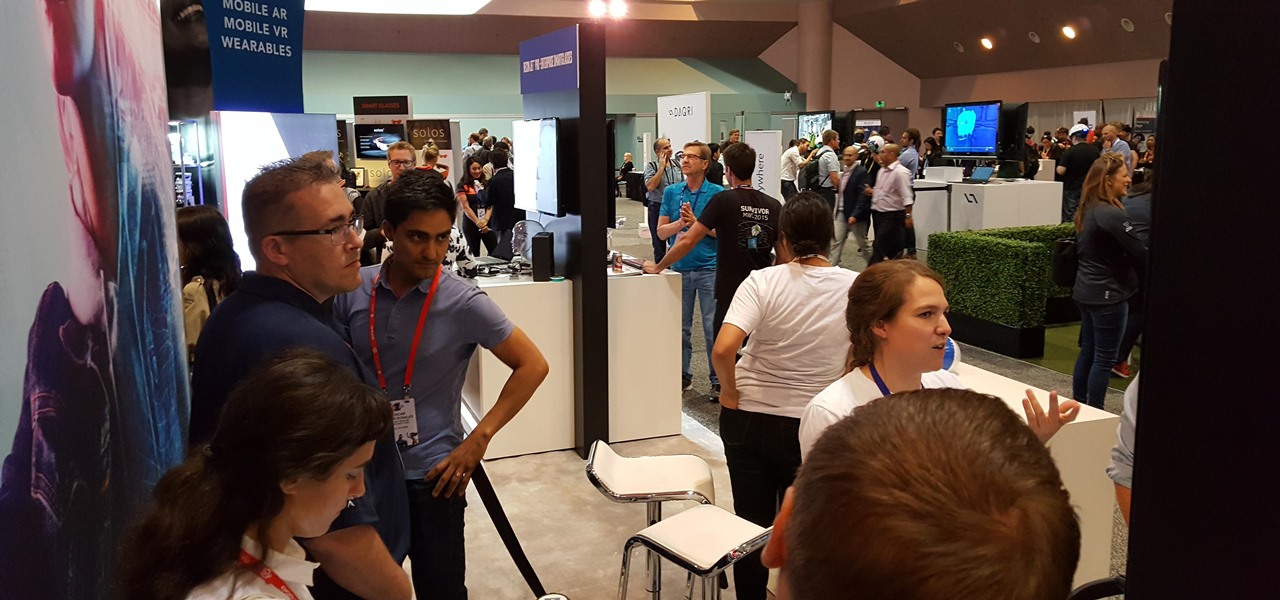
The annual Augmented World Expo (AWE) typically packs the front page of Next Reality with new products and services from companies in the augmented reality industry.

After a rough run of news, smartglasses maker North still has the confidence of investors, as evidenced by its latest round of funding.
Apparently, it's Google Week for the augmented reality business. Now that ARCore has a firm foothold in the app ecosystem, Google is making a case with educators and marketers that the apps should have a place in schools and campaigns, and the company is also encouraging developers to learn how to build apps using ARCore.
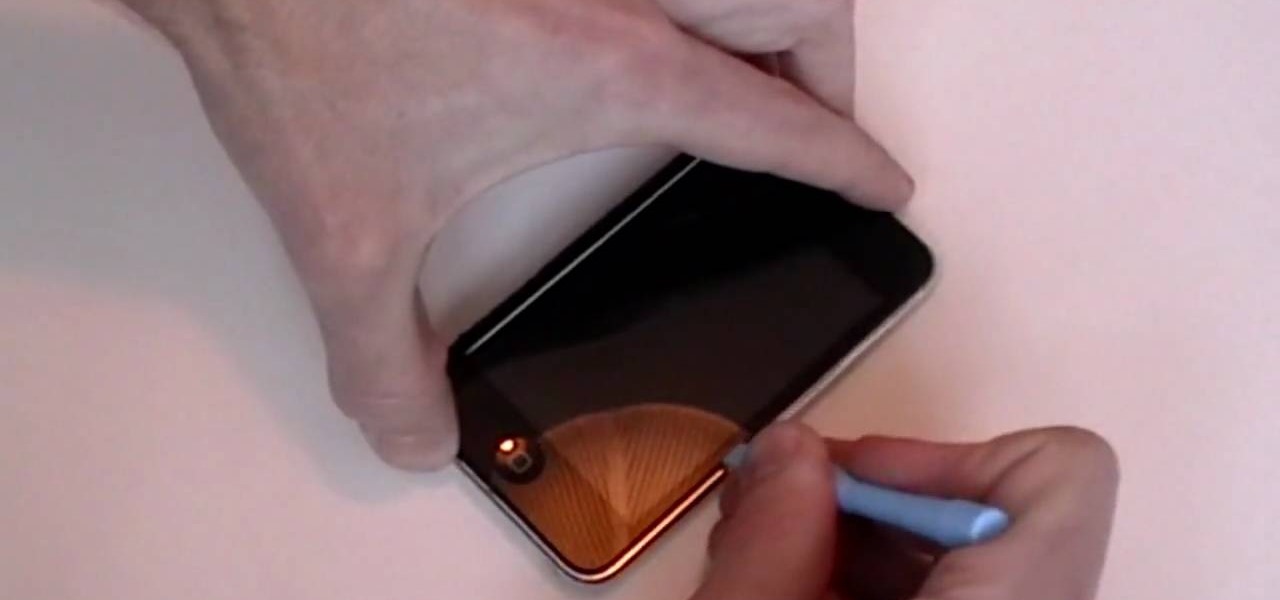
This is a tutorial on how to replace the screen on your ipod touch. This video is specific to the third generation ipod touch. You can tell if your ipod is a third generation because it only has two lines of writing on the back bottom. To begin use a safe open pry tool to open the ipod touch. Run the tool between the metal chrome frame and the glass digitizer. There are many clips on all sides and they all need to be released. Begin prying at the bottom and then work your way to the sides. Wh...
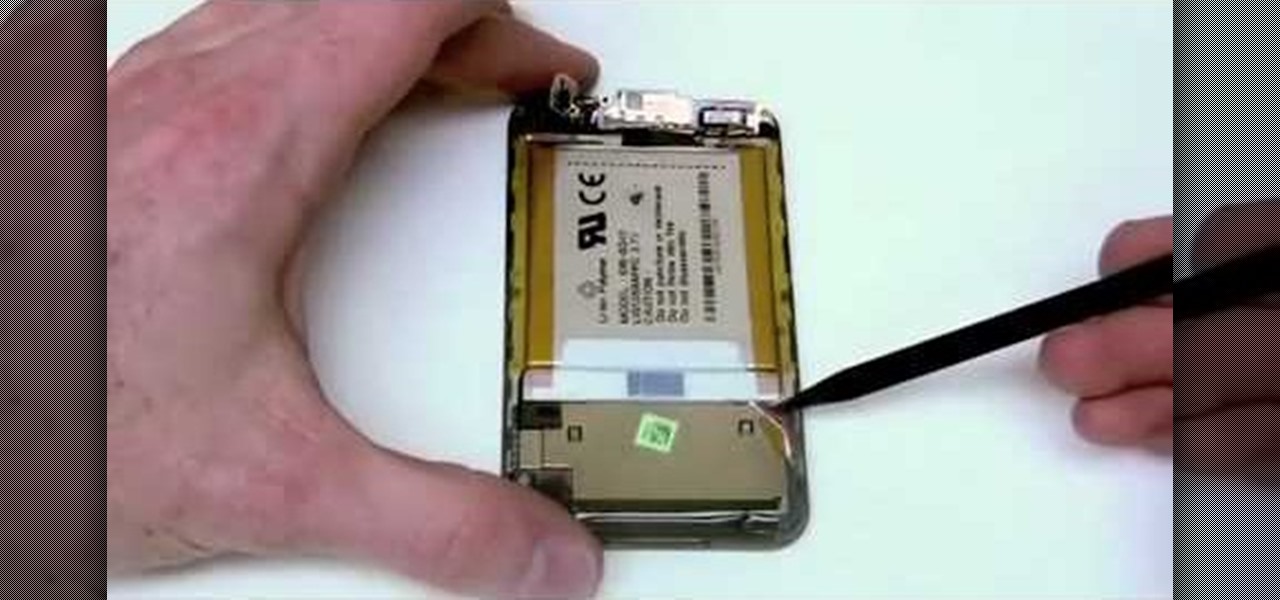
This video describes how to take apart a first generation iPod. To open the iPod, the video recommends using a putty knife or similar flat tool to gently ply open the casing. The presenter recommends being especially careful if this is the first time opening the casing. Once you have the first side open slightly wide work your way around the casing, making sure the entire casing is spread evenly around. Once all the sides are loose, the back casing just slides off. There are then two componen...
George3694 will show you how to jailbreak an iPhone or iPod touch firmware 3.0. This will work on the iPod touch first and second generation, the iPhone original and 3GS. Download Red snow software from the link provided. Click on browse download firmware and put it on your desktop. Next upload the firmware to your device. Install both features, make sure your device is plugged in and turned off. Follow the instructions and put device in DF mode. Just wait as the software loads to your machine.
How much screen time is too much for a child? Should you let your children have a smartphone or tablet? What age is appropriate to introduce them to technology?
Four months after unveiling the latest productivity apps for the HoloLens, Microsoft now has a series of compelling real-world use case videos showing how the augmented reality device and its apps are helping oil giant Chevron.
It's that time of year again — Apple will be hitting the stage in California to talk about new features coming to iOS and macOS devices in the near future. Of course, you're going to want to tune in and be up to date on all the changes coming to your Apple products.
Today in Santa Clara, California, at the Augmented World Expo, Scope AR revealed a major new update that will add markerless tracking for their remote assistance application, Remote AR, on standard devices.
The list of HoloLens applications continues to grow as more companies discover ways to enhance their operations using augmented reality. Air New Zealand is the latest to show interest in the technology, demonstrating their vision for AR in a new concept video.
Why I split it into two articles: I love images and I'm sure lots of us do. I decided to put in a lot of images as examples rather than have paragraph upon paragraph of boring text. Also, I don't think any of us like overly long articles; but if you think it's better to have it all in one article, let me know
Temperatures plummet... a shelter, an igloo, can be built out of nothing but snow. It has to be the right kind of snow, cut from a well packed snow drift. The best snow is laid down in one single storm, it's hard and compact.
In these days of mobile technology, losing your iPhone or iPod Touch is almost worse than losing your car keys. It becomes one of the most frantic searches you've ever had to endure. But you can relax now, because you can use Apple's Find My iPhone, iPad or iPod Touch service to locate your lost device.
When you remove the multifunction switch from your Saturn S-series car, be sure to disconnect the battery and remove the airbag fuse so that you can safely interact with the switch.
Kanye West might or might not be the voice of your generation, but whatever your opinion of him as a man he does make some good songs. "Welcome to Heartbreak" is no exception, and this video will teach you how to play that classic track on piano.
The Simpsons theme song has raised a generation of American children, and even though the show has long since jumped the shark the glory of it's theme song remains. In this video you'll learn how to play a really accurate piano version of the song, complete with chords and long runs at certain points.
Blazing maned Molly Ringwald inspired a generation of girls who grew up knowing that a girl always looked pretty in pink. Pink in any intensity or shade is a universally flattering hue when used in makeup.
Microsoft has unveiled practically every detail of the HoloLens 2 except for when eager developers and enterprise customers can expect to receive the device.
As it prepares to ship its first product by the end of the summer, Magic Leap has managed to impress yet another high-profile investor in telecommunications giant AT&T.
A newly-filed patent application from Disney Enterprises, Inc. teases more augmented reality lightsaber duels, either for at-home gaming or for the media behemoth's forthcoming Star Wars theme park.
When playing word association with Star Trek, the first thing to come to mind with regards to augmented reality is likely Holodeck, not The Game, an obscure episode from season five of Star Trek: The Next Generation.
Augmented reality is quickly becoming a popular tool for marketing use cases, as demonstrated by new projects serving the automotive, entertainment, and tourism industries this past week.
This video shows us how to fix an iPod that is displaying a folder icon and exclamation mark warning and does not function. The first thing you will need is obviously the iPod, typically the 1st Generation to 5th generation iPod. The second thing you will need is your sync cable, and also a wall charger. The first thing you have to do with the iPod is to reset the iPod by holding down the center button and at the same time hold down the menu button. After a few seconds without letting go the ...
The iPod kids shows viewers how to covert movie files that are already on your computer into a format that will work with your iPhone or iPod Touch (2nd generation).
Don't pay someone else to replace the battery in your 4th generation iPod, watch this video instead and learn how to do it yourself! The hardest part is removing the battery out so be patient and make sure you have a Torx T-6 screwdriver. Replace the battery in a 4th generation iPod.
This video shows you how to replace the headphone jack and hold switch on a 4th generation iPod. Replace the headphone jack in a 4th generation iPod.
This video shows you how to disassemble a first generation iPod nano so you can replace the battery. You will need a soldering iron and need to do some electronic soldering so make sure you're comfortable with soldering or have practiced a bit beforehand. Be careful or you'll be buying a new Nano! Replace a 1st generation iPod nano battery.
In this tutorial, we learn how to repair an iPod Nano 4th Generation. First, remove the top and the bottom bezel from the device using a small and flat tool. When these are removed, switches will fall out, make sure to set these aside in a safe area. Now, remove the Philips screws that are in the top and the bottom of the device and set them aside. You will be able to take apart the top from the bottom now. The dock connector will be inside where the motherboard and circuits are at. Repair th...
Watch this step by step tutorial how to easily reset an iPod Nano. Toggle the hold switch a few times. Turn off hold switch. Hold down the Menu and Select buttons at the same time. Wait 8 to 10 seconds or until the Apple logo appears. Repeat steps 1-3 if necessary. This also works on all 4th and 5th Generation iPods, as well as others. The device should restart after about 6-10 seconds. Also works on the latest 4th generation iPod Nano.
This video from Powerbook Medic teaches us how to take apart a 3rd generation iPod. First step is to use a putty knife or a flat head screwdriver to break apart the two pieces. After that remove the headphone cable and set the bottom pan aside. After this, you disconnect the hard drive, and battery cable form the board. Then use a T6 screwdriver to unscrew the T6 screws which are holding the board in place. Then take the last cable away. Now you can take the board out as well as the battery. ...
Over the past year, two trends have emerged among augmented reality development software: make it easier to create AR content, and give AR apps better environmental understanding with just a smartphone camera.
To build hype for the HoloLens 2 among developers, Microsoft is borrowing a page out of Magic Leap's playbook.
Magic Leap has reached a major milestone in the lead-up to the launch of its Magic Leap One: Creator Edition by opening access to its developer portal and software development kit (SDK) to all developers.
A new survey shows that the majority of companies have an interest in using augmented reality, though adoption remains low. Meanwhile, two companies with support roles in the augmented reality industry are seeing positive financial results.