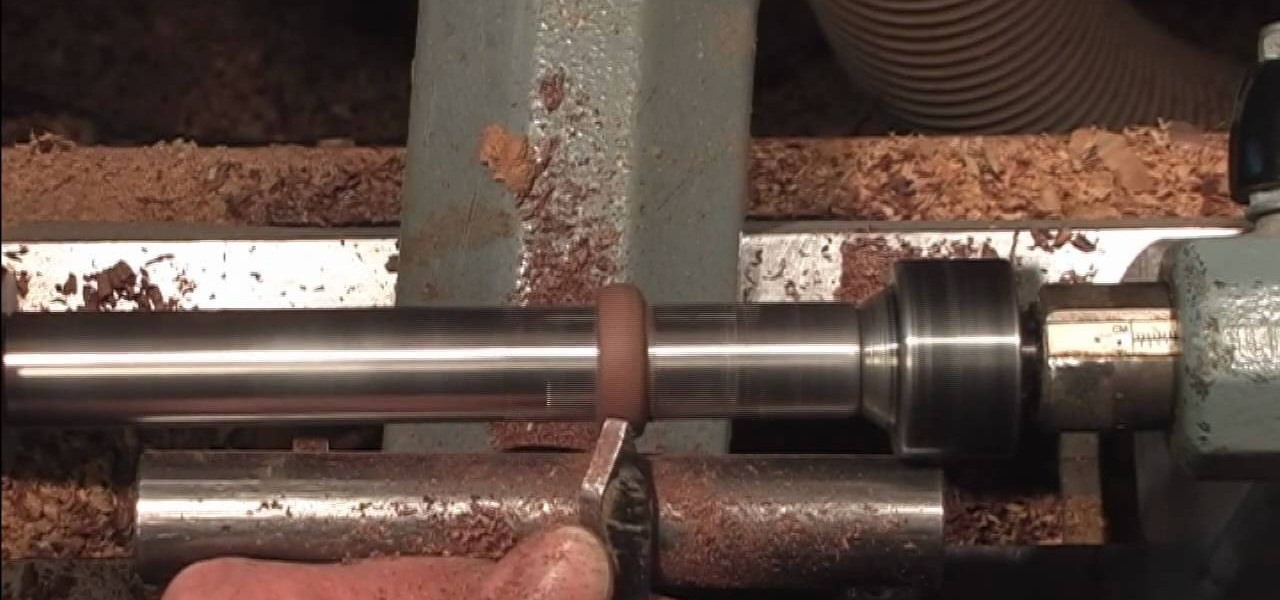
A wooden ring can be a beautiful, handcrafted item of jewelry, rare and unquiet. This excellent how to will show you the steps necessary to turn your own wooden ring on a lathe and then finish it for wearing. The wood used in this video is Cocobolo, a lovely hardwood that will weather nicely over time. Check it out! You'll need a block of hardwood, a lathe, lathe tools, sand paper, bees wax and mineral oil. You'll also want to wear protective eye wear as well.

Friendship can't be bought with money or gifts, but an existing friendship can certainly be bolstered by some handmade wrist wear. While you can totally hit up Claire's and purchase their twosome friendship bracelets, the special letter-embellished bracelet in this video is so much more personalized.
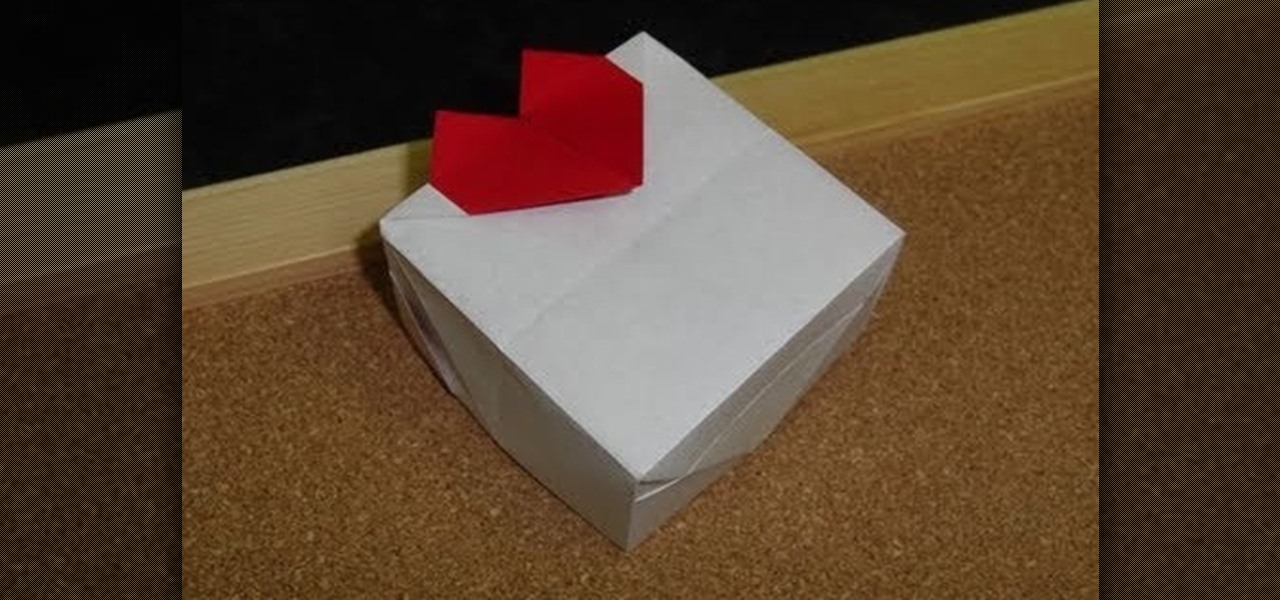
We adore all the cute little valentines, heart-shaped candies, and heart-embellished gift boxes and gift bags that pop up on shelves around Valentine's Day, but (ironically enough) they lack the heart that makes Valentine's Day presents truly special.

Let's face it: Most of the buttons we have on clothing are utilitarian: They hold our peacoat together and our pants on (generally), and thus aren't particularly pretty in and of themselves.
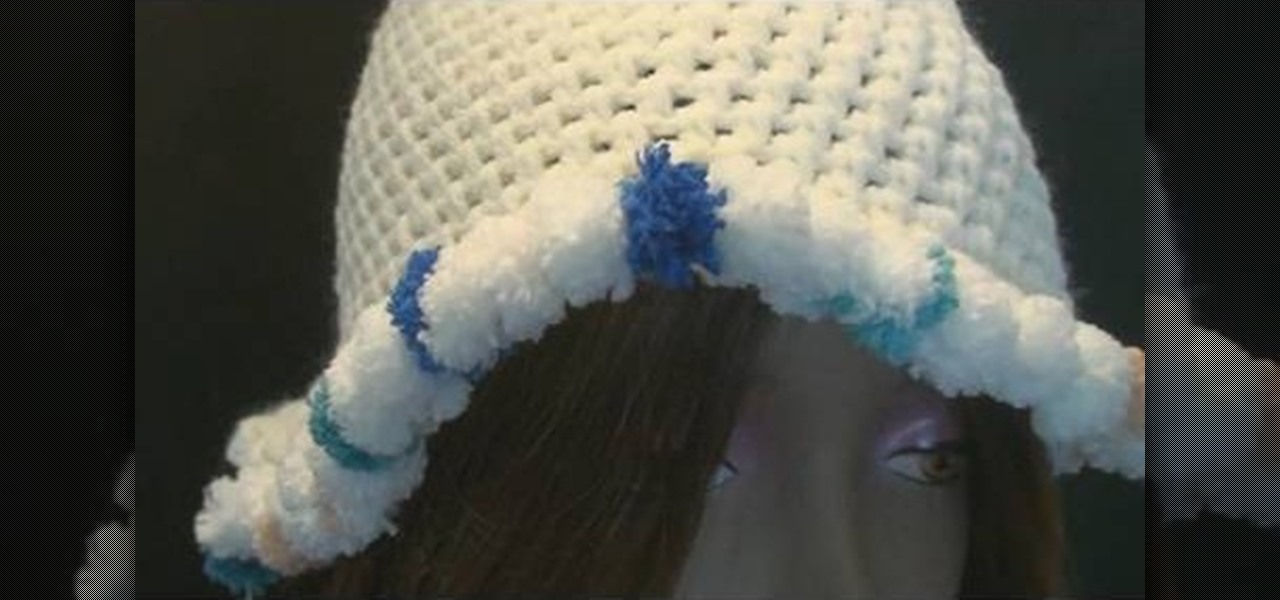
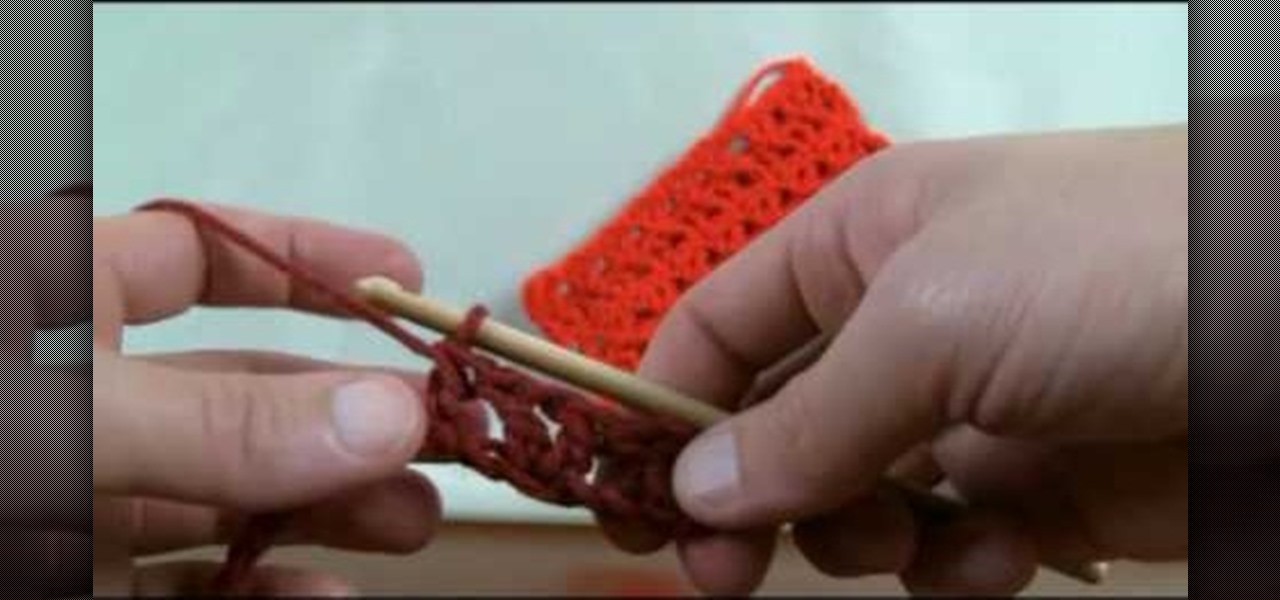
Despite what you may believe, making a crochet cap doesn't end at the last knitting row. In fact, crochet caps can be embellished in a number of different ways, including this Pomp-A-Doodle trim.
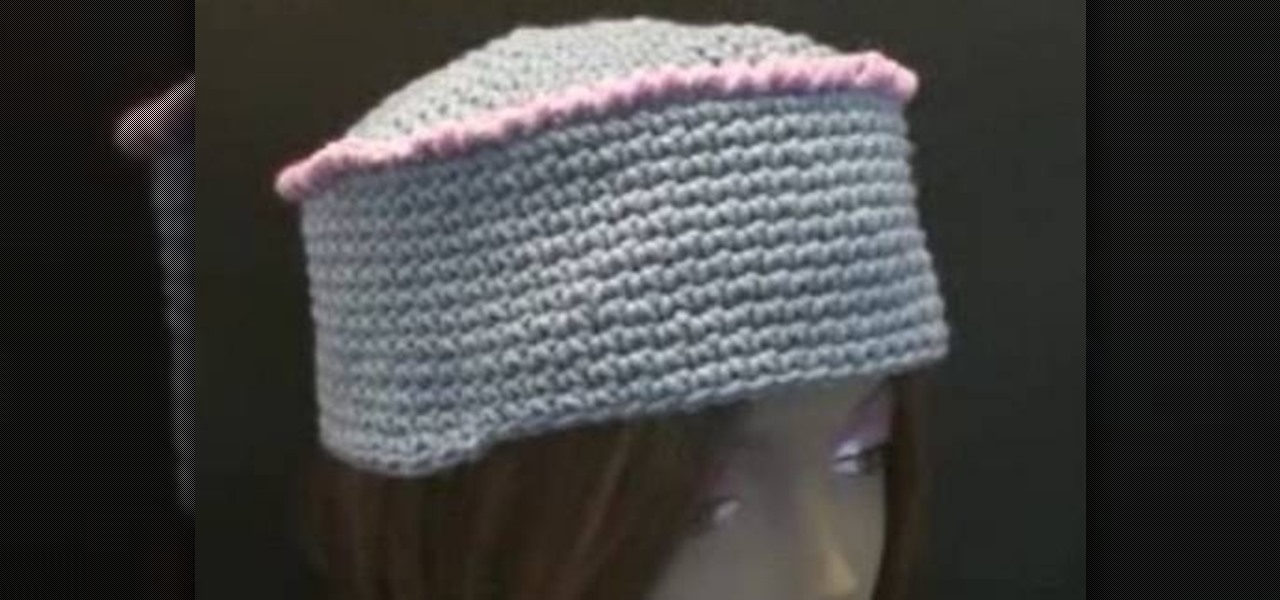
Would you like a touch of mod and whimsy all in one? Then this hat is perfect for you because it strikes the perfect balance between the two. Made of cozy, soft blue yarn, embellished with a pretty pink border, and done up in a sort of inverse bowl shape, this is not your everyday baseball cap or beret.

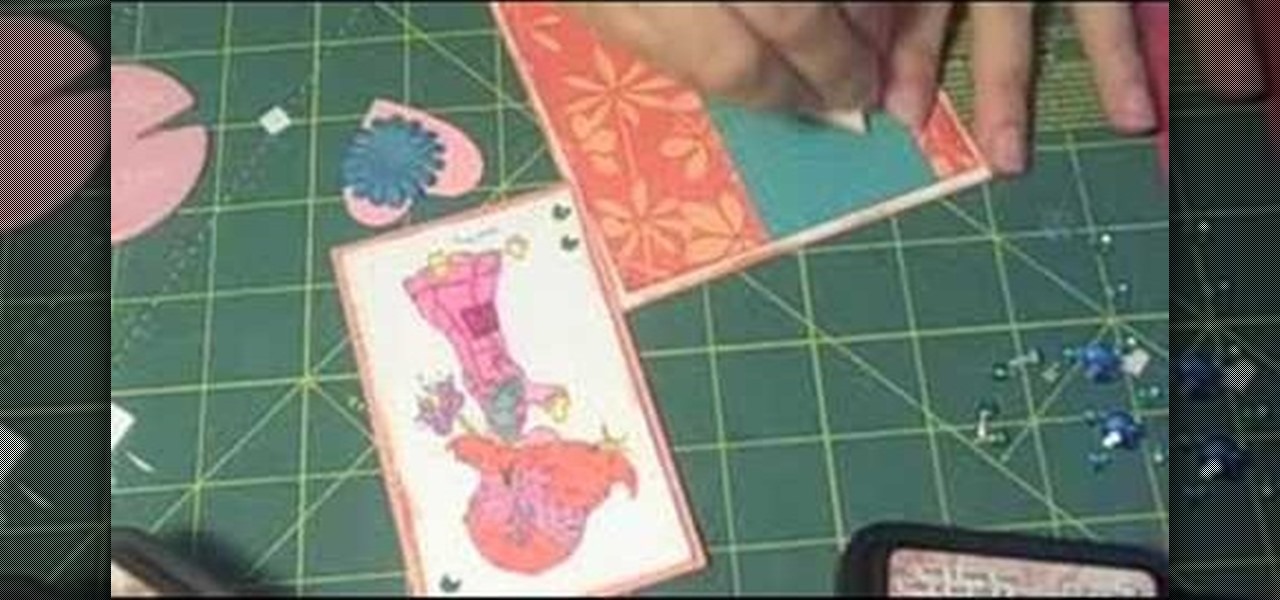
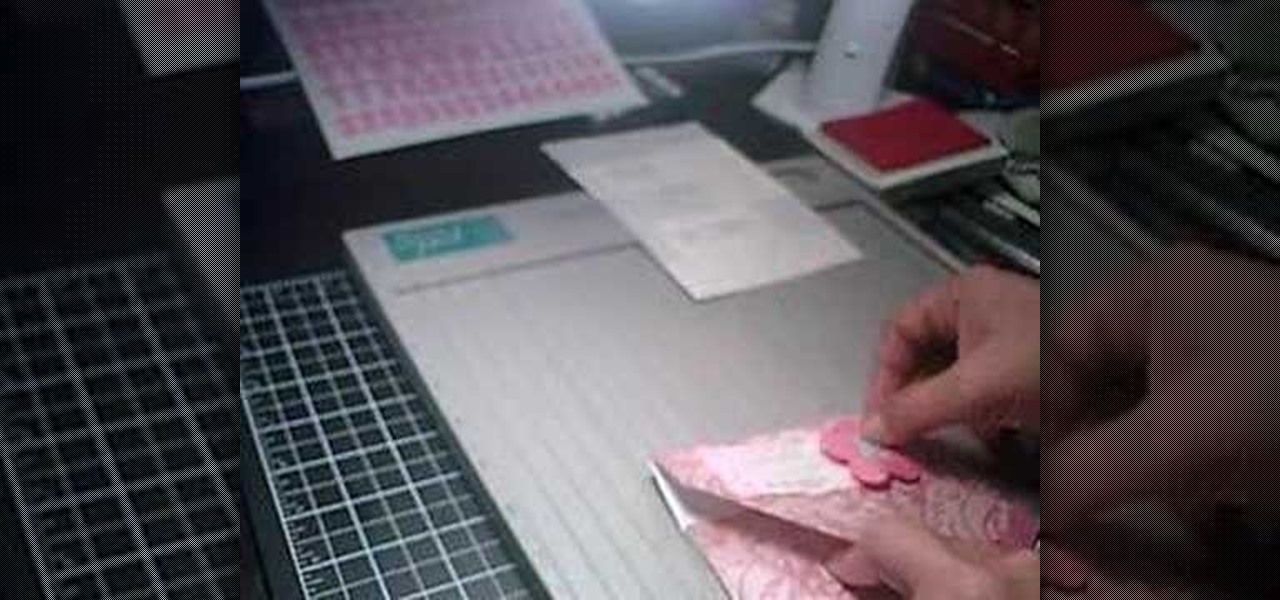
In order to make a pocket card out of an envelope, you will need the following: a used envelope, printed paper, adhesive, card stock, paper cutter, cuddle bug, an ink pad, stamps, markers, and crystals.

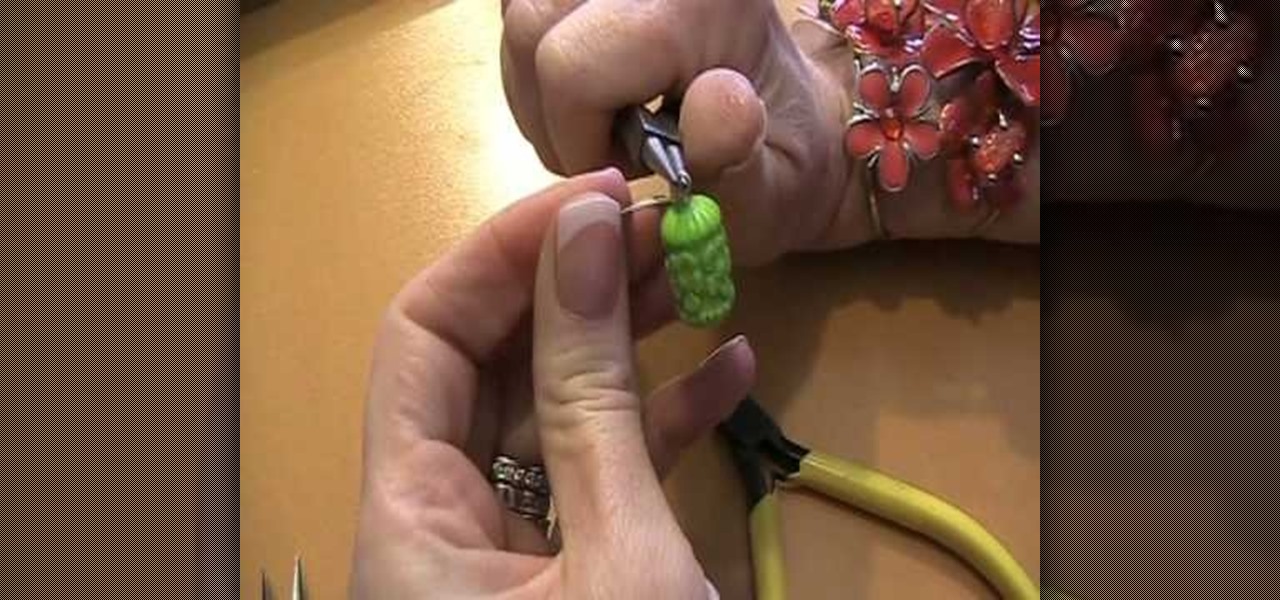
When it comes to making earrings or necklaces, you could take the easy way out and just add a normal head pin to the top of your bead or pendant. But what if you like to create motifs with the wire itself? A great way to start embellishing with wire is by creating this coiled top dangle, or a wrapped head pin.

V, the masked and rather offbeat/tortured hero from the movie "V For Vendetta," had a strange obsession with a particular letter of the alphabet, embellishing all his clothing and gear with a great big letter "V."

The Dremel 300 series multi tool is basically a shrunken down version of a power drill. With a tinier drill and several different speeds, this tool can be used to create holes in even the toughest of surfaces.

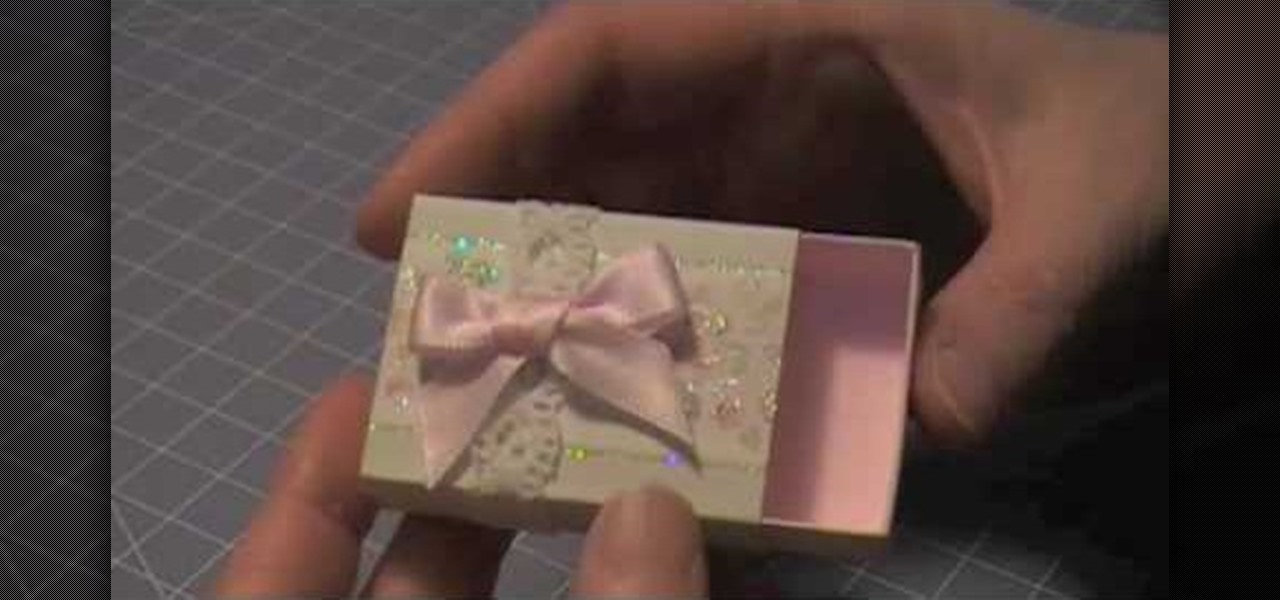
The Artful Paper Doll demonstrates how to make a Marie Antoinette inspired matchbox. Trace the matchbox template onto a piece of decorative paper. Score the template on the creases and then cut the template out of the decorative paper. Fold the creases up. Affix the creases into a square basket shape with dabs of glue to hold the flaps closed. Fold and glue the ends of the box sleeve together. Slide the basket into the sleeve to form the matchbox. Embellish the box as desired. The box can be ...

Beside the frosted cake, you will need some artificial flowers, some pretty ribbon, a ball of Styrofoam and some saran wrap. Start by covering the Styrofoam ball with a piece of saran wrap. Then clip off small pieces of the dried flowers and stick them all around the ball of Styrofoam. If the flowers have wire stems you will need a pair of wire cutters or pliers for this job. When the ball is completely covered with the flowers, set it in place on top of the cake. Next, measure the ribbon the...

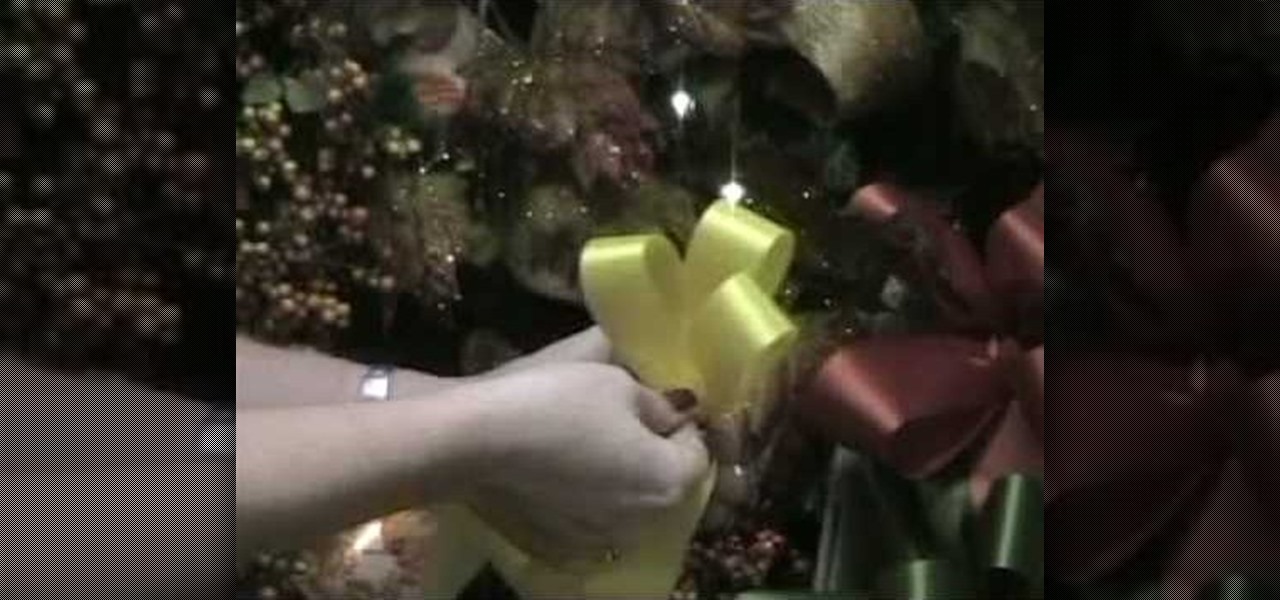
There's no better time than the holidays to whip up a batch of beautiful decorative bows. This instructional video teaches you how to tie your own bows for embellishing any holiday themed item. Once you've mastered this technique feel free to experiment with other sizes and styles. These are the bows that we use to attach to wreaths, garlands, centerpieces, swags, potted plants, and a variety of other floral arrangements. Learning how to make your own professional crafter's quality bow like t...

Learn how to make simple tri-fold cards with these instructions. What you will need: -5 1/2" by 11" cardstock paper -Scorer -Scissors and paper cutter -Pencil and Ruler What to do: -Score the cardstock to 3" by 7 1/4" -Using the 3 3/4" flap, from the corner measure 2 1/2" and mark with a pencil. -Repeat on the horizontal side of the cardstock. -Cut the corners using the marks as your guide. -Round the pointed end with your scissors. -Fold the card at the score line. -Embellish your card as de...

Joann of "Paper Crafting" shows you how to create a CD mini album. What it is, is actually a pop up photo album that you create using a CD case. The materials needed are 1) a CD case. 2) various decorations to put on the outside/inside depending on your taste. 3) cardstock type paper that can be folded around 8 times: on each "fold" you will put a photo- preferably the album will have a theme. Then you fold it up and put it in the Cd Case and embellish the front however you like.

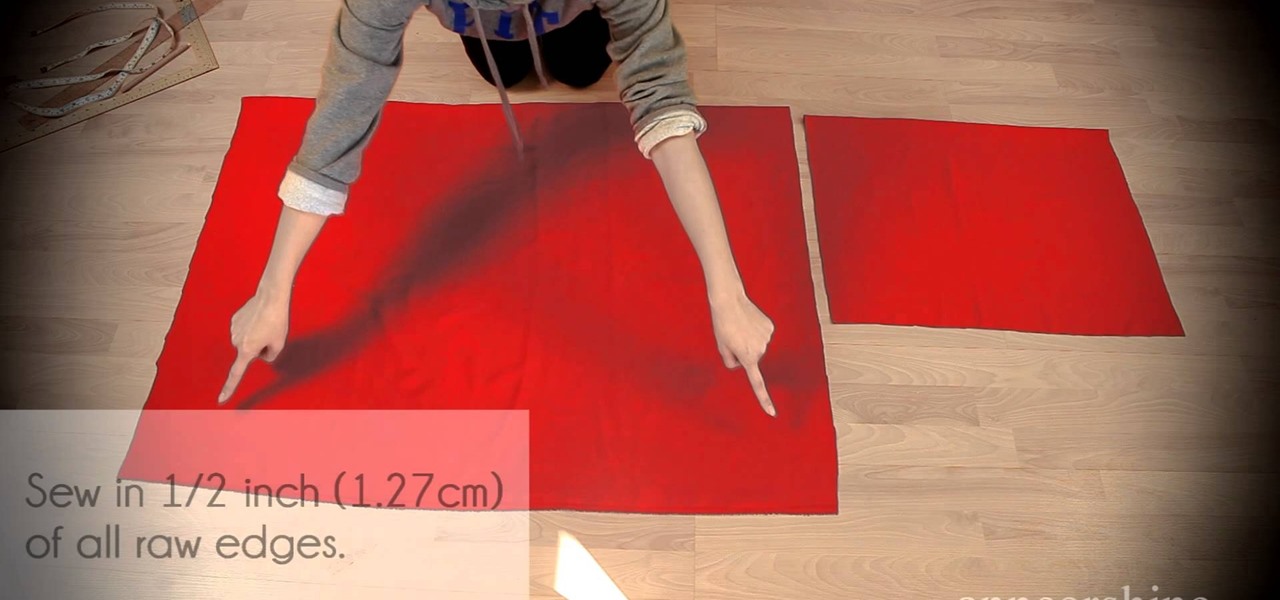
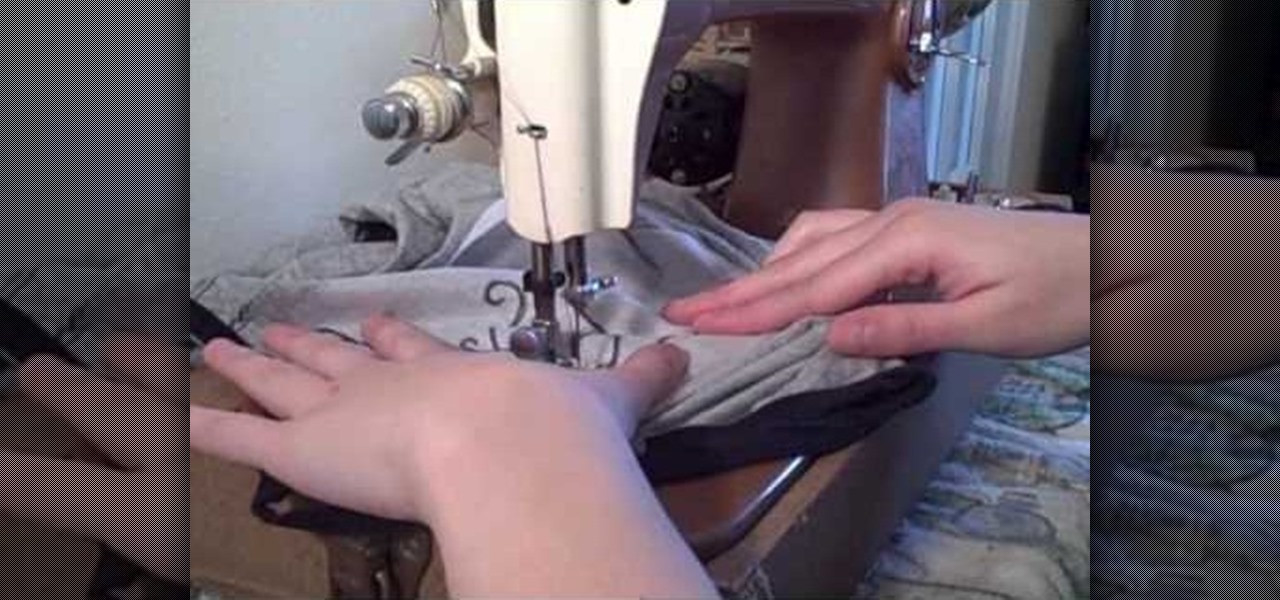
Melissa Watson from DIY Style shows a way to restructure and re-style something that you already have plenty of, a t-shirt, in this how-to video. Add ruffles and rouching to transform a plain tee into something a little more eye-catching. You will need thread, a ruler, elastic, shears, a marking tool, a tissue-knit fabric, straight pins, and a t-shirt. Watch this video design tutorial and learn how to fashion an old t-shirt into something more stylish.

This video origami tutorial shows how to make a triangular box from one piece of paper. It can hold small gifts and goodies, and can easily be decorated and embellished to suit the purpose. Follow along with the step-by-step instructions in these video origami lessons, and fold an easy gift or storage box. All you'll need is paper, ribbon, a piercing tool, scissors, a brad, a paper clip, and a scoring tool.

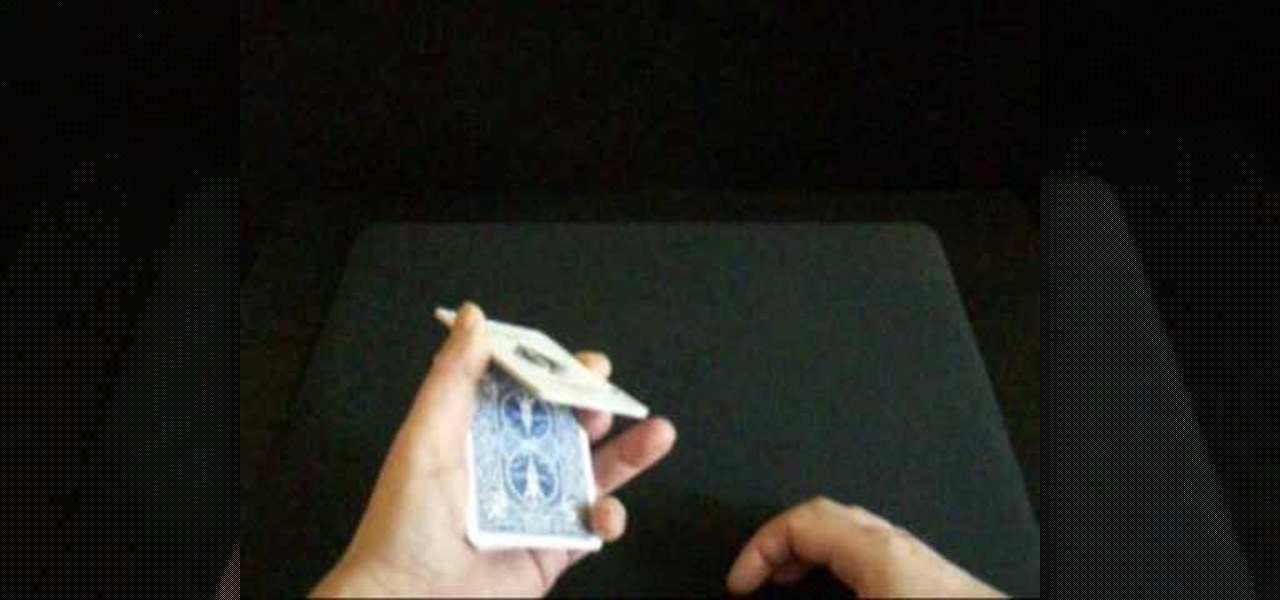
Not only does "Andy Field Magic" go about showing the effect in a professional manner, he does so in a personable and thorough demonstration. Agreed, the effect is not magic in essence, but does show off quite the slight of hand. I appreciated that lack of jargon in the demo; the performer visually made sure that you understood what he was doing step by step. It makes for an easier learning environment when you know exactly how the effect is achieved through a slower paced demo. He seems to b...

It's often that pasta gets the "easy out" tag when served for dinner, but here's an easy recipe for spicy Kabanossi-Sausage pasta (or Chorizo pasta) that tastes gourmet and will leave your family or dinner guests wondering what celebrity chef you have hiding in the kitchen.

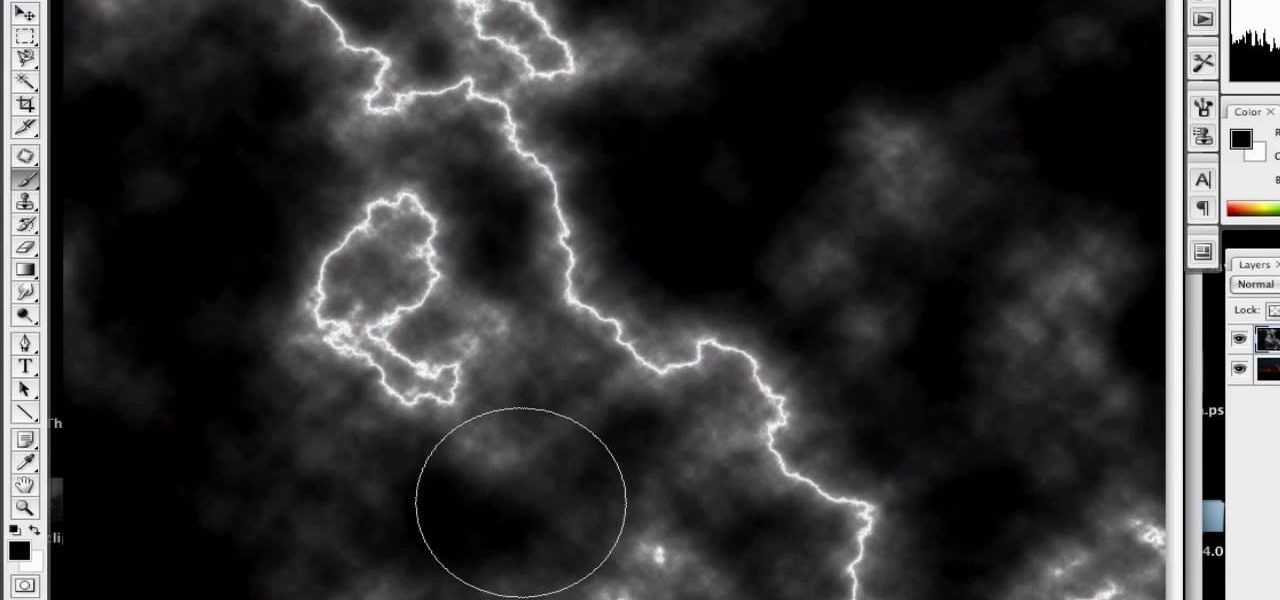
First of all open an image which shows many different lights in a night background. Now make a new layer now set the color of background to black by first and the foreground color set to white. Click the background for the bottom of the left bar and then pressing 'd'’. Next select the 'gradient' tool. Make sure to select the style from the foreground to background. Select the 'mode' to 'normal' and ‘opacity’ to '100%'. Now drag the top right hand corner to the bottom of the left hand corner. ...

Is your cat annoying you? Fight back, without being mean. This little trick is more of a way with nicely playing with you cat, and some cats might even enjoy it. Learn how to annoy a cat without hurting or abusing them by watching this video tutorial.

You’ve found the one, but he’s a horrible kisser. Don’t let him live the lie any longer—you’ve got to let him know… nicely, of course.

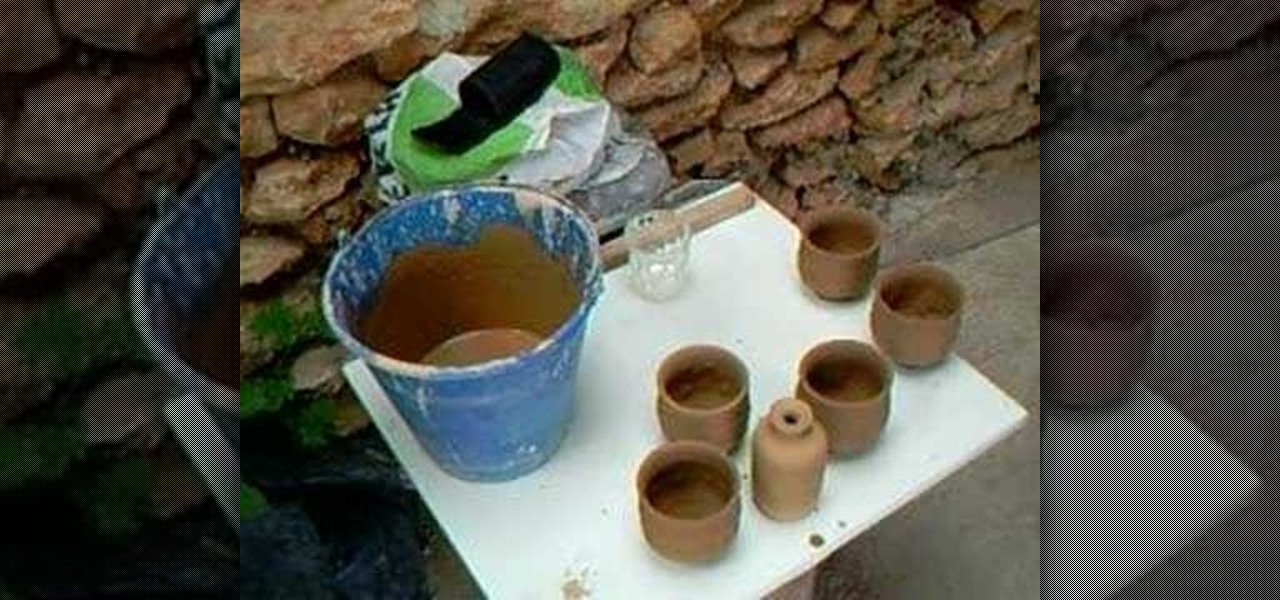
Watch skilled potter, Simon Leach, give his expert instructions on how to glaze a set of tea bowls. He also suggests some household supplies which can be used to embellish your ceramics when the clay is still soft, such as a bolt or a comb. This glaze is a combination of Scotland Hills red mud, feldspar and wood ash. He also uses white clay slip on some of the pots. This is a process wear one glazes the tea bowls while the clay is still semi-soft.

Suzanne Ivester demonstrates how to cover a glass votive candle holder with stenciled polymer clay and embellish it with rubber stamping and metallic effects. Polymer clay is a highly versatile material and can be manipulated to create various effects for myriad crafting projects. Watch this video crafting tutorial and learn how to make a polymer clay candle holder with an Asian-themed dragon.

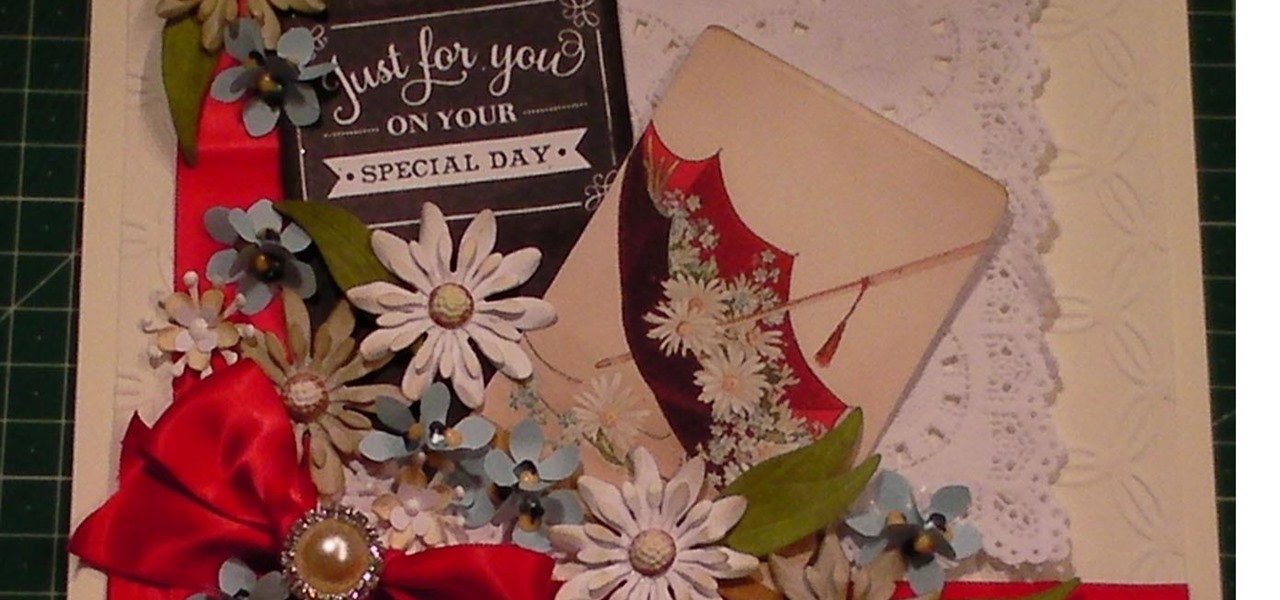
This card tutorial is to make a gorgeous daisy collage style card, ideal for any cardmaker with lots of embellishments. I use a wide range of different flowers and include satin ribbon to embellish the card base. This is a easy when you know how card and with stunning finished results. Step 1: Items Used

Hey, cosplayers, costume lovers, theater actors! Been trying to find a awesome hooded cape that wont break your pocketbook? Why buy when you can make one? It's so easy to do! Adjust the color or length to go with your look and embellish it with extras to get the look you are going for! Total time 20-40 minutes. Total cost $10-$15.

This is a video tutorial in the Education category where you are going to learn how to make a miniature vortex cannon. For this you will need normal plastic drinking cup, punching bag type balloon, black electrical tape, lighter, candle, scissors and a drill. Drill a hole in the bottom of the cup and cut off a big circle at the bottom. Cut the punching bag balloon in half and stretch it over the mouth of the cup and tape it up nicely. The cannon is ready. Now light the candle, hold the cup aw...

Back in the olden days, whenever we desired a nicely embroidered hankerchief or gown we'd sit by the fire with a flickering oil lamp, whittling our fingers away until the breaking hours of dawn. But nowadays, thanks to the genius of sewing machines, embroidery, even the most intricate kinds, takes far less time and midnight oil.

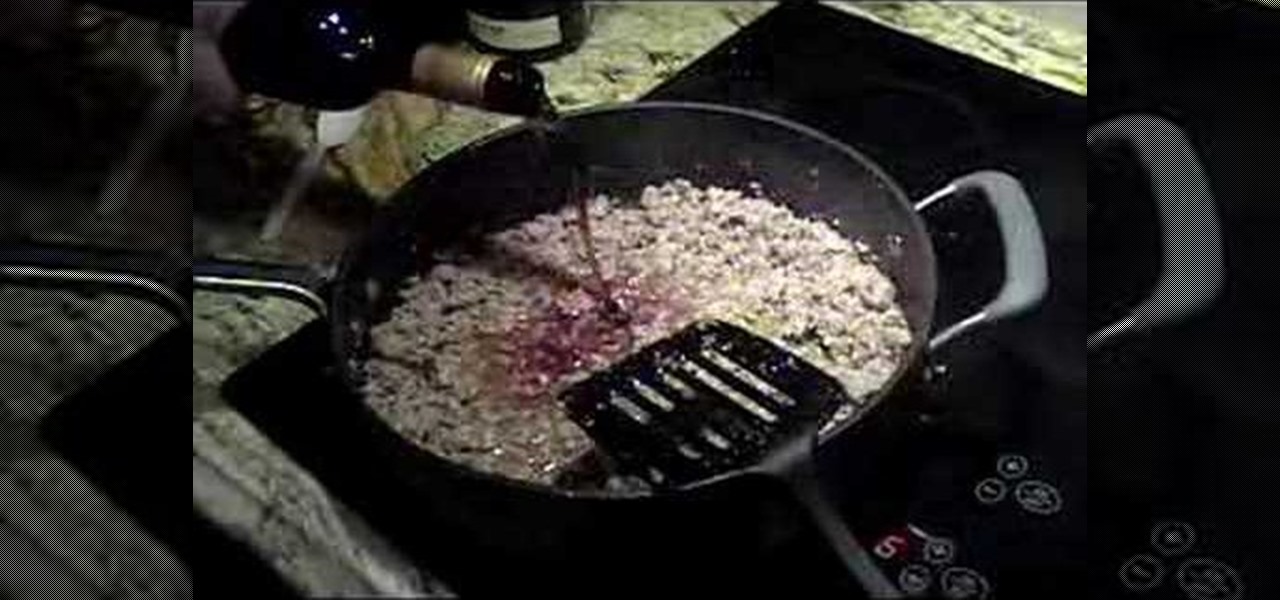
The Singing Gourmet demonstrates how he makes his delicious spaghetti sauce. He starts by heating some extra virgin olive oil in the pan. Then he adds some Trader Joe’s crushed garlic and browns it slowly so it doesn’t burn. Next he puts in some Italian sausage and lets it get nicely browned, then some wine (any kind of wine will work). After that he adds a large dose of Italian seasoning, some garlic powder, a bottle of roasted garlic spaghetti sauce and a can of marinara sauce. To make ...

This video demonstrates how to make a delicious spread called Cheese Wiz at home. The best cheese to use for this is a processed cheese such as cheddar. You will need 450 grams of cheese cut into chunks. Add a can of evaporated milk, one teaspoon of Tabasco and a teaspoon of mustard powder. For extra flavor you can add some chopped onions or chopped jalapeno chiles.

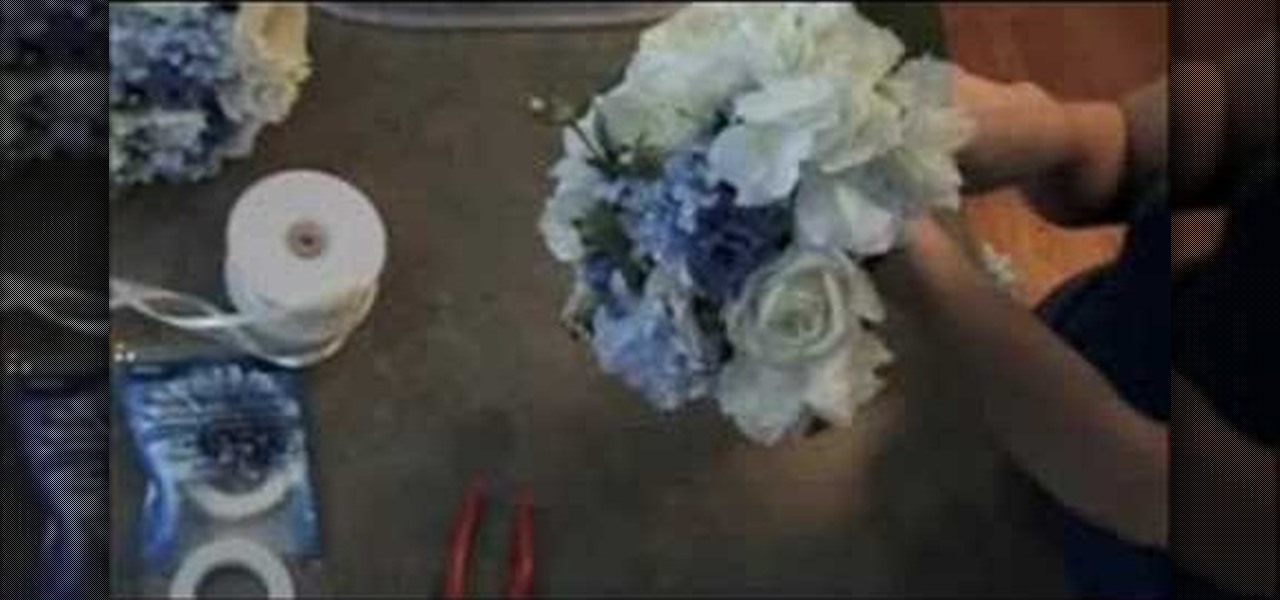
You will need pliers, scissors, fake flowers, stem wrap tape, and some pretty ribbon! Start by separating all of the flowers. Try and create a set of flowers that look nicely together. Match pretty colors with pretty colors. Make sure it is balanced on all sides and not too much of one color in one spot. Then wrap all of the stems together with the tape wrap. Then use the pliers to trim the stems. Then tape all of the stems together. Then you should wrap all of the stems in tissue paper. Cont...

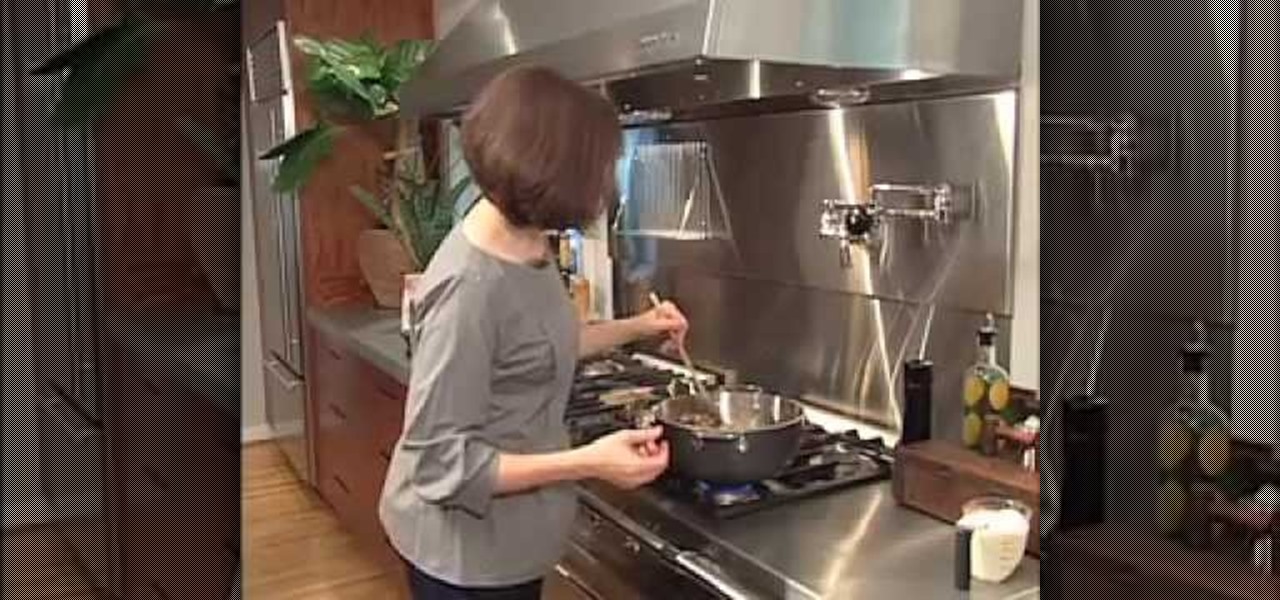
Diane Morgan demonstrates how to make a delicious soup using porcini mushrooms. Start by sautéing a big batch of chopped onions and leeks in butter until they are nicely cooked. Then mix in the chopped mushrooms and some flour and cook for a few minutes until the flour is absorbed. Add in some stock, some bay leaves, fresh thyme leaves, salt and sugar (sugar brings out the flavors in the soup). Simmer for about ten minutes, remove the bay leaves, and it’s ready to go into the blender. Use an ...

In this web TV presentation the host is talking about Grub 2. In Grub 2 you can mount an ISO file like a device with the loop back function. In Grub 1 you can use tack tack mem to mount iso files if the files are not fragmented by using the map command. Grub 2 is an application available for download that will be available after download as a chain from Grub 1 to Grub 2 to your operating system. Grub is a program that compresses all of your favorite boot programs into one.

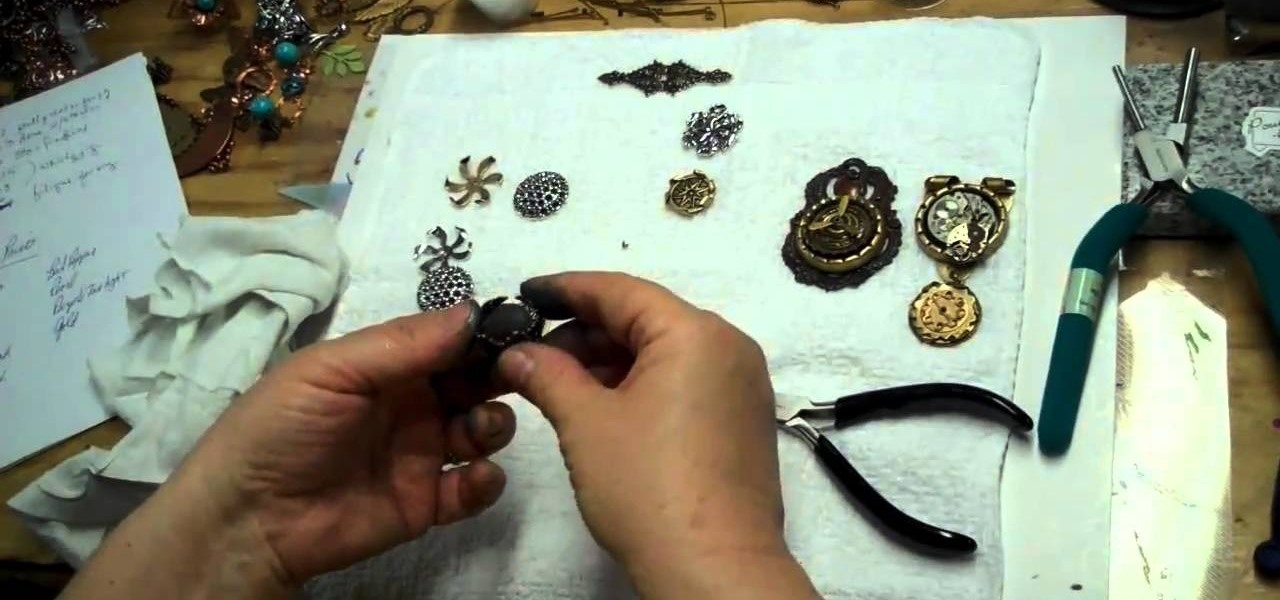
If you haven't heard of Steampunk, then you've obviously been living under a rock for the past couple of years. Steampunk style, which is an ironic style composed of designs that fuse anachronistic technology (proppellers, watch parts, etc.) with Victorian style.

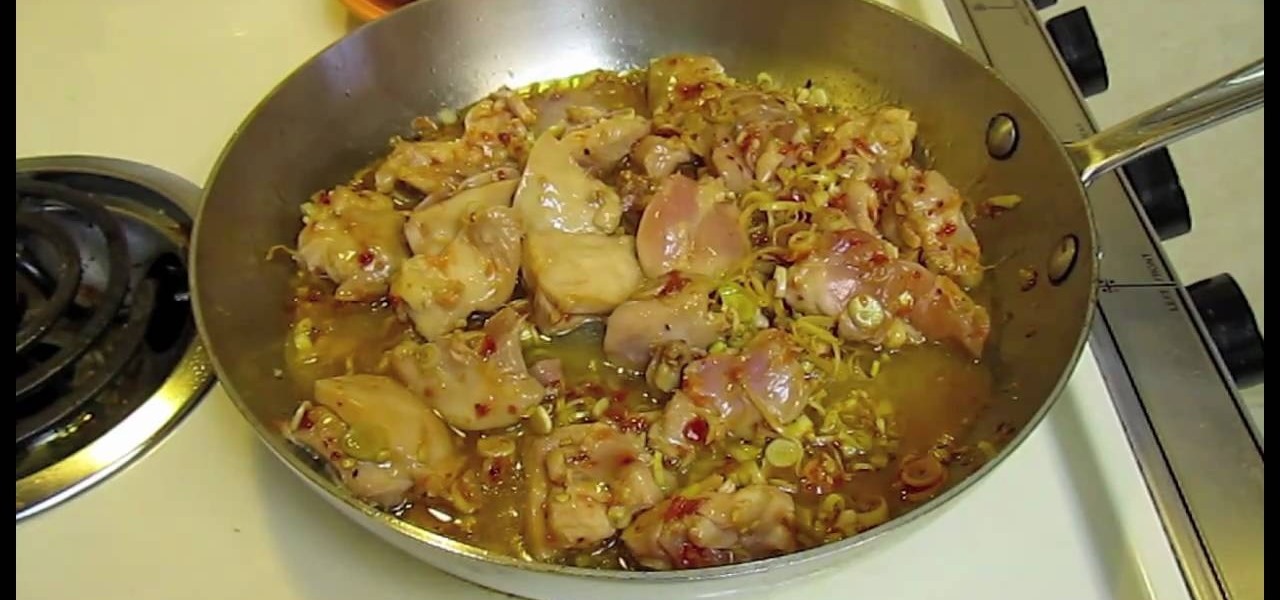
Lemongrass chicken combines the sweet yet tarty flavor of lemongrass with the scrumptious heat of chili pepper sauce (Sambal). This makes for a dish that'll warm you up nicely during a cold fall night.

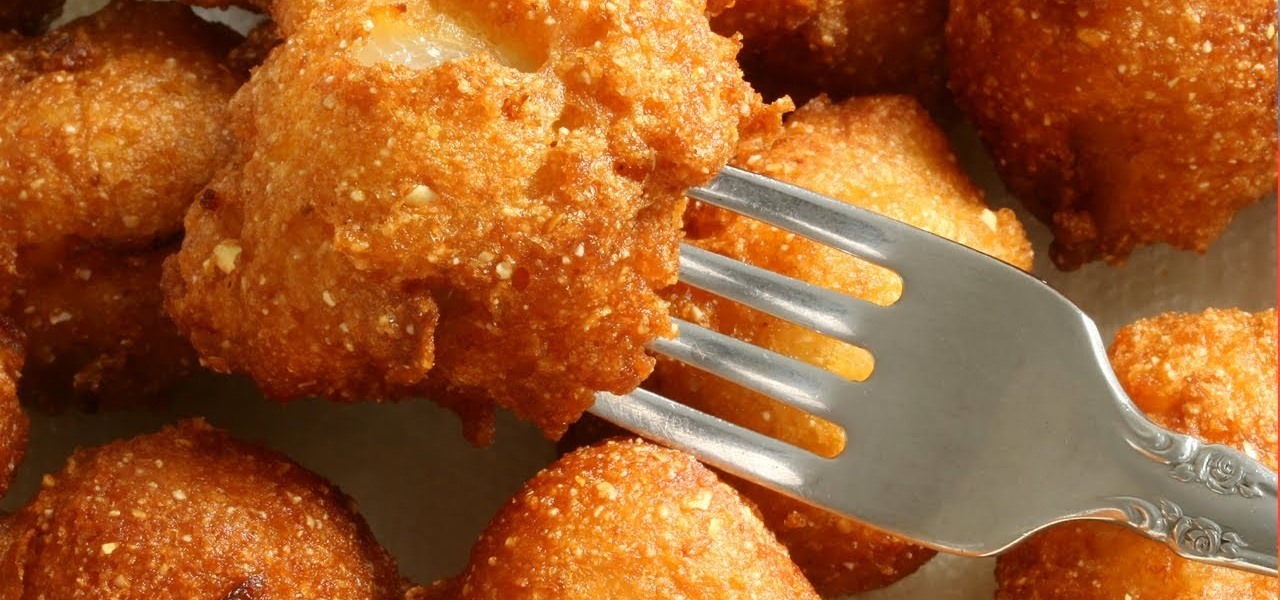
Hilah Johnson demonstrates how to make a quick and easy recipe called Hush Puppies,in this video.In a bowl take some leftover corn dog batter add an egg to it.Also add 1/2 cup of cornmeal,three nicely chopped green onions and a tablespoon of sugar.Mix the ingredients thoroughly.In a deep fryer add anough oil for deep friyng and heat it.When the temp gets to 375,take some of the batter mixture in a spoon add it to the oil.Keep turning the hush puppies to avoid them from burning.When they are g...

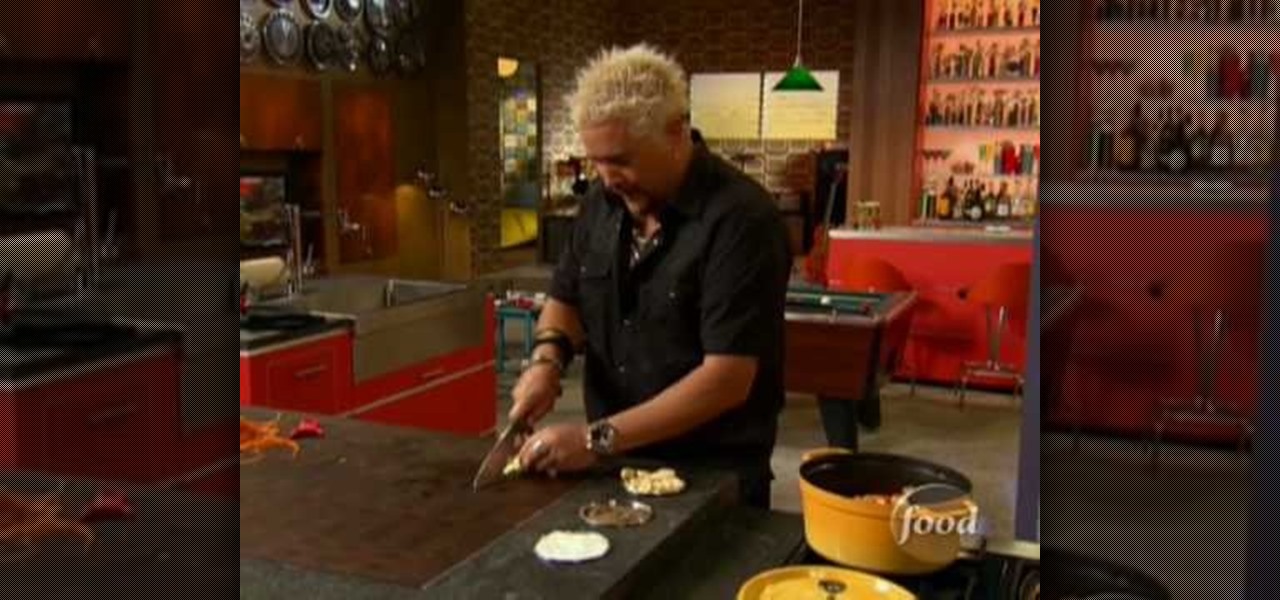
Guy Fieri shows us how to make a creamy and delicious carrot and ginger soup. Start by browning some onions in hot oil in a Dutch oven. Chop up some carrots and potatoes into small chunks and add them to the pot, then add some chopped garlic and ginger. When this is nicely browned, add some chicken stock and leave it to cook on low heat.

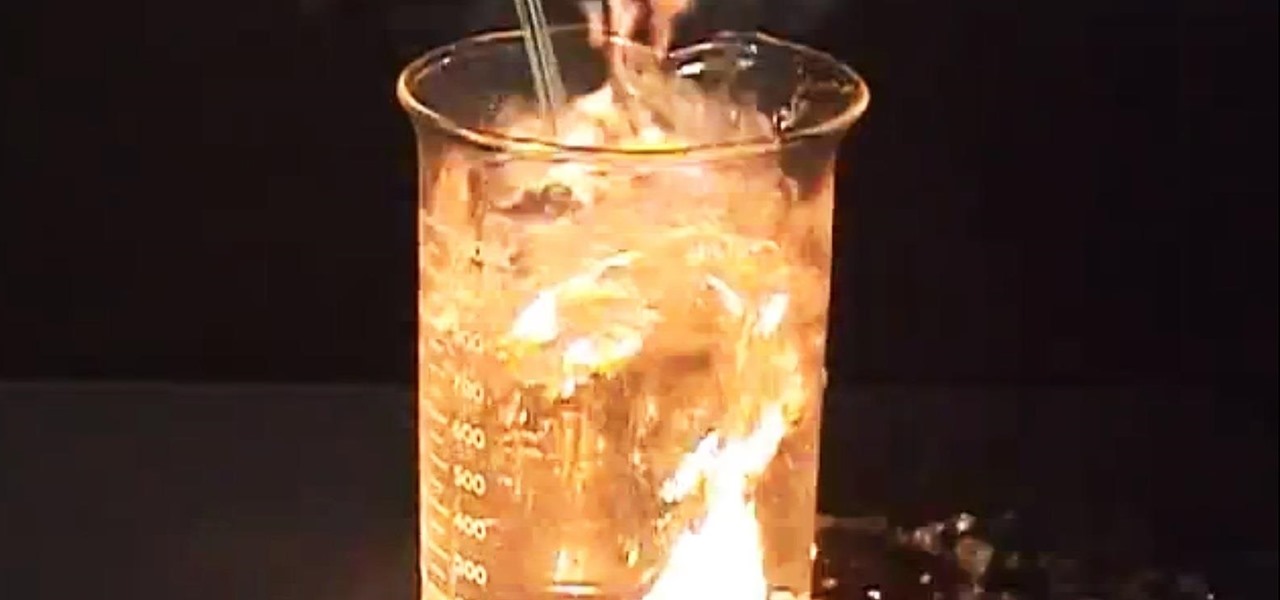
In this video tutorial, you will learn how to use sparklers, or fireworks underwater. You'll need some sparklers, tape, glass container, a lighter, and, of course—water.

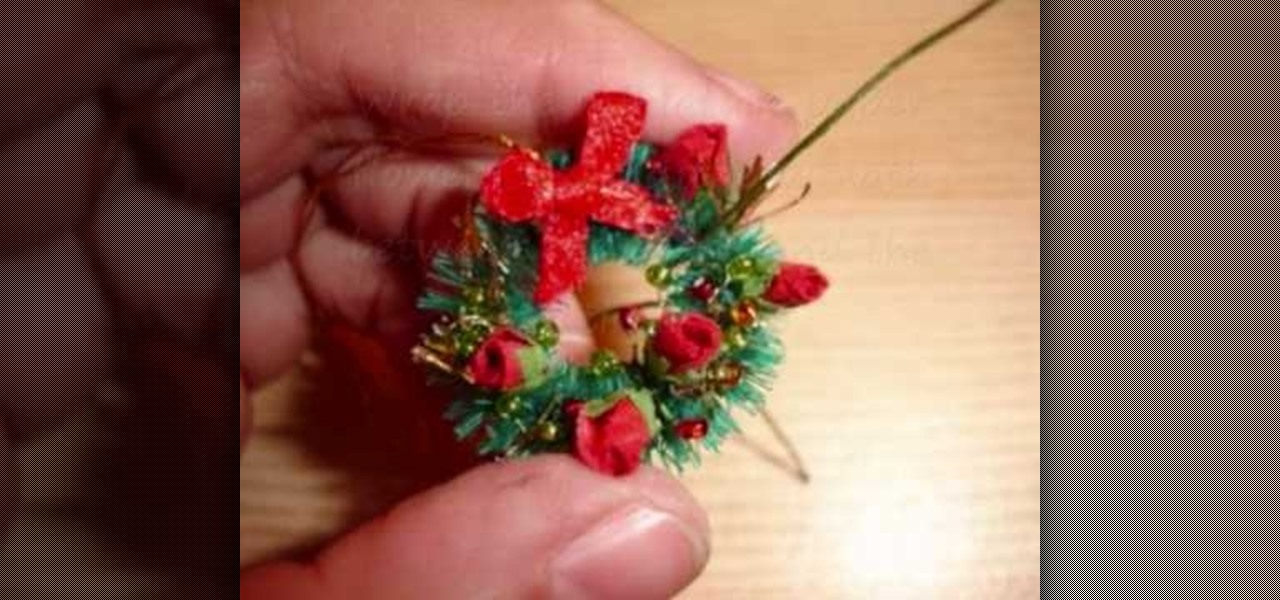
The equipment that you need is pliers, beads, beading wire, tinsel, some miniature flowers and a plain wreath. Twist a section of beads onto the wire, 5 beads make a nice grouping. Twist the 5 beads onto a single wire to make a bunch. Make enough bunches to cover the wreath. Fold a piece of tinsel between your fingers. Wrap the beading wire around the tinsel to hold it firm. Fluff the tinsel to give it some depth. Wrap the bead bunches and tinsel wraps around the wreath. Wrap the miniature pa...

This video tutorial is going to show you how to make miniature ghost animals. For this you will need some animal figures, cheese puff and some fabric stiffener. Take the cheese puff, put it over the animal figure and measure how much you need. Cut off the cheese puff and put it over the animal; covering it fully. Then, take the fabric stiffener, apply it over the cheese puff and put it over the animal. Wrap it up nicely and let it stand for sometime to dry. But, don’t put it under the animal....


