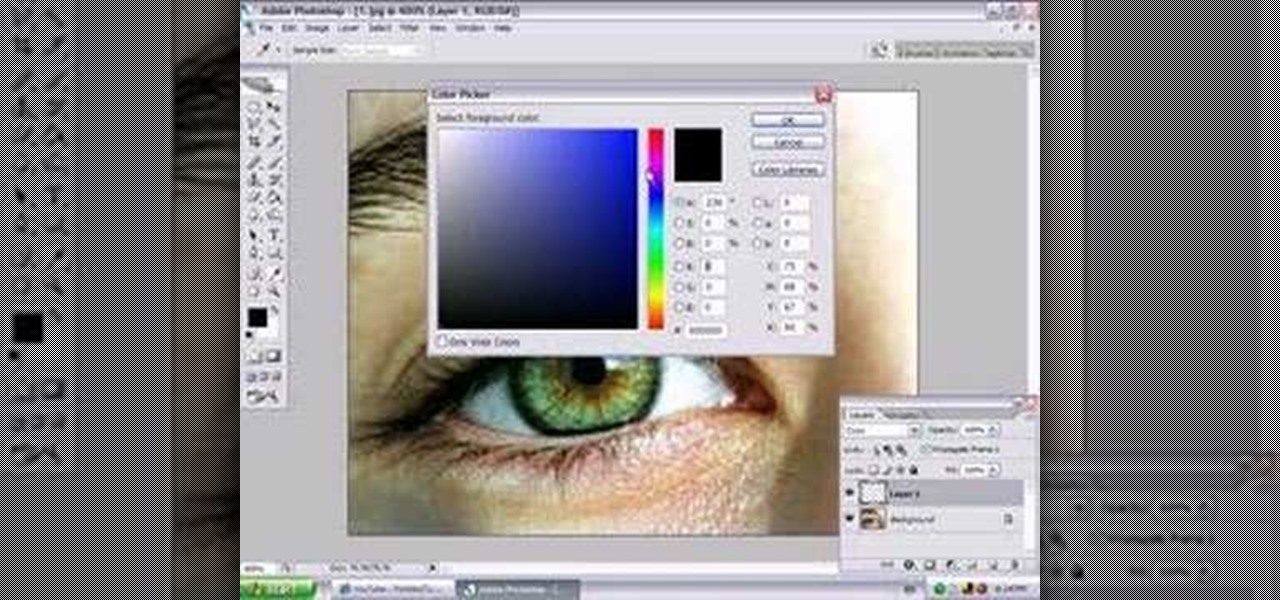
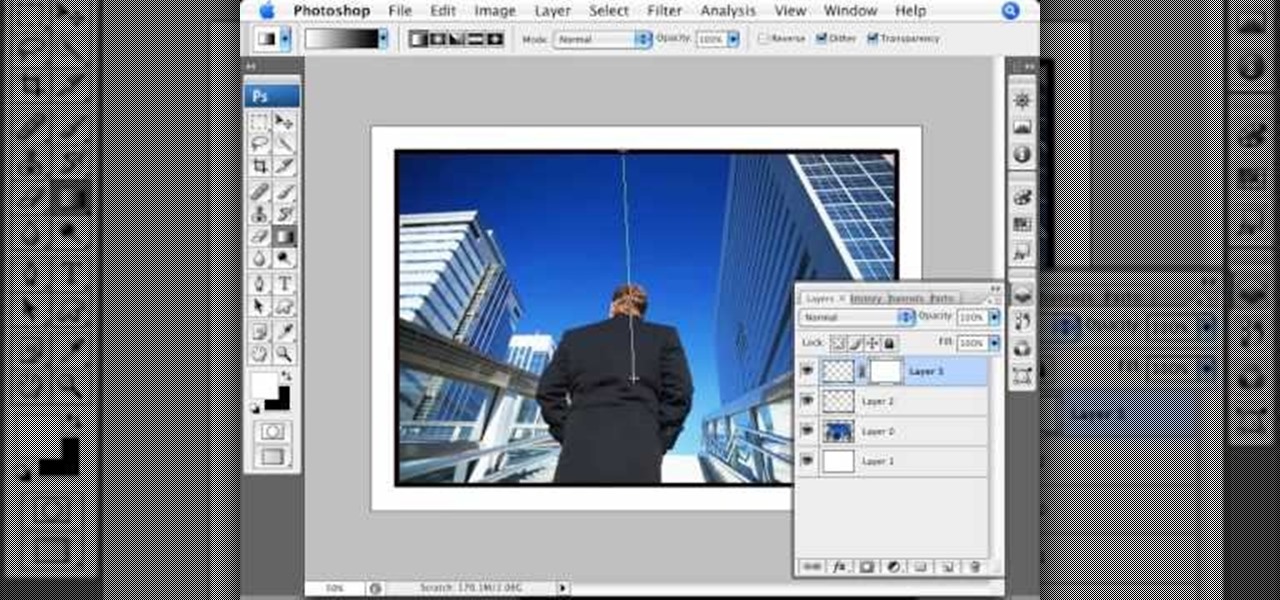
In this video, Jessica shows us how to change eye color using Photoshop. First, open up Photoshop on your computer. Open up your picture and zoom in on the eyes so you have a great view of it. Then add a new layer or "control +j". Where it says "normal" change that to color. Then select your paintbrush tool and make it a reasonable size for your eye. Click the color palette square and change the color to whichever one you choose. Now, paint over the eye and it will completely change the look!...
This video will show you what your head voice is and how to sing high notes. Your head voice is a higher range than your normal chest voice, which can only go a certain range. Your head voice is the voice that occurs when your singing and vibration of your vocal chords is felt higher up than your chest, in your head area. This tutorial will show you how you can find this head voice and demonstrates a good method for exercising your voice so that you will be able to more efficiently sing highe...
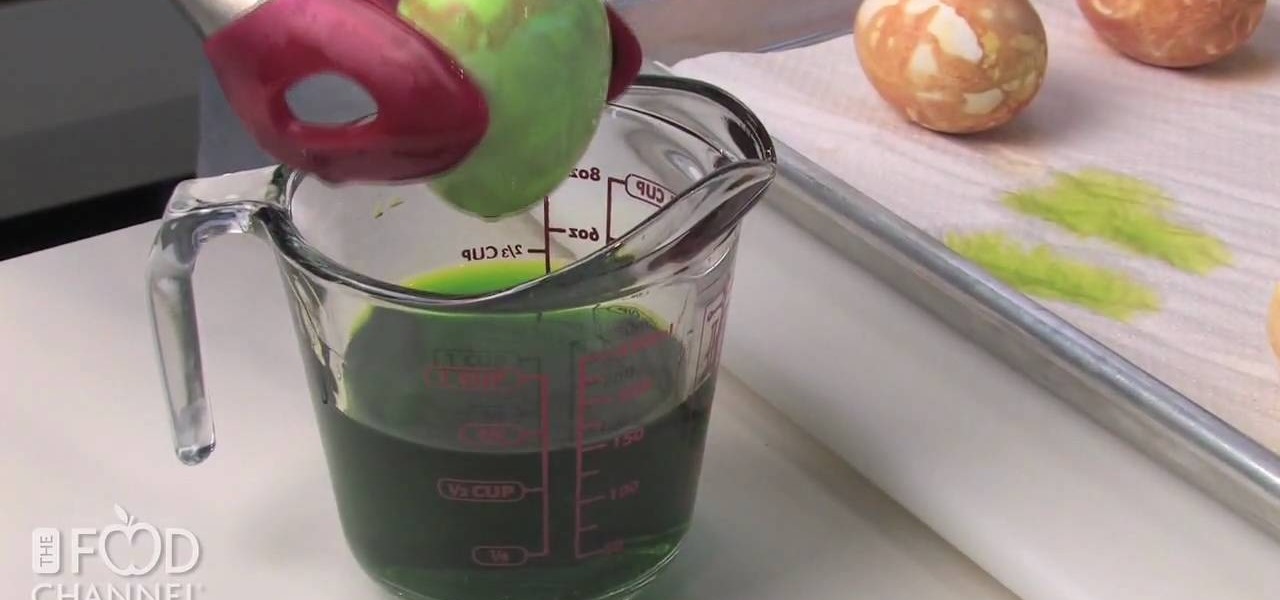
Naturally dyed eggs is the way to go for Easter time. Aside from just using your normal dyes for Easter eggs, add a unique look by just using onion skins. Onion skins will dye your Easter eggs with a cook natural color, great for eating or for decoration.
Don't know how to add some line frames in Photoshop? Well, this video teaches the viewers how to exactly add line frames, or borders for their images using Photoshop. First of all, change the background layer into a normal layer. Next, go to image size and add in some more pixels in order to allow room for the border. Next, add another layer and set it to transparent. Now select where you want your border to be, then go to strokes, and select a color. At this point, the viewer should have a b...
Watch this video and learn to be happy with stretch marks and the appearance of your body. -It is normal to have stretch marks, 78% of women have stretch marks.
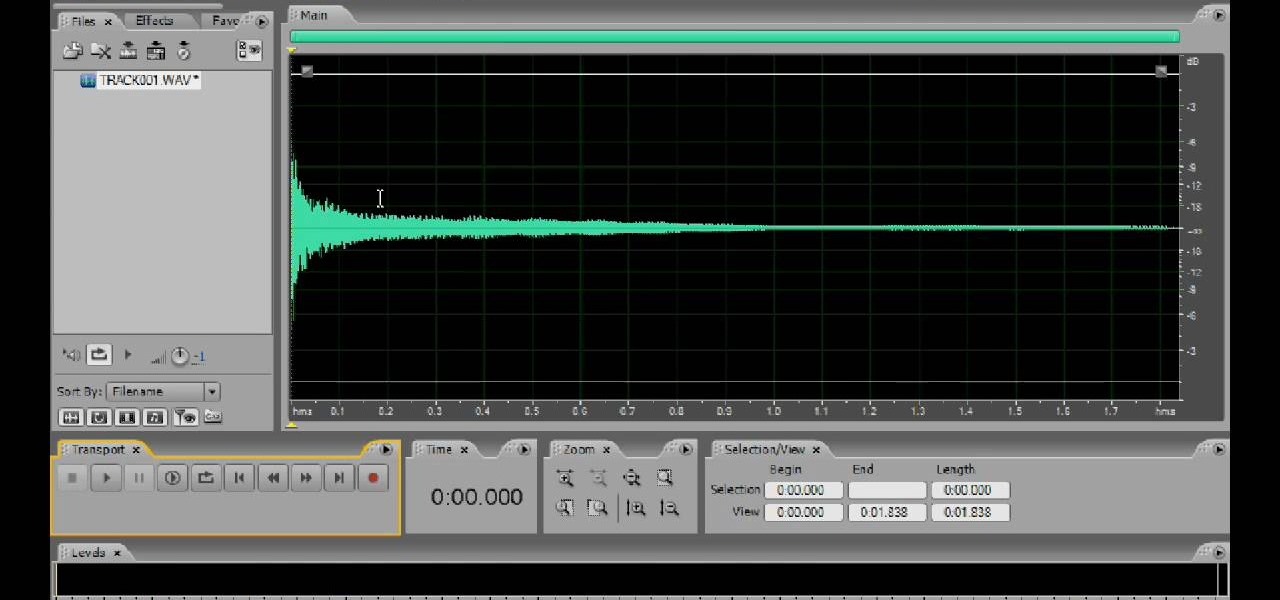
Shatter glass with your mind!… Um, no… with speakers! This little video shows you how to shatter wine glasses with your own speakers. Yep, those normal, everyday home speakers that you have can break a wine glass just like a jackhammer.

Bowling Buddies is a Facebook game that allows you to... you guessed it... bowl! Watch this video tutorial to learn how to mod Bowling Buddies for perfect games (09/24/09).
Welcome to a tennis lesson from FuzzyYellowBalls, the the best place to learn how to play tennis online. Our free video tennis lessons teach you how to play the game in a new way that combines technical analysis, visual learning, and step-by-step progressions.
Welcome to a tennis lesson from FuzzyYellowBalls, the the best place to learn how to play tennis online. Our free video tennis lessons teach you how to play the game in a new way that combines technical analysis, visual learning, and step-by-step progressions.
Apple's latest iPhone operating system is notorious for its frequent bugs and glitches. The latest iteration, iOS 11.3, is no exception, as users are experiencing not only 3D Touch issues but missing screenshot previews as well.
You can capture some pretty amazing videos using the slo-mo and time-lapse capabilities in the stock Camera app for iPhone 5s, 6, 6 Plus, or iPad Air 2, but there's no way to really combine them unless you shoot different videos and splice them together with a separate video editing app.
Unlike the suave 007 that Daniel Craig portrayed, I am not a spy, nor am I that charming, but I do occasionally enjoy taking a stealthy video. Maybe I'm a jerk, but I often catch people doing ridiculous things and just think, "Aren't you embarrassed?"
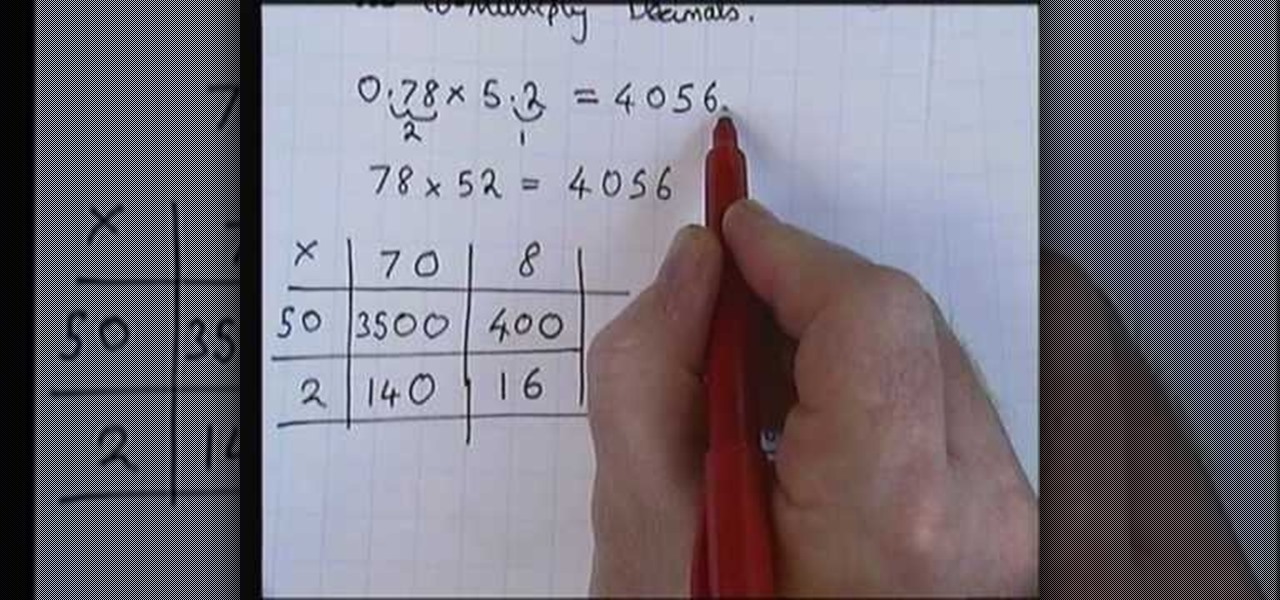
In this tutorial we learn how to multiply decimals together. Start off by ignoring the decimal points on the equation and just imagining you have normal numbers. Then, multiply the two numbers that you wrote down together. Once you figure that out, it will be time to reintroduce the decimals. Look at the place the decimal is in each number in the beginning equation. Then, add the decimal places together between each of them. From here, place the decimal on the end of the answer you came up wi...
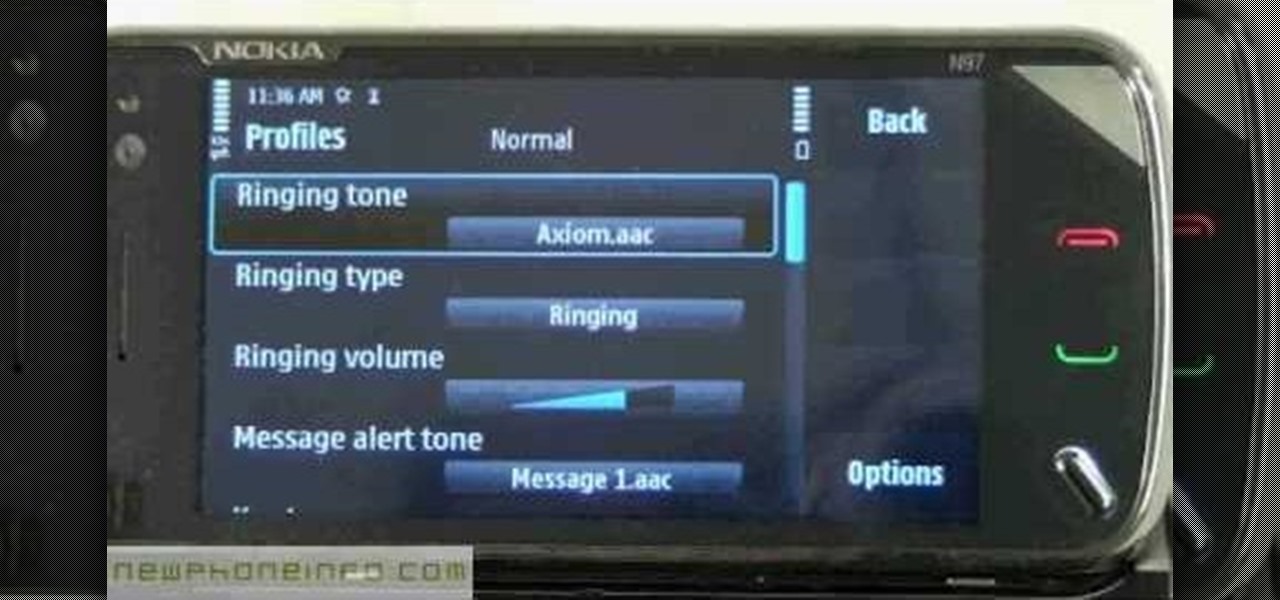
In this tutorial, we learn how to change ringtones on the Nokia N97. From the main menu, you will first tap the menu key. After this, scroll down the menu list and tap on the settings menu. From here, tap on profiles and then tap normal. After this, tap on 'customize' and then tap on the ringing tone option. From here, you can choose which tone you want to play when someone calls your phone. Once finished, select the song and then return back to the ringtone menu. If you're finished, go back ...
Want to create your own camera? The simplest one that you can create is a pinhole camera which can be constructed from everyday household items.
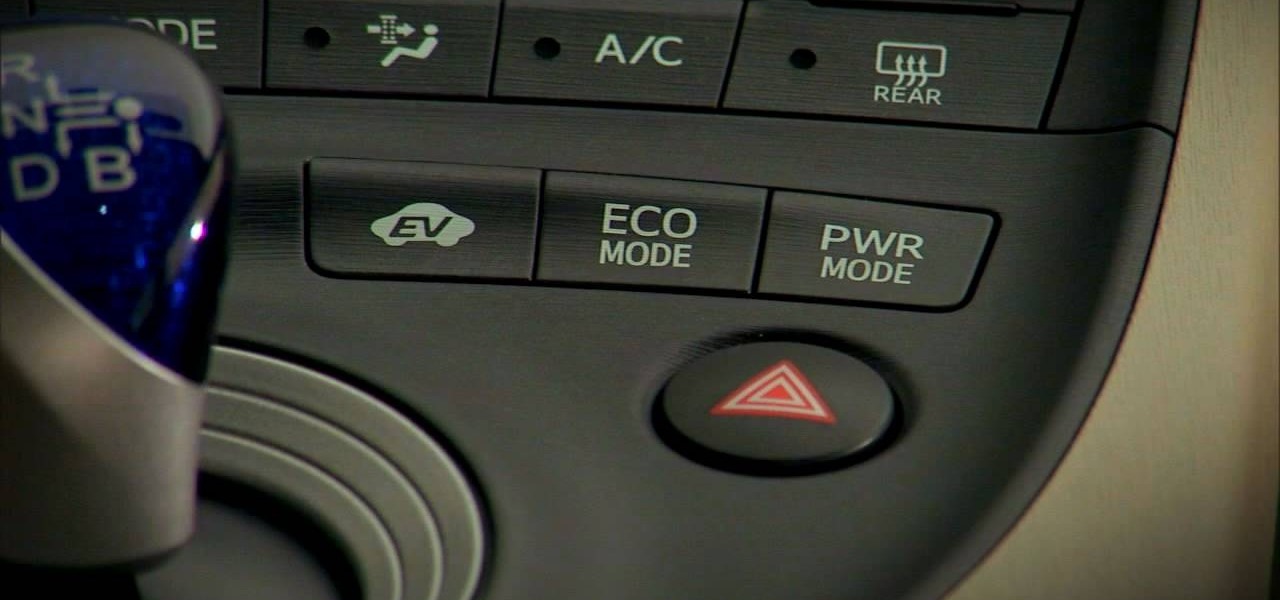
In this tutorial, we learn how to choose which driving mode to use in the 2010 Prius. The Prius offers four drive modes: normal, eco, power, and ev mode. To activate the mode, press the appropriate button the center console and the light will appear in the center console. Now, you can press it again to deactivate it if you no longer want it on. The Prius has a driving range of 1/2 mile and can operate at 25 mph using light throttle. If the battery needs charging or the speed exceeds 25 mph th...
In this video, we learn how to customize slideshows with titles using iMovie. First, find the photos that you want to add. Then, right click on one of the photos and then choose "show file". Now you will have a selection of all the photos that have the same search name. Drag these pictures into iMovie, then wait for the program to finish loading. When it's loaded, you will have the picture in a slideshow. You can add in any effect you would like to the pictures, or just leave them normal. Whe...
In this video, we learn how to write the letter O in calligraphy copperplate. Take your calligraphy pen and make a medium thick half loop at the top, dragging it down into a thicker line on the left side of the word. Then, continue onto the other side of the O with a lighter touch of the pen making a very thin line, finishing with a loop in the middle. Make the smaller O just like normal, making the thick line on the side and finishing with a small loop bending out to the right at the end. Wh...
Justin Bieber has just become the newest Proactiv spokesperson, showing that no matter how many people are looking at you (he performs for crowds of thousands), you never want acne on your face. While you may head back to your classes with fewer people paying attention to your face, pimples can still be quite the pain in the ass.
In this tutorial, we learn how to draw blood from an arterial line. First, you will need a catheter, tubing, regular iv tubing, 10 cc syringe, transducer, fluid bag, and iv saline bag. First, waste a couple ml's of blood by turning the stock cock off to the system and draw back a couple liters of blood. After this, turn the stock cock off the syringe and take out the syringe, then add a new one. Now, take your sample of blood and draw out 5 ml of new blood. Take out the syringe, then cap it a...
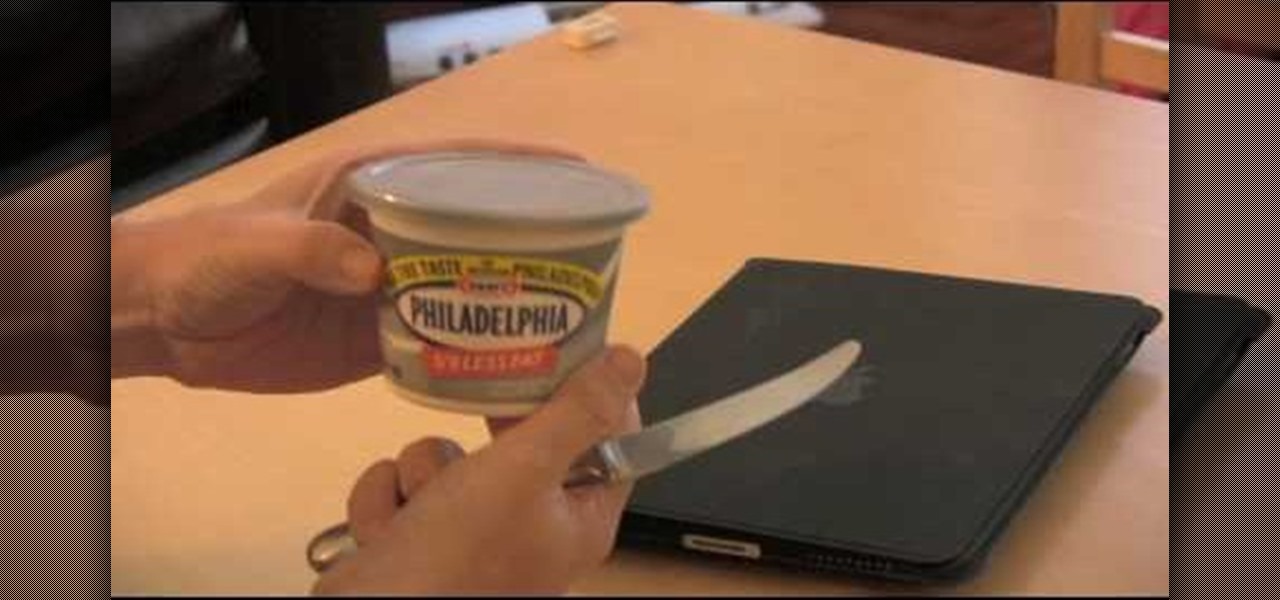
The iPad is a great looking device, but its very easy to get sticky, gooey fingerprints all over it very easily. Everything on the iPad is done with touch, so it is inevitable that it will get dirty quite quickly.
Simon Leach is an online pottery instruction legend, and in this three-part video, he instructs us in a procedure somewhat outside his normal area of expertise by creating a homemade plaster bat, which is basically a flat plaster block used for drying wet clay. For the hardcore at-home ceramics whiz this could be a very fun and rewarding project. Just make sure you are comfortable working with both plaster and clay!
Superheroes have out of this world bodies. They are in perfect, prime condition and often look super-human. Learning to draw a superhero body is different than that of a normal person.
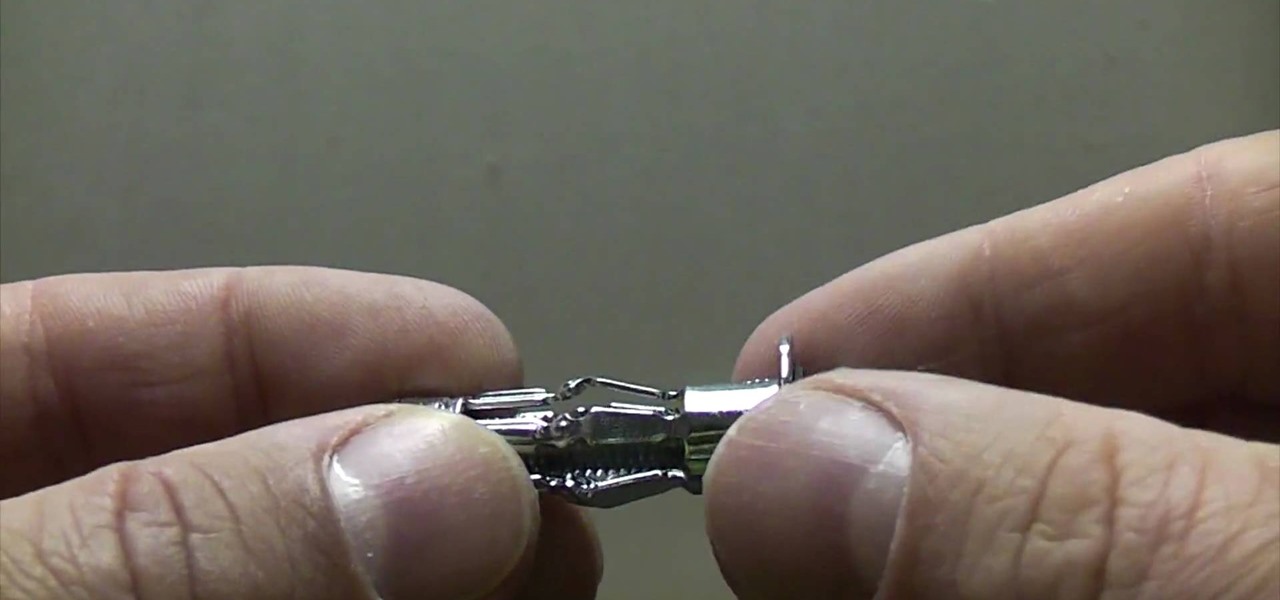
If you need to fix your plasterboard or drywall, you will probably need to use hollow wall anchors. In this tutorial, learn how to identify, buy and use hollow wall anchors with the Ultimate Handyman. Once you master this skill, you will be able to repair almost any wall easily. Hollow wall anchors are also very useful for hanging anything heavy on an otherwise weak wall. They attach to the back of the plasterboard with little legs so they are more secure than normal nails or screws.
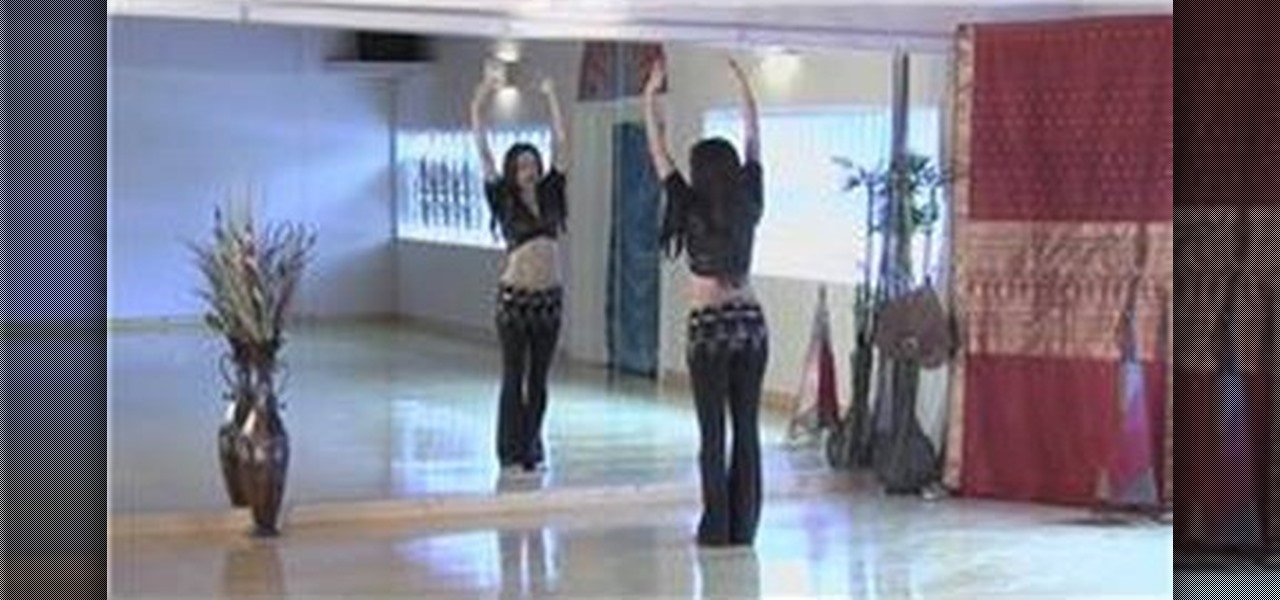
It's always important after every form of exercise to cool down. In this video, learn how to cool down after belly dancing and temper the body back to its normal state. Learn how to stretch out your worked out muscles during a cool down with help from a belly dancing expert: Sahira began her career as a Middle Eastern dancer in Houston, Texas under the direction of Thalia and Shakira Masood-Ali. Get advice & more belly dancing lessons by searching Wonder How To!
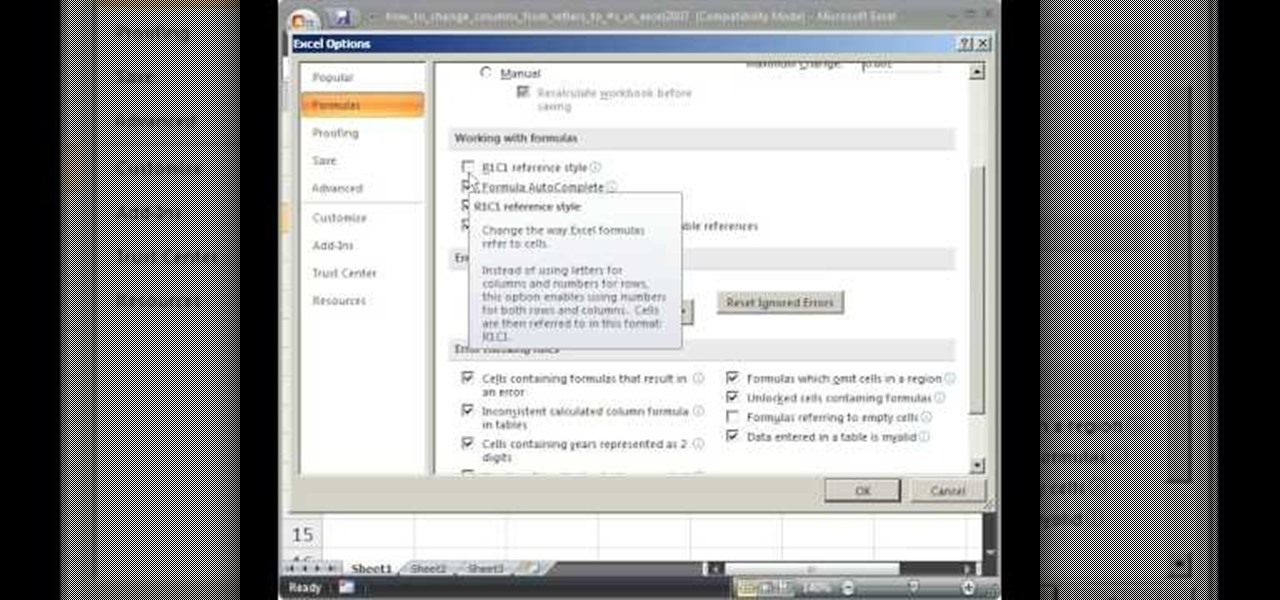
Teach Excel demonstrates how to change the columns from letters to numbers in Excel 2007. The first step is to click on the Office button in the top left part of the window. Next, you click on Excel Options and click on the Formulas tab. There should be a heading labeled "Working with Formulas." The checkbox for R1C1 reference style should be unchecked by default. Check that box and click OK. This changes the column headers from letters to numbers. In order to change back to letters, simply g...
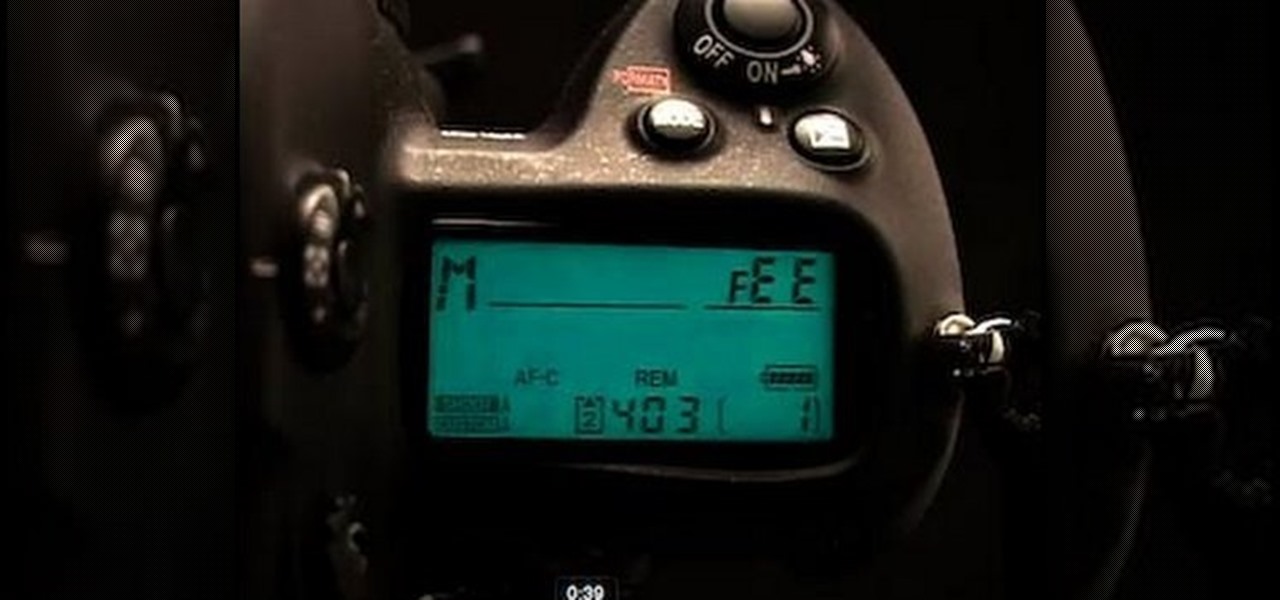
In this video, it is demonstrated how to get rid of a "FEE" error message on a Nikon DSLR camera. The solution is fairly simple and quick to do. First you will want to turn your camera on to where you see the "FEE" error message on the LCD screen. Next, you will set the camera's aperture ring to the highest number available. After this, the last step is to lock the aperture ring by using the switch. After doing this step, your camera should return back to normal working order and the "FEE" er...
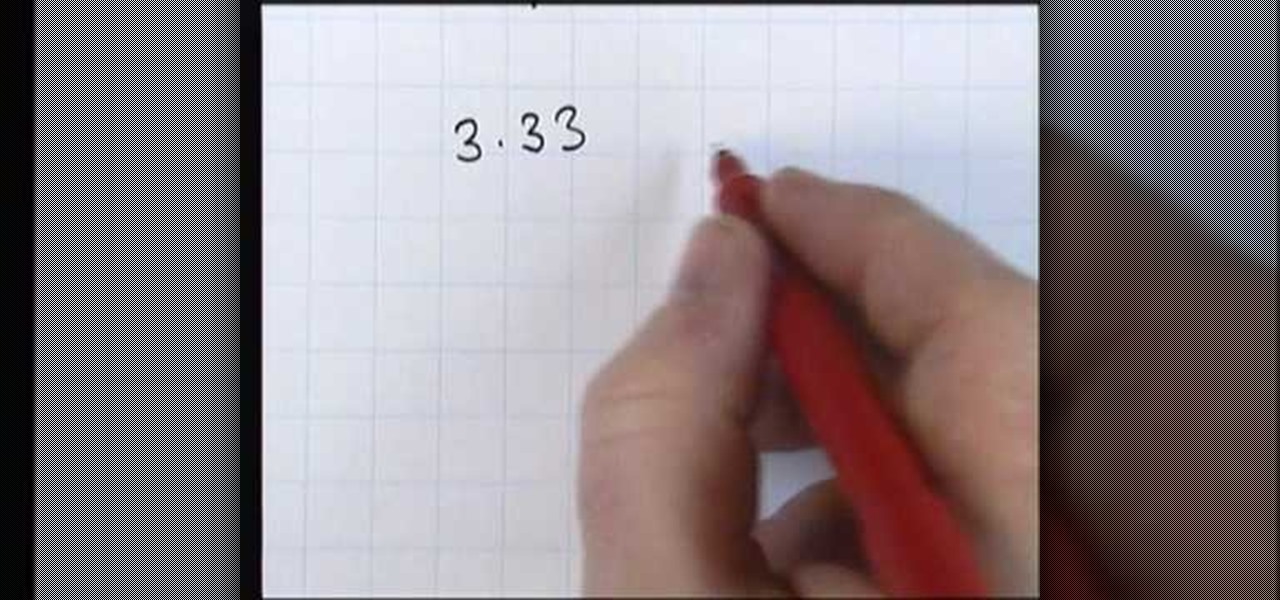
Learn how to add the decimals together in simple and easy steps. 1. First practice adding two normal digits using the traditional adding method and get your answer correctly. 2. Now to add the decimals together use the same example by including decimal points to them. 3. The adding will also be the same traditional method except that you have to place a decimal point in the exact location of your answer. 4. Now take another example (E.g.: 3. 33+4. 2) and add it in the same way by placing a ze...
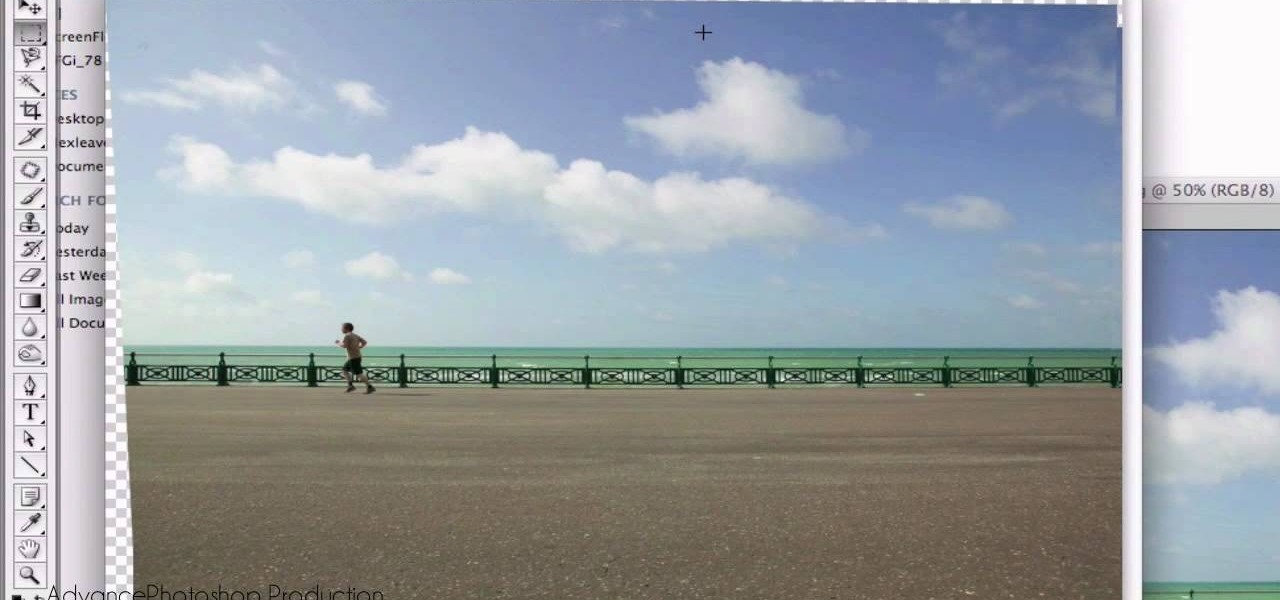
Open your first image and go to the rectangular marquee tool and select all of the image. Next click command or control C to copy image. Then go to your second image and click command or control V to paste the image. Select both the layers (hold down shift when clicking the layer), then go to edit, auto align layers and choose the top option then click ok. Last add a mask to your top layer, this is done by selecting the gradient tool (make sure its set black to white, the mode is normal and o...
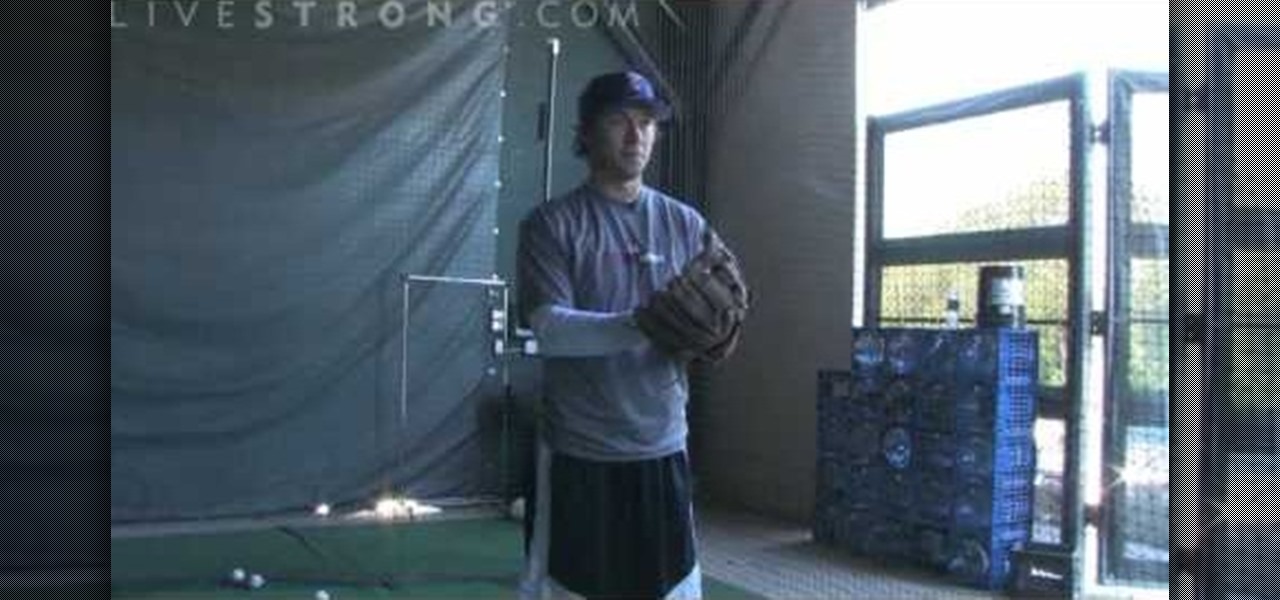
Kyle Hutchens with Live Strong demonstrates how to throw a good curveball. First grip the baseball on the side where the skinny seams come together. Take a normal pitching stance with one leg back, come through, bend your front leg and snap your wrist down through the ball to release it. Snapping your wrist down through the baseball creates the speed and the drop of the curveball. It creates less velocity than a fastball. Create the drop when your arm is between the 12 o'clock and 6 o'clock p...
This video demonstrates how to show and hide the ruler in Microsoft Word 2007, along with working with page margins. The presenter indicates that if you click the small button above the vertical scroll bar, Microsoft Word will then display Rulers. To work with margins you'll need to click on the Page Layout tab to display the Page Layout ribbon. The video shows the different options located on the Margins menu. There are several built in settings for wide, narrow, normal, moderate, and mirror...
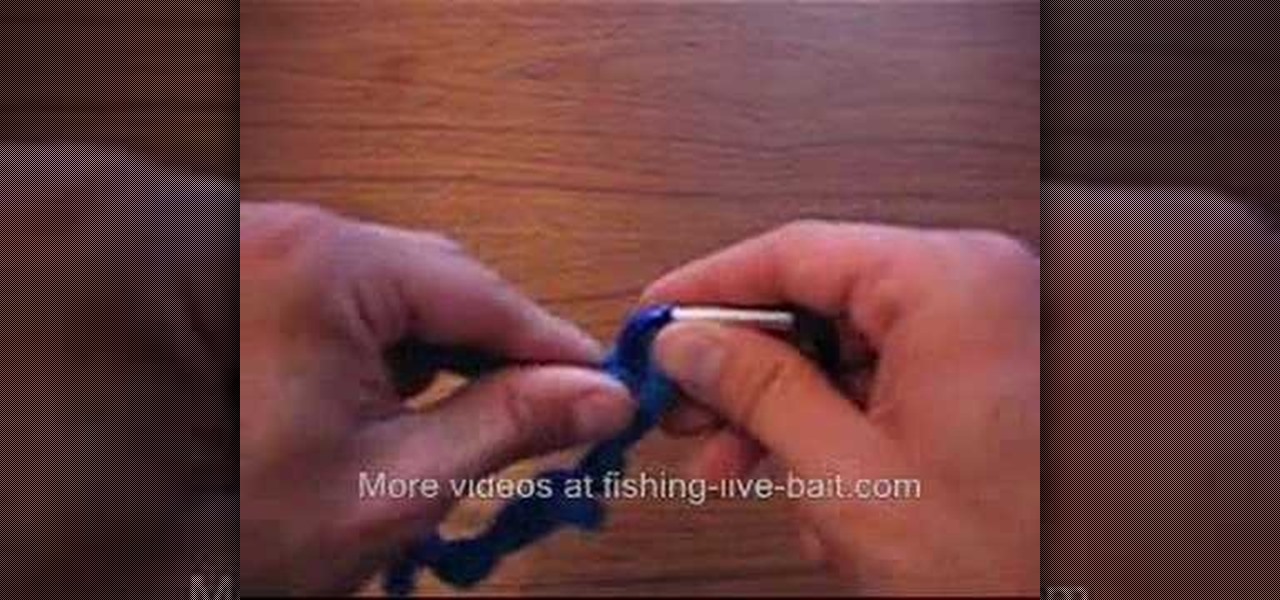
This is a video shows you how to tie a surgeon's loop. You start with a large loop, and treat it as one. Then just tie a normal overhand knot, but instead after that you pull it through once more as shown in the video. Then pull both ends to tie the knot up. This is a very strong knot so it's a very good loop to know. Their website also has much more information on how to tie this and other knots.
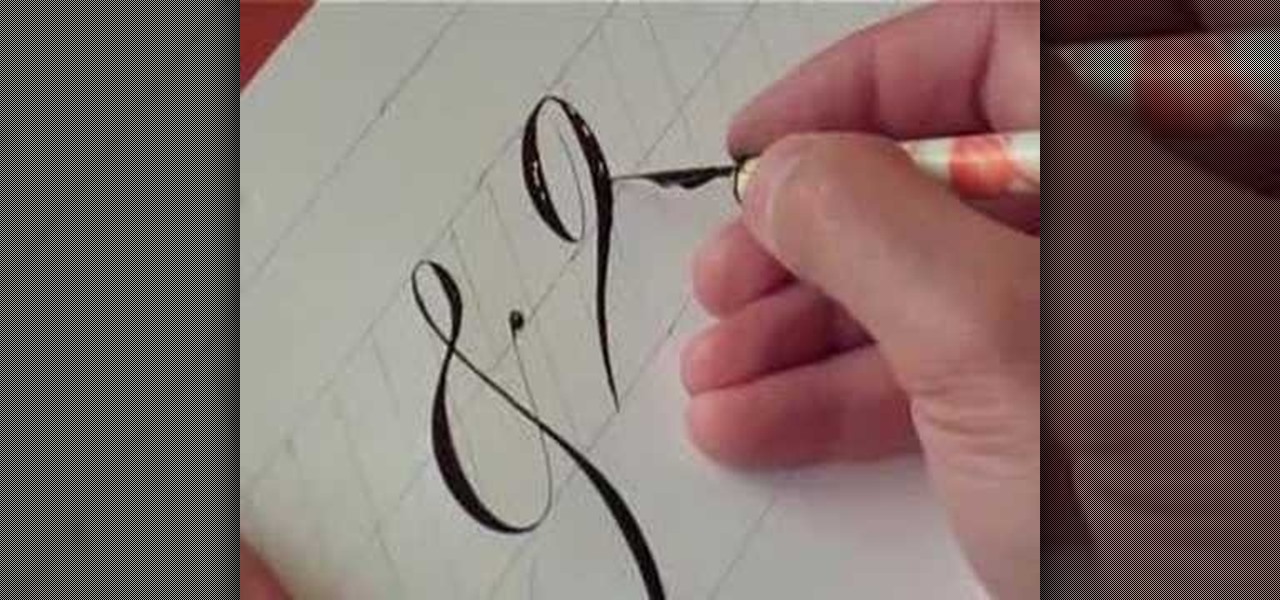
Have you ever tried to write in calligraphy copperplate?Let's start with the basics-punctuation marks. First we nee a book and a pen to write in calligraphy. The letter '&' looks similar but has a long tail. The question mark,exclamation mark and brackets look similar like in a normal font except all have the similar properties of calligraphy i.e., the variation in thickness. This will add a unique style in hand written documents as well as to add some charm in your letters.
Mellerobot teaches you how to style an easy French braid headband. You start with short hair and use a rubber or a scrunchie to tie your hair in the back. The hair above the forehead is parted to the side. Grab a strand of hair by the parting and start a normal braid. Every time you braid outward, grab another strain of hair. The braid looks better if it's not perfect. Carry on until you've braided your whole fringe. Pin that with a bobby pin. You can wear this with your hair up or down.
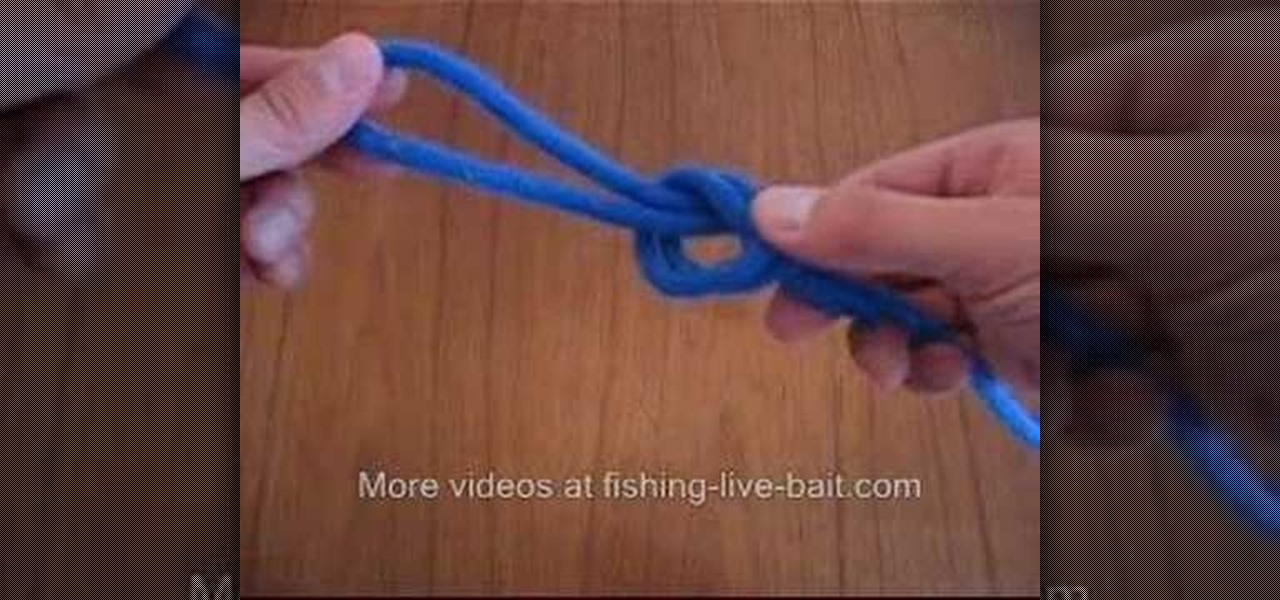
Fishing-Live-Bait shows how to tie an improved clinch knot, combining basic knowledge of how to tie a regular knot with an improved technique to make the knot even stronger. You begin by putting the line through the hook and then wrap the end of the line around the main line a total of six times. Wrapping the line that many number of times ensures the strength of the knot. The end of the line goes through the loop next to the hook. The difference between a normal clinch knot and this improved...
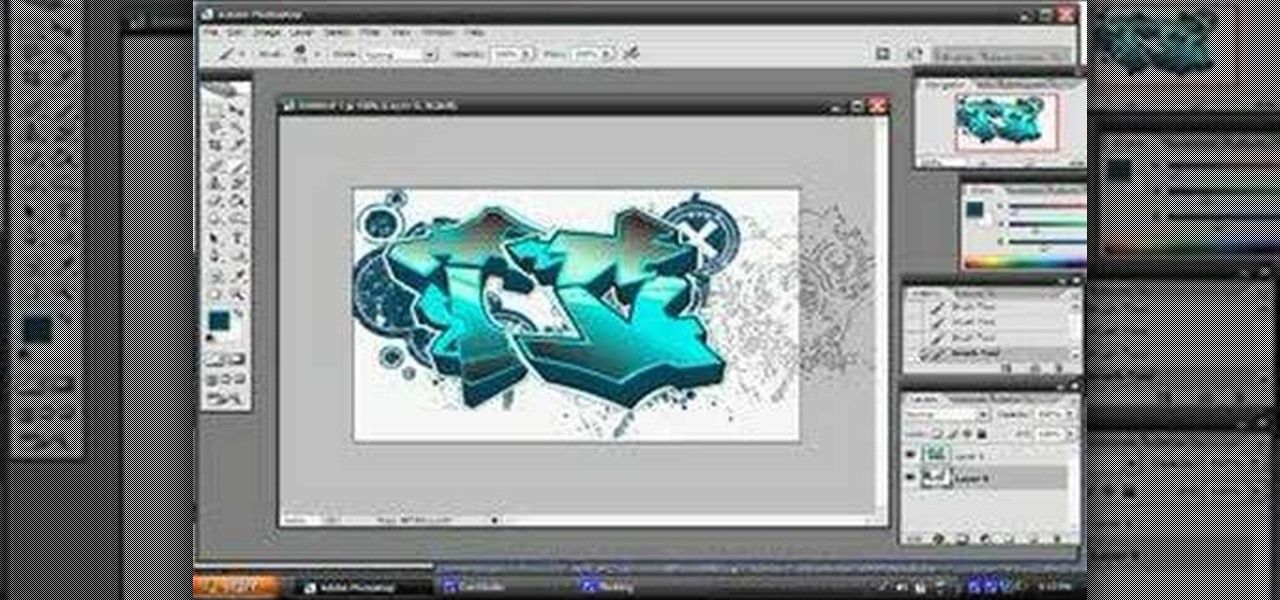
Walagers helps us learn how to make graffiti in Photoshop. First, go to "Select" and click on "Color Range". Use the eye dropper tool to select the color of the background, then press delete. Next, press "alt" and double click on the background layer to convert it to a normal layer. Using the brush tool, select the type of brush you want and the brush's size. Brushes can be downloaded from Brusheezy.com. Use the eyedropper tool to select part of the graffiti. It is recommended to use the same...
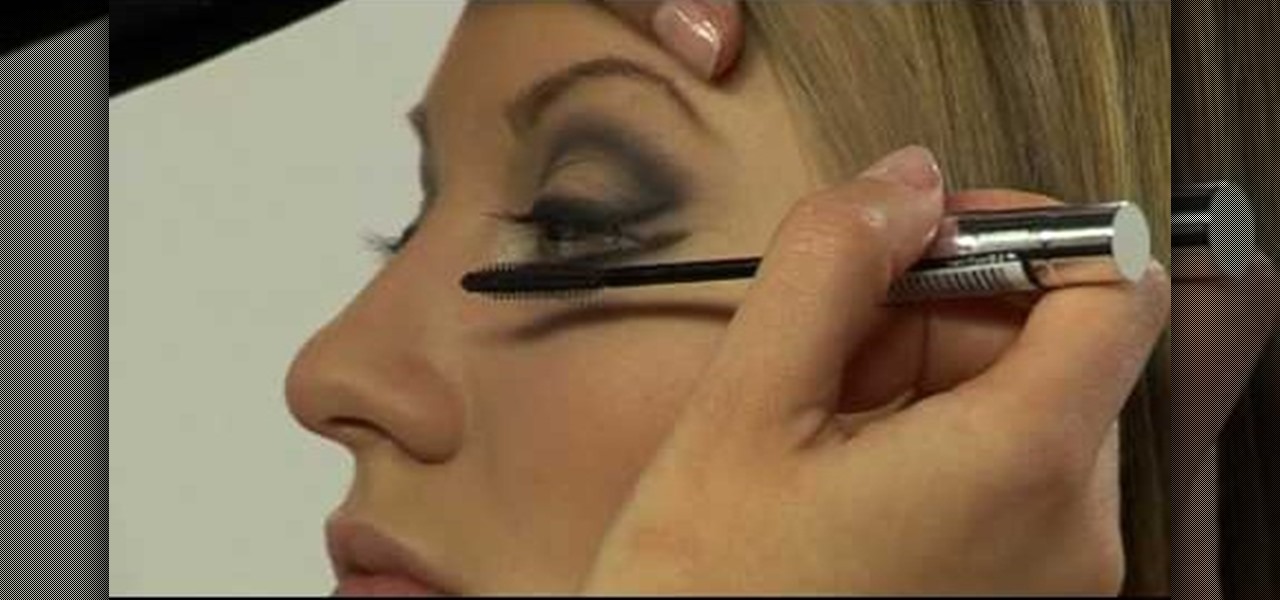
Makeup artist Sarah Jagger demonstrates how to fashion your hair and makeup with an "everyday" version of Versace winter 2007 styles. She uses a hair straightener to iron hair flat with a flick at the end. She then adds black-gel eyeliner with a flare pattern on the outer corner of each eye. Eyeshadow is applied to meet the eyeliner at a point and create a 1960's style appearance. Lighter tones are then blended-in above the eye, and added around the corners, to complete a wing-shape makeup ey...
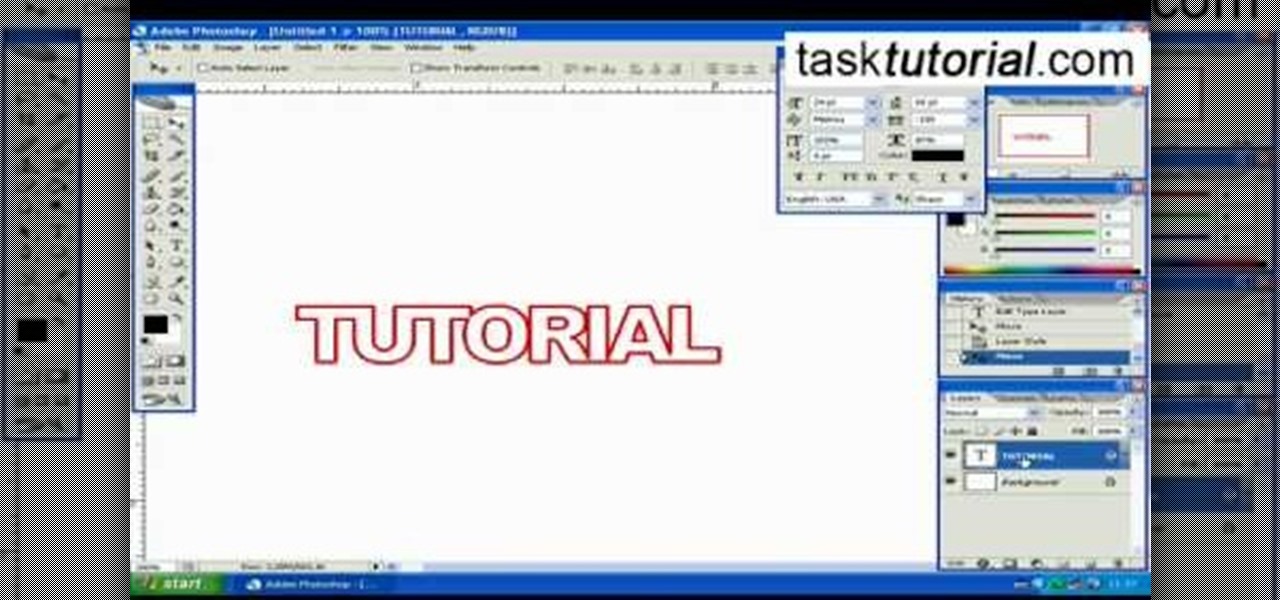
This how-to video is about how to create a simple text effect in Photoshop.
This video makes you understand Flash Cookies and teaches "How to remove them" to keep your privacy.
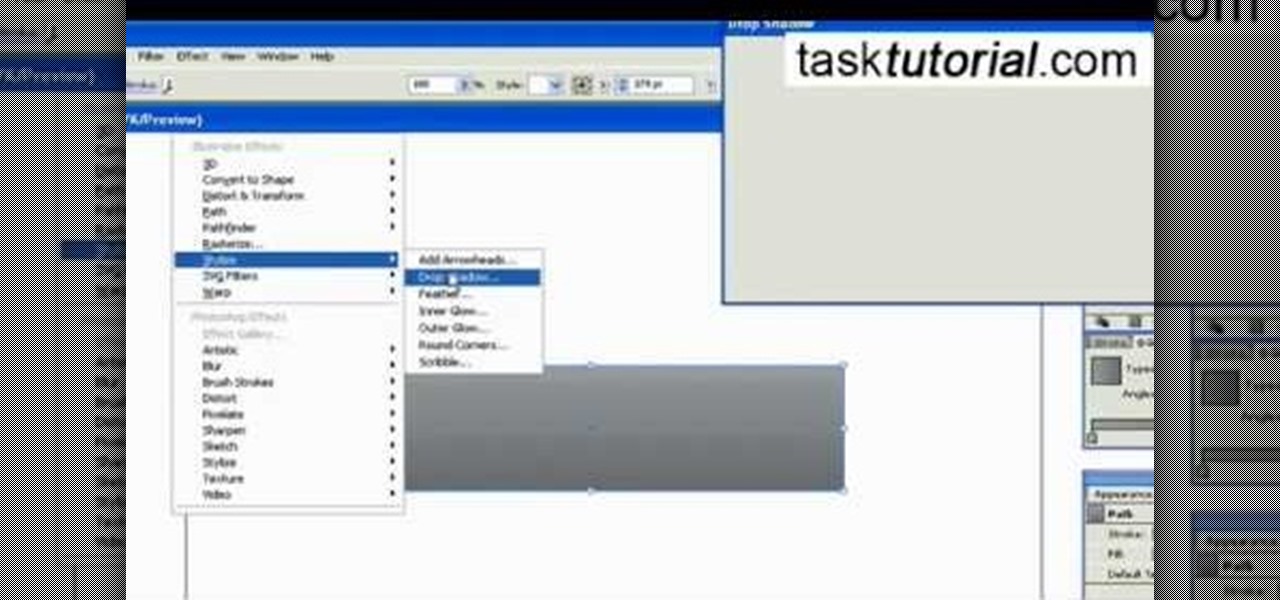
This video tutorial by Tasktutorial shows you how to create an Apple style bar in Illustrator. First, select the rectangle tool in Illustrator and draw a bar as shown. Now select the path, go to gradient and choose the black and white gradient from the swatches. Select two shades of gray and change the angle to -90 degrees as shown. Tweak the colors and go to effects-stylize and select drop shadow, change the opacity value and select black color, normal blend mode as shown. Select the type to...