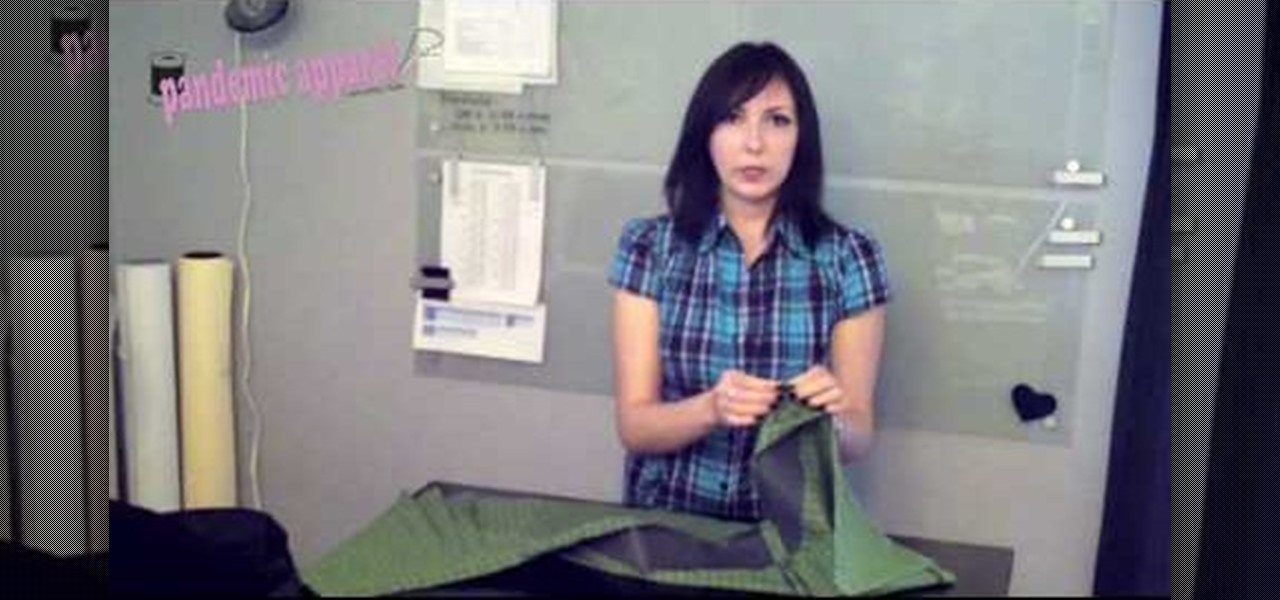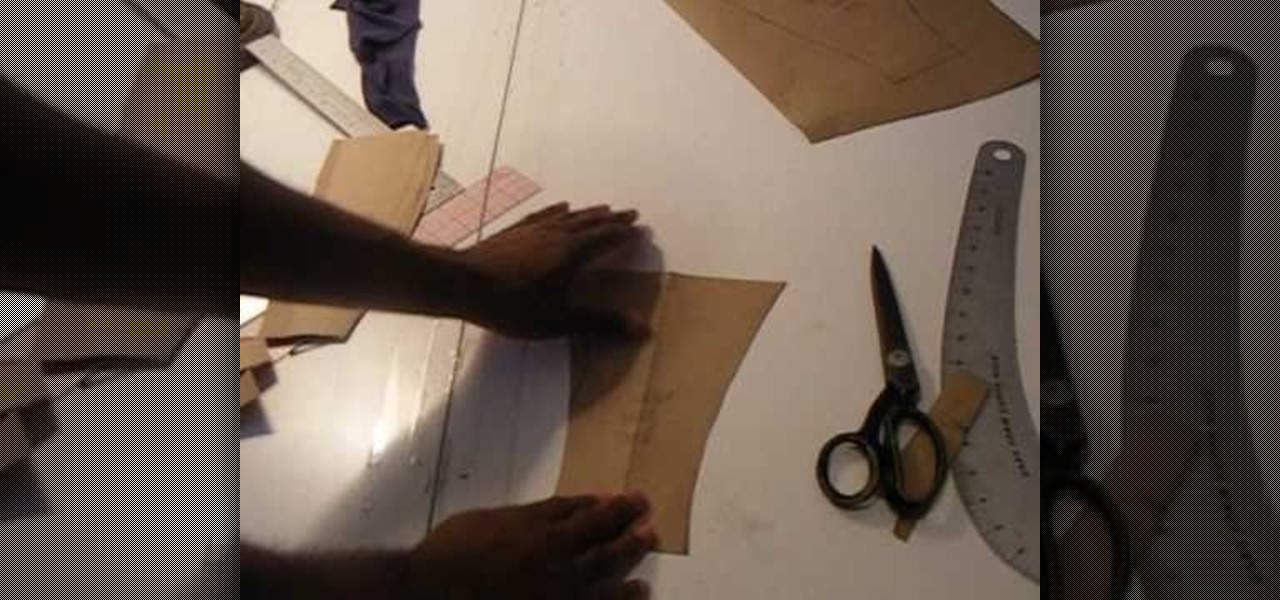
In this 3-part video, Chris White shows you how you can take an old pair of boxer briefs, make a pattern for new boxer briefs, and then create an entirely new one. You'll need some tools, and materials, including elastic, sewing machine with zigzag, serger, stretch fabric, pattern paper, scissors, thread, pins, rulers, and a pencil. Save some dough and make your own underwear that actually fits properly!
Bed bugs appearing in the office space is becoming more and more common. Often, someone brings a bed bug to the office on their clothes, and the bed bug roams away from the garment. These don't normally turn into reproducing infestation.
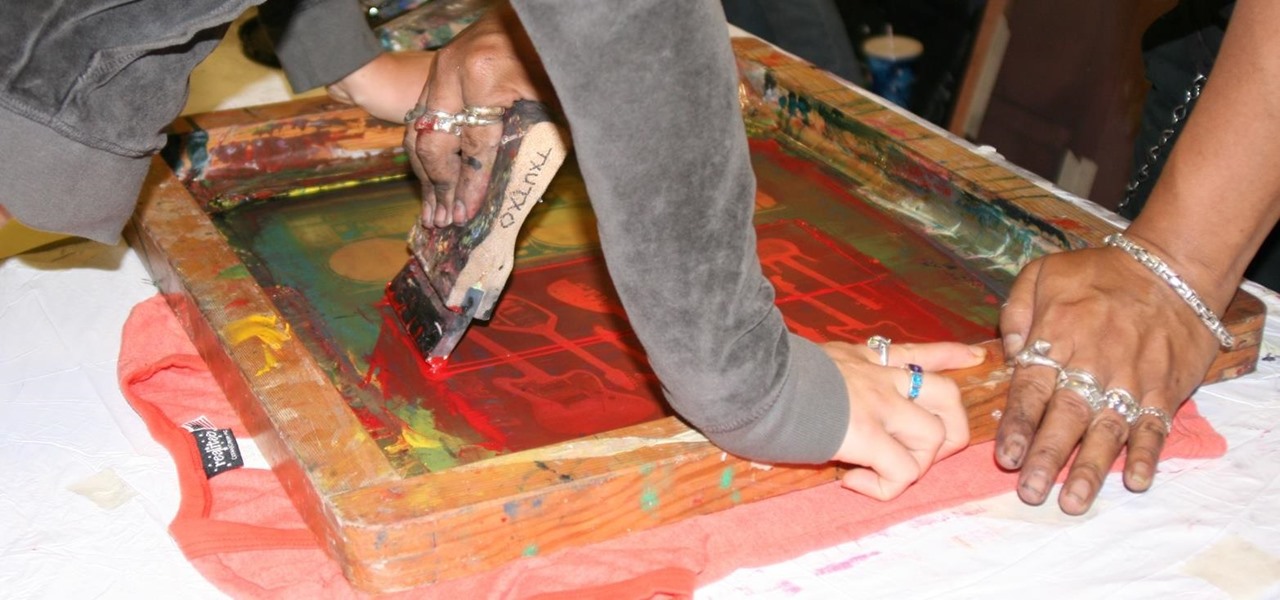
This is silk screen production, the cheap and easy DIY way! In order to make this easy silkscreen for making cool T-shirt logos and designs, you'll need some acrylic paint, paintbrushes, cheap net curtain (patterned or plain), vinyl sign sheets, blackboard (or cork board), and some fabric paints to paint with. Also, you'll need a CraftROBO precision cutter. Soon, you'll have your very own screen-printed tee shirt, thanks to your very own homemade silkscreen.
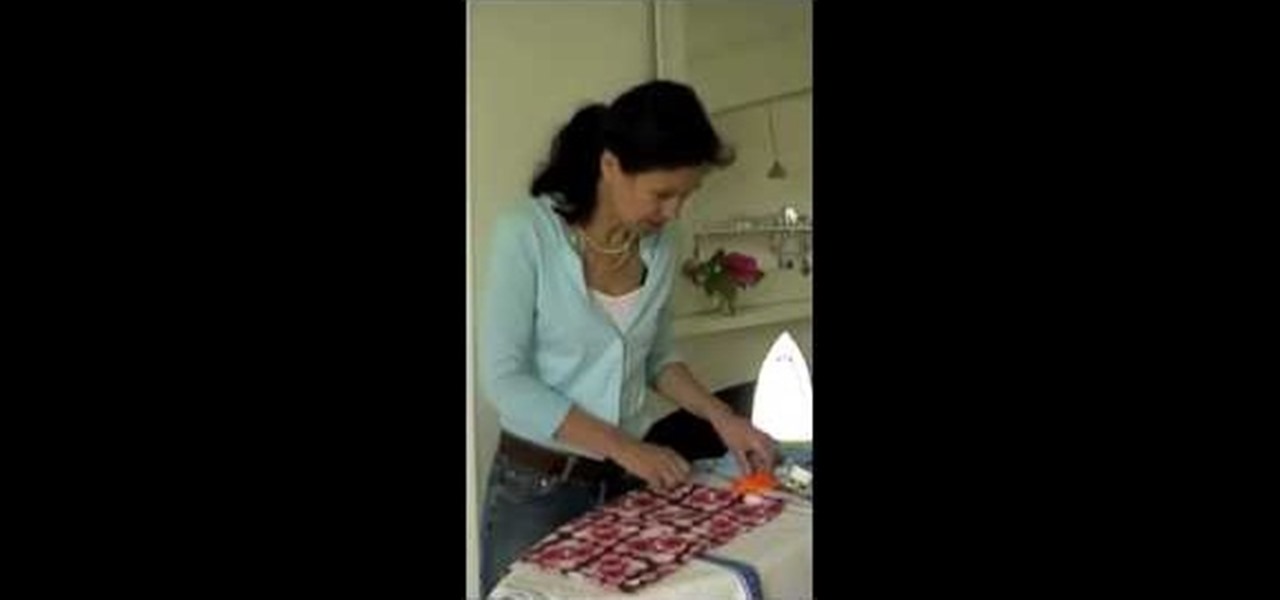
In this tutorial, we learn how to revamp a junk shop dress. First, you will need to measure out how short you want the dress to be while still wearing it. After this, take the dress off and pin it where you want to sew it. Cut off excess fabric, then sew the hem of the dress where you want it to be. Next, place the dress back on and pair it with some cute leggings. You can buy a cheap dress and make it look nice without having to pay a lot. Pair this will some cute accessories and you will ha...
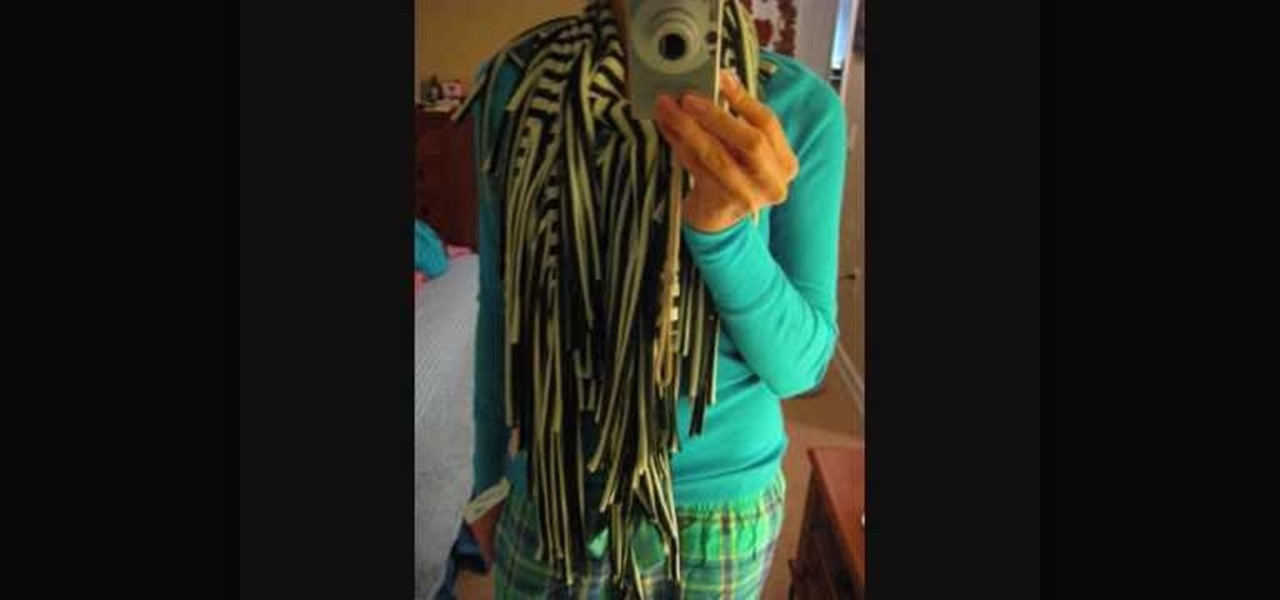
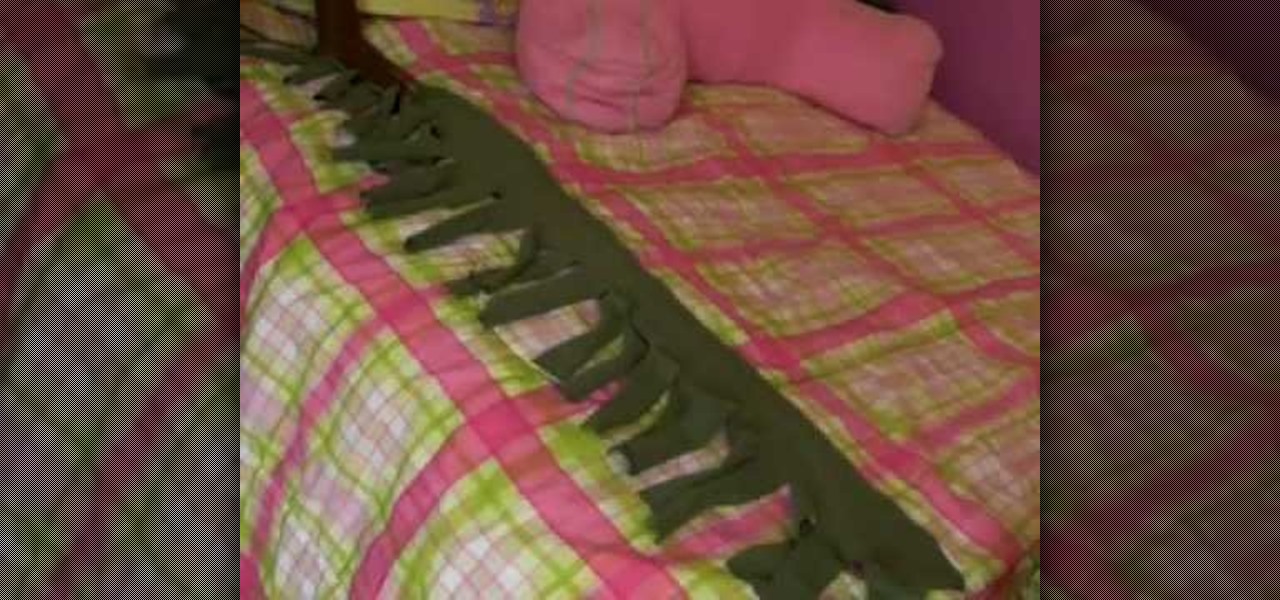
In this tutorial, we learn how to make a fringy scarf. You will first need 1 yard of fabric, then fold it with the right sides facing each other. Next, measure 19" down, then start to cut. After this, measure 7" down, draw a line from across. Now, start to cut towards that line, making fringe on the ends of the scarf. After this, you will be done with your scarf! The great thing about this is that you can use it in so many different ways. You can pair it with a casual outfit, or as a going ou...
In this video, we learn how to use a big eye needle when making jewelry. This is a great tool when using stripping material. The needle is made of the eye and will work with ribbon or thread. First, open the eye of the needle, then thread the material through the opening of the hole. Next, string your beads over the point of the needle and then onto the material. Continue to do this for all the different beads you want to add, then your bracelet will be complete in a few short minutes. This m...

In this tutorial, we learn how to make a fitted sleeve sloper with Don. First, graft a set in sleeve pattern. This will be based on a fitted bodice that is very close to the arm and high over the arm on the elbow. You will want to shape the shoulder to fit the contour of the body. You will put a series of darts into the fabric so it fits on the body perfectly. If you do a looser cut sleeve, you won't have to do this. After you make this, place it on your model and make sure the arm can move e...

In this tutorial, we learn how to tie a necktie the easy way. The first step is to take your tie and estimate how long you want it to be. Now, lay the tie on a flat surface and take the bottom of the diamond on the tie and flip it under to create a loop. Now, take the long end of the tie and create a loop the opposite direction. Now you should have two loops. Next, turn the second loop upside down and twist it into the other loop. Pull the fabric through the top hole on the loop and then slid...

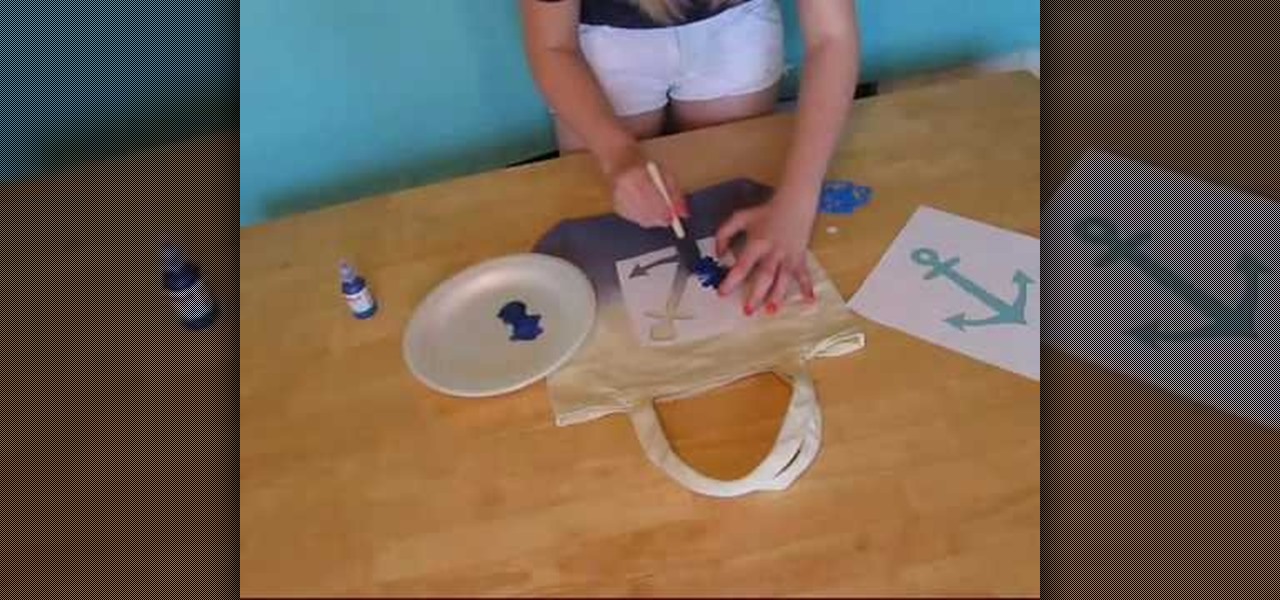
In order to make an ombre style custom beach bag, you will need the following: a canvas tote bag, dye, gloves, a paper place, sponge brush, stencils, fabric paint, containers, white vinegar, and water.

In order to make and use a stencil, you will need the following: pencil, blue painter's tape, Dura Lar film, Self-healing mat, spray adhesive, old canvas board, airbrush, compressed air, airbrush paint, utility knife, paper, eraser, and an idea for a stencil.

In this tutorial, we learn how to do a feather stitch while embroidering. To begin, you want to place your finger right next to where you are sewing so you are making a loop shape and helping guide your needle as you are doing this. You will want to chain the loops together, making the thread look like feathers as you continue. There should be no lines that are straight, all should be looped by placing the needle in between each circle and pulling it into the loop shape. When you are finished...

Are you completely done with your first quilt except for the raw hems on the sides? You could just sew the hems shut with a whipstitch, but if you want to add a little more ornateness and decadence to your quilt then you should watch this video to see how to add binding.

Here at Wonder How To we LOVE spring buecause it allows us to indulge in the girliest of girly prints - flowers, hearts, crunchy granola hippie peace signs and happy faces - without restraint and without looking like a seven-year-old ready for church.

For beginners, sewing can be a confusing a difficult hobby that requires patience and the right tools. Whether you're adding a button on a shirt or creating a dress from scratch, being detailed and precise is important.

Sometimes, with all the clothes out there in the stores, it can take quite a bit of time to find something that you are sure to like and can afford. And during this tim of economic hardship, ssaving money is a must right now.

In this time of economic uncertainty, trying to save money is more important than ever. There are many ways that this can be done, and one is by making your own clothes. This can be achieved using materials that can cost less than regular clothing found in stores.

If you are looking to create something that will keep the cold air out and the warm air in, a draft stopper may be a good idea. It's a great alternative to buying weatherstripping and can be made from scratch in your home.

Got an old T-shirt lying around that's too small to wear but too cute to throw away? Oh what a dilemma. Rather than let your pretty T-shirt sit in your closet or attic and collect dust over the years as you decide what to do with it, give it new life by repurposing it into a headband.

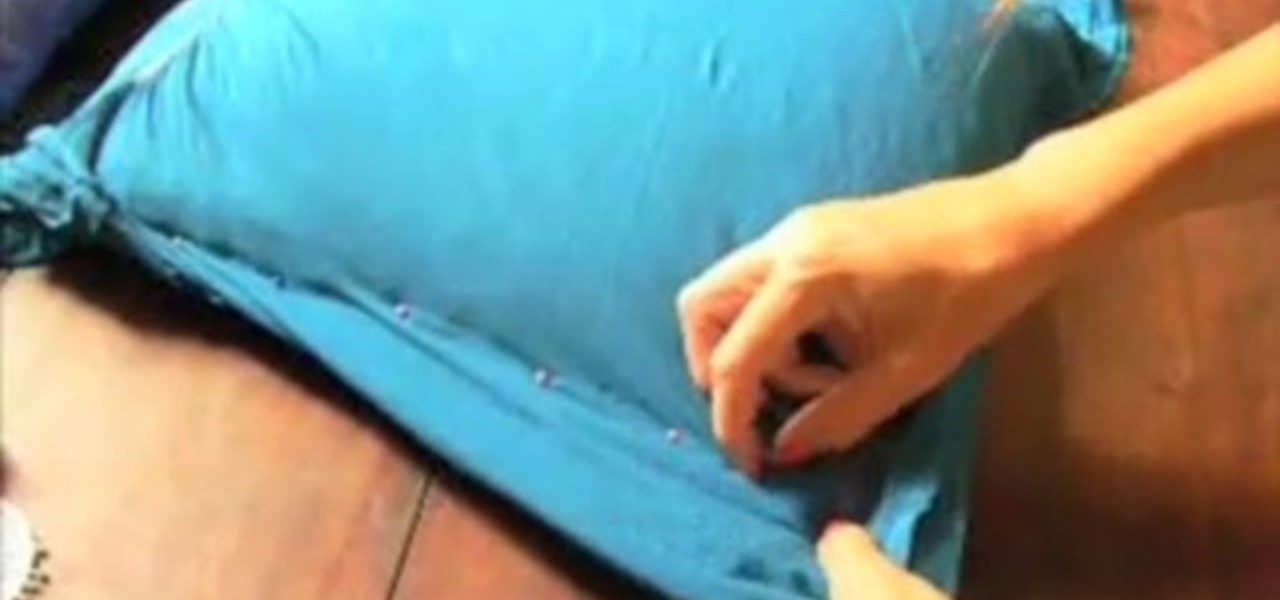
In this video tutorial, viewers learn how to turn a t-shirt into a pillowcase. The materials required for this project are: a pillow, a shirt (that fits over the pillow), pin, needle, thread, decorative trim and a sewing machine. Begin by flipping the shirt inside out and slip in the pillow. Position the pillow to how you want it and pin down along the sides to hold it. Now stitch the shirt together along the pin points. Trim off the extra fabric, leaving a 1/2" at the seam. Fold the bottom a...

In this Fine Art video tutorial you will learn how to embellish a sweater by adding a bejeweled collar. This will be a great Christmas gift idea. Take a short sleeve sweater and cut out its neckline on a piece of paper. Take a piece of woolen cloth of matching color, pin the paper cut out to it and cut off the woolen piece. Place the woolen cut out on the neck of the sweater and arrange some jewels on it. Then with a hard glue gun apply hard glue to the back of each jewel and stick it. You ca...

Creating skirts just got easier. You can even make a skirt reminiscent of the ever-famous Marilyn Monroe. Become a chic stylista just by wearing this adjustable circle skirt. This video provides the steps required to make a circle skirt, otherwise known as the Marilyn Skirt.

This is a video produced by KazzieHeart on Youtube explaining how to make a puffy hairbow from a t-shirt. Choose a t-shirt and cut two equal-sized rectangles approximately 8"X4". Placing the two pieces facing inward, three sides are sewn together. It is then turned right side out and evenly stuffed with soft stuffing. The end of the remaining side is folded inward and sewn shut, forming a small pillow. A smaller rectangle approximately 5"X2" is cut from the same fabric. The pillow is sewn thr...

If that old chair is covered in holes or stains, or boasts a pattern that can best be described as "70s chic" it may be time to update it a bit. In this video learn how to save your favorite comfy chair and recover or reupholster it like a pro. By recovering your furniture yourself you can avoid the cost of buying a new one or paying a professional, with the added bonus of holding on to a long-loved piece of decor.

A few steps are given before the dance moves are shown. These steps are: Go easy on yourself. Practice with an easy song first before attempting a fast hard one. Wear comfortable clothes. Clothes that fit your body and that won't be slipping off as you dance. make sure the fabric is breathable for your skin. Practice. The more you practice the more stamina you will have to last longer and dance harder.

Placemats are an important piece when it comes to setting the table. Not only can it add a certain sense of style to the table, but it can help keep your table top nice and clean! Usually placemats have only one particluar side where it is going to be used the most. In this video tutorial, you'll find out how to make reversible placemats so you have another option to choose from. Enjoy!

Hairbows are super cute style pieces. In this video, learn how to make one of your very own. The beauty of making your own bow is not just saving money, you can also personalize it and choose whichever fabric, style and size you prefer.

The bubble skirt is very 'in' right now, but who knows for how long it will last. Trends come and go, so why not make your own skirt instead of heading out to the mall?

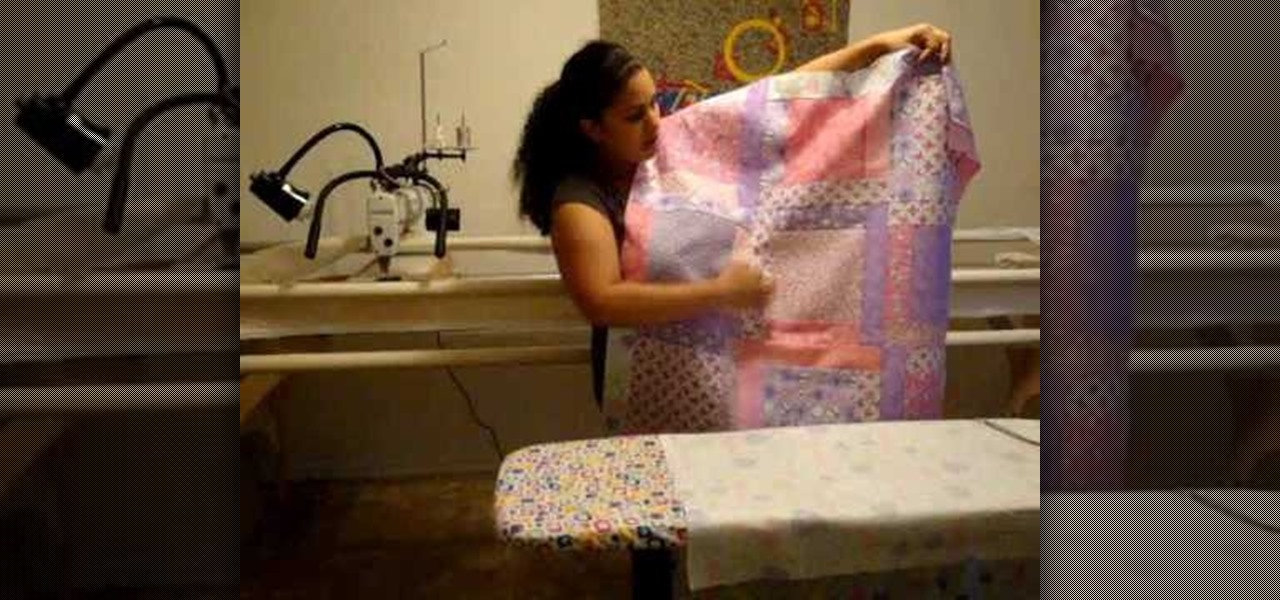
Need to load a quilt onto a frame but aren't sure how to do it? This ten-minute free video quilting lesson, which breaks the process down into its simple steps, will remedy that situation post haste.

Japanese kimonos are a beautiful and whimsical clothing full of tradition and grace but are not really appropriate to wear in everyday life. Luckily you can make a cute and hip kimono inspired dress with the help of this video that is perfect to wear out anytime. You will need a large piece of fabric whatever color you would like the majority of the dress to be. Use a t-shirt to sketch out an outline for the top of the dress. You will then only need to finish sewing the dress with some accent...

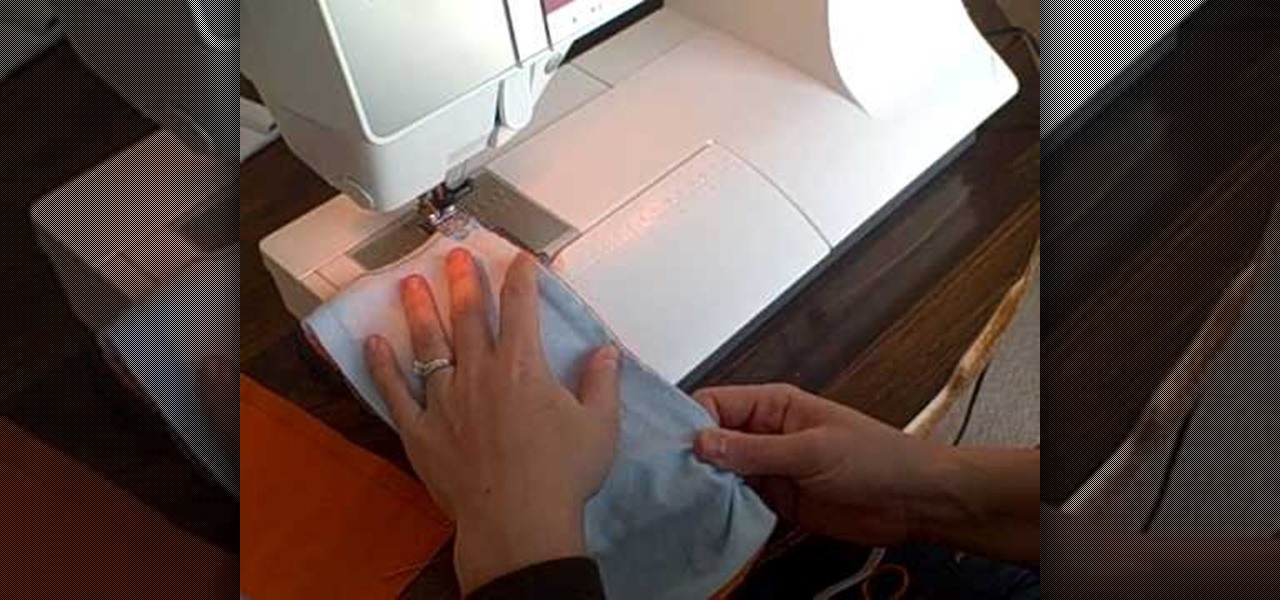
This video is a tutorial on sewing both polybraid elastic and lastin elastic. Polybraid is a very sturdy fabric elastic, while lastin is a thin, clear, very stretchy elastic, good for use in diapers. It is important to buy name brand lastin elastic to ensure good quality.

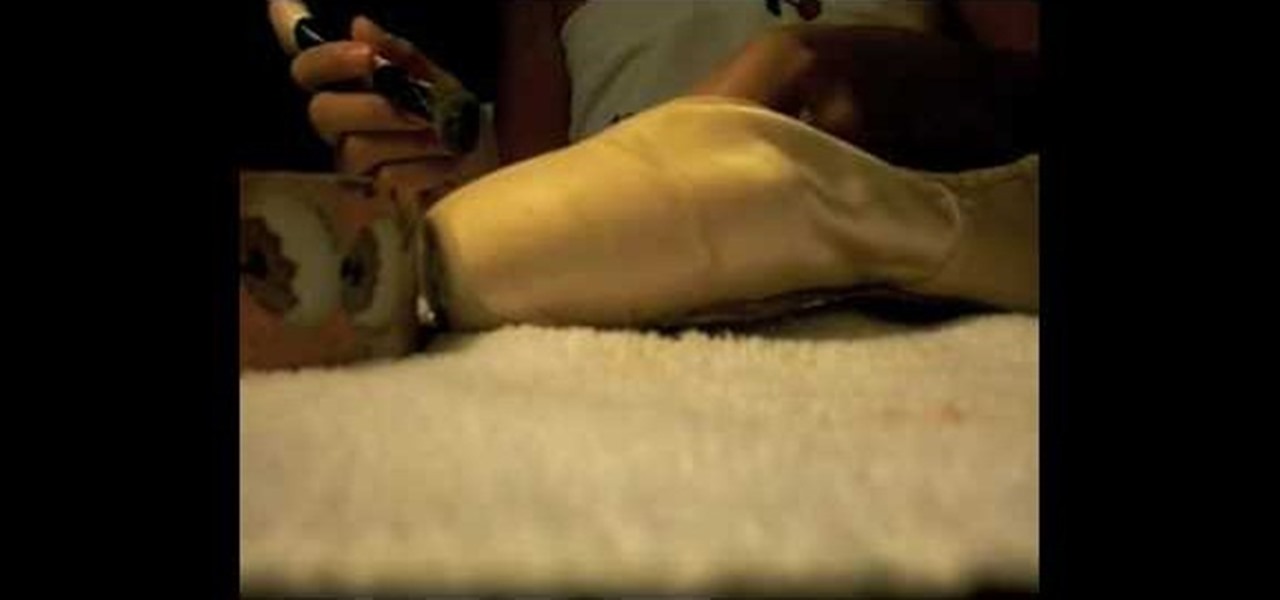
This video demonstrates how to matte down your pointe shoes for a recital or performance. For this, you will need a makeup brush and a container of translucent loose face powder. You may cut the powder in half, adding baby powder to it. This will lighten the powder a bit.

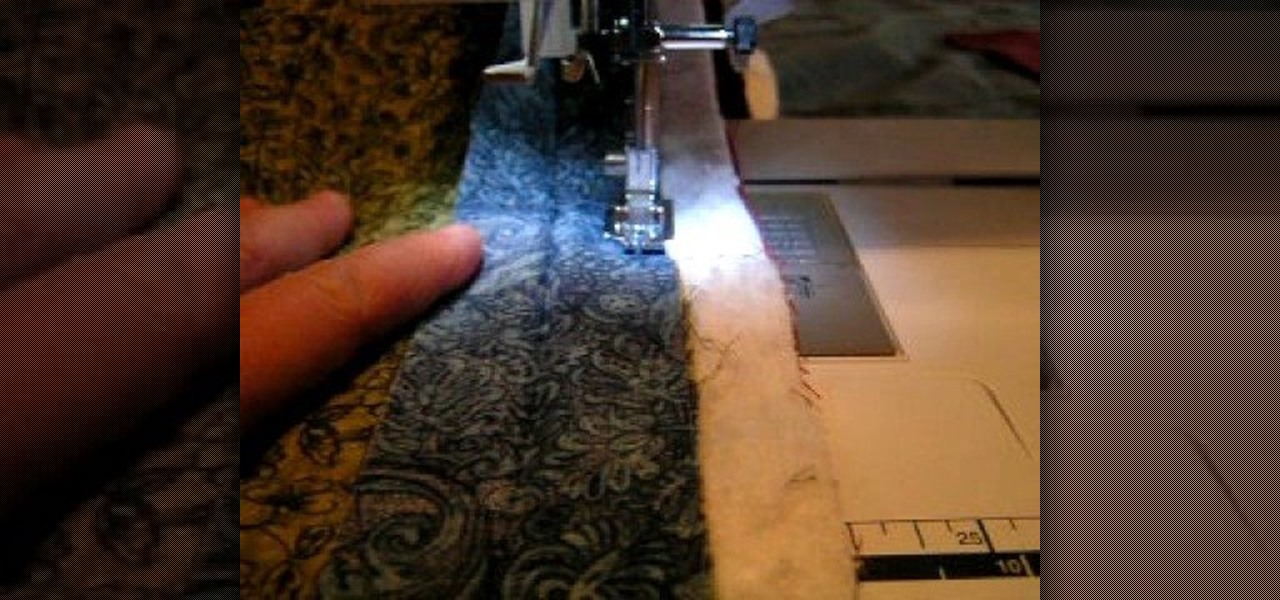
This video demonstrates how to attach a binding to a quilt. At the point of the video, your quilt should be complete up to attaching the binding. It should already be pinned and basted. You should have quilted together all of your squares into your desired pattern. Your batting should be cut. You should be in the final stages of assembling the quilt.

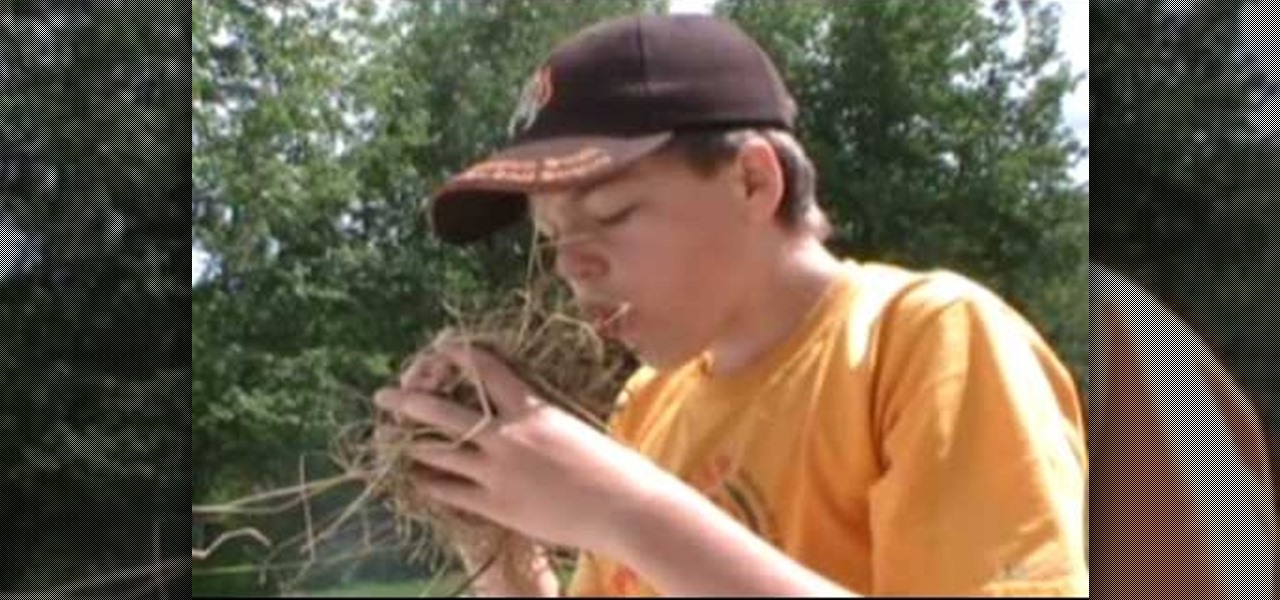
This video shows the viewer how to start a fire using char cloth and a fire steel. Char cloth is a fabric which burns/smolders very slowly. This makes it very useful for starting fires. The video suggests gathering dried grass. The smoldering chard cloth should then be placed in the middle of the grass. Blowing gently on the char cloth will increase the oxygen reaching the flame so will increase the chances of success. Waving the bundle of straw should also help. Remember to always wear glove...

Candice shows viewers how to make Megan Nicolay's shredded t-shirt fringy scarf! All you need is a t-shirt and scissors. First lay out your t-shirt flat on the surface. With your scissors, cut as straight as you can, right across the logo on your shirt. Take the bottom part of the shirt, and cut open one side so you now have one long piece. Now, you will want to cut strips into one side of the scarf. it looks great when your strips are long and skinny. You should do this all the way across on...

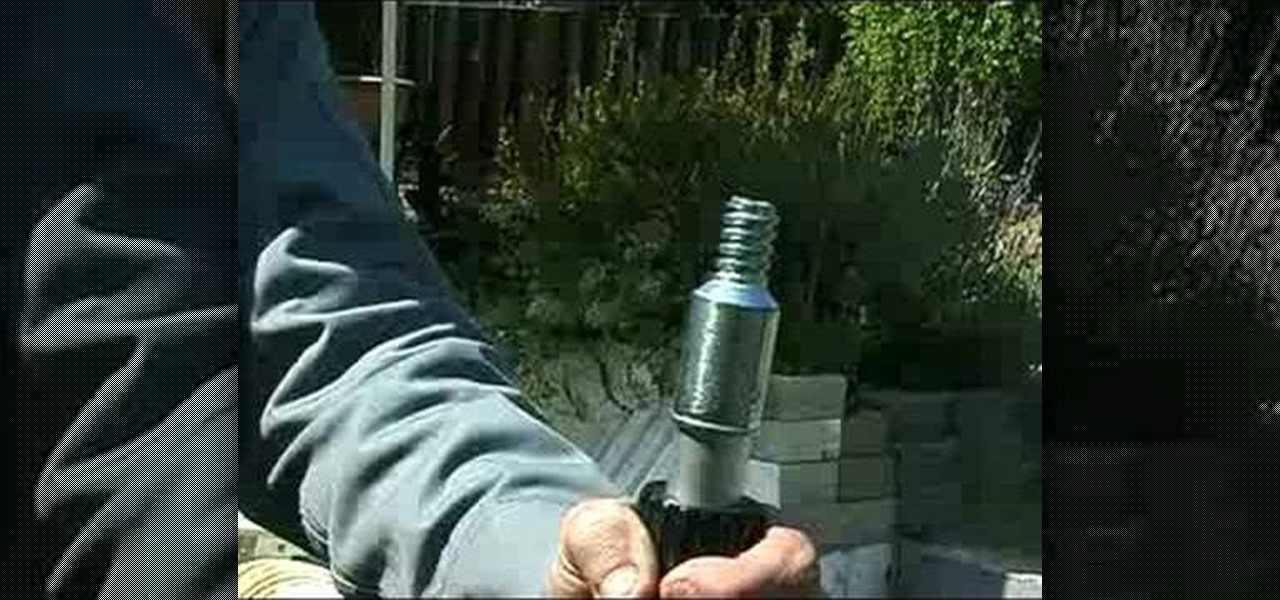
Joe Richardson, Five Sprockets consultant, demonstrates how to build your own functional boom microphone. First, if you don't already have one, get a microphone from your local electronics store. Then, pick up a mic holder. Next, you'll also need a telescoping pole like a painter's pole. You'll also need zip ties and metal bonding glue. A piece of fake fur from a fabric store will act as a wind sock to cut down on noise. Attach the mic head to the painter's pole with the metal bonding glue. N...

The video is all about making a cat ear. The lady explained the steps we need to follow while making our own cat ears. For making the cat ears, we need fake fur fabric, which should form a square when we fold it half, a white down feather, a glue gun, scissors and a diadem.

In this video you learn how to make fun, creative, and cheap decorations for Halloween. You learn how to make Halloween "Koozies" and how to make a Halloween tree. This video shows the materials you'll need to make each one. The materials you'll need for the "Koozies" are 1/4 yard fabric, ribbons and boas, a glue gun, candy and craft bags. The materials you will need to make the Halloween Tree are parchment paper, craft glue, raffia, ornaments, small branches, a black marker, and a vase. The ...

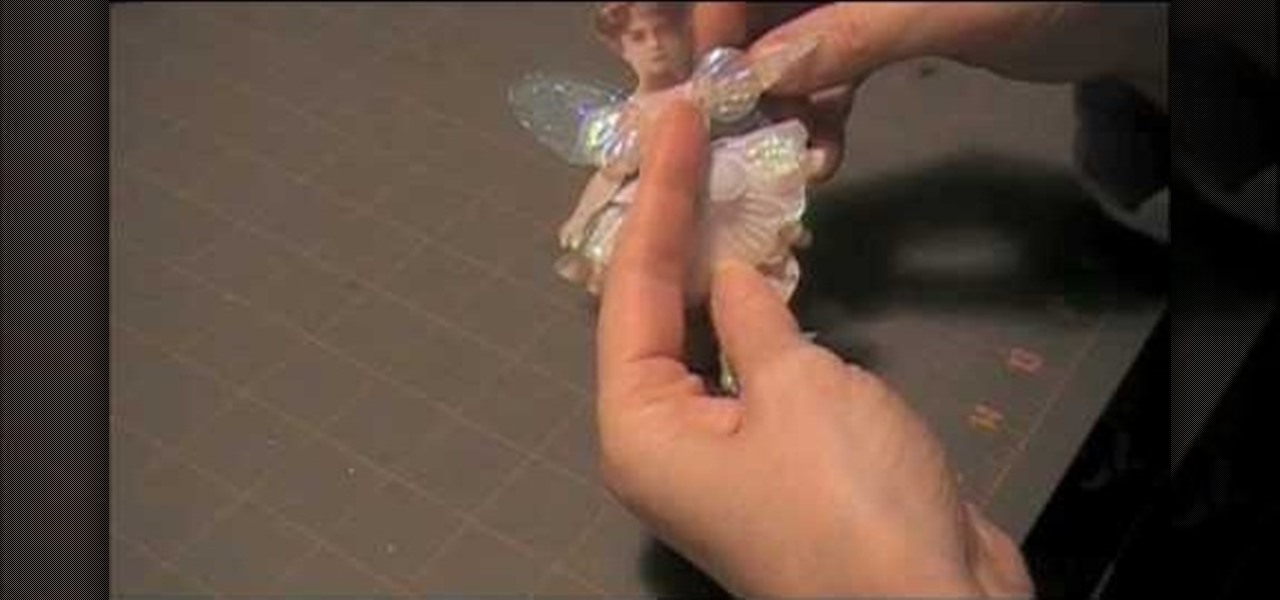
In this video tutorial learn how to make a jointed flower fairy paper doll sitting on top of a trinket box. You will need three strips of paper and two circles cut out of paper. To create the box, curl the strip with a pencil. Then adhere scotch tape to the strip and tape the strip to the circle to create a box-like structure. Cover the perimeter with a larger strip of paper in whatever design you want to use. Follow these same steps to create a larger box. Fit these two pieces together and a...

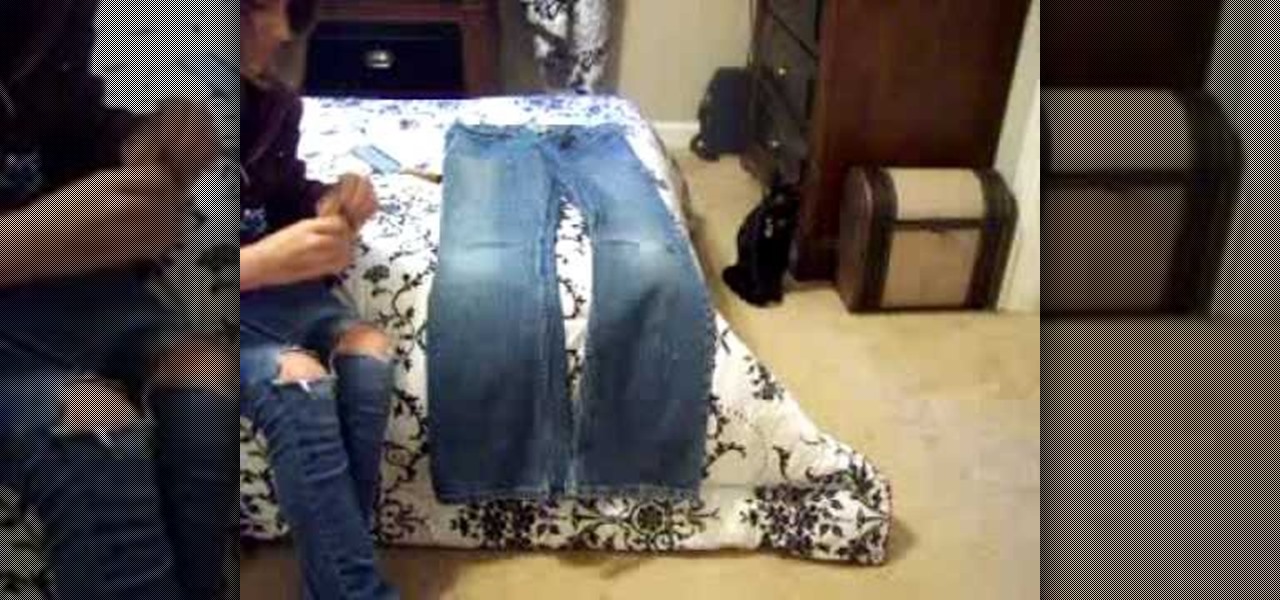
To begin, you will need a pair of jeans, a cheese grater, a book, and sandpaper. Vigorously rub the sandpaper across the jeans where you want to rip them. Slide the book down the pant leg until it's between the fabrics of where you're working. Continue to sand like crazy. Then take your cheese grater and do the same thing that you did with the sandpaper. You will notice a lot of fading and a small hole will begin to emerge. Use your fingers to tear at the hole until it is the desired size. Th...

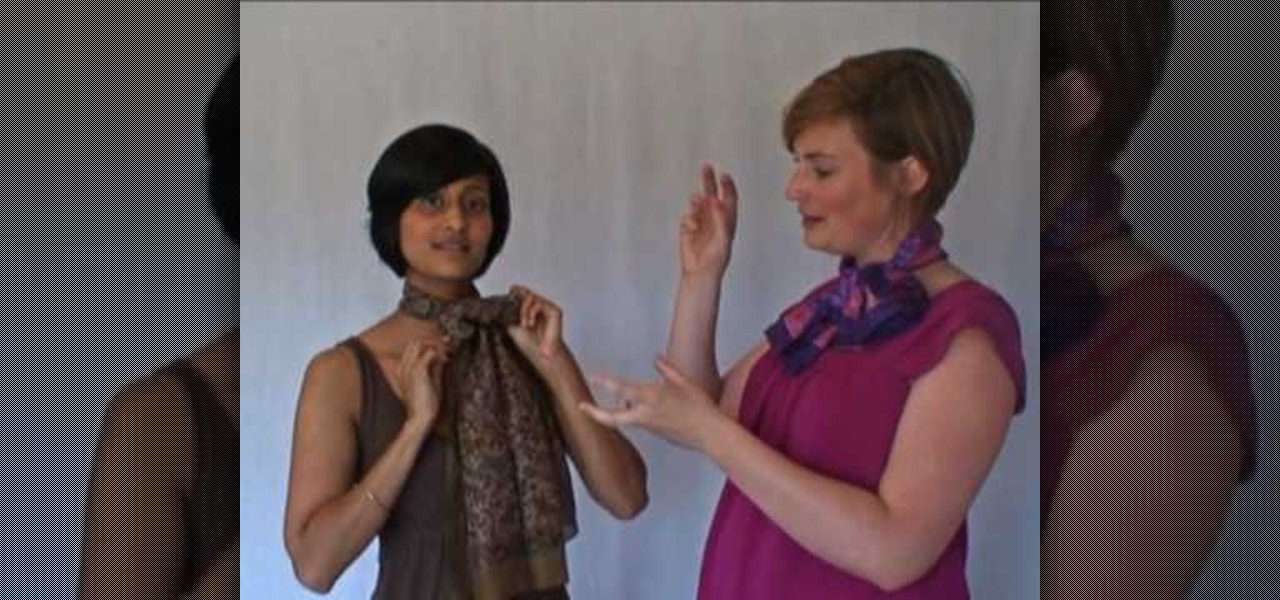
Wendy Woods from The Refinery teaches you different ways to tie a scarf. The three things to consider when buying a scarf are: size/shape, fabric, and pattern. First style: Fold scarf in half, put around your neck, pull ends through the loop, pull to the side and fluff out ends. Second style: Wrap scarf around neck (with right side twice as long as left), cross long side over short and pull up through loop, pull short side down until tight, pull to the side and fluff out. Third style: Wrap sc...


