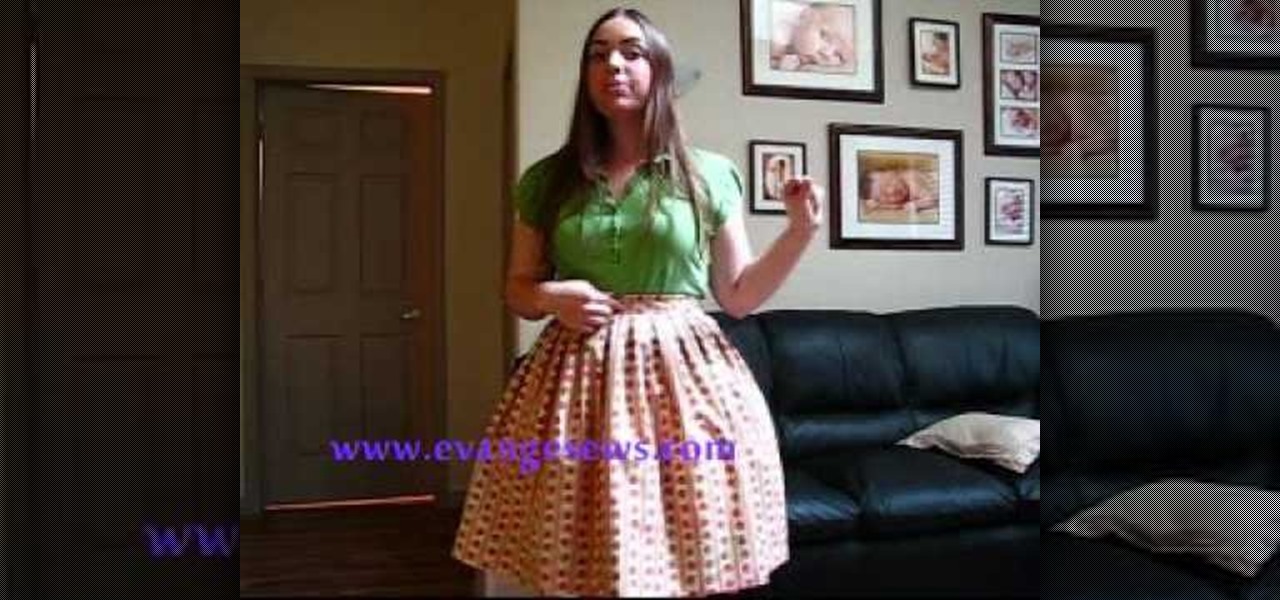
Depending on the fabric you choose, this could be part of your Lolita costume or a professional skirt. Sew a skirt with one inch box pleats, without needing a pattern. Get your fabric, measurements and some basic sewing supplies together, and you're ready to go!

Circle skirts are easy, and look good on nearly any figure. You can sew your own without needing a pattern at all - just pick your under fabric and over fabric, then follow along with this tutorial for a retro chic addition to your wardrobe.
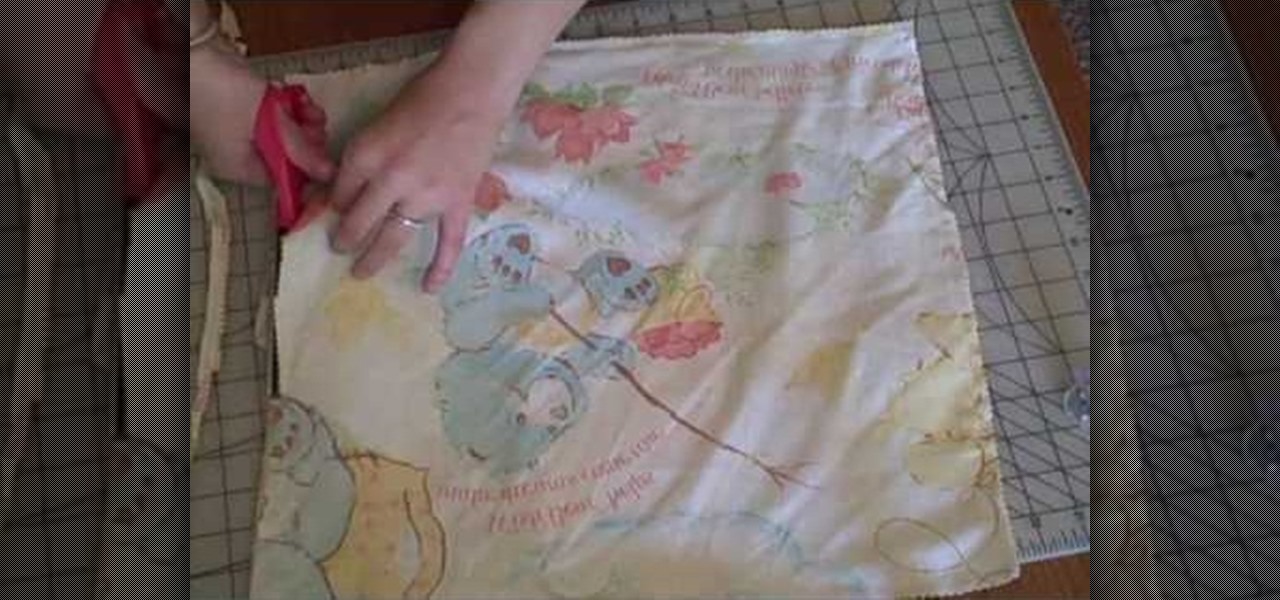
Trying to figure out what to do with the scrap fabric in your stash? This tutorial shows you how you can make a no sew apron by raiding your stash. Dress it up by adding your own appliques, patches or embellishments.

A little behind on your Christmas decorating. No problem. Instead of heading out to the store to pick up whatever fugly ornaments you can find, why not make your own personalized ornaments instead?
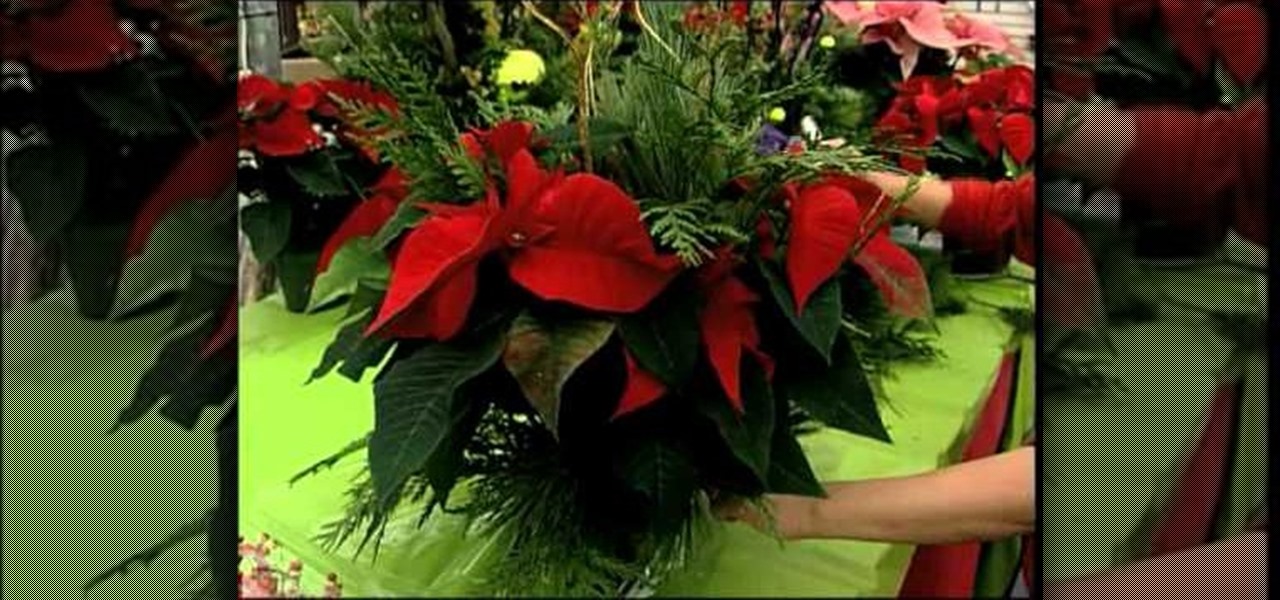
Chances are you will have a poinsettia plant in your house before the end of the holiday season, whether it's due to them being on sale at the local grocery store or you receiving them as a hostess gift.

The best part about this silk fabric rose craft is that you can use the mini roses for anything, from adorning your cashmere sweater as a brooch to pinning one on a tote bag to attaching one to a hair pin.

Let's face it: Most of the buttons we have on clothing are utilitarian: They hold our peacoat together and our pants on (generally), and thus aren't particularly pretty in and of themselves.
You can make this lovely brooch out of some scrap felt, or any other stiff fabric in your basket (you can stiffen some fabrics by adding interfacing), and a large button. Attach it to a hat, coat or anywhere else you want to add a little holiday cheer to!
This is an easy and fun craft you can use for just about any gift, and can be made with any fabric and to any size. Just start with two pieces of cut fabric, and follow along with this tutorial to end with a traditional Danish heart basket!
Start with a basic wicker round, and then use scraps of recycled fabric to make holiday rosettes. This tutorial uses red and white fabric, but you can make your wreath using any festive, colorful cloth or trim in your scrap basket.
This is a video tutorial in the Fine Art category where you are going to learn how to make a hippie chiffon one shoulder top. The materials you will need are chiffon, studs, elastic thread and elastic. Use a simple tank top pattern to cut out the chiffon. Elongate the center of the fabric; this will give it the flowy look. Shirr 5 rows into the middle of the fabric making sure the elastic is on the wrong side of the fabric. Fold in half, right sides together. Sew the side seam and the shoulde...
Leggings have the unique ability of covering you up (as long as we're not talking sub zero temperatures here) and keeping you warm and fashionable at the same time. They allow you to continue wearing certain fall dresses into fall. and look great in a pair of boots.
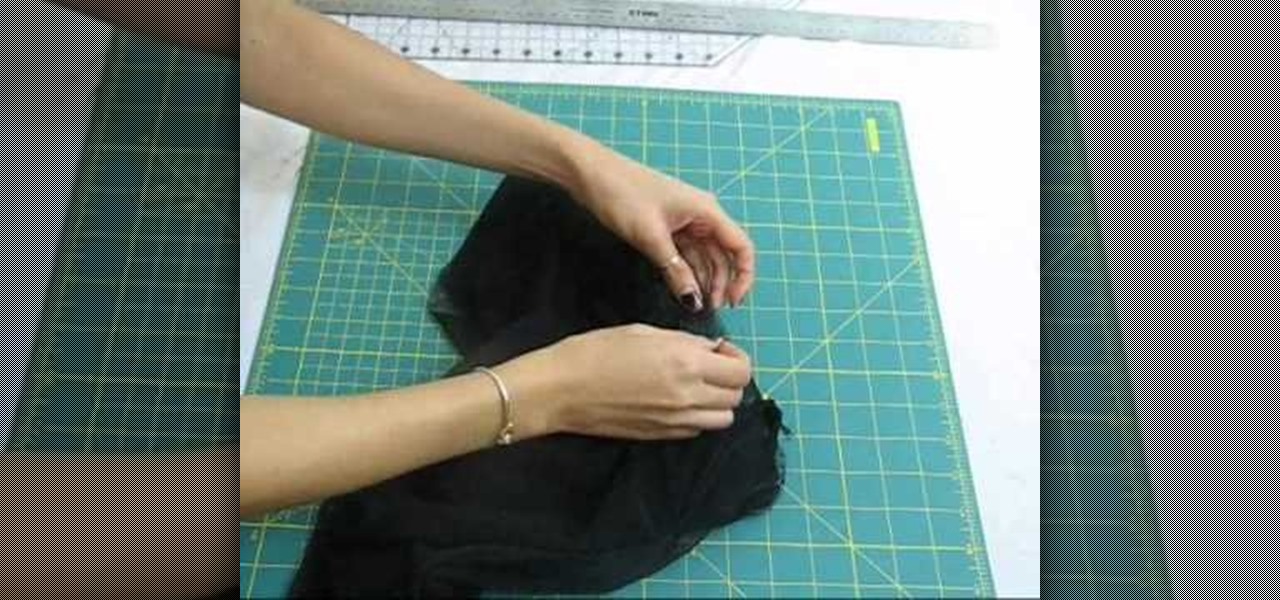
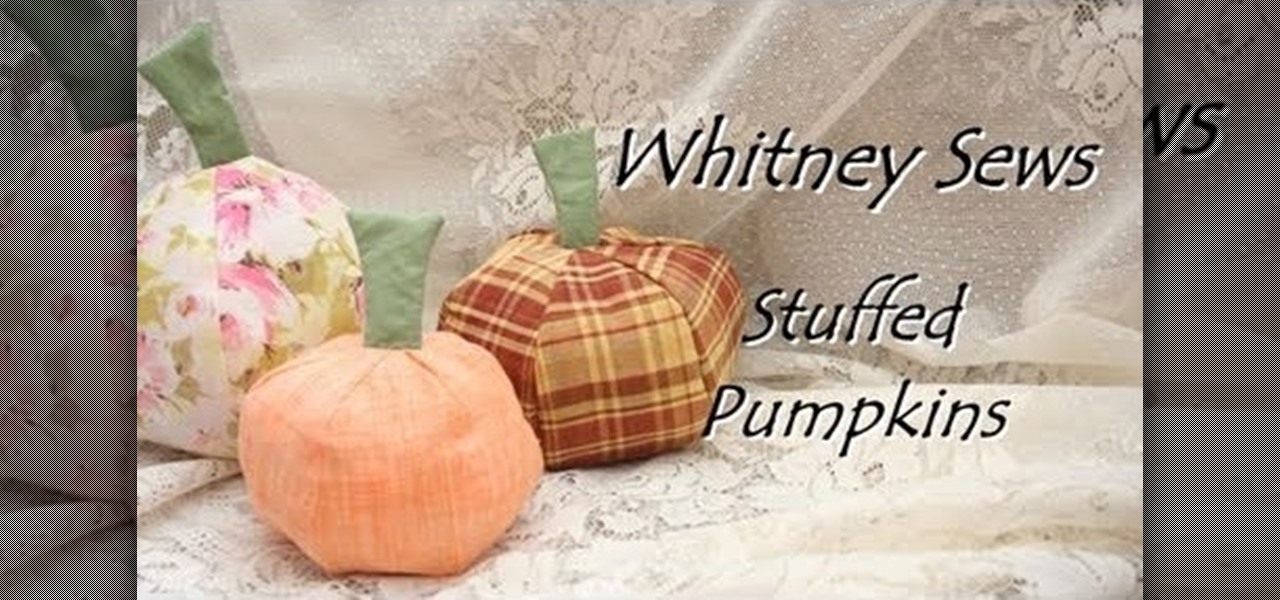
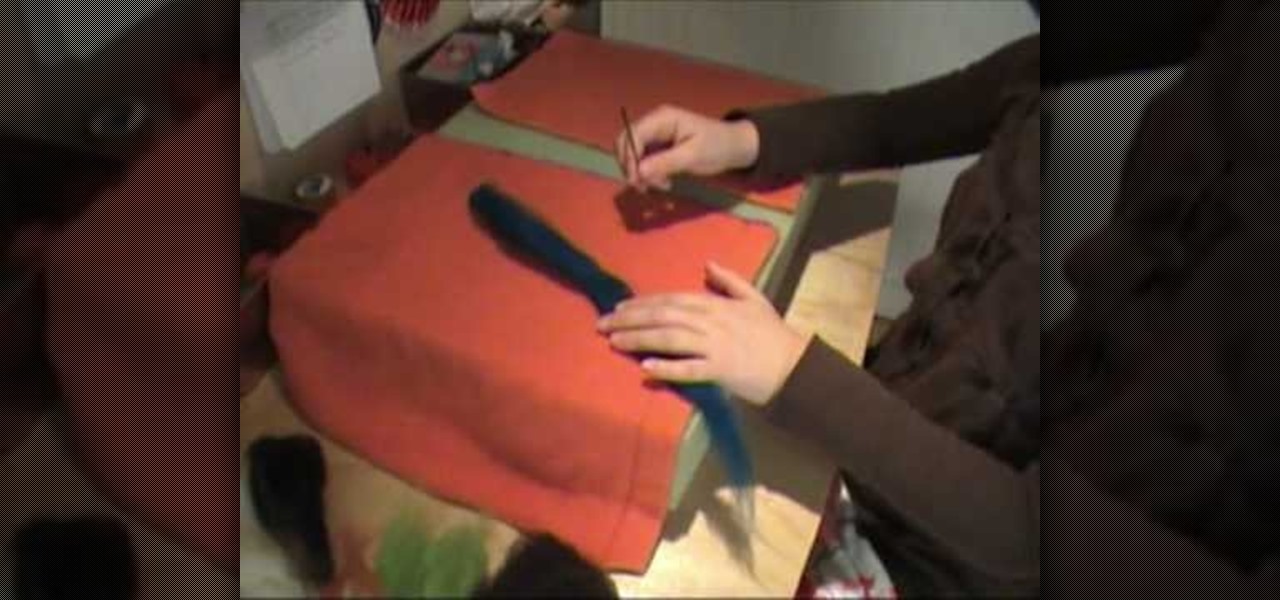
Here's an adorable and fun decorating idea that you can use all through the autumn! Make a patch full of adorable stuffed fabric pumpkins. You'll need some orange and green fabric scraps, straight pins, a hand sewing needle, scissors and stuffing or batting.
Cut the Rope is the hottest new iPhone game! Swing a ball on a rope to get points, then cut the rope to feed a frog! This video shows you how to successfully beat the first twenty five levels on Fabric Box.
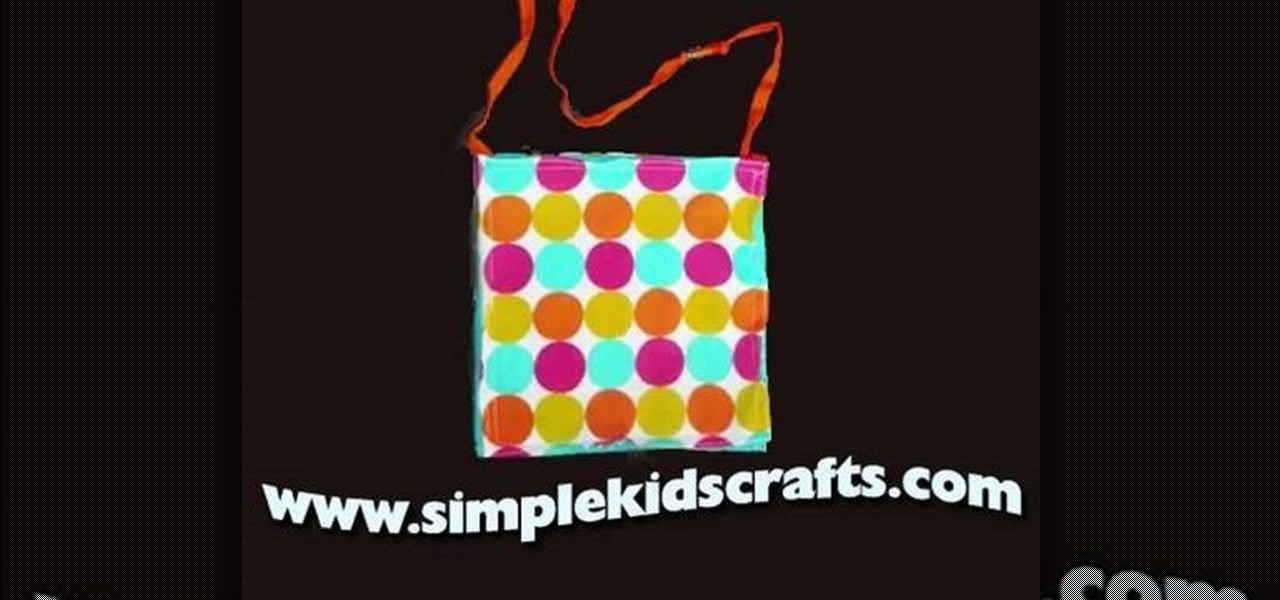
Make a fashion purse for your little princess! You'll need four squares of fabric in two separate colors (one for the outside and one for the lining), beads for decoration, a shoelace to use as a strap, needle and thread (or a craft sewing machine) and a pair of scissors.
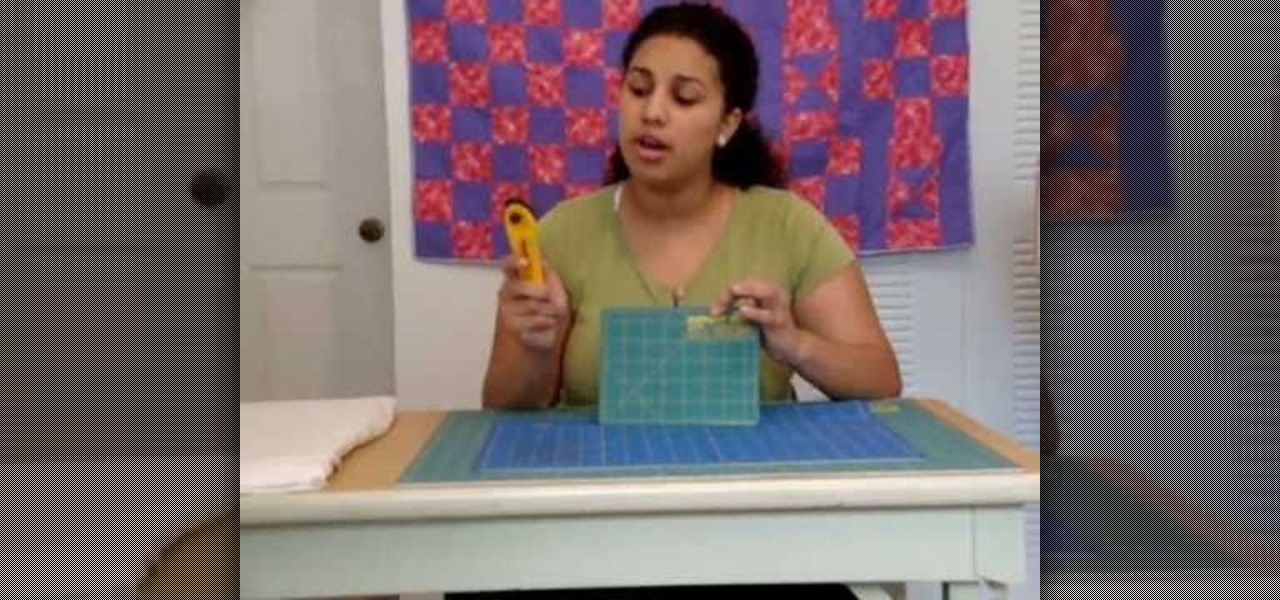
In this video, we learn how to sew a two-tier waist-high skirt. First, fold the fabric in half, then fold the right sides together and draw a half circle. Next, anchor your chalk with a spool of thread and swing around the half circle to create another. Now, cut out the circle with scissors. Then, draw a smaller circle using the same method at the bottom and snip it away. This will be the first layer of your skirt. Repeat these steps with another type of fabric for the other layer of your ski...
If you've ever kept clothes in a wet area for a long time, you know the disgusting and stubborn smell of mildew on fabric. Watch this video to learn how to get mildew out of different types of fabric easily.
There's no need to drop mad stacks at a department store in order to wear clothing that looks fashionable. In fact, you may not know it yet, but you probably have a few gems waiting to shroud your figure in your garage.
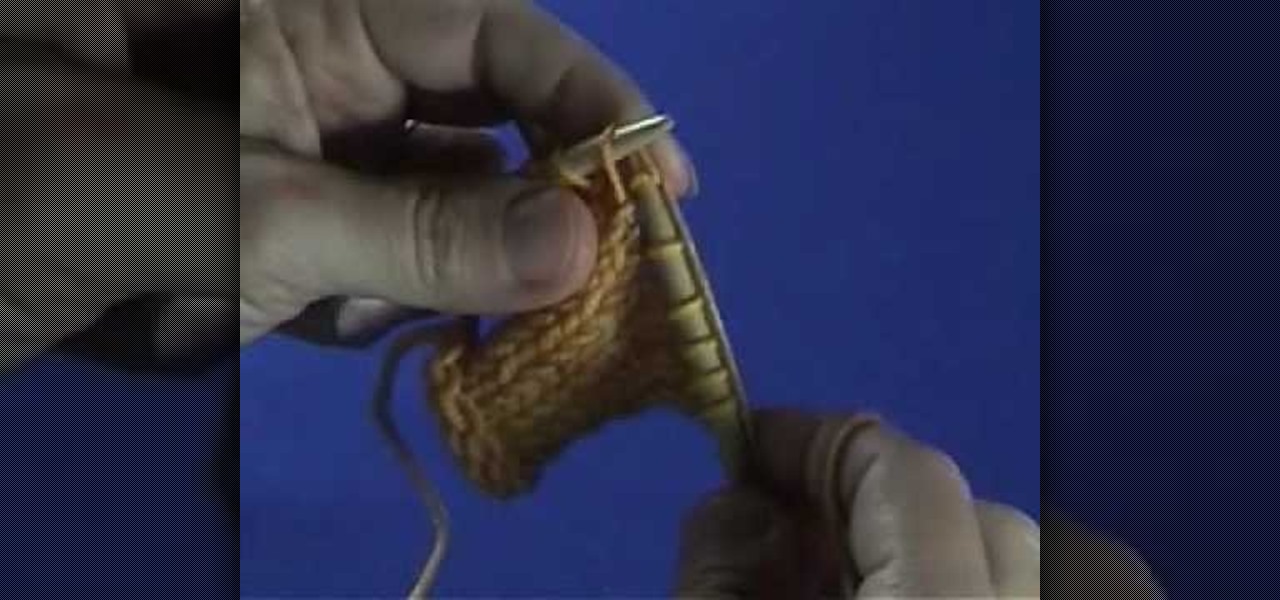
This video shows how to knit a stitch through the back loop. It's the way you can twist your knit and tight the fabric by stitching through the back loop.
In this video we learn how to sew on a shade ring with a sewing machine. First, lay your roman shade wrong side up. Next, place a pin inside of it and then fold the shade fabric where it is down. Next, set your sewing machine to a zigzag stitch with a width that is on the wider side. Now, slide your fabric underneath the needle so it just catches the needle on the side. Start to stitch the side of the fabric, removing the pins as you go. Make sure to sew the shade rings on as you go, then you...
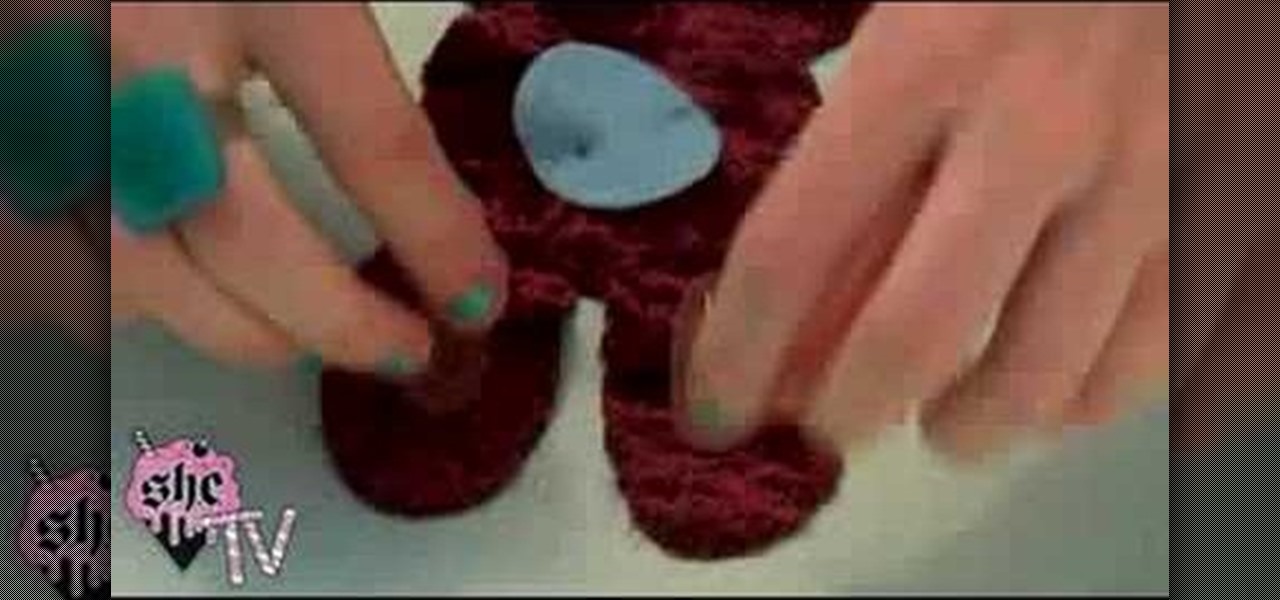
This video teaches us how to make a plush rabbit. Start off with a piece of fabric, then cut out the shape for the bunny out of this fabric to make two sides. After this, cut out the color for the eyes out of various other colored fabrics. When finished, sew the eyes onto the bunny and then sew both sides together. After this, fill the bunny with stuffing and then sew the entire thing together. When you are finished, you will have a small and cute plush rabbit that is not only made cheap but ...
In this tutorial, we learn how to make a window valance. If you have a drop down shade, a valance will help cover up the hardware that is located underneath it. Start out with your choice of fabric, then add in 1 inch to the top, bottom and sides. Next, line the fabric and place Velcro on the top. Now, use a wrap around and mark where you want to fold the fabric in at. After this, sew the valance and then use the Velcro to stick it onto the metal part of the drapes. When finished, enjoy your ...
In this tutorial, we learn how to make ring skirts. First, cut out for 22.5 x 5.5" shapes out of black polyester. Next, cut a 21.5" x 4.5" rectangle out of cardboard. After this, iron down all your shapes so they are flat, then place the cardboard on the other shapes so you can see material sticking off of four sides equally. Next, fold the excess fabric onto the cardboard and then iron it down, then pin it on all sides. After this, sew the sides with a sewing machine and remove the pins. Do ...
So you've decided that your hobby of blindfolded rock climbing was just a tad too hard and have now taken up sewing. Other than purchasing a few needles and colors of thread, where do you begin?
Anyone who's tried to redecorate their home or even one room in their home knows that between new furniture, paint, and new upholstery, the budget for the job - or lack thereof - begins to skyrocket quickly.
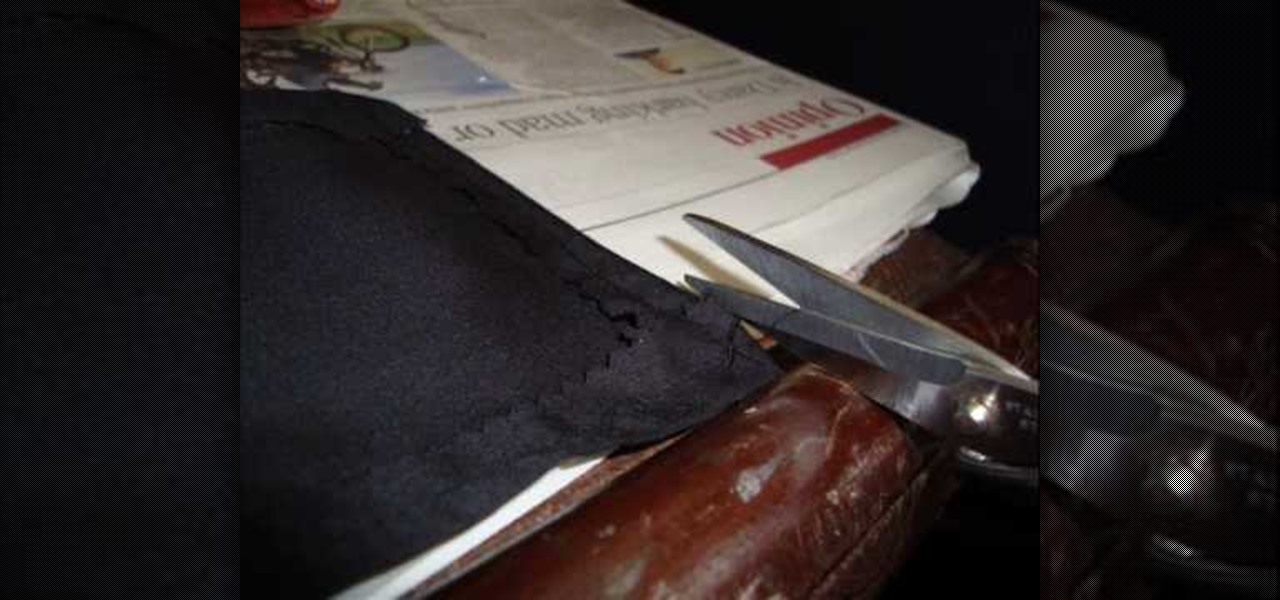
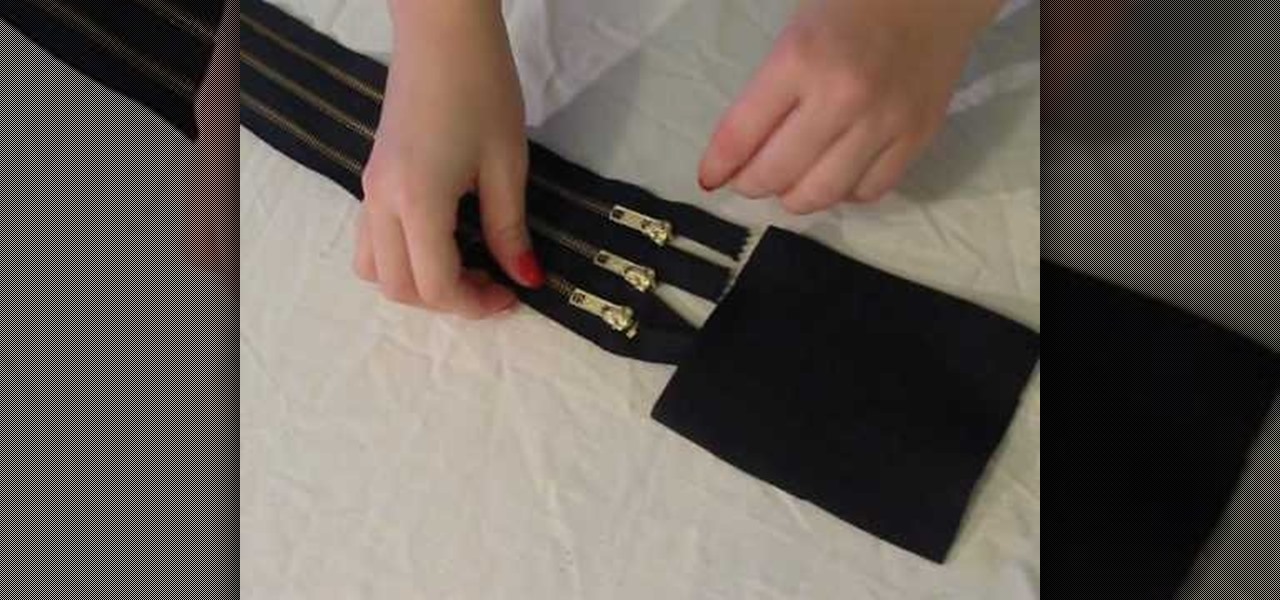
This video shows how to make a simple and stylish belt out of three zippers, a square of wool, and a glue gun. For those who are not skilled at sewing, there is no sewing required in the making of this belt. Taking the hot glue gun, place glue lengthwise along the back of the middle zipper and glue the top and bottom zippers to the middle one. After this is done, get a large square of fabric such as wool and glue the ends of the 3 zippers to the fabric. This fabric will serve as the location ...
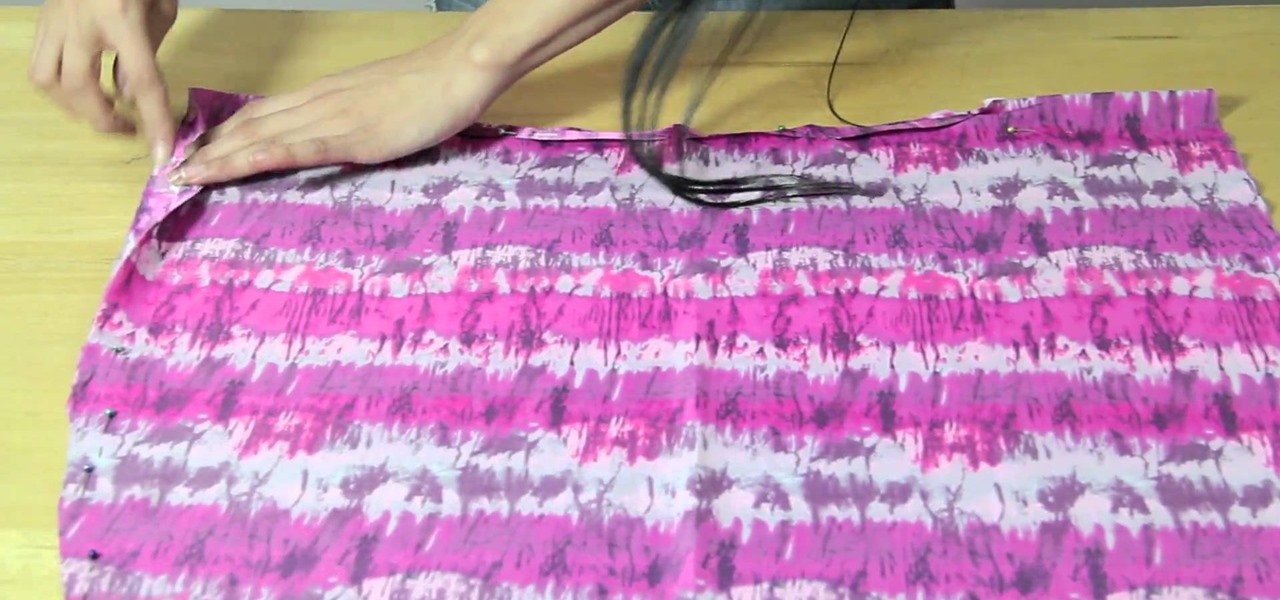
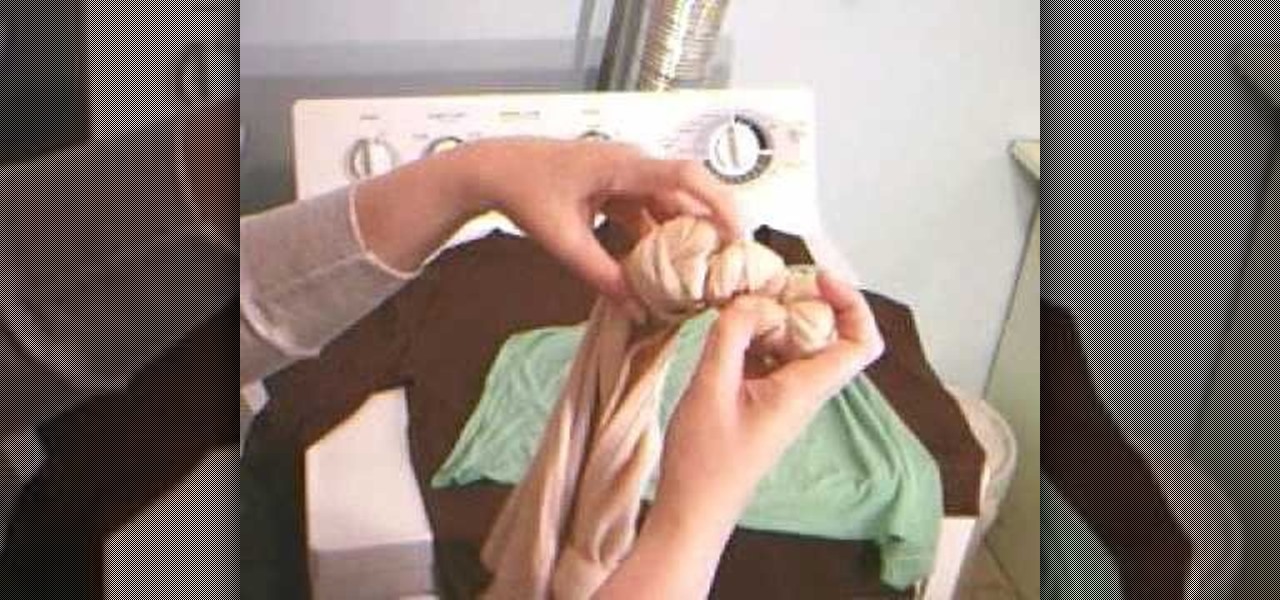
Do you love the 1960s flair that tie-dye gives your clothes, but hate tracking pre-dyed stuff down at hippie stores? This two-part video teaches you how to make your old plain-colored clothing tie-dyed using the knot technique. Revitalize your closet using this technique without ever having to set foot in a specialty store!
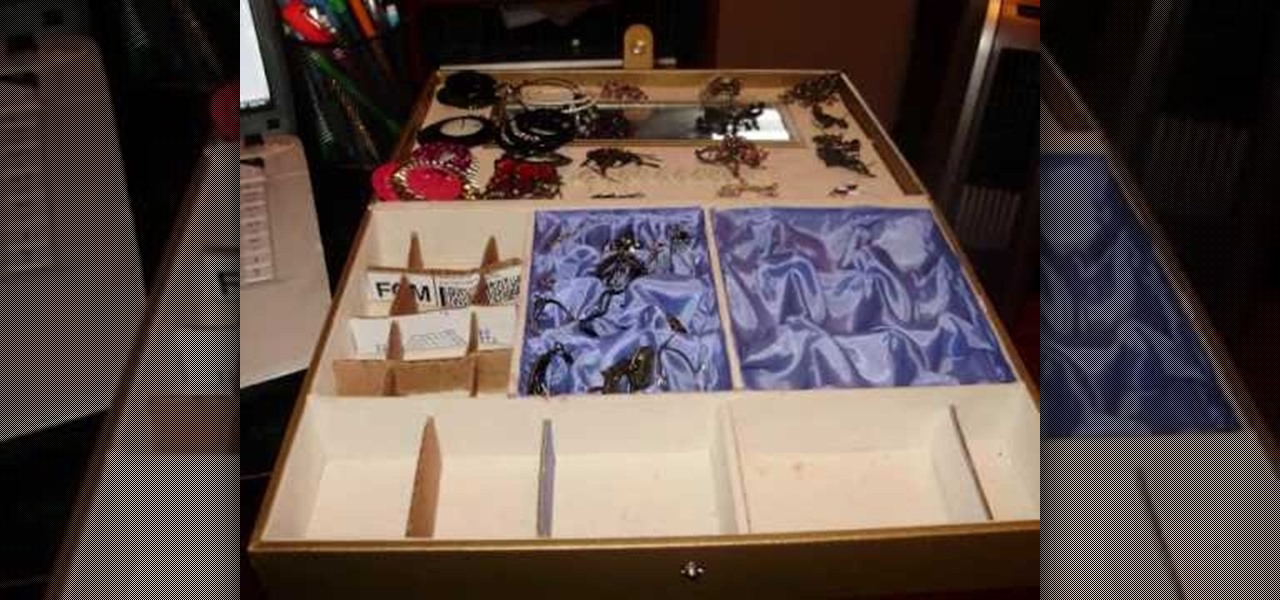
This video shows how to make a custom jewellery box for cheap. Find any box we want to use. Next find some spare fabric to put on the inside. Make little compartments big enough for whatever we are putting in. Just use cardboard for this. Measure the cardboard into strips and then made triangular cuts so that the cardboard would be more stable. Next make sure whatever we are putting in will fit in the compartments we have made. Use super glue to put the fabric in and pleated the fabric. Now w...
Olivia shows how to make ‘Woolen Mittens’ in this video, by recycling an old sweater! She begins by washing an old sweater in cold water. After washing, she puts the sweater in a dryer at high heat mode, to shrink it. The washed, dried and shrunk sweater is then placed on a table. The required length of the mitten is decided, taking care that the bottom end of the sweater shall be placed at the point where the mitten ends on the arm. The arm is then placed on the sweater and a mark is made ab...
This video is pretty clear in describing how to make slime using glue, water, and fabric starch. I don't recommend children watch this because Sean Shameless (the host) adds unnecessary cursing into the instructions. The most important thing to remember in this video is that this slime stains. Sean Shameless also advises the children to not tell their parents about using the fabric starch which tells me that they really should not be doing it. Sean than explains what the possible uses of slim...
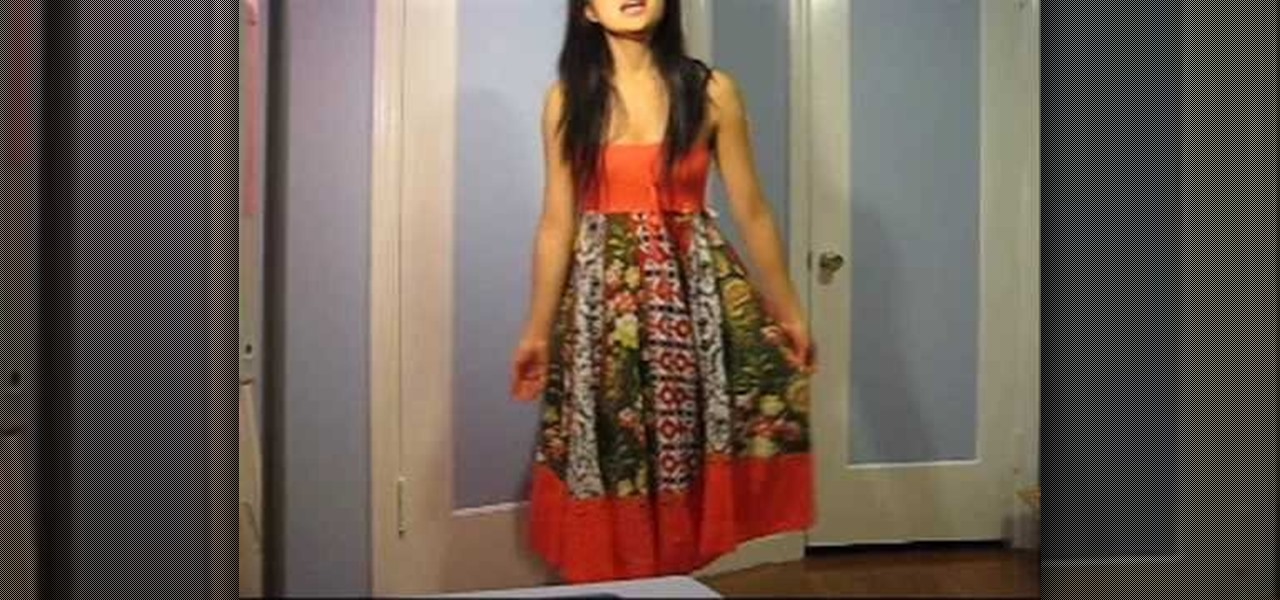
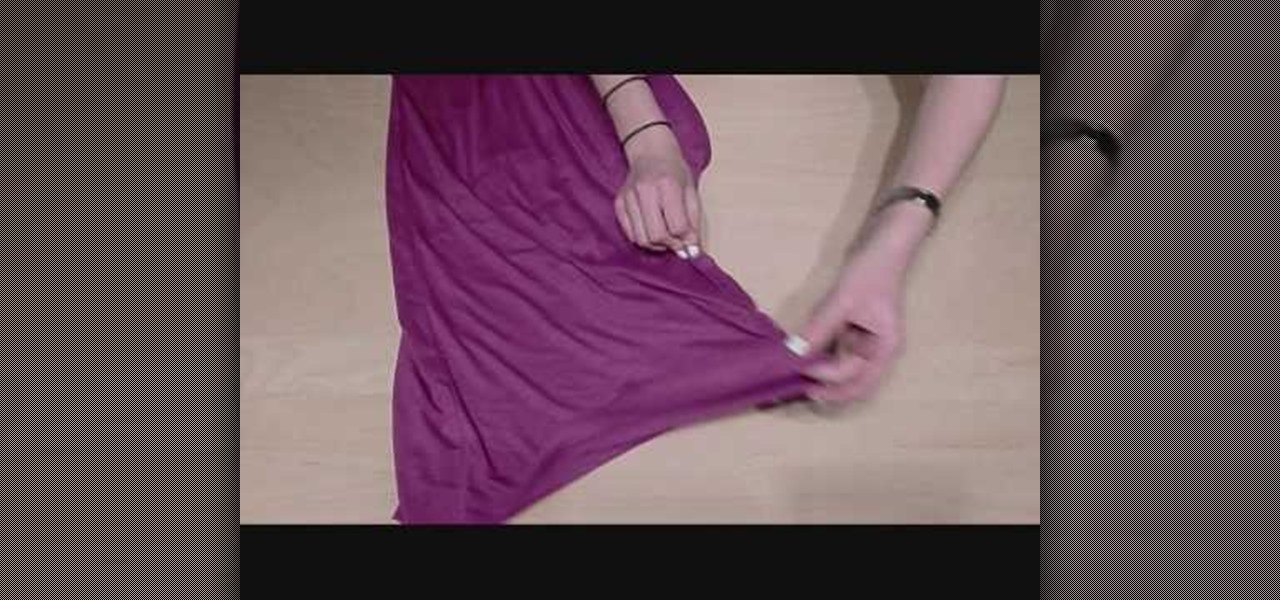
This video shows how to alter an oversized dress into a summer dress and a scarf. Do you have a dress that is an awkward length? Depending on how tall you are an otherwise cute dress might need some alterations to look best on you. The dress used in this video has a strip of fabric going from the knee almost all the way down to mid-calf. Removing this strip of fabric was easy to do by simply pulling out the stitches. This simple move turned a frumpy gown into a cute sun dress. The leftover st...
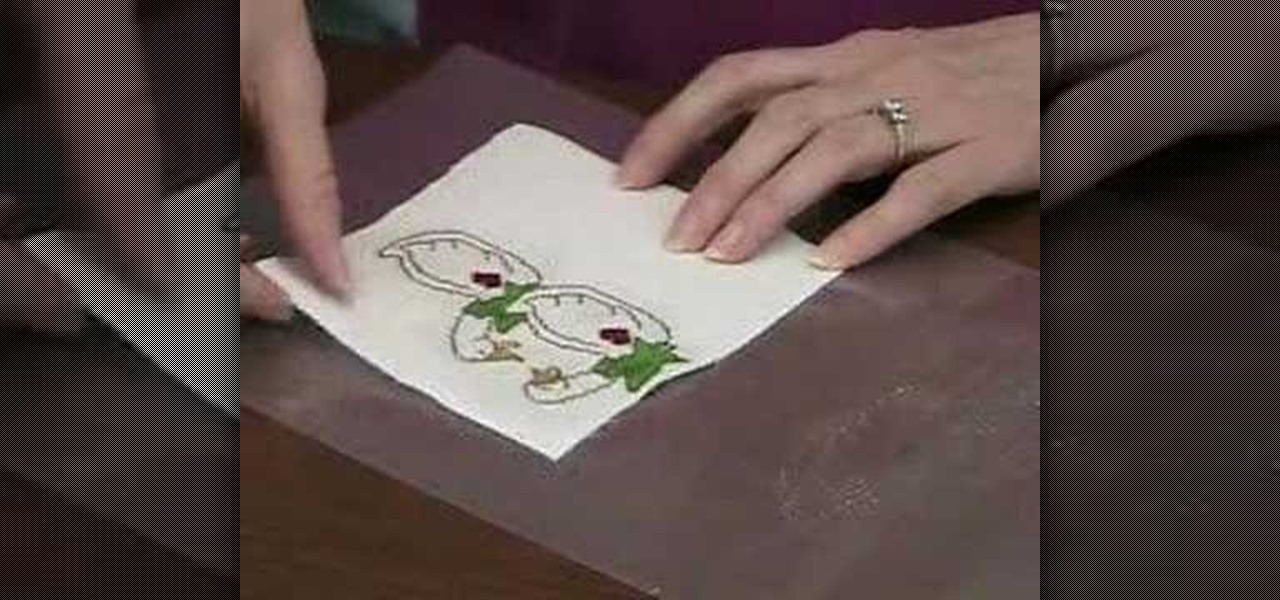
Beth Johnson explains how to use Needlework Finisher to turn cross stitched pieces into ornaments. Needlework Finisher comes out of the bottle as a thick, white liquid, but turns into a clear plastic coating when dry. No special equipment is required, and Beth demonstrates how to daub the Needlework Finisher onto the cross stitched items with a finger tip. She allows one side to dry before coating the other side. The "wrong" side of the cross stitch can be covered with plain fabric, by using ...
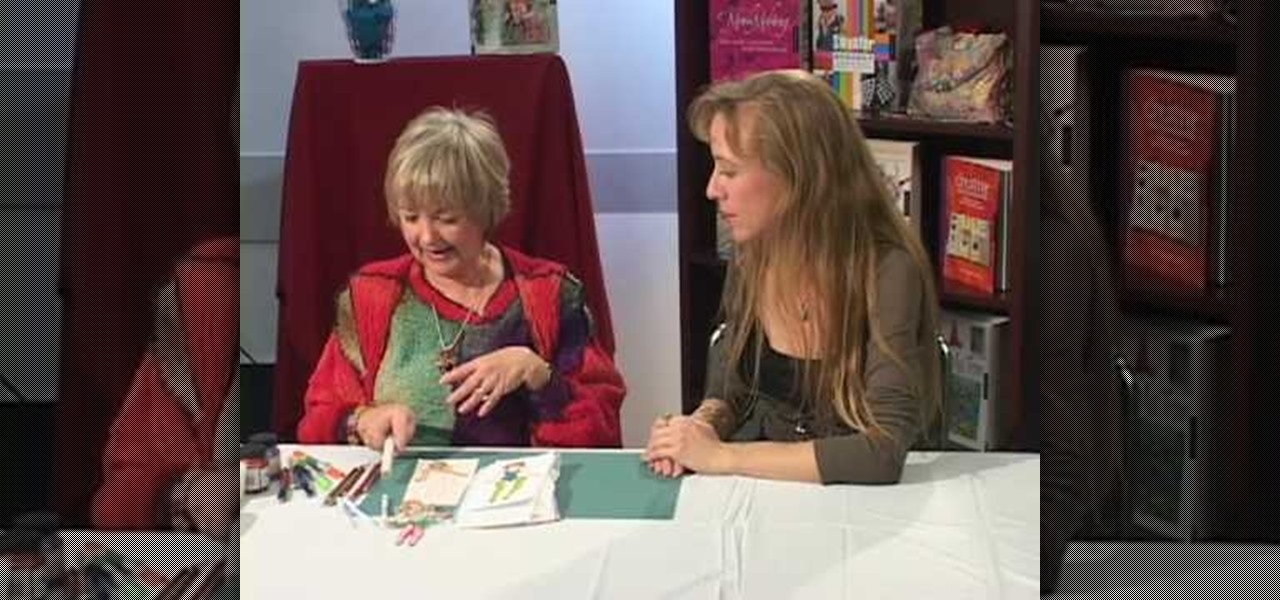
You start off with a printed design on your doll. Use regular paper, but you have to print the doll in individual pieces - body, hands, legs, head. You stick those on the front of hard materials like thick card stock or some thick fabric. Now you can putt the doll together and make adjustments. You put the doll together by using small thumb tacks. It's even better if you have ones that have a rhinestone on them. Once you've done the joints, you can also add a little tutu or some fairy wings. ...
D. Gulley with The Discount Trendsetter Show demonstrates how to recycle old furniture. To recycle coffee tables, stack them on top of each other to create a bookcase or a display shelf. Go to your local fabric store and purchase nice but inexpensive fabric to give your sofa a new look. If you don't want to cover your sofa to give it a new look, concentrate on the pillows to pull the new look together. To update pillows that you already have, buy some inexpensive fabric and tuck it, pin it or...
Watch this video to try out making a halter dress by yourself. Lay out the fabric you are going to use on a level surface. Afterwards sew it right side together with stitching pins. Once you finish doing so flip the fabric right side over. Sew up the ends of the fabric right sides together. This will create the hole in the dress where you will wear it as a halter. Flip the dress over and cut out some elastic to sew it on the bottom part of the dress. This will create a nice effect in the skir...
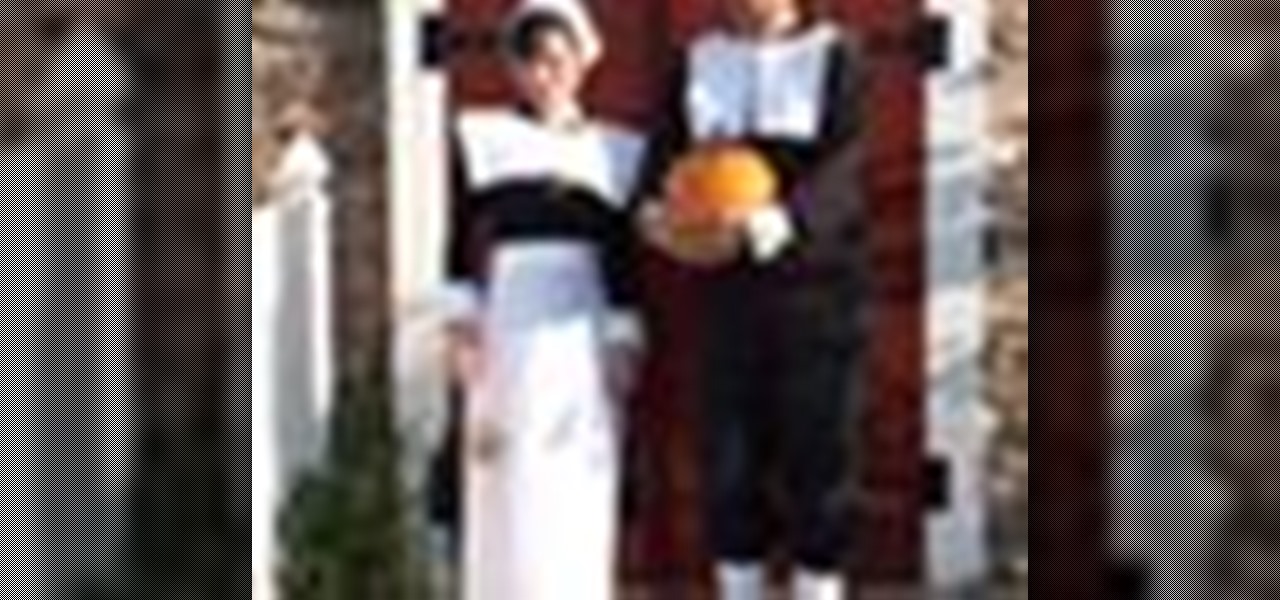
Whether for a boy or a girl, a Pilgrim costume is one of the easiest costumes to make. You Will Need
Hak5 isn't your ordinary tech show. It's hacking in the old-school sense, covering everything from network security, open source and forensics, to DIY modding and the homebrew scene. Damn the warranties, it's time to Trust your Technolust. In this episode, see how to organize your desktop with Microsoft Scalable Fabrics.
Add inches to your appearance without wearing 12-inch platform shoes. You will need: -the right length jacket
For right-handers, work from right to left or top to bottom. For left-handers, work from left to right, or top to bottom. Bring the needle to the front of the fabric at A, and pull the thread through. Now, for the rest of your stitches, you can work them more quickly if you "run" them on the top of the fabric, without taking your hand to the back. Go down at B, and, using your fingers on your non-dominant hand (the one that's not holding the needle!) behind the fabric, encourage the needle to...
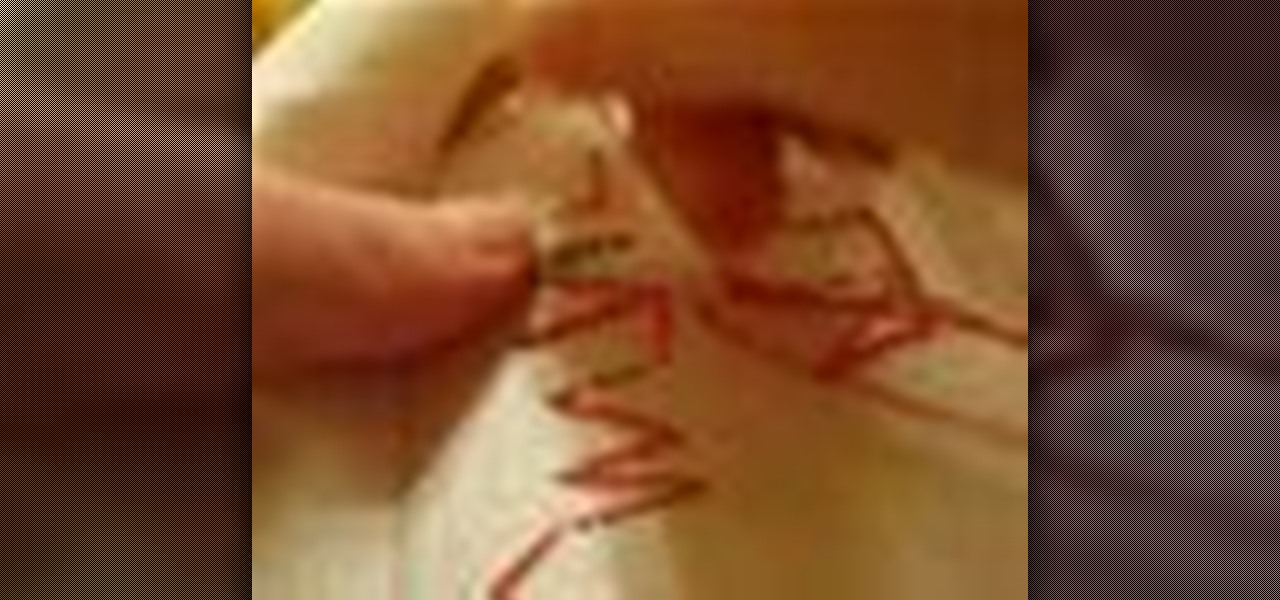
In this video, we learn how to freehand embroider. Start by finding the image you want, then reduce it down to the size you want. After this, find dissolvable stabilizer and lay it over the drawing. After this, trace the picture with a Sharpie, then choose where you want the image to go on the fabric. Now, take blue Scotch tape and tape it over the edges onto the fabric. Now, grab a freehand stifling foot and place it on the fabric and start to sew the image around the outline. When you are f...