

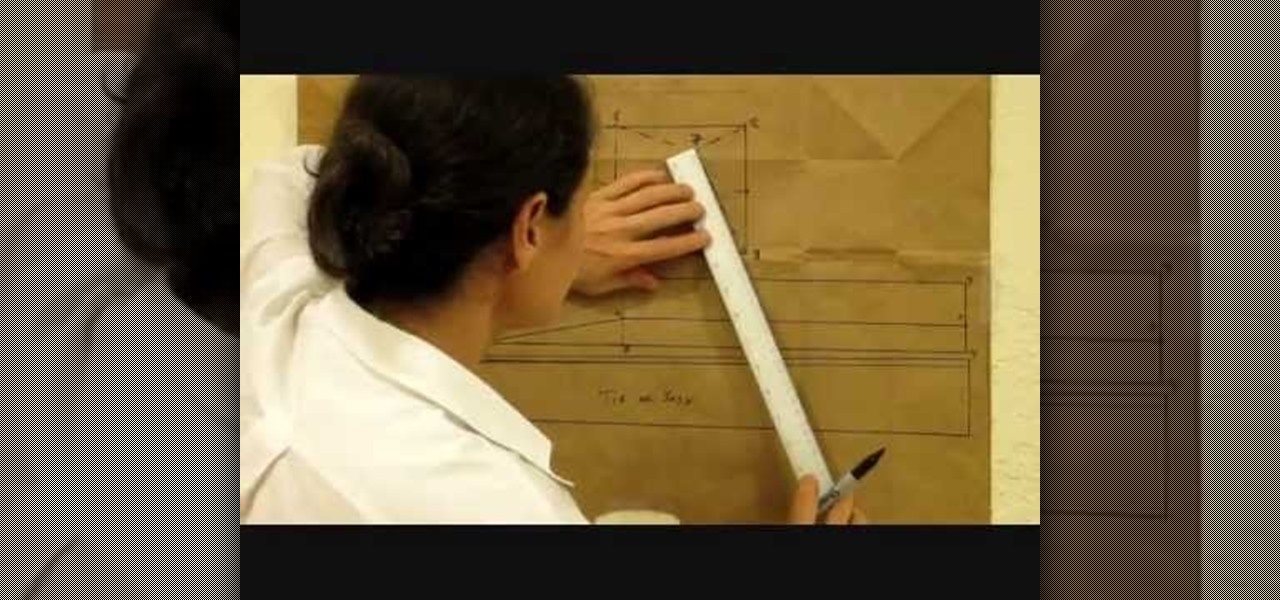
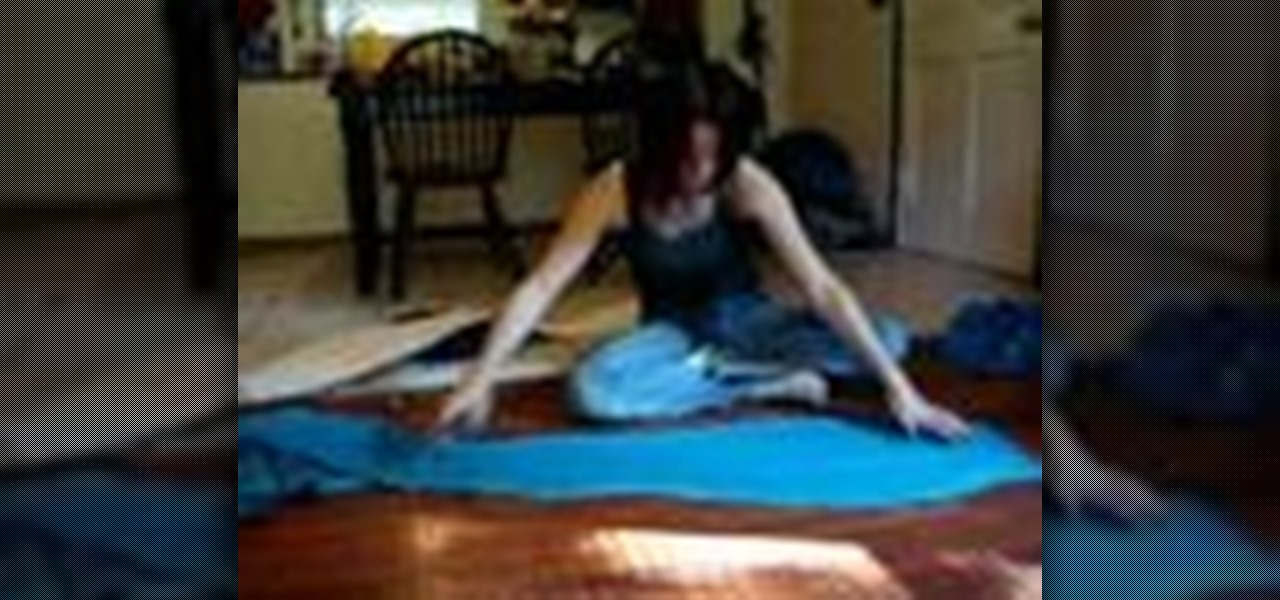
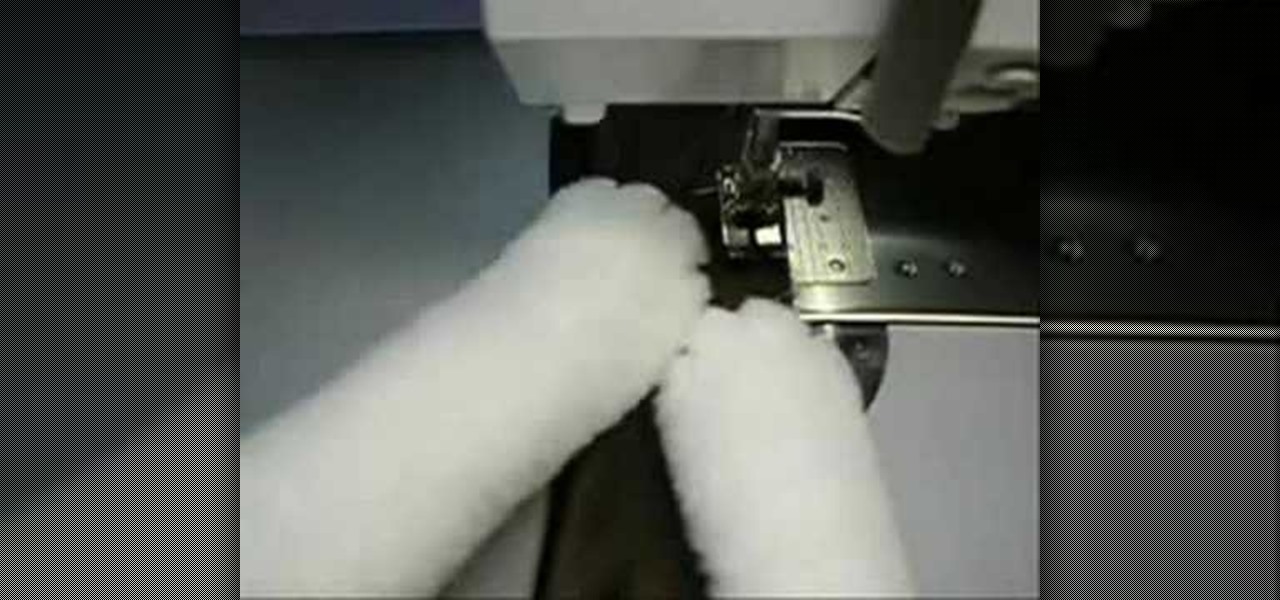
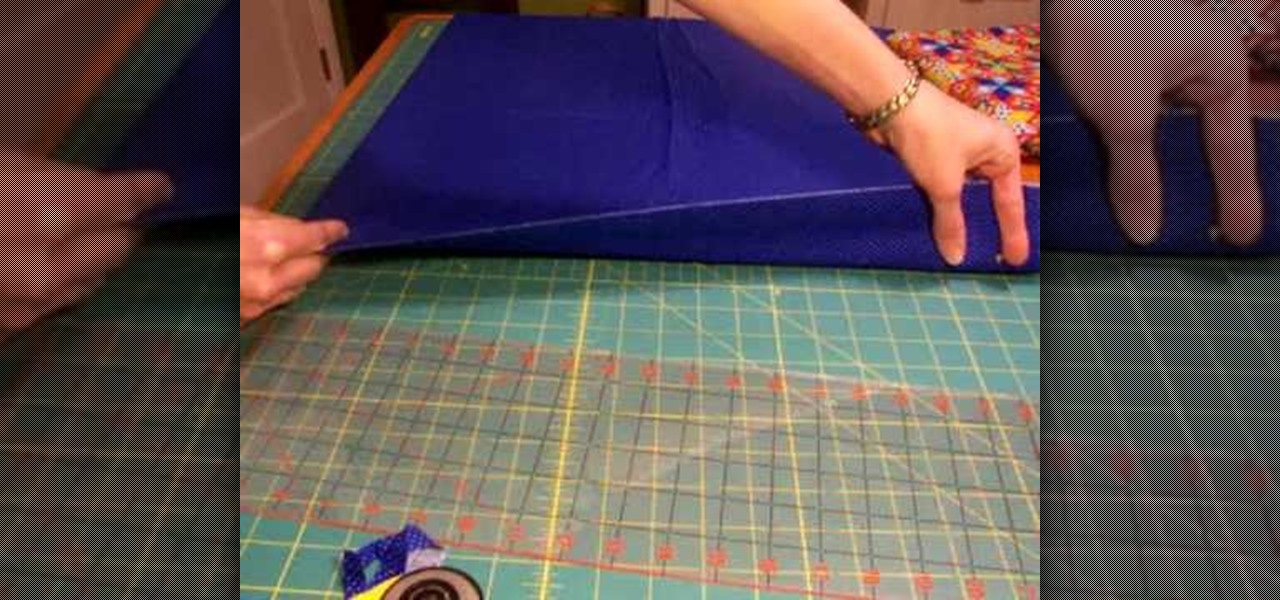
How To: Mark and cut fabric
Find out from fashion designer Natalie how to cut out your pattern pieces and use your fabric cutting scissors.

Find out from fashion designer Natalie how to cut out your pattern pieces and use your fabric cutting scissors.
This crushing process brings out color variations by flattening the pile or nap of the velvet, and adds surface texture by pleating the fabric. One benefit to this method is that a simple wash and tumble dry will restore the fabric to its original condition, so watch this video and see just how to create crushed velvet.
Transform any fabric in minutes by using paint sticks to transfer a surface texture to the cloth. Watch as Laura Murray shows you how to use surface rubbings over a textured surface to create original and creative fashions.

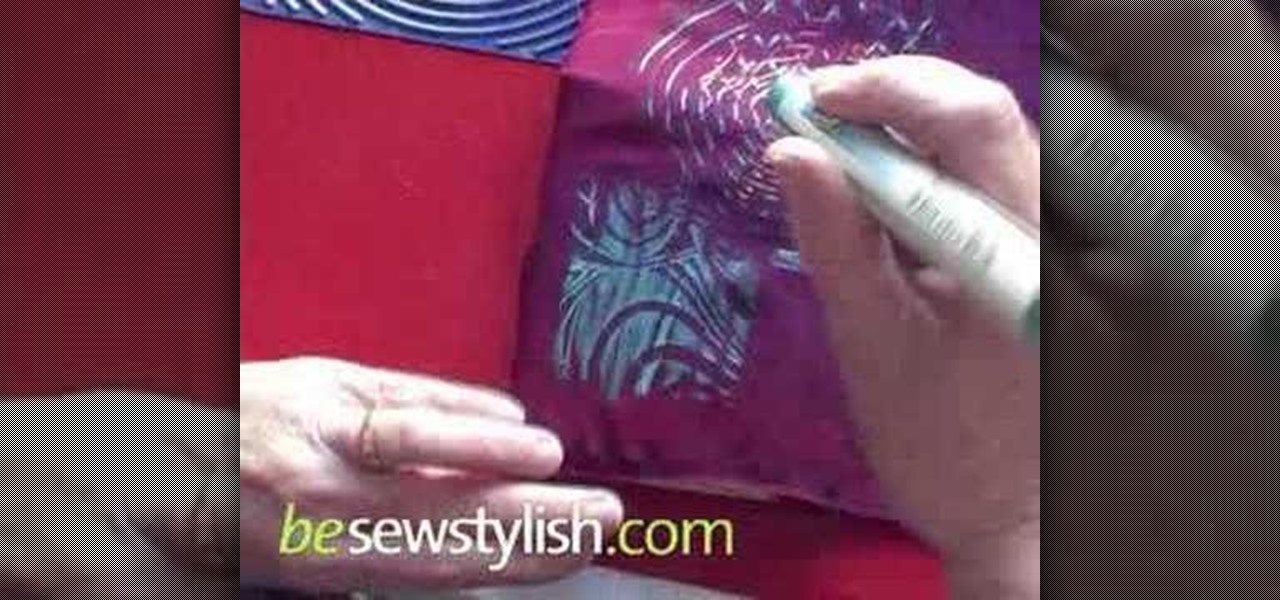
Make It Mine editor Linda Augsburg shows you how to stencil on fabric.
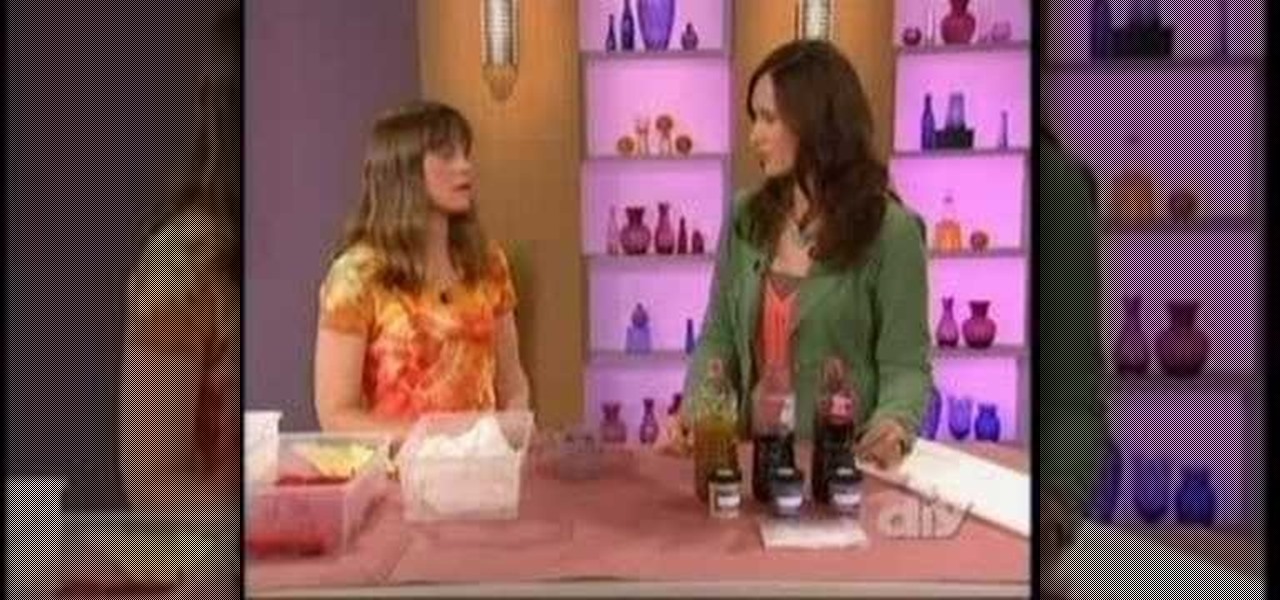
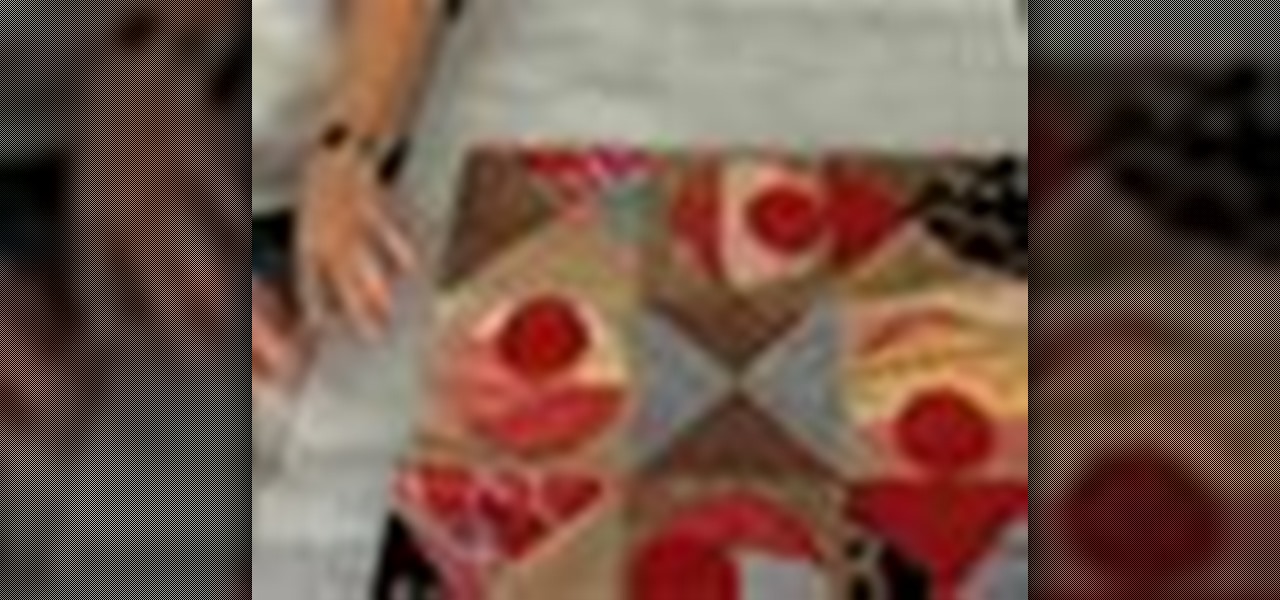
The members of Material Evolution combine their talents to make a gorgeous circle-designed quilt. Lisa Call starts off by creating beautiful hand-dyed fabrics.

Incorporate hand drawing with markers, ink and tools into fabric projects for stand alone illustrations or to color in embroidered designs.

Learn more creative quilting methods by burning silk edges and adding color to fabric with colored pencils.
In this video we learn how to make a fun party dress with oversized bow. First, lay the fabric flat down on the ground and cut it in half. After this, measure your bust, waist, and hips and mark it on the fabric. After you have all of the pieces of fabric cut out that you need for the dress, put it all together. Use a sewing machine to sew the different pieces together. Then, grab the extra piece of fabric you have from the scrap pile. Use this to make the large bow and sew it onto the dress ...

In this tutorial, we learn how to make a toga in two minutes. First, pick out the fabric that you want, you will need around 6 yards. Next, get in a stance with your legs apart so you have leg room to move after you wrap it around. Then, wrap the fabric around your waist, tucking it into your back pocket to avoid using a safety pin. Next, start wrapping the rest of the fabric around your entire body until you reach the top around your chest. Don't wrap up to your neck. Then, throw the rest of...
Pixel Perfect is the "perfect" show to help you with your Photoshop skills. Be amazed and learn as master digital artist Bert Monroy takes a stylus and a digital pad and treats it as Monet and Picasso do with oil and canvas. Learn the tips and tricks you need to whip those digital pictures into shape with Adobe Photoshop and Illustrator. In this episode, Ben shows you how to create fabrics in Photoshop.

This is a video about how to make the photo display board. You just need foam display board, fabric to cover the board, batting paper, pins, and some ribbons. First you have to cut the fabric about one half inch extra of the board to cover the board. Next you have to cut the ribbons upto 6 to approximately 21 inches long and cut one ribbon to hang the photo board. Next laying out the fabric on the table first. Next place the batting on the top of the fabric. Next take the foam board and place...

In this editon of Tip Tuesday from Pursebuzz we are shown how to determine your skin tone. This tip is a pretty simple way to determine if you're a warm or a cold tone, and if you are pink-based or yellow-based. That's the first question you're asked if you go to a counter and you're trying to figure out your foundation colors or your blush colors or shadows, or what will work for you. The first test is the fabric test. You don't even have to buy this fabric. You could just go to a fabric sto...

1. Draw a flower template on paper. 2. Cut out the template (it's like making a paper doll).
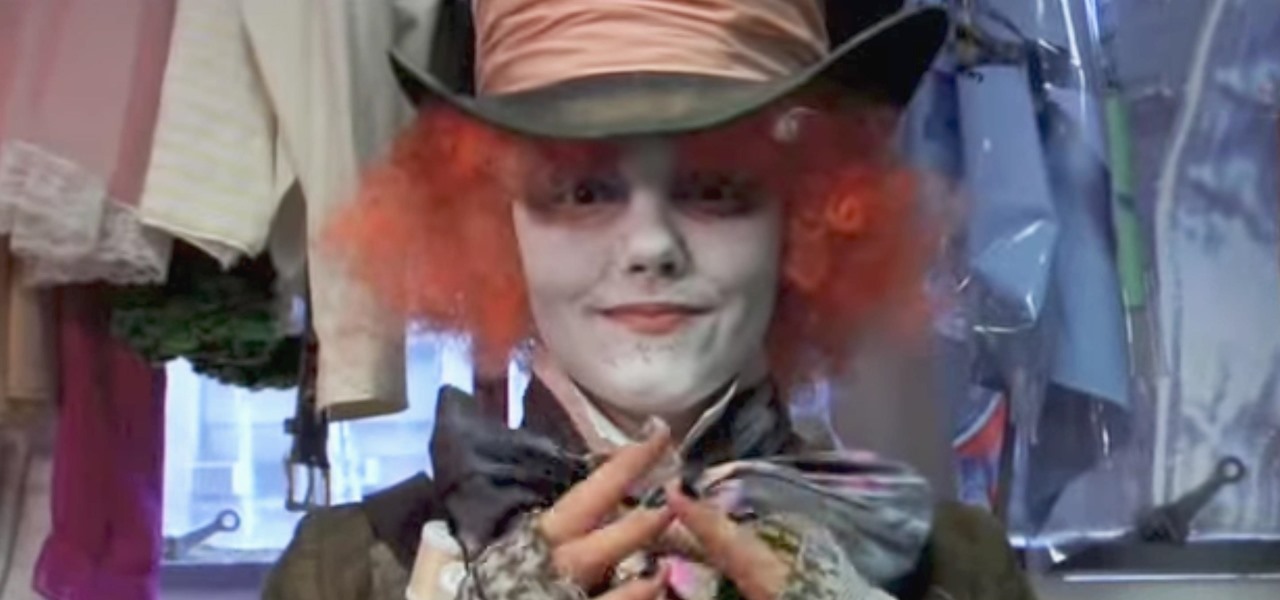
The Mad Hatter from Tim Burton's Alice in Wonderland not only makes a great costume but a great project. The hour-glass shaped hat, the striped pants, the fingerless gloves, and the Hatter's signature scarf are the most important components in this costume. If you're fairly skilled with costuming already, this shouldn't take more than four or so hours.
Video: . Whether you are gardening, cooking, riding a motorcycle or just want to cover up on a bad hair day, doo rags are easy to make and fun to personalize to suit to your style. If you would rather just download the durag pattern click here.
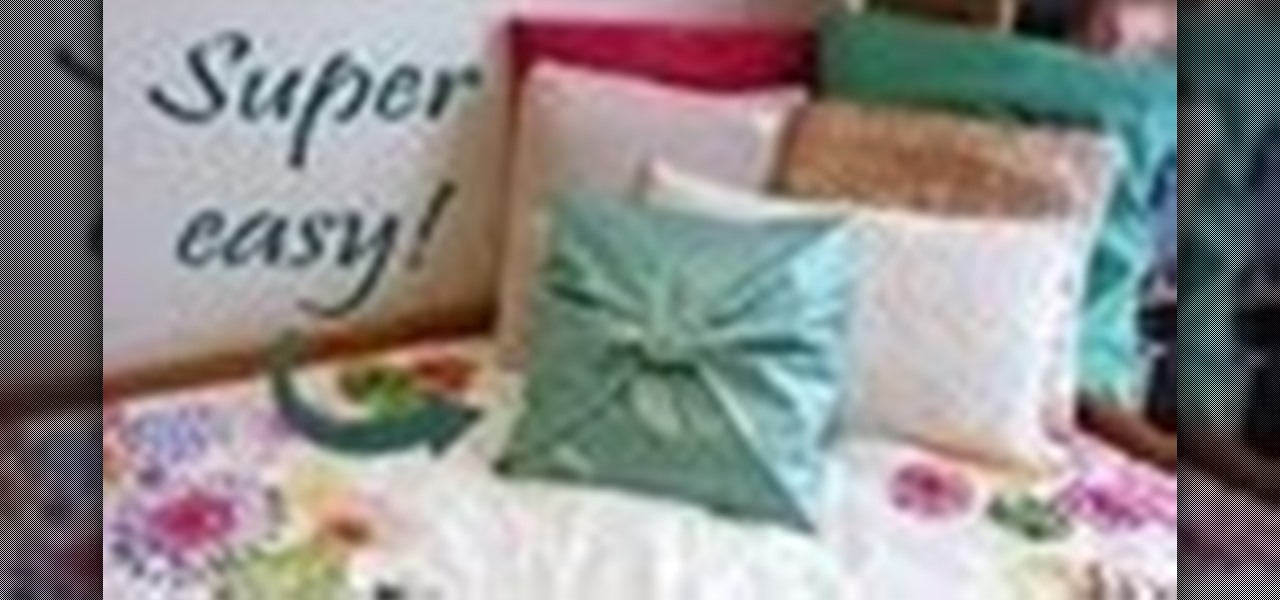
Video: . This DIY room decor tutorial is super easy and the final result is very girly and polished.
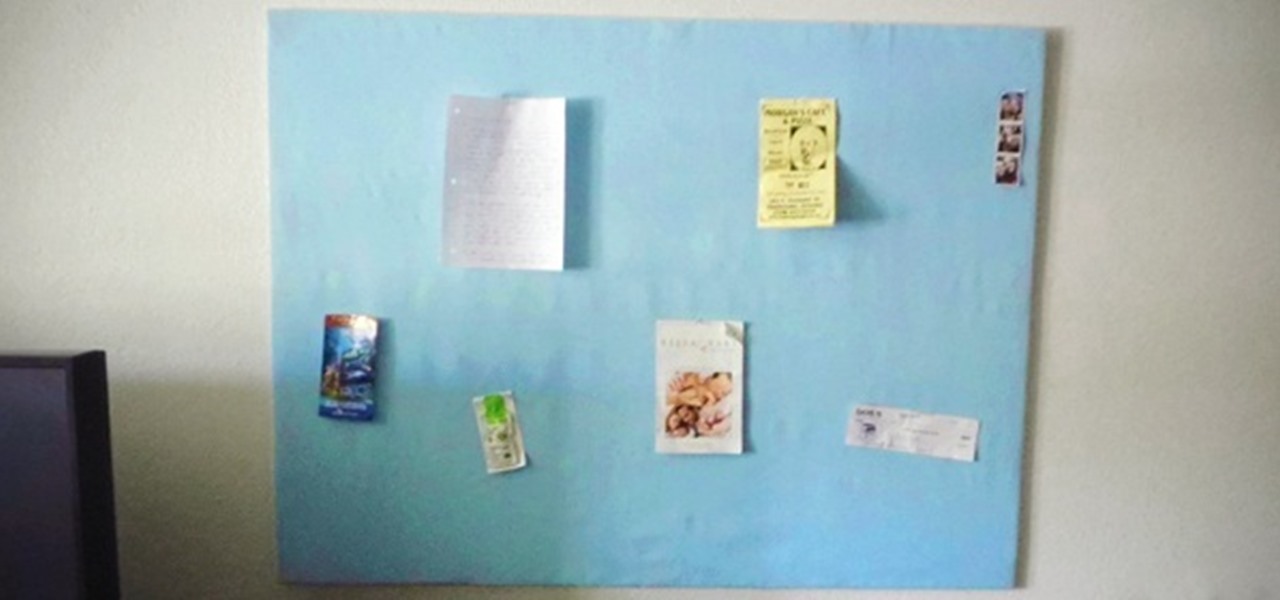
One thing that's always important to have in your home office is a bulletin board, because they let you quickly display papers that you need to see every day, such as schedules, notes and memos.
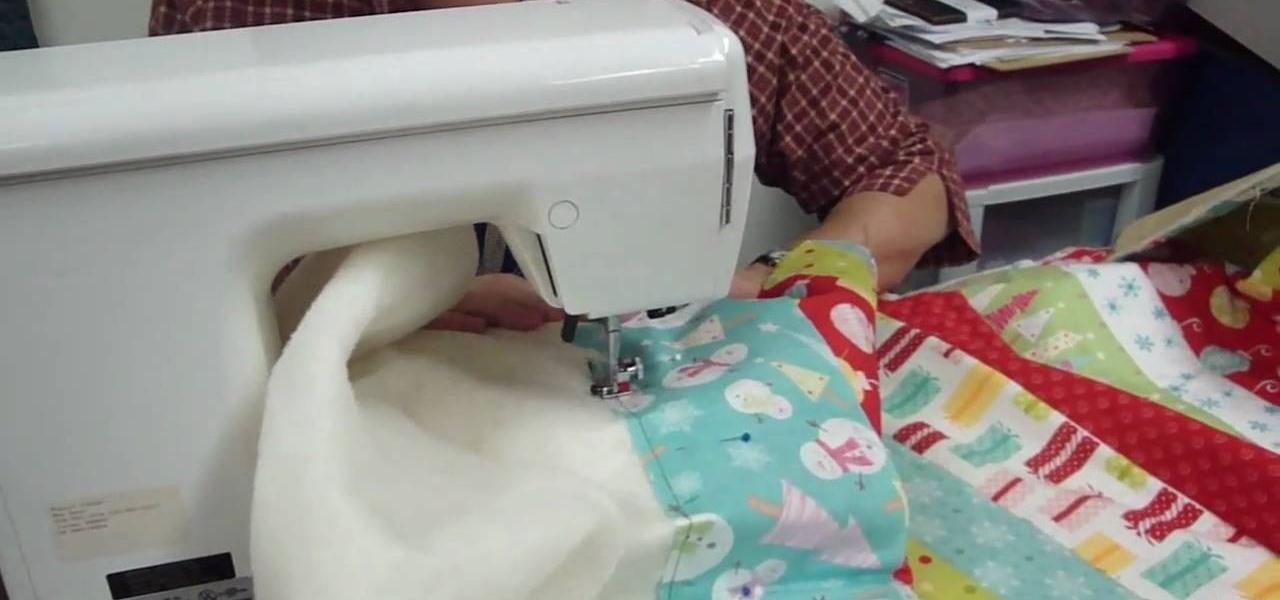
Looking for a new way to do your quilting? Why not try the 'quilt as you go' method! With this method you don't finish the whole piece at one time, but instead take various pieces of fabric and use them one by one. This is a great method if you happen to have a big bag of fabric odds and ends you didn't know what to do with. You'll need a piece of backing, thread, pins and of course a sewing machine. Watch and learn how to quilt as you go!
Are you bent out of shape over damage to your clothes caused by wire hangers? Don’t buy new ones – follow these easy steps to modify hangers you already have. Watch this video to learn how to turn a wire hanger into a cloth one.
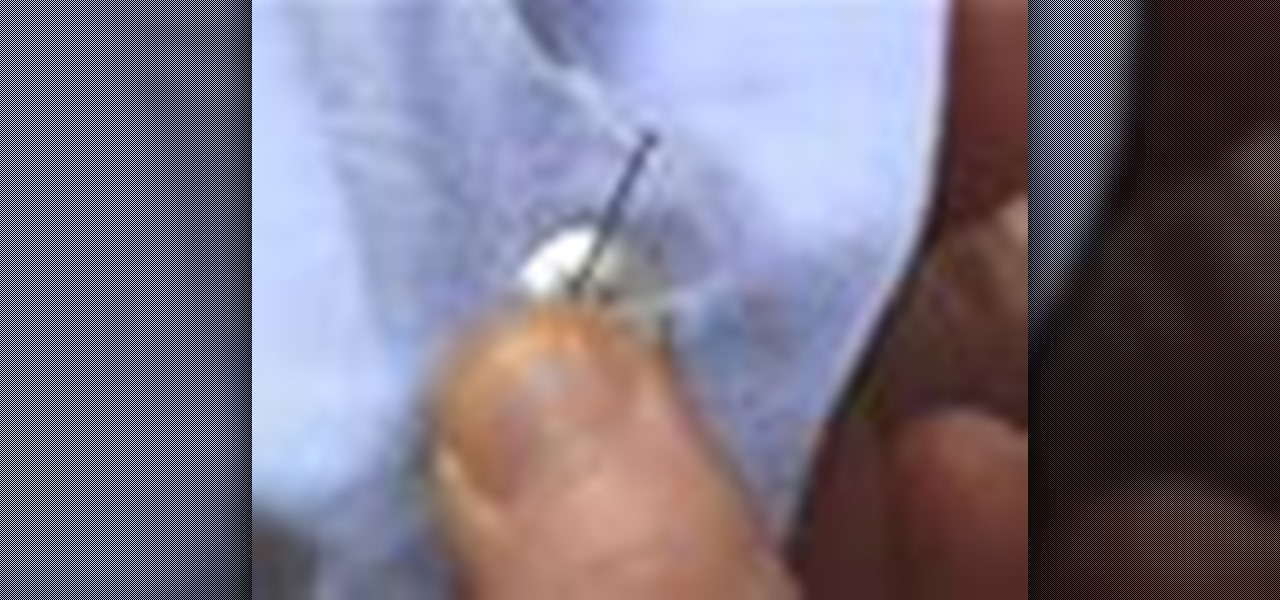
Learn how to sew a button by hand. Not wearing your favorite shirt because it’s missing a button? Don’t worry—sewing on a new one is simple and fast.
Here is a step by step tutorial for making a swimmable mermaid tail. Check out Video #2 for a demonstration of the tail in use!
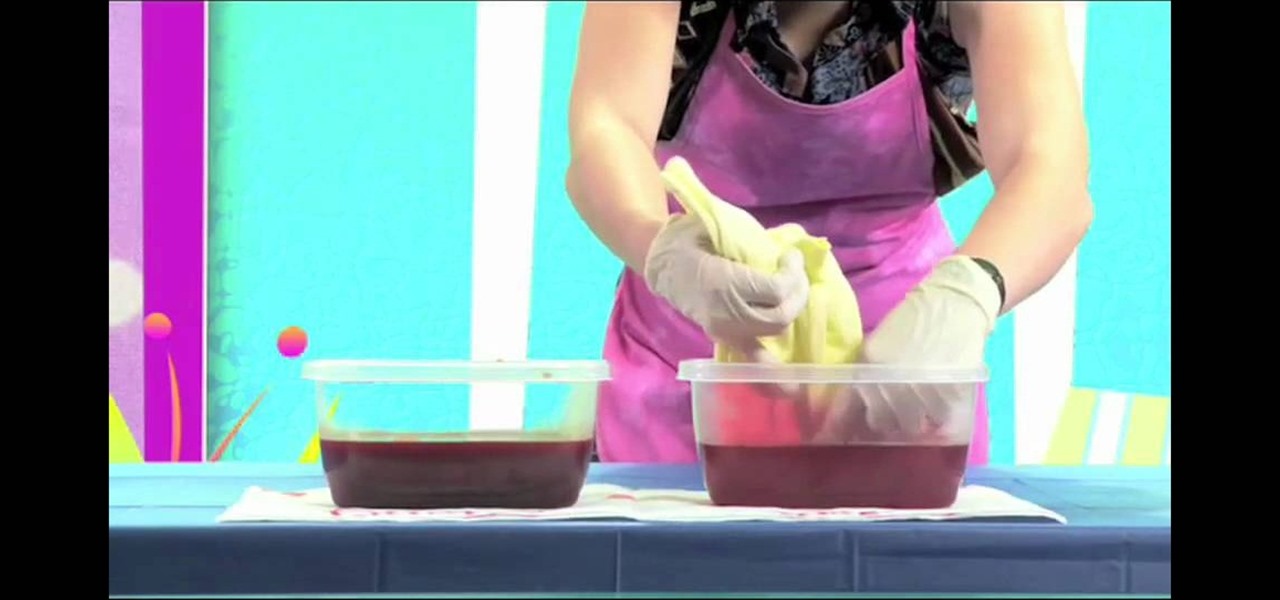
For a no-wax batik dying method for your own clothes designs, you will need the following: a T-shirt, foam stamps, a medium, dye, parchment paper, fabric marker, cold water, a microwave, plastic wrap, and a pen.

In this how-to video, you will learn how to sew a cape. The pattern is made of three pieces. The main part is made of a circle with a hole in the center. There is a cut made from the center to the edge of the circle. The diameter is about 145 centimeters. The hood is two half circle pieces, with a diameter of about 62 centimeters. The two parts will be sewn together along the green marks shown. Fold the rest fabric above the seam and sew it to the fabric next to the seam. Next, sew at where t...
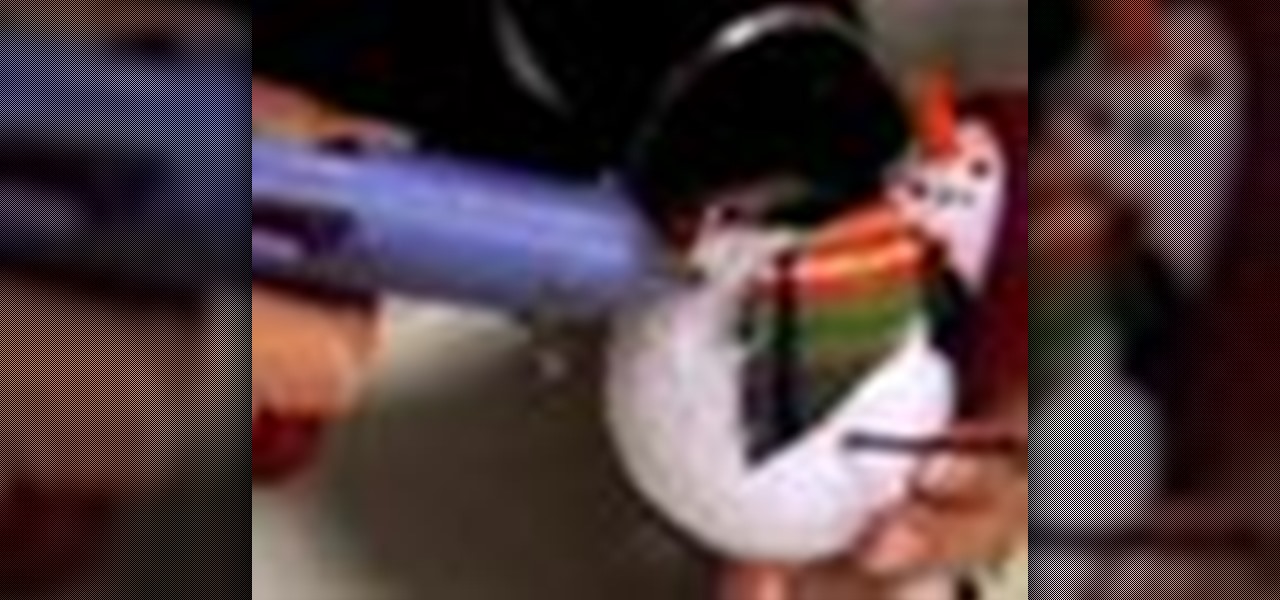
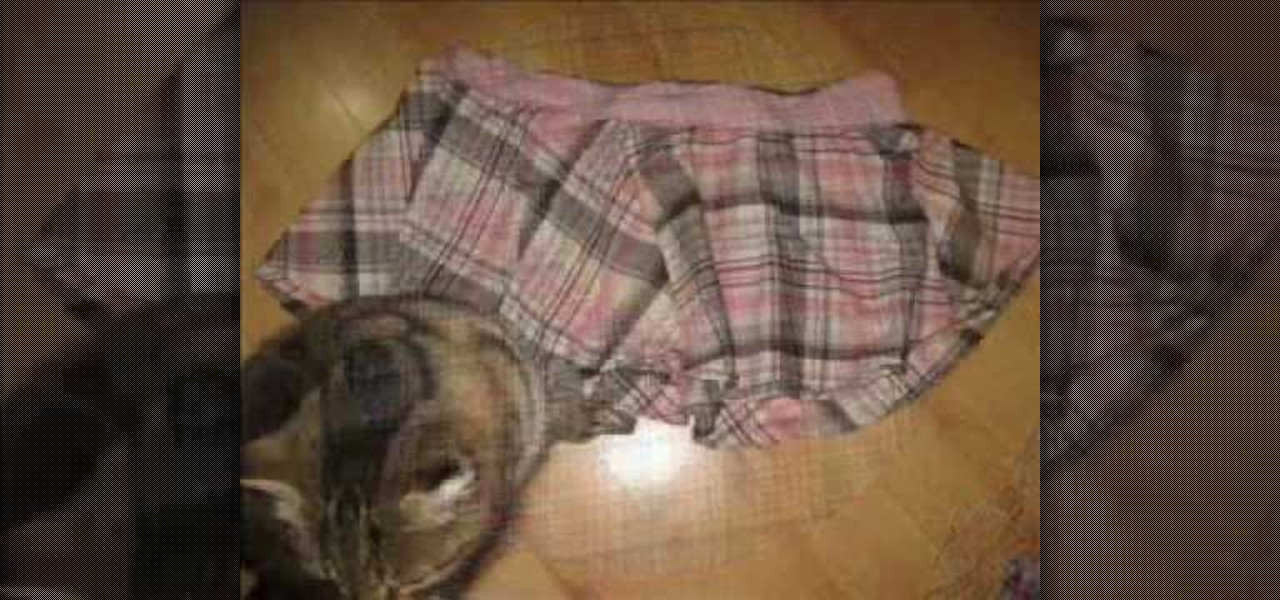
In this how-to video, you will learn how to make your own hand-crafted snowman. You will need two Styrofoam balls, tooth picks, a white sock, plaid fabric, orange pipe cleaner, black fabric paint, pins, hot glue or tacky glue, twigs, buttons, red baby socks, and any other decorations you want. Place a tooth pick to connect the two balls. Insert the balls into the sock and cut the excess. Next, pin the sock to the balls. Cut the scarf from the plaid fabric and wrap around the snowman. Now, cut...
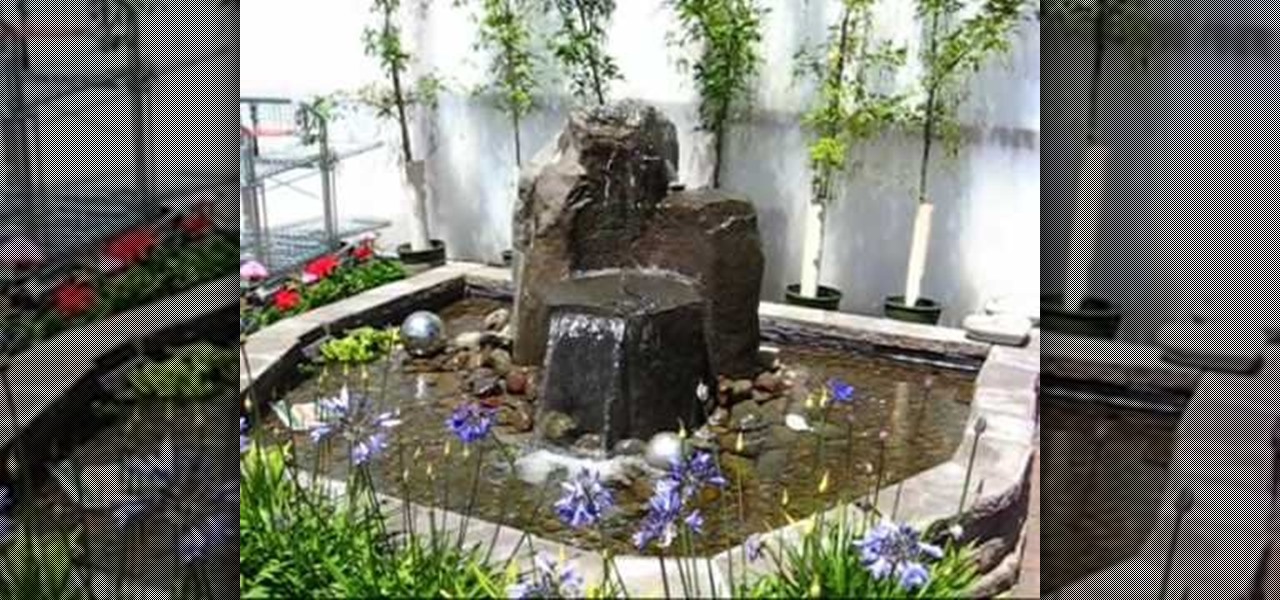
The procedure was adopted to build a waterfall in Oregon Coast Garden Center, Wald-port. 1. A level pad was cut to arrange the first row of blocks

In this video, Meg will show you how to make your own wreaths. You’ll be creating two scenes on your wreaths : a woodland and an aromatic one. You’ll need 2 cardboard rings (one slightly smaller) cut in wreath forms, green moss, a hot glue gun, a knife, some pretty fabric, and a handful of old corks.
If you want to know how to make a circle skirt easily, you should watch this video. To make an easy circle skirt: Lay out the square of fabric and use the measuring tape to make a circle as large as your hips. Trace another circle around the edge of the fabric. Trace the largest circle that will fit inside of the fabric square, going all the way to the edges of the sides of the square. Cut out the inner circle and cut around the outer circle. Measure your waist to get the length of your elast...
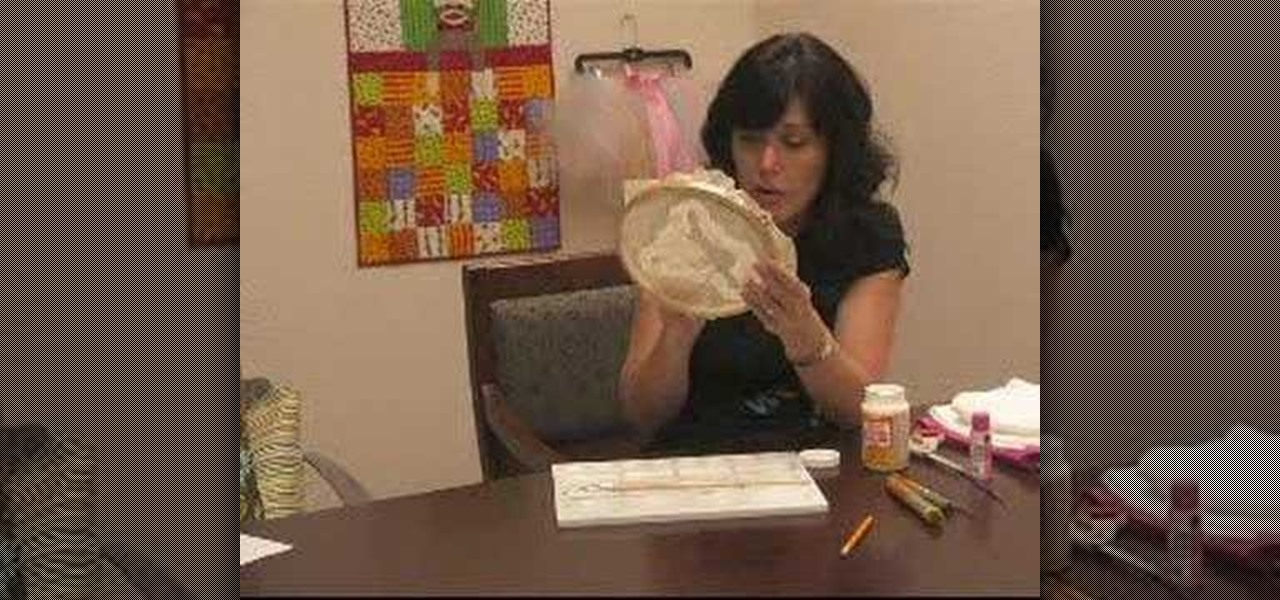
This video by Wowzzydot shows us an easy way to silk screen/stencil a garment. Using either a t-shirt or baby onesie, you can decorate it in the style of our choice. She clearly tells you the supplies you will need, embroidery hoop,sheer fabric, such as a curtain panel, paint and stencil brushes, scissors, Mod Podge or any water solvable glue. Also textile paint or ink and of course, the garment to be decorated. The first step is to cut the sheer fabric about an inch larger around than the ho...
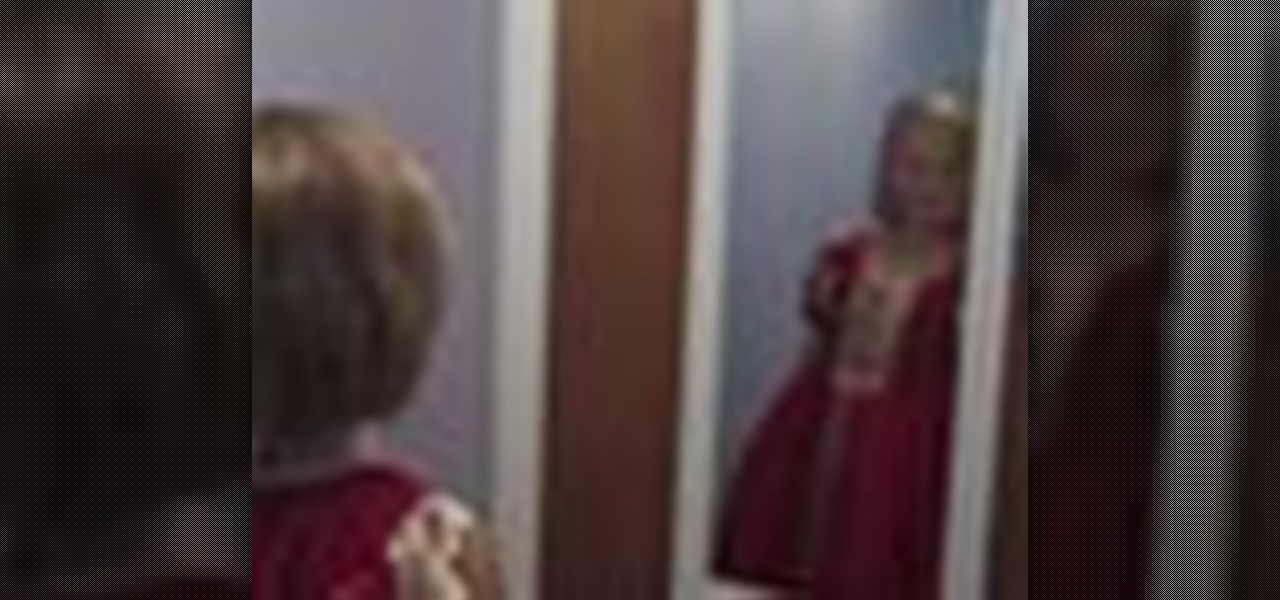
Not sure what to be next Halloween? A princess is a classic choice. Whether you’re making a costume for your little girl, or want to feel like royalty yourself, a princess costume is always in style.
Sure, buying a quilt is fun, but making your own is much cooler! Learn how to design and sew your own quilt by watching this informative video.
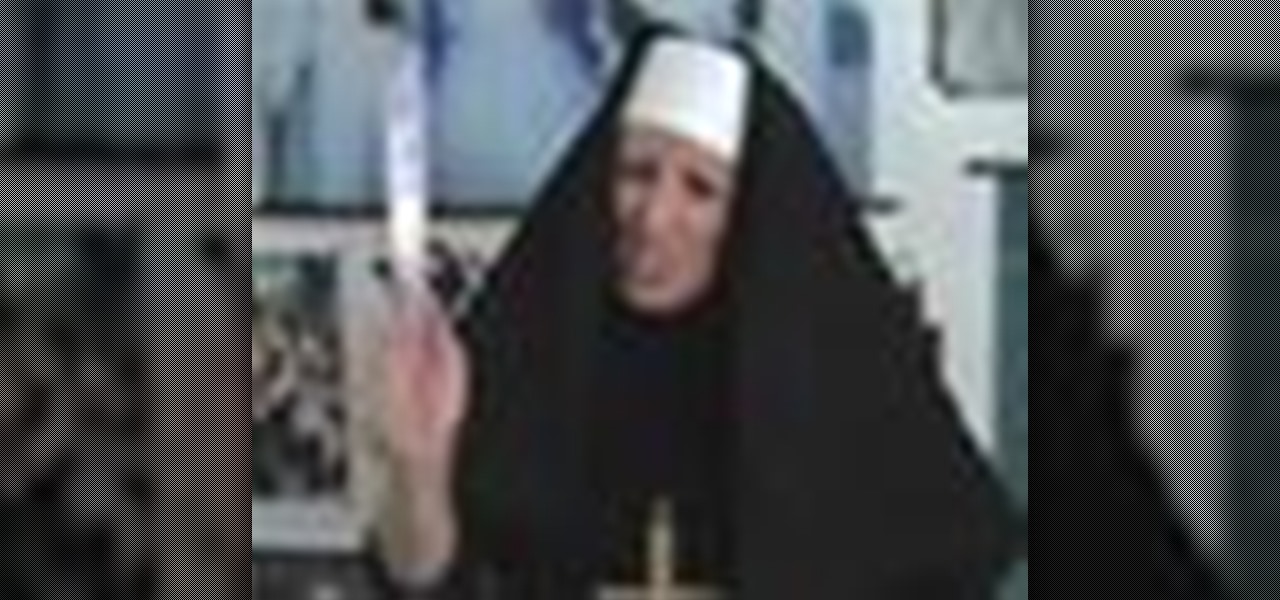
Whether you're a sinner or a saint, making a nun costume for Halloween requires no divine intervention.
Wearing vintage clothing is one of the best ways to reduce the environmental impact of your fashion choices—short of walking around naked.

Add an elegant touch to your next crafting project! You can turn scraps of lace fabric, cut into circles, into beautiful little flowers. Fold your circles into small wedges, sew them together at the base and then attach them to a string necklace or your favorite piece of clothing!

Tired of your bathroom towels turning threadbare? Here's a helpful household hint: use diluted vinegar when you do laundry instead of fabric softener! This tip will keep your cotton towels absorbent and extend the life of the fabric.

In this how-to video, you will learn how to make a disappearing 9 patch quilt block. Start with a simple 9 patch. You can use dark and light fabrics. Put the darker fabrics in place so you make an x shape. Sew these patches together. Now, fold it in half and then line up the ruler. Cut the fabric in half, and then cut the halves in half. Re-arrange the cloth in any way you want and sew them back together. You will have an interesting design once this is done. Viewing this video will show you ...
While scrunchies might not be that common a hair accessory anymore, you can make one of your own by following the steps in this how-to video. You will need two satin fabric pieces of 50cm, a sewing machine, sewing thread, a pair of scissors, marking pins, as well as brown and black satin fabrics. It's so easy to make, even a cat can do it. Check out this video sewing tutorial and learn how to make a frilly hair scrunchie.
With applique embroidery, your favorite fabric fills in the majority of the design. That means your sewout has fewer stitches, and you have an excuse to add to your fabric stash. This applique instructional video will take you through all the necessary steps. Master the art of applique embroidery.
This instructional quilting video is perfect for those who have never used a rotary cutter. There are two main types of rotary cutters to choose from. You will also need a clear plastic cutting mat and a self healing mat on which to rest the fabric. The clear plastic guide and the mat below allow you to make straight, geometric slices of fabric.
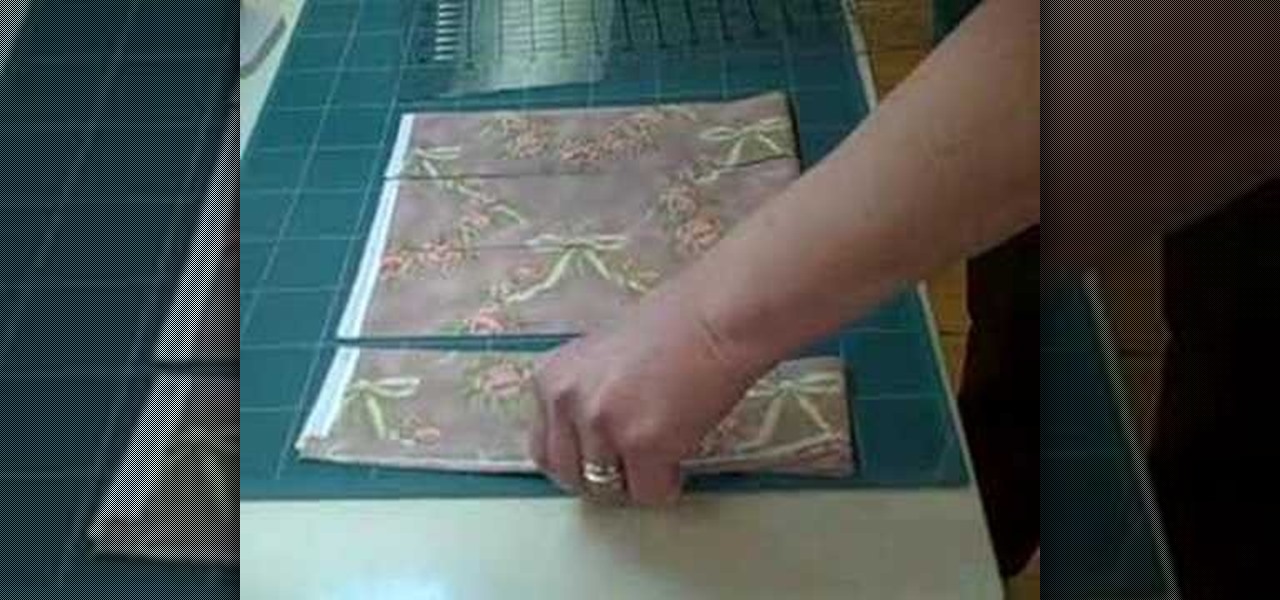
Here is how to make strips and squares using the JT ShapeCut ruler. Follow these instructions to measure and cut a precise design. With the June Tailor Shape Cut ruler, you can lay a piece of fabric on a grid and slice the fabric into geometric squares.

Learn how to use the couching technique to create depth and dimension to your quilts. Add borders and trim to intricate quilted patterns. You'll need a large eye needle and various couching material, such as yarn, ribbon and scraps of fabric. Couching adds texture and finish to quilted fabrics.