Tumbao is a basic beat. It is 4 4 timing. The fingers on both hands are bandaged on ring and middle fingers. The left hand looks flat, but is played in a heel, tip, heel, tip rhythm. Fingers on right hand are curved to meet the drum head. The left hand keeps the constant rhythm. Right hand does solo portion and moves from one Conga drum to another. Video is slowed down to see the exact rhythmic patterns. It also makes it easier to practice.
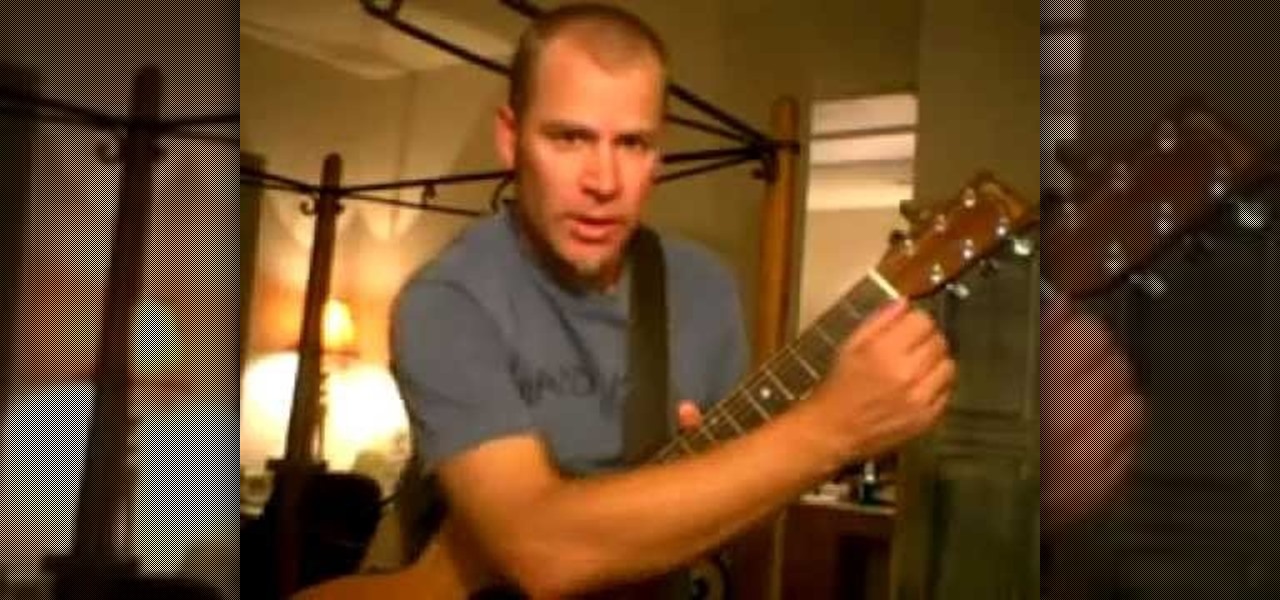
In this video, we learn how to play practical jokes using your guitar. The first trick is called the jack in the box. First, take your pick and put it in between your strings and slide it down. Then, put your hand over it and play the jack in the box song. The next trick is to give the illusion you are tuning your guitar in the middle of a song. You will cover your fingers with your forearm to give the appearance and play with your other hand to make it look like it's being tuned. The last tr...
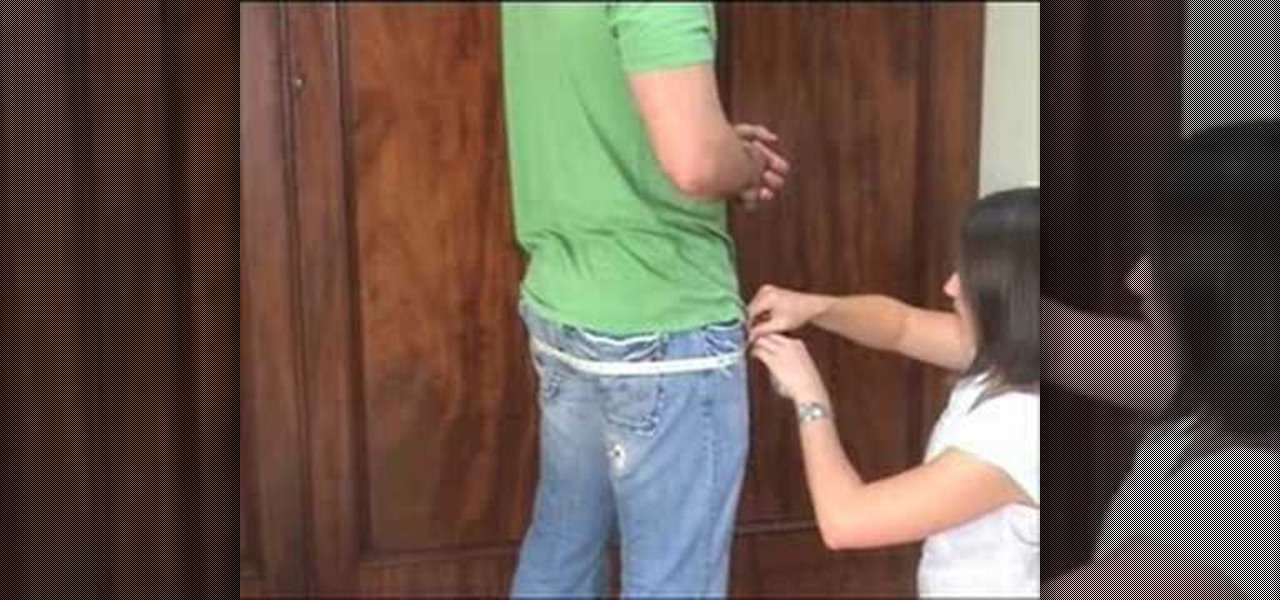
In this tutorial, we learn how to measure a traditional 8 yard kilt. First, make sure you have someone else take your measurements, don't do it by yourself. Have your waist measured first, measure about two inches above the belly button or where you want your kilt to sit. Next, measure the seat by taking the measurement around the widest part of your hips. Finally, measure the kilt length by measuring straight down from the waist line until you reach the middle of the knee cap. After this, yo...
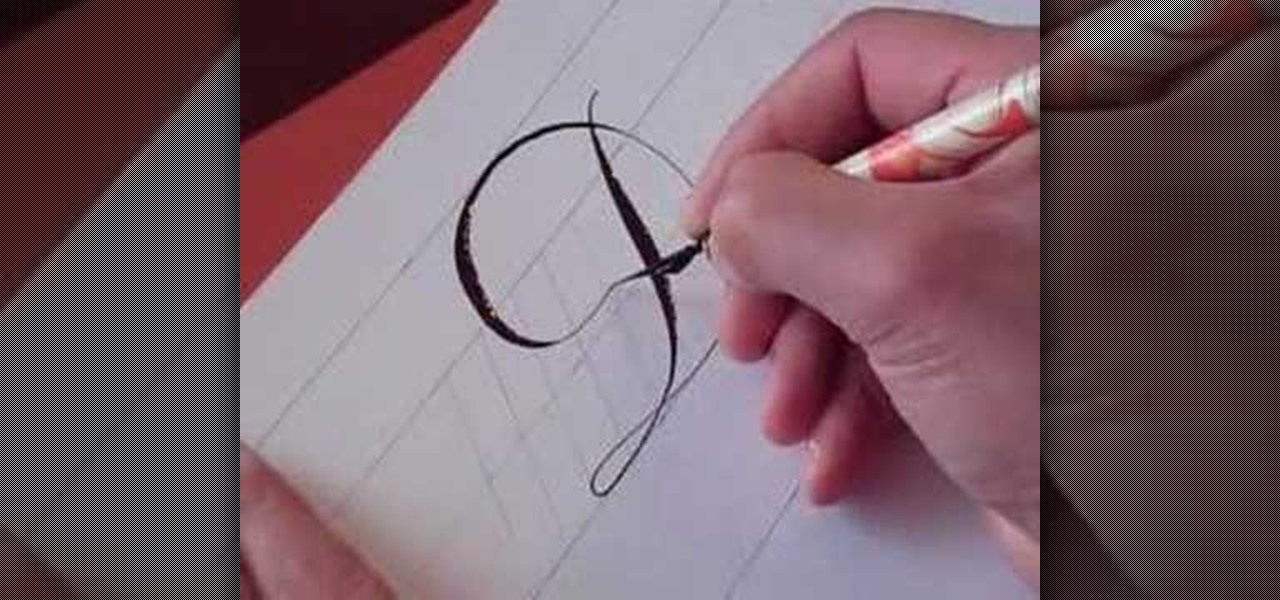
In this video, we learn how to write the letter D in calligraphy copperplate. Start off by drawing a thin line down the paper, pressing on the pen harder to make a thicker line in the middle, then thinning out at the end. Drag the line to the left making a thin line, then loop it around to the front of the line and make the D shape. After you make the shape, bring the line to the back of the original line and loop it. Do make a lower case letter, make an oval shape with a thick line on the le...
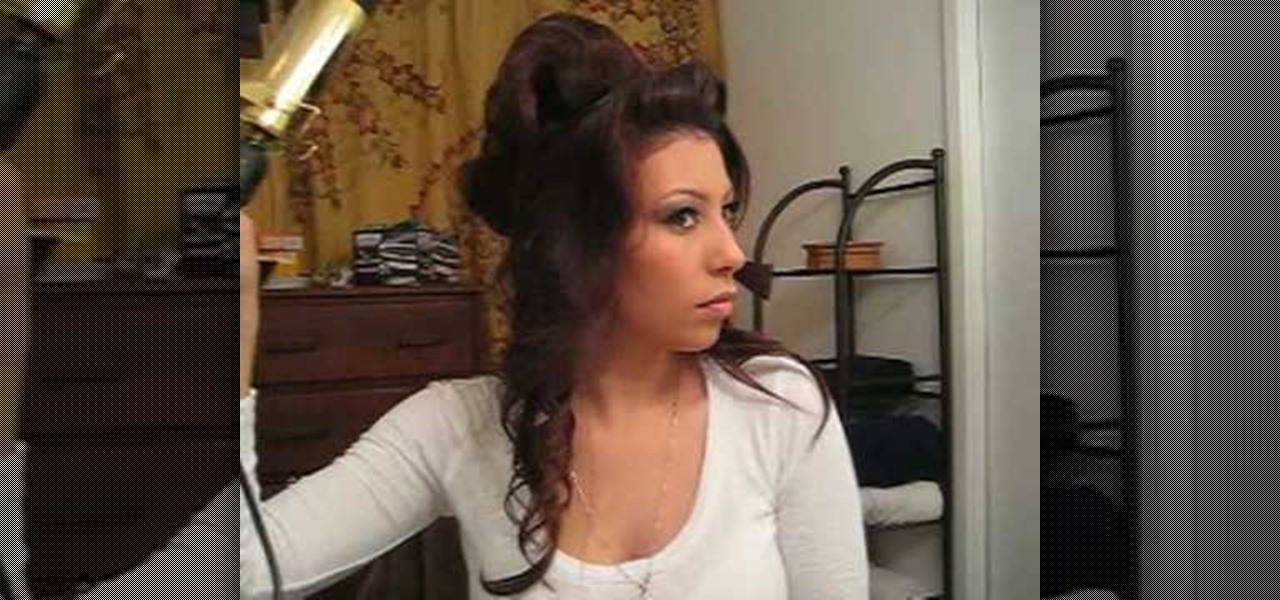
In this video, we learn how to get a feathered look with your hair. First, take the top of your hair and hair spray it on the back. After this, tease the hair and then place a large barrel curling iron in it. Then, take a clip and roll it into the clip. Continue to do this all the way down until you reach the bottom middle of your hair. After this, hairspray your hair, then do this on the sides of your hair and on your bangs. When finished, take the pins out of your hair and hair spray, then ...
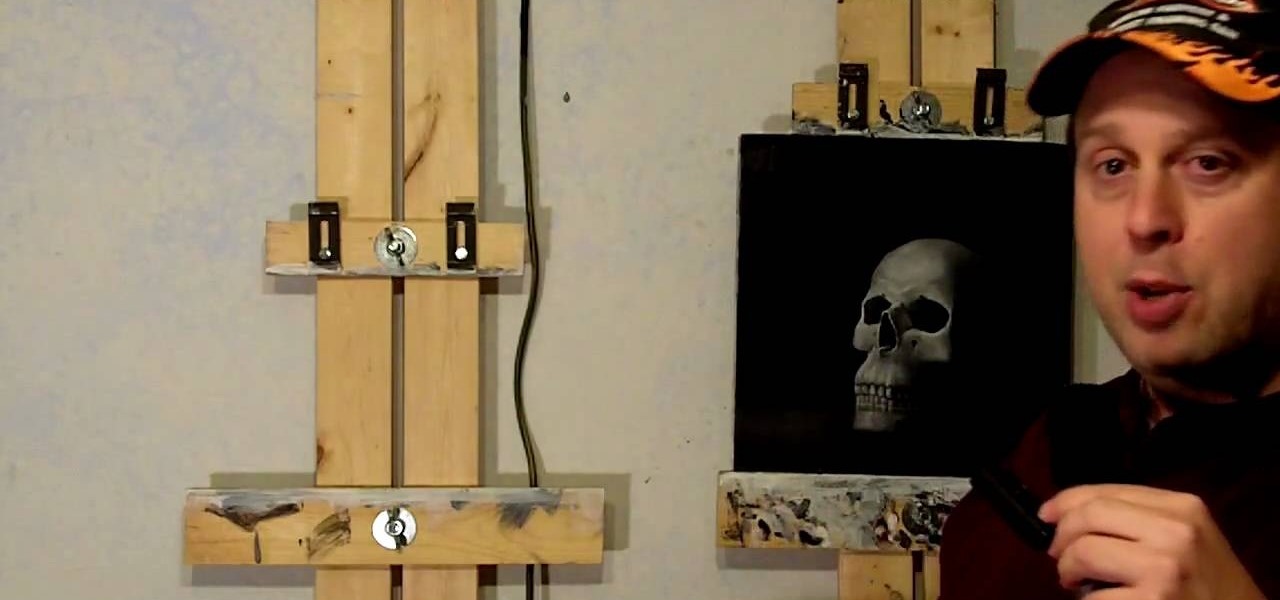
In this video, we learn how to make an easy $20 DIY art easel with Patrick Lawrence. Each side should be about 6' tall, and make sure you screw it into the wall when you are finished. First, you will hold these together with a carriage bolt that slides up and down the two pieces of wood. At the top, screw the screws into the wall and at the bottom, bolt it up the same way as in the middle using a wing nut and a big washer. That's all there is to making an easel yourself, saving you tons of mo...

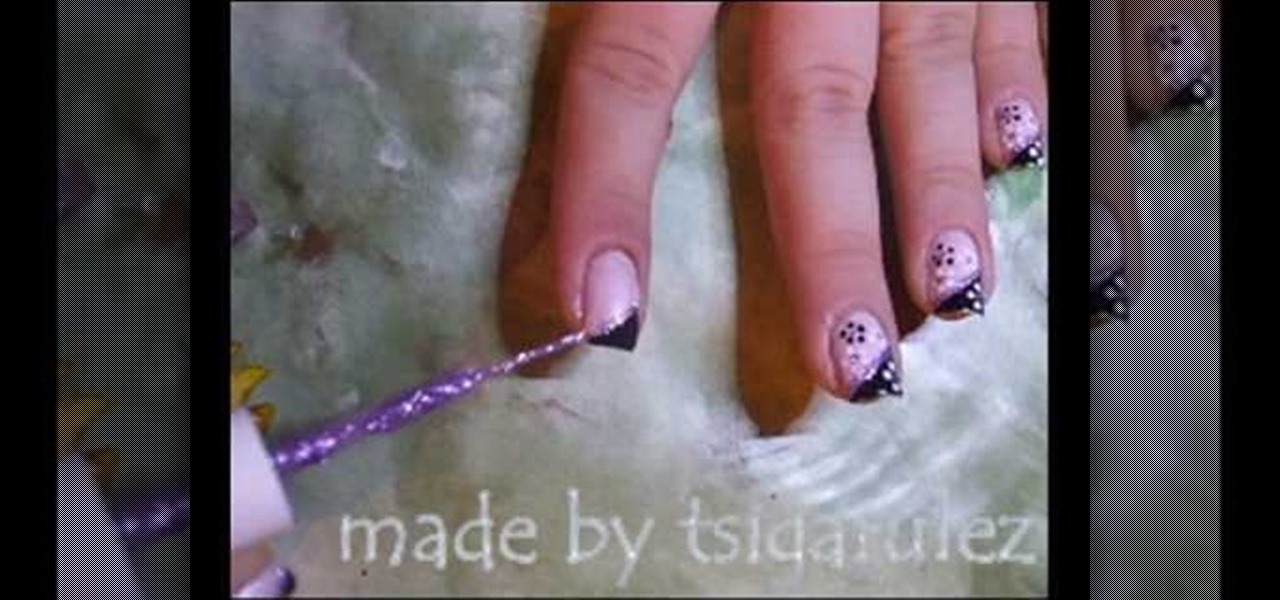
In this tutorial, we learn how to paint a black & pink French manicure with flowers. Start by painting the nails with a light pink nail polish, adding a couple layers so the color shows on top of the nail. Wait for this to dry, then paint black nail polish in a diagonal line across the top corner of the nail. Now, allow this to dry and take a sparkly purple nail polish and paint it in a line directly underneath the black polish. Next, use a toothpick or dotting tool to dot white nail polish i...

The prank is one of the most cherished traditional forms of expression around the world, from Japan to the Middle East to the good ol' US of A. Without them, how would people settle their disputes with one another while having a good laugh at the same time? Every time a new phenomenon enters our lives, new pranks emerge that can be performed with it. We at Wonderhowto love pranks as much as anybody, and to that end we've scoured the internet for videos demonstrating the proper setup and execu...

In this video, we learn how to make Trinidad hot pepper sauce. First, cut up any hot peppers that you can find and remove the seeds from the middle of them. After this, place the peppers (you want about 8) into the blender with 1/2 of a garlic and 3 green onions. Also add in a handful of cilantro, then cover with vinegar. Place the top onto the blender, then blend it until you get a liquid consistency and everything is well blended together. When this is finished blending, pour into a couple ...

In this tutorial, we learn how to make cloth flowers. Start out by grabbing several different strips of fabric and folding it into a shape that makes a flower. After you do this, place a needle into the fabric so it doesn't come unraveled. After this, start to twist the fabric and then thread the needle through the strip. Now, pull the fabric up and it will scrunch up into a flower shape. Now, wrap this around a stick with a piece of fabric on it, that will become the middle of the flower. Wh...

In this video, we learn how to draw Naruto. Start out by drawing a circle as the outline. After this, draw the jawline. Next, draw lines in the middle so you know where you are going to draw the eyes and the rest of the facial features. Next, define the features on all the different parts of the face. Start to add in shading to the face, then draw in the hair. Next draw in a hair band at the top of the head, followed by spiked hair coming out of the top and ears on the side of the face. When ...

In this video, we learn how to make chocolate dessert cups for an event or party. First, tape a cupcake pan and paint pink colored hot chocolate into a shape at the bottom. Next, add in melted chocolate to the individual cups. After this, place in the refrigerator for 10 minutes, then push the cups out of the trays. Then, you can place icing or cream into the middle of them and serve to guests. These only take a short amount of time to make, and everyone will love them. It's a great way to ke...

In this video, we learn how to make looming easier. First, you will want to use a table loomer to help make this much more simple. Start to thread the different colors or one color through the loomer and then grab a plate when you are done. use the side of the plate to run it through the middle of the string. When you are finished, this will help push the thread down into the looming machine and you won't have to do it manually with your hands. When you are finished, you can take out the loom...

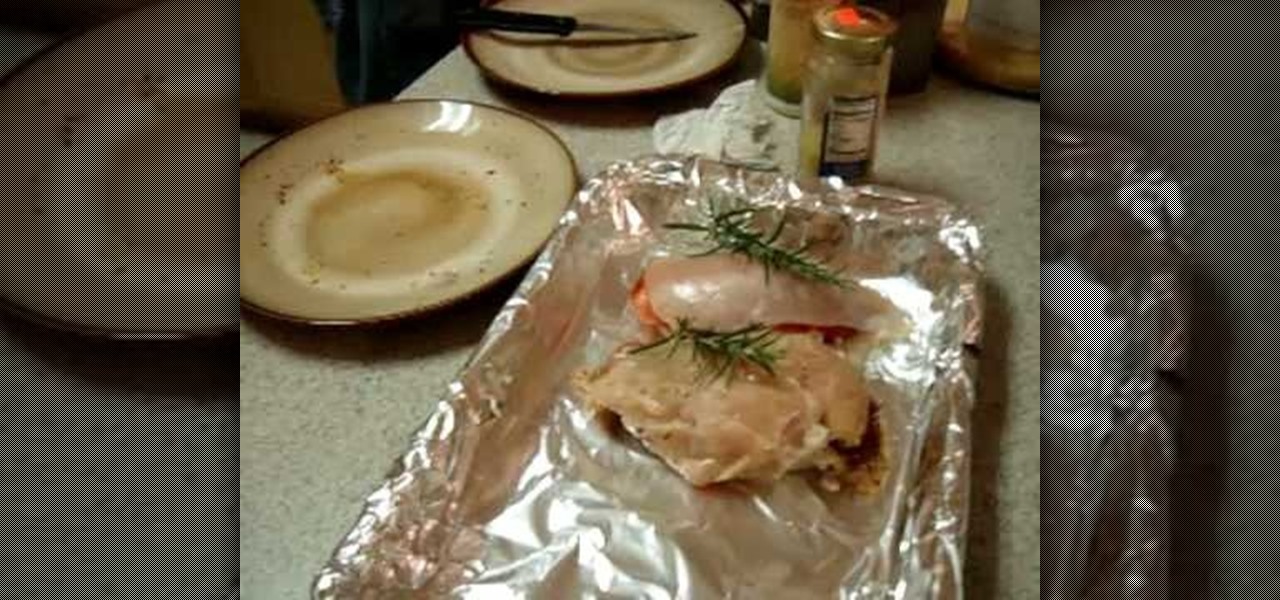
In this tutorial, we learn how to prepare stuffed chicken breasts with ham and cheese. You will need herbs including: pimentos, chopped onions, garlic, and black pepper. First, take your chicken breast and cut it in half. Make sure it's thawed, but slightly frozen in the middle. After this, put the ham and cheese on the inside of the chicken, along with pepperoni, then add in all your different spices and herbs. Next, close your chicken breast up, then place it on a baking tray with foil. Spr...

Kameron Kay teaches us how to make a floating flower crystal toe ring in this tutorial. You will need: stretch cord, large crimp bead, flat nosed pliers, flat backed crystal flower, glue, and small scissors to make this. First, cut out your chord to the exact size that you need. After this, use glue to attack the ring into the middle of the string. Place a crimp bead on the bottom to help the bead stay in place, then glue these together as well. Next, tie this together and attach an end to th...

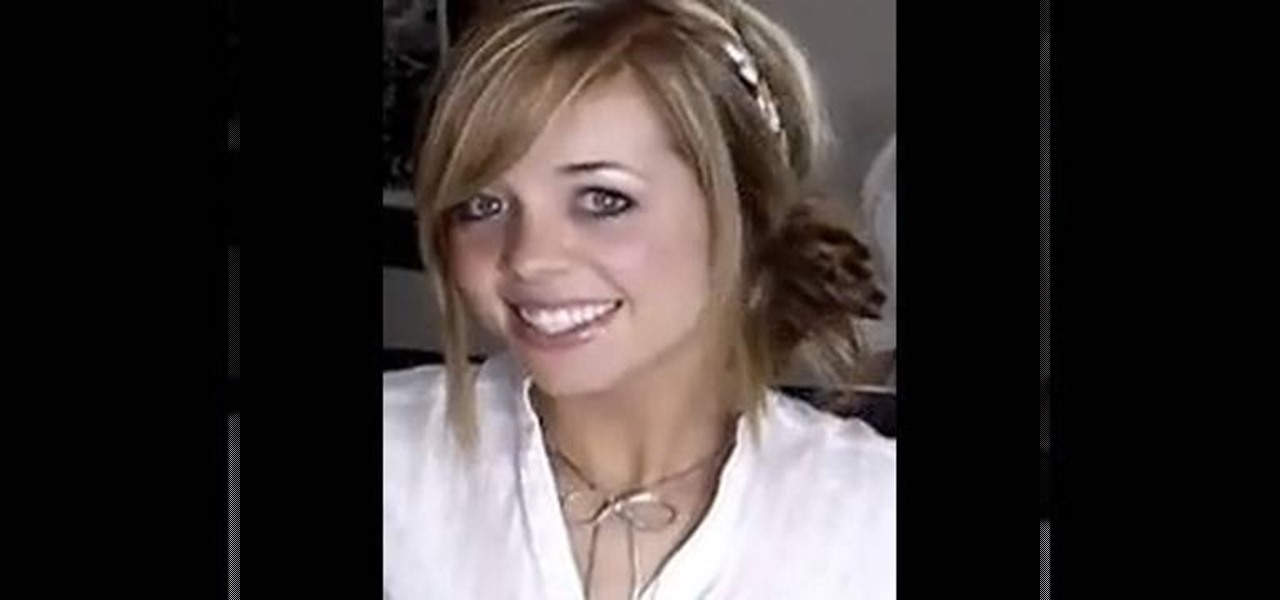
In this tutorial, we learn how to do a side headband braid with ribbon intertwined. First, grab a ribbon that is around 32 inches and any color you want. Now, take a chunk of hair on the side of your head, and place the middle of the ribbon underneath it. Now, separate your hair into three sections, then start to braid by connecting the ribbon in with the strands. Once you finish this, tie off at the end. Now, make a messy bun in the back of your hair with the braid on the side still. After t...

In this video, we learn how to measure your space when drawing a landscape. First you want to draw a line in the middle and measure out the line to the top of the building, and create another line there. Measure the length and then measure the edge of the outside of the building. After this, find the end point for the building and measure from the top down or from the second line to the roof, then draw the line across. Measure in from the end to get the angle, then find the layout for the tre...

In this video, we learn how to create tiny planets in Photoshop. First, unlock your background layer and create a line in the middle of the image. Now, select the bottom that is underneath the line and drag it down to the bottom of the canvas. After this, make your image into a square by resizing the image with your tools. After this, you will need to rotate the image 180 degrees, then select "polar coordinates" in the distort tools. After this, you can rotate your canvas back around 180 degr...

Clinton Kelly teaches us how to prepare an easy radish appetizer in this tutorial. First, take a radish and cut off both ends. Next, scoop out a little bit of the center of the radish going in a circular motion with a pairing knife. Now, take softened butter and place it into a plastic bag and push into the corner. Snip off the corner of the bag, then fill the middle of the radish with butter and sprinkle with kosher salt. Next, place this on a platter with a bed of kosher salt on the bottom ...

In this tutorial, we learn how to bundle kindling. First, gather up 25 pieces of kindling together and tie it together with a rope on two ends and in the middle. Before you do this, you will cut the tops off of the kindling so you are just left with the branches. The water will go through these and it will build the bank up, that is what these kindling bundles were created for. You can bundle kindling in larger groups or smaller groups, depending on what you need it for. These were once used ...

In this tutorial, we learn how to find missing windows and panels in Sony Vegas. When you are in Sony Vegas, you will want to look in the middle for several lines that have "X's" in them. Now, place the mouse on the side of these and drag out the windows that you see, and you will be able to drag out the panels you have been looking for. After this, change the view of your page so you can always see the panels you need to on this software. Next your windows will be where the other x's are, an...

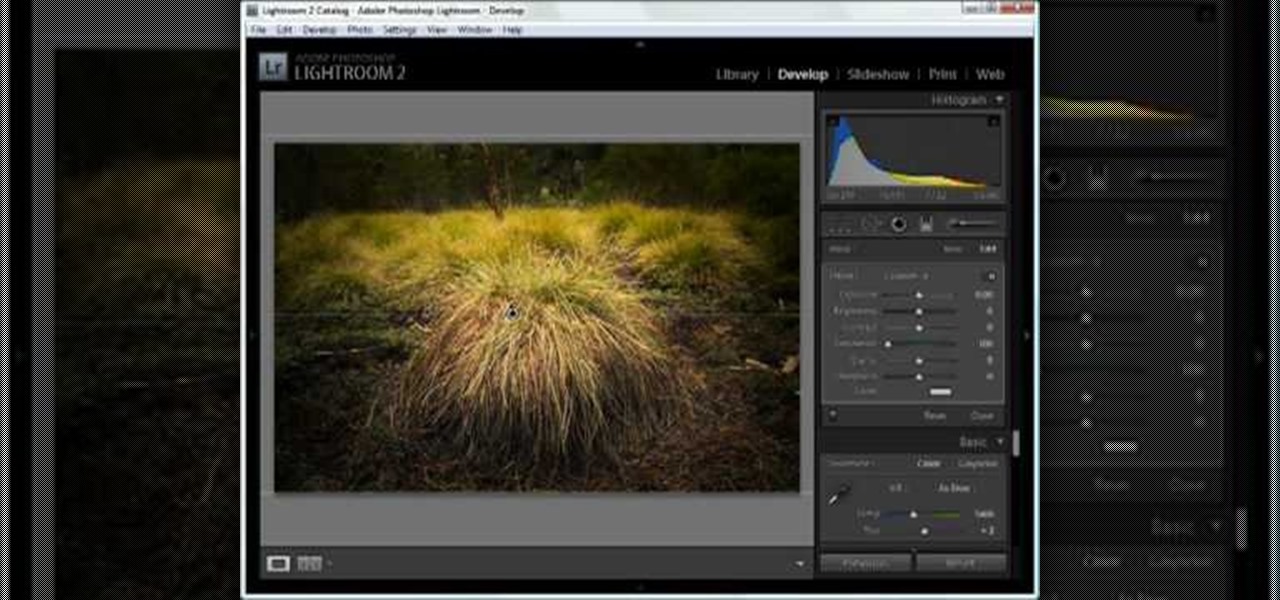
In this tutorial, we learn how to dodge and burn in Lightroom 2. First, open up your image in Lightroom 2 and use the brushes to change the saturation and the colors in the image. You can also use the graduated filter which you can use to apply effects across the image itself. Next, you can add a tint onto the picture and apply a second filter to make the top of the image darker, then make the middle of it brighter. Change the exposure and saturation to make the picture look more realistic. U...

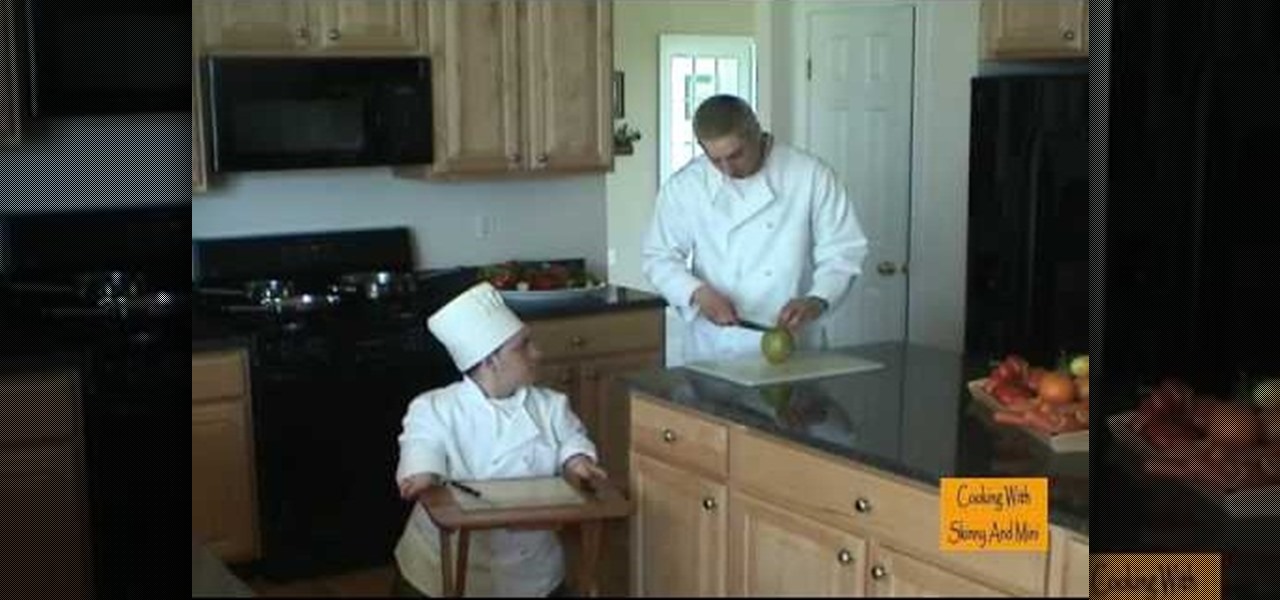
Skinny and Mini teach us how to prepare a mango in this tutorial. The correct way to cut this is to hold it up and cut down in the mango, avoiding the seed. Next, turn it around and do the same thing to the second side. You can still eat the other sides of the mango, just cut the middle seed out. Next, cut the mango into squares while it's still in it's skin, then pop the mango up and you can eat it straight out of the skin. You can also use a knife after this to cut the pieces out and use in...

In this video, we learn how to make a bow out of a Starburst wrapper. Now, place clear tape of the wrapper and fold down the edges. Now, fold the wrapper in half and then in half once more. Make it so you have an accordion design with three different peaks on the wrapper. Now, cut a small strip of tape out of the piece of tape and wrap it around the middle of the bow. After you do this, flare out the edges to make it look more like it has a bow shape. Now, take a bobby pin to the bottom of th...

In this video, we learn how to draw a manga chibi eye. Start off by drawing an outline of the eye with the round middle and the lines on top and on the bottom. After this, start to add in the small details of the eye, like the pupil and shine marks on it. Next, start to shade in the eye and make the lines thicker. Continue to draw in black until the back of the eye is covered black and another portion of the eye is white. Switch back and forth between different pencils to help you color in di...

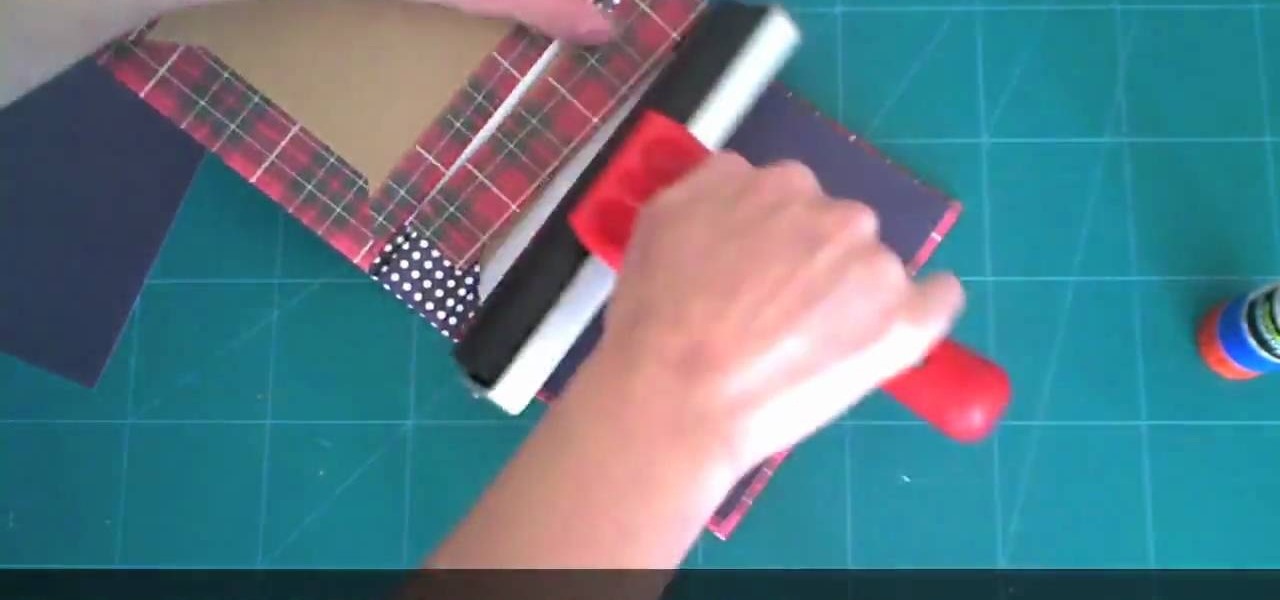
In this tutorial, we learn how to make a journal from packaging materials. First, cut a cardboard at 5.5" x 4.5" on each side. When you are finished, create another cut that is 5.5" x 1" for the side. Now, cover the two large sides with a piece of fabric that you choose. After this, cover the middle piece with fabric, and then tape it on with double sided tape. Next, place all pieces next to each other, tape it, then place a solid piece of paper on the inside, and use a glue stick to adhere i...

In this tutorial, we learn how to draw Timmy Turner. Start off by drawing the head, making the front round and the body will be a triangle shape. The back of his head should be a triangle as well. Draw two large circles on the face, followed by arms and legs coming off of the body. Next, draw ears onto his face followed by a shirt and pants on his legs. Draw Timmy's mouth with a large smile and two teeth at the top. His eyebrows should almost touch in the middle, then don't forget to add on h...

In this tutorial, we learn how to clean a coyote. Start out by cutting the legs and up to the inside of the rear end. Cut the skin around the feet and then peel the fur and skin upwards. Trim into the butt of the coyote, then cut around the tail into the middle. Keep pulling the skin up around the legs of the animal and around the thighs, using a sharp knife to loosen the skin. Remove the skin completely from around the legs, then cut the tail so only the bone is left and the skin is off. Aft...

In this video, we learn how to install a hood strut kit on a Mustang. Start by opening up the hood and removing the sound tube locator. After this, cut 1/2" from the middle to make space on it for the bolt. Reapply this, then bolt it back into place. Next, install the body bracket with a socket and remove all bolts around the spot its in. After you install the bracket replace the bolts and do both of these steps again on the other side of the car. When you are done, make sure all parts are re...

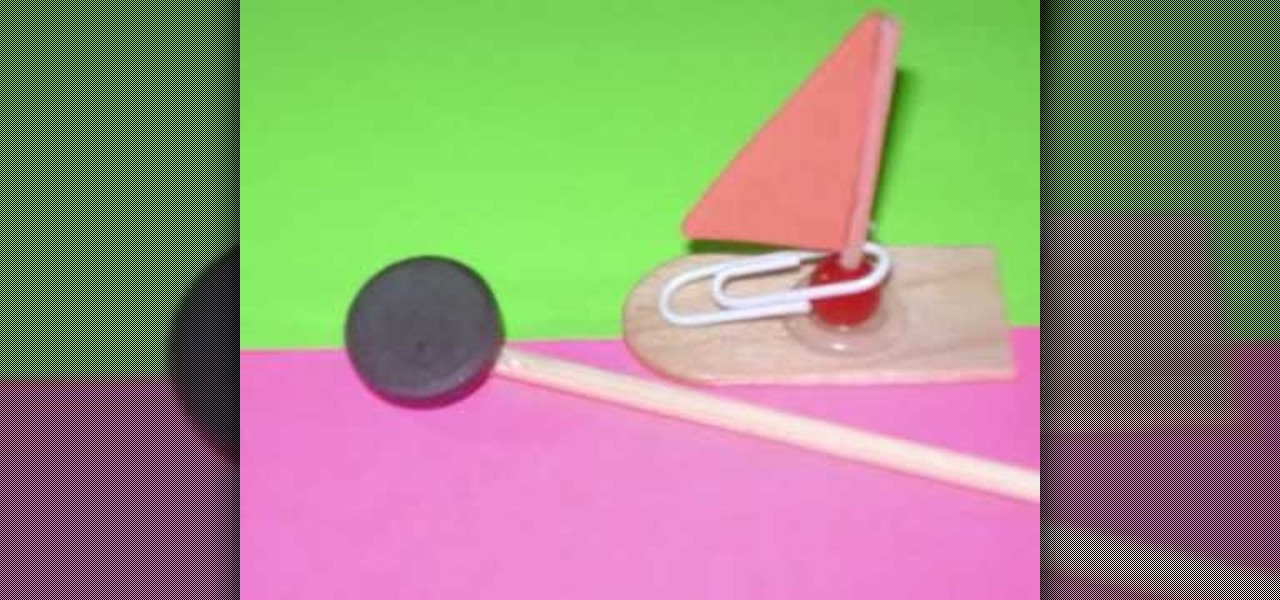
In this video, we learn how to craft a magnet boat with kids. You will need: a paper clip, a small triangle piece of foam, 1 magnet, 1 recycled stick, 1 recycled popsicle stick 1 bead, and a hot glue gun. First, attach the toothpick to the bead, then glue the triangle to the top of the toothpick. Next, cut 1/4 of the popsicle stick and attach the sail to the middle of the popsicle stick and use the paperclip the make it stay on the bow. Now, place the boat in water and attach a magnet to the ...

In this tutorial, we learn how to set up the L drill in pool. To do this, you will place all of your balls in an "l" shape on the pool table starting from the middle of one side of the table. Place the balls about two inches apart, then star to make the horizontal line for the balls. Place these two inches apart as well. After this, you can place your shooting ball next to the balls and hit each of them into the same corner pocket as the last one. This is a great way to practice hitting balls...

In this video, we learn how to do a kettlebell for beginners. The first exercise you can do is a kettlebell front swing. Stand while opening your legs, then pick up your kettlebell and swing it through the middle of the legs. Use a tight movement and use momentum to control your upwards and downwards movements. The next exercise you can do is a single arm front swing. You will do the same movements as in the first exercise, except holding the kettlebell with one hand and having the other plac...

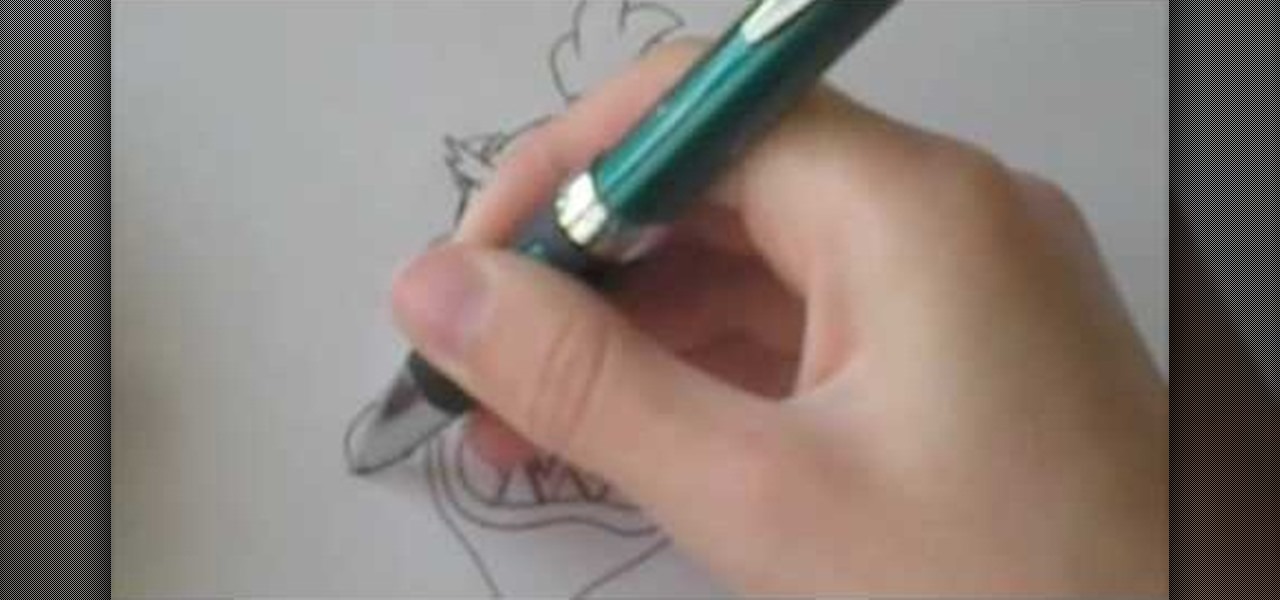
In this tutorial, we learn how to draw Bowser Jr. from Mario Brothers. Start off by drawing the nose, which has two large humps going to the chin. Next, draw his mouth, dimples, teeth, and nose holes. Next, draw in the eyes and eyebrows, filling in the pupils with small white circles in the middle. Make sure the eyebrows are pointed upwards, so it looks like he's glaring. Now connect the top of the head, followed by drawing the hair onto the top of the head. Next, draw on the arms and front o...

First, bring the thread up and then make a diagonal line and bring the thread through again. Bring the thread through again below the diagonal line on the left side. Then, put your needle thread through the 'x' and make sure your loops are even. After this, bring your thread through and even up your stitch. Now thread through on the right hand side and go through the next 'x' shape. Continue to do this, and you will see the Vandyke stitch start to take form as you go on. There will be a verti...

In this tutorial, we learn how to do a half up and half down hair look. First, grab the top middle of your hair and comb it up, then hair spray it and tease it up. After this, curl while still holding up, the repeat this for the rest of the hair on your head. To finish, spray hair spray all over the hair to keep it in place. Next, pull half the hair up and push upwards, then use bobby pins to clip it into place. Check in the mirror to make sure it's even and move your head to make sure it's s...

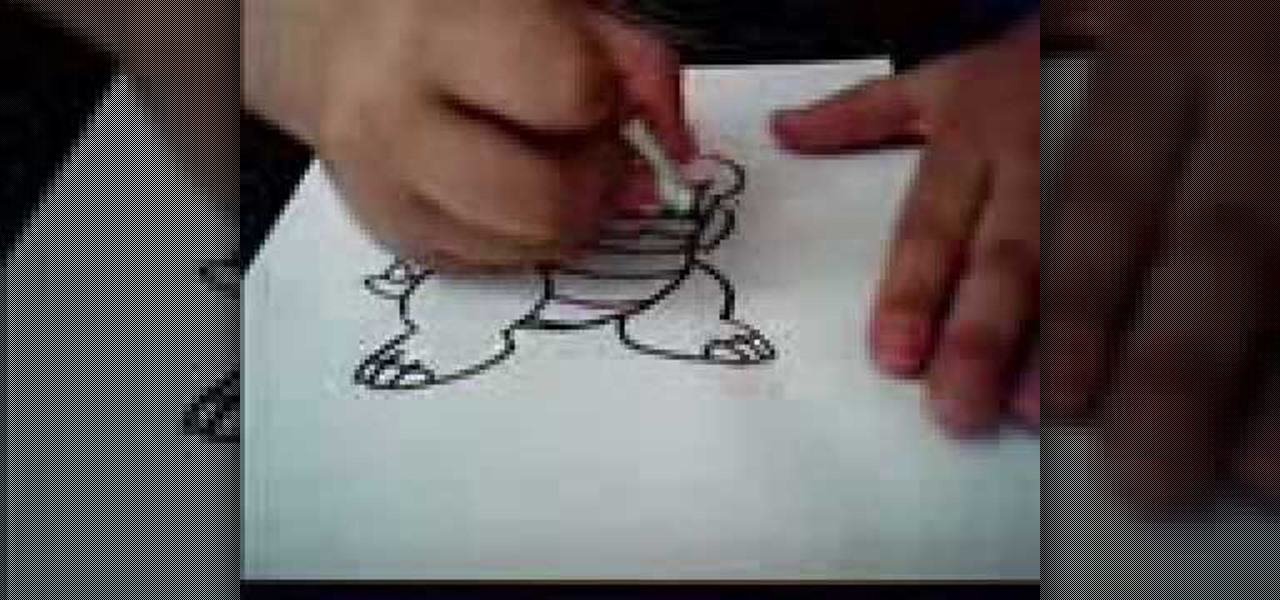
In this video, we learn how to draw Paper Bowser from Mario. Start off by drawing the legs and feet. Make sure you draw claws instead of toes and make three large toes with nails. Next, draw the belly of Bowser in the middle of the two legs, with stripes on it. Next, draw upwards and make a curve for the back and draw spikes onto it. Also, draw a tail with a spike on it coming from around the thigh by the foot. Once you are at the top, draw the head and all the facial details in. Make sure to...

In this tutorial, we learn how to roast peppers on the burner of a gas stove. All you need to do this is a gas range and a pepper. First turn your gas range onto high, then set your paper right in the middle of the burner. As the pepper starts to char, it will infuse the flavor into the entire pepper. Keep the pepper on the heat until it is black on the side, then you can use it to add into different recipes! After once side is black, make sure you use tongs to turn it on different sides, so ...

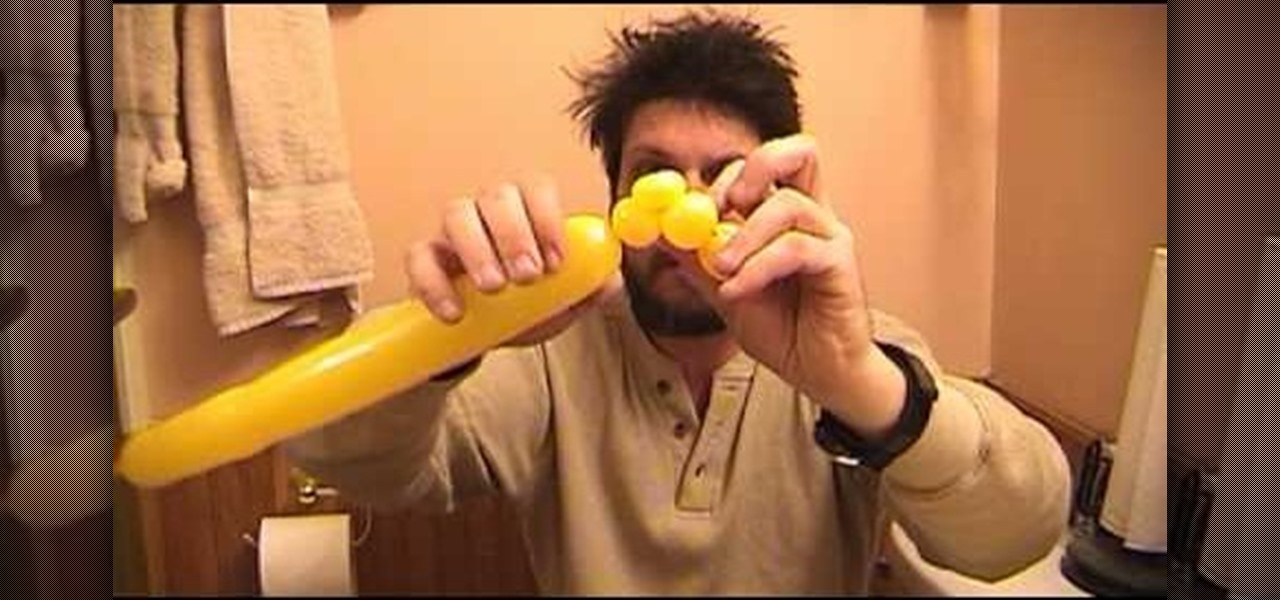
In this video, we learn how to twist a balloon to make a Chihuahua and teddy bear head with balloons. First, take a balloon and make a soft bubble. Next, twist this and make the side of the head and ear. Next, pinch and twist these and bend the side of the balloon. After this, make the top of the head, followed by the other ear and pinch them together. Now, twist a new bubble to match the opposite of it, and twist them at the neck. Shove the snout into the middle of the bubbles, then repositi...

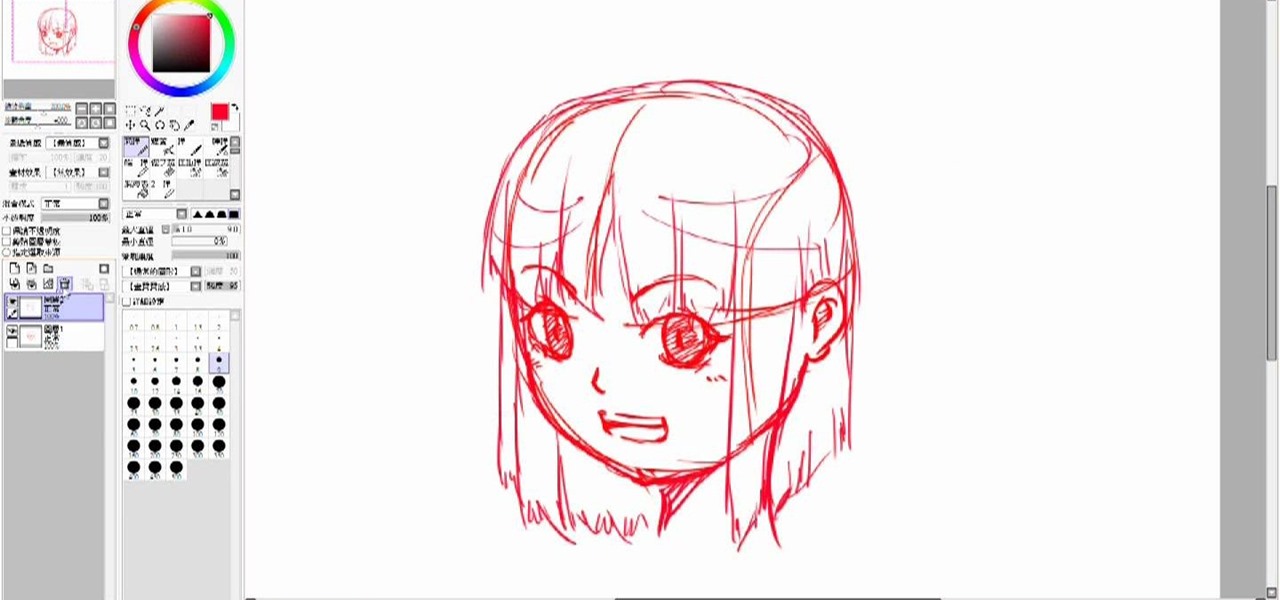
In this tutorial we learn how to draw a manga face. Start off by drawing a circle, after that add a cross in the middle as a reference point for where to draw the eyes, mouth, and nose. After you do this, you can start adding in further details to the face to make it look more realistic. Don't forget to add in lines on the face for wrinkles and pupils to the eyes. Ears should be placed on both sides of the head and don't forget to draw in hair as well. Outline the pictures with a darker brush...

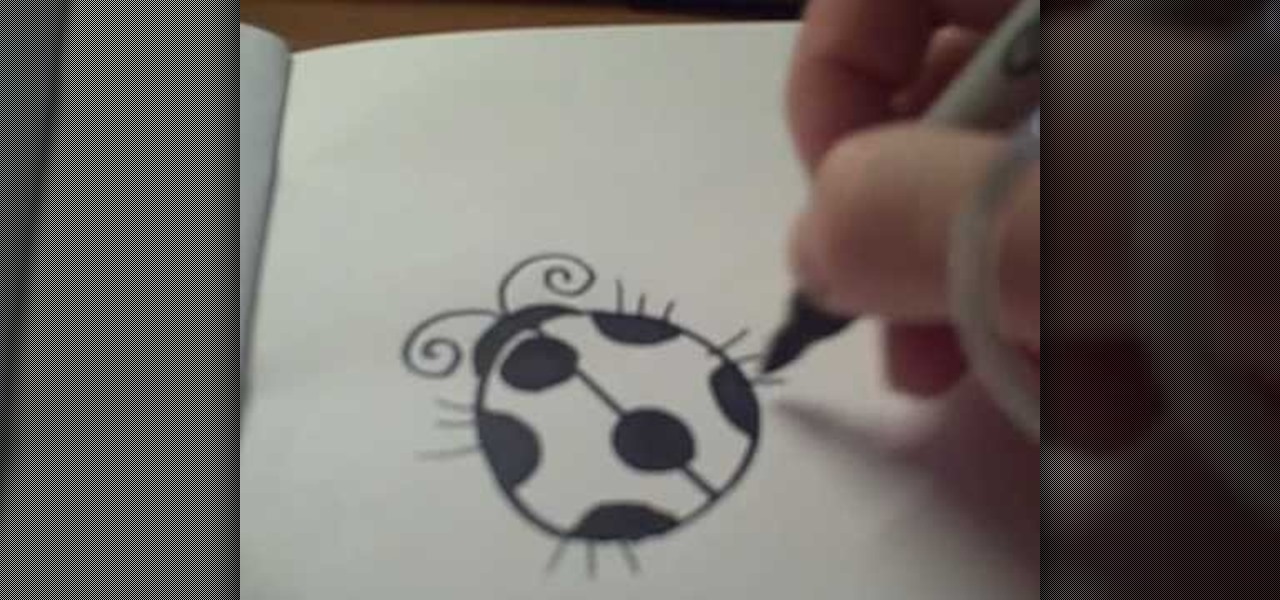
In this tutorial, we learn how to draw a cartoon ladybug. Start out by drawing a circle, then draw a line down the middle. Next, draw and color in some dots all over the circle. After this, make a head by making a half of a circle over the straight line. Now, add antennas to the head and color in the head. You can also add in legs to the ladybug if you prefer, or keep them off. When you are done with this, you will have a cute ladybug in just a few minutes. This is a very easy picture for kid...


