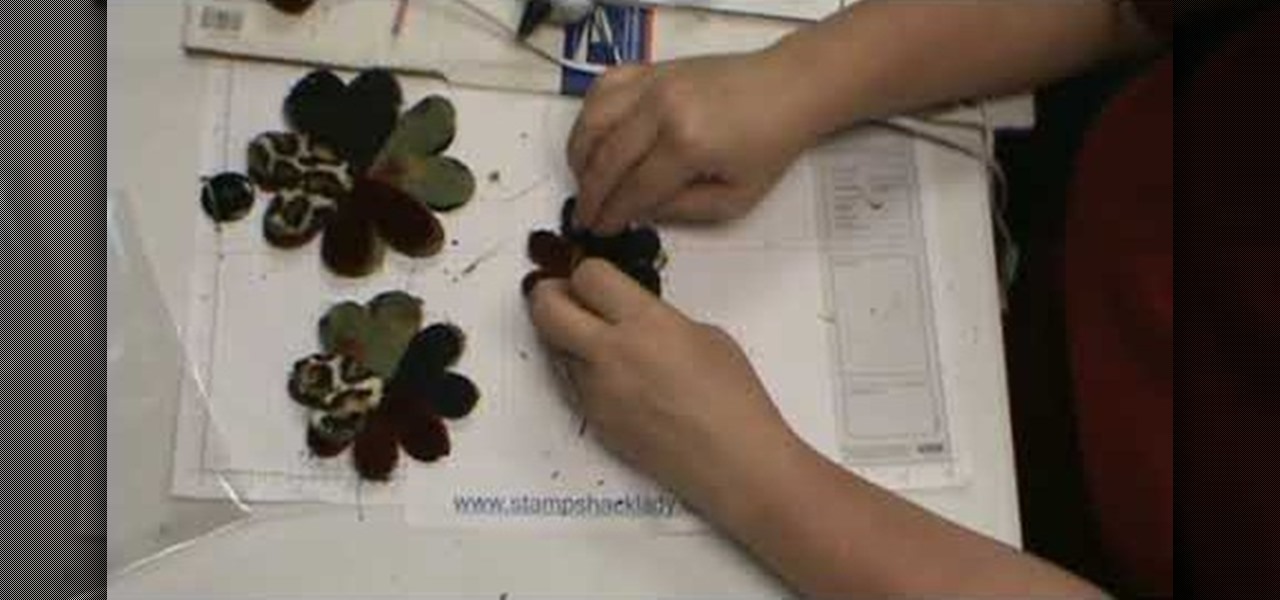
In this video, we learn how to assemble a flower-fold die-cut with a glue gun. First, cut out different fabrics in the flower shape. Put them all into different piles according to their sizes. After this, put hot glue into the middle of the fabric and fold the flowers in half. When finished, put the pieces together with hot glue going in a circle. Continue to do this with all the different sizes. When you are done, all the colors of fabrics should show, then place a button in the middle with ...
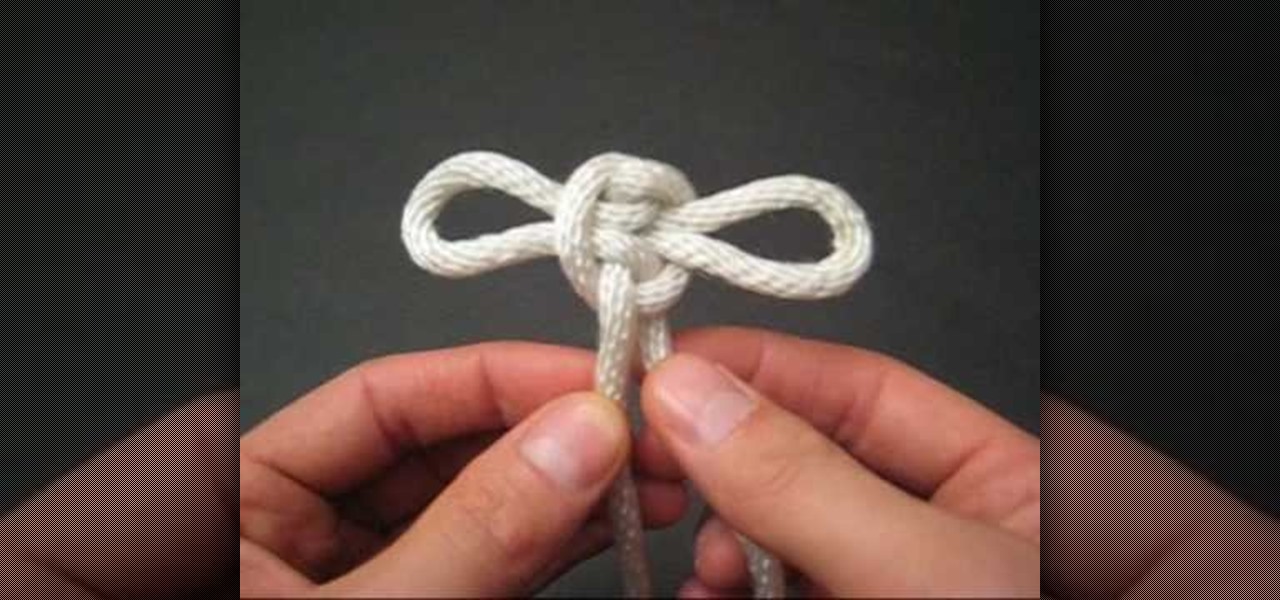
In this video, we learn how to tie a maedate knot. Start off by making a loop in the middle of the string followed by another loop placed next to it. Now, wrap these together in the middle and pull them out on the side. You will now have a shape that looks like a bow. Pull on both sides of the bow, where there will be two loops. You can pull on each of the loops if you want to back them larger. When you pull on the bottom strings, the loops will become smaller. After you do this, you will be ...
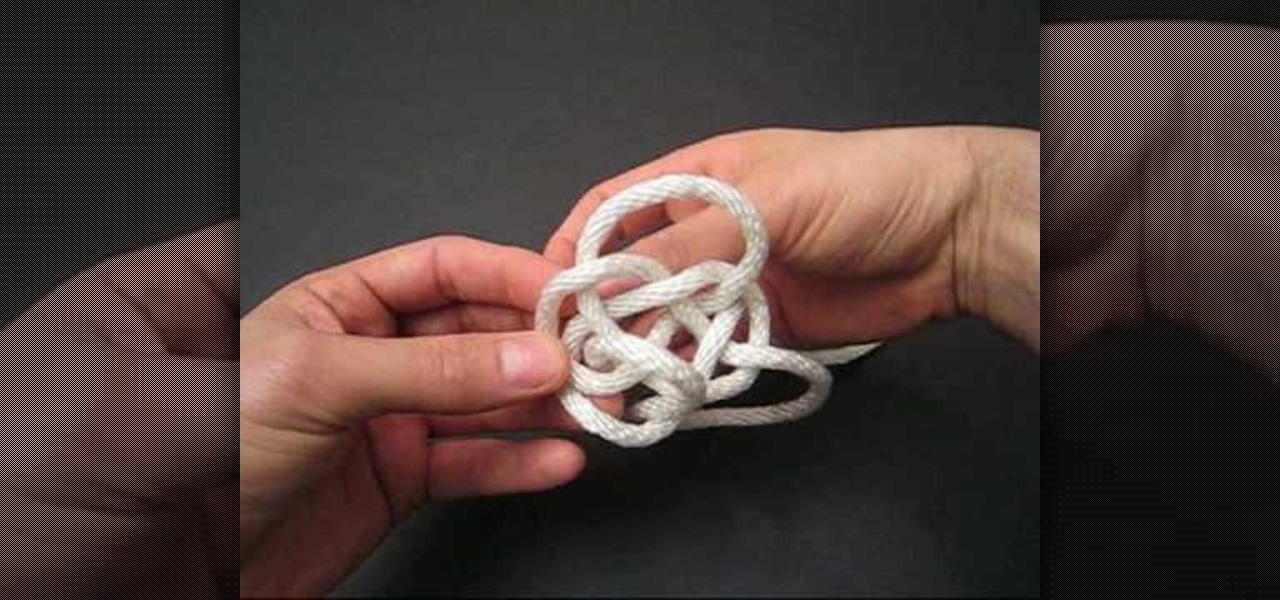
In this video, we learn how to tie a cloud knot. Start by making a loop in the middle of the string on the left side, then wrapping the right side around it and pushing it through the middle. Next, do the under-over weaving technique by bringing the string over one loop and weaving it into another. Continue to do this several times until you have done about four or five weaves. After this, pull the sides of the string out on both sides and you will have your finished knot! Pull tighter to hav...
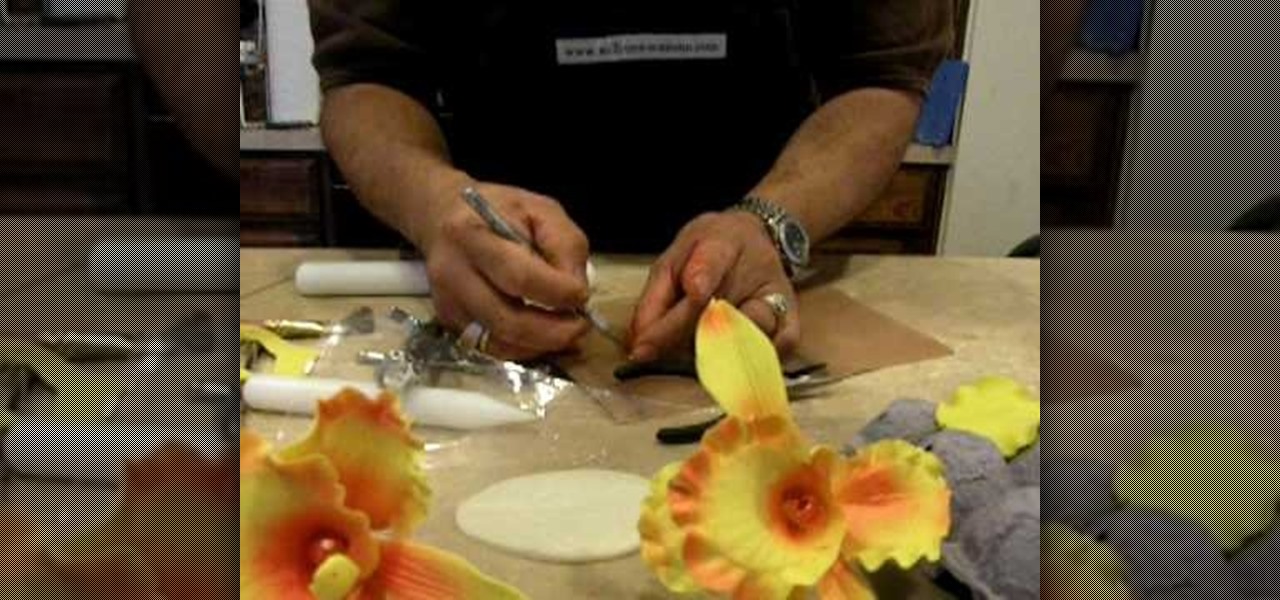
In this tutorial, we learn how to make an orchid flower with gum paste. First, roll out the gum paste and then cut it into three different shapes to make the flower. Next, place a wire in the center of the petals and then place them on a mold to get the correct texture. After this, push a ball onto the ends of the petals to make them look more realistic. Make the last flower by putting a pointed cone in the middle and wrapping it around. Now, place a ball shaped gum paste in the middle of the...
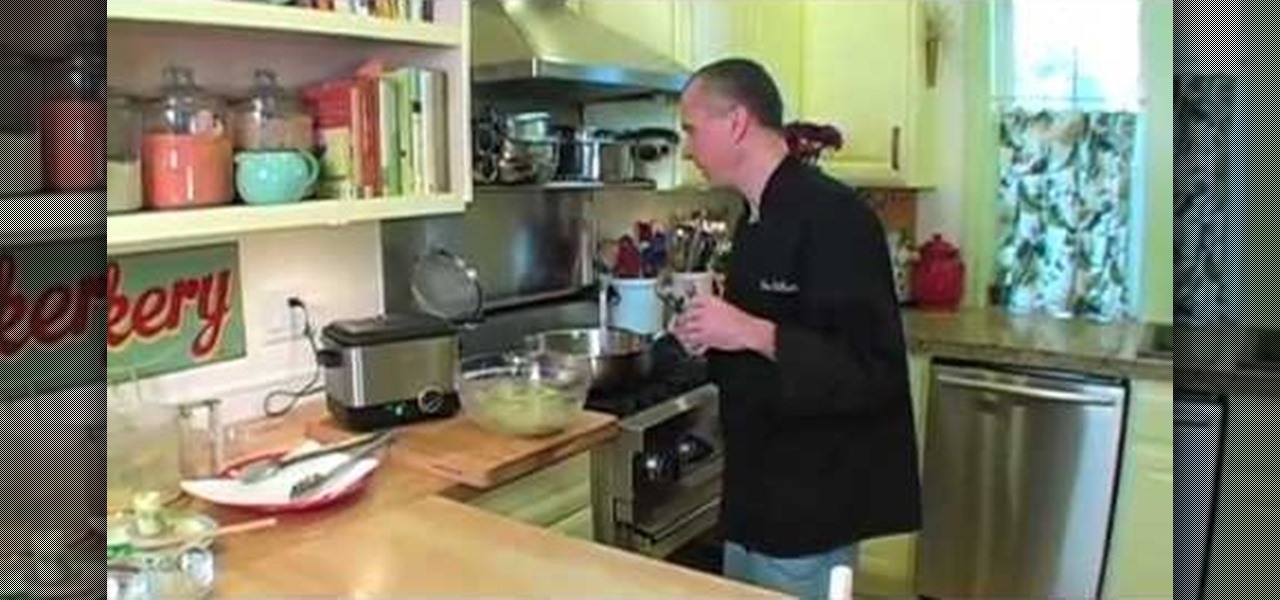
In order to prepare Middle Eastern Vegan Falafel with Tzatziki Sauce, you will need the following ingredients: vegan sour cream, grated cucumber, lemon juice, granulated onion, granulated garlic, 2 15-oz cans of garbanzo beans, lemon juice, chopped parsley, oil, cayenne pepper, cumin, baking powder, roasted garlic, flour, oil, and salt.
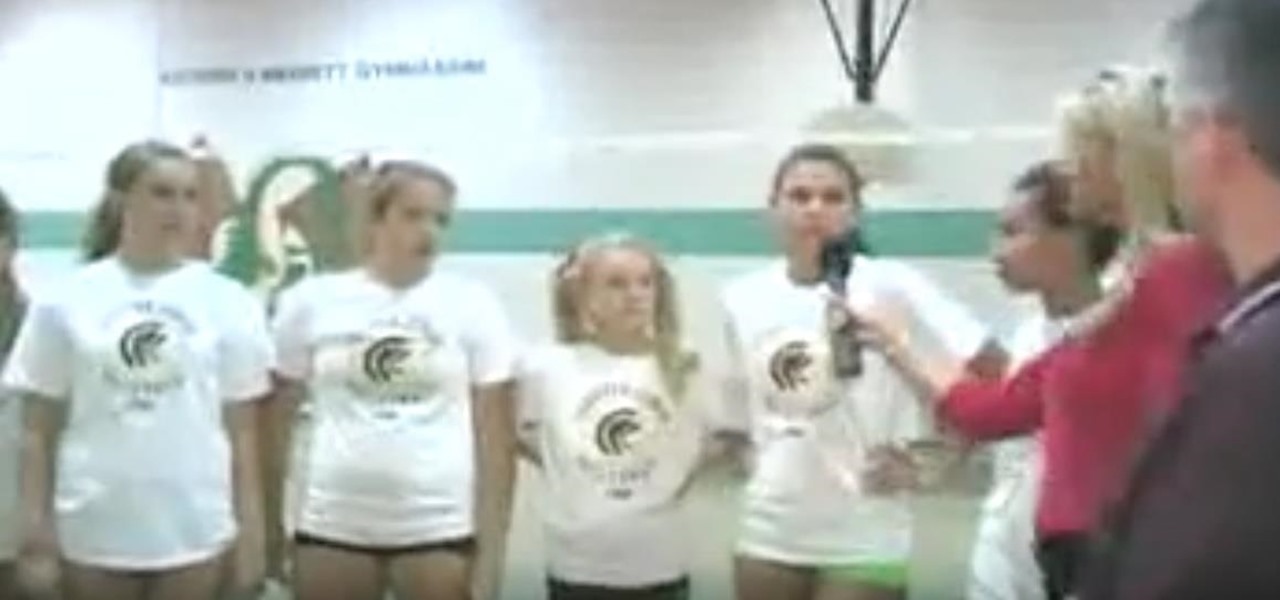
Traveling teams are becoming a larger part of the youth sports landscape for sports such as basketball, soccer, and, as discussed in this video, volleyball. The purpose of this video is to explain to parents and coaches what they can do with their middle-school-aged young volleyball players to prepare them for play on elite traveling teams once they reach high school. Presenters include a club team coach and a middle school coach, who explain the basics of how a traveling team works and what ...

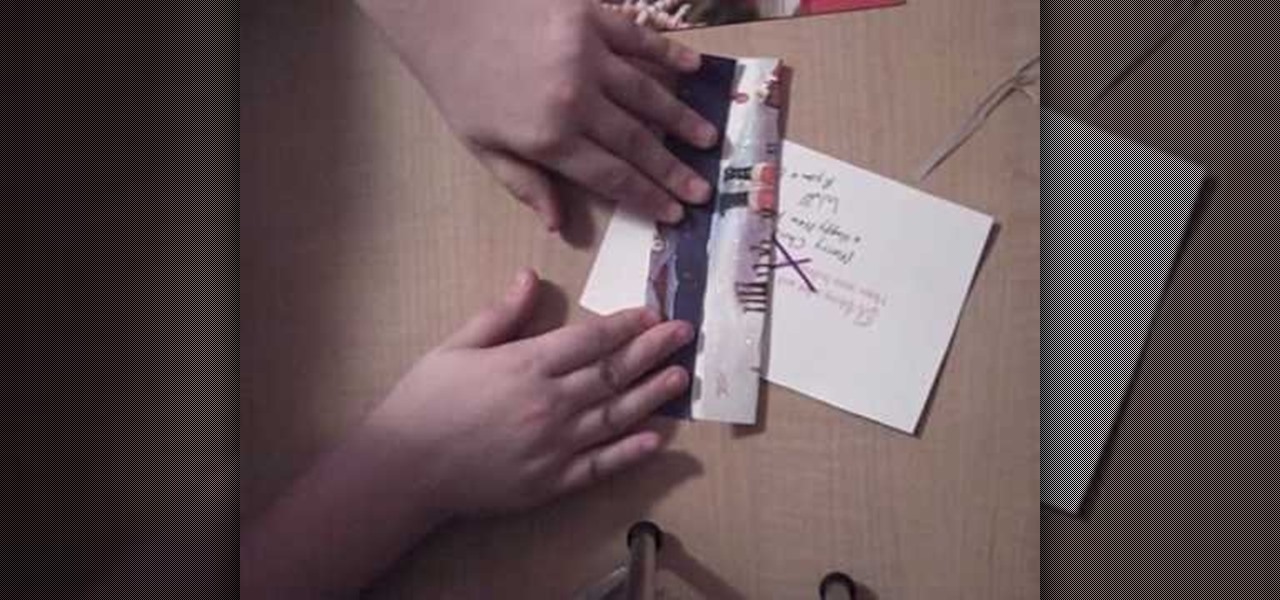
This video shows us how to make a homemade jewellery box out of a Christmas card.For that you need a pair of scissors,a tape,a christmas card,a marker and another card to draw your X with.First take the card and cut it straight down the middle into two pieces.Now take the back side piece of the card and cut off 1/4 of an inch from the left and the bottom portions.This will help to fit the cards together.Next use the extra card and trace an X on both sides of your card piece,in the middle.Take...

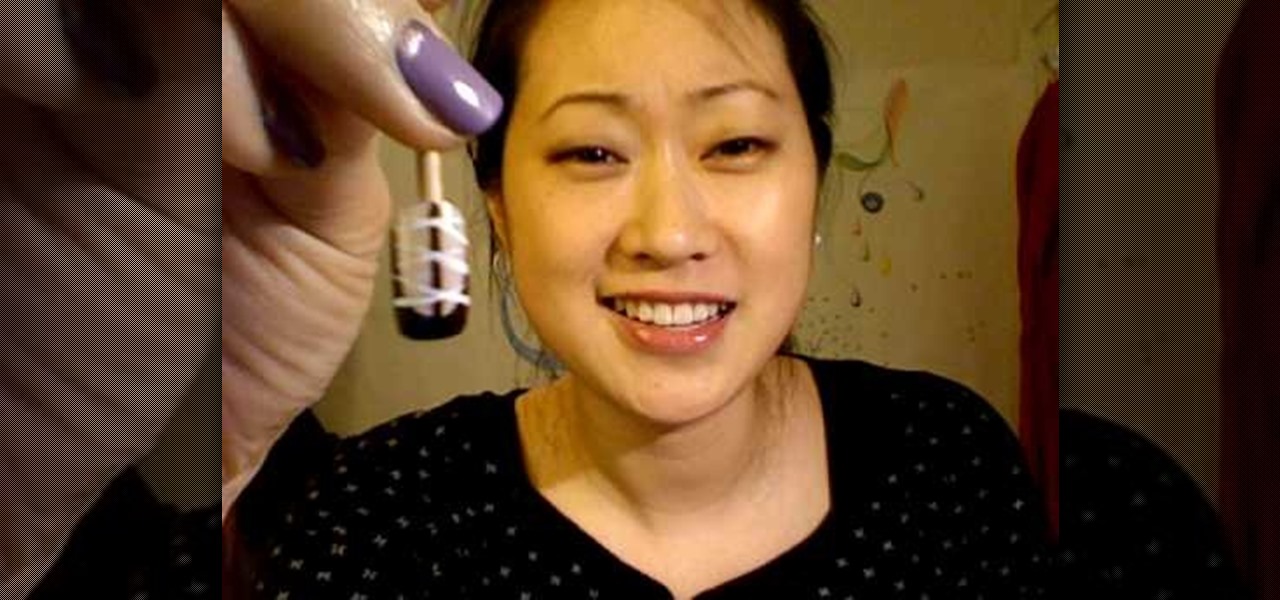
Miss 80 Million provides viewers with a step by step tutorial on how to create a ballet slipper look for your nails. Use black sparkle nail polish. Create a French tip with a very deep smile line that goes all the way to the corner. Use the same polish to draw a line straight down the middle vertically. Let it dry. Next take white Art Deco nail polish to create a diagonal pattern across the nail first one way then the other making sure the lines meet in the middle. After it dries, apply a top...

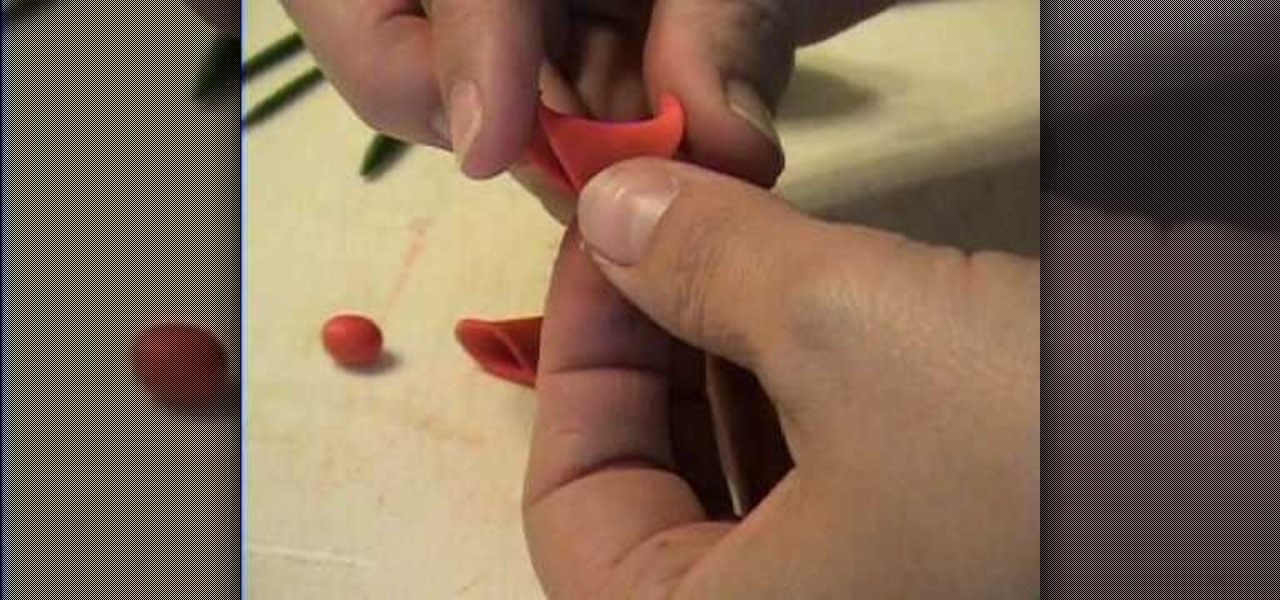
Take the clay, roll it out to make a pretty thin sheet. Take the square cutter and cut out two pieces from the clay sheet. Meet opposite corners of each square to form a triangular form but squishing only in the middle. Bend slightly outwards the unsquished corners of each triangle for decorative purposes. Place the triangles facing each other with the squished corner overlapping, pressing and joining them in one single piece. Take another little piece of clay and make a small ball with it. P...

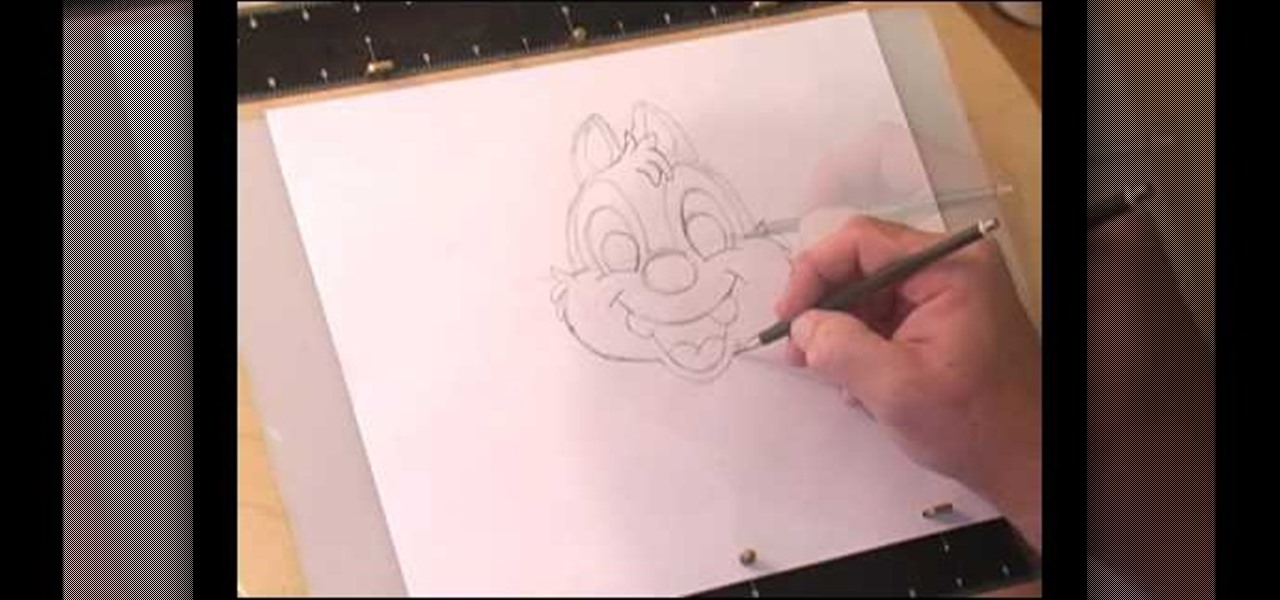
This video shows us how to draw a Dale character. First you draw a ball about the size of an orange. Insert construction lines in the shape of a cross. Starting with the small middle area, draw the mask outline and add the ears at the top. Draw in the nose under the middle line. Draw the cheeks outside the construction line on both sides. Add smile lines on each side and draw a curve between them for the mouth. Extend the lower part of the mouth outside the construction line. Insert teeth and...

Three movements on the bosu ball will challenge your balance and stability. They will also build strength in your lower body. First, warm up. Then, do a simple back squat on the bosu ball. Stand on the bosu ball with our feet in front of you, extend your arms, and squat. Do eight to ten repetitions. Then, do a one legged squat. Place one foot in the middle of the ball and extend the other leg back. Squat down and up. Do ten to twelve repetitions. The final exercise is a lateral one legged squ...

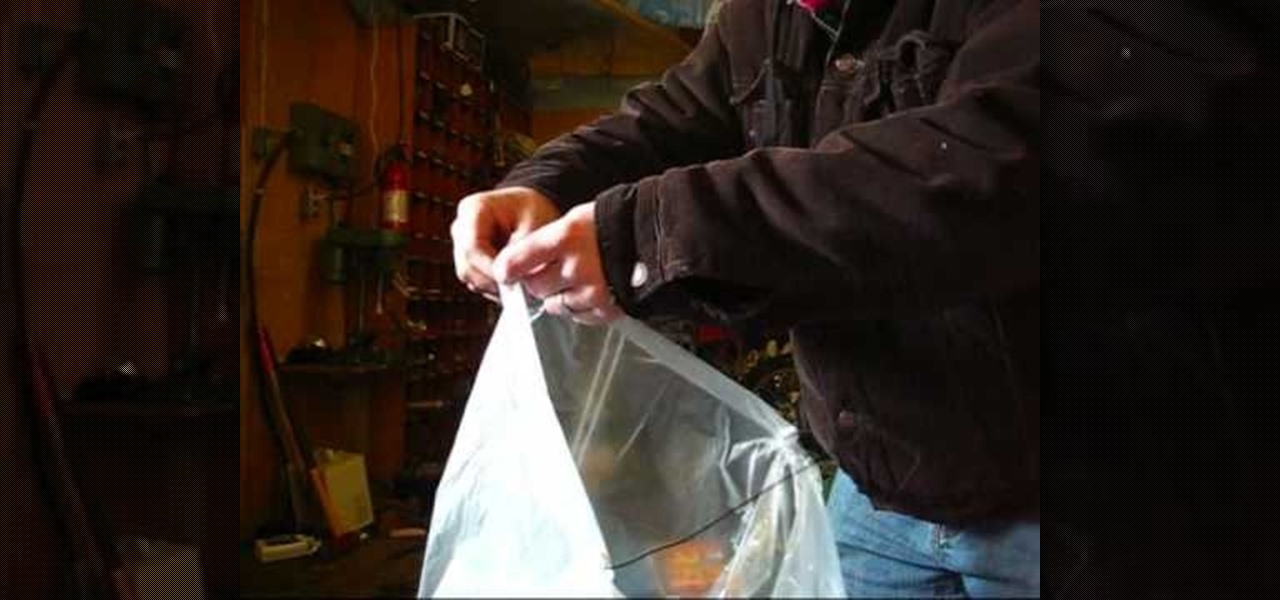
This is a simple and easy tutorial, and anybody can build a hot air balloon out of a garbage bag by following the instructions in it. All one needs is a garbage bag, some stiff industrial wire and fire starter bars. The important thing, according to the author, is to judge how many fire starter bars will be required to make the balloon rise without melting its plastic body. First, two long wires are twisted together in the middle to make an 'X'. A smaller wire is twisted onto the middle of th...

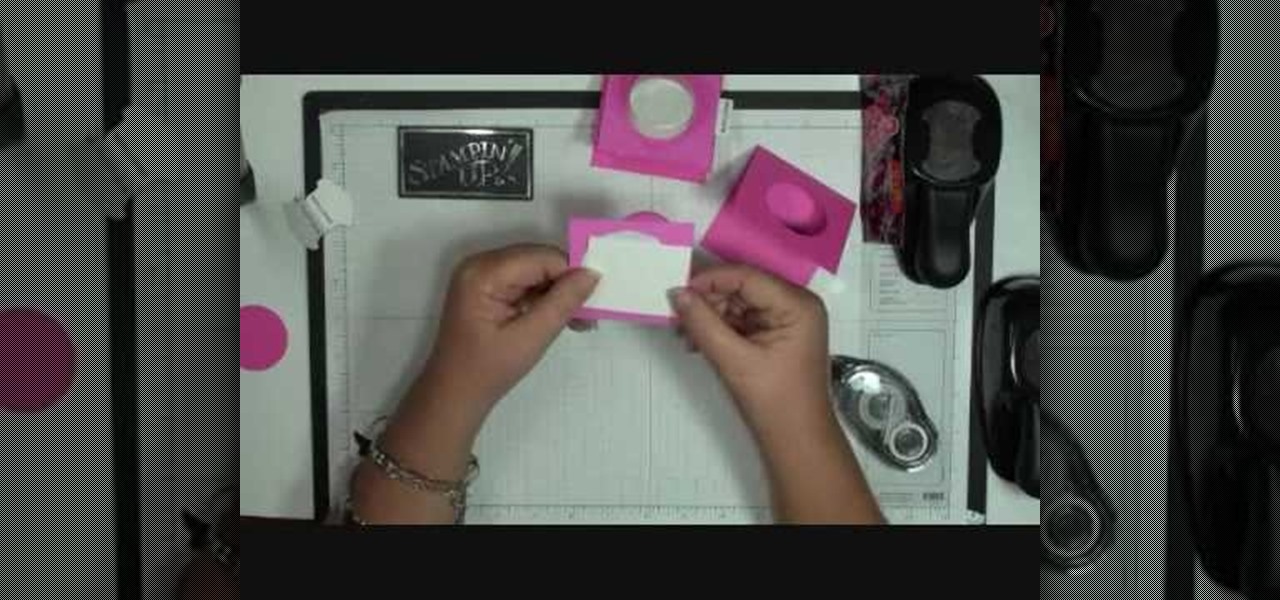
Dawn5377 teaches you how to make a pink sweet treat cup door. You need a stamp from the sweet center set and you use it on a small piece of pink cardboard. You punch the middle out. Also punch the middle of another piece of pink cardboard. Insert the treat cup door and stick it in. You use dimensionals to hold a white piece of paper, which acts like a tray under the plastic dome. You add some sweet treats inside and stick the other pink piece (with the heart) on the other side. Also remember ...

In this video tutorial, viewers learn how to make an origami fortune teller. Fold a sheet of blank paper in half--vertically and horizontally. Fold the four corners of the paper into the middle. Flip the paper over and fold the corners into the middle. Fold it on the horizontals and diagonals. From then on, users can decorate the fortune teller. This video will benefit those viewers who enjoy origami and art.

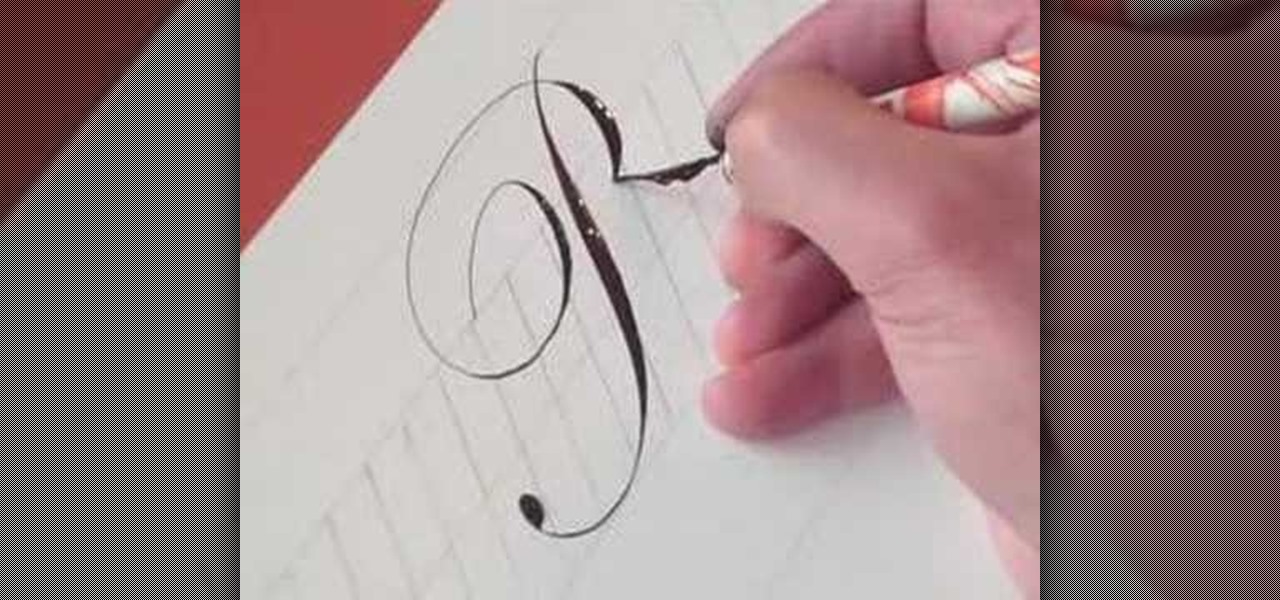
This video demonstrates how to write the letter P in calligraphy copperplate. The technique that is illustrated in this video show you the proper way draw the letter P effectively and beautifully. The video first shows you how to draw the capitalized letter P. The first step is to create a slightly S-curved stroke downward from the top margin to the bottom-middle margin--thickness in the middle. You end the line with a curled tail. To complete the letter you then have to draw a looping, curle...

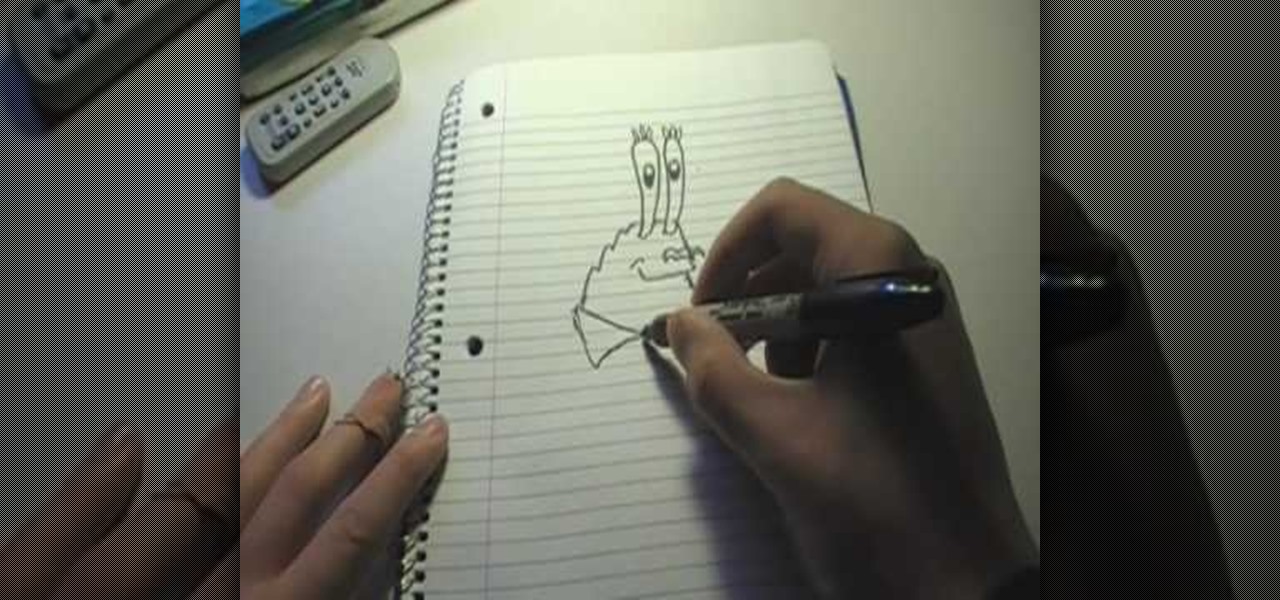
S.G. Russel shows how draw Mr. Krabs by first drawing his head, which is a bumpy texture. After doing the left bumpy side, he draws the right side, and then curves it around for a smile. Then connect the right and left side of his face with a circular line on the bottom. Draw a squiggly line in the middle of the right line for his nose. Then draw long tubes on the top of his head for his eyes. Draw his pupils with a glare in the middle and three eyelashes on each. Almost in an anime like styl...

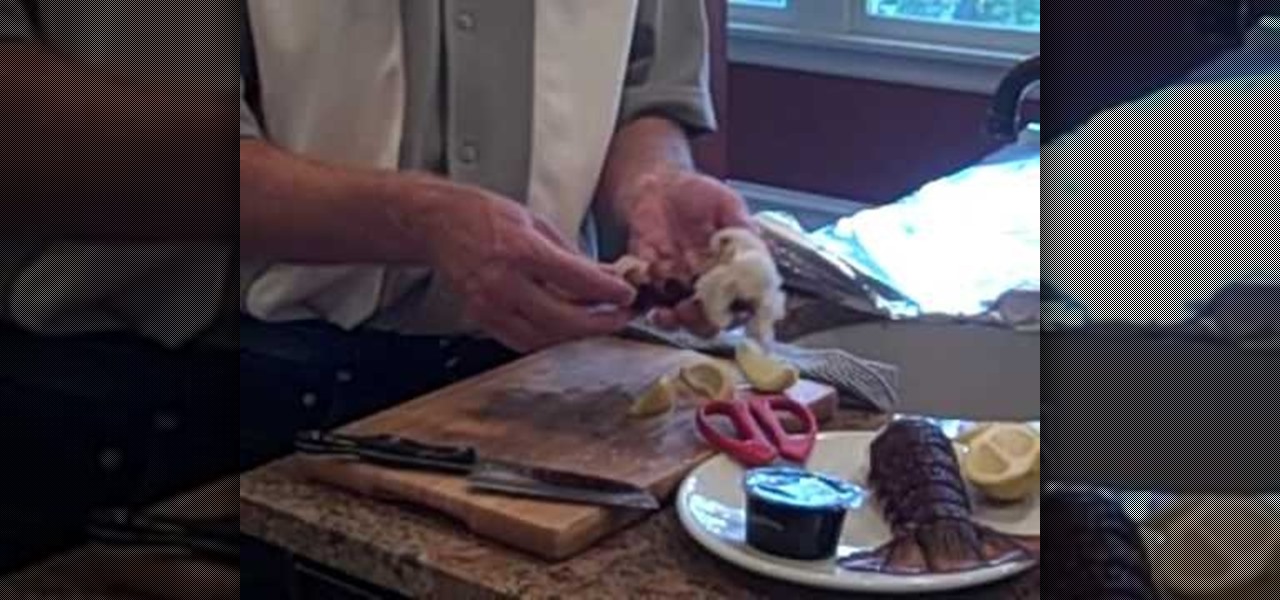
In this video, Dan the Lobster Man instructs on how to make "Campfire Lobster Tails." Dan starts out with two New Zealand coldwater tails. First, he instructs us to quarter some lemons. To open the tail, take the tail and push down on it - you should hear the shell crack. Take a pair of lobster shears and cut in the middle, breaking the tail a little more, and slice down the middle of the meat. Take the melted butter and pour it on the middle. Squeeze some lemon juice in there as well. Butter...

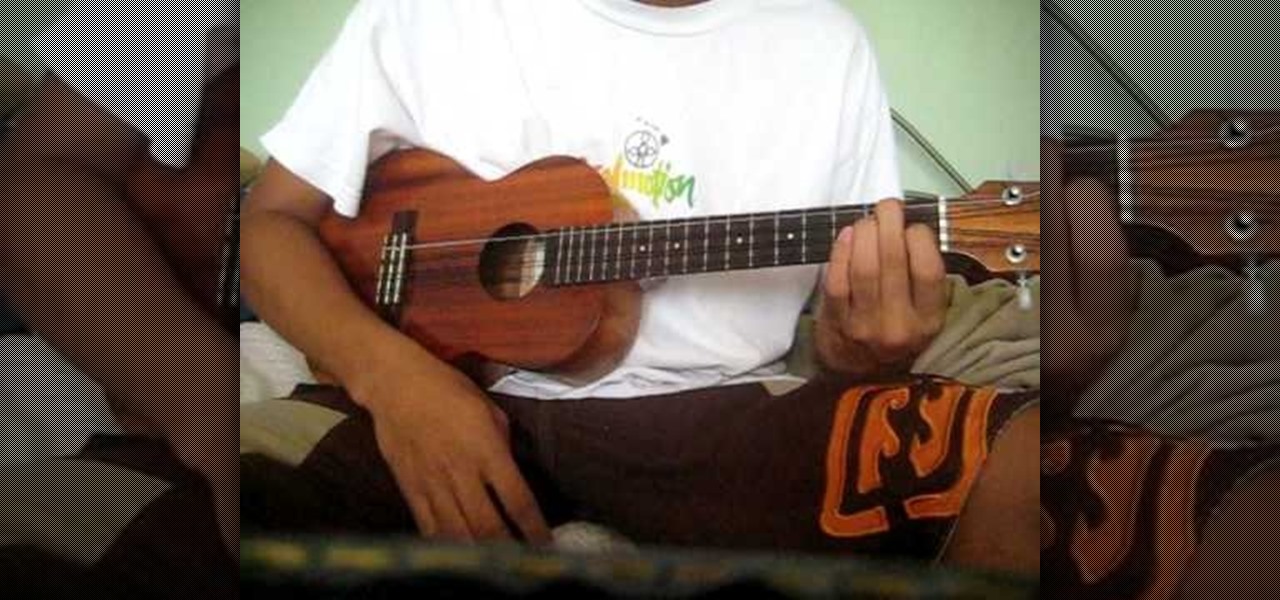
The beginning of the video lays out a couple quick lessons on hand and finger placement for playing string notes on the ukulele. The first hand placement and is for string C: using your ring finger place it on the bottom string. The right hand will strum the strings in a down, down, up, up, down motion through the rest of the lesson for each cord. Use the middle finger to hold down the next cord A minor on 2nd fret. Strum. Next keeping your finger on first string place your index finger on th...

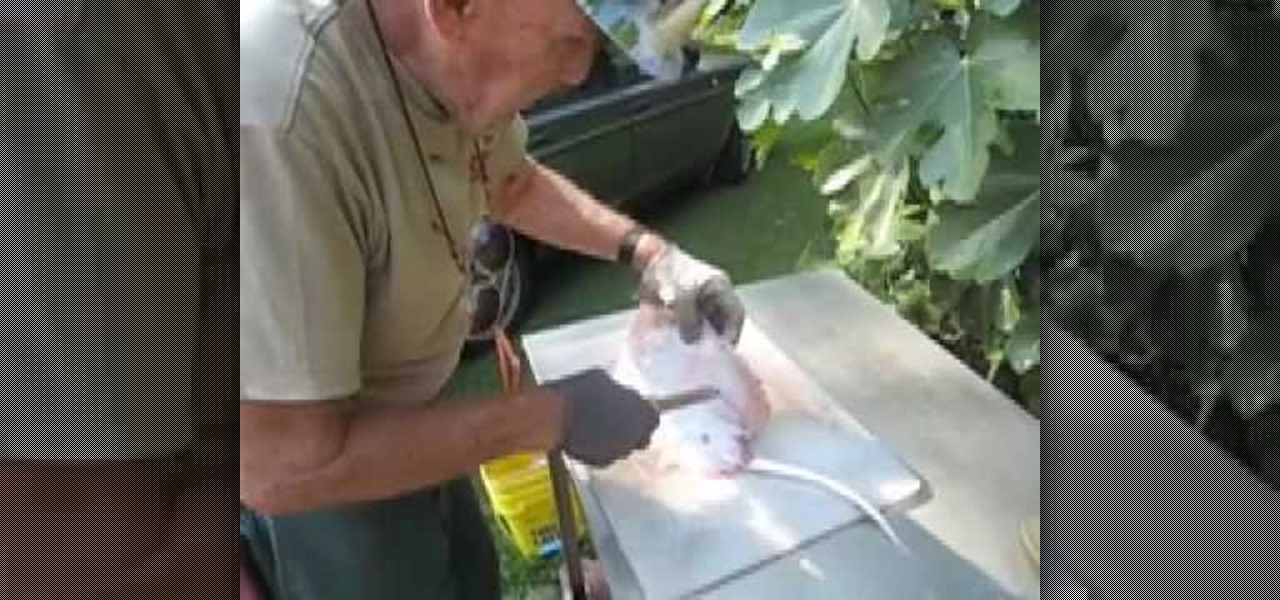
In this video, we learn how to clean skates or rays. First, use a sharp knife to remove the roughness from the top of the ray. After this, stick the knife in both of the sides and cut all the way down. From here, you should just have the middle left and the two sides should go in a bath of clean water to get the dirt off. Continue to repeat this process for all of the rays that you have. You can cook however you want when you are finished cleaning. Make sure you cut the right parts off, the m...

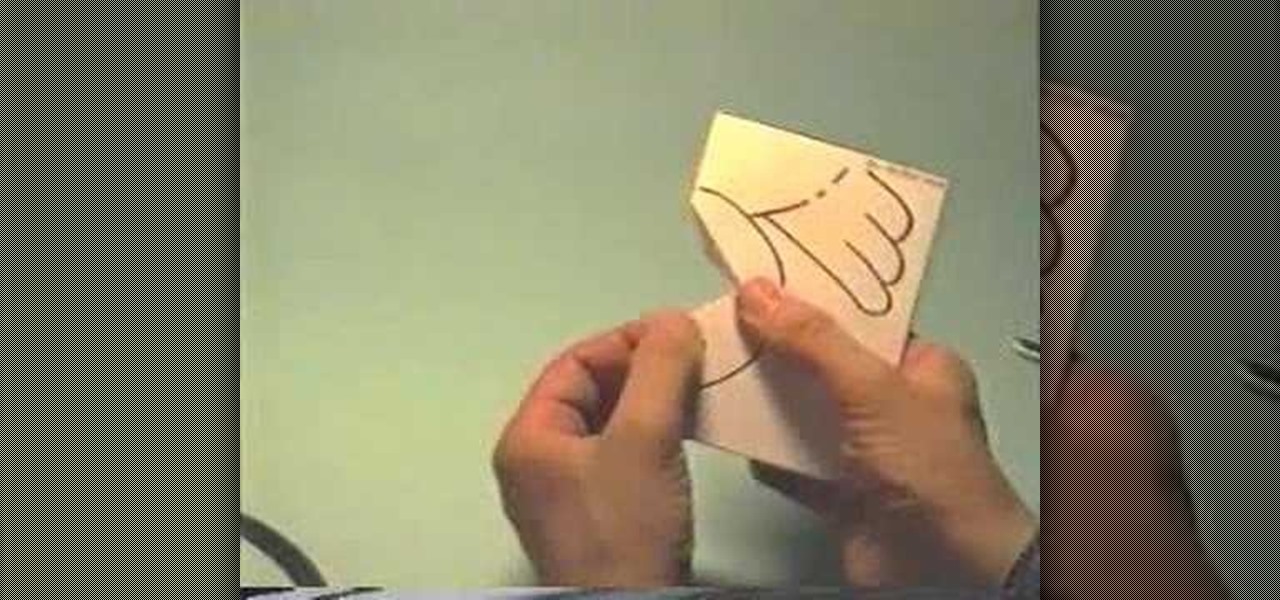
In this tutorial, we learn how to make a chicks pop-up card. First, draw a chick on the front of the card, with the beak in the very middle. After this, use your scissors to cut the beak in the middle around the top and bottom but not the sides. After this, bend the beak from side to side to make it pop out from the card. Then, open the card back up and fold it the opposite way. From here, color in the chick and then glue it to the inside of the card you're going to use and give to someone!

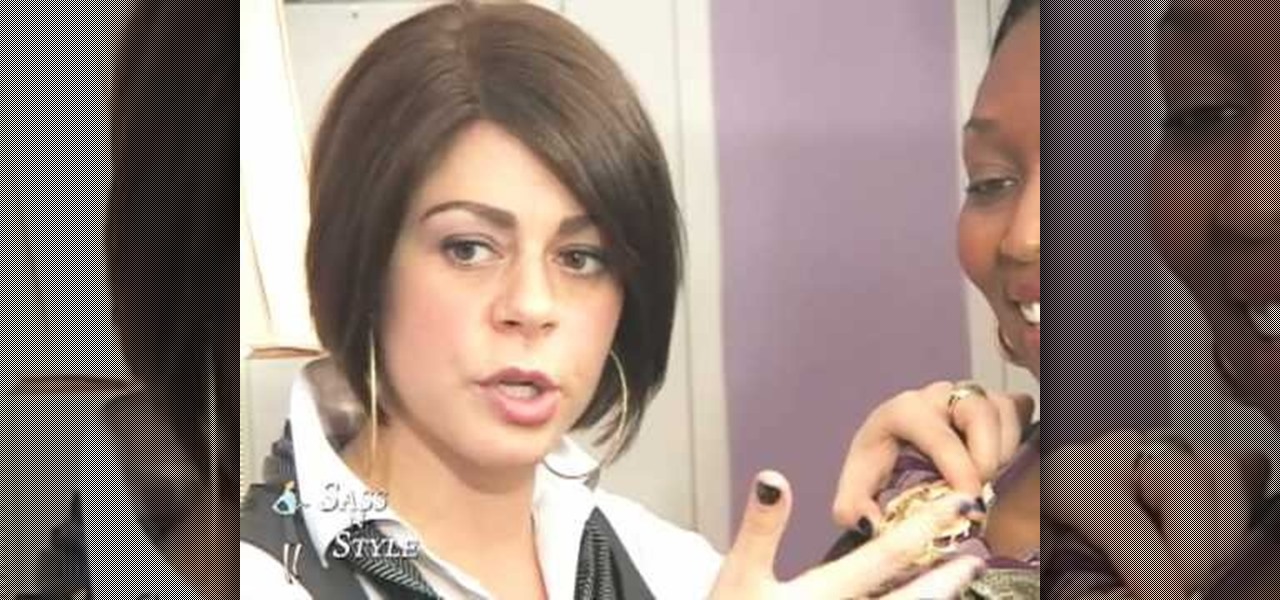
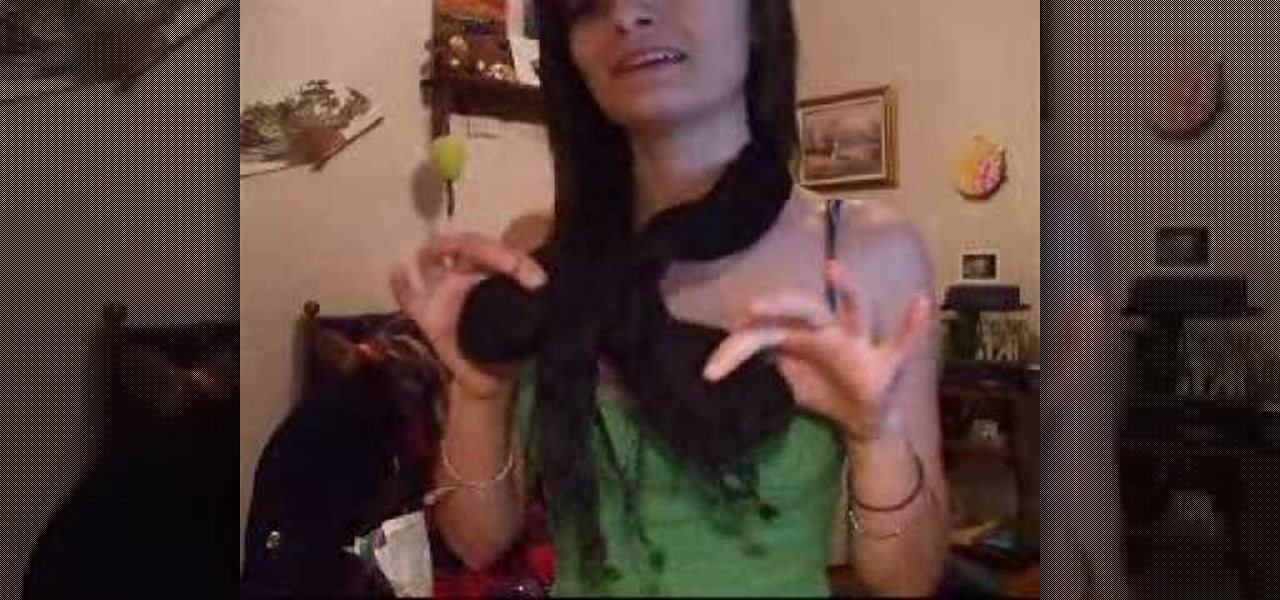
In this tutorial, we learn how to tie a dress scarf. You can use this in a number of ways to add some fun to your outfit. Start off with a black turtleneck and grab a long and skinny scarf. Find the middle of the scarf, wrap it around the back of the neck and then twist it. From here, tie at the bottom and give it even ends! With a scoop-neck top, you will take the scarf from the middle and wrap it around the neck. After this, pull it through in a half bow on one side and pair with a long jac...

In this tutorial, we learn how to make a butterfly pop-up card. First, draw a butterfly on the middle of a paper and then draw flowers and smaller butterflies around it on the sides. After this, fold the card in half so the drawing is stick out and cut along the top and the bottom of the butterfly. From here, color in the entire character and then fold inwards and pop the middle out. After this, stick the insert into the card of your choice. Then, glue it down and you will have a cute butterf...

In this tutorial, we learn how to wear scarves for the winter months. For a thinner scarf, you can wrap it around your neck all the way, so it's just a round neck holder. In the summer, you can use this same scarf with a button up and make a bow with it in the middle of the chest! For a larger scarf, you can bunch it up in the middle and then let it drape over your chest, falling to the back. Then, wrap around the sides or leave it how it is. Either way you decide to wear your scarf, do what ...

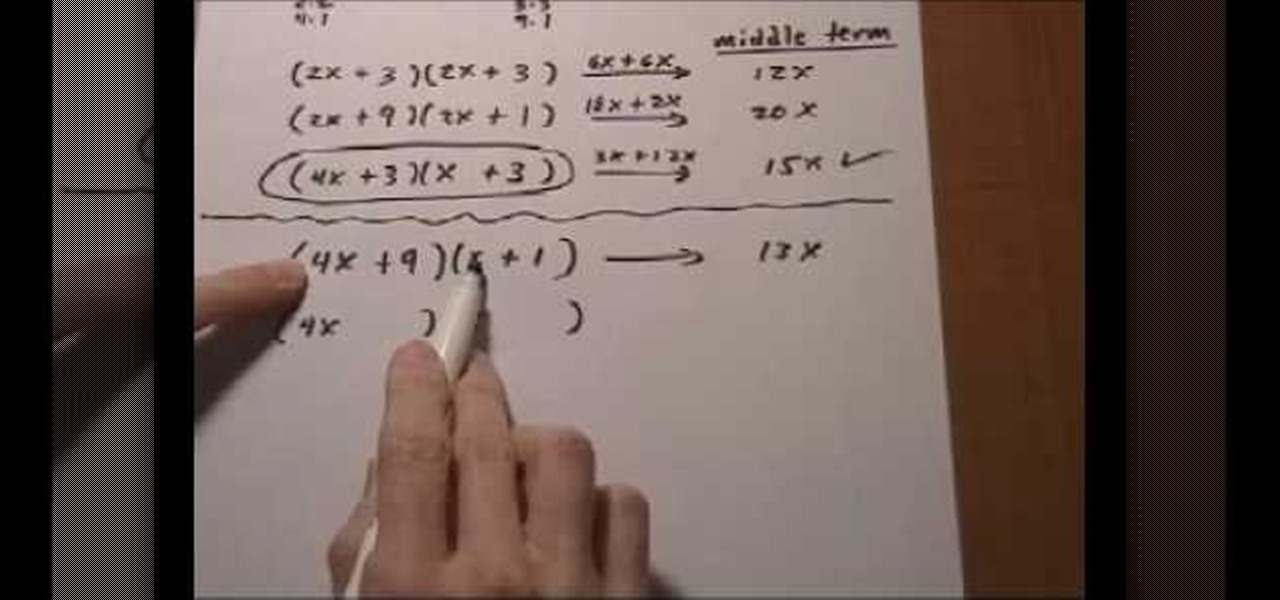
Factorization of a trinomial can be achieved by using the standard method of appropriately "splitting the middle term" or by this method as shown in the video.

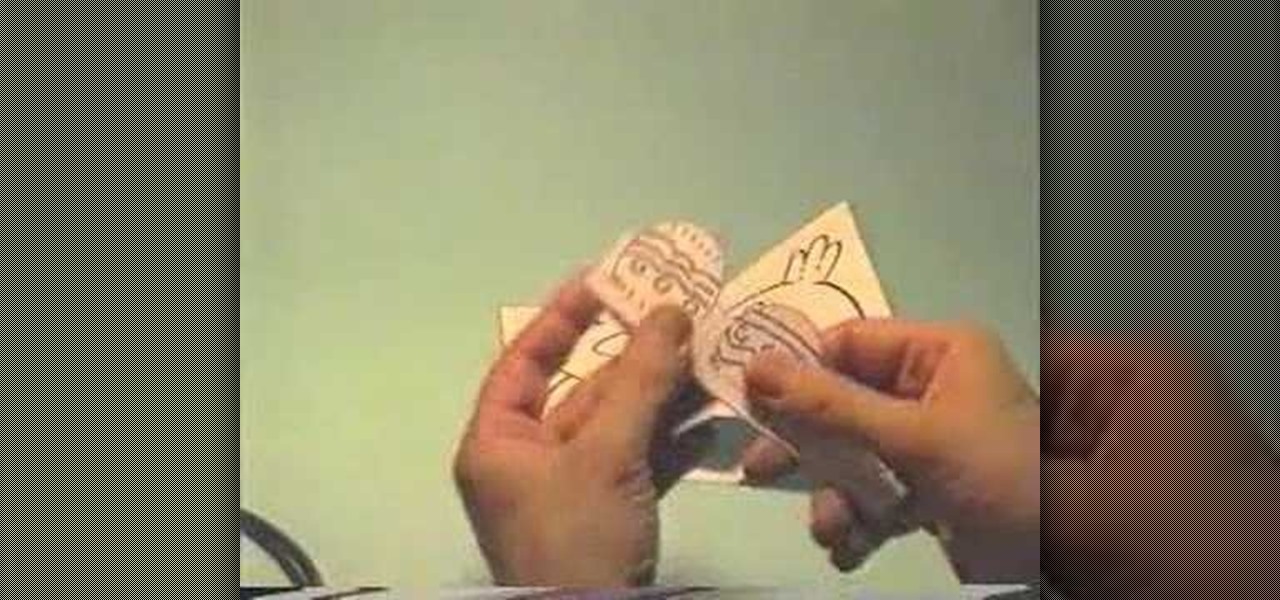
In this video, we learn how to make an Easter pop-up card. First, draw a duck with a little baby duck on a 4x6 piece of paper. From here, fold it in half so you can see the image on the outside. After this, use scissors to cut the middle, where the little baby chick is at. Cut the top and bottom around it, but avoid cutting the sides. From here, bend that piece left and right. Then, open up the card and bend it into the middle. From here, take a piece of paper with eggs cut out of it and bend...

In this video, we learn how to create a "purple smoke" fashion makeup look. start out by applying foundation to the face, then apply purple liner around the lips and fill them in half way to the middle. Then, smear the color into the middle and apply purple shadow over the lips. From here, apply black eyeliner to the tops of the eye, then apply black shadow underneath the brown on the crease of the eye, then rub on a silver shadow around the entire lid. Use liquid liner to draw on lashes on t...

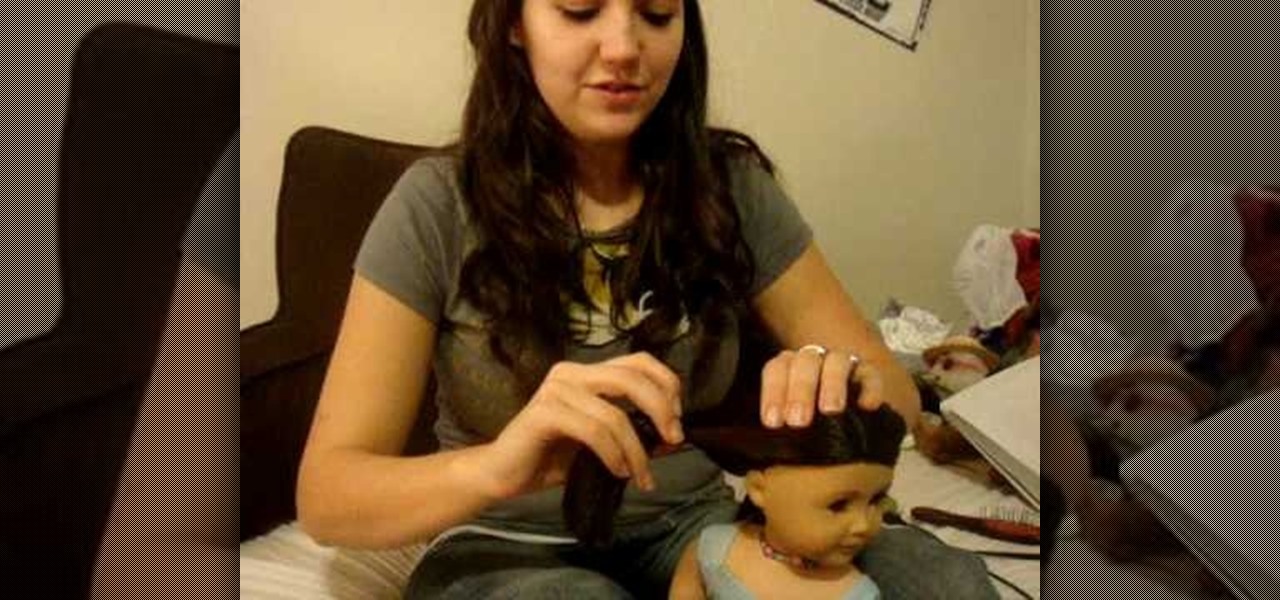
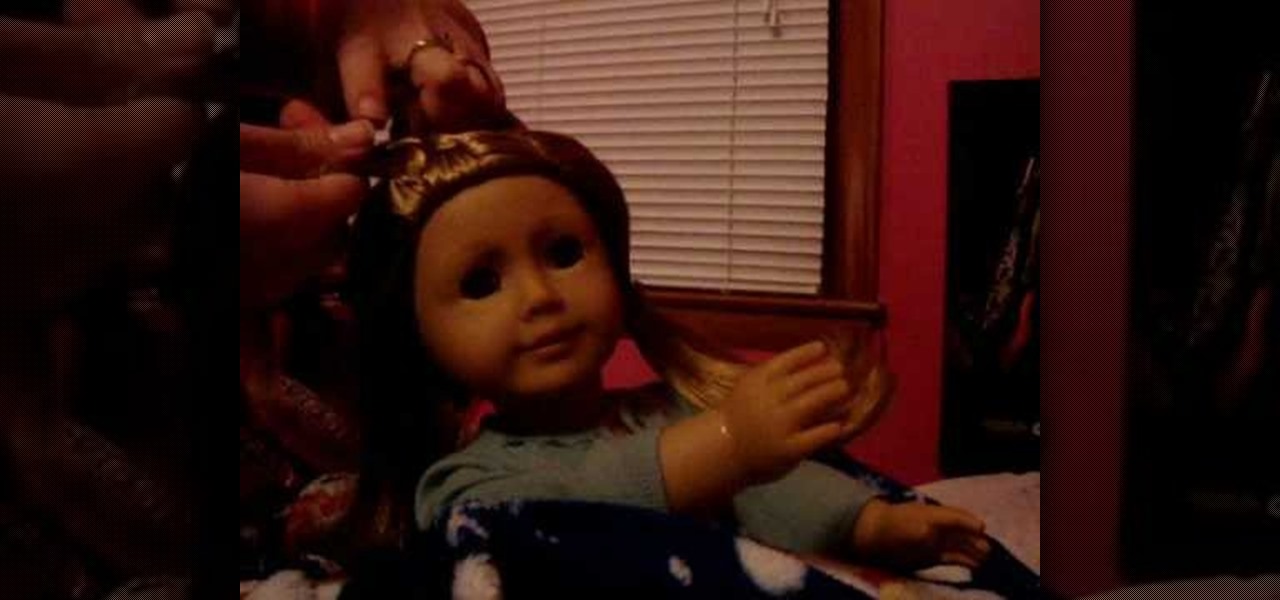
In this tutorial, we learn how to do a cute braided hairstyle on your American Girl. To start, you will first need to brush out the hair and then part it in the middle. From here, clip the right side of the hair and then clip the other side. Take the rest of the hair and tie it into a ponytail. From here, take the left side and start a braid, then do the same thing on the right side. When you finish, clip the middle hair into a bun and then clip the braided section in the back. This will fini...

In this video, we learn how to do a double twist flip on your American Girl doll. First, part the hair down the middle and then brush it out. From here, pull out the rubber band one side and then split the middle of the hair in half. Push the rubber band with the hair through this, then tighten it up. Do this on the other side of the hair to make them both even. This will finish the hairstyle on your doll! The great thing is that you can do this on dolls that have short hair or long hair and ...

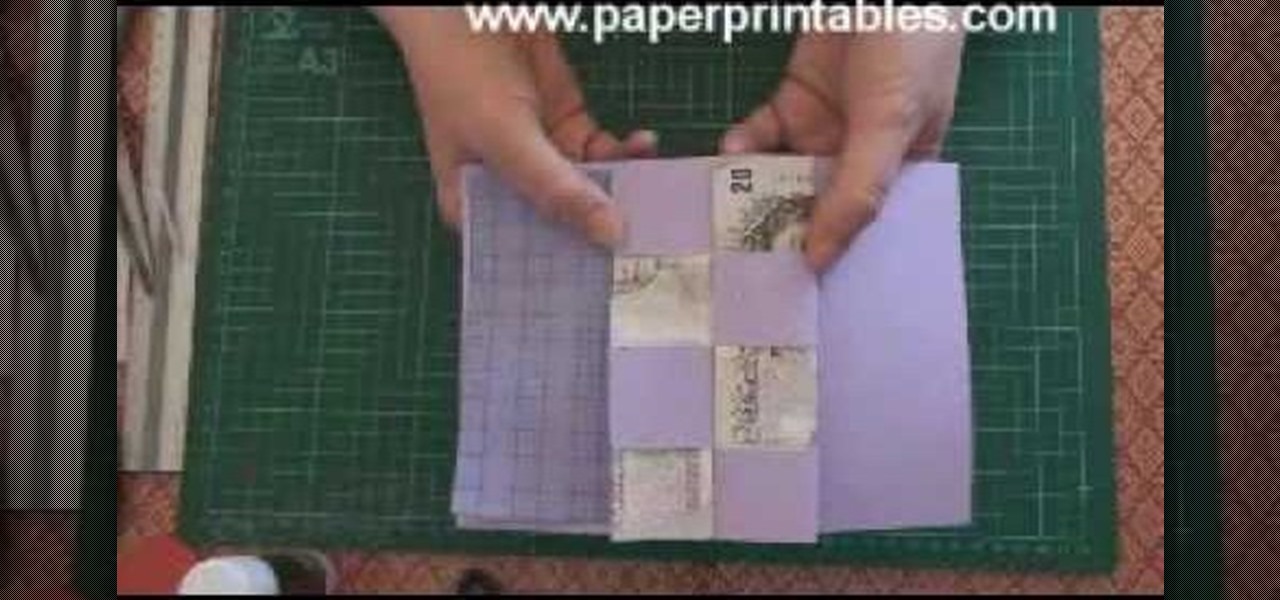
In this video, we learn how to make a pop-up concertina money card. To start, you will first need to take a piece of paper and measure your money on the inside of the paper. Then, cut this out in a strip and cold your money in half lengthwise. After this, measure the depth out from the center using a ruler. Then, fold the paper in half and on the sides where you marked. Then, you will cut three holes in the middle of the paper and these will hold the money in. Stick the bill in the middle of ...

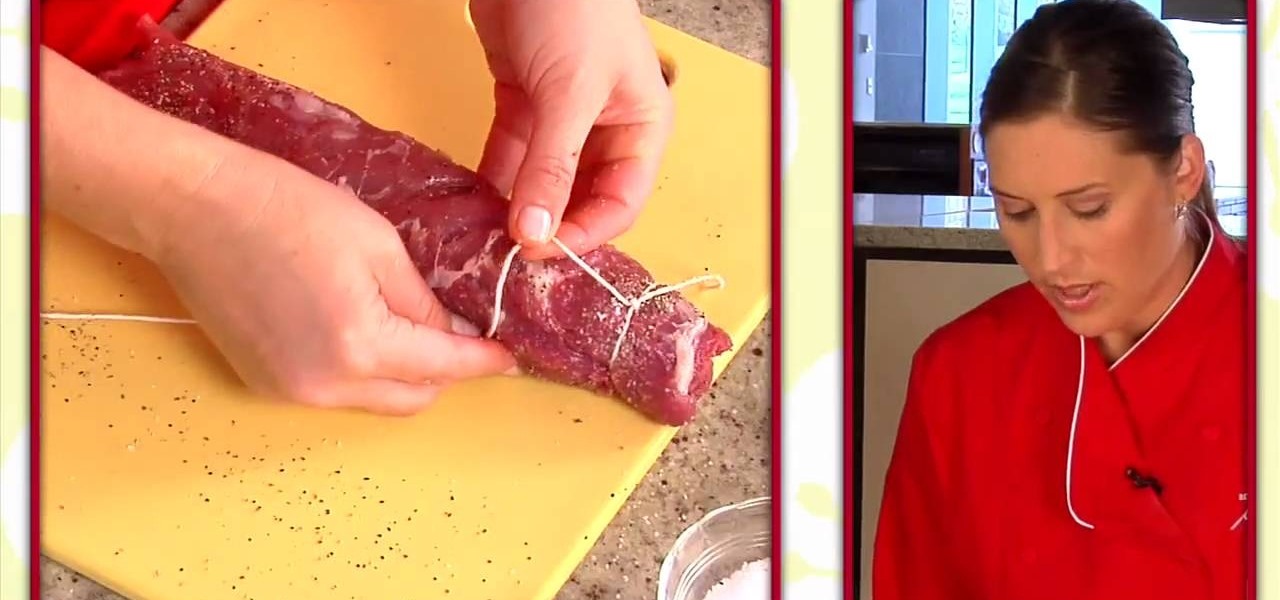
In this tutorial, we learn how to cook a chorizo stuffed pork tenderloin. To start, you will need to take your pork tenderloin and butterfly it so it is opened up in the middle, but not cut all the way through. From here, you will place several pieces or as much chorizo into it that you want. After this, close it back up and then sprinkle salt and pepper on top of it. Then, grab a string and tie this around the top, middle, and bottom of the pork. Then, bake this in the oven until it's cooked...

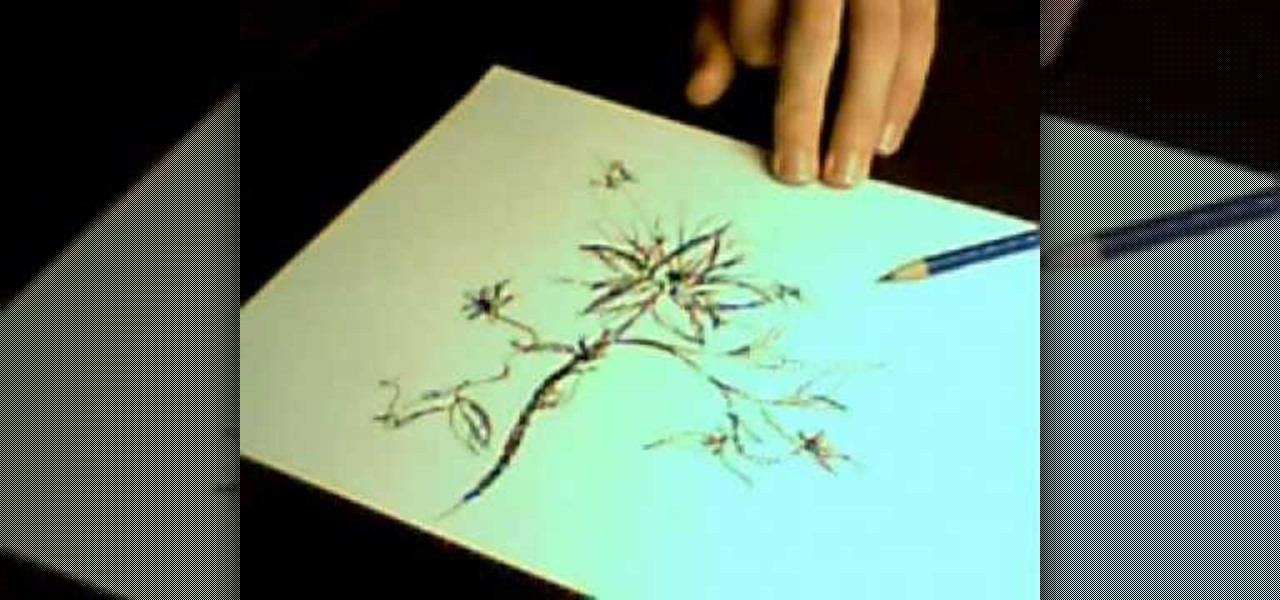
In this tutorial, we learn how to draw a wild magical flower. Start out by using a pencil with a light touch to create the outline for the flower. Make wispy lines to create the leaves and the flowers. Also, draw in the middle of the flower to create additional details. Then, draw in the leaves with the middle vine going down off the page. Continue on the draw in additional flowers off of the vine. Use the wispy edge of the pencil to create a more majestic and magical type of flower. Color in...

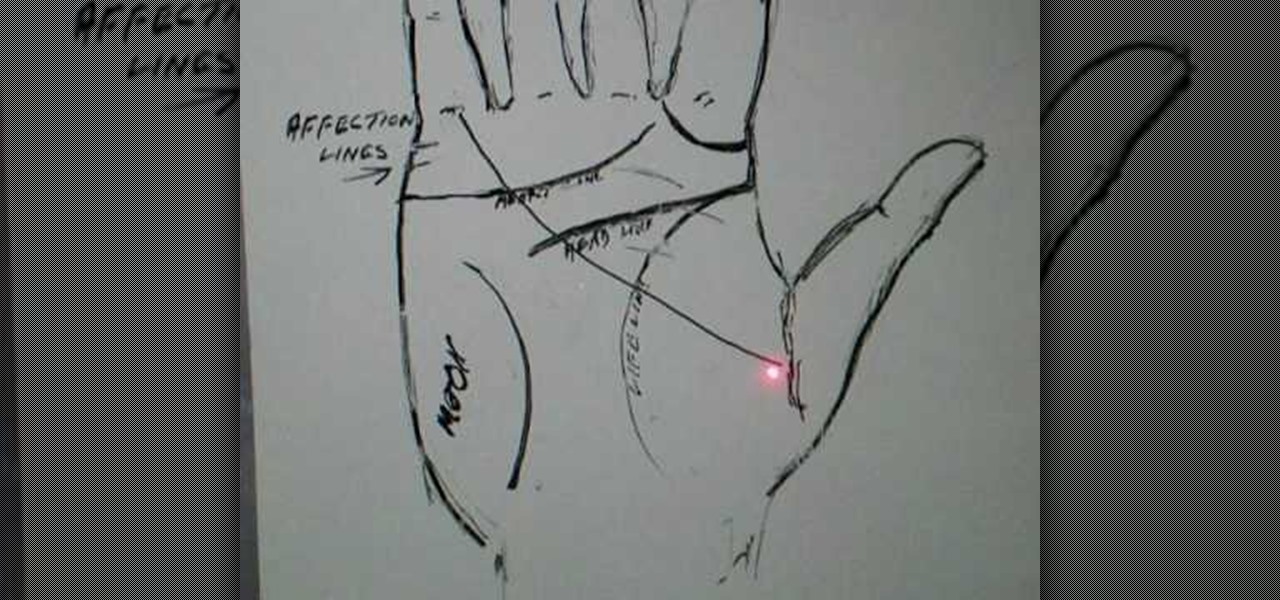
In this tutorial, we learn how to read the intuition and success lines in palm reading. The affection lines are the lines that go vertically and are underneath your pinkie. The lift line is the line in the middle of your palm the curls to the right. The head line is in the middle of the hand and meets up with the life line, this line shows success in business. It also shows someone that will go into business and tends to take control of businesses. The ring around the pointer finger also show...

Factor a trinomial by grouping

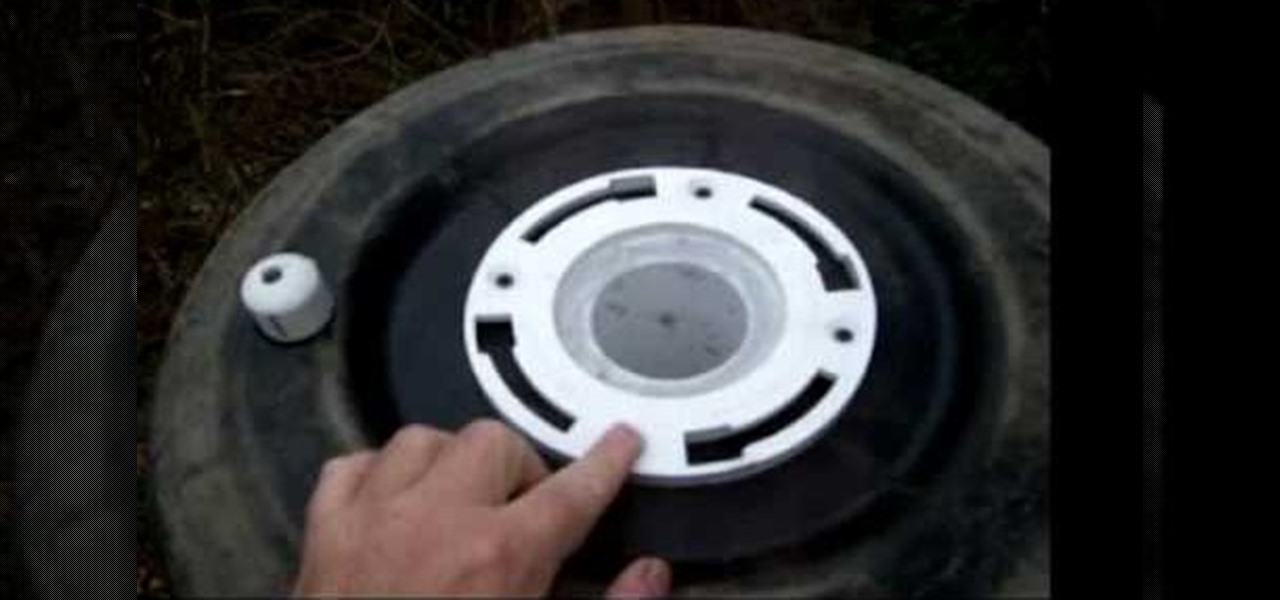
In this tutorial, we learn how to make a homemade compost tumbler. Find a large barrel and mount it on a wood frame. You can use recycled materials, like an old pickle barrel if you can find one. There should be an axle in the middle of the wooden posts that runs through the tumbler as well. There should be a pipe in the middle bottom of the barrel to run air through, that will exit through the top where the handles are at. The aeration system will help your compost work properly, so you can ...

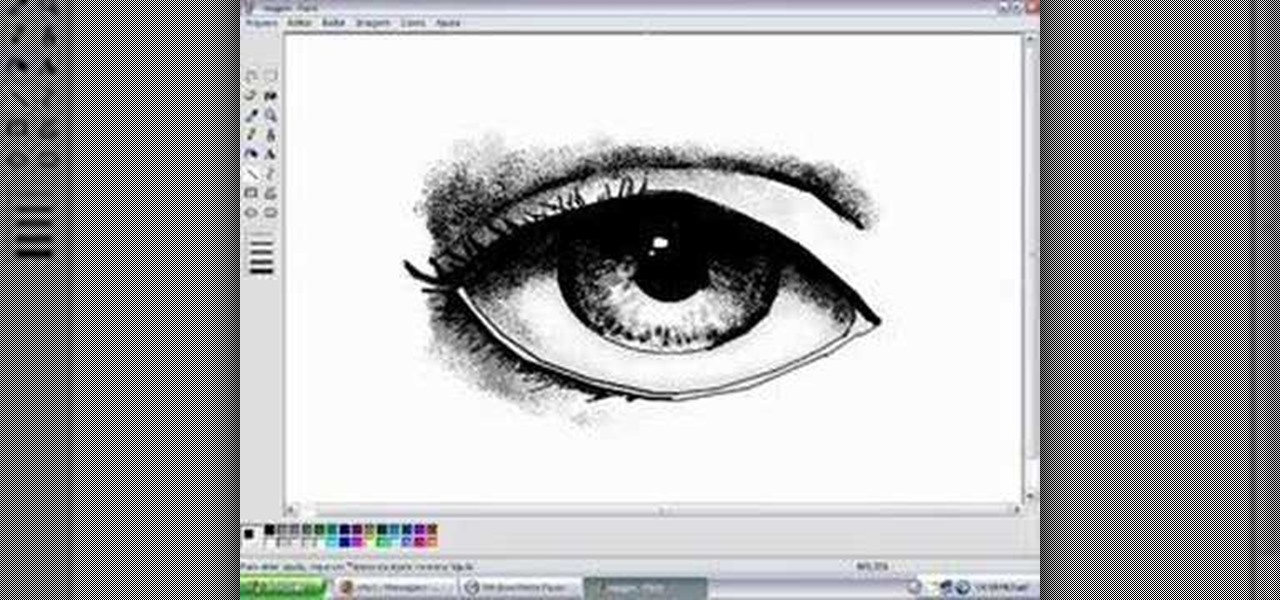
In this tutorial, we learn how to draw eyes in MS Paint. Start out by drawing the outline for the eye using a thin marker. After this, draw on a thicker line at the top of the eye and then draw on the crease of the eye above this. Now, draw in the details of the middle of the eye and start to shade in around the crease of the eye and the middle of the eye. From here, draw in the eyelashes on the top and the bottom of the eye, making them longer if they are for a woman. When finished, save thi...

In this tutorial, we learn how to double French braid your American Girl Doll's hair. First, part the hair right down the middle so you have the left and right side. After this, pull one of the sides into a pigtail. Next, go to the other side and grab a small section from the top. Brush this out and then divide into three pieces. Start it like a regular braid, then start to grab hair from the bottom on each side, crossing it over the middle. Continue to do this until you reach the bottom of t...

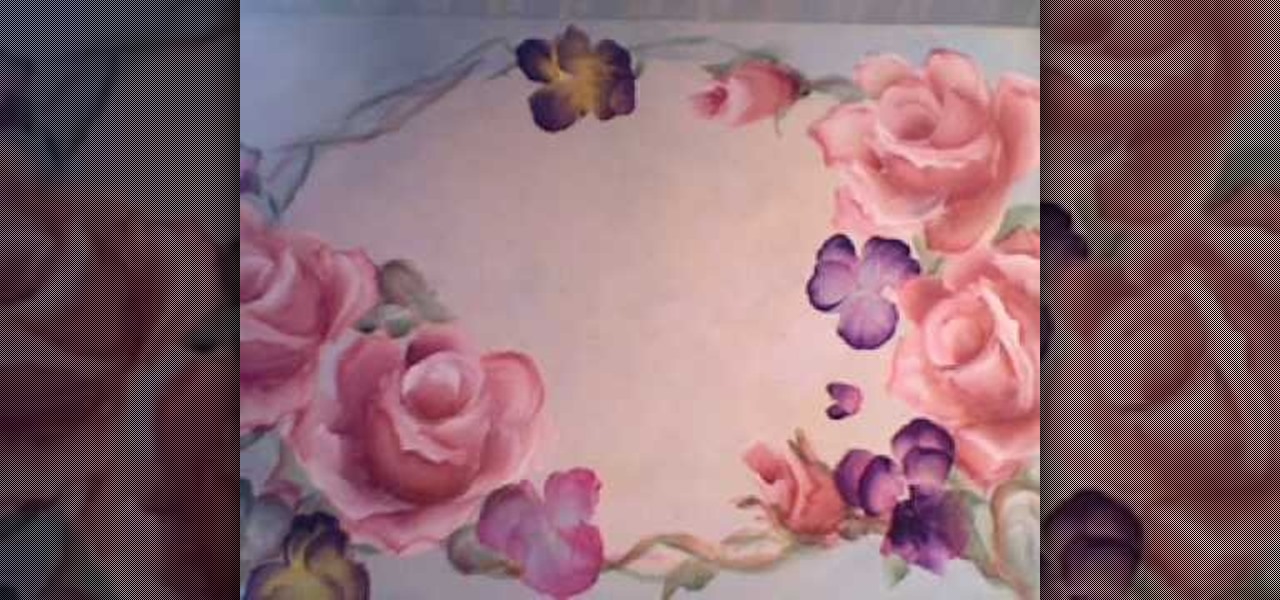
In this video, we learn how to paint pansies flowers with Marjorie Harris. Start out by using a purple color to paint the petals with a small angled brush. Then, move your brush in an up and down motion to create the petals. You can also use different colors with your brush to make the middle of the flower more appealing. Then, use black on a pointed brush to create lines in the middle of the flower petal. From here, you will be able to paint on the stem of the flower green to create a beauti...

In this tutorial, we learn how to add 3D effects and shading to graffiti letters. To start, you will draw a simple letter with a pencil. Then, take one point under the letter in the middle and draw a darker outline. Next, you will draw an outline around the first outline to make it look 3D. Next, you will shade in the area in the middle of the letter and anything that is in between the first letter and the second. After this, you will add in lines and additional detailing to make the letters ...

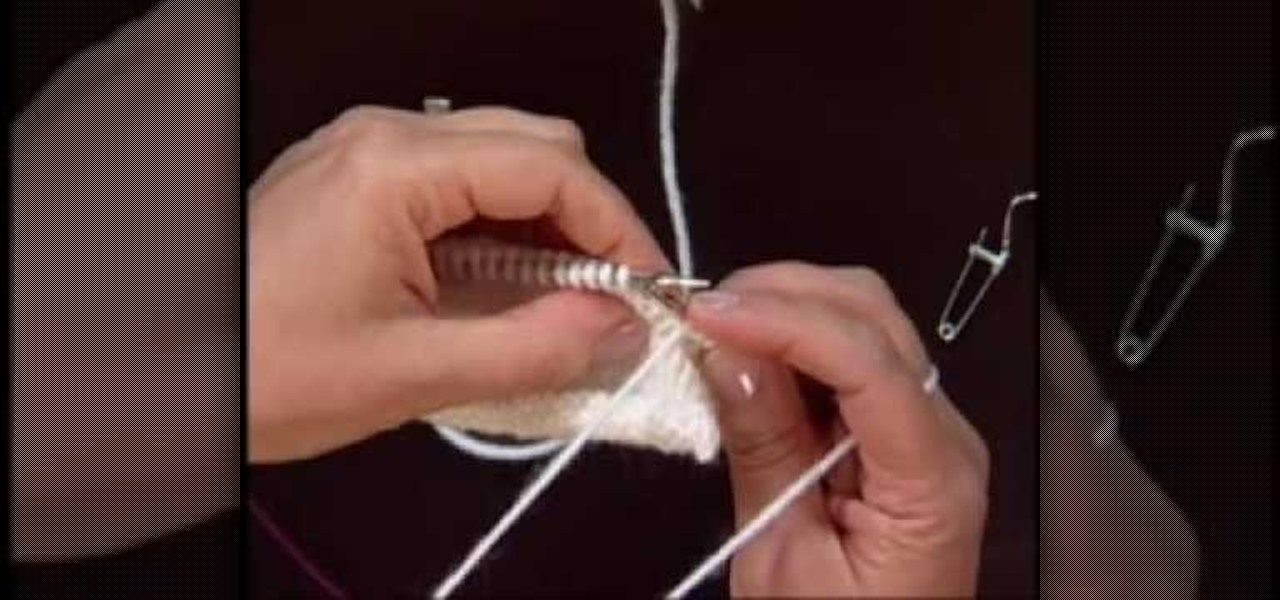
In this tutorial, Andrea Wong teaches us how to knit Portuguese style. This is one of the oldest ways of knitting that started in the Middle East. The holding of the needles are the same but the working yarn should come from the left needle. The yarn should be placed around the neck for your tension or through a pin on the shirt. Next, the yarn should go through the middle finger on the left hand. Then, sit in a comfortable position while you insert the right hand needle under the yarn. Then,...

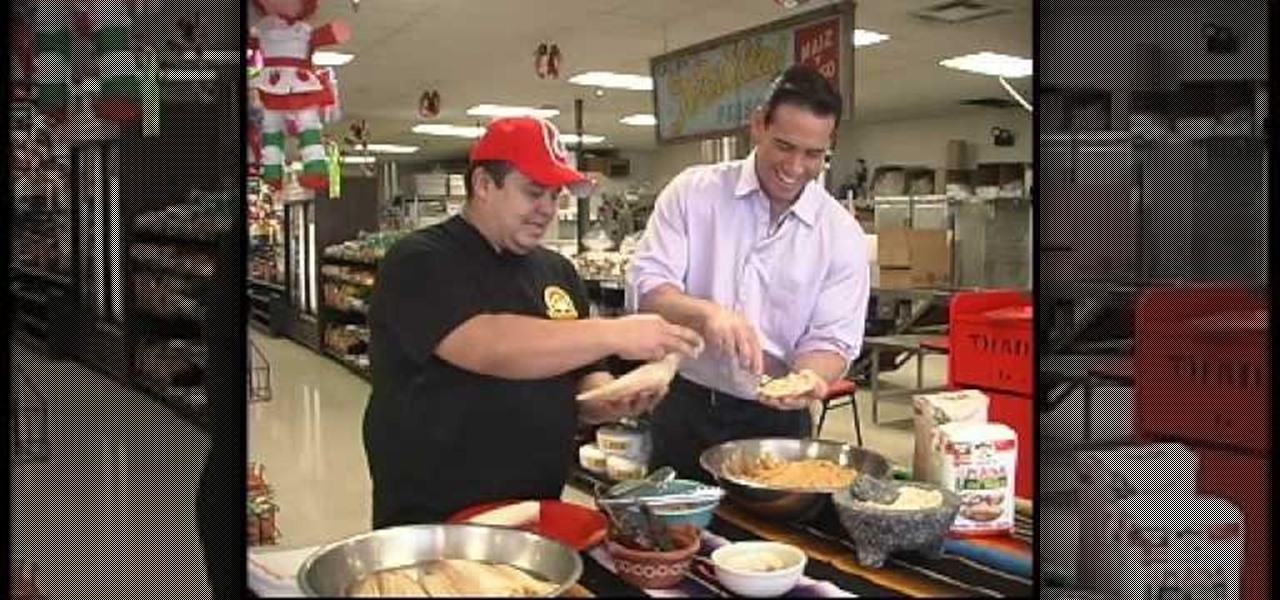
In this tutorial, we learn how to make tamales by hand with masa. To start, you will need to make masa, you will need to make your meat, and grab your seasonings. Make sure you have tamale wrappers as well that have been soaked in hot water for 30 minutes before you are ready to use them. To construct the tamale, you will wipe of the wrapper and dry it, then you will scoop manza into the middle of it. Then, spread it out all over the wrapper until it's covered. After this, put your meat into ...


