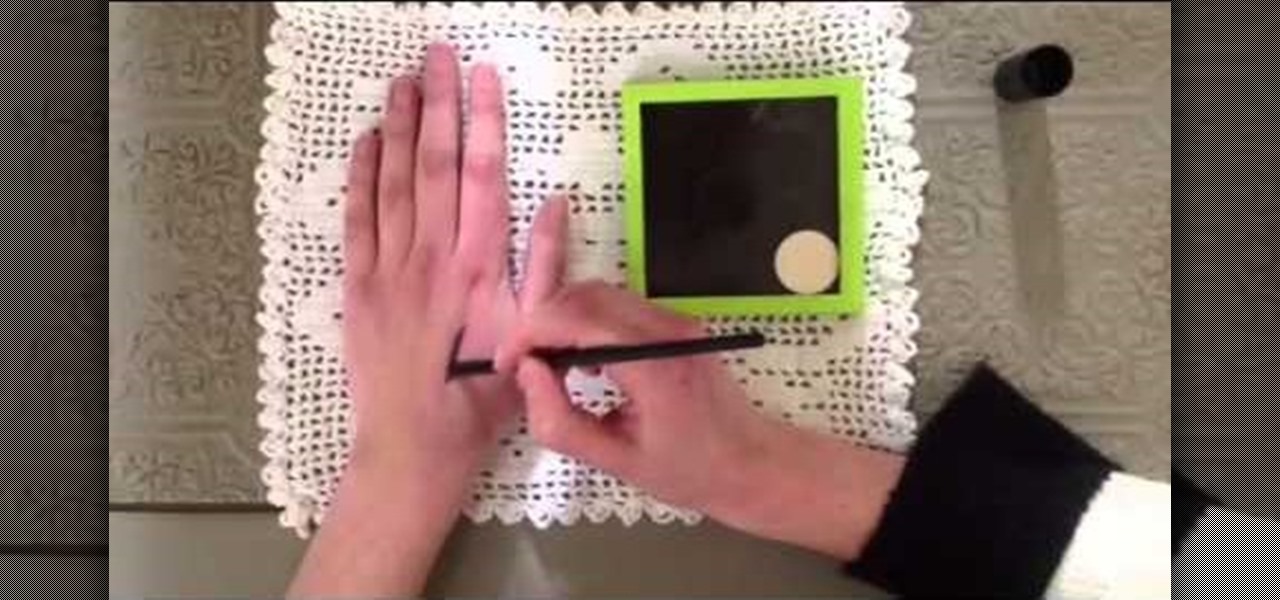
Palmistry is the art of characterizing or foretelling the future through the reading of palm lines. Though there are certainly many variations and techniques when it comes to interpreting the meaning of palm lines, you can brush up on Palmistry 101 by getting acquainted with your four major palm lines: the heart line, head line, life line, and fate line.

There is a difference between what is possible, what should be done and what an owner manager may want to do. Decide how you want to handle payroll then determine if your desires and best practices are in agreement. Before I point out the decisions that need to be made, let me make two points. First, all personnel for your business do not have to be employees. Some entities can be run with all non-employee personnel or a combination of both. This is one of the reasons why doing a business pla...

WELCOME & THANKzZz For Your Contribution, Support And Time...! ...Hello, zZz~AKA~StanDP Here...;

This is a quick and easy tutorial, great for anyone interested in learning how to make their own designer handbag. Add in a zippered pocket to the inside lining of your handbag. You will need a window stencil and a craft knife as well as your notions. Add a zippered pocket to the lining of your designer handbag.

Google My Business lets you connect with customers across Google Search and Maps through a unique business profile. The web app allows you to connect and chat with customers in real-time and provides rich analytics to help you manage and grow your company.

Twitter is a science. The smarter you post and engage with others, the better chance you have at building a bigger audience. Scheduling your tweets is one way to get there. Most engagement occurs at specific hours, but you may not be around then to post your tweet manually. While the official Twitter app on iOS and Android doesn't allow you to schedule, there is another way.

Amid the coronavirus chaos, two companies at the forefront of augmented reality technology took starkly different approaches to their upcoming developers conferences, as Facebook has canceled its annual F8 conference and Magic Leap plans to invite a limited number of attendees to its Florida headquarters for LEAP Developer Days.

"It just ticked me off," he said. In March 2011, Neil Singh paid $50 to back the Hanfree iPad stand on Kickstarter. The project was funded at $35,000, but production stalled, and the delivery estimates kept getting pushed back.

Hello there Nullbyters, Last tutorial we discussed navigating and setting some options.

Android has a single text file named build.prop that determines tons of various system-wide settings on your device. You need root access to edit this file, since it's stored on the system partition—but the various lines of codes it contains are actually fairly easy to interpret and modify.
Before I start a series on remote exploitation, I think we should learn the basics of Perl. Perl, Ruby, C, C++, Cython and more are languages that some penetration testers just need to learn. Perl is a great language for multiple things, sadly, like many other scripting languages, it is limited by the environment in which it is designed to work in.

In this video I talk about inking with various brands that manufacture ink pens. Pentel pen brush, Neopiko line 2 BBL, and Molotow one4all black.

Snapchat developers insist that the app stay true to what its always been: a service for snapping and sharing self-destructing images. This belief is further hit home with their strict 31-character text limit, which some people refuse to abide by. Namely, Snapchatter Shayne Skellett.

Step 1: This Is an Instructional Video to Learn the "All the Way Down" Line Dance

This is an instructional video to learn the "Whispering" line dance. Step 1:
Learn how to replace,fix or replace the toilet seat in your bathroom. This video will show you how easy this is to do, and will make your bathroom look better with a new toilet seat. Not to mention, get you back in business!

Learn how to remove, replace or fix a broken flush handle or lever on your bathroom toilet. This quick video will get you back in business in no time!

As the cooler weather starts rolling in your pet will need more than just his natural coat to keep the shivers away. Take him out in style by designing a simple yet elegant tailored coat that will fit him perfectly. Here is an easy lined tailored coat with a nice thick comfort strap to keep him snug. Watch this video and follow the accompanying written instructions.

This video will show you how to bleed the air out of the burner oil line on your furnace if you run out of oil. Shown on a Carlin EZPro burner, Weil Mclain Gold boiler. Also would work on most burners the same way including a Beckett.

In this video you will learn how to make a gel like liner using Rallye Balm and Eyeshadow. Just swipe some Rallye Balm on the back of your hand, mix some eyeshadow into the Rallye Balm with a liner brush and then line your eyes. It's super simple to do, longer lasting and moisturizing at the same time!

Video: . Taking a Pregnancy test is really easy.

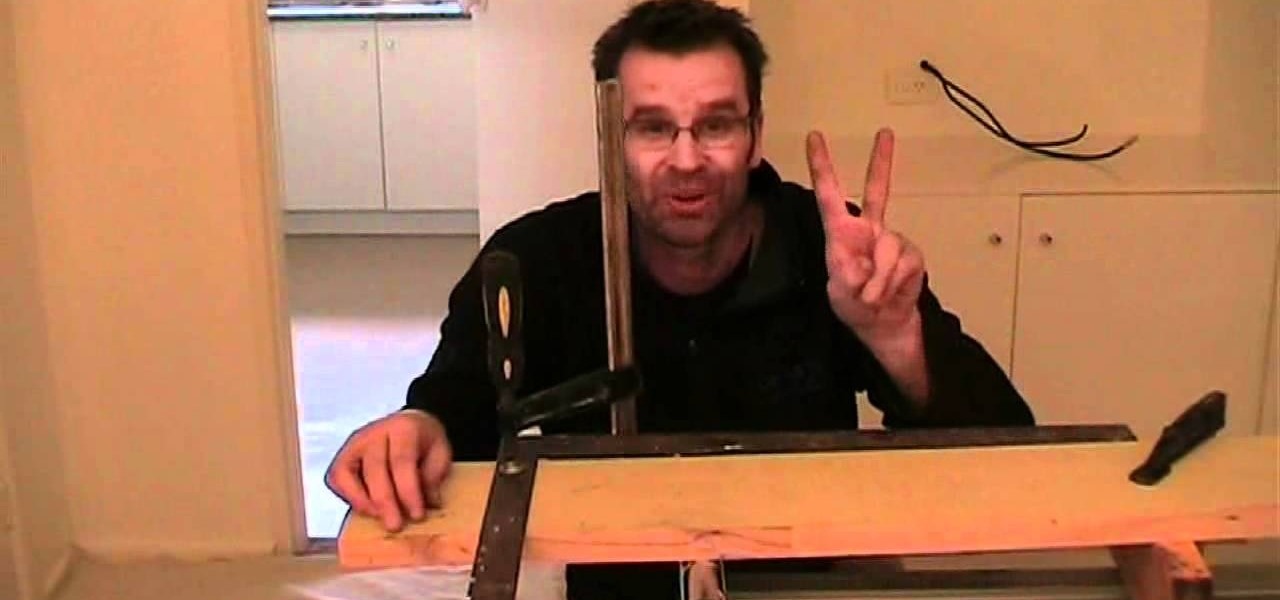
How to cut a straight line every time, like a pro, using a circular saw. Another renovating tip from Uncle Knackers.

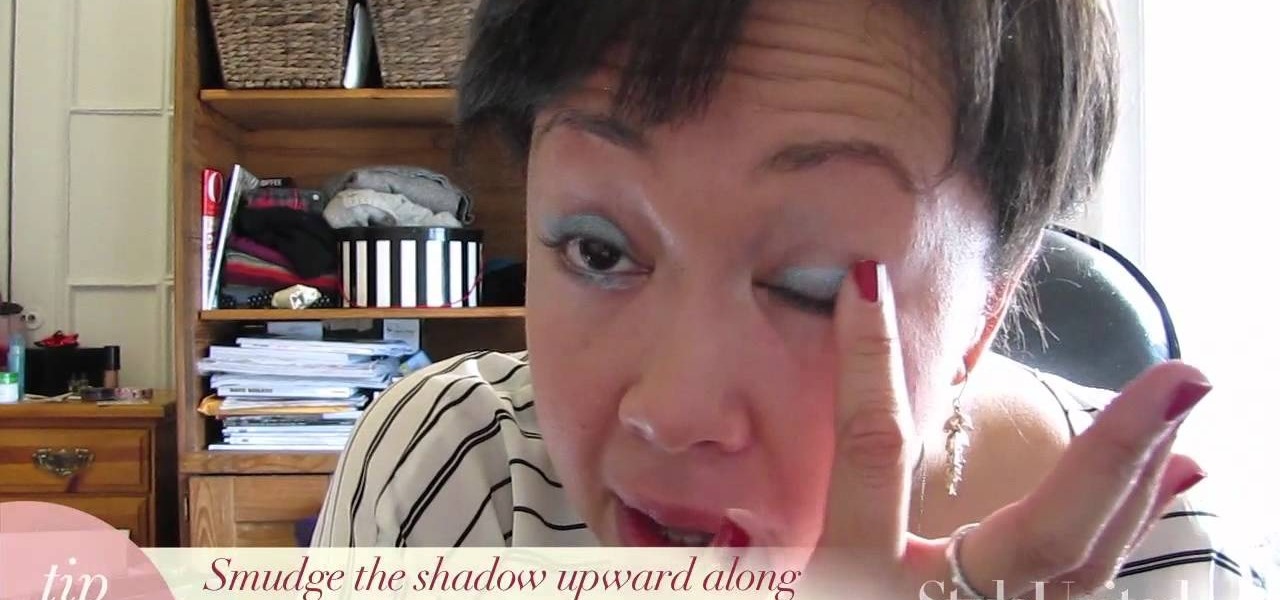
Don't be afraid of blue eyeshadow. You can rock blue shadow for a night out! Here is the latest runway look and how to get it.

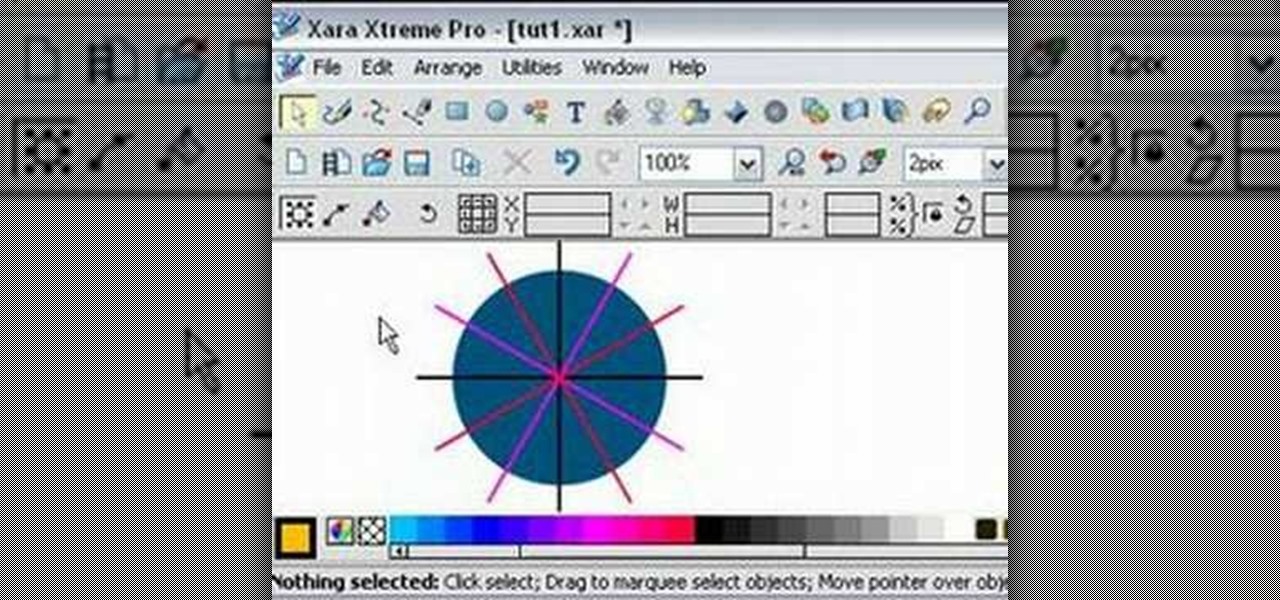
Learn how to split a circle into segments with Xara Xtreme. First select the shape editor tool. Drag the tool to the circle. The dialogue at the bottom communicates what steps to choose next. Holding the Ctrl key drag a straight line within the circle, click on the selector tool (yellow arrow on the left of the middle row) to enable the option of selecting. This saves 1 line on drawing layer 1 also and enables the marquee (flexible box) that you want to manipulate around the circle encasing t...

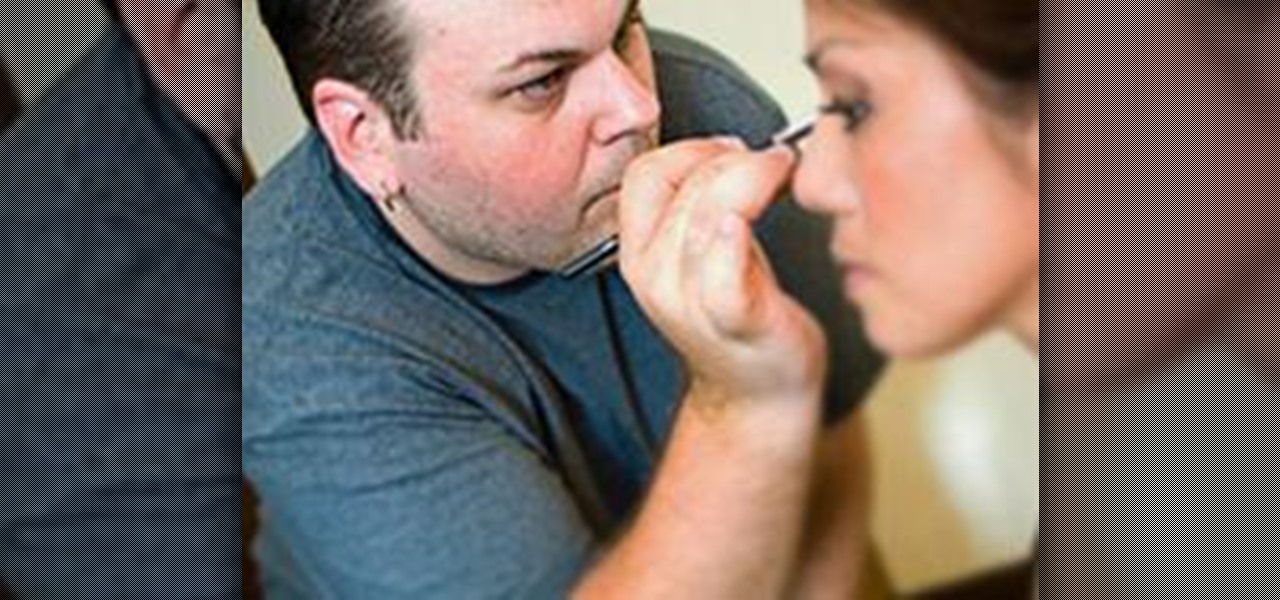
The smokey eye has become one of the most popular makeup looks in recent decades. Worn by celebrities and the casual consumer alike, it is not only popular but is also one of the hardest looks to recreate. A few months ago, I was aske to create a simple, easy to follow tutorial for creating the smoky eye effect for Sorme Cosmetics. Taking the classic smokey eye, which consists of three shades of shadow, pencil and liquid liners, and mascara, and developing a quicker method for achieving the s...

In this video from thedarkwanderer we learn how to footnote your references in a paper. For this you need a list of your references used. Place a superscript right after the last word that you want to acknowledge. Then place the note proper at the bottom of the same page. Put the footnote numeral slightly raised followed by the note proper. Make sure that the superscript number corresponds to the number of the footnote. Keep the footnotes flush with the paragraphs of your text. Footnotes comi...

The video begins with a finished fence being shown as an example of what your final product should look like. The first step is to lay out straight lines with string to create the outline of fence parameter. To set the first post you must dig a five inch hole in the ground which the post is placed in. The post will be set along the string line spaced out about four inches evenly along the parameter. the holes must be filled in with rock or cement to set them securely. You must then nail board...

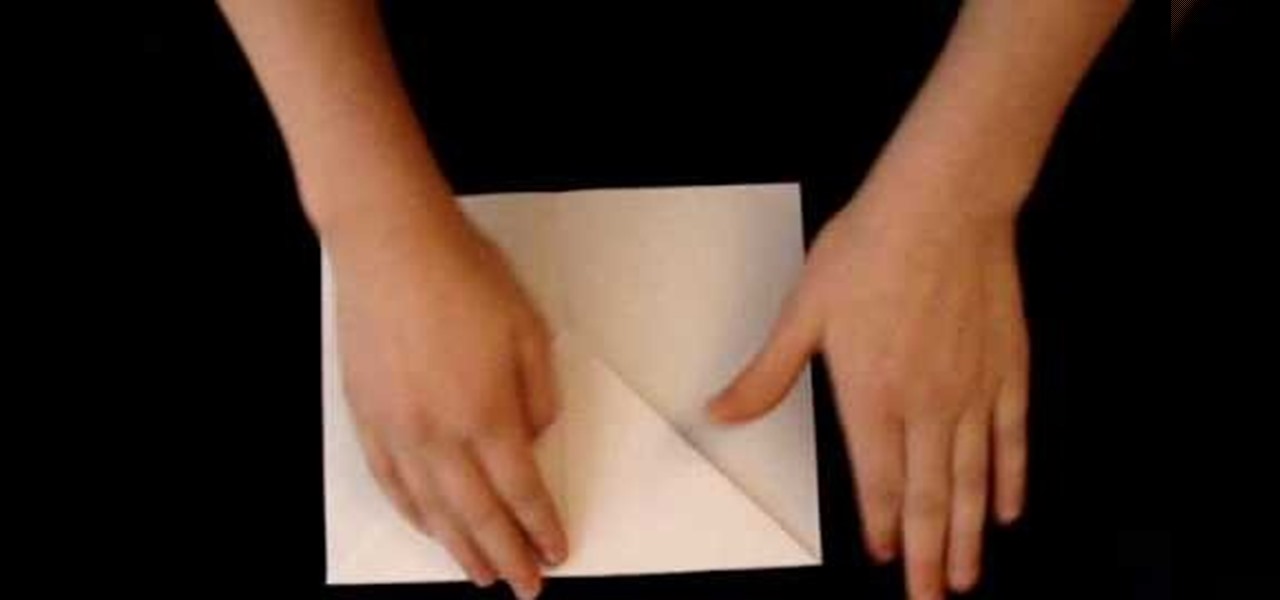
In this tutorial, we learn how to fold a basic paper airplane. First, fold the paper in half and make a crease. Next, unfold it and then line the corners with the middle line you just made on one side of the paper. From here, you will fold the paper down until you reach as long as the crease can go. Next, take the point on the side and fold it an inch over next to the point. Then, repeat this on the other side, touching the other point in the middle. Now, take the tip and fold it over. From h...

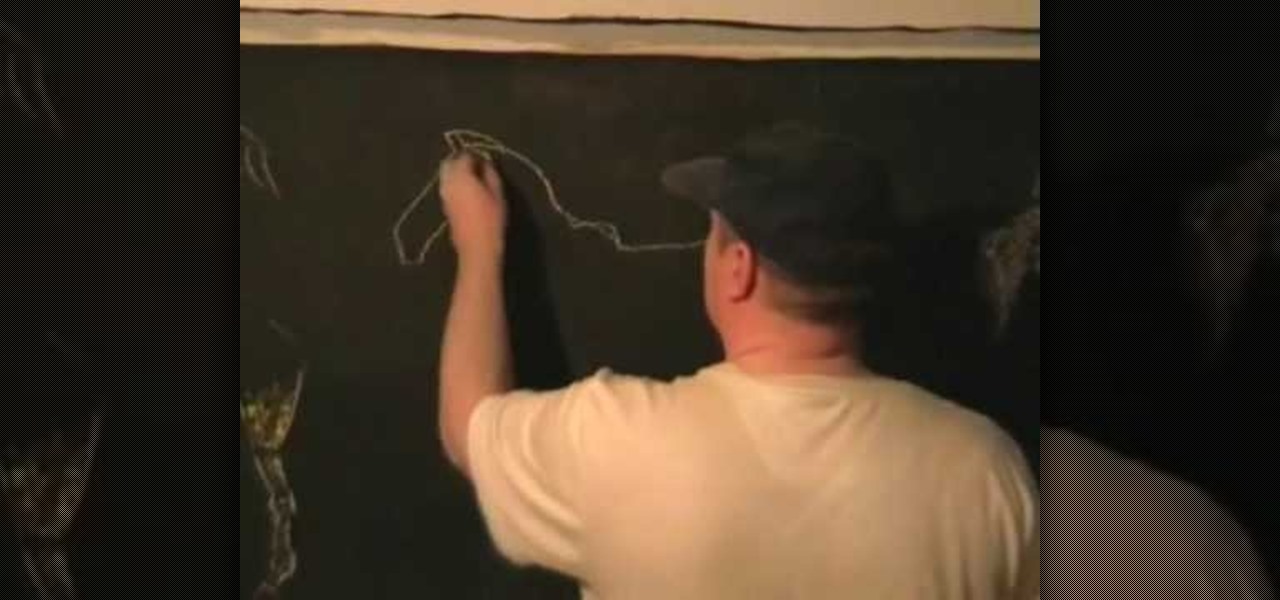
In this tutorial, we learn how to draw a horse step-by-step. First, you will want to draw the face of the horse. You can use intersecting lines in the face so you place the features of the face equally apart. After this, draw the outline for the body of the horse. Once you have this perfected, you can start to add in the hair for the horse. Next, draw in the details of the body and draw the shoes on the bottom of the horses feet. Draw in the tail, then add in shading and other lines to make i...

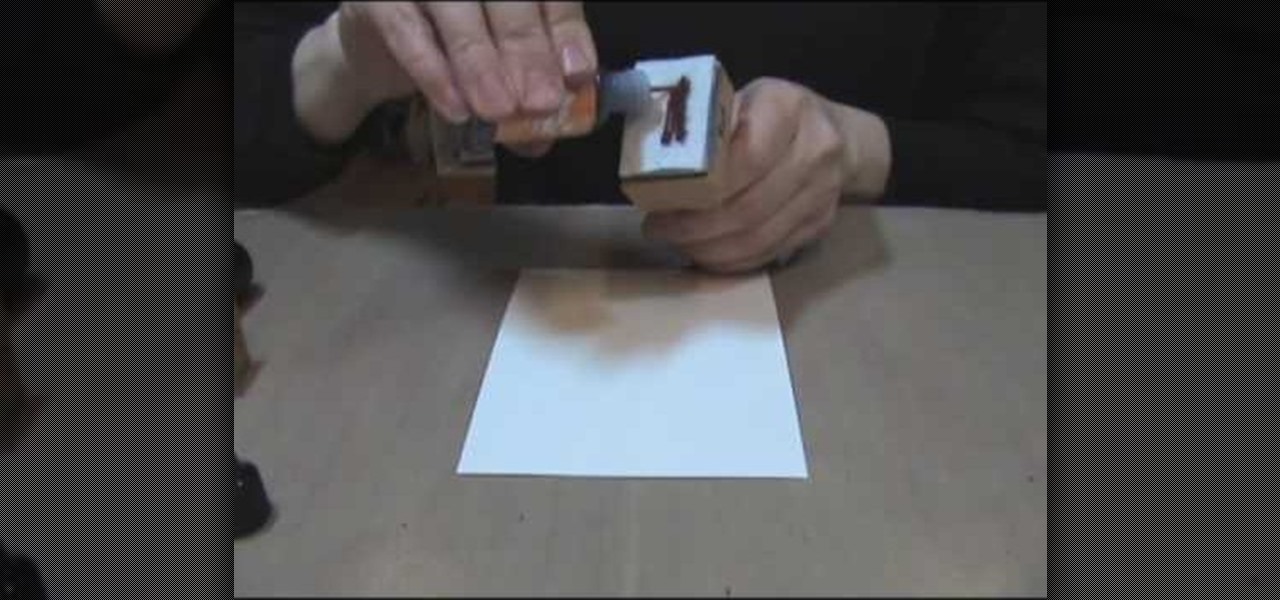
In this video, we learn how to make zebra and tiger prints with Ranger's alcohol inks. First, you will need some alcohol ink in black, gloss paper, a stamp, and felt. Now, take your felt and cut it into small strips. Make lines like a zebra or tiger would have. Next, push these strips onto the stamp bottom, arranging them to look like a zebra. After these are stuck on securely, trim off any edges and make some pointed. After this, you will squirt the black ink onto the bottom of the stamp on ...

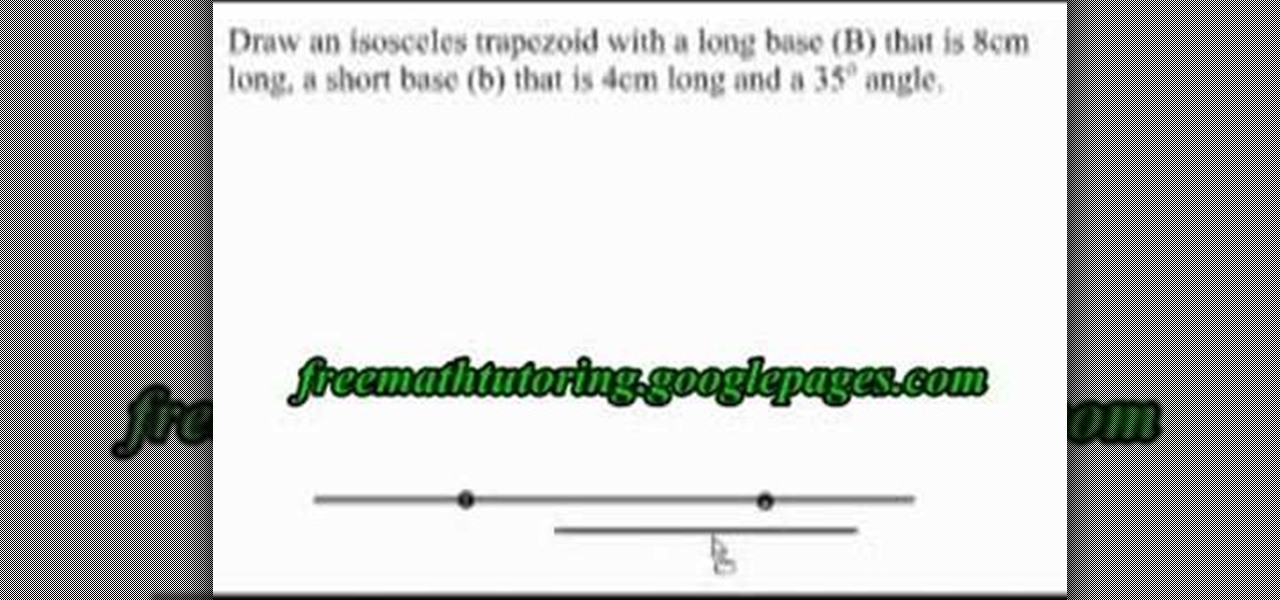
This is a video tutorial in the Education category where you are going to learn how to draw an isosceles trapezoid. This video demonstrates how to draw an isosceles trapezoid with a long base (B), a short base (b) and a 35 degree angle. First you draw the long base. Now center the short base at the center point of the long base and mark the end points of the short base with dots. Next draw perpendicular dotted lines from the dots extending upwards. Draw 35 degree angles from either end of the...

In this tutorial, we learn how to use the distance formula for two points. The distance formula is D= the square root of (X2-X1) squared, plus (Y2 minus Y1) squared. It may look confusing, but it's just a derivation of a theorem. First, find the two points that you have and graph them. If you want to know the distance between them, you cannot just count squares if it's a diagonal line. If you remember geometry, you can draw a right triangle over the line to figure out the distance. After this...

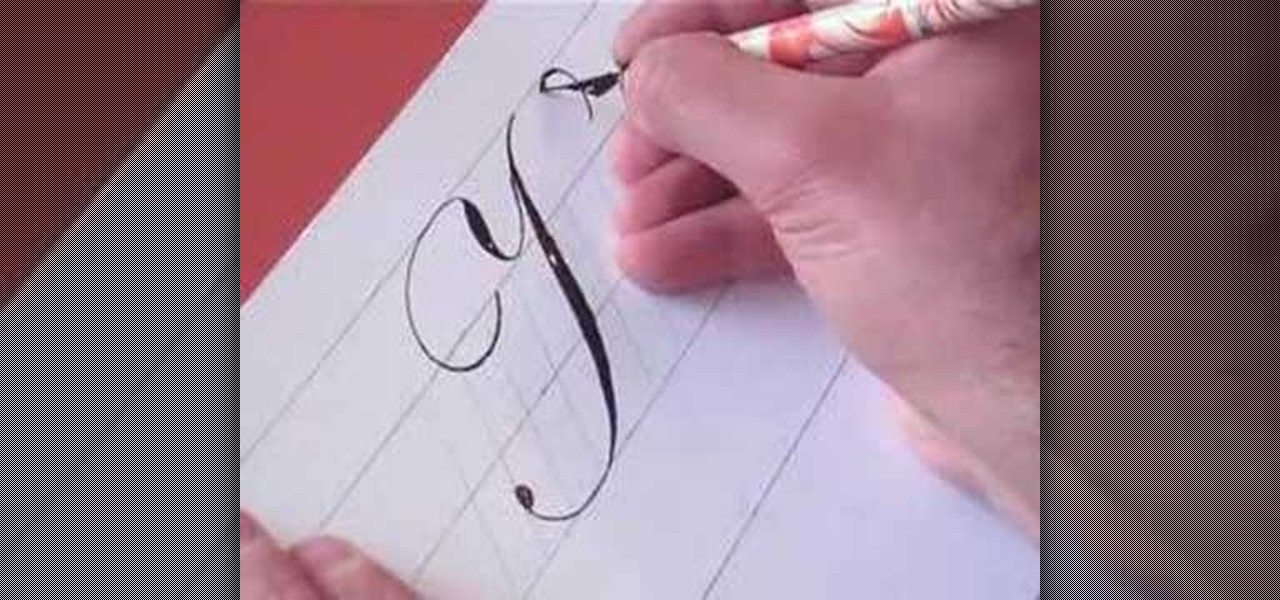
In this video, we learn how to write the letter K in calligraphy copperplate. Start by running your calligraphy pen on the paper going from a thin line to a thick, making a line curved to the left ending with a dot at the end of a small loop. Next, make a loop to drag out across the top on the right hand side and curve it down to make the K letter. Do the same to make the lower case letter, except making a loop for the top of the letter instead. When finished, let the ink dry and you've got y...

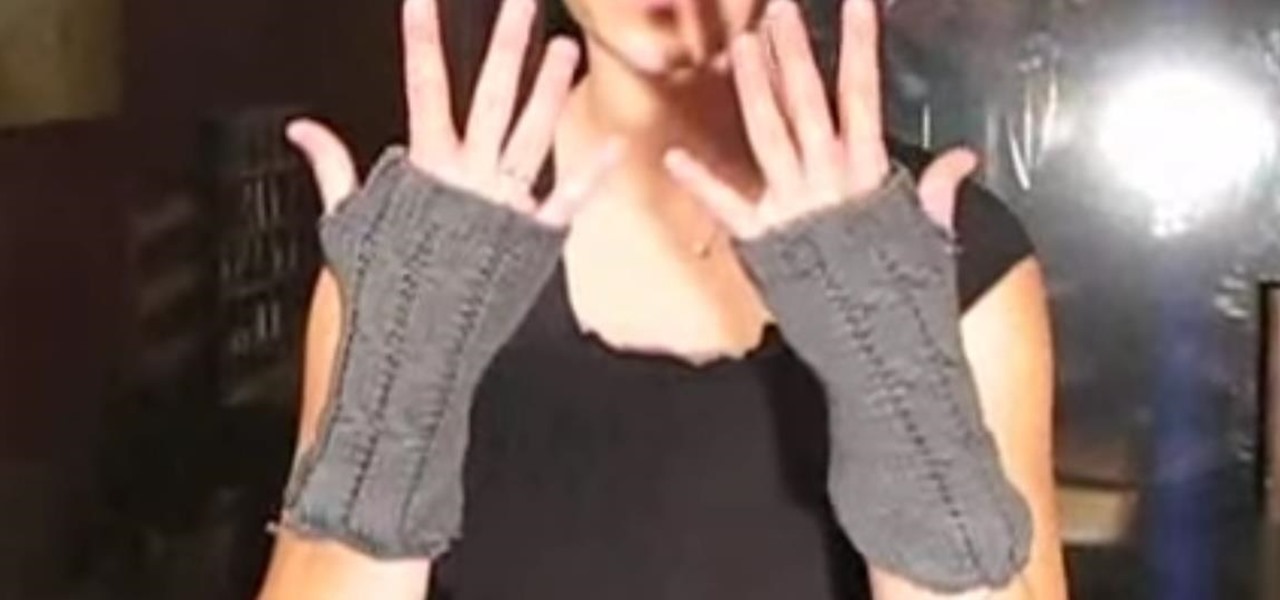
In this tutorial, we learn how to make hand warmers. You can make this out of pockets off of an old sweater. First, grab a piece of copy paper and measure over two inches, then fold it in half. After this, measure down 1.5" and then draw a line where this mark was. After this, cut the piece out and lay the paper on the sweater, then draw a line on the paper for the thumb holed. After you do this, you will cut out the area on the sweater, then sew it around on the sides. When you are done, you...

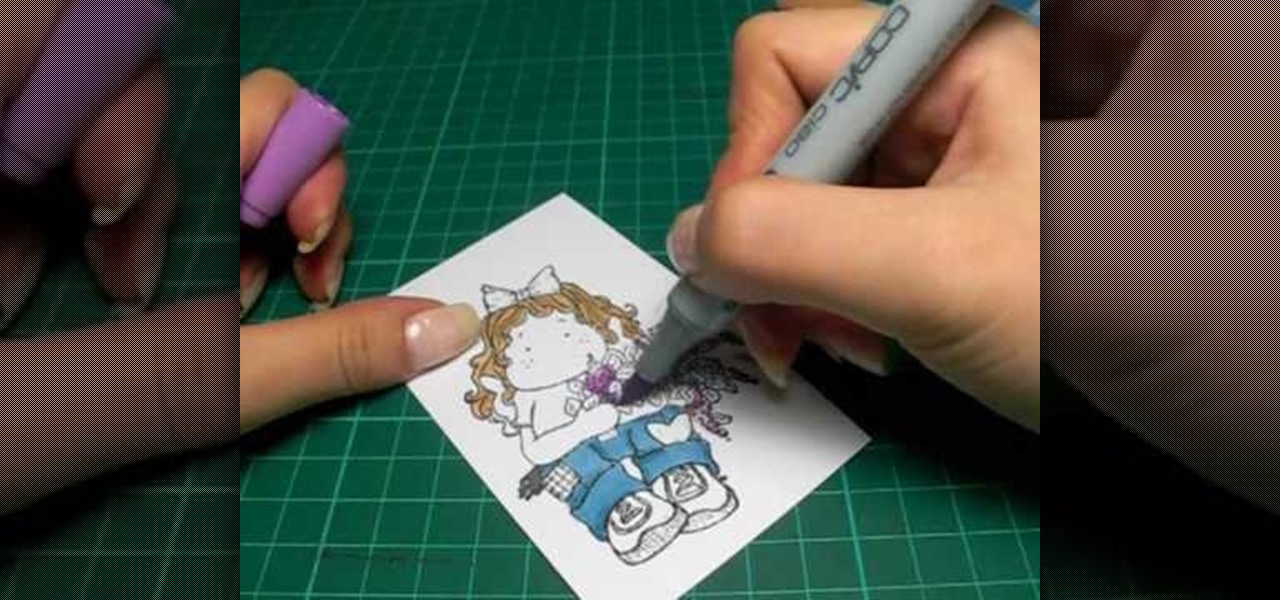
In this tutorial, we learn how to color with Copic pens. First, grab a picture that you want to color with your pens. After this, start to color in the picture with your different colored pens. After you fill in the colors, use a darker colored pen to add in shading and make the lines darker along the sides. Continue to color in your picture, adding shading where you prefer. Add in different colors and make the lines darker when you want them to look more bold. Make sure to add in highlights ...

In this Home & Garden video tutorial you will learn how to build your own windmill with household materials. Materials needed for the windmill are a template, scissors, straw, some yarn, some pennies, a paper cup, rubber bands, pencil, single hole punch, a skewer and thumb tacks. Take the template, cut it out along the solid lines and punch holes on the corners as shown in the video. Now with a thumbtack and a pencil make a nice hole at the center of the template. Fold the template along the ...

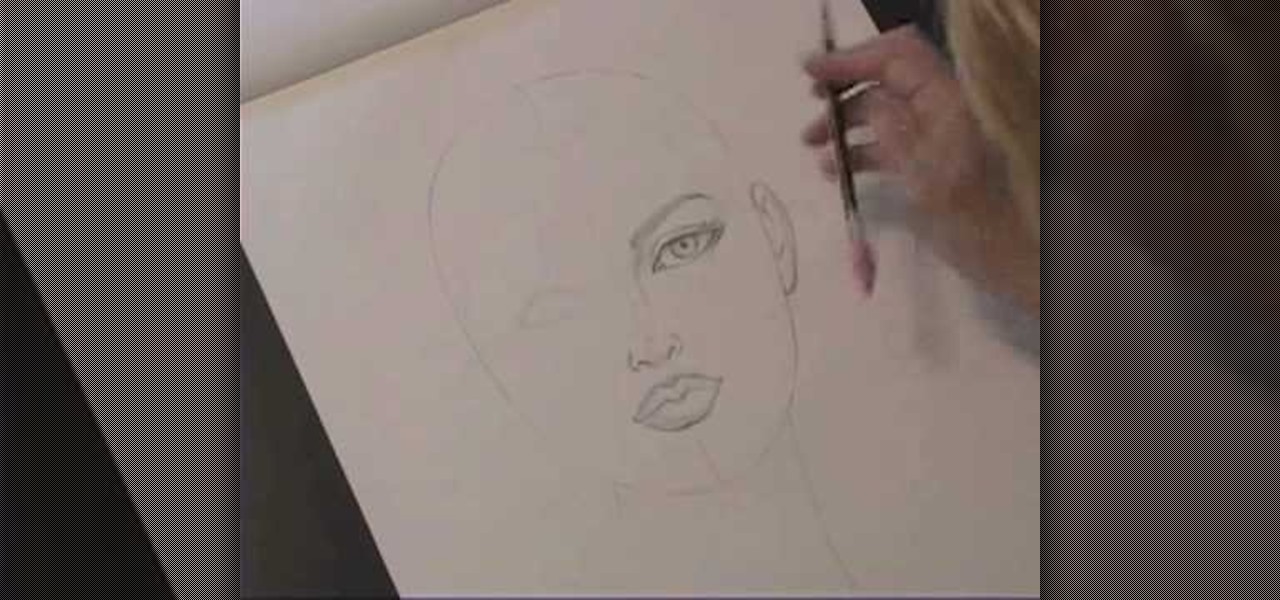
Kathryn Hagen teaches us how to draw female heads in this tutorial. Start with an oval and dissect it horizontally and vertically. Draw in the hairline, as well as the eyes, nose, and mouth. You can measure out where everything should go by using the lines as a reference point. Add details into the eye, then continue on to add more details to the nose, showing the nostrils. Draw more details on the mouth, then define the center of the lip and shape. Draw on the ears, and add a line where the ...


