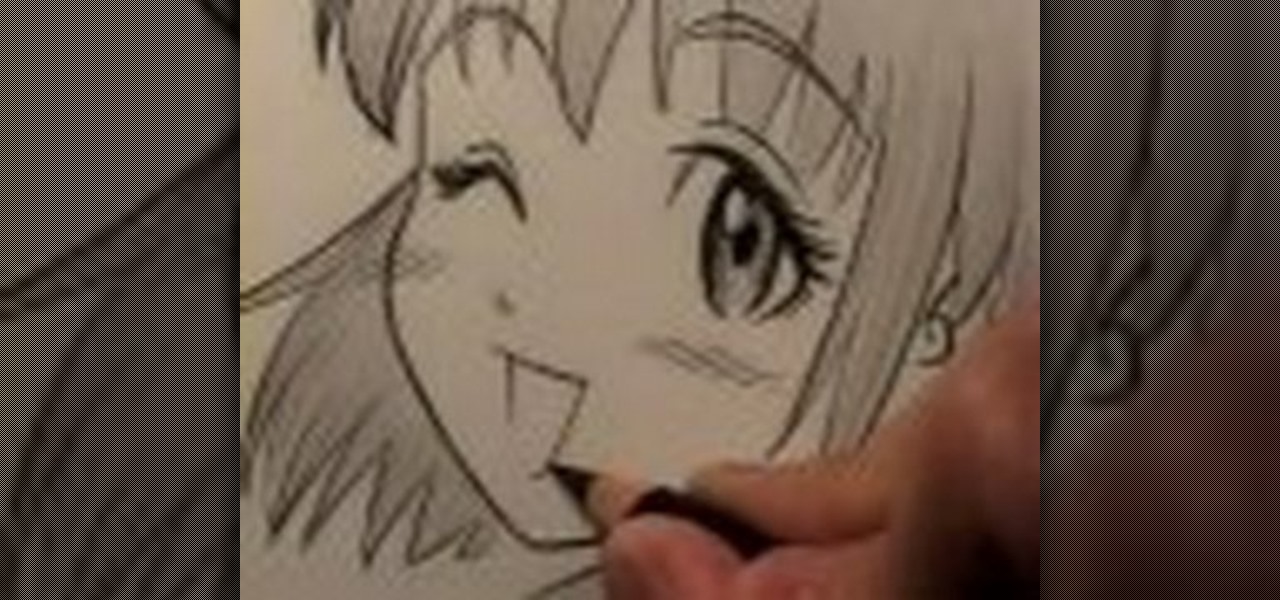
Characters in Japanese manga tend to have very expressive mouths, ranging from a smirky little line on one page to a giant "O" mouth on the next page. In this video, "Miki Falls" manga creator Mark Crilley shows how to draw mouths the manga way. And we won't just learn to draw one sort of mouth, we'll learn four different styles.
We know what you're thinking: You have two left hands and even cutting in a straight line is a monumental feat. But trust us, even butterfingers can cut their bangs professionally. In fact, if you tend to cut slightly slanted or jaggedy then your bangs will look even better!
The United Spinal Association presents this instructional video on how to play wheelchair softball. This is live from Shea Stadium in New York. This is an adapted sport for with adaptations for 16 slow pitch softball. Classification is similar to wheelchair basketball. One quadrapelegic must be in the line up at all times. You usually play in a vacant parking lot.
This square dance video teaches the following square dance calls on the mainstream list: Spin the Top, Alamo Style Wave, Wave Balance, Circulates (Column, Box, Split, 1 1/2), Chain Down the Line, Sweep a Quarter
This square dance video teaches the following square dance calls on the mainstream list: Cross Run, Left Swing Thru, Single Hinge, Separate, Trade By, Wheel & Deal (Lines of 4).
This square dance video teaches the following square dance calls on the mainstream list: Veer Left/Right, Wheel & Deal (Two Faced Line), Ladies/Gents Promenade.

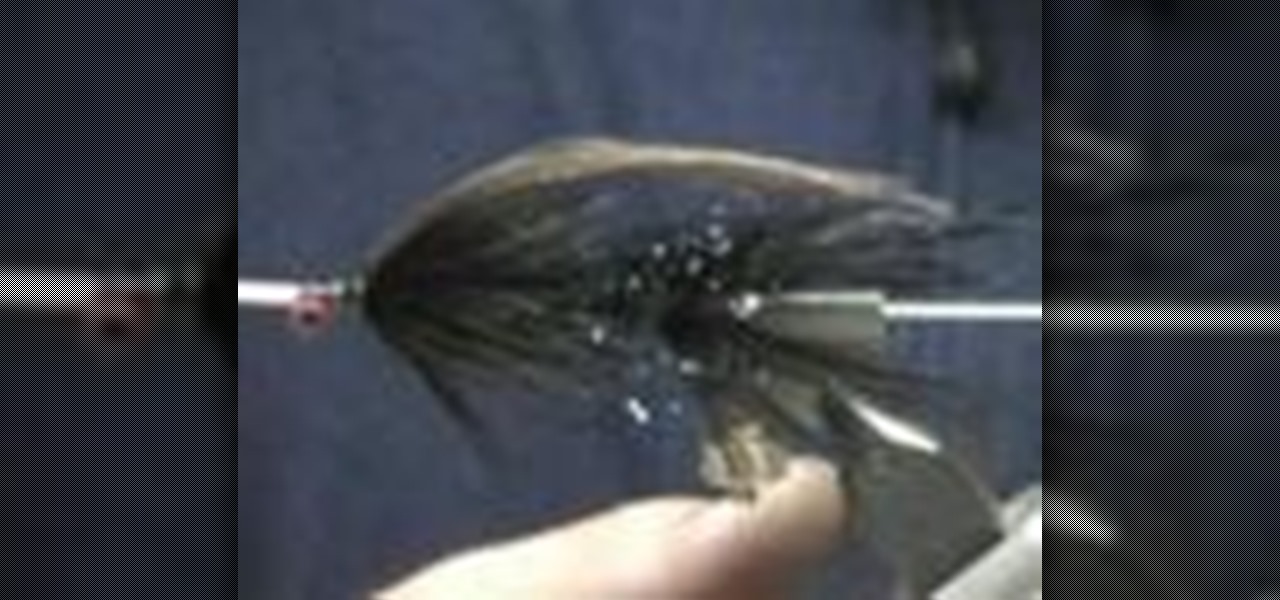
This is a step by step video on tying a variation of Ed Ward's Steelhead Intruder. The guys at Tight Lines fish this fly with great success all fall and winter. Excellent fly for migratory Steelhead and Browns on the Great Lakes Tributaries.

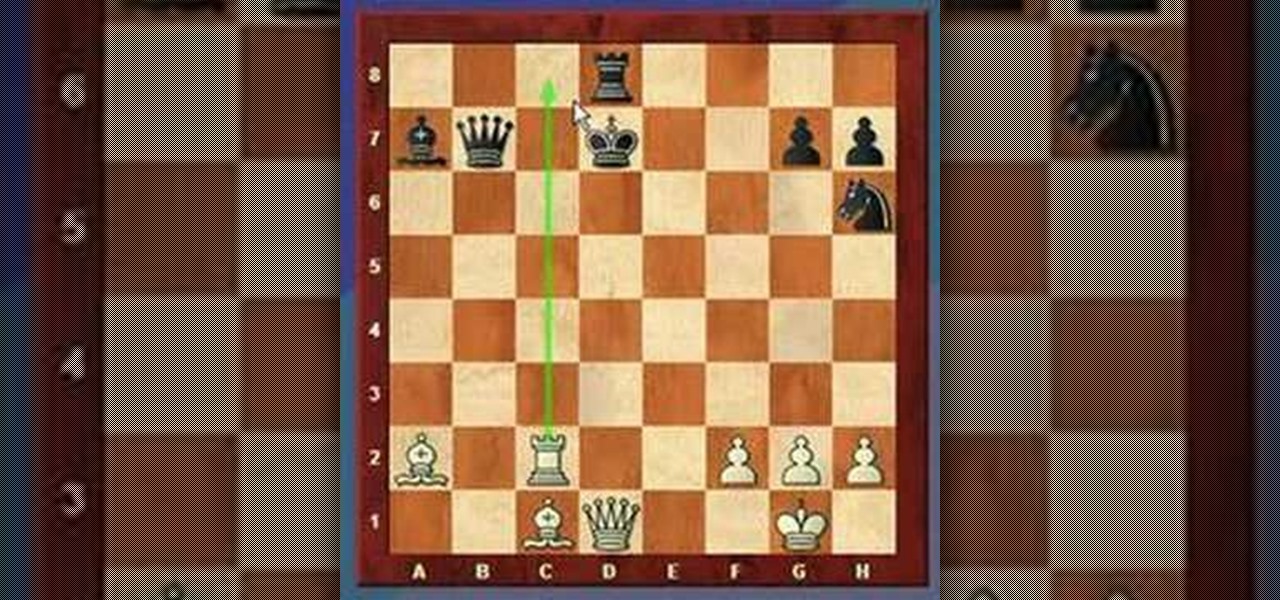
Need some more chess tactics for your arsenal? Well, why not try out this "skewer" tactic from this video lecture. A skewer is an attack on two pieces on the same line. The opponent moves the more valuable piece exposing an attack on the second piece. The skewer is a reverse cousin to the "pin."

Make a luxury brass case for an MP3 player. When a design is made, draw it on a section paper. Stick the paper on a brass plate with glue, and cut the brass plate along the line on the paper with a jigsaw.

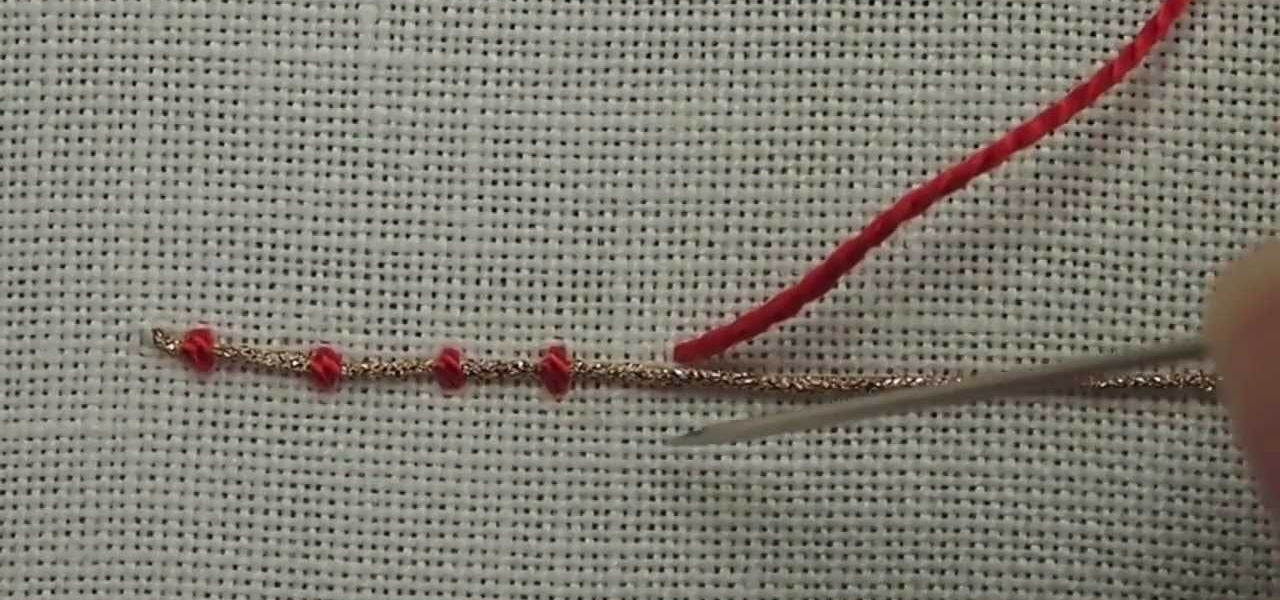
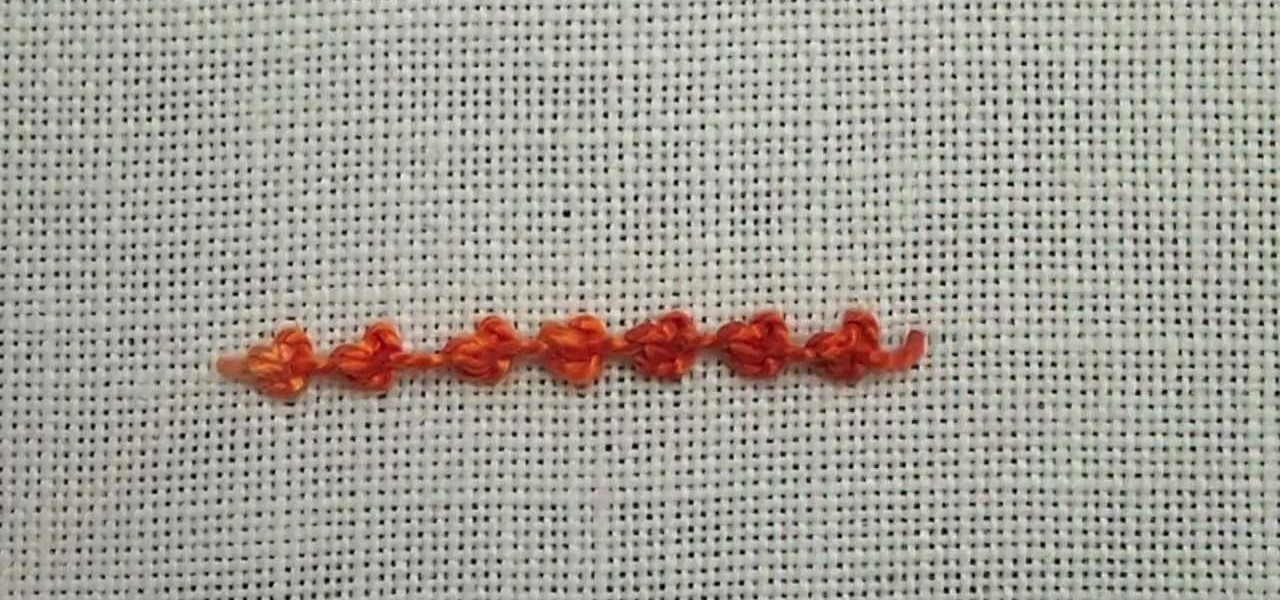
Couching is another easy embroidery stitch in hand embroidery, and a great way to create decorative line stitches that scroll and twirl about. It's also widely used for filling areas, and historically was used to great effect during the Middle Ages and Renaissance in a technique called Or Nue. Here's a video from Needle 'n Thread that demonstrates couching a single thread for an outline.

Here's another video tutorial from Needle 'n Thread for hand embroidery stitches - this one is for the Palestrina stitch. Palestrina stitch is used for outlining or filling and is common in both Jacobean designs as well as in Mountmellick embroidery, the latter because it gives a highly textured line or fill area.

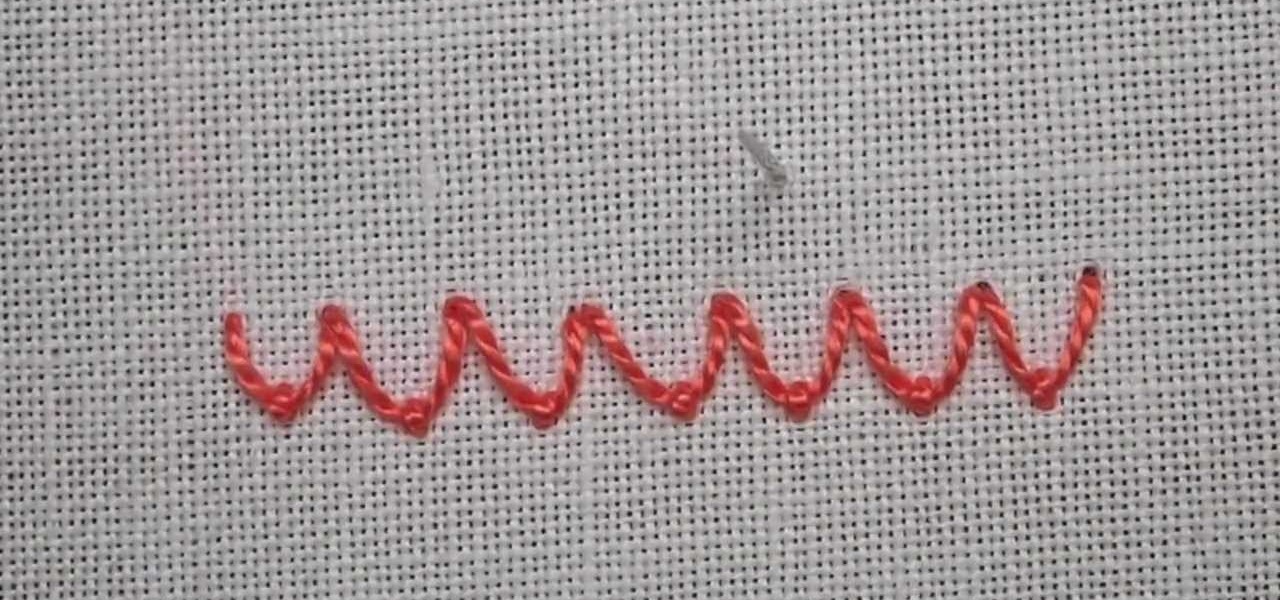
The fly stitch is another basic embroidery stitch used for straight and curved lines, seam embellishments in crazy quilting, and general surface embroidery techniques. The fly stitch can be worked horizontally and vertically. In this video, it is worked horizontally. Watch this video from Needle 'n Thread to see how it's done.

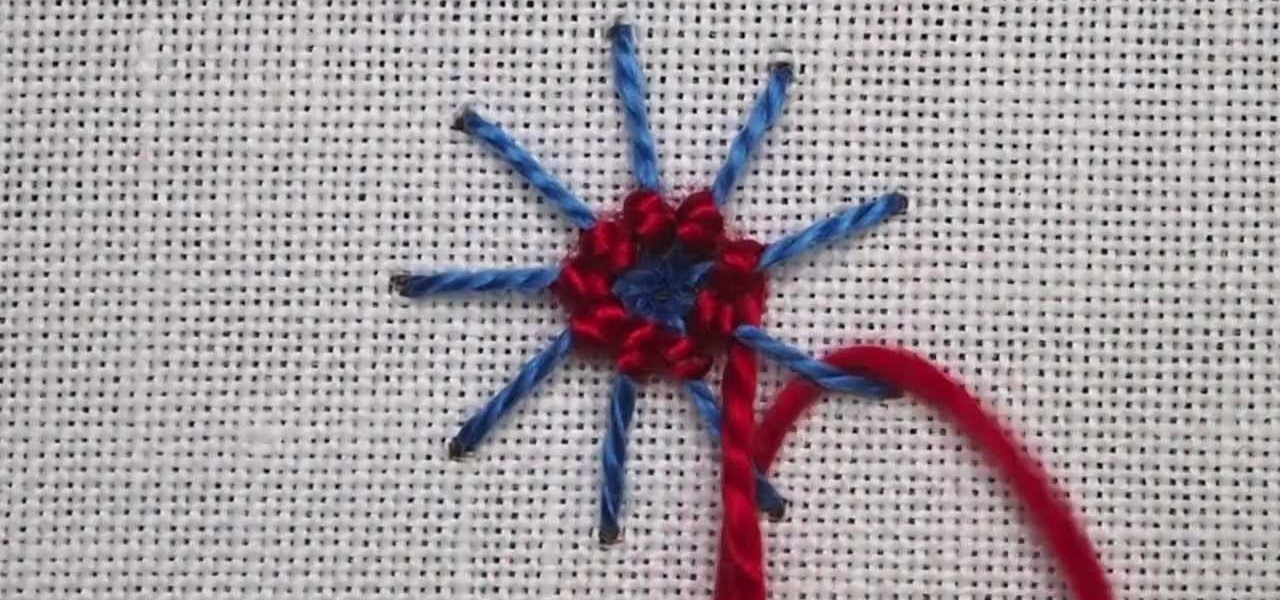
The spider web stitch and the ribbed spider web stitch are both "woven" embroidery stitches, either used as isolated accents or used in clusters. They aren't a line stitch or a filling stitch, and they aren't really a "small" detached stitch that can speckle a background lightly, either. Watch this video from Needle 'n Thread to see how it's done.

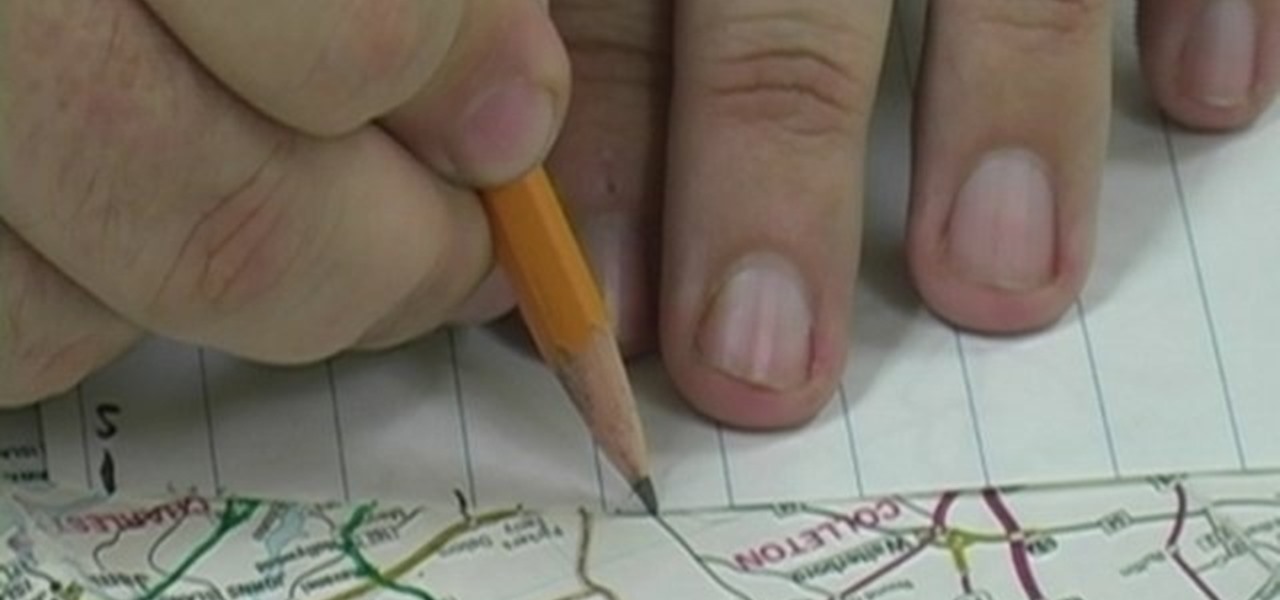
Check out this video to learn how to turn a squiggly line on a map into a straight distance that is easy to measure. This is an excellent video to help you improve your map skills.

For making videos at home, a teleprompter would greatly reduce the amount of memorizing lines, cutting and editing. Put together this easy teleprompter and start your own show today.

Start with clean nails. See How to Give Yourself a Manicure.

Our mission for this week's Community Byte was to create a Python program to crack web-based passwords, like the ones you would see on an email or router login. I wanted it to be universal in the sense that it could be easily modified and adapted to another website just by changing a few variables. That was a success! Even though people weren't on time to the coding session, everything went well.

Children think that a line is a line. Usually a straight line. This video shows children that there are different types of lines. Show your child different types of lines.

In this video from thedarkwanderer we learn how to footnote your references in a paper. For this you need a list of your references used. Place a superscript right after the last word that you want to acknowledge. Then place the note proper at the bottom of the same page. Put the footnote numeral slightly raised followed by the note proper. Make sure that the superscript number corresponds to the number of the footnote. Keep the footnotes flush with the paragraphs of your text. Footnotes comi...

The video begins with a finished fence being shown as an example of what your final product should look like. The first step is to lay out straight lines with string to create the outline of fence parameter. To set the first post you must dig a five inch hole in the ground which the post is placed in. The post will be set along the string line spaced out about four inches evenly along the parameter. the holes must be filled in with rock or cement to set them securely. You must then nail board...

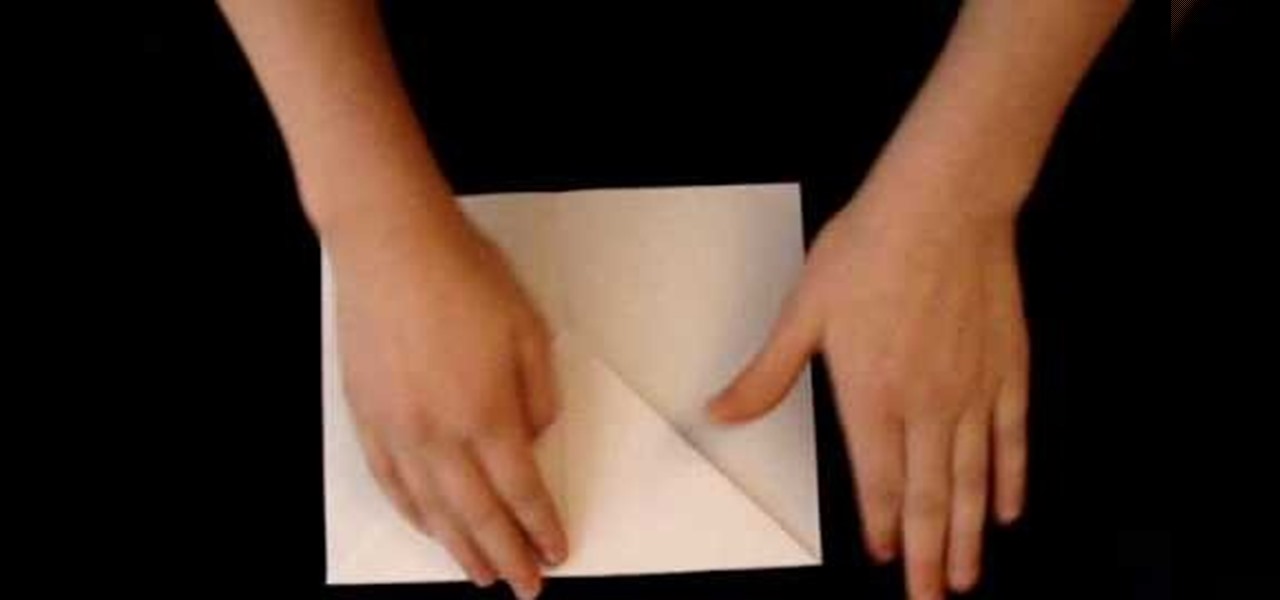
In this tutorial, we learn how to fold a basic paper airplane. First, fold the paper in half and make a crease. Next, unfold it and then line the corners with the middle line you just made on one side of the paper. From here, you will fold the paper down until you reach as long as the crease can go. Next, take the point on the side and fold it an inch over next to the point. Then, repeat this on the other side, touching the other point in the middle. Now, take the tip and fold it over. From h...

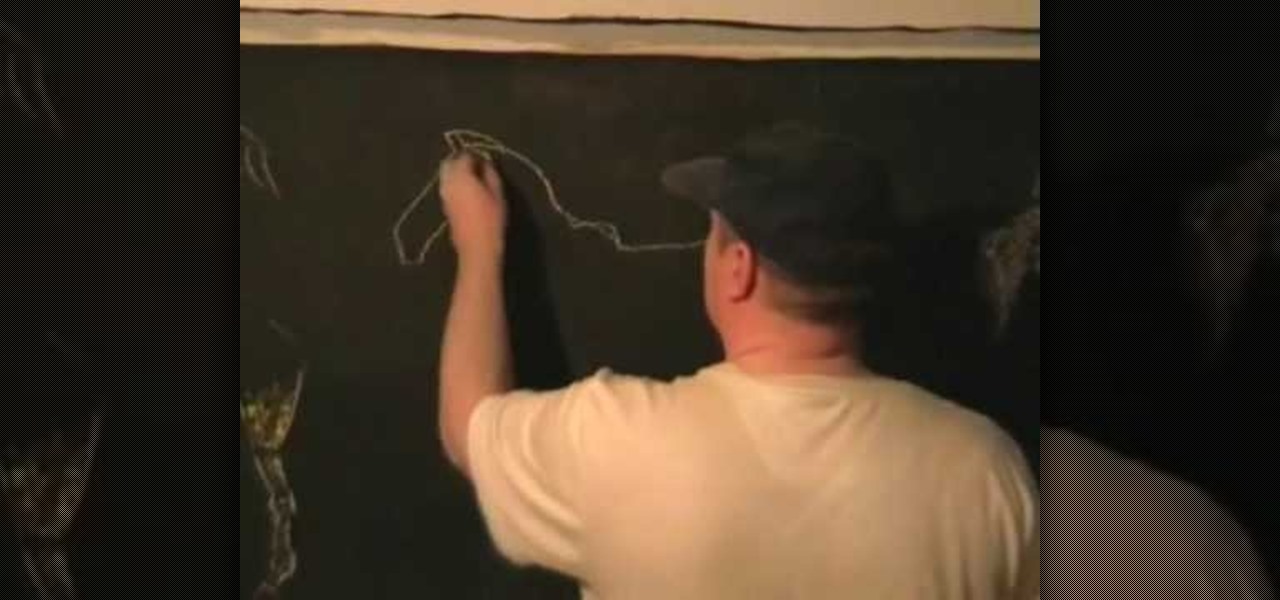
In this tutorial, we learn how to draw a horse step-by-step. First, you will want to draw the face of the horse. You can use intersecting lines in the face so you place the features of the face equally apart. After this, draw the outline for the body of the horse. Once you have this perfected, you can start to add in the hair for the horse. Next, draw in the details of the body and draw the shoes on the bottom of the horses feet. Draw in the tail, then add in shading and other lines to make i...

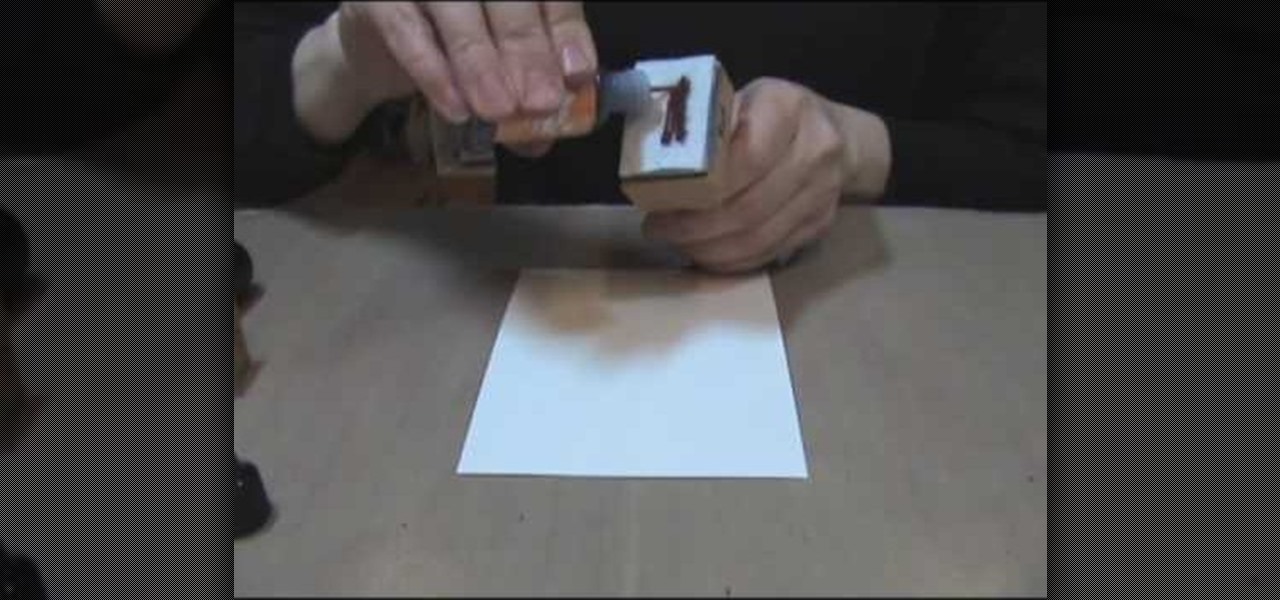
In this video, we learn how to make zebra and tiger prints with Ranger's alcohol inks. First, you will need some alcohol ink in black, gloss paper, a stamp, and felt. Now, take your felt and cut it into small strips. Make lines like a zebra or tiger would have. Next, push these strips onto the stamp bottom, arranging them to look like a zebra. After these are stuck on securely, trim off any edges and make some pointed. After this, you will squirt the black ink onto the bottom of the stamp on ...

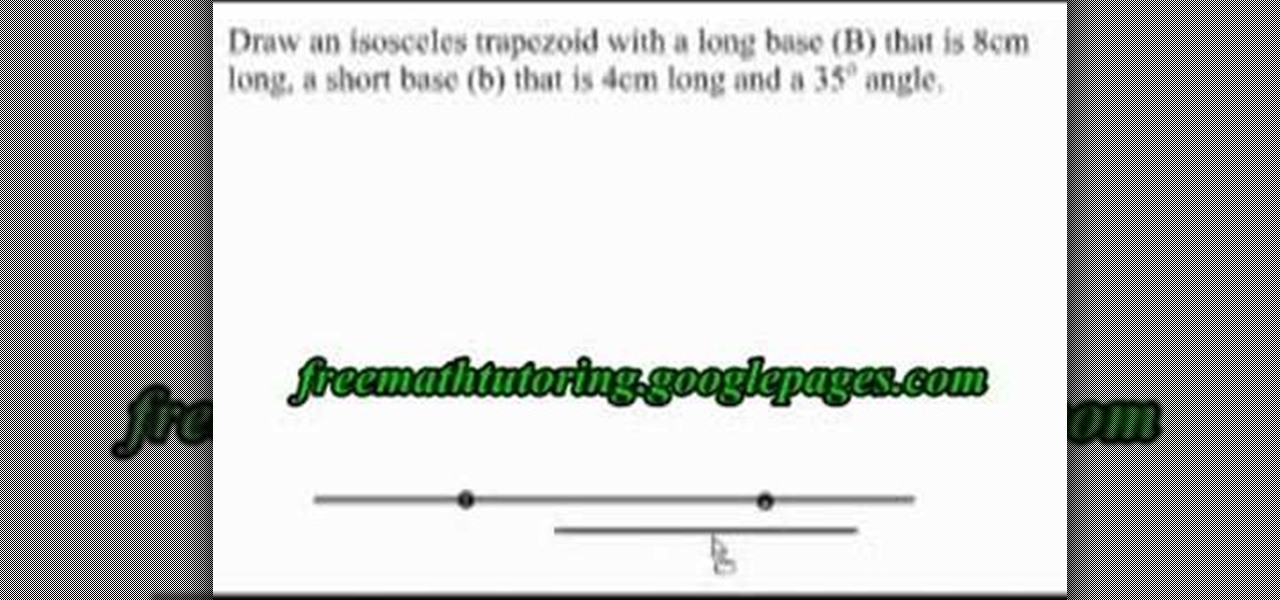
This is a video tutorial in the Education category where you are going to learn how to draw an isosceles trapezoid. This video demonstrates how to draw an isosceles trapezoid with a long base (B), a short base (b) and a 35 degree angle. First you draw the long base. Now center the short base at the center point of the long base and mark the end points of the short base with dots. Next draw perpendicular dotted lines from the dots extending upwards. Draw 35 degree angles from either end of the...

In this tutorial, we learn how to use the distance formula for two points. The distance formula is D= the square root of (X2-X1) squared, plus (Y2 minus Y1) squared. It may look confusing, but it's just a derivation of a theorem. First, find the two points that you have and graph them. If you want to know the distance between them, you cannot just count squares if it's a diagonal line. If you remember geometry, you can draw a right triangle over the line to figure out the distance. After this...

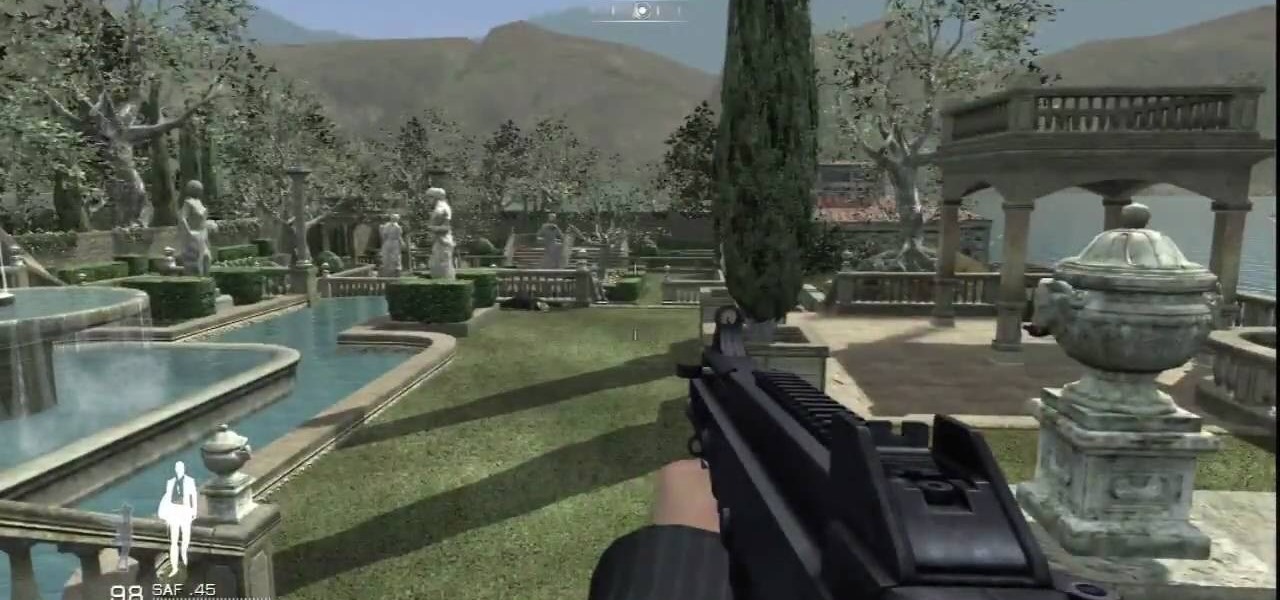
If you liked Daniel Craig as the new James Bond, then you'll love this video game for the Bond franchise. It's called 007: Quantum of Solace, but isn't just based off the movie "Quantum of Solace," it also mixes in the previous film, "Casino Royale." It's a first-person shooter that's full of action packed scenarios.

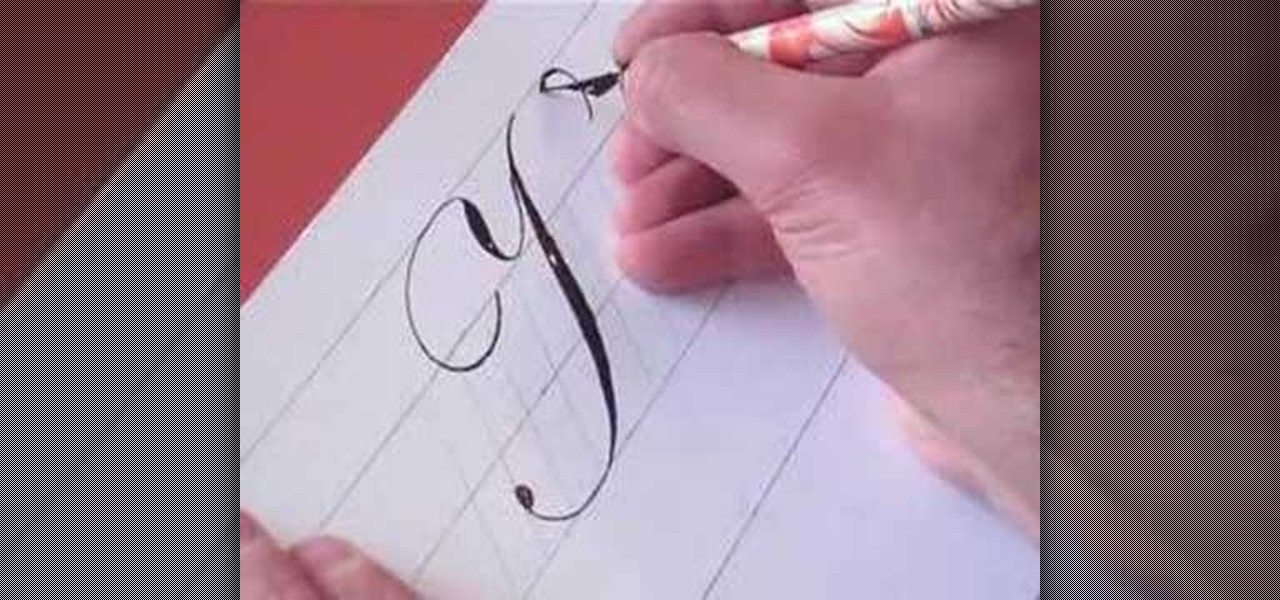
In this video, we learn how to write the letter K in calligraphy copperplate. Start by running your calligraphy pen on the paper going from a thin line to a thick, making a line curved to the left ending with a dot at the end of a small loop. Next, make a loop to drag out across the top on the right hand side and curve it down to make the K letter. Do the same to make the lower case letter, except making a loop for the top of the letter instead. When finished, let the ink dry and you've got y...

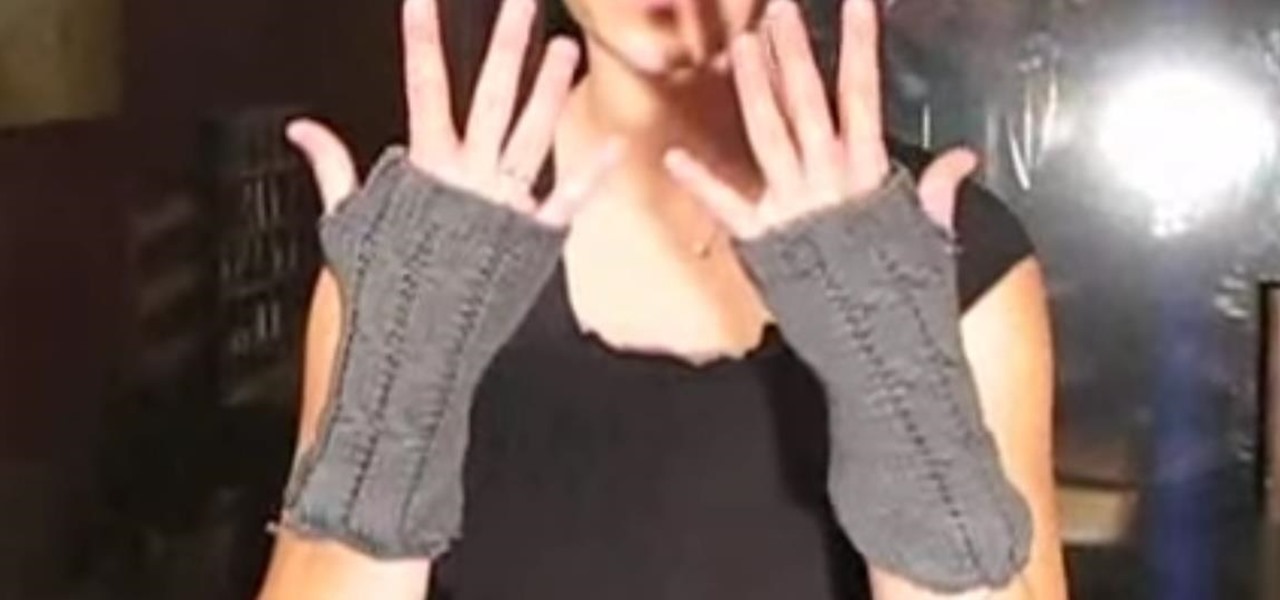
In this tutorial, we learn how to make hand warmers. You can make this out of pockets off of an old sweater. First, grab a piece of copy paper and measure over two inches, then fold it in half. After this, measure down 1.5" and then draw a line where this mark was. After this, cut the piece out and lay the paper on the sweater, then draw a line on the paper for the thumb holed. After you do this, you will cut out the area on the sweater, then sew it around on the sides. When you are done, you...

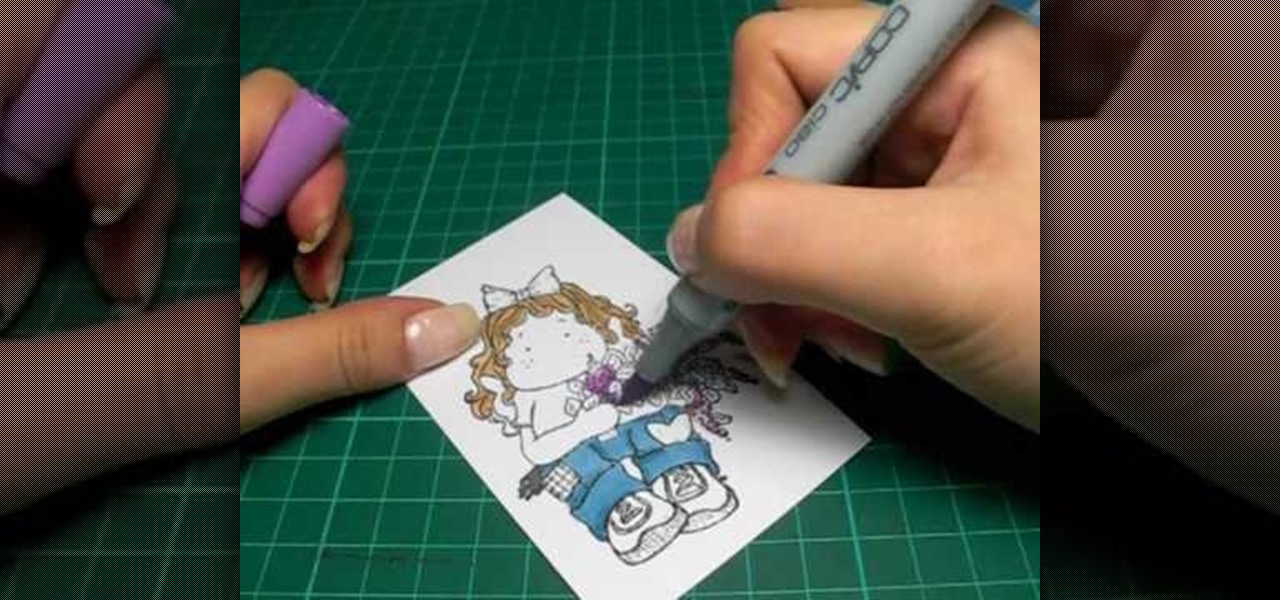
In this tutorial, we learn how to color with Copic pens. First, grab a picture that you want to color with your pens. After this, start to color in the picture with your different colored pens. After you fill in the colors, use a darker colored pen to add in shading and make the lines darker along the sides. Continue to color in your picture, adding shading where you prefer. Add in different colors and make the lines darker when you want them to look more bold. Make sure to add in highlights ...

In this Home & Garden video tutorial you will learn how to build your own windmill with household materials. Materials needed for the windmill are a template, scissors, straw, some yarn, some pennies, a paper cup, rubber bands, pencil, single hole punch, a skewer and thumb tacks. Take the template, cut it out along the solid lines and punch holes on the corners as shown in the video. Now with a thumbtack and a pencil make a nice hole at the center of the template. Fold the template along the ...

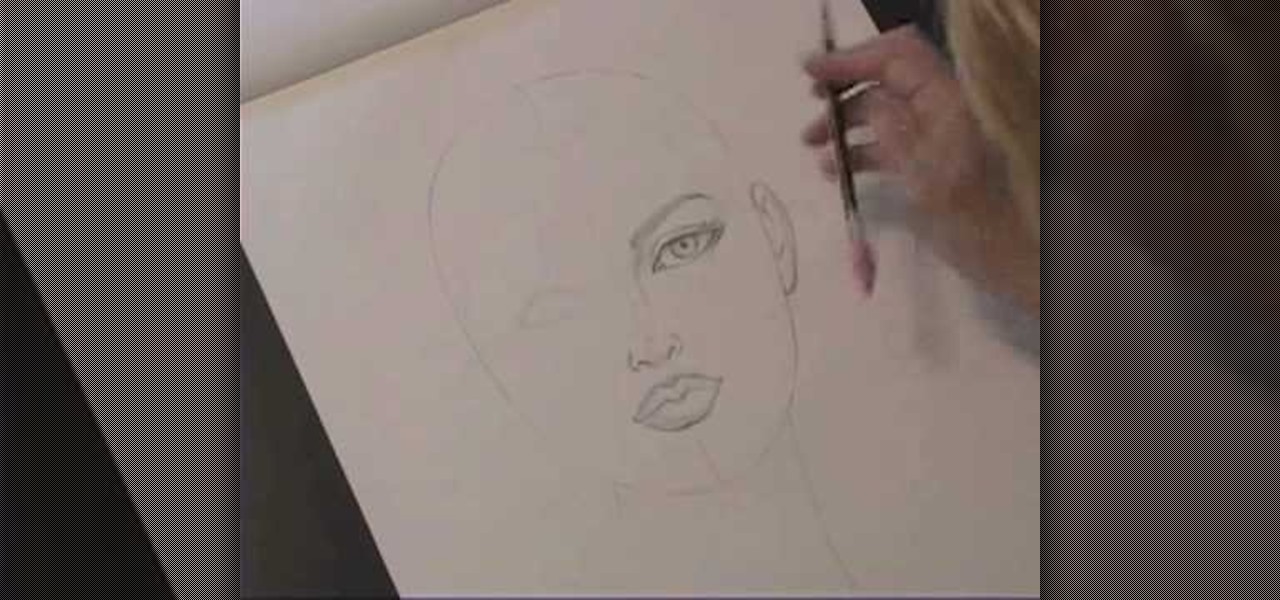
Kathryn Hagen teaches us how to draw female heads in this tutorial. Start with an oval and dissect it horizontally and vertically. Draw in the hairline, as well as the eyes, nose, and mouth. You can measure out where everything should go by using the lines as a reference point. Add details into the eye, then continue on to add more details to the nose, showing the nostrils. Draw more details on the mouth, then define the center of the lip and shape. Draw on the ears, and add a line where the ...

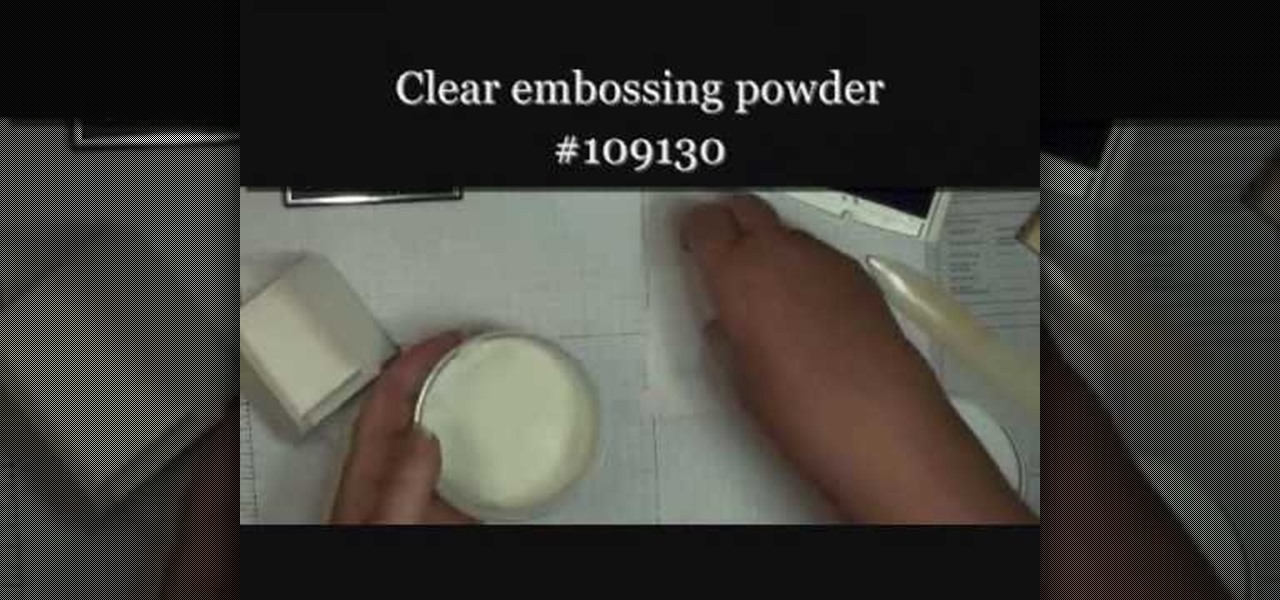
In this tutorial, we learn how to make a small folding box for Easter. First, cut a shimmery white piece of card stock to 6" x 8 1/4". After this, score the paper at 2 and 3/8". Then score again at 2 and 7/8", flip it over and do again on the other side. After this, cut the four corners with score lines off, then fold the score lines that are left. Now, grab an Easter stamp and stamp the inside of the box underneath the top flap. Place a candy inside of the box, then fold it up and place an E...

In this tutorial, we learn how to draw blood from an arterial line. First, you will need a catheter, tubing, regular iv tubing, 10 cc syringe, transducer, fluid bag, and iv saline bag. First, waste a couple ml's of blood by turning the stock cock off to the system and draw back a couple liters of blood. After this, turn the stock cock off the syringe and take out the syringe, then add a new one. Now, take your sample of blood and draw out 5 ml of new blood. Take out the syringe, then cap it a...

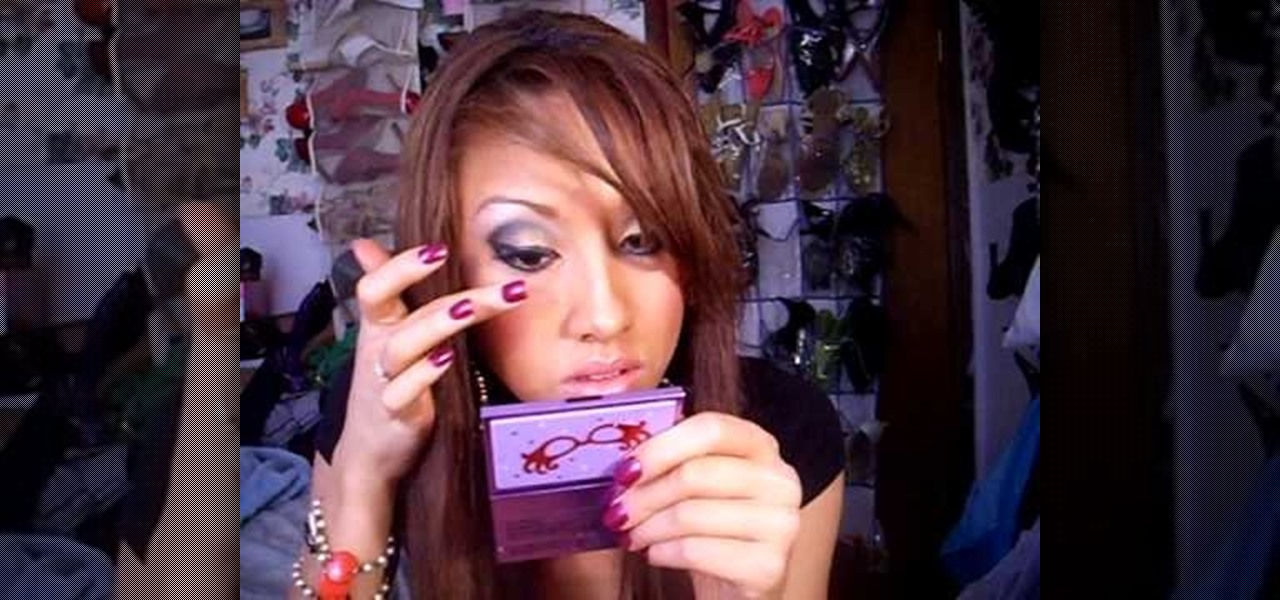
In this video, we learn how to create a gold and dark blue eyeshadow look. To start off, apply a primer to the top of the eyelid. Next, apply a gold eyeshadow to the entire eyelid, adding more on the crease of the eye going down to the bottom line. Next, brush a dark blue eyeshadow along the crease of the eye onto the outer edge of the eye. After this, apply a black eyeshadow to the outer edge of the eye and then blend the colors together. Next, draw black eyeshadow onto the bottom of the eye...

In this video tutorial, viewers learn how to align and group objects, and use gridlines. Begin by clicking the Insert tab and select a shape from Shapes. To align the object, go to the Format tab and select the Align menu. From there, users are able to align the selected object in any direction. In the Align menu, users are also able to add gridlines by selecting View Gridlines. To configure the grid-line options, click on gridlines Settings. This video will benefit those viewers who use Micr...

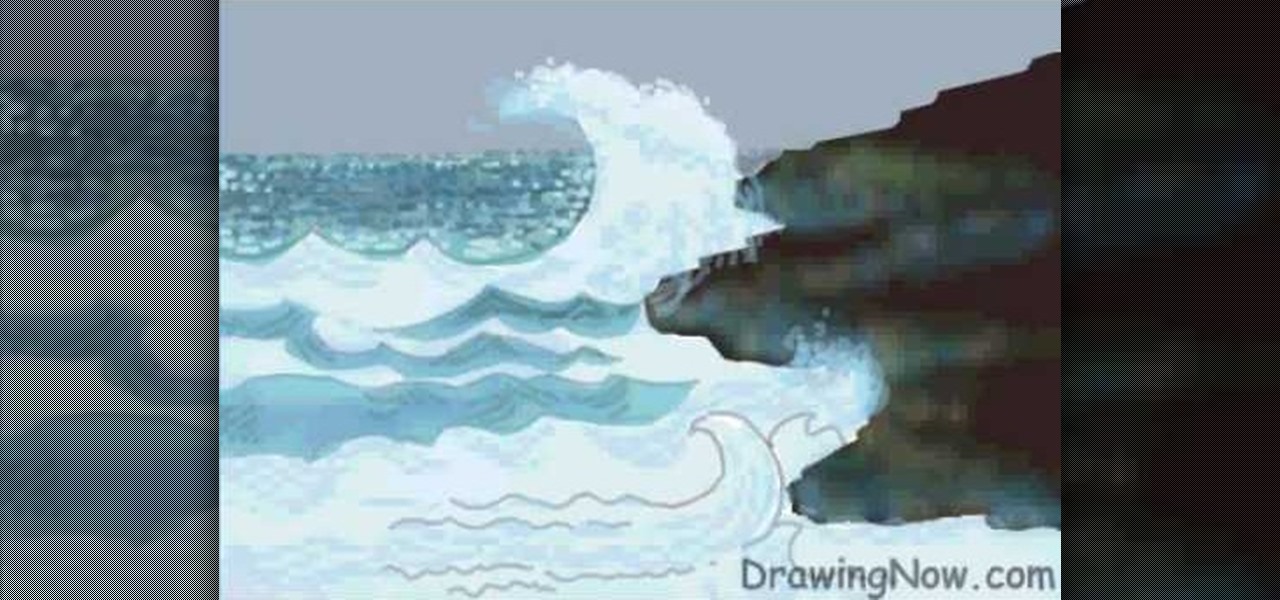
In this video tutorial, viewers learn how to draw ocean waves. The image drawn in this video has water waves clashing into some rocks on shore. Begin by drawing the outline of the rocks on the right side. The horizon line of the image is about 3/4 above the rocks. Then draw a large wave that passes the horizon line. Now paint the sky in gray and paint the rock in shades of black and gray. Paint the waves and slowly build the colors. Use the pencil tool with transparent color to fill in the wa...

The pop rock group "Silver Chair" may have popularized walking in straight lines, but honestly, if all you did was walk in a straight line you'd end up right back where you started, which would make for one boring life.

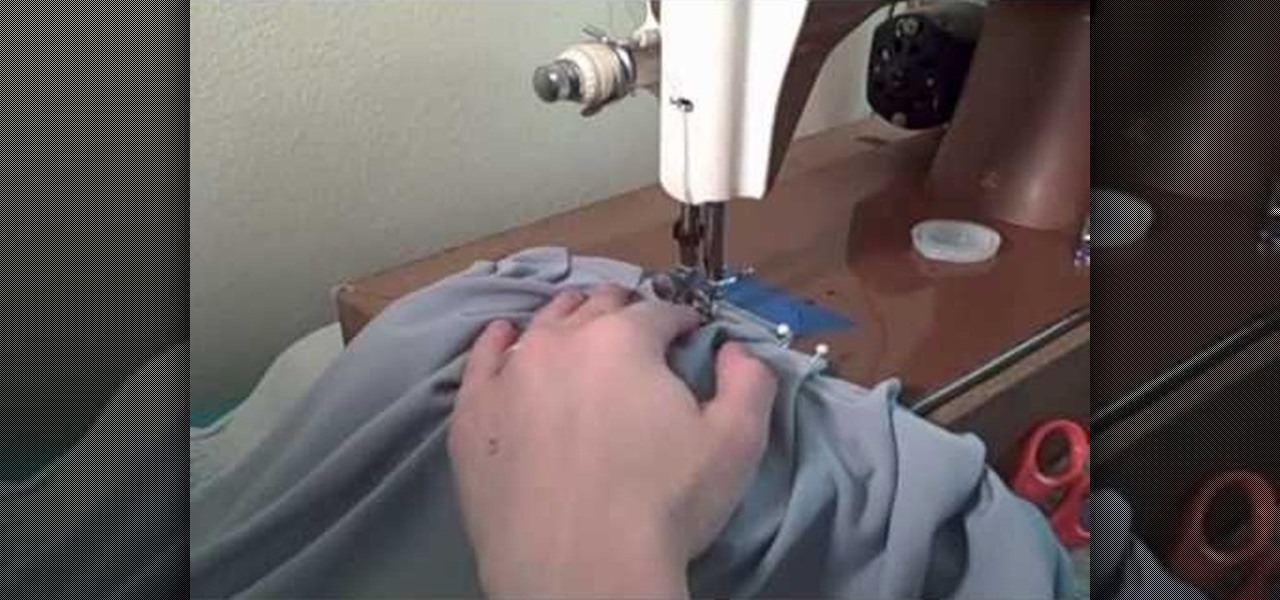
Don't worry, while this episode of "Whitney Sews" does indeed teach you how to create a bubble skirt, we're not talking about the haute couture kinds featured on Alexander McQueen's last runway show (God rest his soul) and on other catwalks, ballooned out like a pure sphere and making even the skinniest size 00 models look like they're packing some in the back.

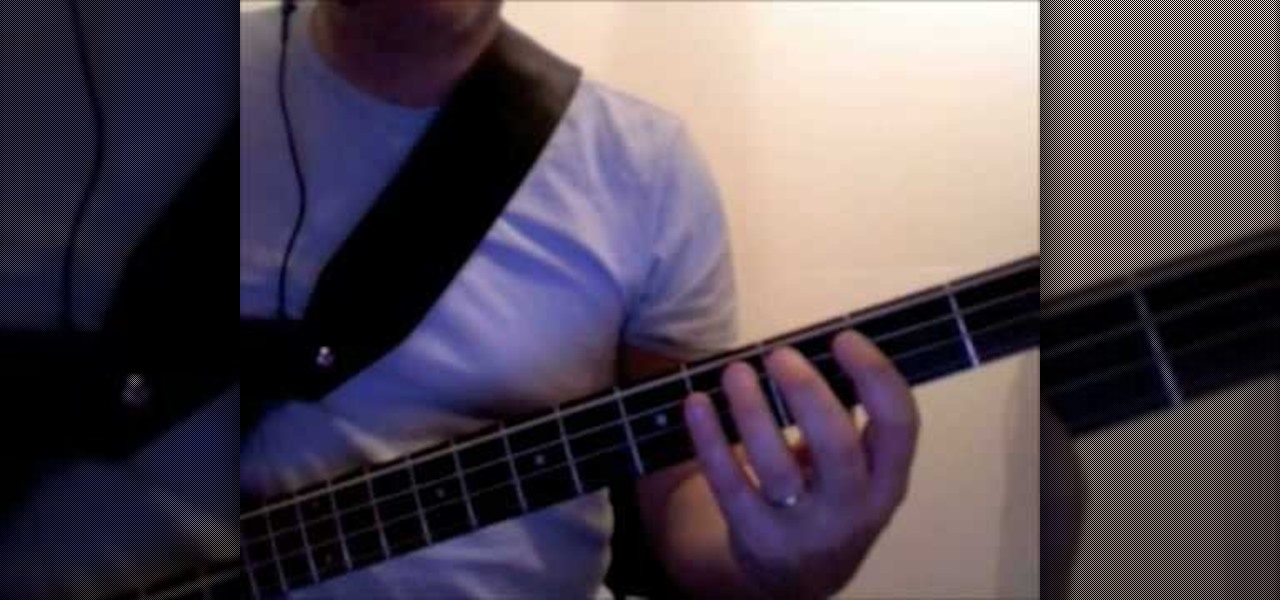
Want to know how to perform the bass line from the Police's "Every Breath You Take"? See how to play it with this free video bass lesson, which presents a complete breakdown of the song's bass line. While this tutorial is best suited for intermediate players, bassists of all skill levels can play along given a little time and effort. For more information, and to get started playing this classic Sting song on your own bass guitar, watch this how-to!

Learn how to find the first derivative in calculus. From Ramanujan to calculus co-creator Gottfried Leibniz, many of the world's best and brightest mathematical minds have belonged to autodidacts. And, thanks to the Internet, it's easier than ever to follow in their footsteps (or just finish your homework or study for that next big test). With this installment from Internet pedagogical superstar Salman Khan's series of free math tutorials, you'll learn how to find the slope of a tangent line ...


