In this tutorial, we learn how to draw Totoro. Start off with the ears, then connect the top of the head around them and continue to draw the rest of the head. Fill in the eyes and the nose on the face, then make lines on the side of the face to show whiskers. After this, draw an egg shape as the rest of the bottom, then add hairs onto the stomach area. Draw small little lines on the bottom of the character to make it look like he is sitting on something. To finish, draw the character holding...

In this tutorial, we learn how to draw the anime character Tobi. Start off by using light pencil markings to outline the face and the head. After this, use a marker to draw in the eyes and pupils. Next, draw in the eyebrows over the eyes, then make a small mark for the nose. Draw in a line for the mouth, then make one of the eyes a diagonal line, like the character is winking. Start to outline the chin, then draw in the ears and start making the hair. The hair should be spiked and going down ...
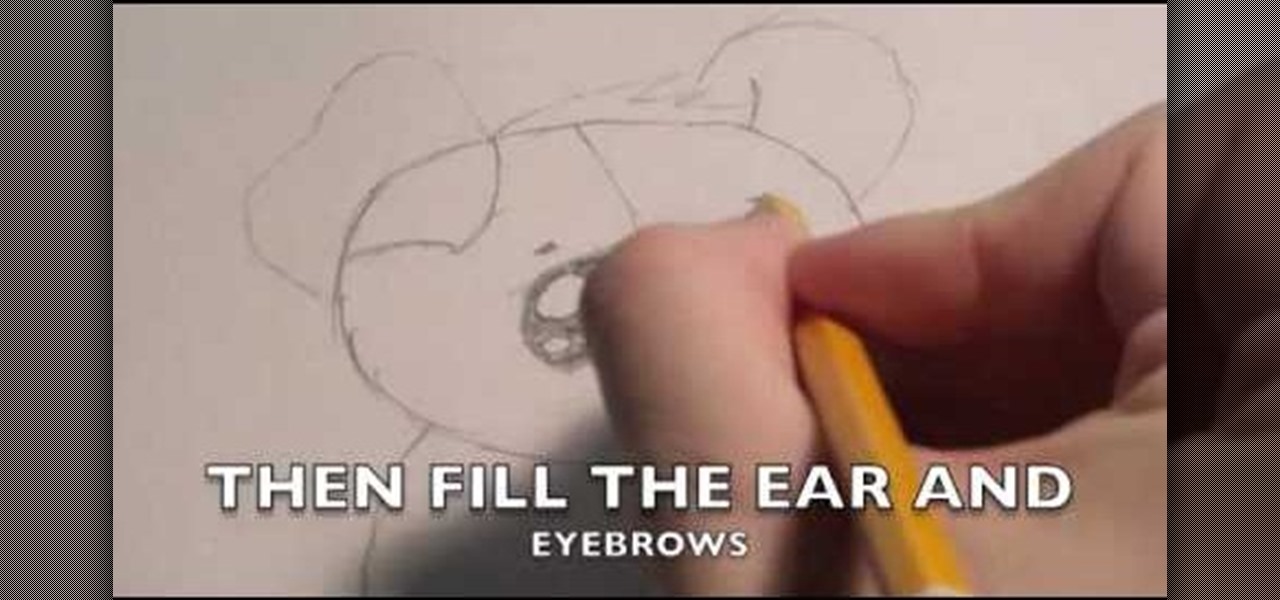
In this tutorial, we learn how to draw a cute puppy. First, you will use a pencil to draw the outline of the body of the puppy. After this, start to draw the details of the face and add in the ears and details for the hair. Next, draw in the pupils of the eyes and then draw in the nose and the mouth. After this, draw in the details on the body and add in lines and shadowing. After this, add details to the paws and then erase any lines that you don't need. When finished, color this in or leave...

In this video, we learn how to draw a wolf step-by-step. First, draw out an outline of the body using circles and lines to show where the legs will go. Next, make the snout for the nose and then draw in the ears and the eyes. Next, draw in lines around the outside of the wolf to show that it has fur. Next, use a darker pen to outline the wolf, then add in details to the legs and the rest of the lower body. Add in a tail that is curved but not high in the air. When you are done, you will have ...
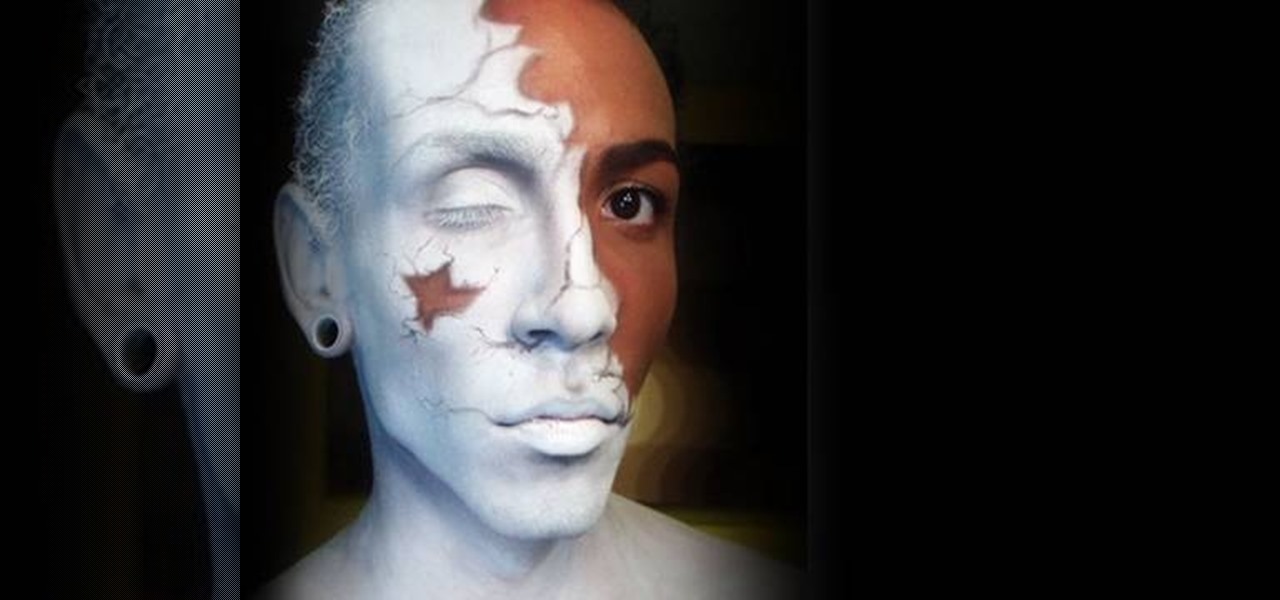
In this tutorial, we learn how to transform into a broken statue for Halloween. Start off by putting your hair back in a beanie, then painting your face white with a sponge. Next, stop halfway through your face so one side is still normal and the other side is completely white. Make sure you make a diagonal line, making the smaller area your regular face and the larger area your white face. Now, create contours on your face using a light touch with a brush that has gray on it. Now, take your ...

In this video, we learn how to create tiny planets in Photoshop. First, unlock your background layer and create a line in the middle of the image. Now, select the bottom that is underneath the line and drag it down to the bottom of the canvas. After this, make your image into a square by resizing the image with your tools. After this, you will need to rotate the image 180 degrees, then select "polar coordinates" in the distort tools. After this, you can rotate your canvas back around 180 degr...

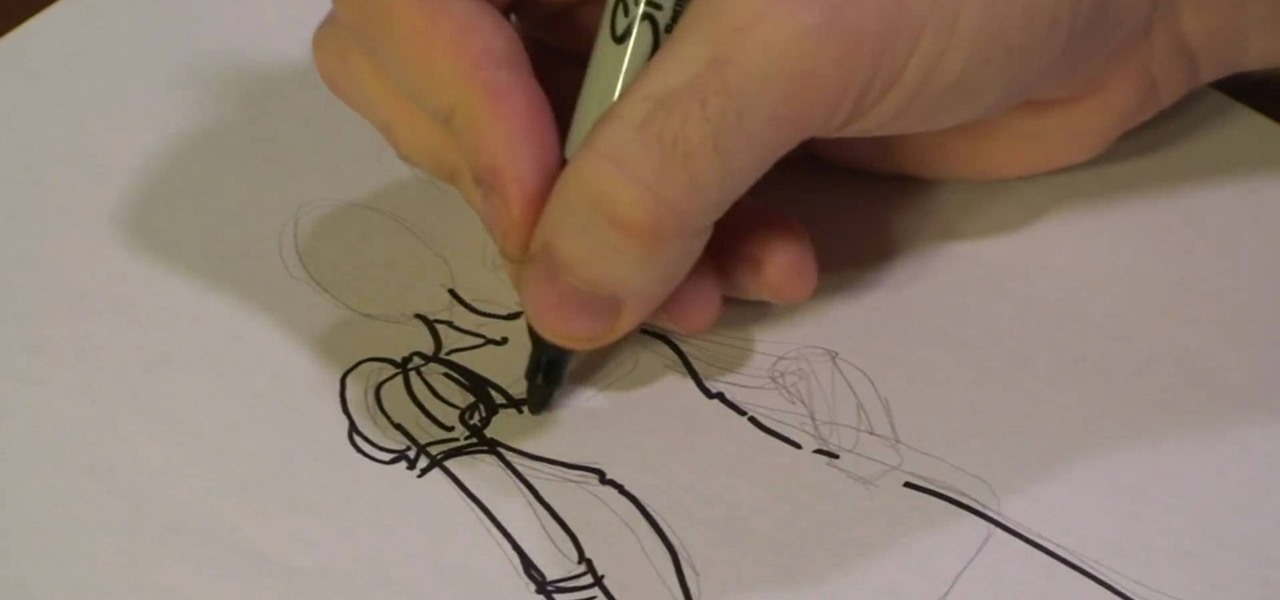
In this tutorial, we learn how to draw couture dresses. First, sketch the body onto the paper and then outline it with a black permanent marker. Make the lines soft and outline the body to have curves like a real woman. After this, start to add in the details of the dress, making the shoulders poof and adding accents to the side shoulder. Next, start to polish up the drawing by defining any lines and making different shapes. Make sure to draw the dress exactly how you want it, showing how it ...

In this video, we learn how to draw a realistic skull. Start off by using a pencil to draw out the basic outline of the skull. After this, add in further details, such as shading on the side of the head to show that it is hollow. Also add in the sockets for the eyes and show where the nose is at. Draw in the jaw bone as well as the teeth and the jaw line around it. Draw on cracks to the face at different places to make it look more realistic. Add in shading and darker lines where you feel nec...

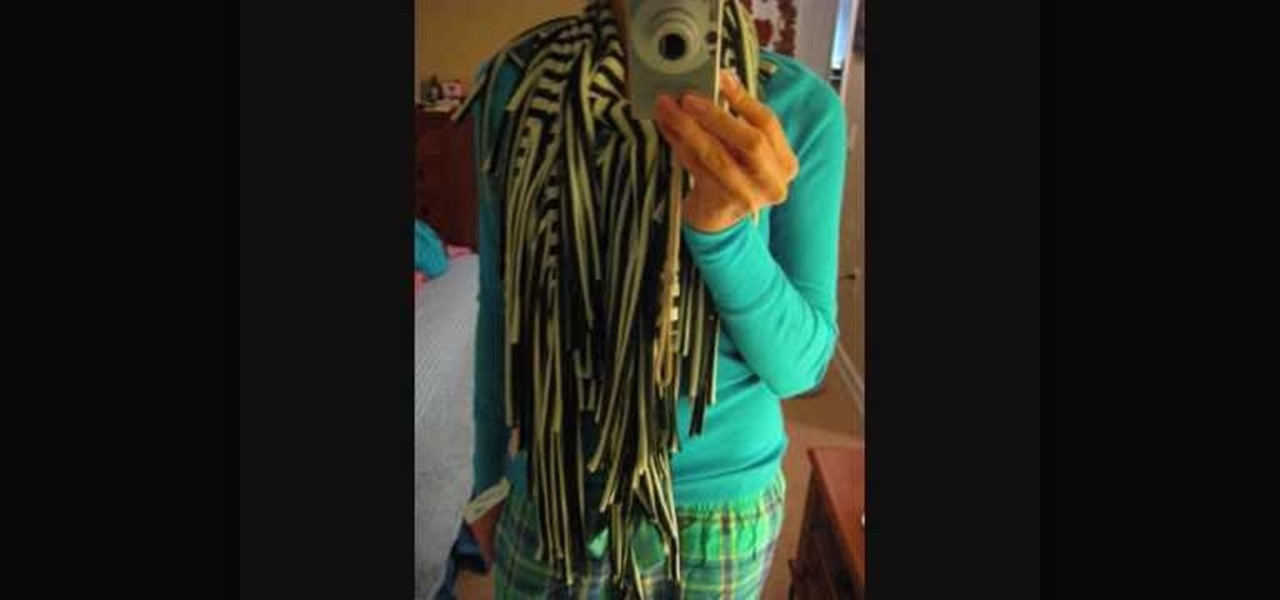
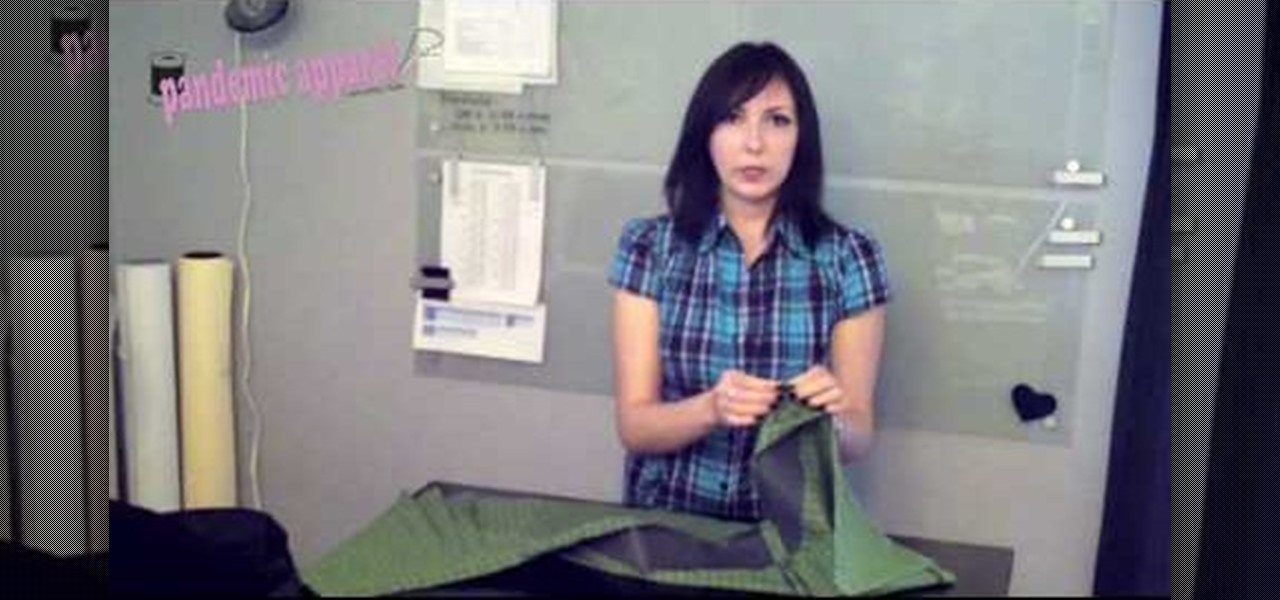
In this tutorial, we learn how to make a fringy scarf. You will first need 1 yard of fabric, then fold it with the right sides facing each other. Next, measure 19" down, then start to cut. After this, measure 7" down, draw a line from across. Now, start to cut towards that line, making fringe on the ends of the scarf. After this, you will be done with your scarf! The great thing about this is that you can use it in so many different ways. You can pair it with a casual outfit, or as a going ou...

In this tutorial, we learn how to draw an 18 wheeler semi truck. Start out using a pencil to draw the outline of the truck, using lines on a vertical point to make sure everything is even. After this, use your pencil to smudge darker marks throughout the truck. Next, use the pencil to make darker lines for the outline of the truck and add in more details to it. Make sure to draw in the tires, as well as the windshield and the headlights. Turn the paper around to get the best angles while draw...

In this video, we learn how to draw a manga chibi eye. Start off by drawing an outline of the eye with the round middle and the lines on top and on the bottom. After this, start to add in the small details of the eye, like the pupil and shine marks on it. Next, start to shade in the eye and make the lines thicker. Continue to draw in black until the back of the eye is covered black and another portion of the eye is white. Switch back and forth between different pencils to help you color in di...

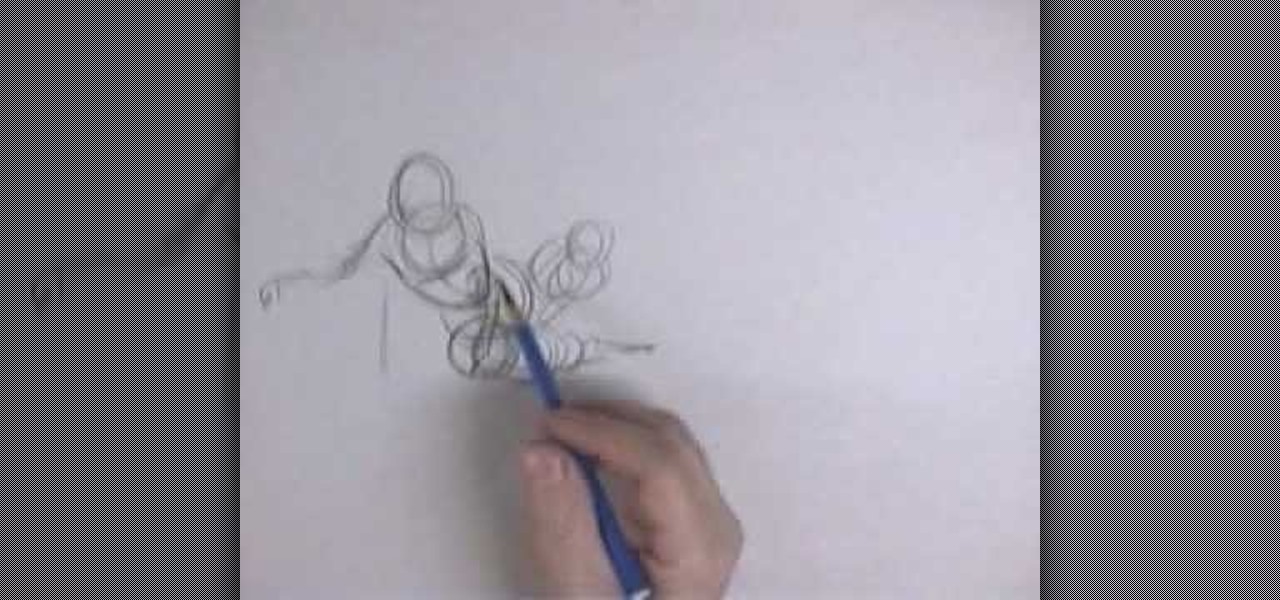
In this video, we learn how to draw foreshortened figures. First draw a circle and then continue drawing other circles to connect them together and make an out line. After you have drawn these, you will start to outline the circles so you see a body detail coming out of the drawing. Draw in the legs and the arms as well as the head. Don't worry about adding details to this, it's all about drawing just the figure. Shade on the different areas and add in lines to make the figure look more reali...

In this video, we learn how to draw Charmander. Start off by drawing the large eyes with lines inside of them. After that, you will connect the head around it, followed by the nose. Next, you will draw in the rest of the body including the feet. Draw in the tail with flames coming out the end of it. Add in lines around the body to make the figure look more realistic, then draw in pupils for the eyes. When you are finished, you can color the character or just leave it how it is and shade in on...

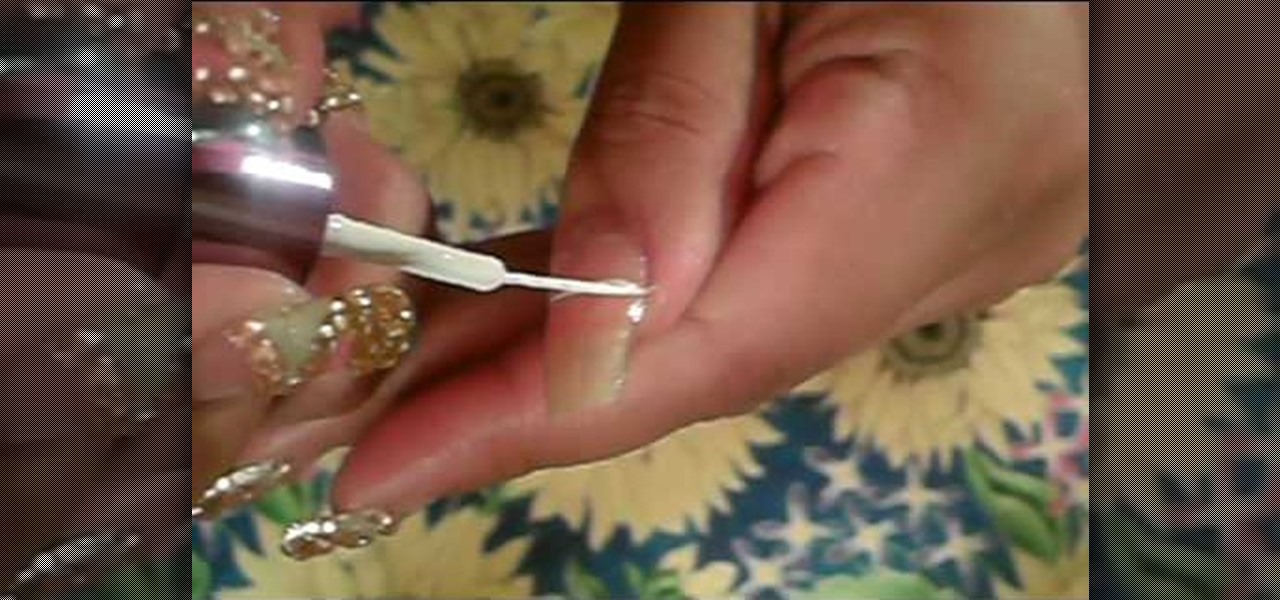
In this tutorial, we learn how to paint nail with a gold and blue rhinestone design. First, start off with your acrylic nail, then paint a white zig zag line throughout the entire nail. After this, apply a green nail polish to the top triangle of the nail. Next, apply a gold/pink nail polish to the triangle underneath the green. In the triangle underneath, apply a light green nail polish, and paint a pink nail polish underneath that. Add glitter to each of the different colors to match which ...

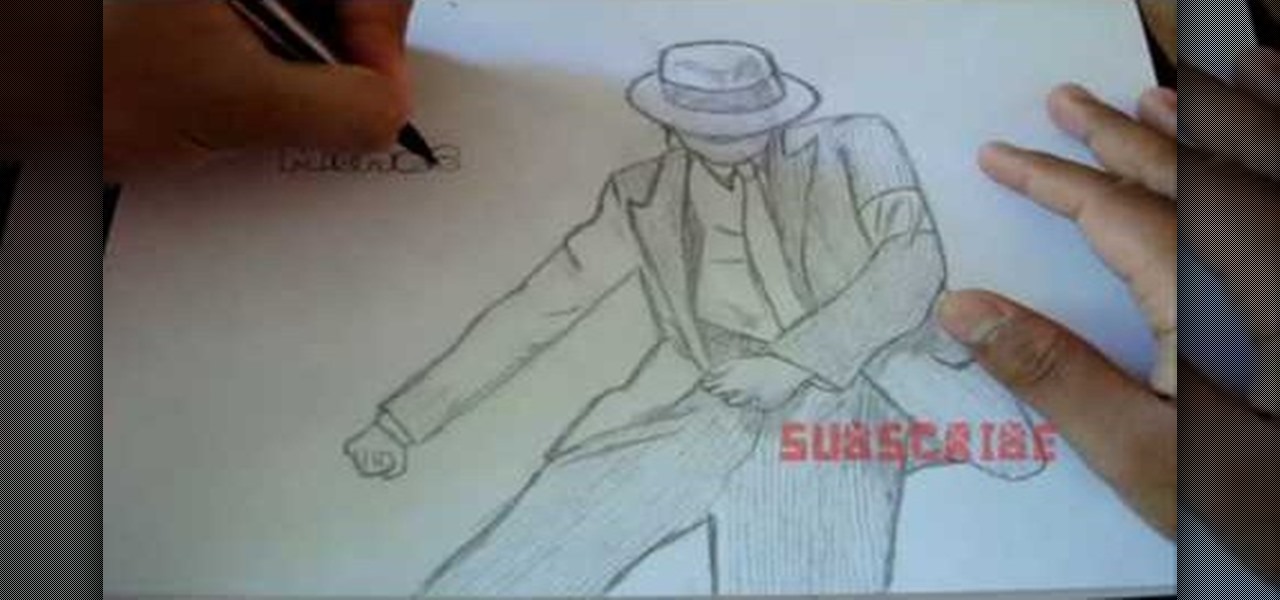
In this video, we learn how to draw Michael Jackson. Start out by drawing the body shape, outlining the clothes first. Draw details on the pants and shirt, then add a hat on top, shading the face. Now, draw hands onto the drawing, along with shoes on the bottom. Next, add details to the hat and a tie to the shirt with a collar. After this, draw on a belt and shading and lines to the jacket and pants. Add shading underneath the hat to make it look as though the face is underneath, then when fi...

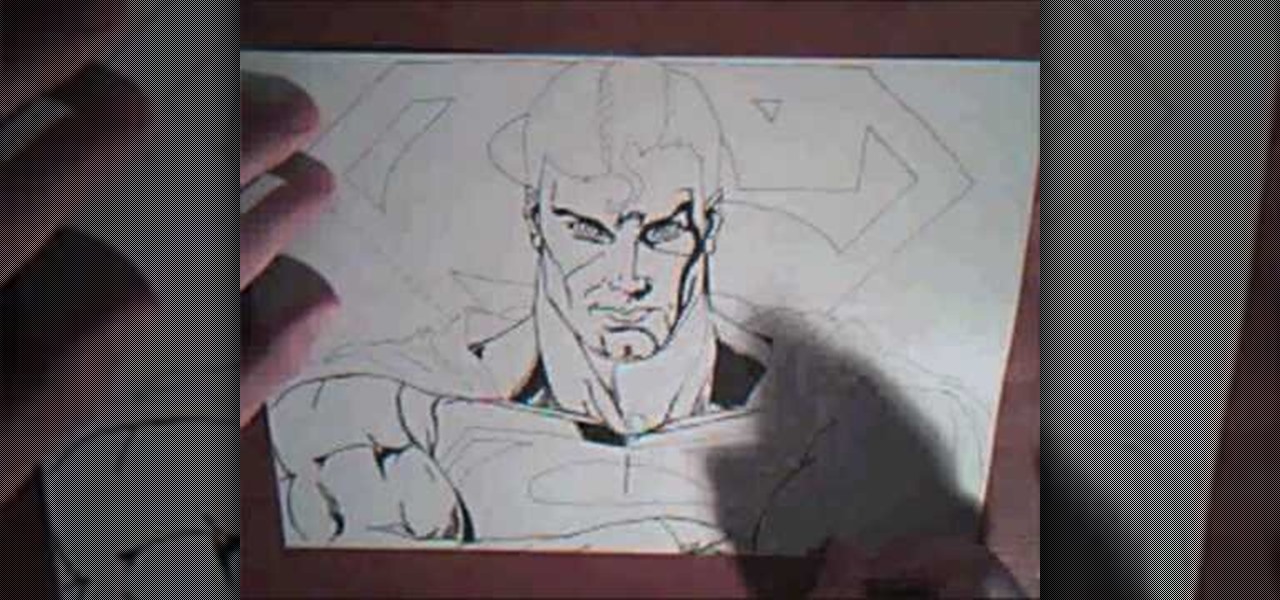
In this tutorial, we learn how to draw superman from DC comics. Start off by drawing the head and adding in the hair on top. Give the character a strong jaw line and eyes that look serious and focused. Continue drawing down, outlining the lips and nose, then making broad shoulders. Draw a cape over the shoulders and continue down making a line where the neck and breast plane connect. Draw the "s" sign on the costume, then continue by drawing the Superman logo behind the character. Now, star t...

First, bring the thread up and then make a diagonal line and bring the thread through again. Bring the thread through again below the diagonal line on the left side. Then, put your needle thread through the 'x' and make sure your loops are even. After this, bring your thread through and even up your stitch. Now thread through on the right hand side and go through the next 'x' shape. Continue to do this, and you will see the Vandyke stitch start to take form as you go on. There will be a verti...

In this tutorial, we learn how to draw a simple cartoon dinosaur. Start by drawing a rectangle and give it eyes on the upper right hand corner, then nostrils. Start drawing a body that has a jelly bean shape. Now, create small arms on the side of the body, that are smaller than the rest of the body. These arms should have a cylinder kind of shape to them. Now, draw some legs onto the bottom, using large cylinder shapes and little pointy toes. There should be adequate space in between each of ...

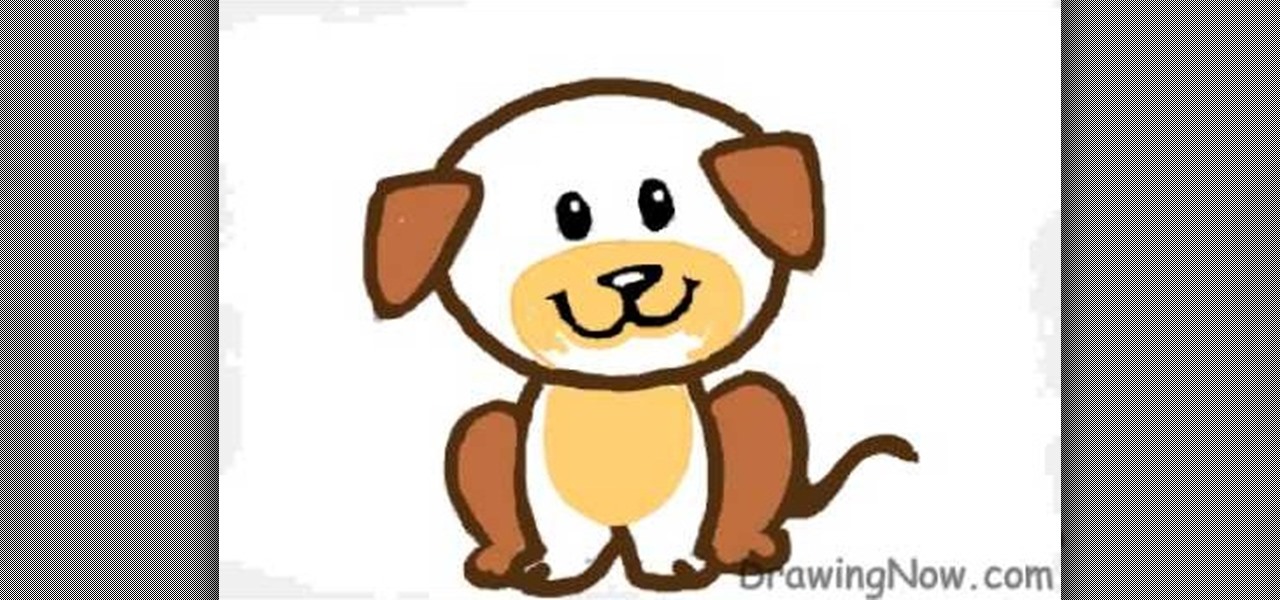
In this tutorial, we learn how to draw a cartoon puppy First, draw the oval head, followed by triangles for ears. next, draw the body underneath with four legs coming out of the bottom like the dog is sitting down. Add on a squiggly line for the tail next to the leg. Now, color the ears and back legs light brown, then add eyes, a nose, and a mouth onto the face. Draw a circle around the nose and mouth, then color in with lighter brown/tan color. Now, color the rest of the dog a darker shade o...

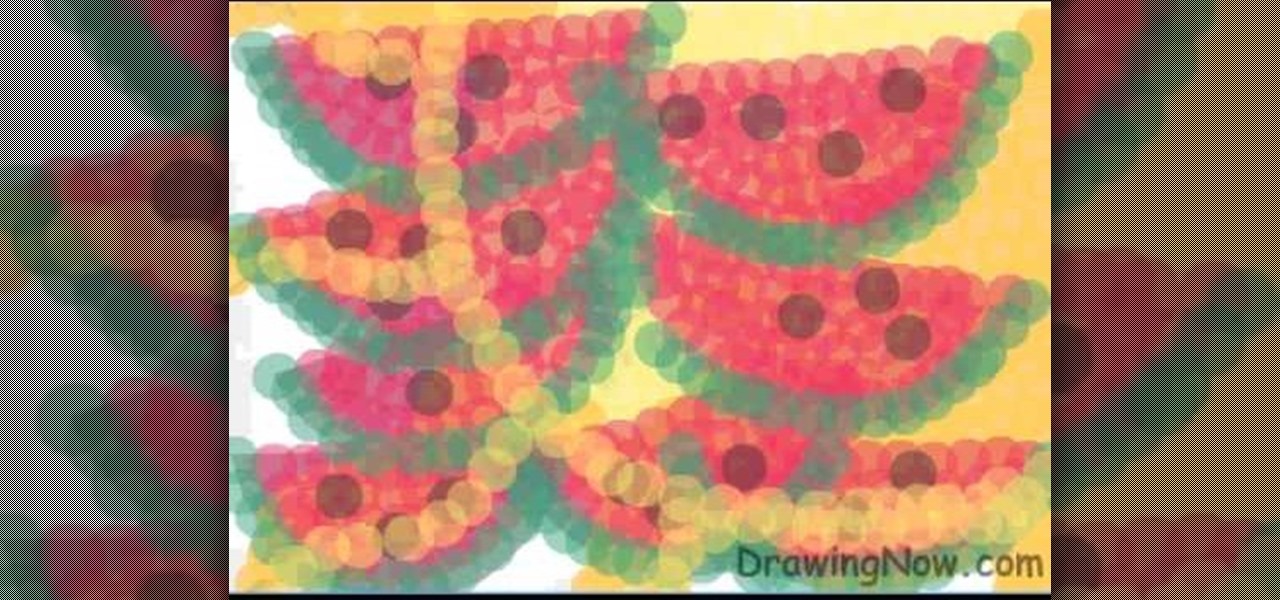
In this tutorial, we learn how to draw abstract watermelons. First, draw a circle, followed by wavy lines coming out of it just like the sun. Next, draw half watermelon shapes all over the picture you just draw. Now, fill in the picture with yellow circles on the inside of the circle shape. Use a dark yellow/orange for the second half of the circle to the bottom. After this, use the orange to fill in half the wavy lines and then use red to fill in the other half and make large half watermelon...

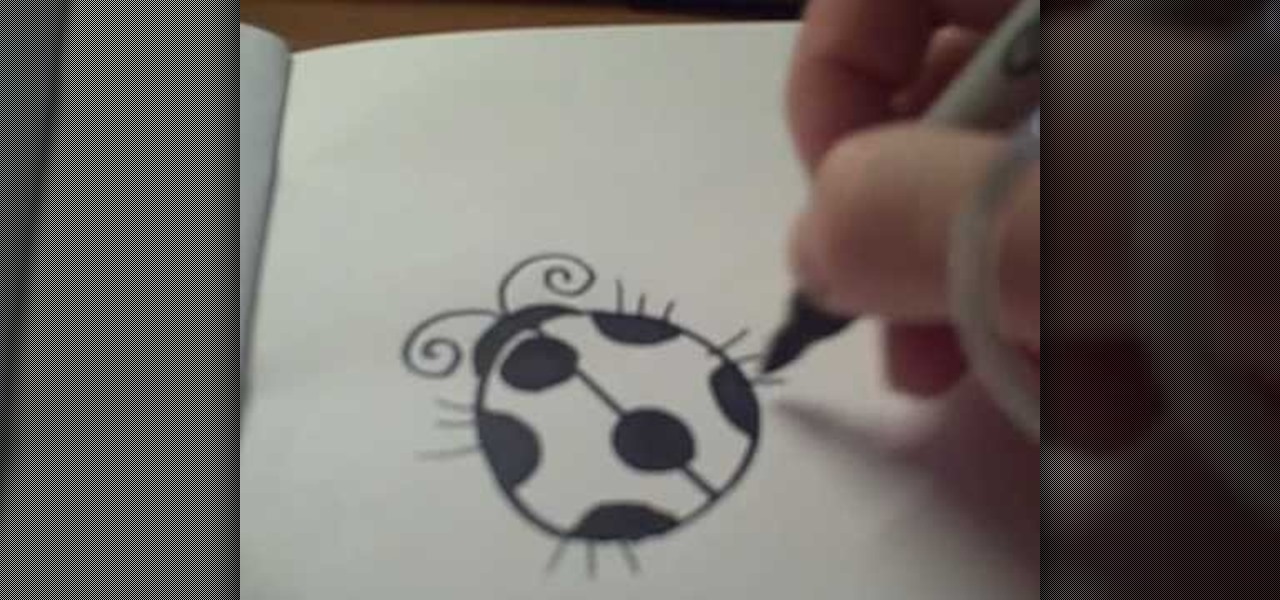
In this tutorial, we learn how to draw a cartoon ladybug. Start out by drawing a circle, then draw a line down the middle. Next, draw and color in some dots all over the circle. After this, make a head by making a half of a circle over the straight line. Now, add antennas to the head and color in the head. You can also add in legs to the ladybug if you prefer, or keep them off. When you are done with this, you will have a cute ladybug in just a few minutes. This is a very easy picture for kid...

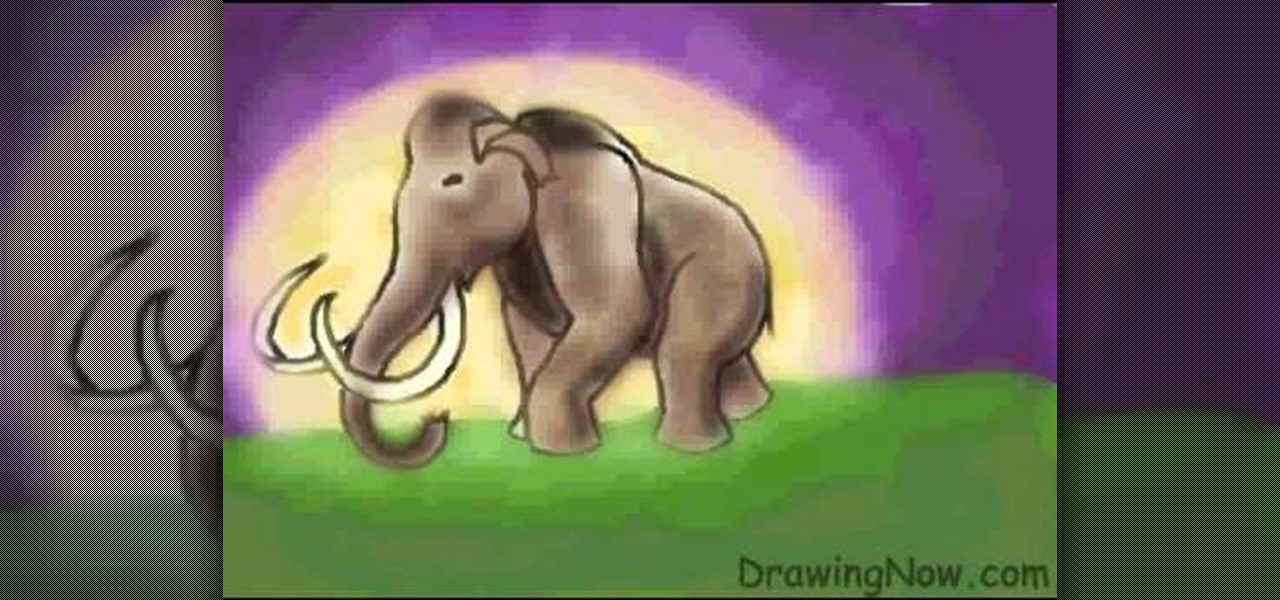
In this video, we learn how to draw a woolly mammoth. Start off by drawing the head, body, tusks, and feet. After you have the basic outline of the animal done, draw over it with a black paintbrush over the entire body and erase the lines underneath that. Next, draw in an eye and color the mammoth brown. Color the tusks ivory, then make the background of the picture purple with green underneath. Next, color the background with orange making it look sunny but also like sunset. To finish, start...

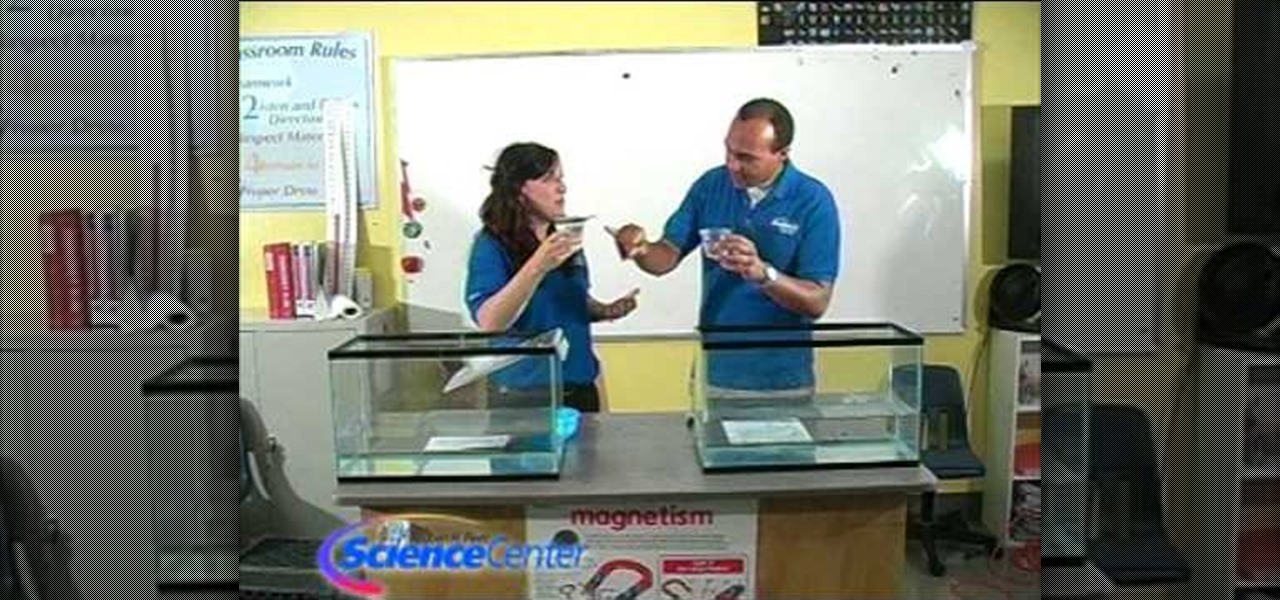
In this tutorial, we learn how to demonstrate the difference between land & sea ice. First, fill up two large aquariums with water, then add in a glacier to one aquarium and an iceberg in the other. This will see how the water level changes based on the melted of each different ice item. Draw a line at the water line where it started at, then when the ice melts, check the water levels. When finished, see what the water levels have ended up at. Now you will be able to show this to your student...

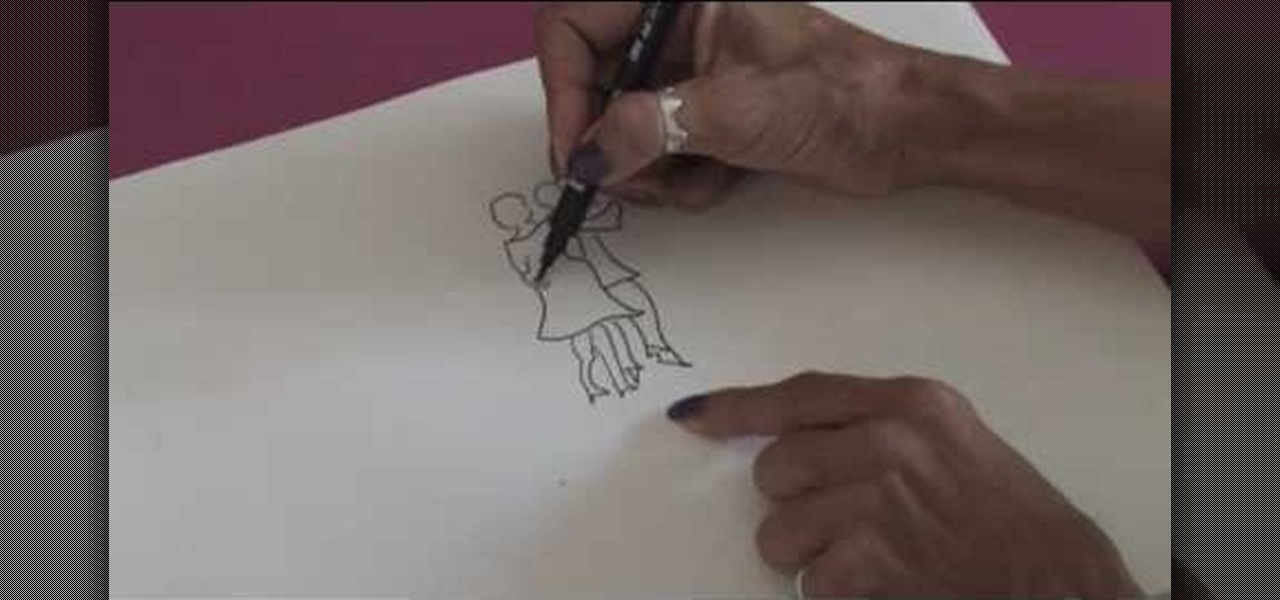
In this video, we learn how to draw people in motion. Start off by drawing a shoulder and an arm. After this, draw the body, then continue down to draw the legs. Next, draw the head on the body and draw the second body dancing with the first one. Draw the clothes on then add details to make it look more realistic. Once you add lines in around the people, it gives the illusion of them moving their feet. Draw in the dance floor, then finished with additional lines around the figured. When done,...

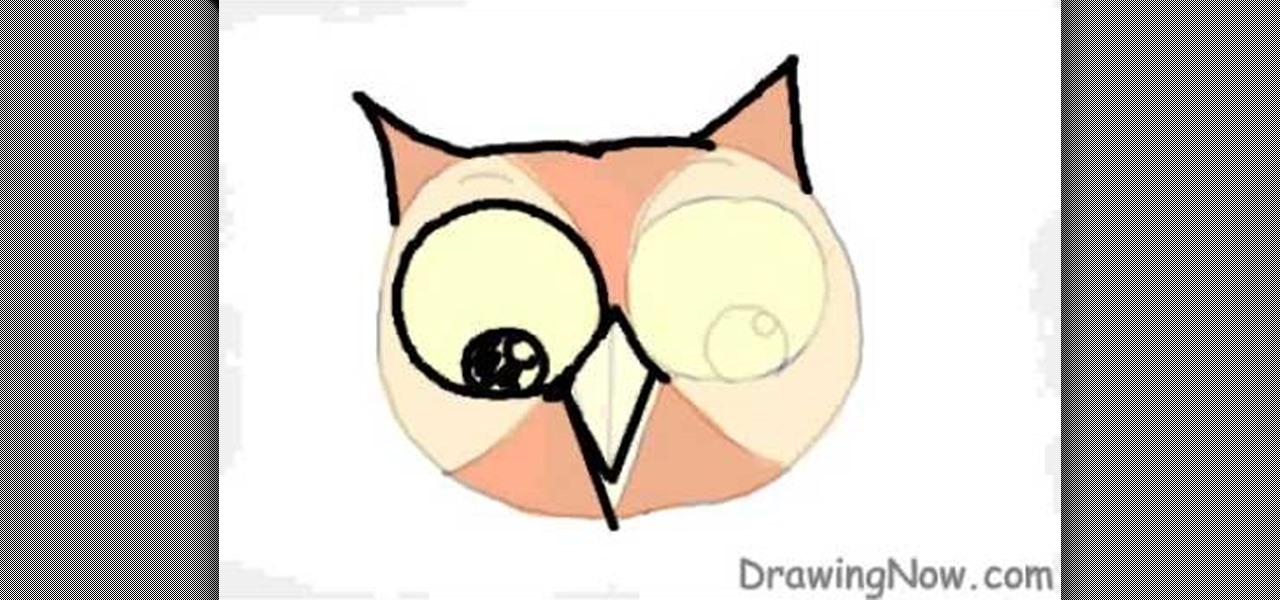
In this video, we learn how to draw an owl on a computer. First, draw a circle, then two small triangles on both sides of the top of the head. Next, draw two very large circles in the middle of the face, separated by an upside down triangle and two large triangles on either side of that. Next, add pupils to the eyes, and add a line in the beak. Outline the eyes, beak, and eyebrows after this. Color in the owl brown and light brown, then add small black lines to the sides to make it appear lik...

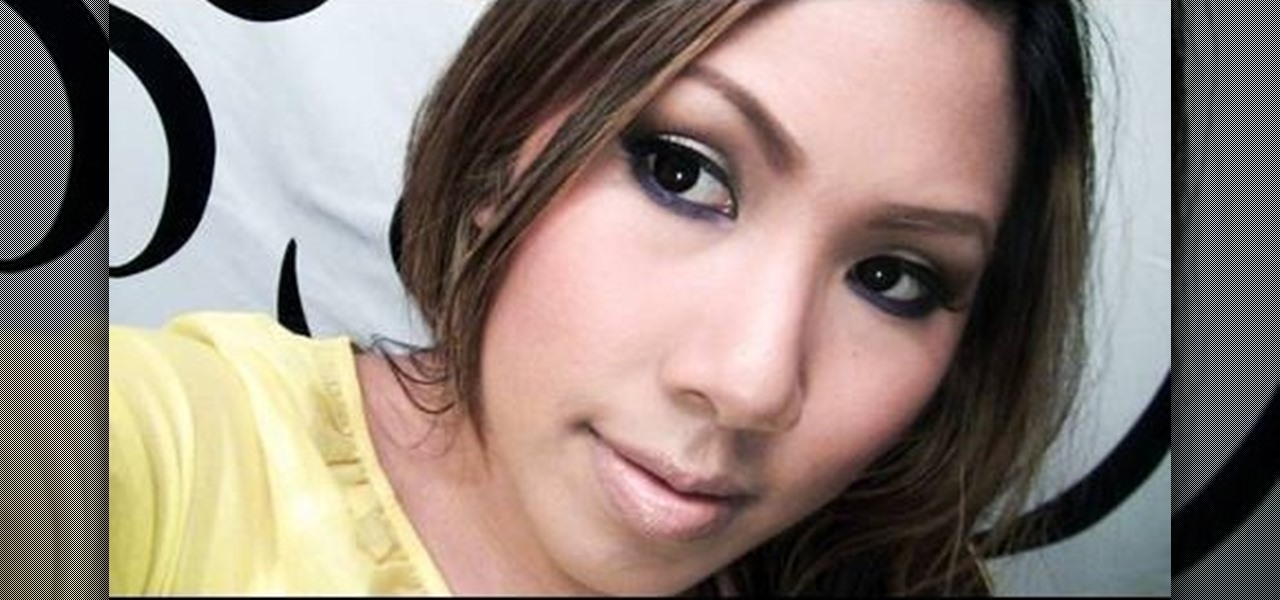
Smokey eyes are so boring, don't you think? Whether or not you vary the colors (blue smokey eye versus black and silver smokey eye) the same idea is there: layer it on, smoke it out, and presto! Smokey eyes. But with so many gals turning to smokey eyes to get their sexy makeup fill, don't you want to stand out just a little bit?

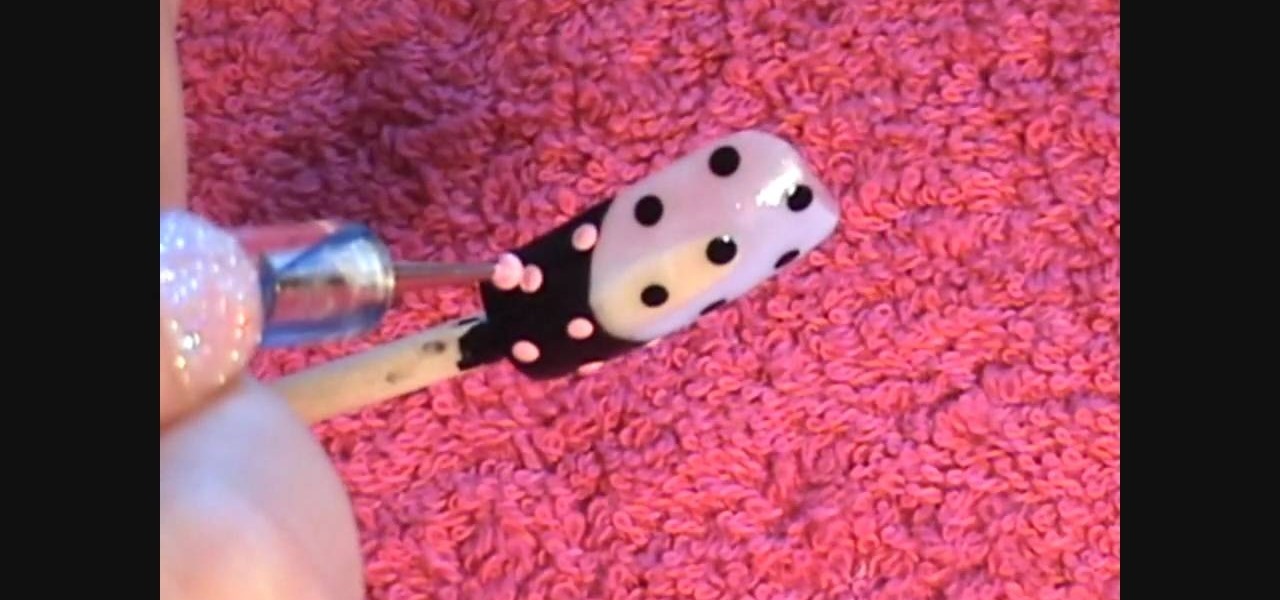
In this Beauty & Style video tutorial you will learn how to create cute polka dot acrylic nails. For this you will need acrylic paint and acrylic nails. First paint the lower part of the nail with black paint in a curved manner. Then you put three black polka dots in the unpainted area along the centerline of the nail. Now put two more black dots on either edges of the nail. Then you put light pink dots over the painted area in line with the black dots. Paint the smile line and the bow with l...

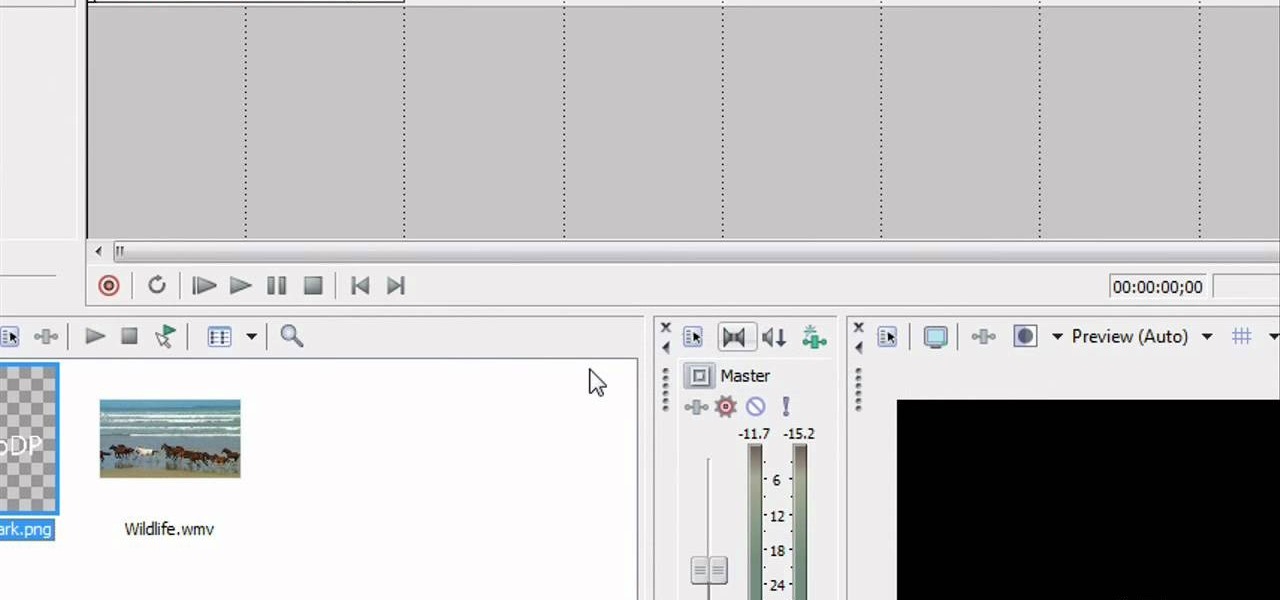
In this video tutorial, viewers learn how to add watermarks to videos in Sony Vegas. Users will need to begin by creating the watermark image in a photo editing software. Once created, make the image into a transparent background and save it as .PNG format. Now load the video into Sony Vegas and place it into the time-line. Then open the image in Sony Vegas and add it into the video time-line. Finish by panning the watermark image to a smaller size in the corner and extend the play time. This...

This video tutorial is in the Arts & Crafts which will show you how to make a dangling picture frame. You will need pictures that you want to frame, old CD cases, a drill with a very thin drill bit and fishing line. Remove all paper from inside the CD cases, cut the pictures to the size of the CD case and place two pictures inside one case back to back. Next you drill a small hole at the top and the bottom of the case in the center. String one CD case with another with the fishing line. You c...

David Wygant tells us how to meet a woman at a bar without using pickup lines. One of the biggest words that turn women off is "wasted". A woman will look at you like a monkey at a zoo if you are too drunk and talking really stupidly. If you are too drunk, you probably are not going to get a woman and if you do, you probably won't be able to perform. So, when you go into a bar with your friends don't act drunk and act like you are just having a good time. The confident, cool, and fun guys are...

In order to make a catfish jug, you will need the following: an empty jug (or 20 oz. soda pop bottle), a1" PVC pipe, eyelet screws, a 6" piece of rebar, hot glue, swimming noodle, fishing line, a sinker, and a circle hook.

In this tutorial, we learn how to get a Kidsongs inspired makeup look. First, you will take a yellow pigment and brush it onto the inner crease of the eye. Now add a green pigment next to the yellow and blend together. Now apply blue pigment to the outer eye and blend it into the crease with the other colors. Apply a pink and red eyeshadow to the bottom of the eye line with a small eyeliner brush. Finish with a purple color on the end of the eye. Line your eyes with black eyeliner and use fak...

In this video tutorial, viewers learn how to create easy, natural openers when talking to women. Conversations can easily be started all the time based on simple observations. Usually guys make a mistake when they try to use a pickup line on a women. Pickup lines don't work because they're taking people out of a present moment. If you are walking around and observing something, chances are someone else is observing it as well. So if you and a woman are observing the same object, she will imme...

Sometimes, with all the clothes out there in the stores, it can take quite a bit of time to find something that you are sure to like and can afford. And during this tim of economic hardship, ssaving money is a must right now.

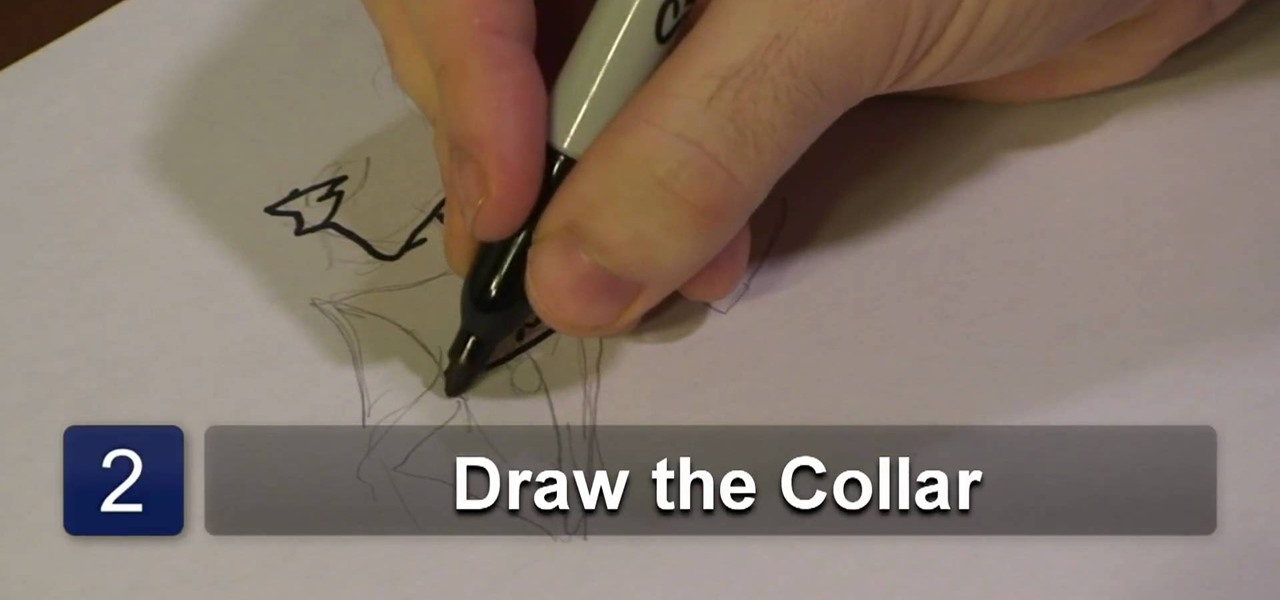
In this video tutorial, viewers learn how to draw an animated shirt collar. Users will need a sheet of paper and a drawing utensil. Begin by drawing the neck of the figure and attach the head to the neck by connecting it with a chin. Add some lines on the neck for details. At the bottom of the neck, draw an oval shape to close the neck and draw another oval outside of it for the collar. Finish by adding a few lines in the collar for detail. This video will benefit those viewers who enjoy draw...

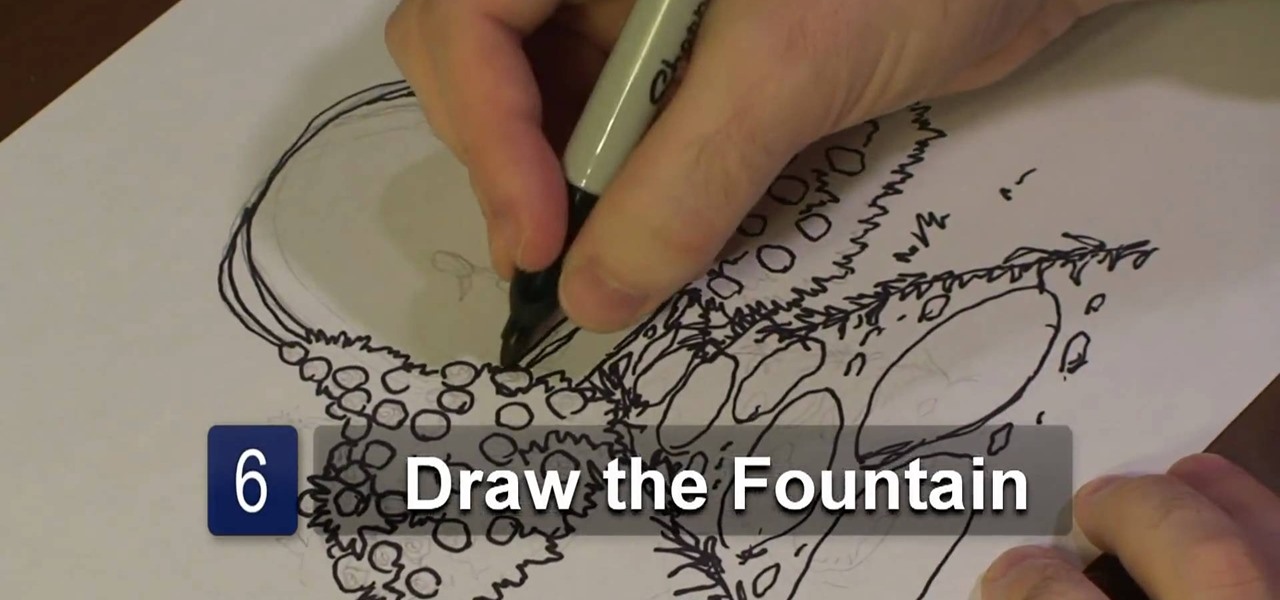
In this video tutorial, viewers learn how to draw a rose garden. Begin by marking the locations of the objects, such as the pathway and the arch. Then draw the rosebushes surrounding the path and arch. The bushes only need to be drawn with cross hatching or quick lines. They don't need too much detail. Then add some circular boxes into the bushes as the roses. Now draw some grass around the pathway and stones in the pathway. In the center of the arch, add the center fountain piece. Finish by ...

First, outline the upper portion and lower portion of the right eye. Make the upper line darker than the lower one. Copy and paste this to create the left eye of your anime artwork. Create the eyeball using the Circle tool. Create two more circles inside the eyeball - one bigger and the other smaller. Make eyelashes by using a set of curved lines. Create at least three thick strands of these eyelashes. Create another circle inside the eyeball that intersects the two smaller circles created ea...

In this video, we learn how to do a yoga upward facing two foot staff pose with Dina Prioste. You will need two large blocks and make sure your body is warmed up. Now, line your head up with the blocks and take the palms of your hands onto the floor pointing towards your feet. Your shoulders should stay in line with your hips. Now, lift your hips up and keep your elbows in, don't let them go wide. Practice keeping them in as you deep breathe. Release back down, then get into the same position...

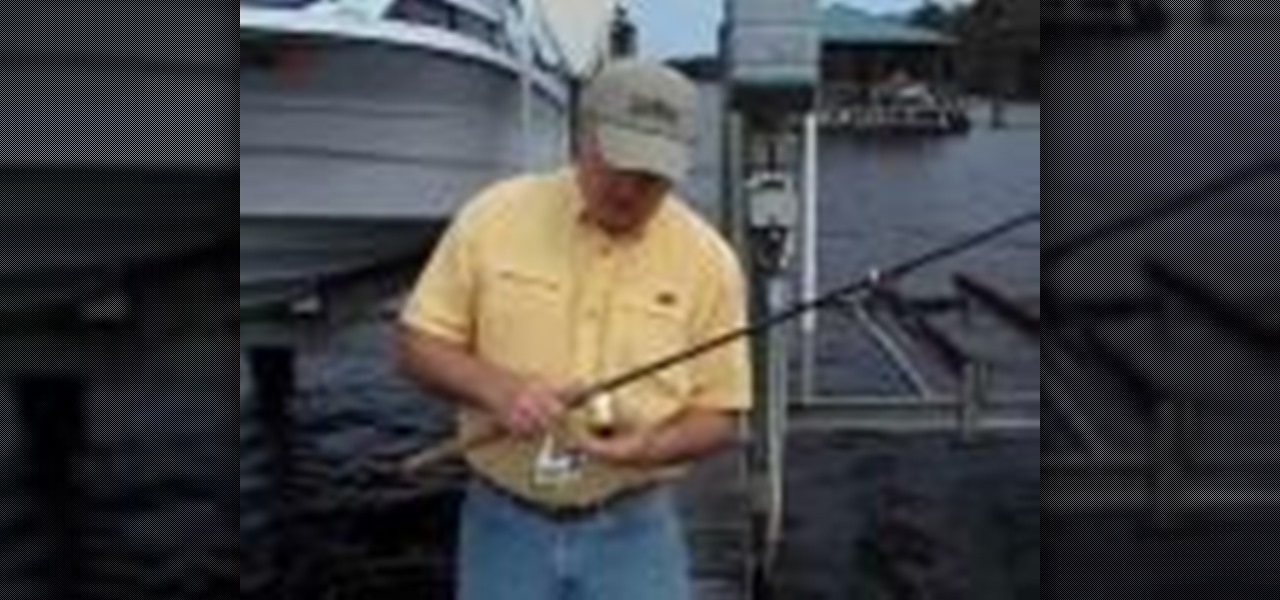
Fishing may seem like an easy hobby, but things can go wrong really quickly if people don't know what they're doing. One things that can happen is the set up of the spinning reel. This needs to be taken care of correctly and not doing so can result in damage to the rod and can ruin your day. So in this tutorial, you'll find out how to line behind the bail on a spinning outfit. It's an easy fix and will make your fishing experience much better. Sit back and enjoy!

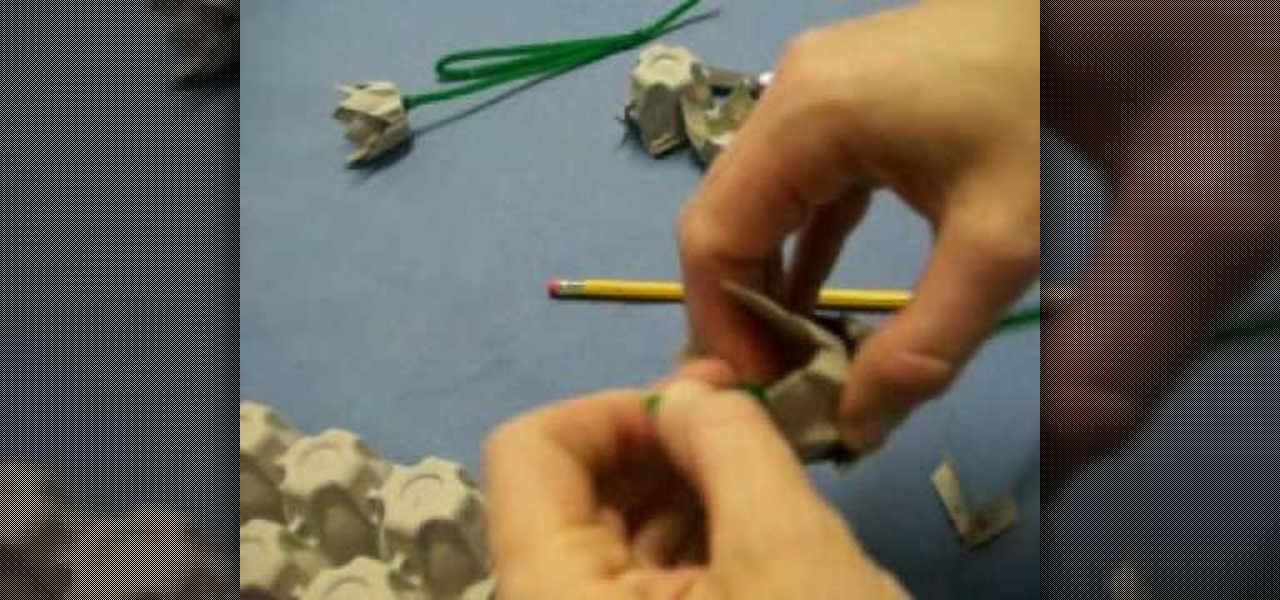
In this Arts & Crafts video tutorial you will learn how to make an egg carton tulip. Cut out two cups from an egg carton. Then cut petals into the cups by cutting out triangular shapes. Make four petals on each cup. Then with a pencil, poke two holes on the bottom of one cup opposite each other in line with the two lowest points of the petals. Do a similar thing on the other cup but, in line with the two highest points of the petals. Then take a pipe cleaner and pass it through one hole of on...


