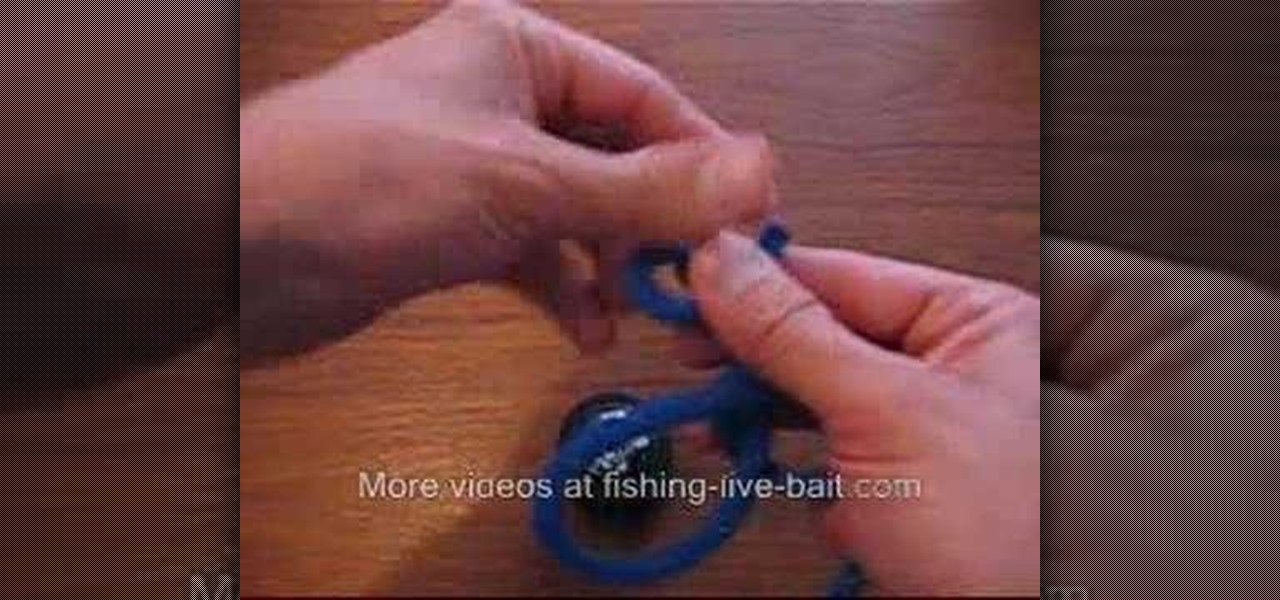
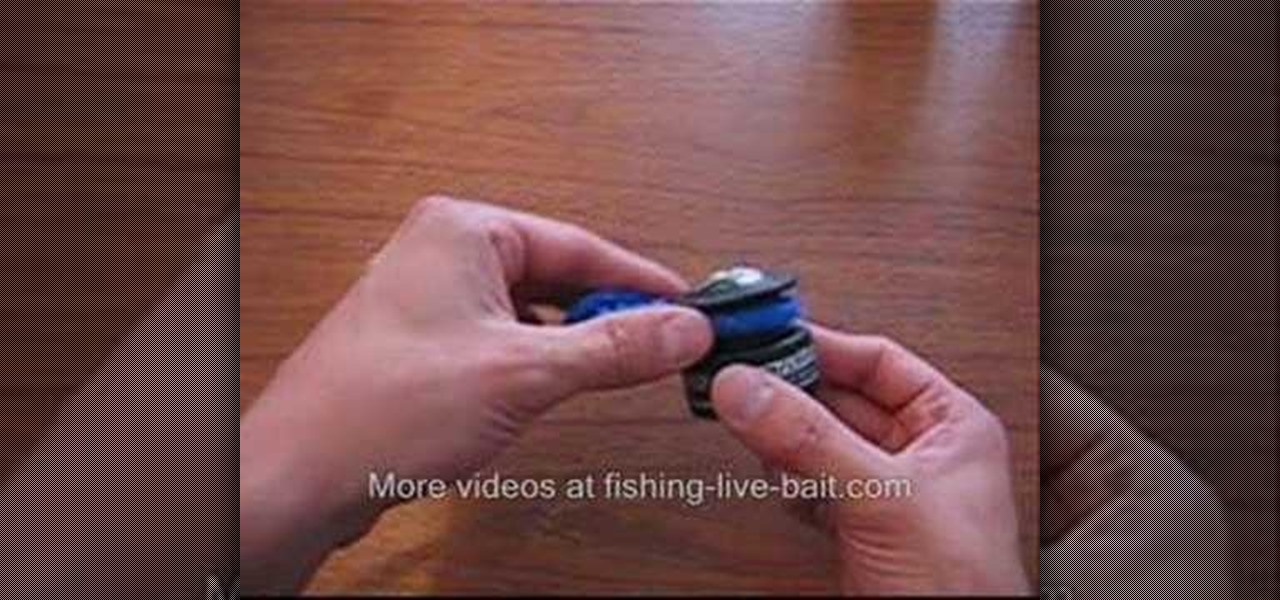
This video shows us how to tie an arbor knot for fishing. Here a blue rope is taken to explain how it is done but actually the fishing net is used to tie such knots. The rope is taken and is made a loop, and the line is made to pass through the loop to make the first knot which is actually a very basic knot. Then the rope along with the knot is wind around the reel and the line is made to pass through the knot which was previously done. But the line may come out of the knot so for that, anoth...
In this video, you can learn how to tie a uni knot. He uses a snap-hook and a blue rope to demonstrates. He pulls the rope through the hook and makes a loop that crosses over the two pieces of rope. He pulls the rope through the hole six or eight times. Then pull on the hook to tighten the knot. When you pull the rope, the knot slides up to the hook. He explains that the uni knot can be used to loop a fishing line onto a hook or over a reel. It can also be used to tie two lines together makin...
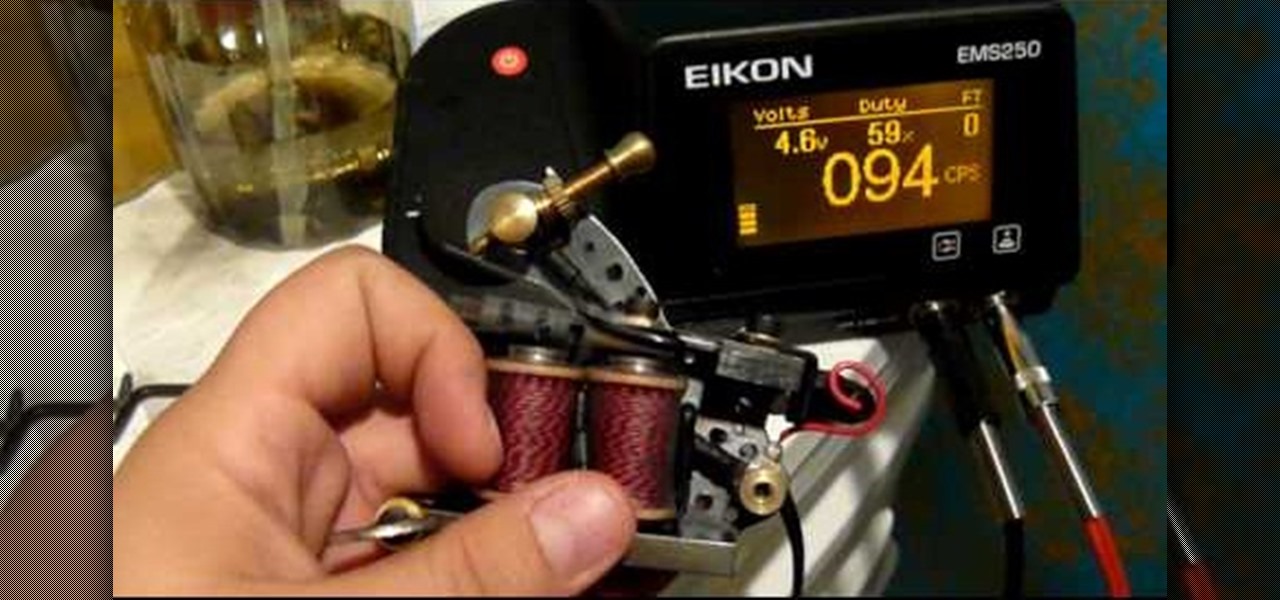
This video shows you how to setup a tattoo machine to do lining and shading. Make sure the armature bar and front spring has about a 4mm gap. Once that is on, set it to about a 30-degree angle. Next with the contact spring you need to set the armature bar and the tool should be set to about 2mm. A good way to check this is with a dime. Now as long as the tattooing machine runs and sounds correctly you are all set to go. For shading, the throw on the armature bar should be 3-4mm--just a little...
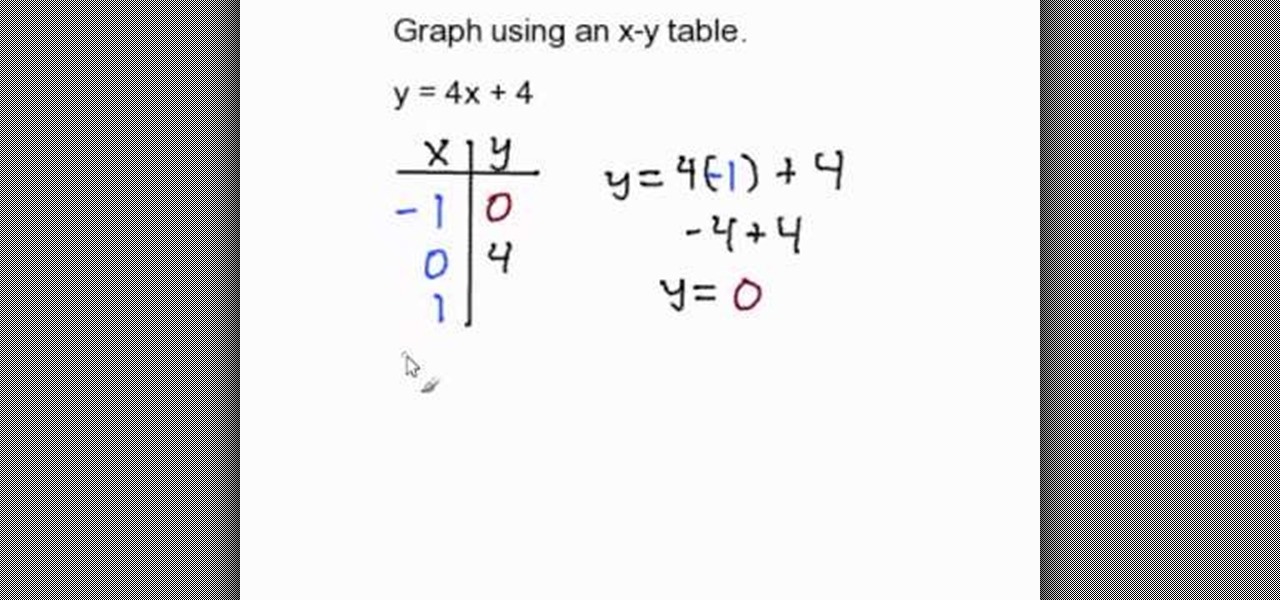
In this video the author shows how to graph using an X-Y table. He shows how to do this with a sample equation. He builds a table of x, y values where he takes sample values for x like -1, 0, 1 and now he substitutes these values in the equation of the line and obtains the corresponding y values. Now finally he has an x, y value table which now he shows how to plot it on a coordinate plane. He plots all the three pairs on the graph and connects them with a line finally obtaining the resultant...
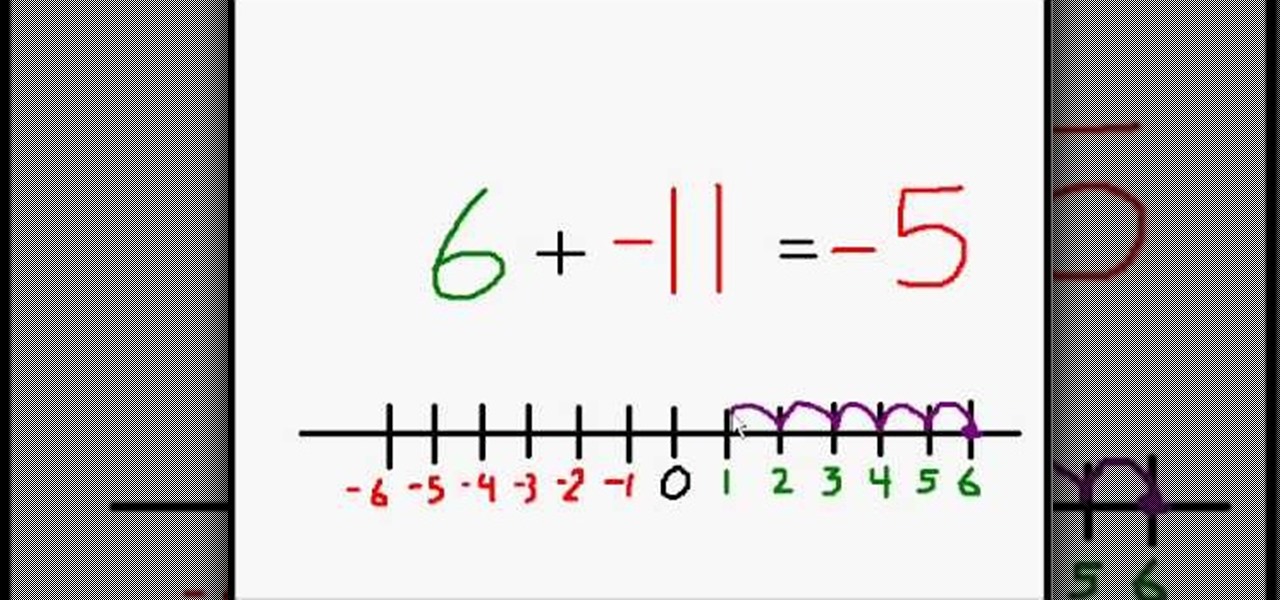
This explanation of positive and negative signs in addition is beneficial and easy to understand for young school aged children. The tutor of this video explains briefly about what to do with the different signs on both side of addition problem. The number line helps the viewer of this video to visually understand the concepts discussed. The tutor explains the direction of number line evaluation is dependent on the left side operand, which is also used to understand the concept of a number line.
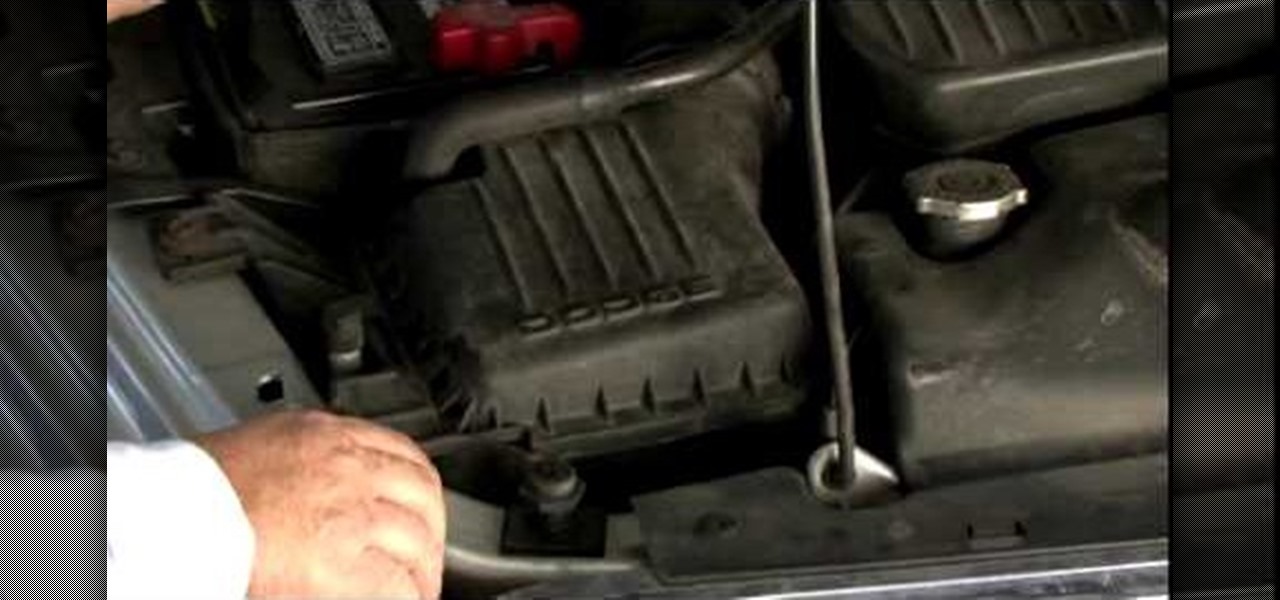
In this video, Ed Kriston from AAA-Midatlantic explains how to winterize your car. He first talks about the fuel systems. The fuel pump and fuel filter are inside the tank, and lines and hoses run from the tank to the engine. He points out the fuel lines and injectors in the engine, and recommends that you make sure there are no leaks in the lines and hoses. He demonstrates how to remove and examine the air filter and shows one that is dirty that should be replaced. A dirty air filter will co...

This video shows you how to create beautiful make-up using the loreal hip products. Products Used:

Listen closely or risk ending up like Jack Nicholson in The Shining, minus the whole crazy axe part. Learn how to dress properly for a snowstorm.

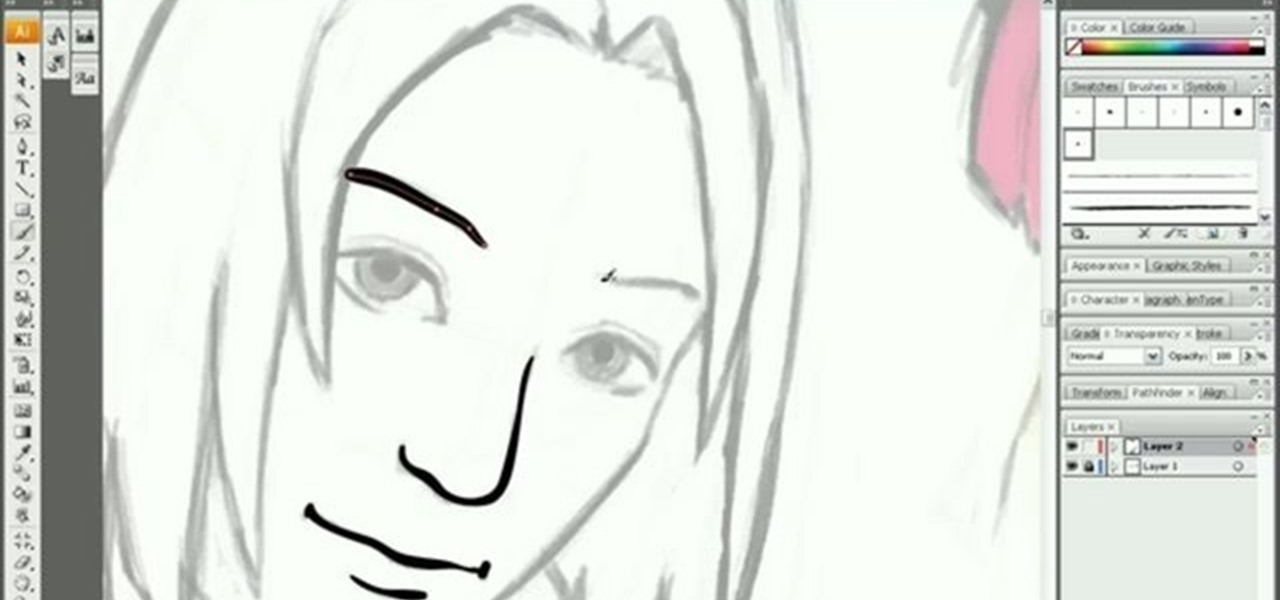
Tutorial/demonstration showing how to use Calligraphic Brushes in Illustrator to do line drawings (inking) and then import them into Photoshop as a Smart Object to retain the vector quality of the line art. By using clipping masks, we can change the color of the line art without rasterizing.

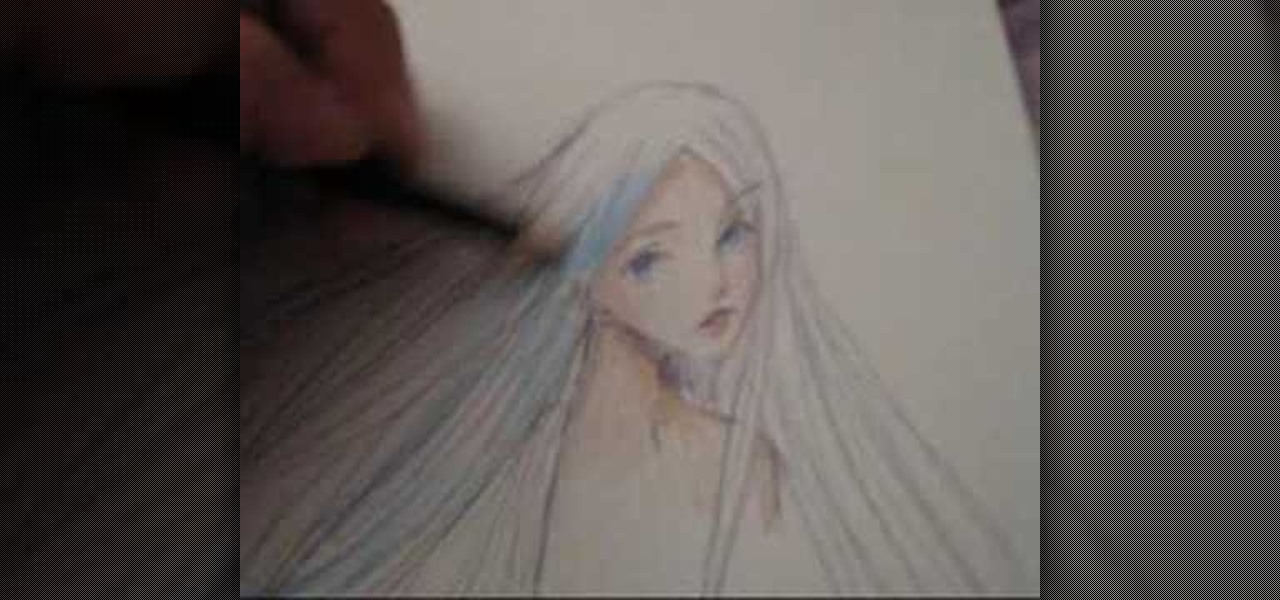
In this video we learn how to draw long manga hair. First, draw straight but curved lines going out from the top of the head to the side of the paper, giving the girl really long hair. Then, draw the other side of her head with long lines that drift down to her shoulder area. Draw in a lot of lines that are not straight, because that won't look real. Just draw them slightly curved so they look like they are falling down from the head. Then, draw on the lines to the forehead for the bangs and ...

In this tutorial, we learn how to draw a plan view. To start, you will draw a horizontal line with a point in the middle. After this, draw lines from the point where you want to draw the buildings in the picture. Then, draw boxes inside the lines that you drew out. Then, you will draw in vertical lines on the bottom of the page, which will act as the ground. Around this, draw circles with scalloped edges for the trees. From here, draw in the rest of the details for the buildings. Finish this ...

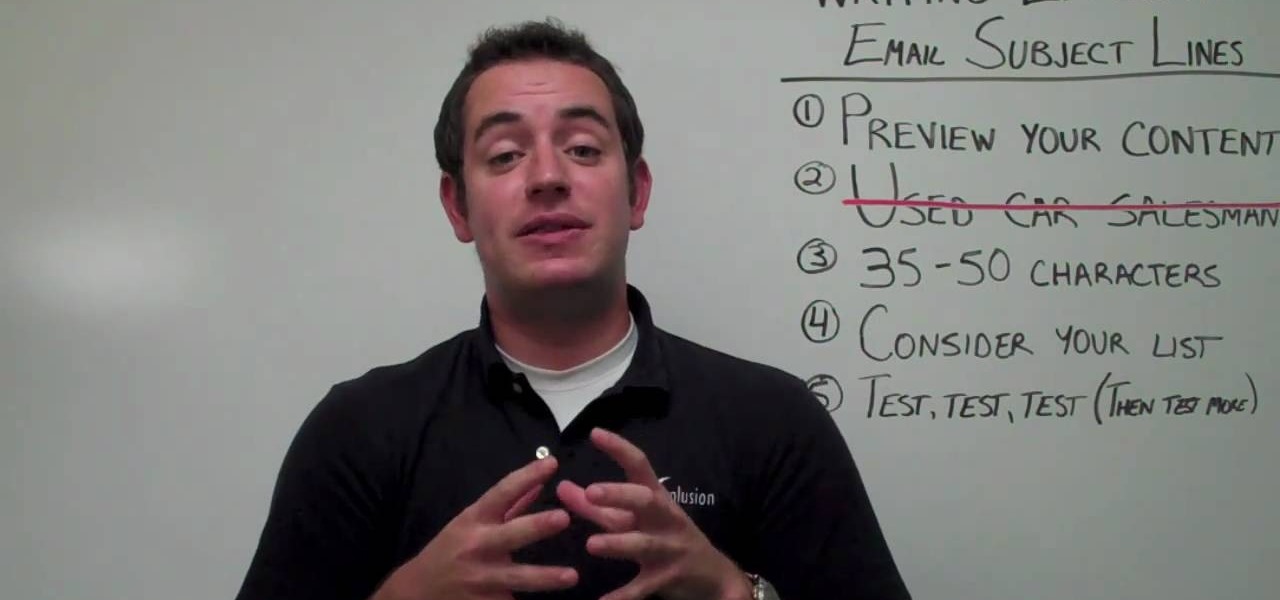
No matter what kind of business you have, small or big, online-based or not, when you're dealing with email marketing, the number one things your targets will see is the subject line, and if your subject line looks spammy or uninteresting, it's not going to help you one bit.

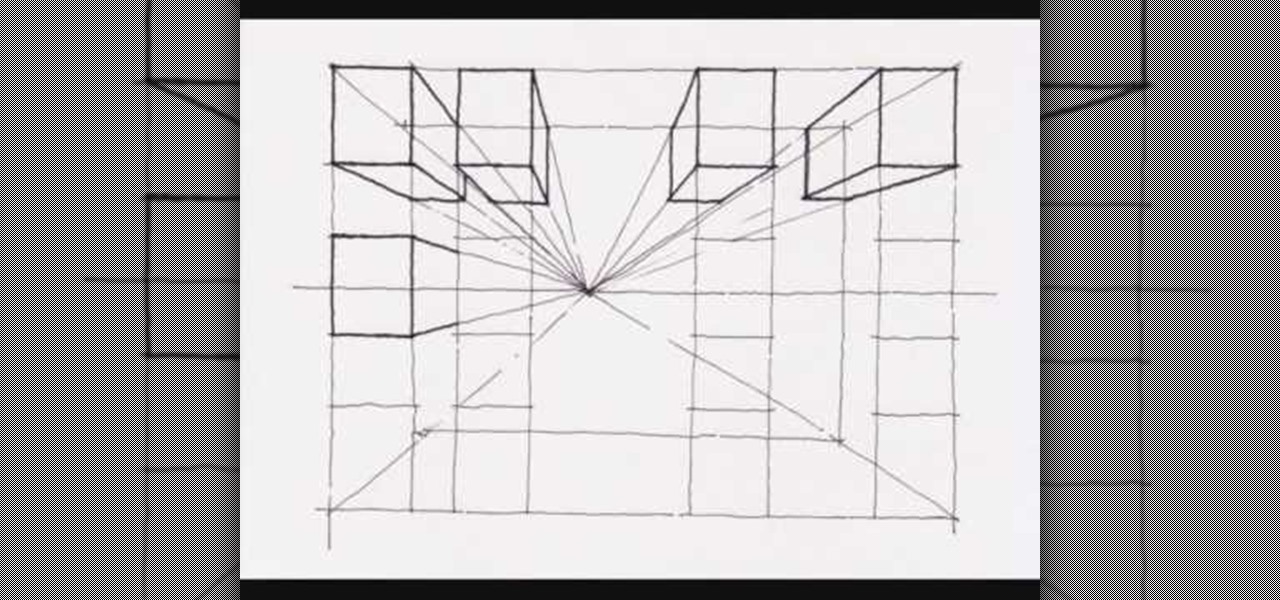
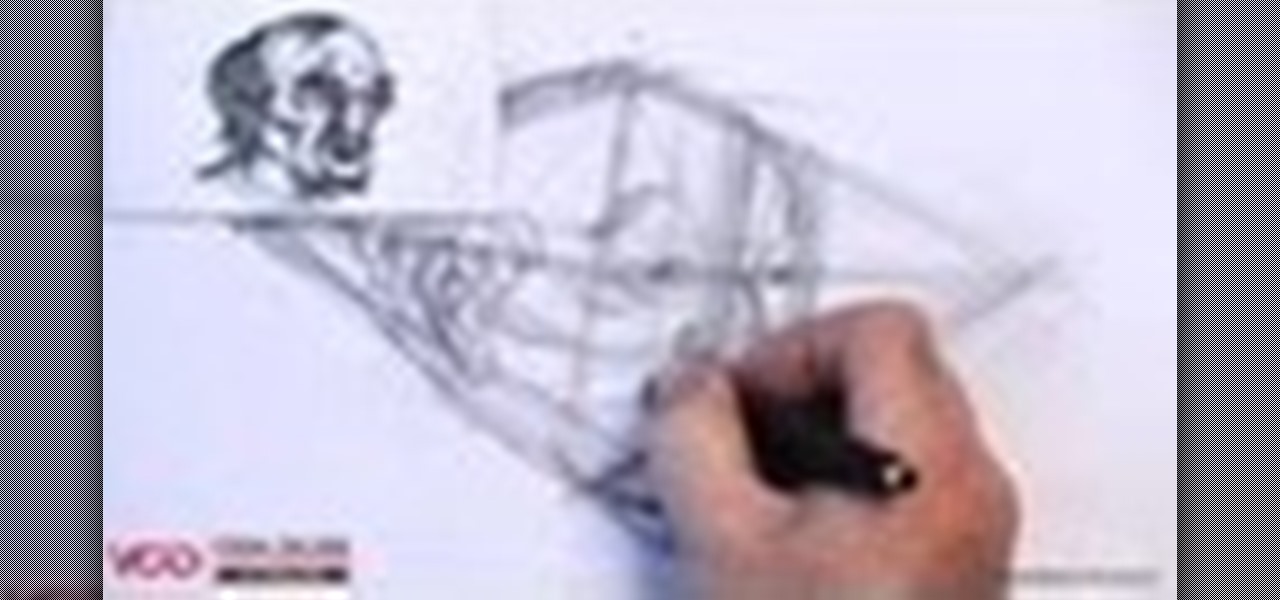
This video demonstrates how to create a one point perspective drawing. You begin by making a horizon line across your paper and adding diagonal lines from the corners which will all converge at a single point along your horizon line. You can then create boxes by creating squares or rectangles around the lines extending from the central point. The outer edges of your rectangle can further be connected to your single point in order to create a 3-dimensional shape for the boxes and cubes which y...

Simon Leach teaches us how to do spiral fluting in this video. Start on the side of the bowl with a sharp edge. Then, push the edge down from the top until you reach the bottom half of the bowl. Create line next to line very close to each other, not overlapping them. Continue to do this slowly until you have reached all the way around the bowl. Make sure your lines are all equal to each other, they don't have to be perfect though. After you have made lines all the way around, your bowl will b...

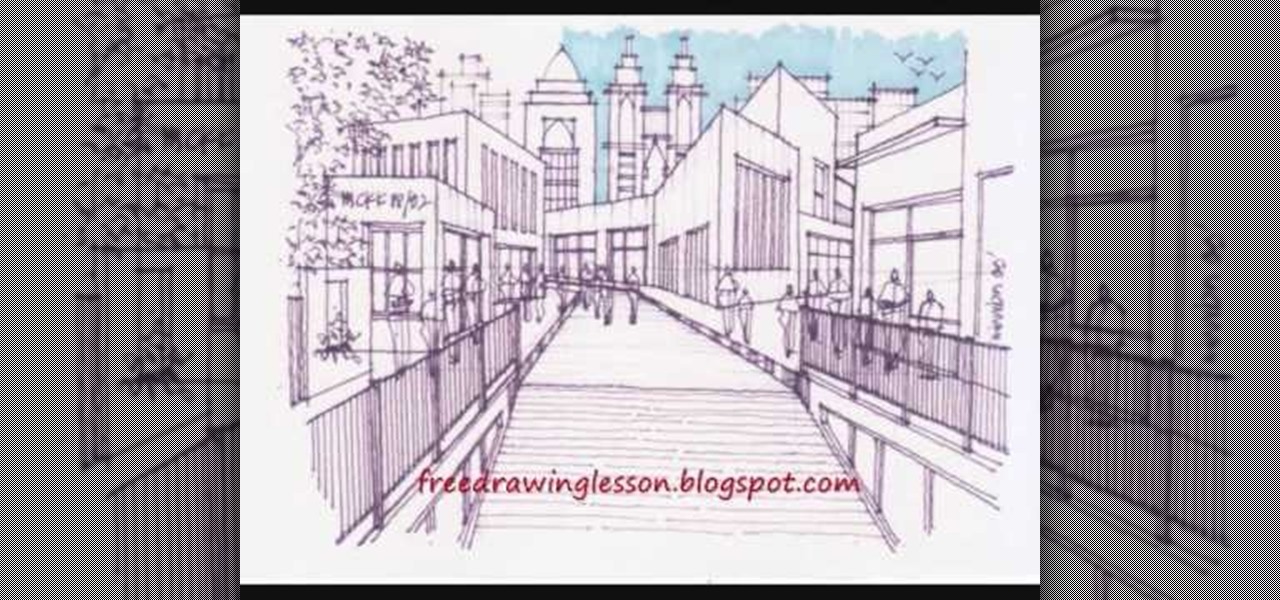
In this video, we learn how to draw and color a city with art markers. First, draw a horizontal line as your reference point to where the city buildings are going to go. Make a point in the middle as the background line. Now, start to draw in the buildings around the middle line, making diagonal straight lines, then drawing in the details of the buildings. Draw in taller buildings in the back, then start to draw the larger details in the front of the drawing. Add in shading and details as nee...

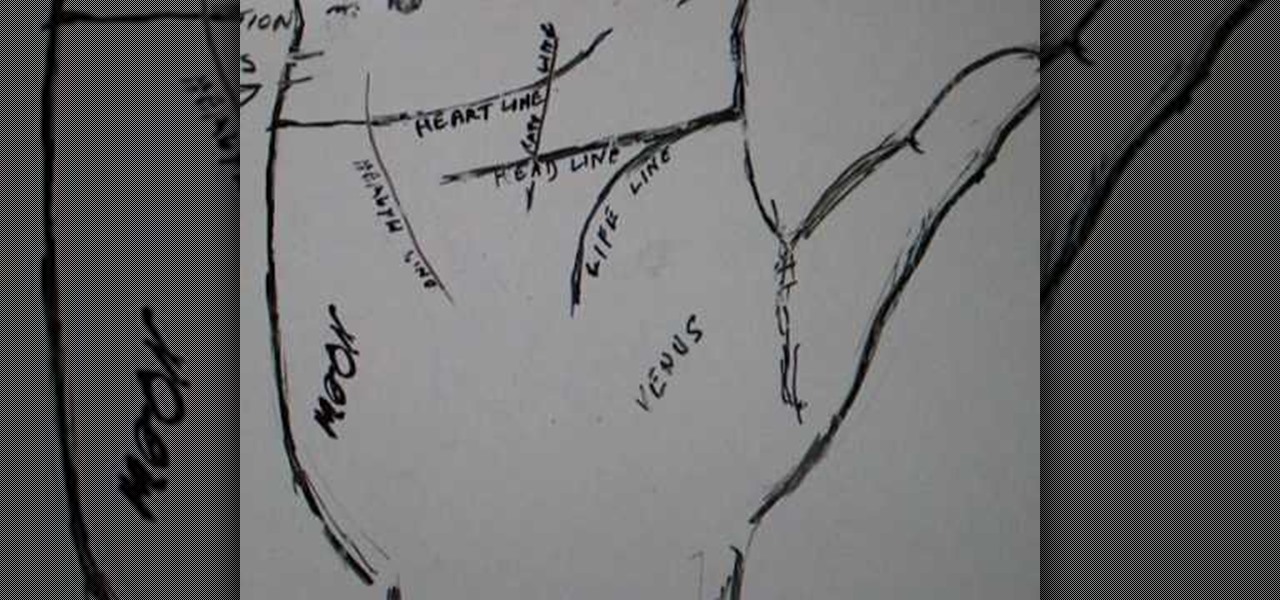
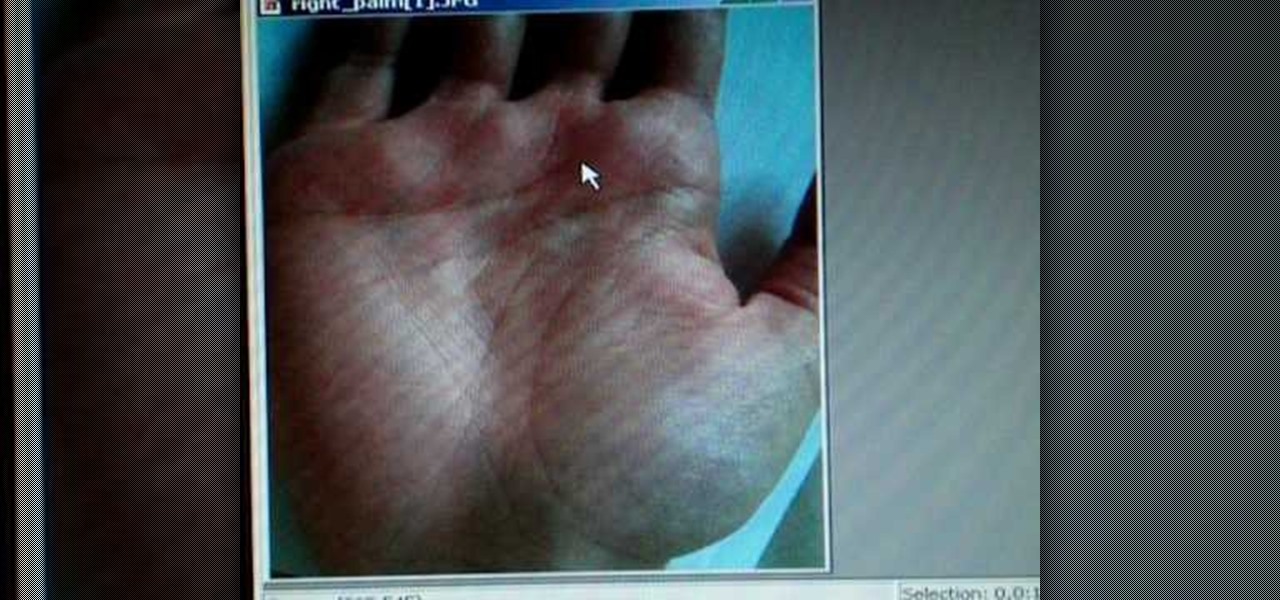
New students of palmistry might get thrown in a reading when they encounter a broken line, or one that changes. Peter John demonstrates how to give a good palm reading even when the head, heart or life lines change or break on the hand. He also shows how to detect a change in your subject's future

A short life line on someone's palm doesn't necessarily mean your subject is going to have a short life. Palmistry guru Peter John explains the relationship between a short life line and the mount of Venus when giving a palm reading.

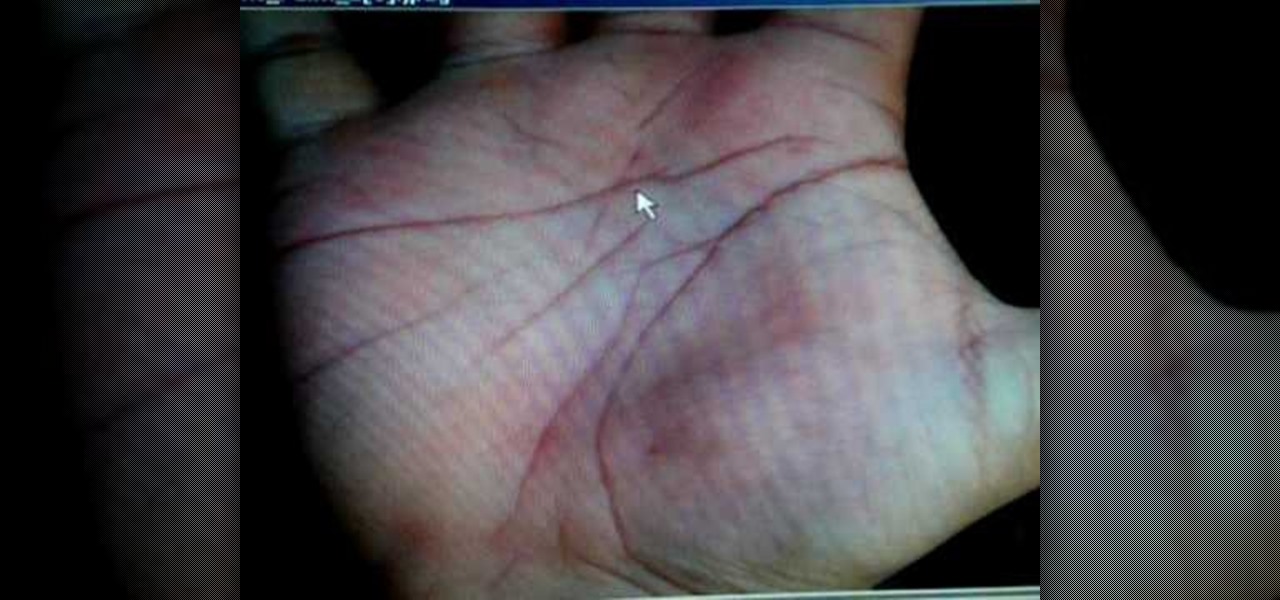
Peter John, an expert in palmistry, walks you through a sample reading of someone's hand. He explains how to interpret the various parts of the palm, such as the life line, head line and heart line, to give a full and accurate palm reading.

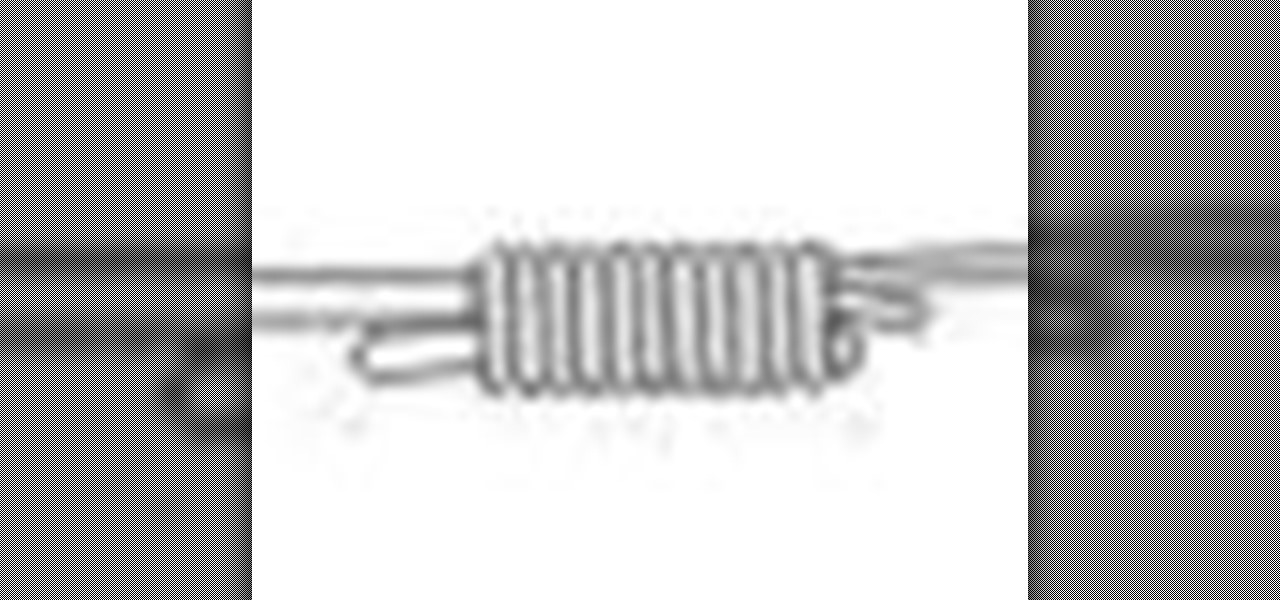
Next time you're out on the dock, try out this fishing knot. The Albright knot is known for it's adaptability to inequality. This is definitely a fishing line knot you should know! Watch this tying animation to learn how to tie it.

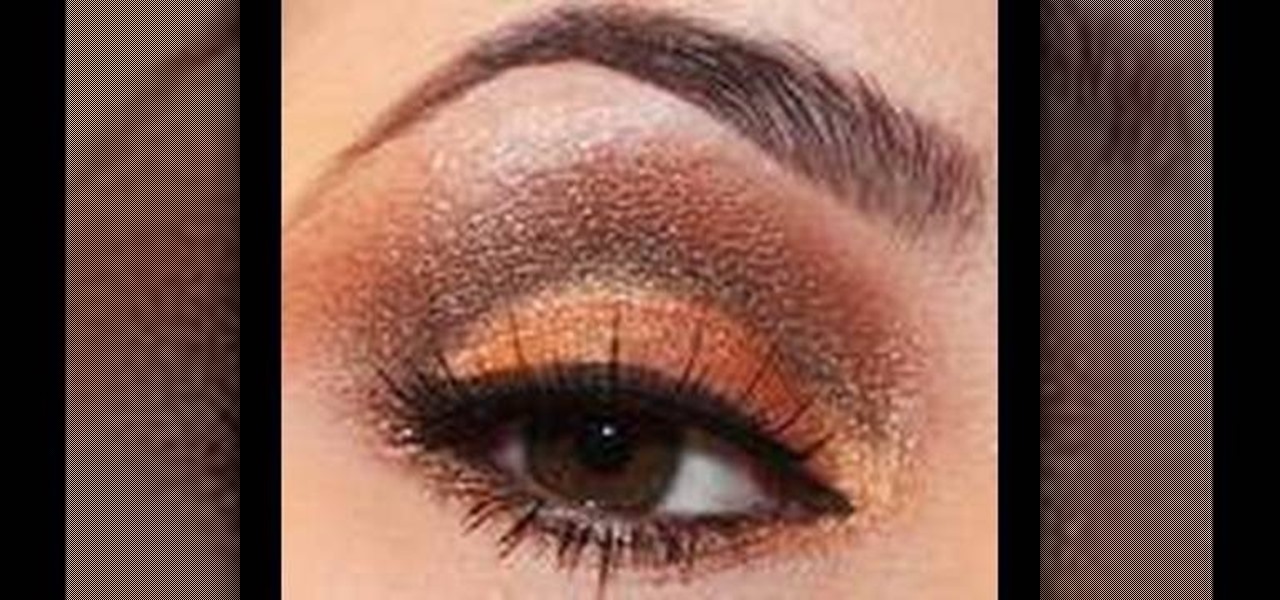
This video illustrate us how to create a cut crease golden brown eye look. Here are the following steps.Step 1: Apply a primer on the upper eyelid and the lower eyelid.Step 2: Take a mat brown eyeliner and draw and outer round smooth line which folds inward to the inner eye.Step 3: Now take a brown eyeshadow and apply it on the upper lid above the line. Smudge it well.Step 4: Now take a golden eyeshadow and apply it on the upper lid below the line and smudge well .Apply the eyeshadow on one t...

This video is a step by step guide to navigating using a compass and map. The clip shows a field trip with the instructor showing youngsters how to navigate their way round the Wicklow Mountains in Ireland. The compass has to be held firmly to the map so that the north can be seen. The compass can then be placed against the chest and you swivel round until the line on the wheel and the line on the outer disc line up. The grid lines on the compass must run parallel to the gridlines on the map....

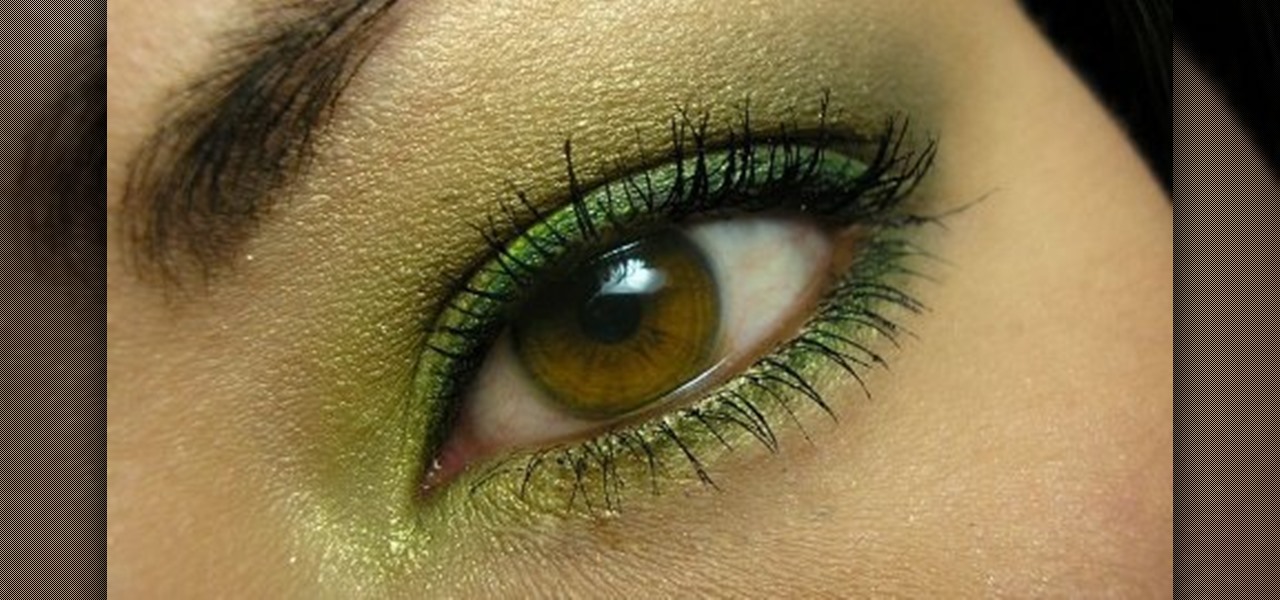
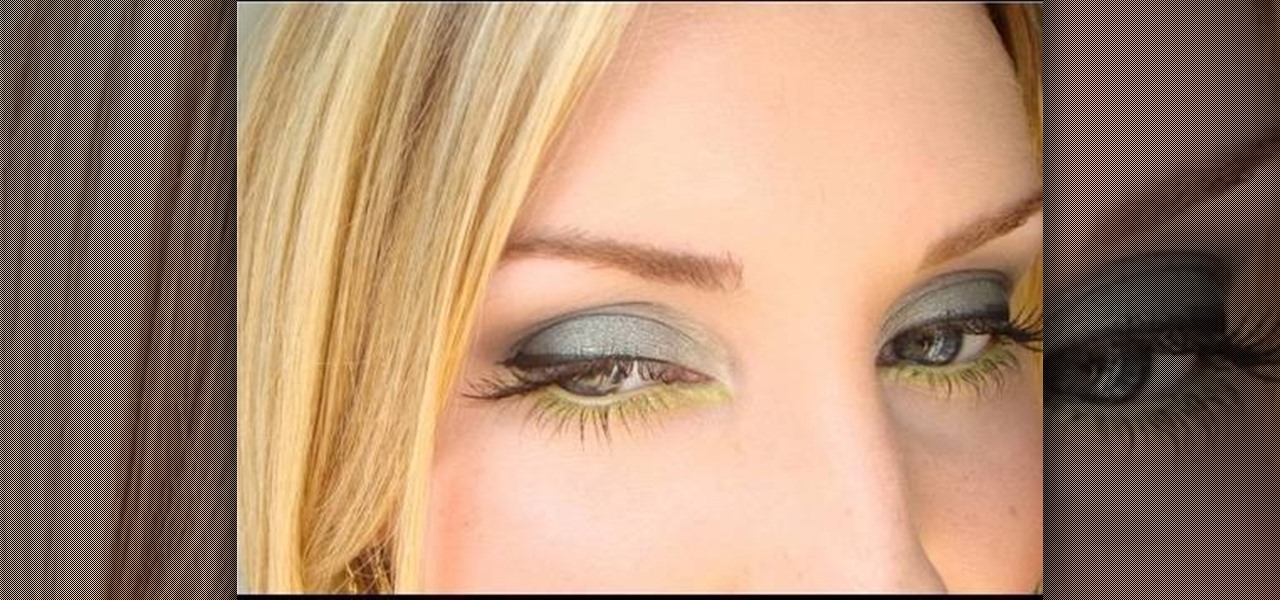
Tiffany D from Makeup by Tiffany D as seen on YouTube teaches how to apply a smoky fall green eyeshadow look to eyes. Apply a creasing product to the eyelid, and a black eyeshadow base then blend with a blending brush. Apply the first shade of green eyeshadow to lower middle and center of eyelid. (Can apply second green eyeshadow color if desired to outer corner eyelid). Apply the third lighter green eyeshadow color in the tear duct area, sweeping upward. Apply the fourth eyeshadow color in t...

Learn how to get Kim Kardashian's Pussycat Doll makeup look. - Take MAC's Metal X which is a cream metallic eye shadow and apply it with your finger all over the lid up to the crease.

This how to video teaches the hip hop line dance called the "Booty Call." This dance is often done to "Gyrate" by Da Muzicianz. Follow the steps in this tutorial and you'll be dancing this sexy line dance in no time.

Want to learn how to line dance like a cowboy? This country western tutorial teaches the basic steps of line dancing such as the jazz waltz, the grapevine and the kick ball change. Follow these simple steps and you will be slappin' leather in no time.

The march towards mainstream adoption of eSIM technology got a massive boost with the arrival of the iPhone XS, XS Max, and XR. We're now one step closer to ditching physical SIM cards altogether. If you're on the fence about this new technology, you may be surprised by the benefits it brings to the table.

As you all journey along with me on my challenge to become some sort of Instagram expert, let me share with you one hack that is currently helping me out a lot. If you've ever wanted to put a line break in your posts, then keep on reading.

This is a little c++ program that I thought would be handy in the future. Although, I apologize in advance for any errors in the code since I haven't had the chance to compile it yet. Anyway, please if you are a script kiddie please do me a favor and at least read this article fully. :)

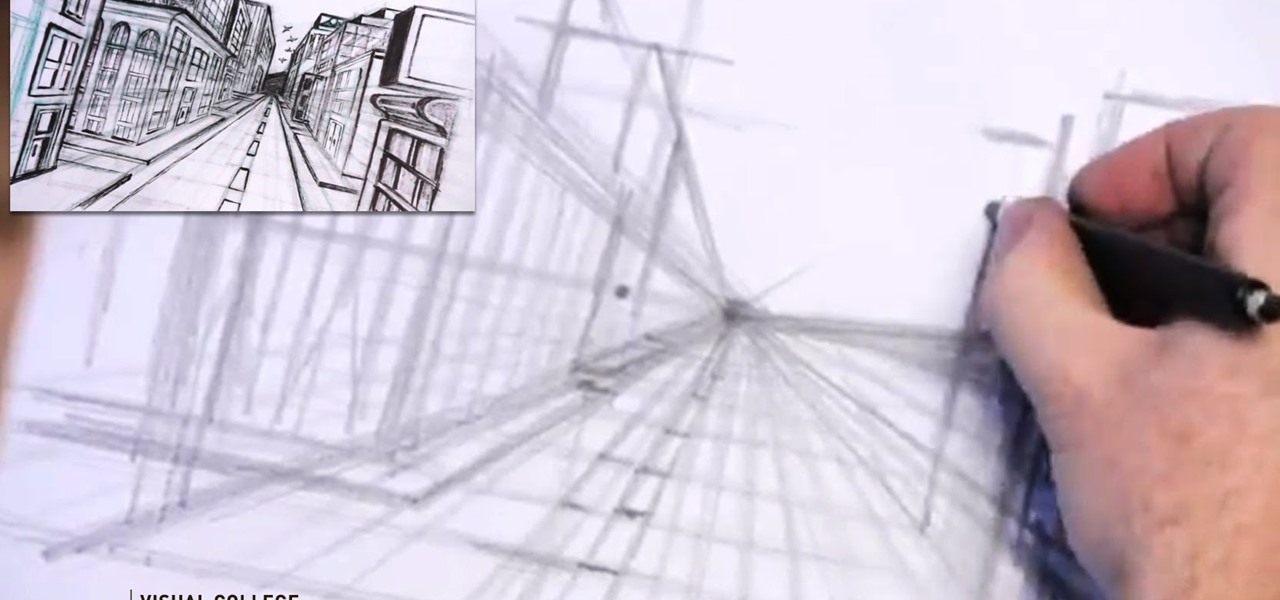
Video: . Step 1: Today We Are Going to Draw a City in One Point Perspective -- Buildings in the City Going into One Point Perspective. Let's Start Our Drawing with the Vanishing Point and Horizon Line. In Order to Get the Feel of the Drawing We Need to Determine Where Vanishing Point Will Be. Feel Free to Improvise and Change It Depending on What You Want to Achieve. Start Mapping Lines in.
I've noticed that a few people using the crypto-currency, Bitcoin are having issues importing private keys to their Bitcoin wallet. This is easy to do and doesn't require anything other than your Bitcoin client/daemon (as of ver0.6.0 ) and the command line.

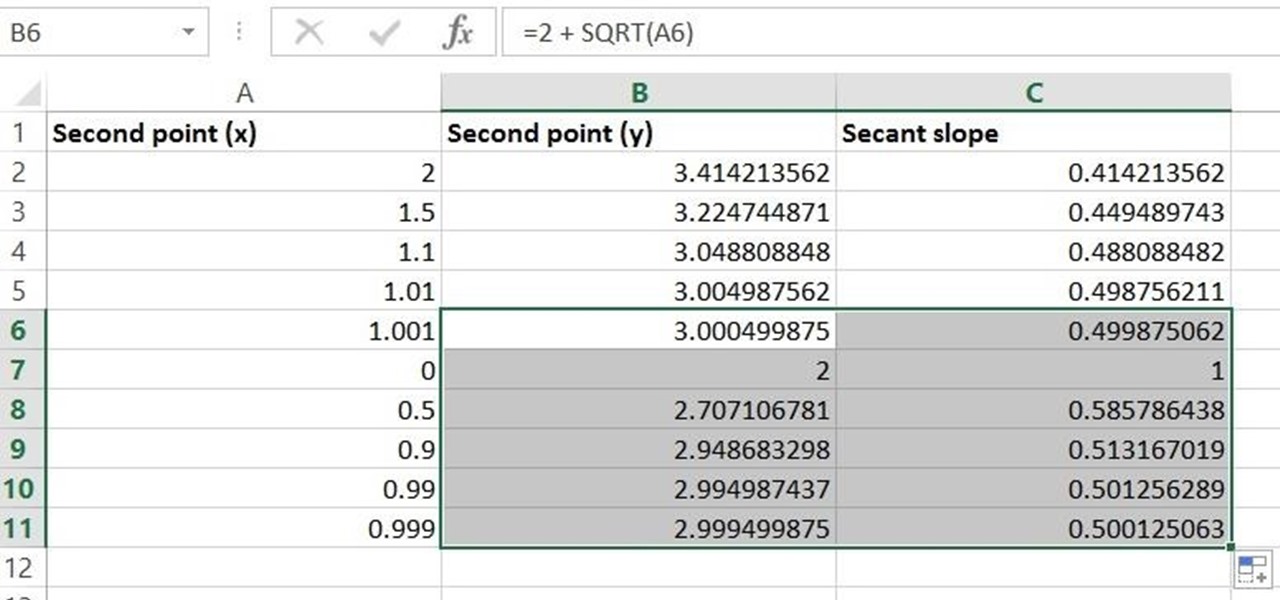
Given a function, you can easily find the slope of a tangent line using Microsoft Excel to do the dirty work. That is to say, you can input your x-value, create a couple of formulas, and have Excel calculate the secant value of the tangent slope. This is a fantastic tool for Stewart Calculus sections 2.1 and 2.2.

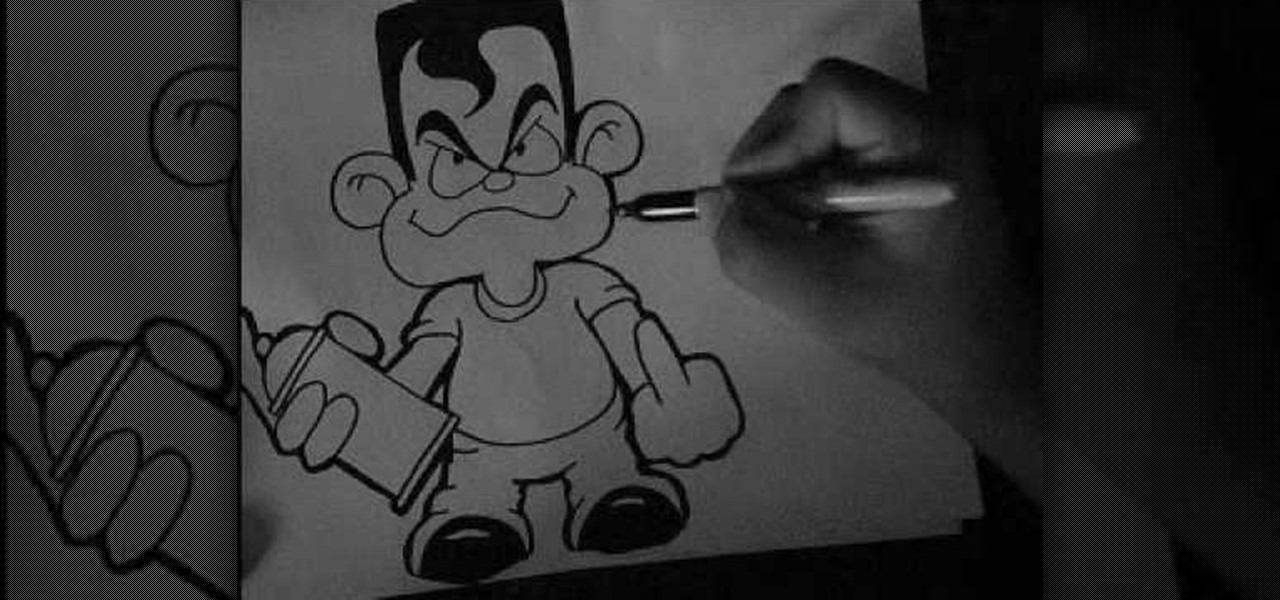
In this tutorial, we learn how to draw a graffiti cartoon character on paper. First, draw the outline of the head and then draw in a waved line for the mouth. From here, draw a circle nose and then round eyes with curved eyebrows. Draw big round ears on each side. Then, draw in the hand holding a spray paint can and draw the body around this. The character should be wearing a short sleeved shirt and the other hand should be flipping off the screen. Draw in the pants and shoes, drawing lines o...

In this tutorial, we learn how to crochet a jumbo pinwheel swirl stitch. This has the same line count as the smaller, but it will have larger lines that the normal. You will be creating a larger distance between the two colors. Start off at the bottom wrapping it twice around your finger, then pulling it over and pushing it up. From here, you will do sets of eight to create the pinwheels along the design. After this, you will start to create the next level, which will be with a different colo...

This video gives an awesome makeup tutorial for the Queen of Hearts from Tim Burton's version of "Alice in Wonderland". In Burton's film, Helena Bonham Carter plays the vicious Red Queen, a character not to be messed with. Even at Halloween. Also, you'll get some costume ideas to help compete your Queen of Hearts costume. See how to transform yourself with all of the following products:

Just in case you've been living under a rock (AKA without internet) for the past couple of days, here's a quick update: "Gossip Girl" star Taylor Momsen has officially become the new face of Madonna and her daughter Lourdes' new fashion line, Material Girl.

In this tutorial, we learn how to create a burnt burgundy contoured face and eye look. First, apply a primer to the entire eyelid as a base. Next, apply a shimmer pink eyeshadow with an eyeshadow brush. Next, line the lash line with black eyeliner, and then blend a burnt burgundy eyeshadow onto the outside corner of the eyelids. Circle the brush so the colors all blend into one but will still have the darker color on the outside. Next, take the same burnt burgundy color and pant it onto the b...

Is all that sunbathing you did as a college freshman finally catching up with you? Around your 30s and 40s all the sun damage you have accumulated over your lifetime finally starts taking its toll, resulting in a sudden influx of fine and deep lines, sagging skin, and mottled texture.

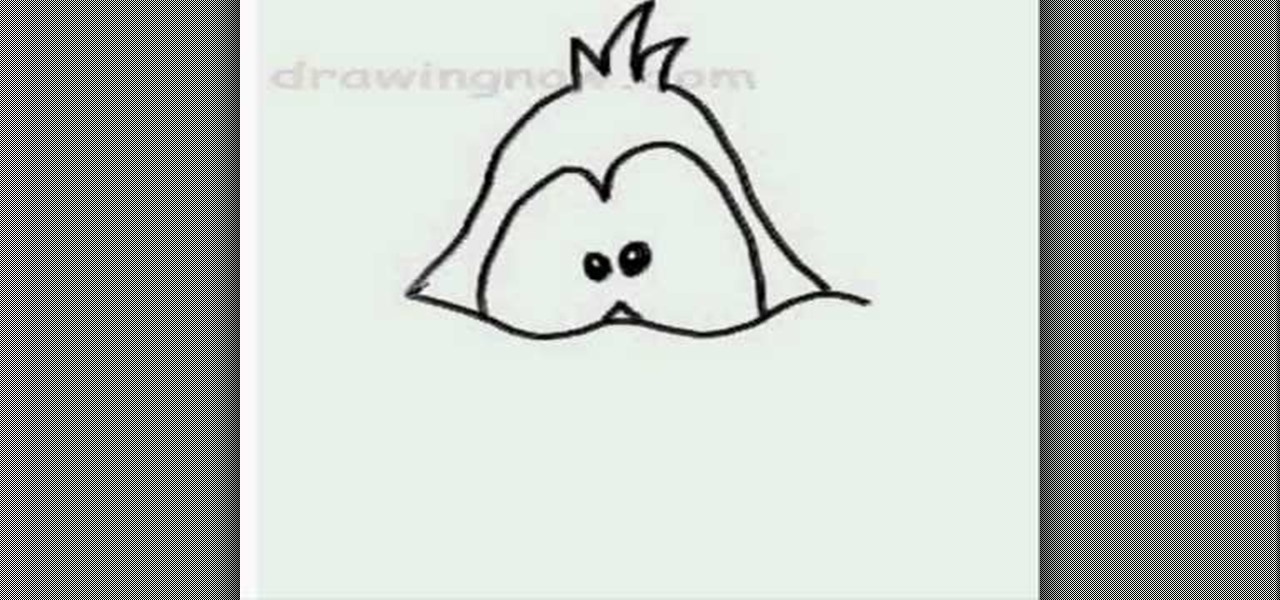
First of all you have to draw the two big eyes and a curved line supporting them. Now draw and darken the two eyeballs. Draw the top portion of the head and make some curves of hair at the top. Draw the round cheeks on both sides. Now you have to draw the round beak and the mouth as shown. Then draw the narrow neck and then draw two lines around it. Draw two nostrils over the beak and then also draw the two eyebrows. Now color the drawing as shown. Fill in black color in the face and neck. Le...

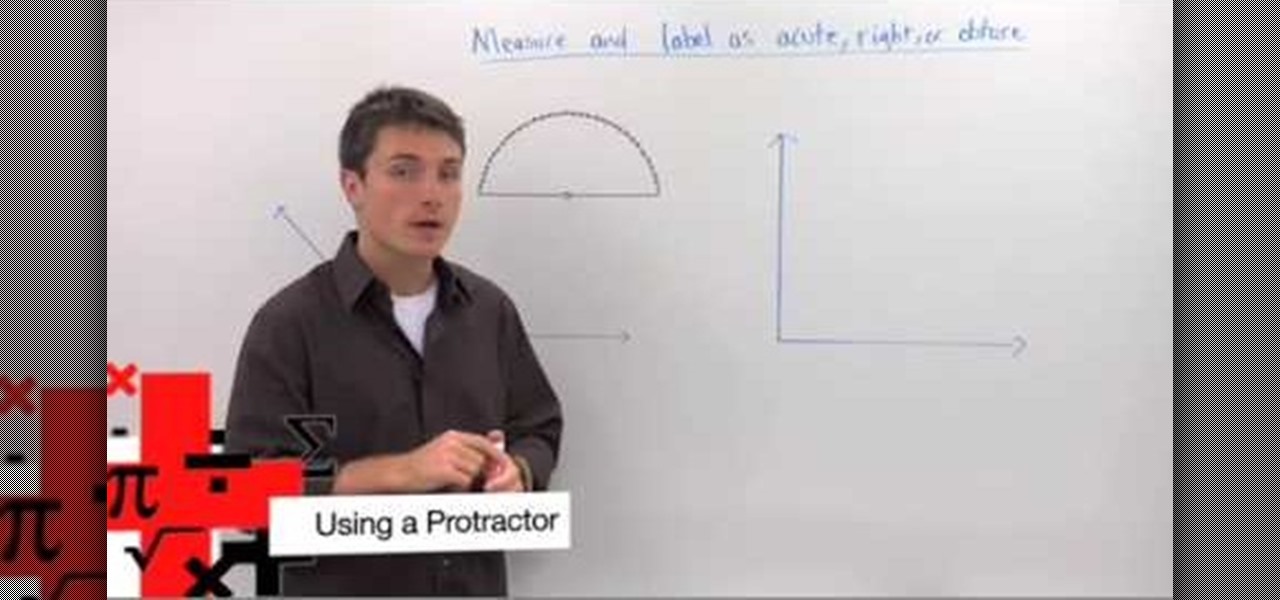
This video in the Education category will show you how to use a protractor to measure an angle. This video is from Brightstorm. In Geometry it is important to know how to measure an angle. This is a very simple and easy process. In order to measure an angle, you will need a protractor. Every protractor has a base and a center point marked on the base. You will put the center point on the vertex of the angle. Then align the base line of the protractor perfectly on one side of the angle. Now ch...


