In this video from thedarkwanderer we learn how to footnote your references in a paper. For this you need a list of your references used. Place a superscript right after the last word that you want to acknowledge. Then place the note proper at the bottom of the same page. Put the footnote numeral slightly raised followed by the note proper. Make sure that the superscript number corresponds to the number of the footnote. Keep the footnotes flush with the paragraphs of your text. Footnotes comi...

The video begins with a finished fence being shown as an example of what your final product should look like. The first step is to lay out straight lines with string to create the outline of fence parameter. To set the first post you must dig a five inch hole in the ground which the post is placed in. The post will be set along the string line spaced out about four inches evenly along the parameter. the holes must be filled in with rock or cement to set them securely. You must then nail board...
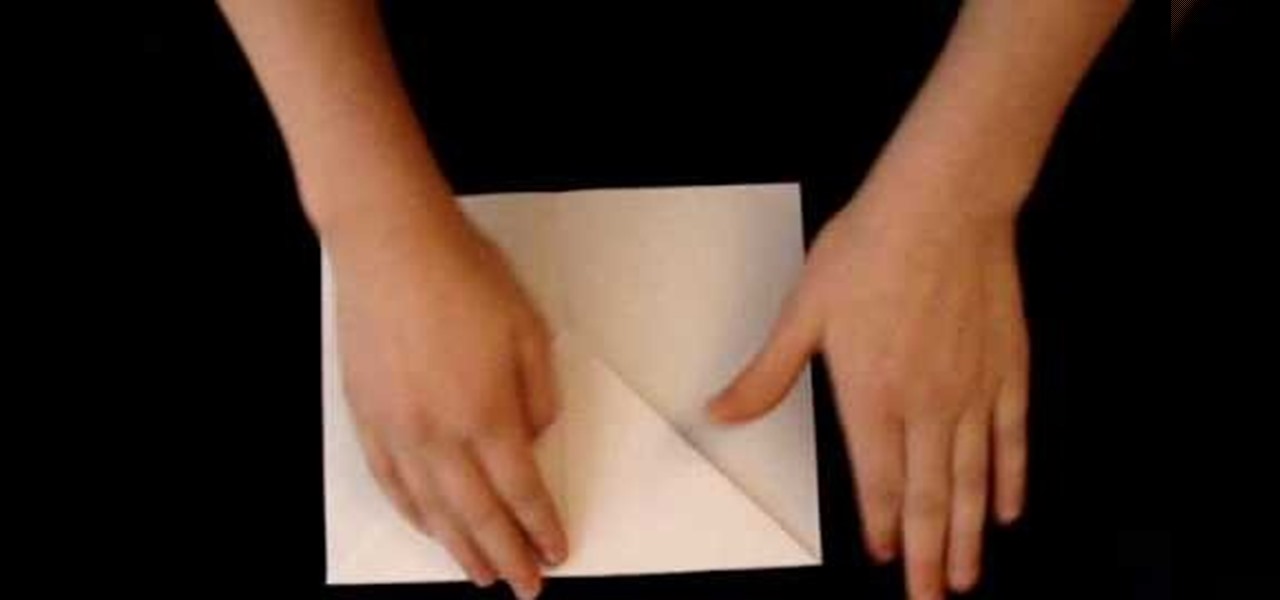
In this tutorial, we learn how to fold a basic paper airplane. First, fold the paper in half and make a crease. Next, unfold it and then line the corners with the middle line you just made on one side of the paper. From here, you will fold the paper down until you reach as long as the crease can go. Next, take the point on the side and fold it an inch over next to the point. Then, repeat this on the other side, touching the other point in the middle. Now, take the tip and fold it over. From h...
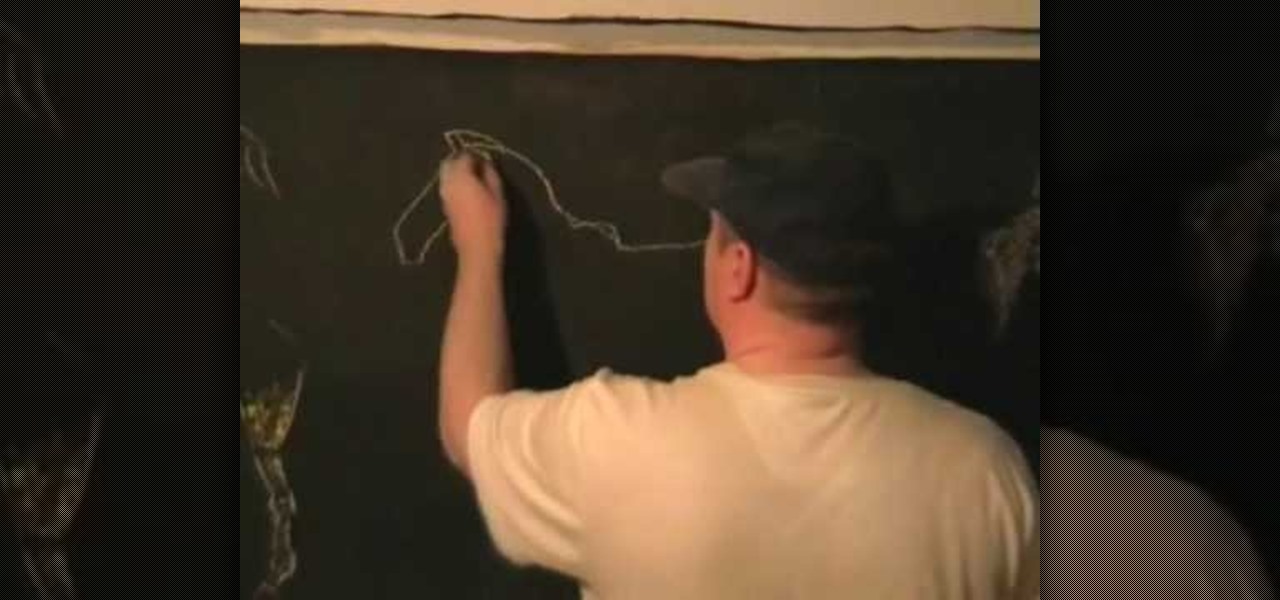
In this tutorial, we learn how to draw a horse step-by-step. First, you will want to draw the face of the horse. You can use intersecting lines in the face so you place the features of the face equally apart. After this, draw the outline for the body of the horse. Once you have this perfected, you can start to add in the hair for the horse. Next, draw in the details of the body and draw the shoes on the bottom of the horses feet. Draw in the tail, then add in shading and other lines to make i...
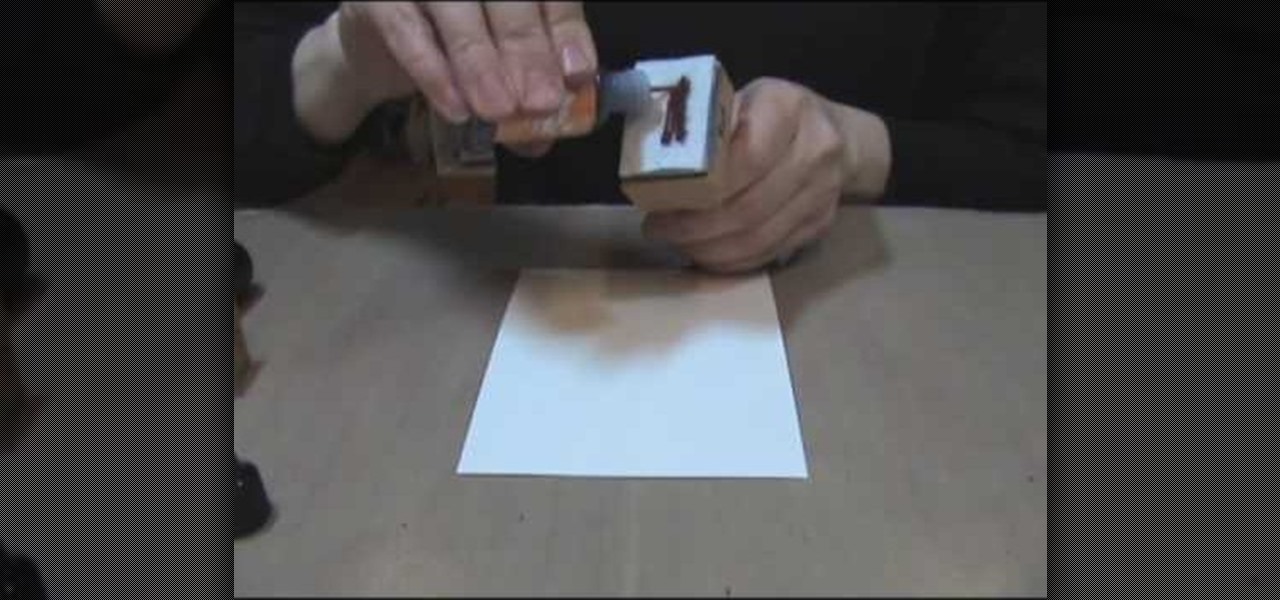
In this video, we learn how to make zebra and tiger prints with Ranger's alcohol inks. First, you will need some alcohol ink in black, gloss paper, a stamp, and felt. Now, take your felt and cut it into small strips. Make lines like a zebra or tiger would have. Next, push these strips onto the stamp bottom, arranging them to look like a zebra. After these are stuck on securely, trim off any edges and make some pointed. After this, you will squirt the black ink onto the bottom of the stamp on ...

This is a video tutorial in the Education category where you are going to learn how to draw an isosceles trapezoid. This video demonstrates how to draw an isosceles trapezoid with a long base (B), a short base (b) and a 35 degree angle. First you draw the long base. Now center the short base at the center point of the long base and mark the end points of the short base with dots. Next draw perpendicular dotted lines from the dots extending upwards. Draw 35 degree angles from either end of the...

In this tutorial, we learn how to use the distance formula for two points. The distance formula is D= the square root of (X2-X1) squared, plus (Y2 minus Y1) squared. It may look confusing, but it's just a derivation of a theorem. First, find the two points that you have and graph them. If you want to know the distance between them, you cannot just count squares if it's a diagonal line. If you remember geometry, you can draw a right triangle over the line to figure out the distance. After this...

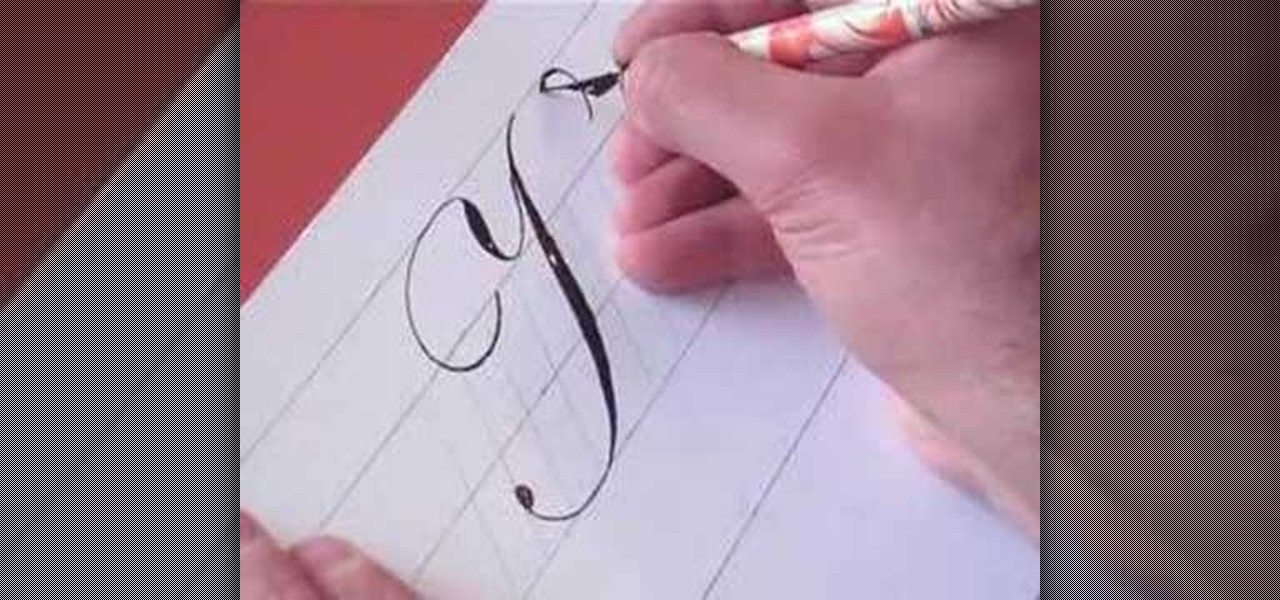
In this video, we learn how to write the letter K in calligraphy copperplate. Start by running your calligraphy pen on the paper going from a thin line to a thick, making a line curved to the left ending with a dot at the end of a small loop. Next, make a loop to drag out across the top on the right hand side and curve it down to make the K letter. Do the same to make the lower case letter, except making a loop for the top of the letter instead. When finished, let the ink dry and you've got y...

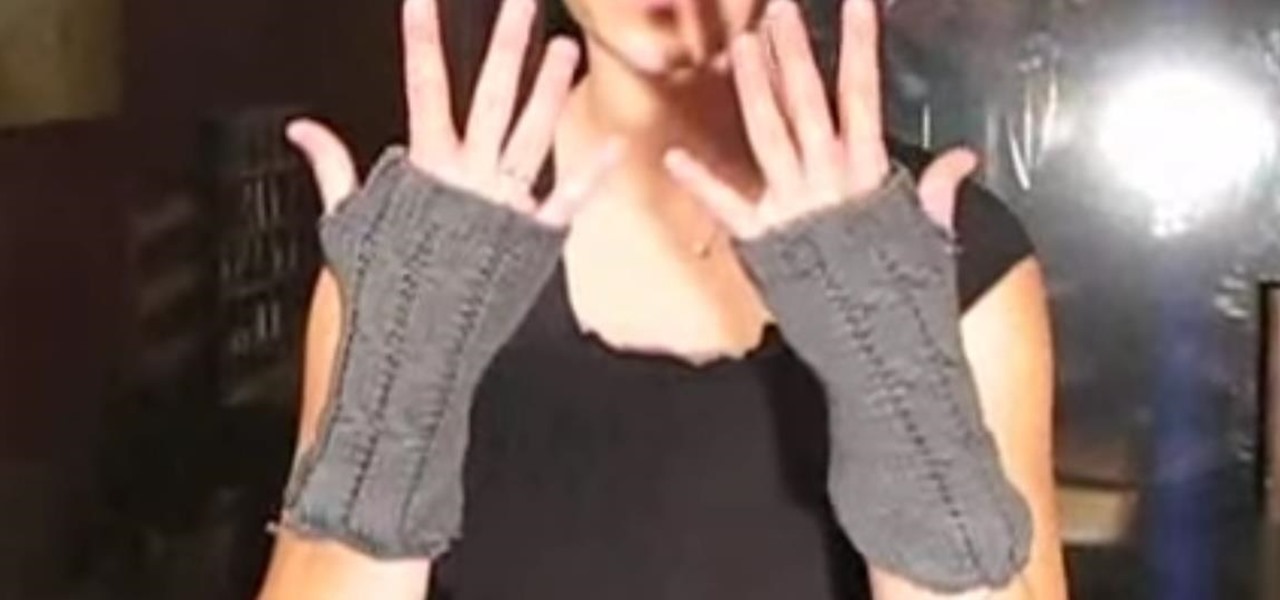
In this tutorial, we learn how to make hand warmers. You can make this out of pockets off of an old sweater. First, grab a piece of copy paper and measure over two inches, then fold it in half. After this, measure down 1.5" and then draw a line where this mark was. After this, cut the piece out and lay the paper on the sweater, then draw a line on the paper for the thumb holed. After you do this, you will cut out the area on the sweater, then sew it around on the sides. When you are done, you...

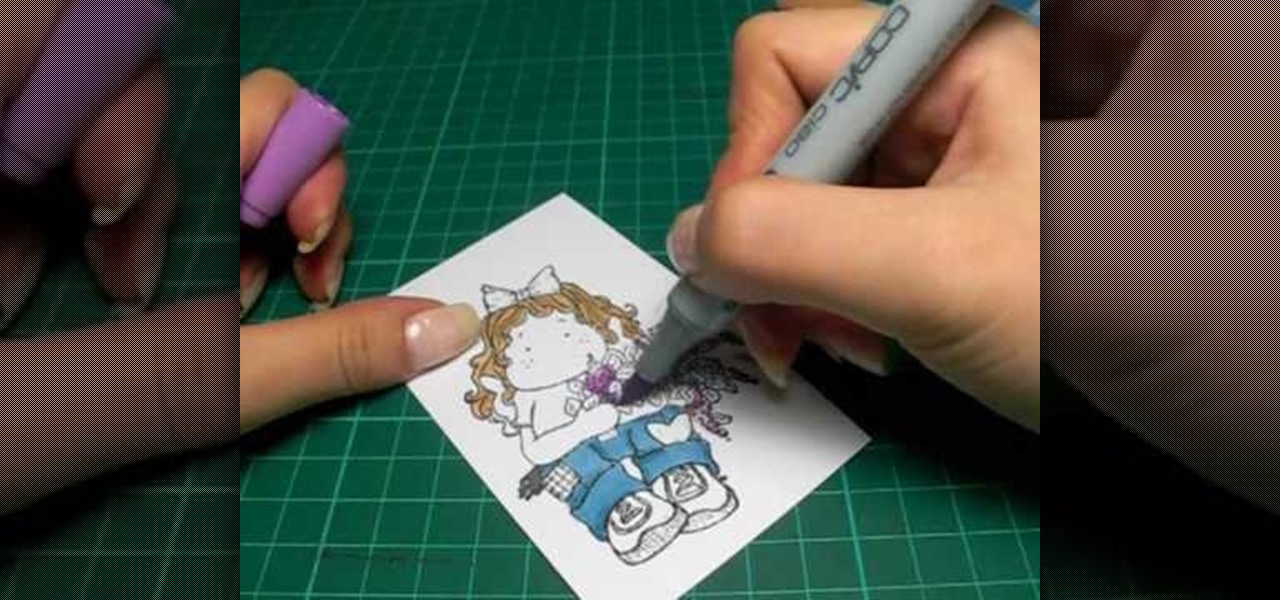
In this tutorial, we learn how to color with Copic pens. First, grab a picture that you want to color with your pens. After this, start to color in the picture with your different colored pens. After you fill in the colors, use a darker colored pen to add in shading and make the lines darker along the sides. Continue to color in your picture, adding shading where you prefer. Add in different colors and make the lines darker when you want them to look more bold. Make sure to add in highlights ...

In this Home & Garden video tutorial you will learn how to build your own windmill with household materials. Materials needed for the windmill are a template, scissors, straw, some yarn, some pennies, a paper cup, rubber bands, pencil, single hole punch, a skewer and thumb tacks. Take the template, cut it out along the solid lines and punch holes on the corners as shown in the video. Now with a thumbtack and a pencil make a nice hole at the center of the template. Fold the template along the ...

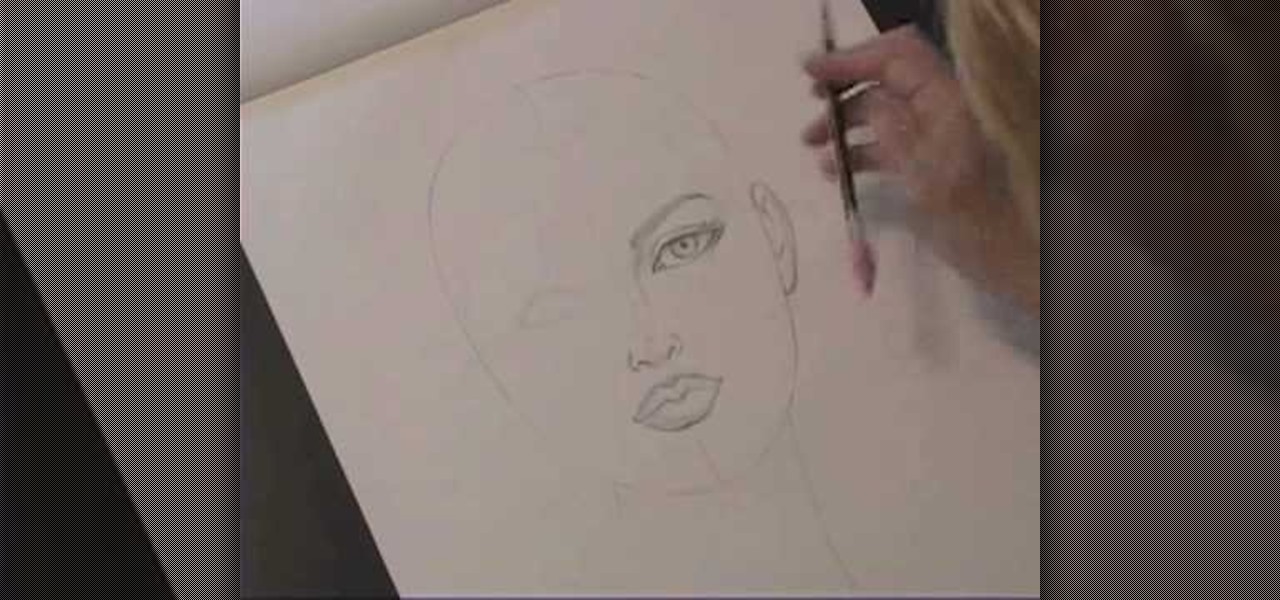
Kathryn Hagen teaches us how to draw female heads in this tutorial. Start with an oval and dissect it horizontally and vertically. Draw in the hairline, as well as the eyes, nose, and mouth. You can measure out where everything should go by using the lines as a reference point. Add details into the eye, then continue on to add more details to the nose, showing the nostrils. Draw more details on the mouth, then define the center of the lip and shape. Draw on the ears, and add a line where the ...

In this tutorial, we learn how to make a small folding box for Easter. First, cut a shimmery white piece of card stock to 6" x 8 1/4". After this, score the paper at 2 and 3/8". Then score again at 2 and 7/8", flip it over and do again on the other side. After this, cut the four corners with score lines off, then fold the score lines that are left. Now, grab an Easter stamp and stamp the inside of the box underneath the top flap. Place a candy inside of the box, then fold it up and place an E...

In this tutorial, we learn how to draw blood from an arterial line. First, you will need a catheter, tubing, regular iv tubing, 10 cc syringe, transducer, fluid bag, and iv saline bag. First, waste a couple ml's of blood by turning the stock cock off to the system and draw back a couple liters of blood. After this, turn the stock cock off the syringe and take out the syringe, then add a new one. Now, take your sample of blood and draw out 5 ml of new blood. Take out the syringe, then cap it a...

In this video, we learn how to create a gold and dark blue eyeshadow look. To start off, apply a primer to the top of the eyelid. Next, apply a gold eyeshadow to the entire eyelid, adding more on the crease of the eye going down to the bottom line. Next, brush a dark blue eyeshadow along the crease of the eye onto the outer edge of the eye. After this, apply a black eyeshadow to the outer edge of the eye and then blend the colors together. Next, draw black eyeshadow onto the bottom of the eye...

In this video tutorial, viewers learn how to align and group objects, and use gridlines. Begin by clicking the Insert tab and select a shape from Shapes. To align the object, go to the Format tab and select the Align menu. From there, users are able to align the selected object in any direction. In the Align menu, users are also able to add gridlines by selecting View Gridlines. To configure the grid-line options, click on gridlines Settings. This video will benefit those viewers who use Micr...

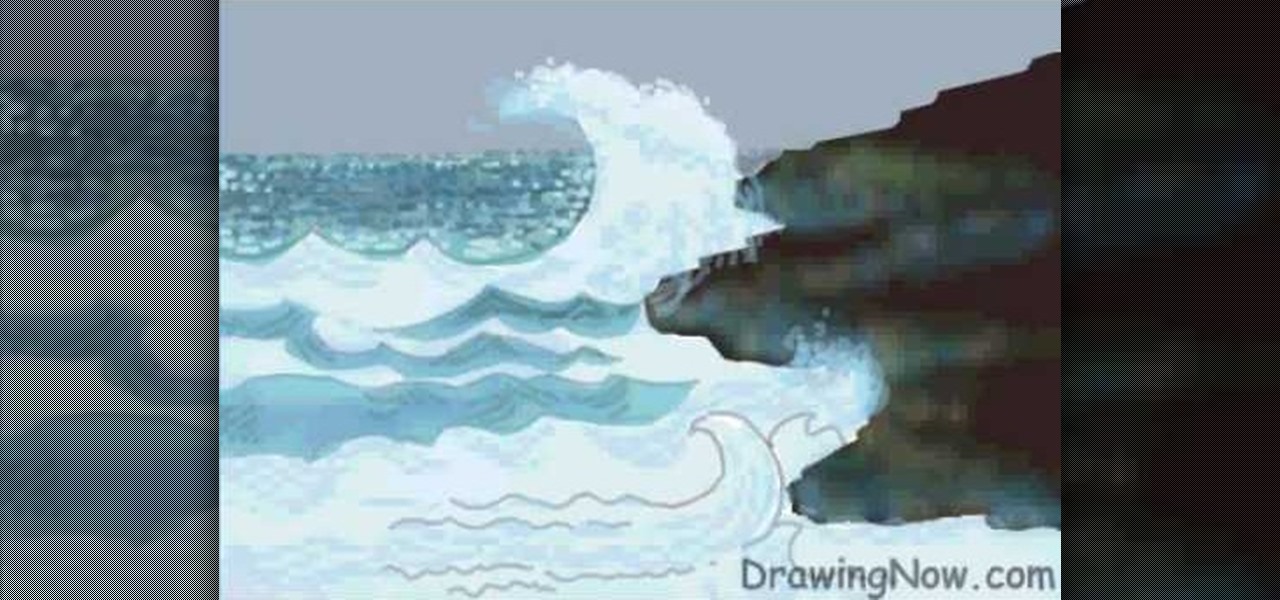
In this video tutorial, viewers learn how to draw ocean waves. The image drawn in this video has water waves clashing into some rocks on shore. Begin by drawing the outline of the rocks on the right side. The horizon line of the image is about 3/4 above the rocks. Then draw a large wave that passes the horizon line. Now paint the sky in gray and paint the rock in shades of black and gray. Paint the waves and slowly build the colors. Use the pencil tool with transparent color to fill in the wa...

The pop rock group "Silver Chair" may have popularized walking in straight lines, but honestly, if all you did was walk in a straight line you'd end up right back where you started, which would make for one boring life.

Don't worry, while this episode of "Whitney Sews" does indeed teach you how to create a bubble skirt, we're not talking about the haute couture kinds featured on Alexander McQueen's last runway show (God rest his soul) and on other catwalks, ballooned out like a pure sphere and making even the skinniest size 00 models look like they're packing some in the back.

Want to know how to perform the bass line from the Police's "Every Breath You Take"? See how to play it with this free video bass lesson, which presents a complete breakdown of the song's bass line. While this tutorial is best suited for intermediate players, bassists of all skill levels can play along given a little time and effort. For more information, and to get started playing this classic Sting song on your own bass guitar, watch this how-to!

Learn how to find the first derivative in calculus. From Ramanujan to calculus co-creator Gottfried Leibniz, many of the world's best and brightest mathematical minds have belonged to autodidacts. And, thanks to the Internet, it's easier than ever to follow in their footsteps (or just finish your homework or study for that next big test). With this installment from Internet pedagogical superstar Salman Khan's series of free math tutorials, you'll learn how to find the slope of a tangent line ...

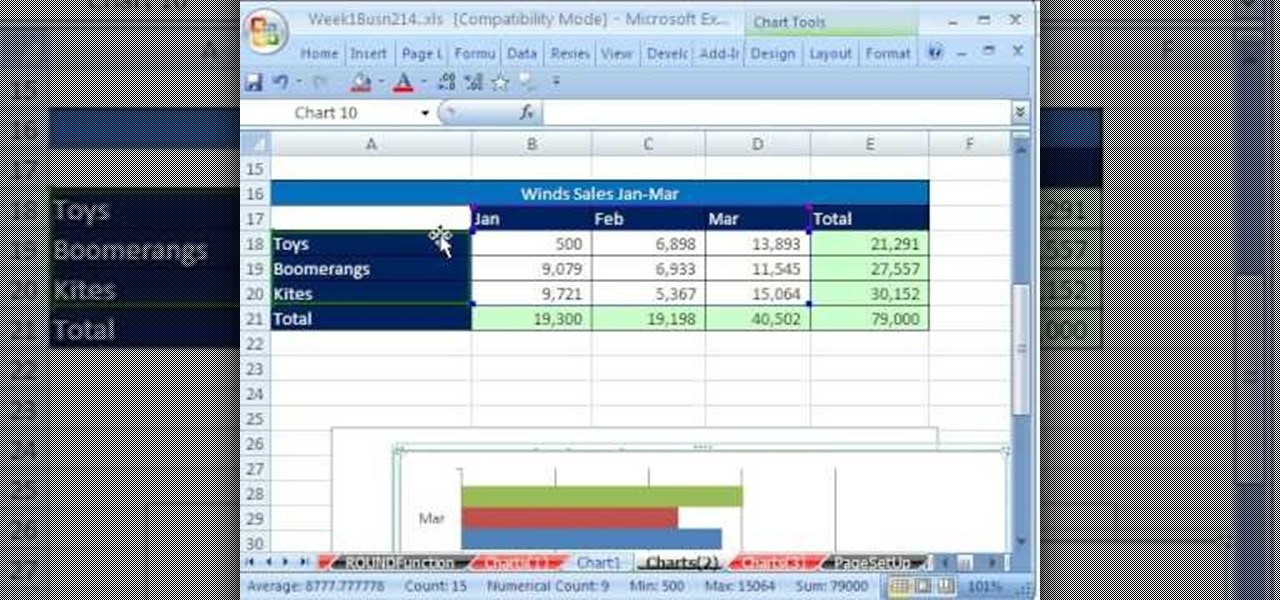
Whether you're interested in learning Microsoft Excel from the bottom up or just looking to pick up a few tips and tricks, you're in the right place. In this tutorial from everyone's favorite digital spreadsheet guru, ExcelIsFun, the 5th installment in his "Highline Excel Class" series of free video Excel lessons, you'll learn how to create seven types of charts — X-Y scatter diagrams, pie charts, column charts, bar charts, stacked bar charts, line charts, and column and line chart combined. ...

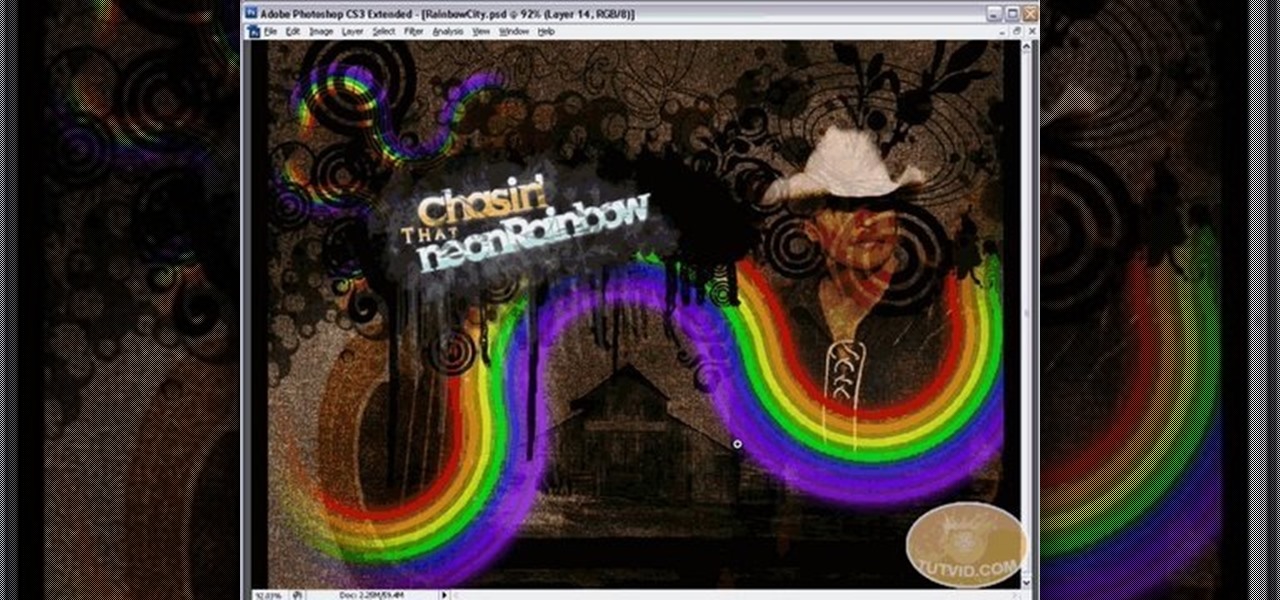
In this brief tutorial brought to you by TutVid.com, the host teaches you how to make a swirling rainbow graphic that you can use in many diverse ways. This vector images is made in Illustrator can be used in conjunction with several of the most popular photoshops. He uses several different techinques, like making a circle, cutting it in half, and recycling and rotating the image until you have a full, s-curve line. Superimposing several of these lines upon each other, he creates the finished...

First step in a free throw is when the ref passes you the ball. At this point you should step back and take a breath, this will slow you down and help you concentrate. You have 10 seconds to shoot so there is no rush. Next, approach the line. You will find a nail, dot, or spot of paint. This shows you where the center of the court is. Line your shoulders up with the dot, to prevent the ball from going to the left or right of the hoop. Next, you should use a routine you've established to get y...

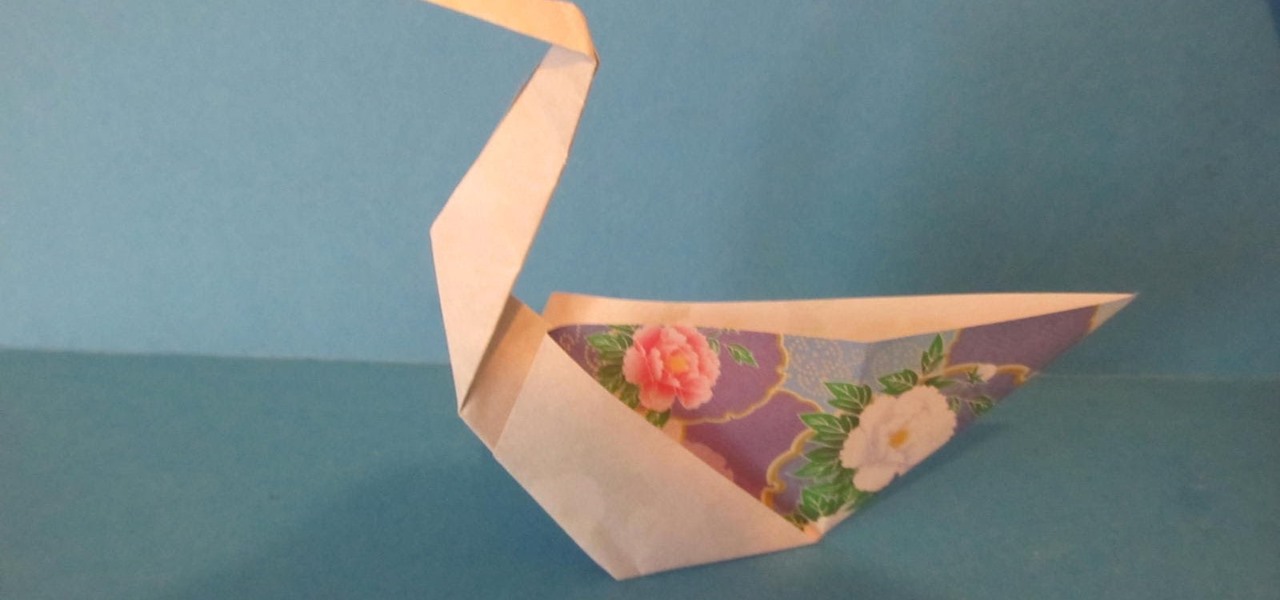
This video shows us how to fold a simple origami swan. Here are the following steps: Step 1: First of all take a paper and then crease it diagonally and then open the crease and then fold the paper on the crease line so that a cone is obtained with a triangle on the top.

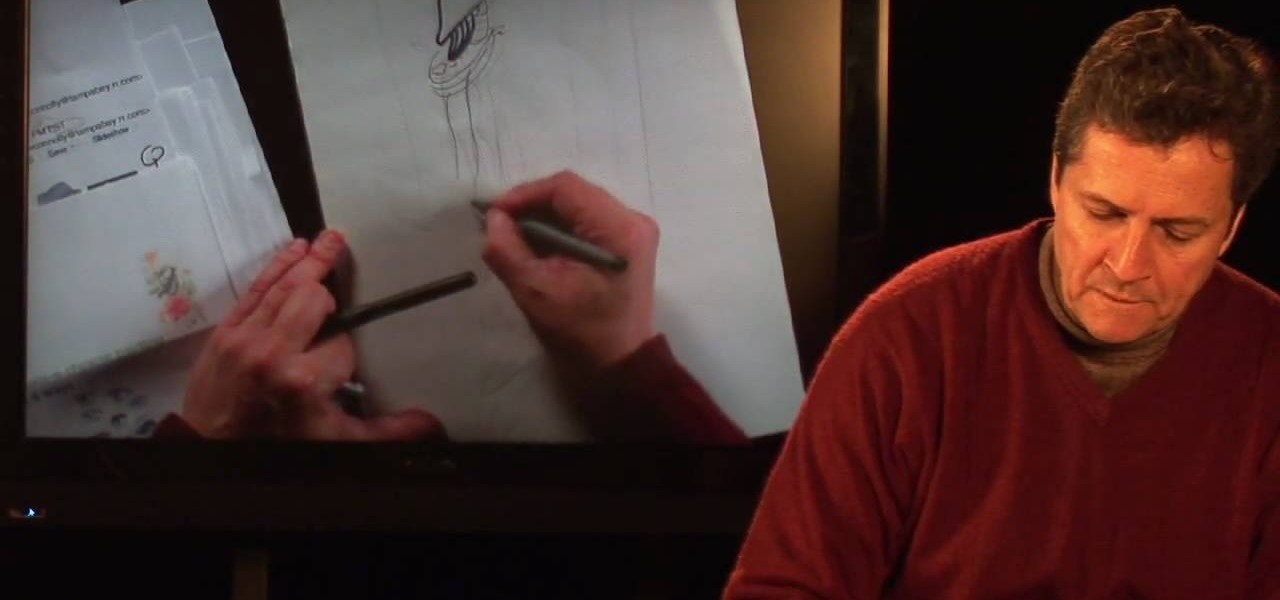
This video shows us the method to draw a fashion concept sketch. You must show the figure of the person you are drawing. You can draw the figure wearing a scarf you have designed. You can draw the flowers on it. A lot of sketches are very long. There are a lot of vertical lines and plates in the sketch. There are long legs at the bottom of the sketch. The parts of the body are not in human proportion. You can draw bracelets and a purse in the sketch. The sketch would be finished with color, v...

Microsoft excel is a powerful tool used to work with numbers and data by filling them down in rows and columns of a table. Excels also supports macros, which are small scripts to automate certain functions. In Microsoft Excel you can select entire rows and columns using the range property. You can also use macros to select individual rows and columns as well as multiple variations of rows, columns, and individual cells all at once. In Excel a horizontal line of data is called as row and a ver...

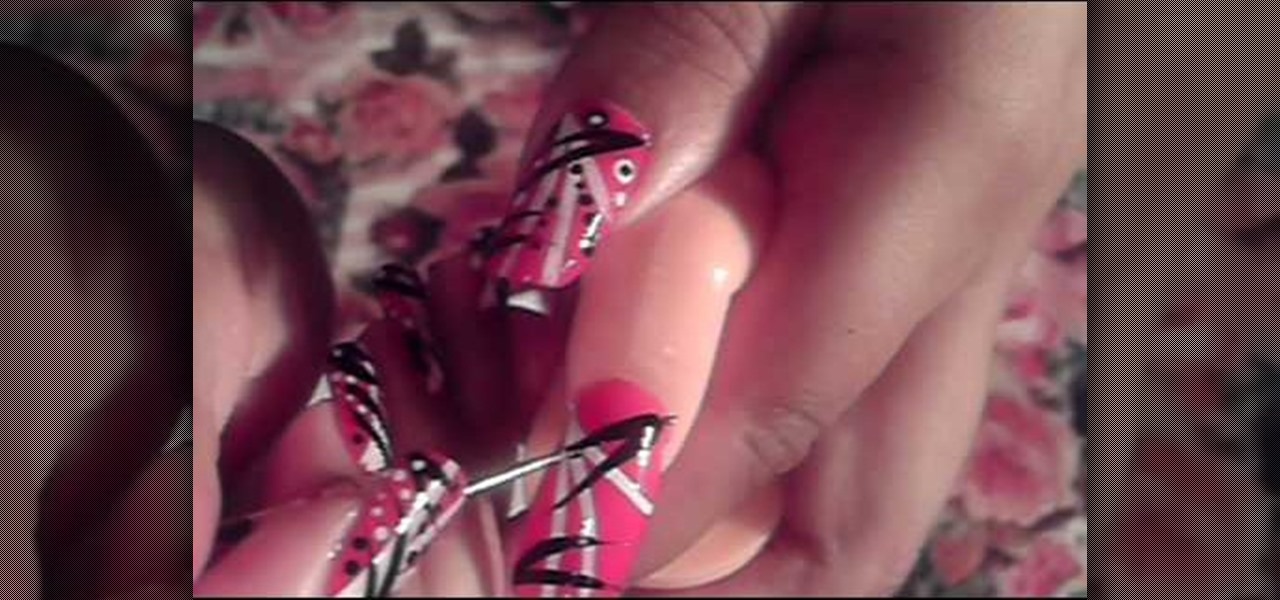
This video illustrate us how to create a sassy red, black and white nail design. Here are the following steps :step 1: First of all remove any previous nail paint.Step 2: Now apply some primer on the nails for long lasting effects of the nail paint.Step 3: Now take red nail paint and apply it all over the nails, let it dry.Step 4:Now take black nail paint and draw fine horizontal lines all over the nail.Step 5 : Now take white nail paint and apply polka dots on these lines as well as on the e...

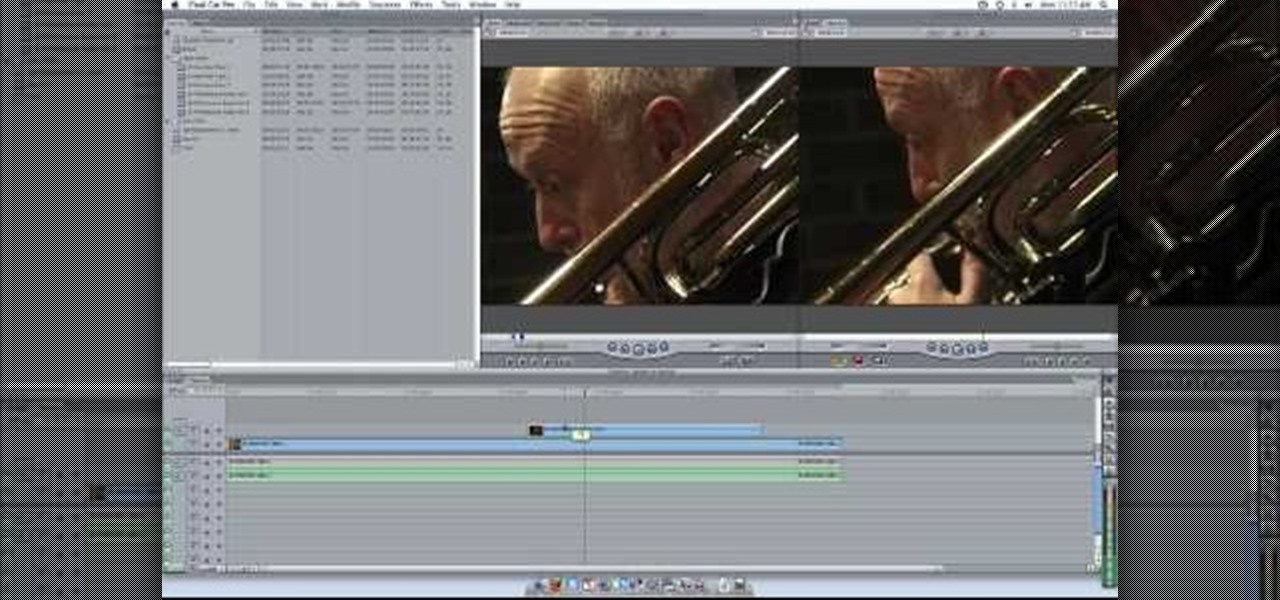
Plangere Culture Lab demonstrates how to use the opacity feature in Final Cut Pro. The opacity feature is a beneficial tool to use when working with layers. Opacity is an attribute which relates to how much you can see through a clip. To layer clips, create a new video track on the timeline. Make sure that the source tab is in the right position. The track on the top of the stack is the dominant track and will be shown. Select the volume and opacity overlay button. Click on the line over the ...

New to Excel? Looking for a tip? How about a tip so mind-blowingly useful as to qualify as a magic trick? You're in luck. With this video tutorial from ExcelIsFun, the 329th installment in their series of digital spreadsheet video tutorials, you'll learn how to create a frequency table. Then see how to calculate the midpoint of each category and make a frequency polygon with two or more lines (two or more data sets).

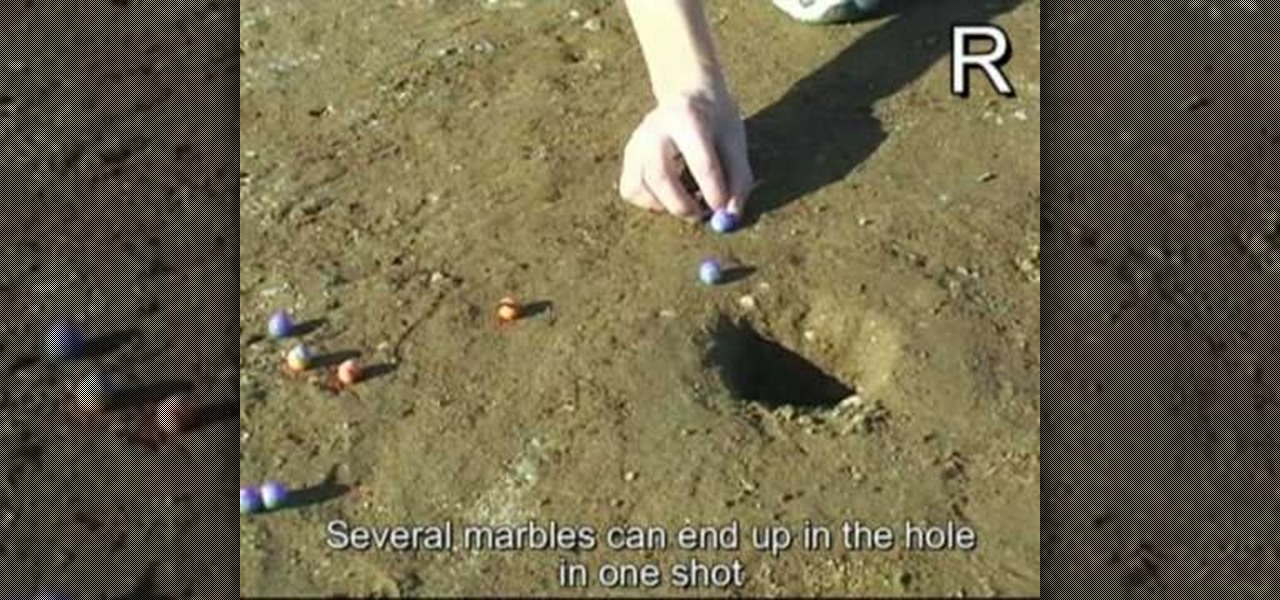
Each player starts with 15 marbles that are a color distinct from his opponents marbles. Toss a coin to choose a start line, placed 3 meters from the hole. The players then take turns shooting marbles, first from the start lines, then from wherever the marbles land on the field, all the while trying to make their marbles in to the hole. The player to shoot all his marbles in to the hole first wins. In a case where both players have 1 marble left and the final shot is made by the person who to...

This video is describing how to make a LEGO version of the Matrix bullet. The first step is gathering all of the supplies. You will need as many of the one by one transparent squares as you can find and a black one by one circular LEGO. Then put all of the white transparent pieces together in a line and trail them behind each other. Twist the line, this will be your bullet trail. Then take the black one by one LEGO piece and place it on the end of your white bullet trail. Then you have finish...

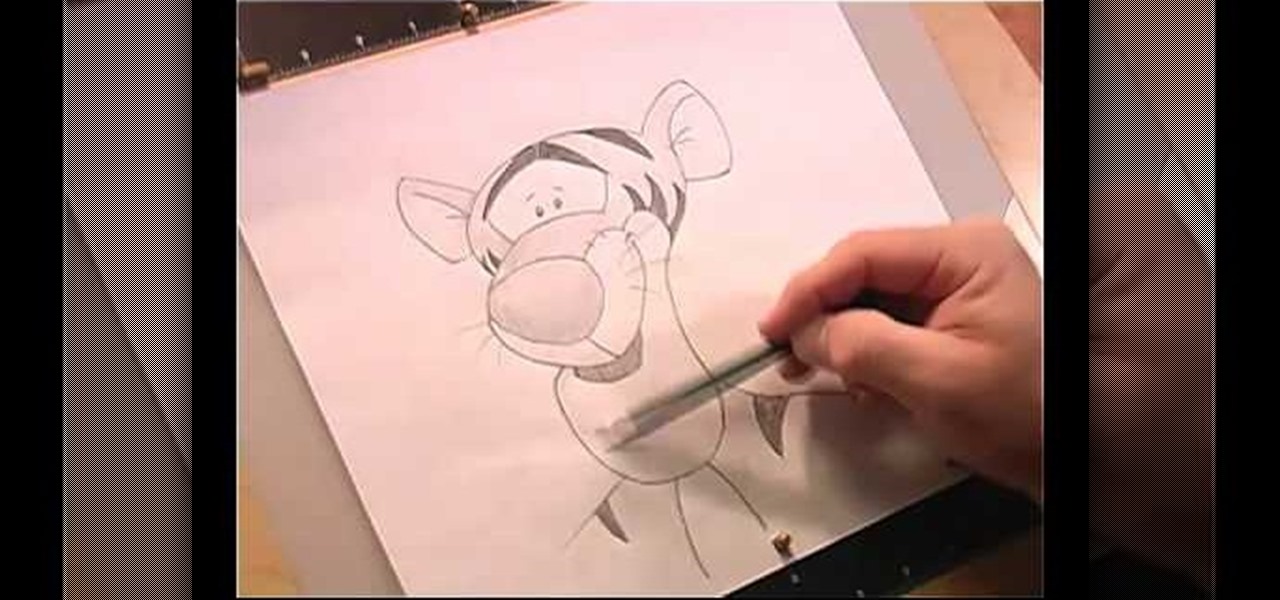
This video is describing the steps needed to draw Tigger from Winnie the Pooh. The first step is to draw an oval on your black paper. Draw diving lines, and make sure that one is a little bit below center. Next draw in his muzzle by lining up the top part of his muzzle with the bottom part of his eye. Next draw his chin. You can draw the bottom by taking the distance of the head and putting the same amount of distance between the head and the muzzle that there is between the muzzle and the ch...

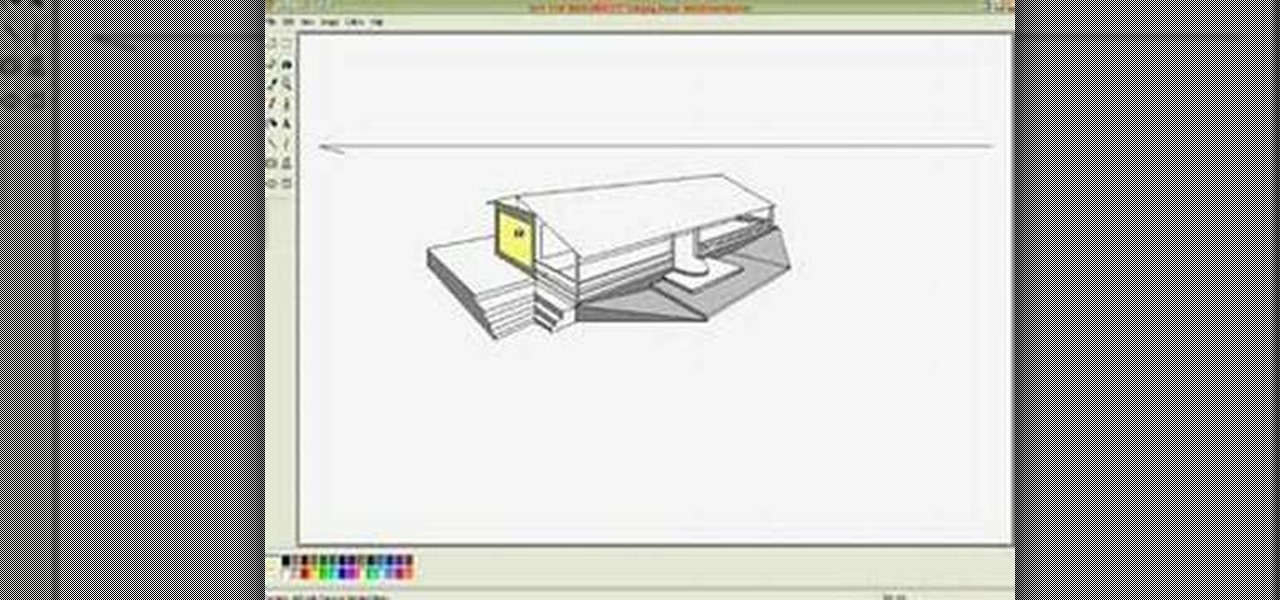
In this video, Lance Sisiolo draws a beautiful house using Microsoft Paint. He uses line tool to draw most part of the house. He uses different types of lines. He also uses curve tool to draw sky and the entrance of the house. The unwanted part of the picture is erased using erase tool. Then he uses fill with color tool and airbrush tool to paint the picture. He uses different colors to increase the beauty of sky and the house. Then some trees are added. Using airbrush tool he increases the b...

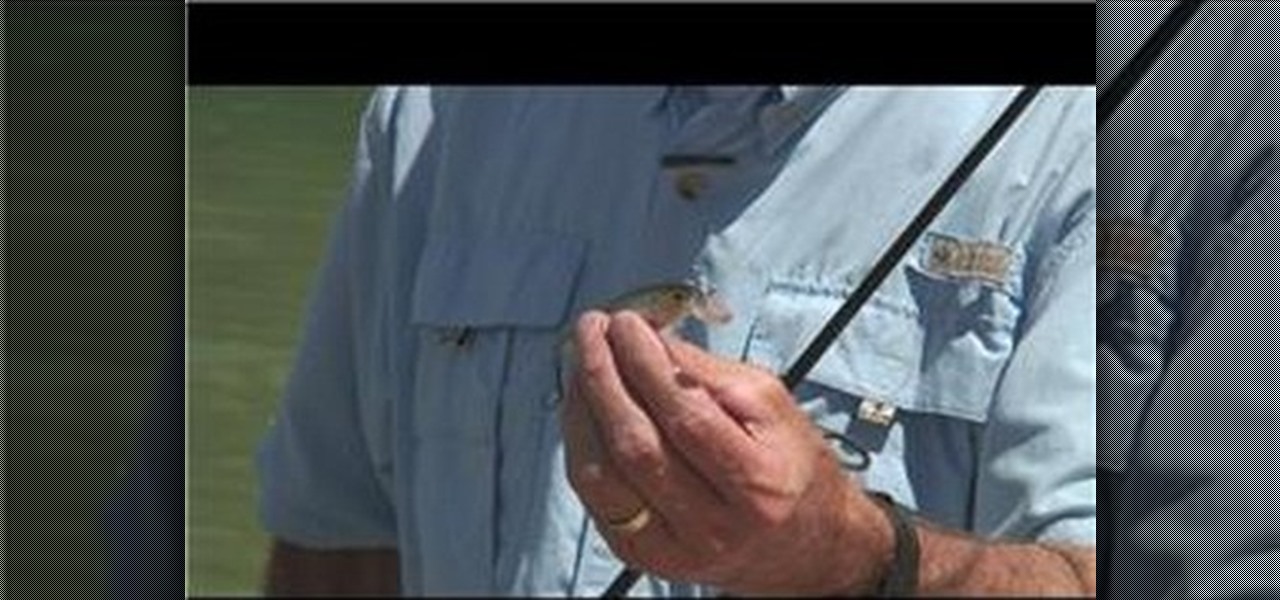
One of the most important features on the jerk bait is the front end diving lip which is used to make the lure dive deeper in the water when the jerk bait is pulled by the fishing rod. There is one more very important feature involved in using this jerk bait. It is the "pause" and "jerk" motion of the lure. This action should be performed after the line is fully cast out and fully under the water and all of the slack left in the fishing line is reeled in and gone. The reason for the "pause" i...

As you type in Microsoft Word, take care to notice when the computer puts a red squiggly line underneath a word you typed. If you see a red squiggly line, the word is spelled incorrectly. If you right-click on the word, MS Word will show you a list of correctly spelled words that it guesses you were trying to spell. If you wish to check the entire document, you can click the Tools tab at the top of the page and then spell check. This will go through the document and point out every misspelled...

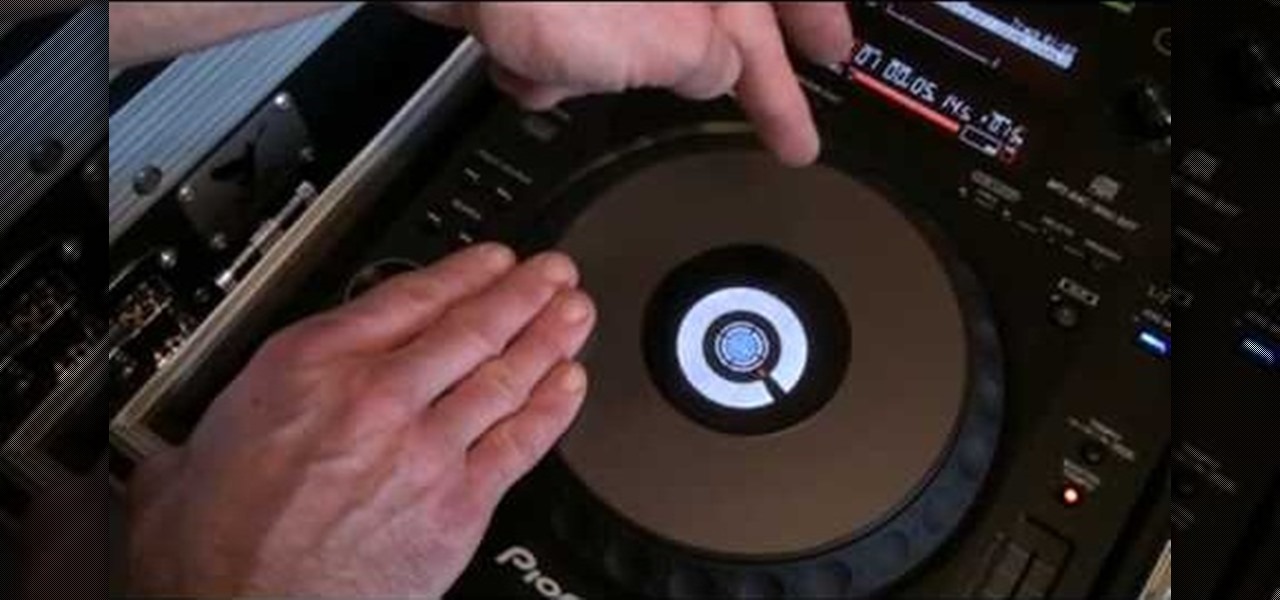
To scratch on a pioneer CDJ turntable, first select the sound you are going to use. Observe the position of the black line on the turntable in relation to the sound you've selected. Understand how much room you have to manipulate the sound and position your fingers accordingly. The platter will move in accordance to the black line and your finger. You can also lift your hand off the platter in the play and pause mode to let the sound move itself by its own accord and at its own speed. Move yo...

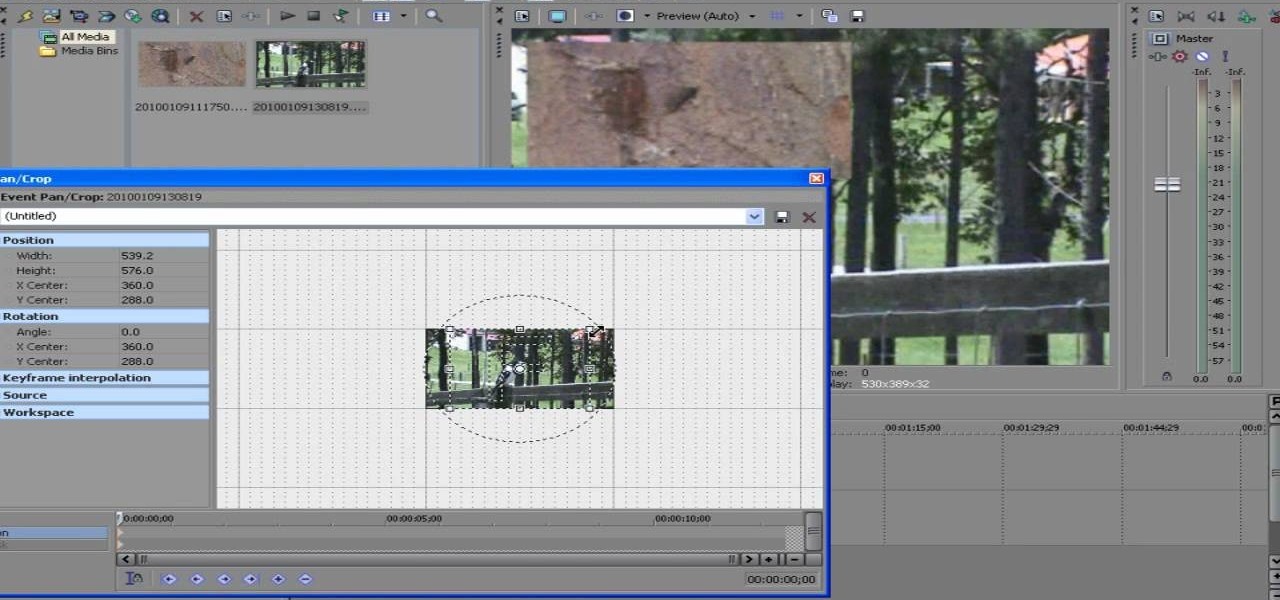
ConnersTutorials, teaches you how to put two videos playing simultaneously in one movie. You use Sony Vegas and drag both movies in the time-line below. Then you press Event pan/crop on the first video. Right click and choose Match output aspect. Then re-size and move the video as you want. Do the same for the other video. Go to Media Generators to choose the background, which can be a solid color, a picture or another video. Just drag that down in the movie time-line when you're pleased. All...

Dawn5377 teaches you how to make a twist box. Start with a piece of designer paper and fold it according to video specifications. Once done you will fold all the score lines, which are both horizontal and vertical. For the Xs you will fold in once one way and then the other. You will also crease the tiny line to the edge of the paper, using a sort of pinch motion. You punch three holes on each side - top and bottom. Fold the paper horizontally and glue it. Push the two ends opposite of each o...

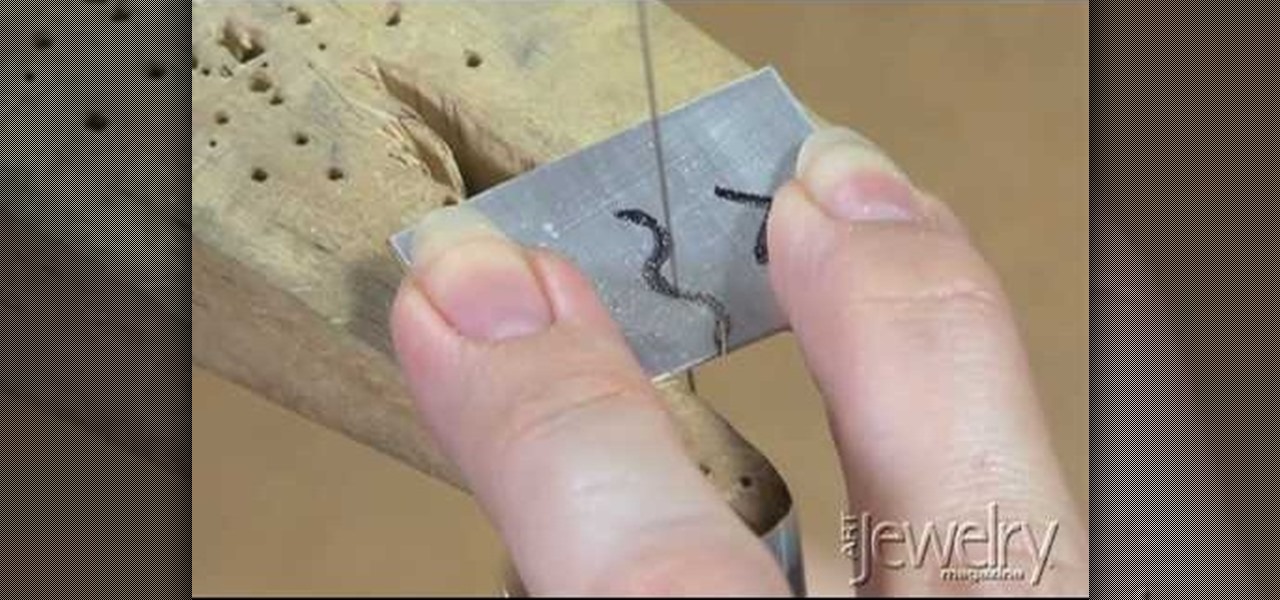
This video tutorial is about basic sawing techniques. Before practicing it you need to wear safety goggles for protecting your eyes. First of all, make a practice sheet. Draw three lines in a metal piece. One line is straight, one is curve and another is zigzag. Lubricate the saw blade and start sawing. Hold the saw straight and move forward. Blow the dusts away. For making curve don't move the saw, rotate the metal piece to cut it. Hold the metal piece tightly when you sawing it. Addie kid h...


