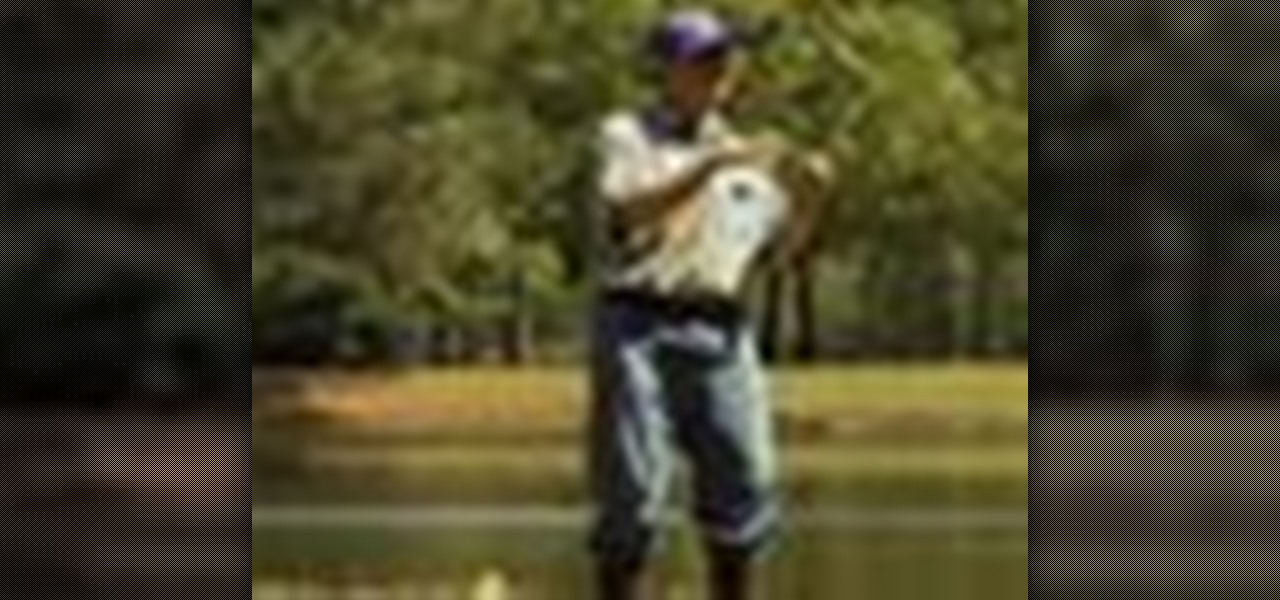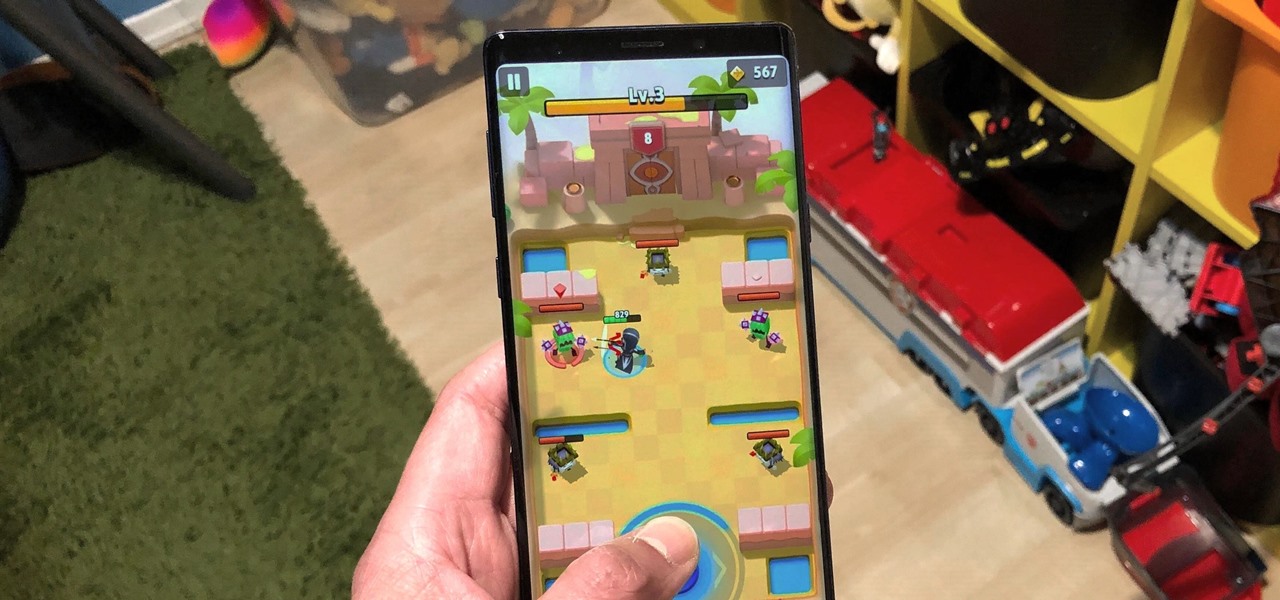
When it comes to shooting games, battle royale titles like PUBG and Fortnite have come to dominate the scene, leaving other sub-genres like top-down and third-person shooters living in the shadows. They're far from irrelevant, though, as evidenced by all the great games released just in 2019 alone.

All of the new iPhones from 2018 were released with dual-SIM support, but none of them were capable of actually using the eSIM in iOS 12, only the physical nano-SIM. But on iOS 12.1 and later, you can finally take advantage of eSIM so you can have, say, a business and personal plan on your iPhone XS, XS Max, or XR at the same time.
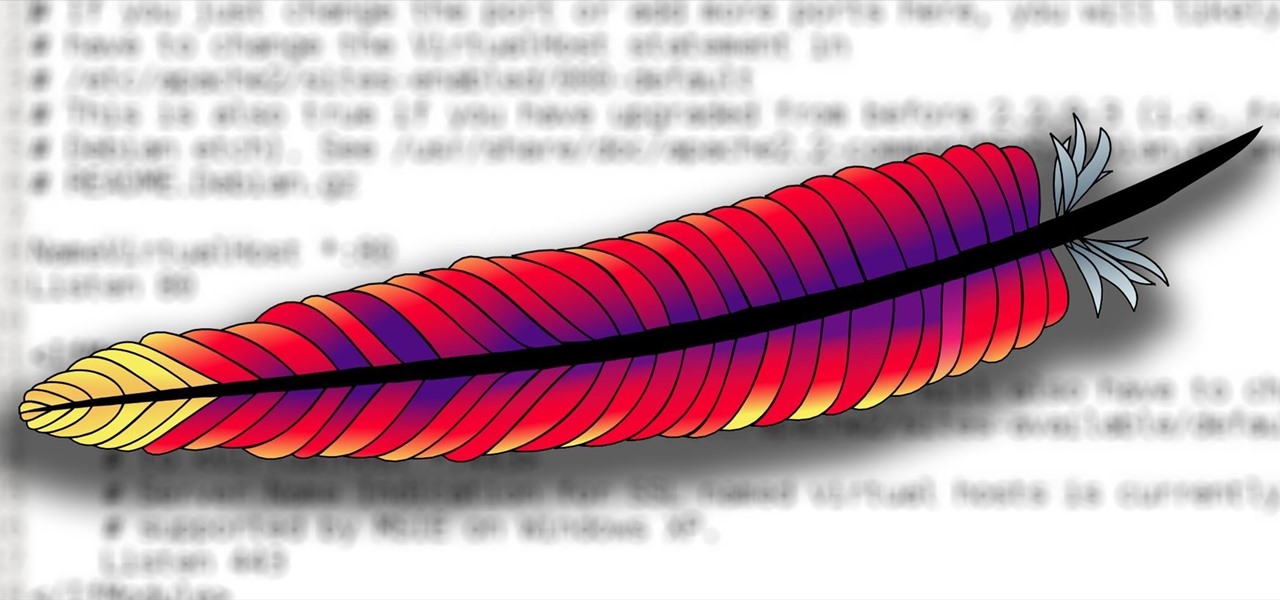
Welcome back, my hacker novitiates! In an earlier Linux Basics tutorial, I had demonstrated the basics of the Apache web server. Since Apache is the world's most widely used web server on the Internet (as of July 2015, Apache was 38%, IIS was 26%, and Nginx is 15%), the more you know about it and understand it, the more success you are likely to have hacking it.

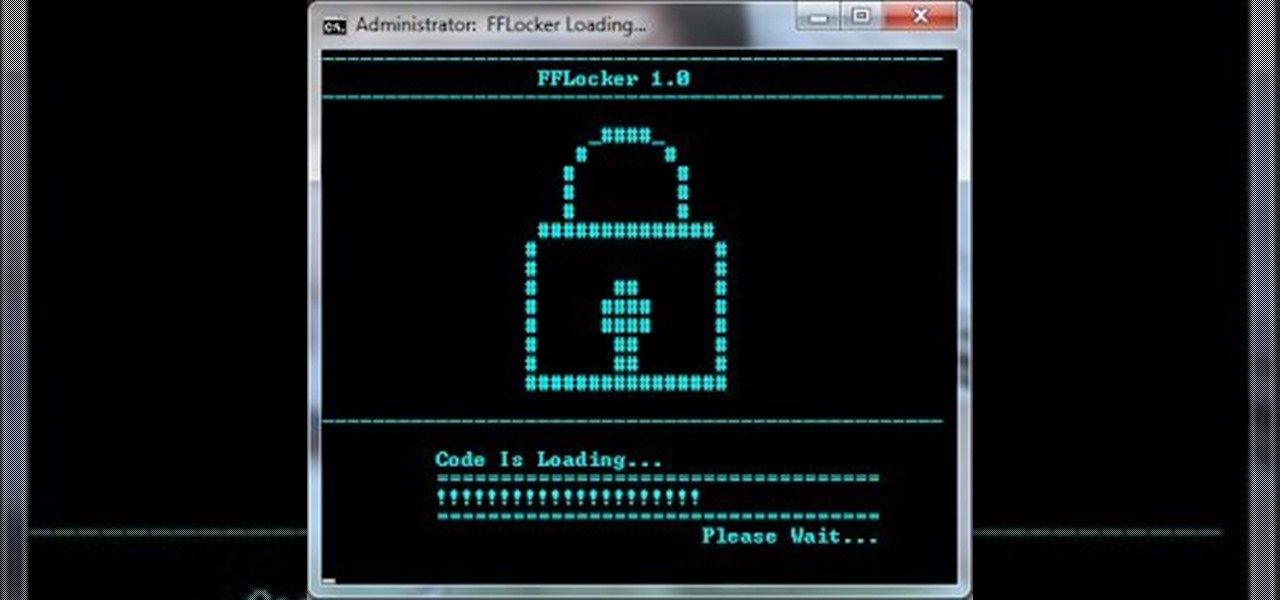
Welcome back, friends! Many times, businesses, friends, and family will lock their zip files with a password to keep their files secure. It is reasonable, and understandable. Well, thanks to hackers, there are many ways to get past this wall of security.

A well designed sleeve is very important to creating a top or jacket that fits comfortably. Get your correct measurements before you begin. Please view the following step-by-step instructions and accompanying video and diagram to create the basic sleeve.

By now, you've probably already installed 10.10 Yosemite, the newest version of Mac OS X, on your computer. While you most certainly noticed the visual changes, you might have missed some of the really cool additions.

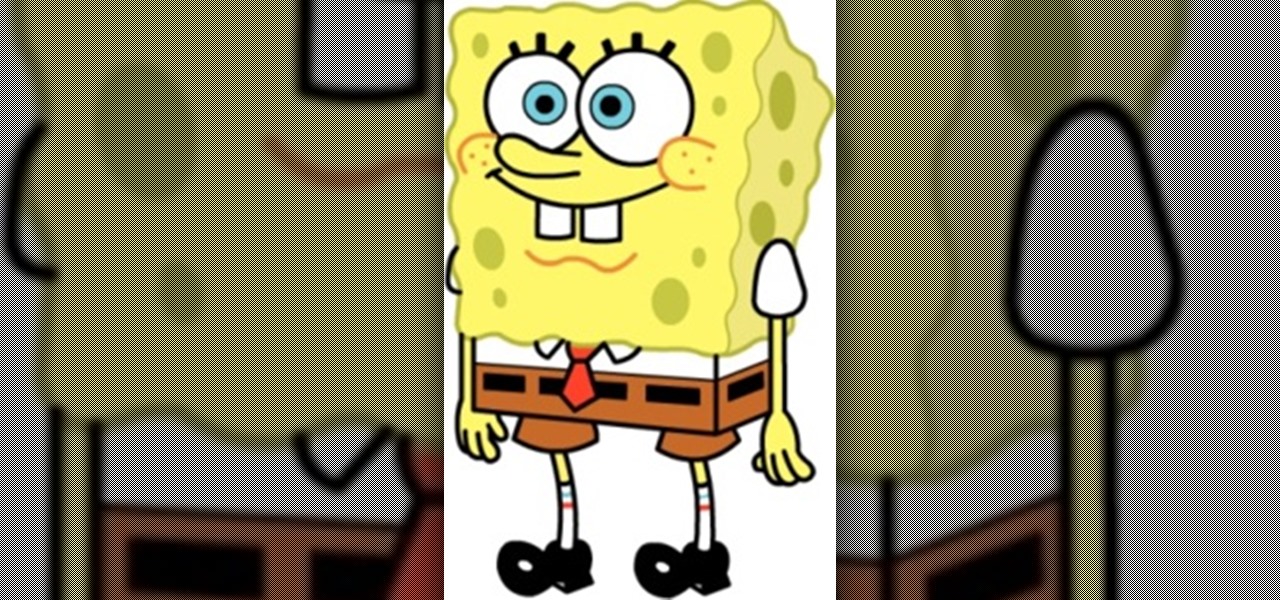
Today we're going to draw Spongebob! He's going to be facing forward, so even beginners should find drawing this guy to be a piece of cake! 1) Begin by sketching out a rectangle with a broader top and a narrow bottom, make sure it's not too skinny though. This will be the base of Spongebob's body.
Everybody should have plants in their home. Not only do they give off oxygen, but they add a whole new level of decor and awesomeness to an otherwise drab room. So naturally, if you want to improve a room, just display a few plants.
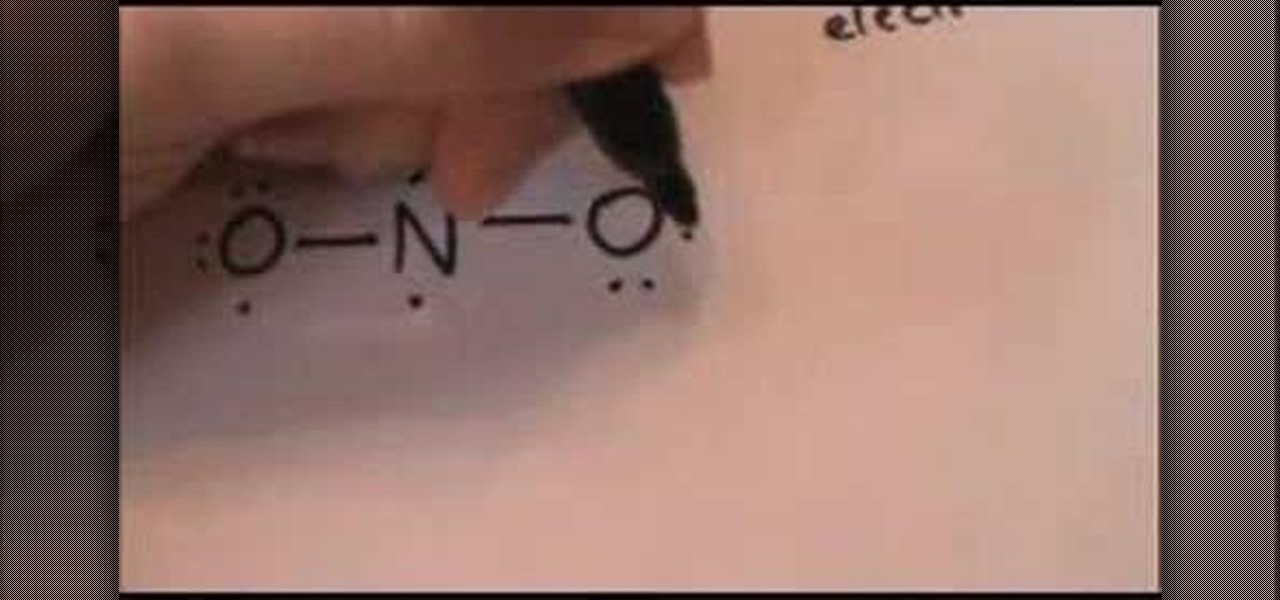
This video shows you how to draw the Lewis electron dot structure for the nitrite anion- first you start by drawing the symbols o, n and o, in that order, and then you proceed to draw two dots on the top of the n, and one on each other side.On the 'o' on the far left, you draw two dots on the top, and two dots on the left, putting just one dot on the bottom and the left- the right 'o' mirrors this pattern.Next you link all three letters with two lines, using the single dots on the left and ri...
First of all the tutor suggests that this tutorial is easy and you can complete it only fifteen minutes. However you need to use proper anti-static precautions when you are performing this upgrade. You have to ensure to discharge static electricity before beginning. You must also work on a static free surface. You need a "#00 Philips screwdriver" which you can find in the “Newer Technology” 11-piece tool kit. It is available from macsales.Gather all your materials and then shut down your comp...
Julie Auclair introduces authors of a book called "Celebrate Green." This book shows you how to throw a baby shower the "green" way. Guests do not realize that some of the gifts they give can be harmful, toxic, or not recyclable. You start with the three "R's", reduce, reuse and recycle. You use these to determine if a gift falls into one of these categories. They have added the three "G's", which are "good for people," "good for the planet," and "good for the community." They begin with the ...
Omar, Hayley, Gary, and Autumn teach us how to use a protractor. They give a bit of information from About.com on the history of protractors. They are used to measure angles. The first protractor was used to help with navigation and invented in 1801. To measure an angle, line up the base of the protractor with 1 line of the angle. The center circle should be on the vertex of the angle. Use the "swivel thing" to find what degree the other end of the angle lines up with. If there isn't one, you...
This video demonstrates how to sew a blind hem stitch to make Roman shades. This stitch is very easy to do. You need a sewing machine that has a blind hem stitch already programmed in it and a blind hem foot. The video shows two different kinds of blind hem foot for two different sewing machines. The one for Viking machines is used here. Fold and pin a one inch hem on your panel, making sure that the pins are pointing off the edge of the panel. Lay your panel on the machine with the hem side ...
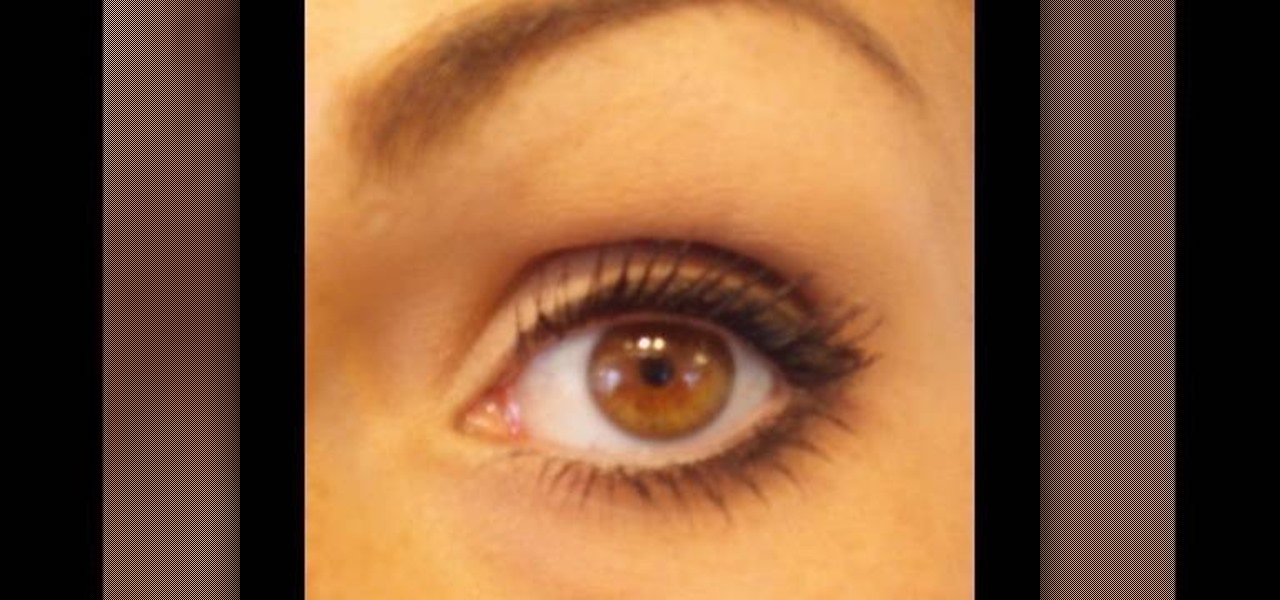
This video shows you how to make small eyes look bigger with makeup. 1. Put foundation/concealer on eye
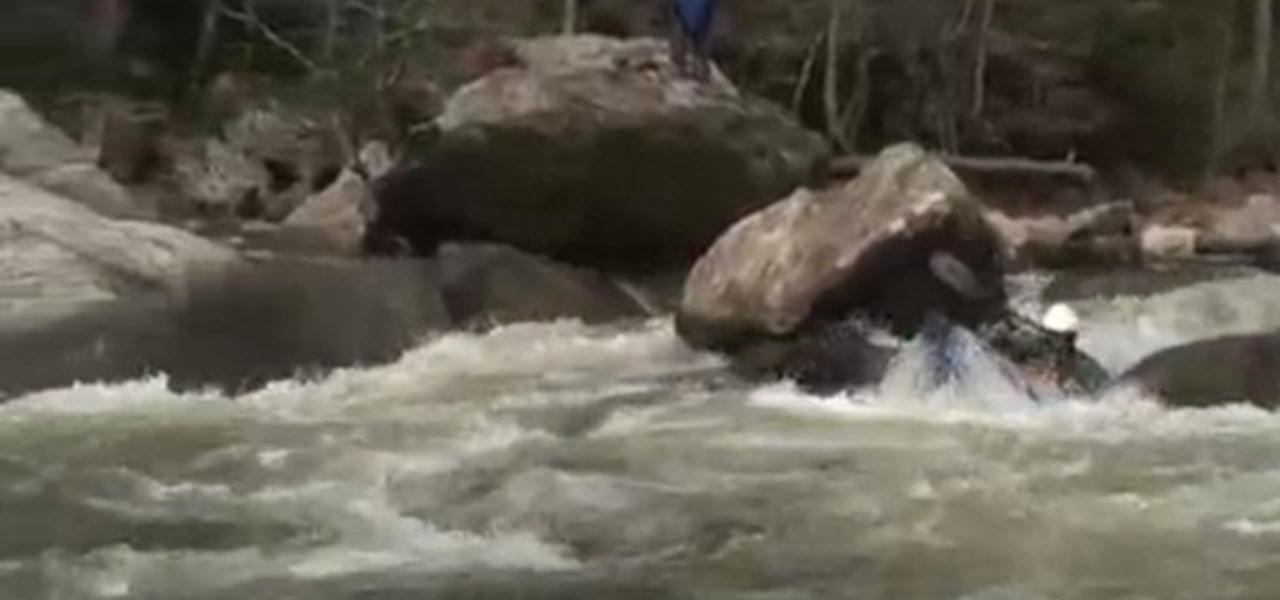
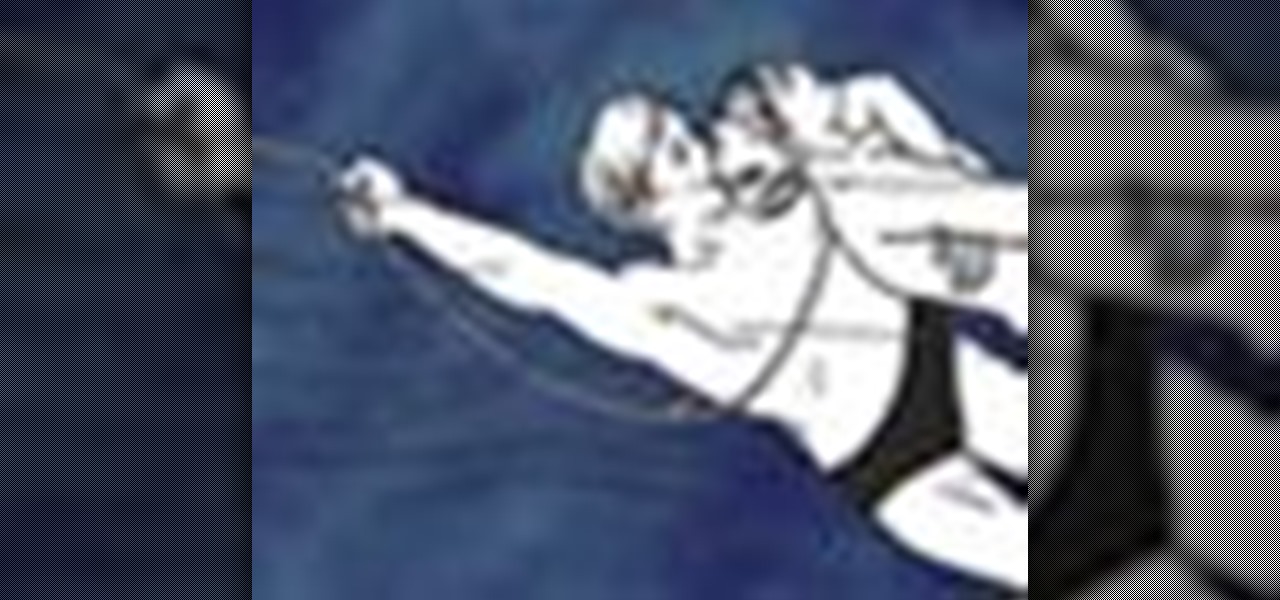
Whitewaterinstruction.com presents a lesson on dealing with rocks from Shane Benedict.
As a Boy Scout, when the First Class rank is attained, a scout has learned all the basic camping and outdoors skills of a scout. He can fend for himself in the wild, lead others on a hike or campout, set up a camp site, plan and properly prepare meals, and provide first aid for most situations he may encounter. A First Class scout is prepared.
Watch this video demonstration of the knitting technique short row shaping. In traditional knitting shoulder shaping, stitches are bound off across the top edge of the shoulder on sequential rows, creating a stair-step line. It can be difficult to make a neat job of seaming this shoulder line. Short-row shaping provides the same slope, but creates an even line across the top edge to facilitate a neater finish.
Welcome, everyone! While Linux distributions are almost always used for exploits, security, pentesting and other stuff covered in Null Byte, knowing the Windows Command Line (or Command Prompt) is a useful skill that can help you in various ways, such as using exploit programs made for Windows or using the command line on someone else's Windows computer.
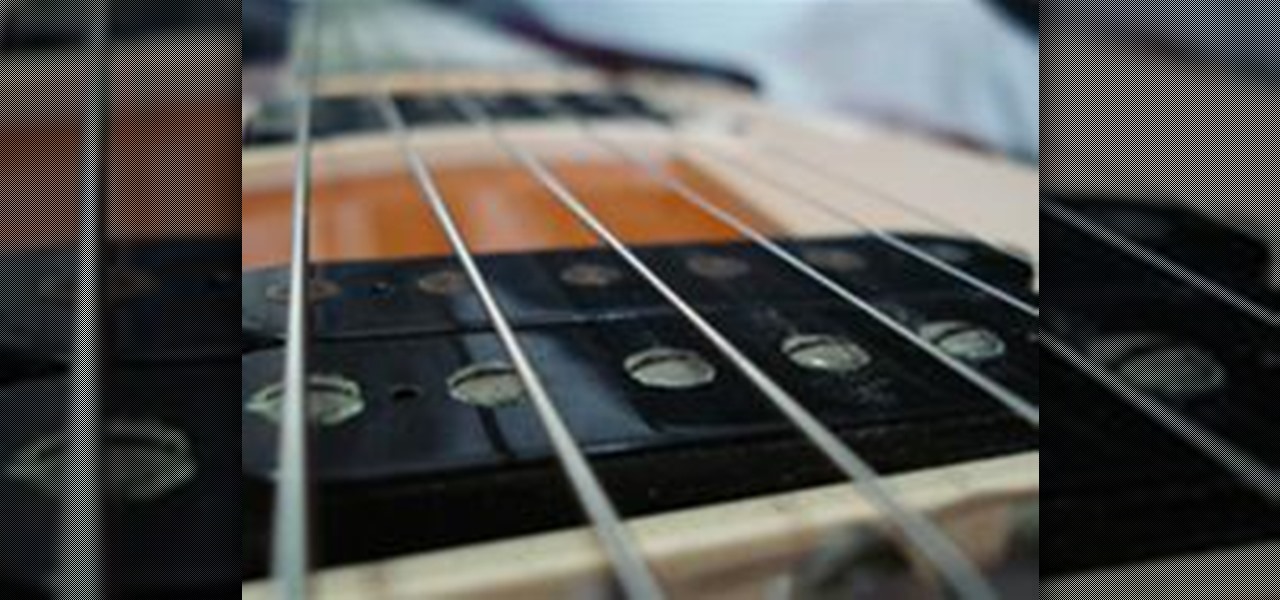
Guitar Essentials My friends and I would secretly scribble tab in the darkly lit practice rooms in our university even though we were educated musicians. So, being able to read tablature, or tab, is essential for beginning guitarists.
Nothing is more fun that fly fishing with popping bug for panfish. With popping bugs, you can get bite after bite from little bass. Wade Bourne, host of Wade's World on MyOutdoorTV, shows you how to fish for bluegill and panfish using a fly rod and popping bugs.
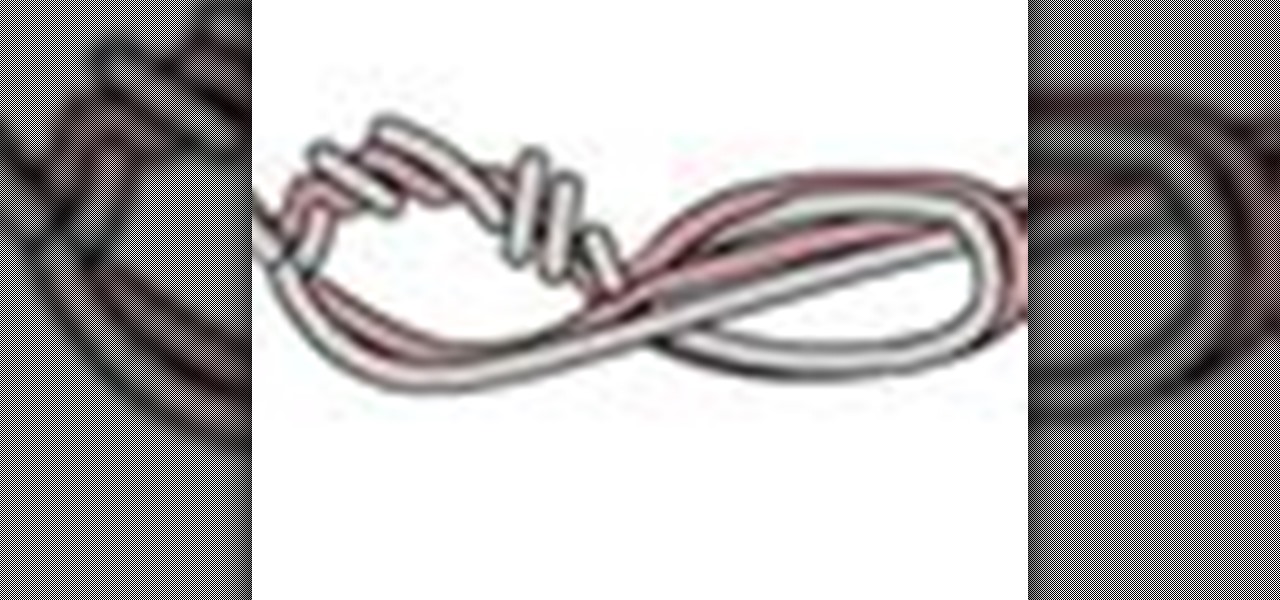
Learn how to tie a knot, but not just any old knot... a square lashing knot. You'll never have any troubles again tying nautical square lashing knots, thanks to this Marinews knot tie animated tutorial. You can learn by simply watching the knot tying animation at a moderate speed, or if need be, click on "learn by steps" to get step-by-step rope knot instructions for square lashing knots. How to make a knot is not the hard part, choosing the right fishing knots or rope knot is.
The Half Blood Knot is similar to the clinch knot. It is same knot with two different names. This instructional video demonstrates a variation called the Locked Half Blood Knot. This variation adds a way to secure the tag end in the final steps of tying the knot. The half blood knot is used to attached lures, hooks and swirvels to the fishing line. Watch this video fishing tutorial and learn how to tie a locked half blood knot on a fishing line Tie a locked half blood knot on a fishing line.
What's the easiest way to adjoin two fishing lines? The blood knot. And no, you're not going to cut yourself, that's not why it's called the "blood" knot. It's also referred to as the Barrel knot, and is usually used for monofilament nylon lines. Wade Bourne of MyOutdoorTV will show you how to tie the blood knot.
Ever wonder how to tie the seaguar knot for fishing? Then stay tuned for this fishing knot tutorial video. The seaguar knot was introduced by the factory reps from fluorocarbon manufacturer Seaguar, this easy to tie and reliable fishing knot joins fluorocarbon leaders to monofilament line. 1. Make a loop in the line and in the leader and hold loops side by side. Note: line running from left is on top. 2. Insert index finger into loops and make 3 full counter clockwise twists. 3. Hold loops op...
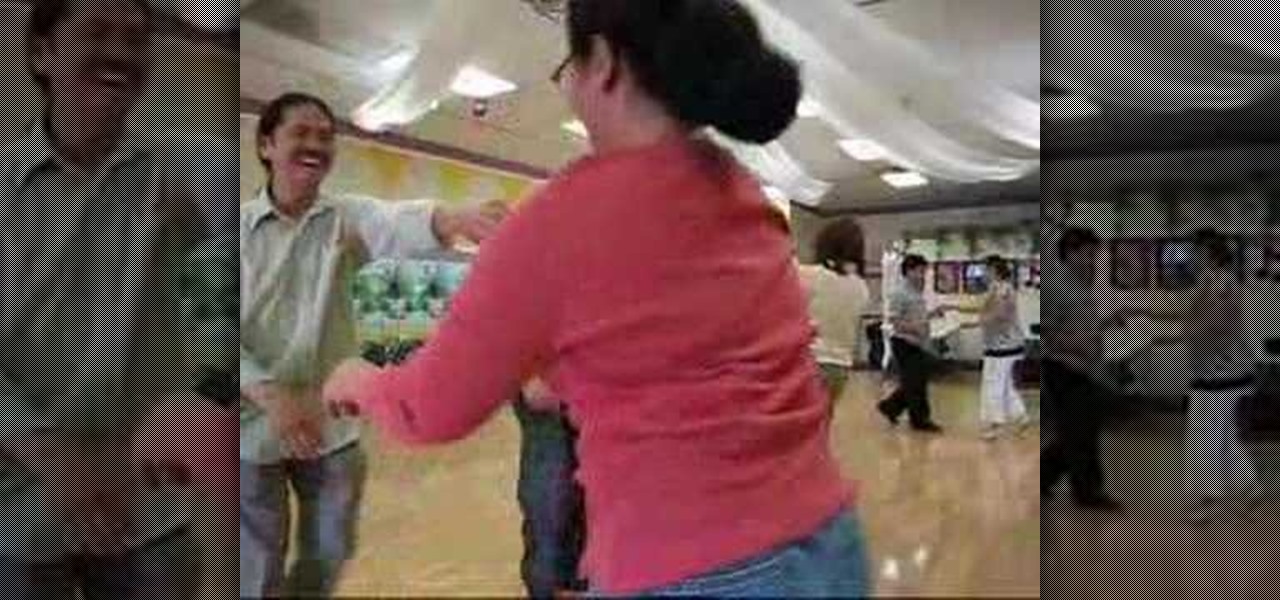
It's time to boogie! Get your shoes on, put on your dancing shirt, turn off your phone, and tell your friends you've gone on a permanent vacation! The boogie line dance is a simple line dance - easy enough for a toddler to learn, but hard to forget! This instructional video will get you up and boogieing in no time. So don't be shy, watch this dance video and get your boogie on.
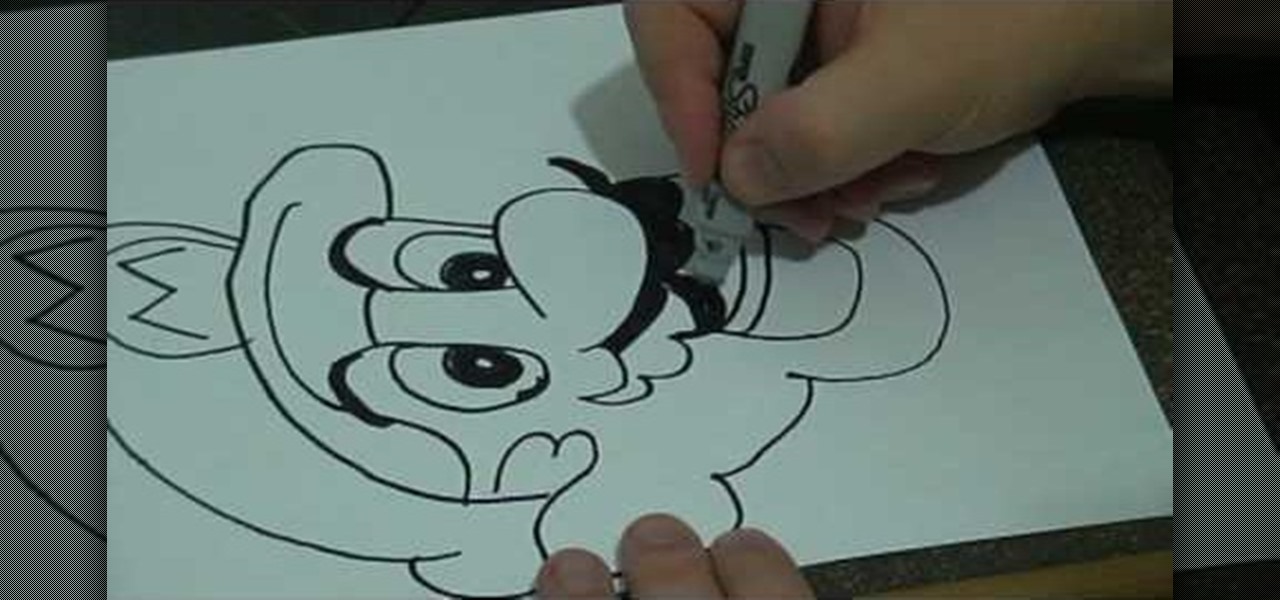
In this tutorial, we learn how to do a basic line drawing of Mario. To start, draw the basic outline of the face with a black marker. Draw in the details of the mouth, don't forget the teeth, tongue, and inside of the mouth. After this, draw in the nose and then the eyes. Draw in the pupils and then start to draw in the mustache and eyebrows. After this, create the hat and then draw around to the side of the head to draw the ear in. When finished, you can leave empty or color in with appropri...
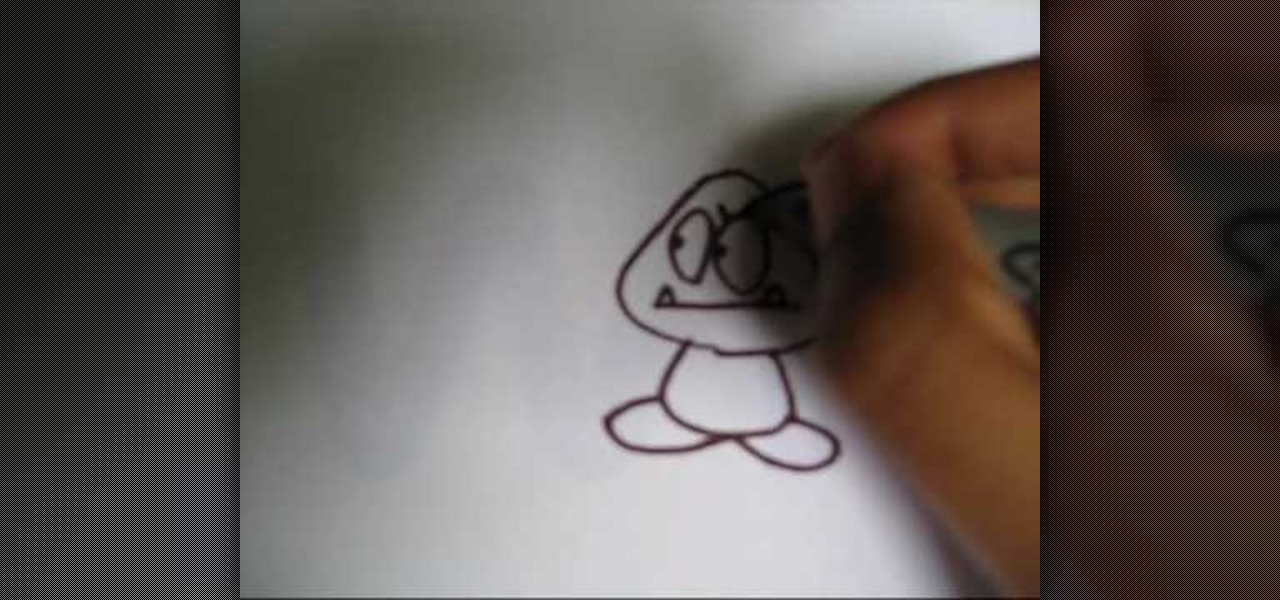
In this tutorial, we learn how to draw a Goomba from Super Mario. First, draw the softened triangle shape of the top of the head, then draw the body and the oval feet at the bottom. After this, draw on the oval eyes and then a flat mouth with two triangle teeth on both sides. From here, draw on the eyebrows to Goomba in thick lines. To draw another type of Goomba, draw the same basic shape, but then make the eyes squished into small lines and then draw the mouth with crunched teeth on the ins...
In this tutorial, we learn how to draw Sonic the Werehog. Start by drawing the outline of the character, making sure to draw in the spiked hair on the back of the head. Then, draw in the circle for the head and use crossing lines to reference where you want the features of the face to go. Draw in the features and then add in more detail to them as well. Erase the background lines and then draw in the details of the body. From here, color in the body and then shade in corners to make it look m...
In this tutorial, we learn how to draw Uncle Scrooge McDuck. Start off by drawing the outline of the hat, heat, neck, upper body, instrument, and lower body. After this, draw on the eyes, glasses, and the beak. From here, you will start to add in additional details and erase the outline lines from where they aren't needed. Start to add in lines to create folds on the character and then color him in with the appropriate colors. After this, add in shading to different parts of him and his instr...
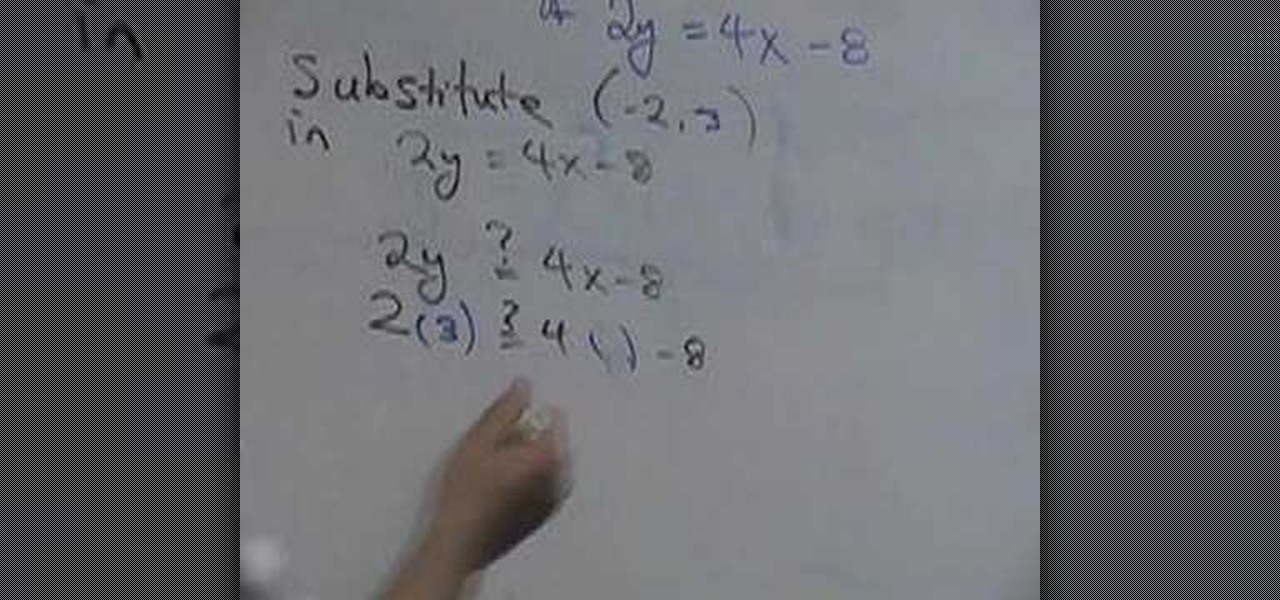
In this video, we learn how to graph an equation. First, pick a point out of the equation and see if it's a solution to the equation. This equation shows where two lines cross in the math problem. See if the two coordinates are part of the line that is on the equation. The two numbers are going to be the 'x' and 'y' that you plug into the equation. Once you have these written out, you will be able to graph them using the coordinates on the graph. Once finished, you will have graphed the equat...
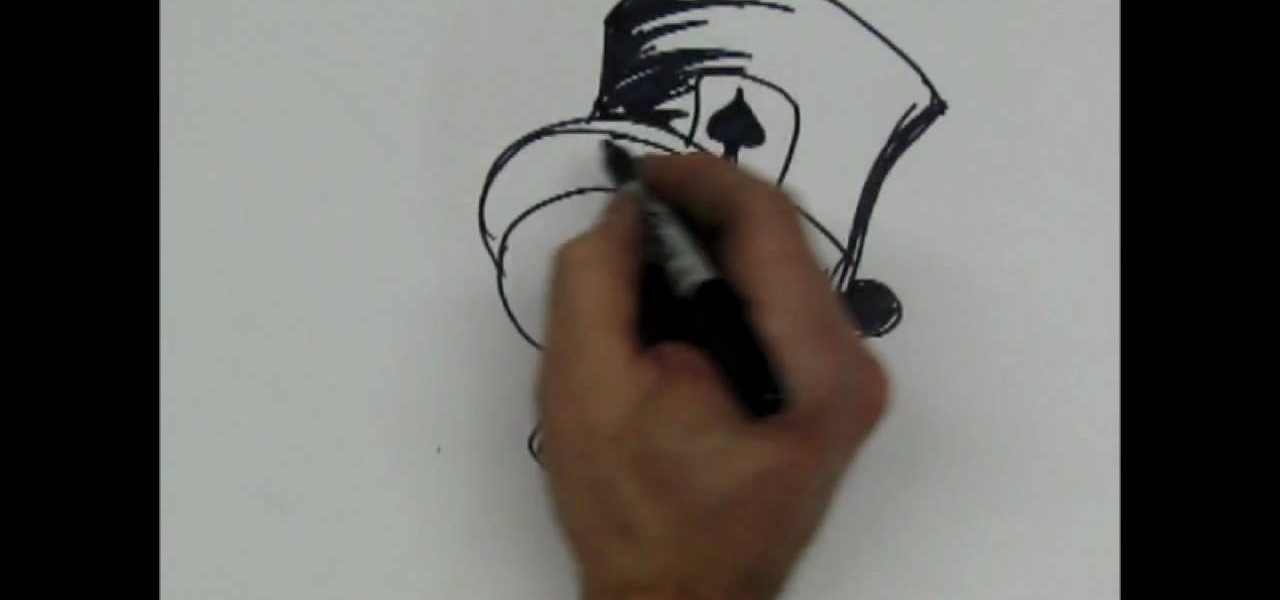
In this tutorial, we learn how to draw a skull with a top hat. First, use a Sharpie marker to draw the nose of the skull and then the eyes. Color these in completely black, since you want be drawing eyeballs in them. After this, draw the skull around it. Draw in the teeth clenched together and then add in lines around the head of the skull to show cracks in the bones. After this, add in additional details around the jaw line and on the head of the skull. When finished, draw on the hat to the ...
In this tutorial, we learn how to draw a cylinder. First, you will draw the sides of the cylinder and then the curves for the top and the bottom. After this, complete the circle at the top and then shade in the side with crosshatching. From here, draw some lines to shade in on the side next to the cylinder. If you want to draw a cylinder on its side, draw a box around it first and then continue to draw. Make sure all your lines are equal to each other so it evens up and looks more realistic f...
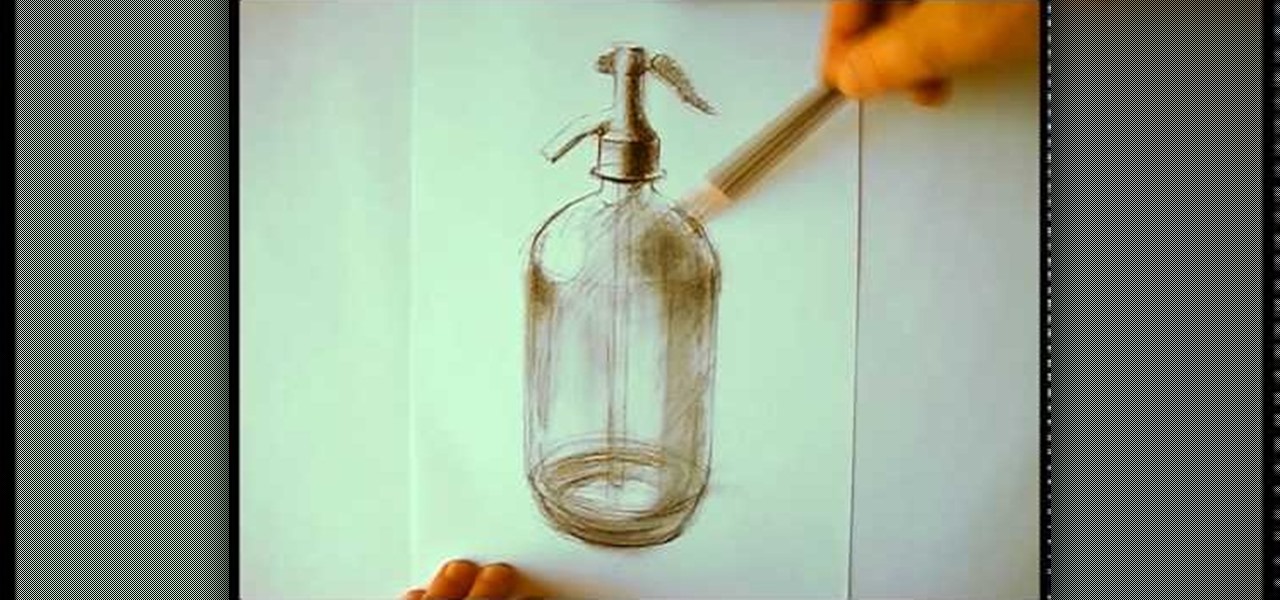
In this tutorial we learn how to draw a glass bottle. To start the bottle, you will draw the outline of the bottle starting with the cap to the base. After this, start to shade in the top and around the sides of the bottle. Small lines will create the effect of the bottle seeming to be transparent. After this, start to shade in around the sides of the bottle and on the bottom. Draw the inside lines and the other side as well so you can see that it is clear. Then, use the eraser to smear the c...
In this tutorial, we learn how to draw hands in the anime style. When you are drawing hands, they have a square look to them. So, start out with that shape and then start to draw the fingers onto the hand. Indicate where the joints will be and then you can further elaborate with the fingers. Make sure you make the fingers the correct sizes. The pinkie should be away from the wrist, as well as the thumb. Use a line to help center all of the fingers and then draw them around this. When finished...
In this tutorial, we learn how to draw a Chibi Orochimaru from Naruto. Start off by drawing the outline for the character, then add in the details for it as well. After this, you will start to draw in the shading and the additional lines to give it more details. Then, you will need to erase the background lines that you used as a guide to draw the final product. From here, you will start to shade in colors on the character and then draw in any additional details or facial features. To finish ...
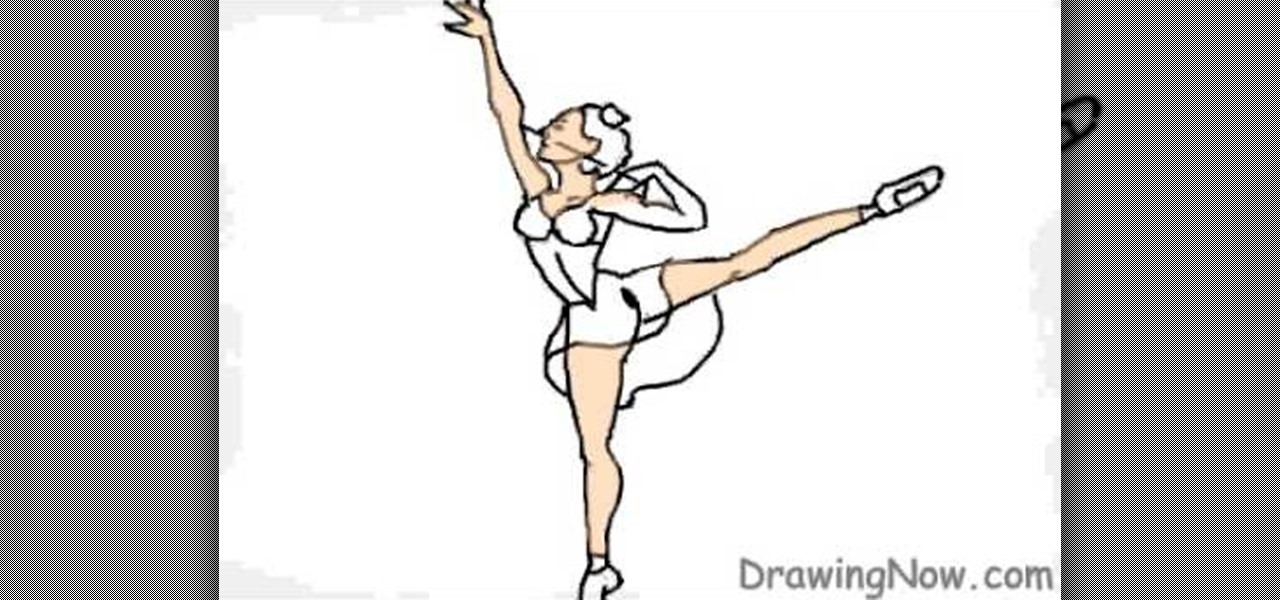
In this tutorial, we learn how to draw a ballerina. Start off by using circles and basic lines to draw the outline of the ballerina's body. Then, use a darker brush to create the body and add in the details of it as well. Draw one leg up in the air, while the ballerina is standing on the other with her arm raised high in the air. Erase any background lines, then start to draw in details of what the ballerina is wearing on her body. Draw in additional details around the figure, then when you a...
In this video, we learn how to draw a swan. First, draw the head and the neck, then draw an egg shape for the body. Next, draw in the wings for the swan and erase any background lines to make it look more realistic. From here, add in details to the face and make the beak more apparent. Then, you will color in the background and color the swan white, adding in lines for the feathers. After this, use white and grays to create a reflection underneath the swan. Then color the swan with light brow...
In this video, we learn how to draw Darth Vader from Star Wars. Start out by drawing the outline for the body, then draw in reference lines around to figure out where the facial features will go. From here, use a darker paint brush to make the outline darker and then erase any background lines. Then, start to add in the details to the body as well as to the outfit of the costume. Color in the background and then draw on the muscular details to the body. Add in color to the body and the cape t...
In this video, we learn how to subtract decimals. If you can subtract using basic numbers, then you will be able to subtract decimals. First, you will line up the tens and the other units of the numbers. Once this is finished, you will start to take away the top number from the bottom number. Borrow from the number to the left if you need to, then write down what you are left with on the bottom. Once you come up with your number, make sure you place in the decimal point where it goes. All you...
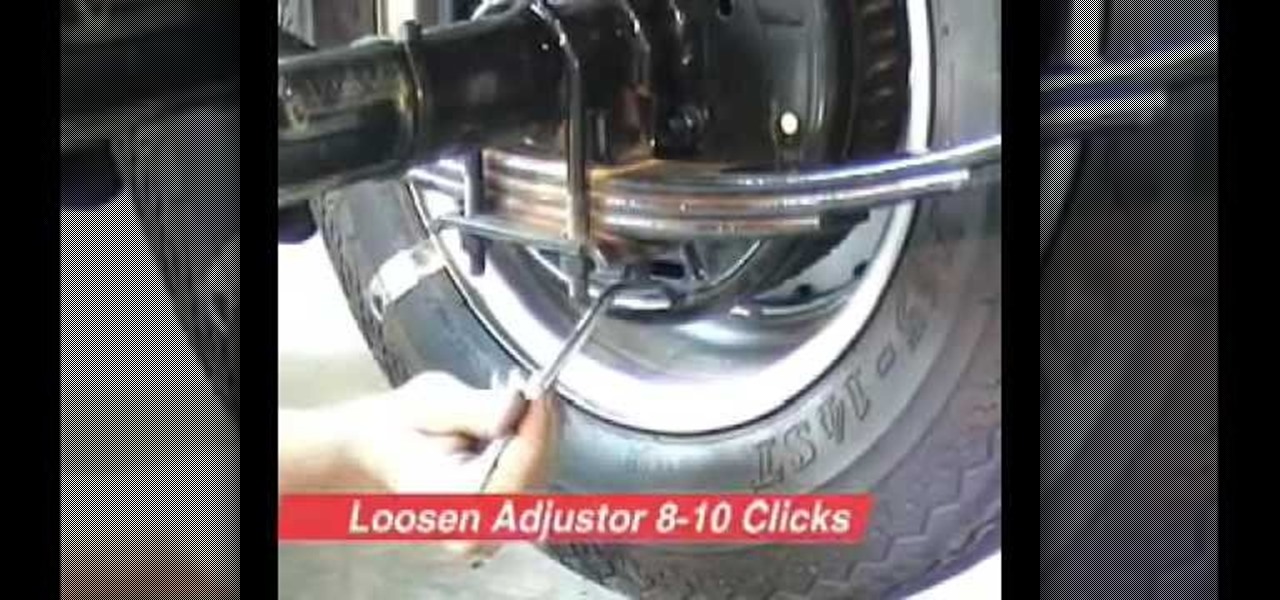
In this video, we learn how to bleed and adjust trailer brakes. First, level the trailer and use a jack stand to support it. Now, hand bleed the brakes using the master cylinder. From here, let any air out of the break line, doing this on all the different brake lines. Next, fill up the master cylinder with oil to make sure it doesn't run dry. Open the pressure valve and then close it as your run through the process. When finished, you will need to adjust the brakes by lifting the trailer. Af...