

How To: How Round Is Your Circle? Engineering Puzzles Explained
Can you dissect an equilateral triangle into pieces that can be rearranged into a square? If you think you can, you may have mastered the Pythagorean theorem.

Can you dissect an equilateral triangle into pieces that can be rearranged into a square? If you think you can, you may have mastered the Pythagorean theorem.
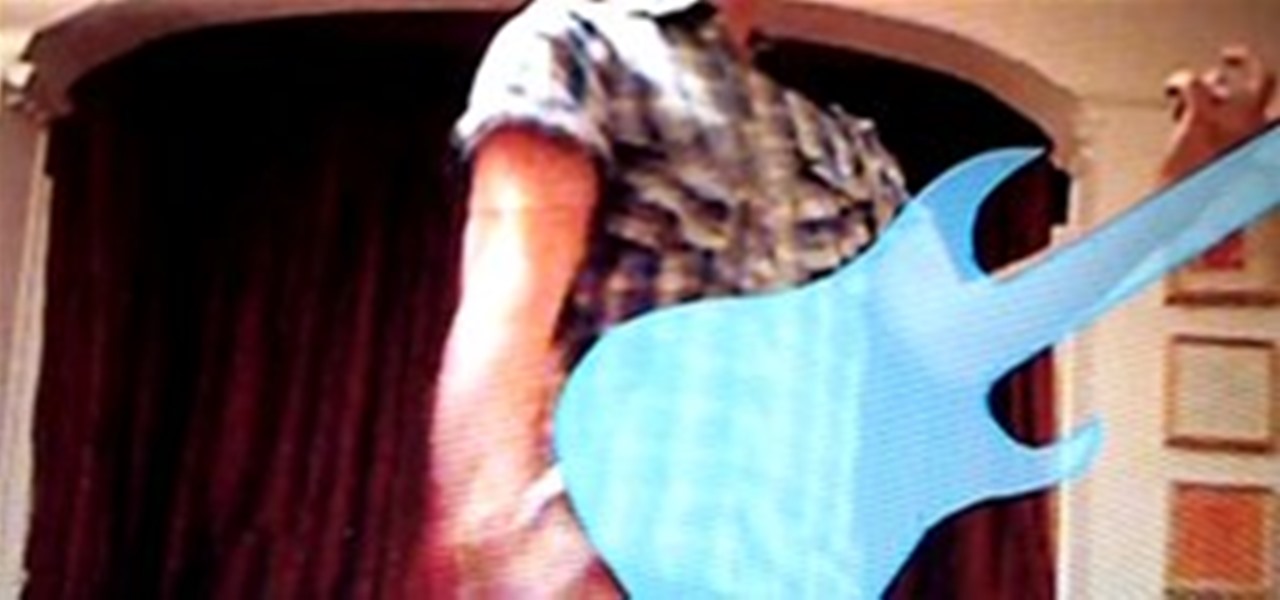
Thanks to Microsoft’s XBOX 360 motion-detecting system, Kinect, the world is becoming a play place for sci-fi style virtual reality. One of the latest hacks demonstrates the next best thing to regular old air guitar... virtual reality air guitar: Artist Chris O'Shea explains how it works:

Illustrator's gradient mesh tool is a powerful one for vector artists... if you know how to use it. This tool can help create beautiful and vivid mesh-based vector portraits, as long as your skills are up to par. If not, try out some of the beginner tutorials on WonderHowTo for using the mesh gradient tool in Adobe Illustrator, then move onto mastery...

Im Going to keep this short simple and disastorous. Opening Scene: The guys Ehren, Bam, Steve O, Pontious, England, and Preston are standing on the shore line of the Santa monica pier. Dressed in Speedo bathing suits, (pontious in the bunny lifeguard suit) all the guys will have watter skis on ready to take off from the shore line they are all holding ski ropes attached to a boat. Cut to: Boat being Captained by Henry Rollans and his trusty Ship Mate Johnny Knoxville. Rollans stands up and ye...

At times during the last nine months the crew of Cork might have thought this moment would never arrive but on Sunday evening at 1947 local time (1847 GMT) they crossed the finish line at Kinsale; an emotional moment as they led the Clipper 09-10 Round the World Yacht Race fleet into their home port at the end of the final transatlantic crossing of the 35,000-mile contest.

And Dumbfounded Most Watching Game 1 of 2010 World Cup I just finished watching the Mexico - South Africa 2010 World Cup opener and boy was it a good one. The finish of a tie, wasn't totally cool to me, until I realized what I missed.
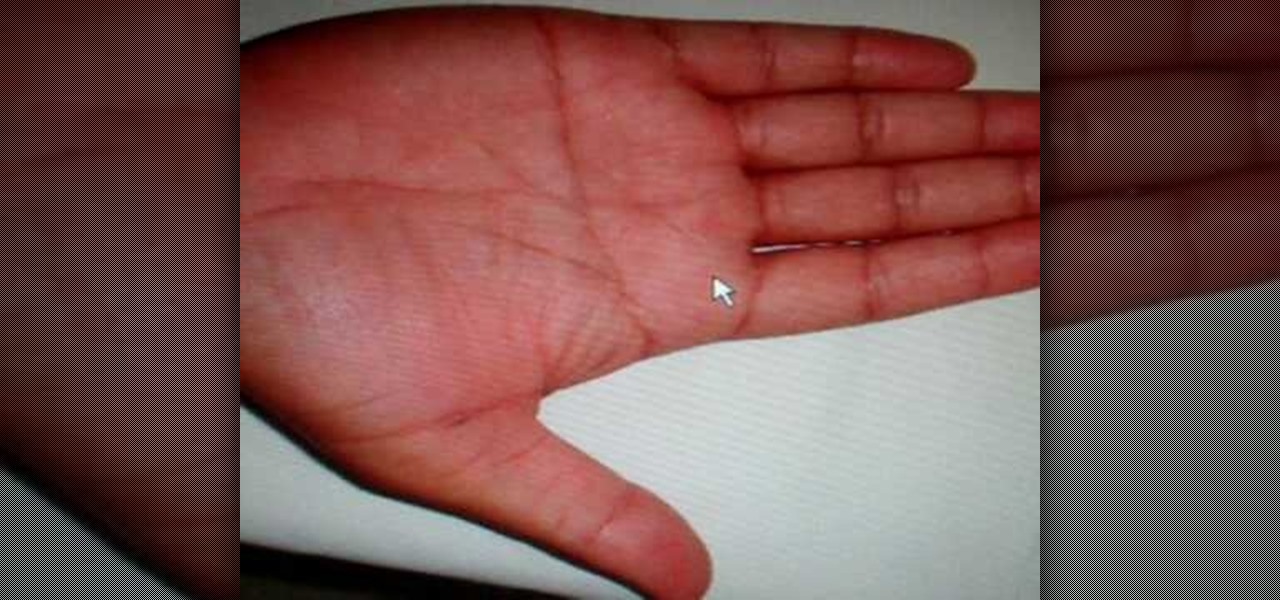
If you're giving a palm reading to someone who has short lines on their hand (the head line, the heart line and the life line), or looking to expand your knowledge of palmistry, Peter John explains what the appearance of these short lines mean.

Line to hook knots in fly fishing. Learn about fly fishing knots, equipment, and techniques in this free video.

In this free instructional video series on home and construction tools, learn tips on how to use a chalk line marker and a tape measure. One will allow you to mark a straight line across a variety of surfaces; the other will tell you where that line should go. Our expert will explain some of the basic features of both tools, as well as how to properly and effective use them for any given project.
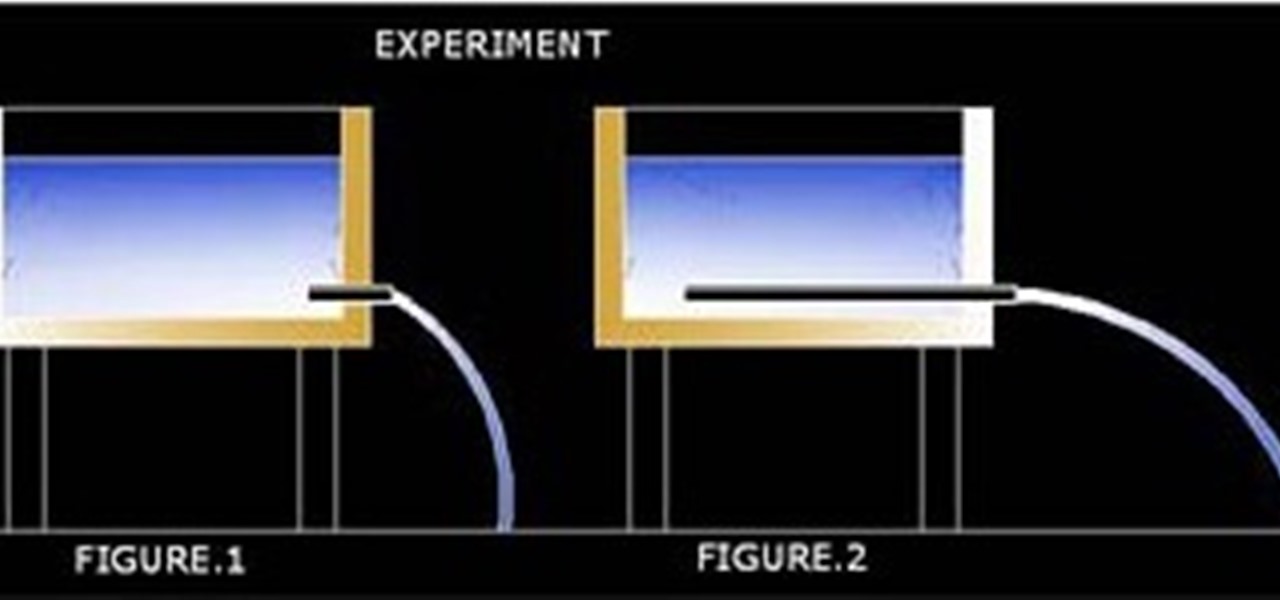
An experiment was carried out at our laborataries to investigate the flow through two pipes of same diameter fitted at the same height from water level inside of a water tank as shown. It is found the longer pipe line inside the water tank generates a higher speed resulting more powerfull flow. Flow in this pressure pipe develops due to gravitational accelaration on a horizontally flowing water column also, when it is an enclosed stream of flow. If this length is short it is not possible to d...
Michael Faraday was an English chemist and physicist - a bona fide electromagnetism and electrochemistry genius. Without him, men couldn't walk on live electrical wires. Wait, what?
Knot tying is the one of the first steps in becoming a well rounded, successful Boy Scout. Who better to learn from than the Boy Scouts themselves? Follow along with this knot tying guide to learn how to tie several knots. Click on the right hand menu to learn the following knots:
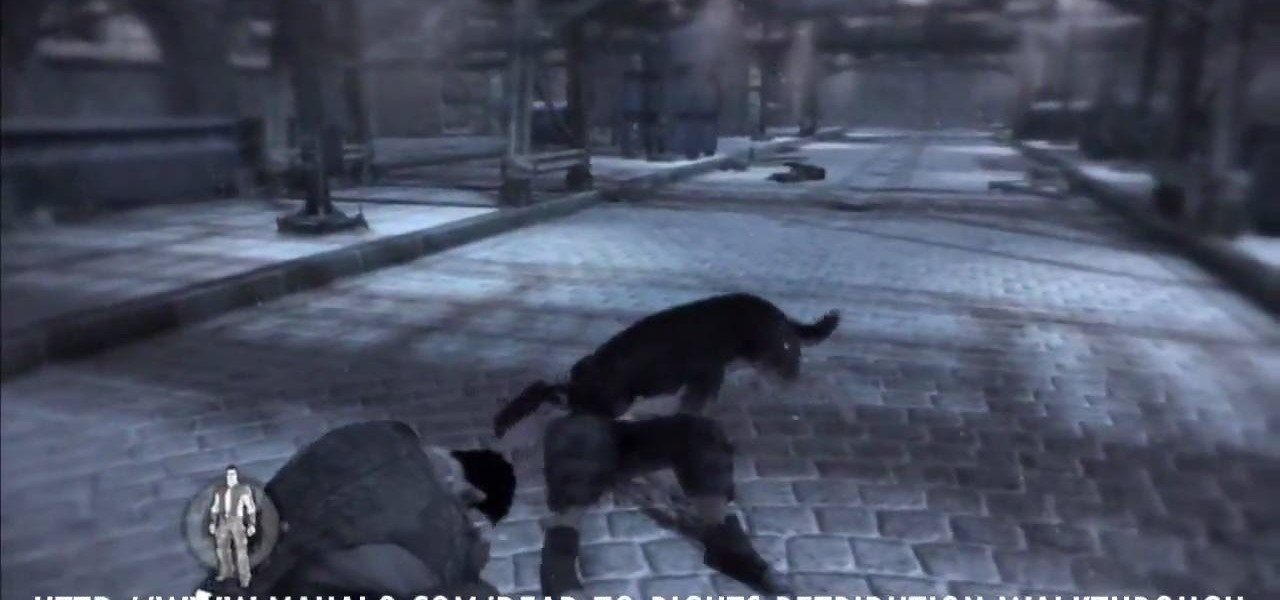
In Grant City, crimes has taken over, and there's only one man who can help: Jack Slate. With the help of his trusty sidekick canine, Shadow, maverick cop Jack Slate will help restore Grant City to its previous renowned existence as of one of the world's greatest cultural and financial centers, one criminal at a time. While ridding the city of its filth in Dead to Rights: Retribution, Jack and Shadow uncover a conspiracy that threatens their whole existence. And it's up to you to stop it.
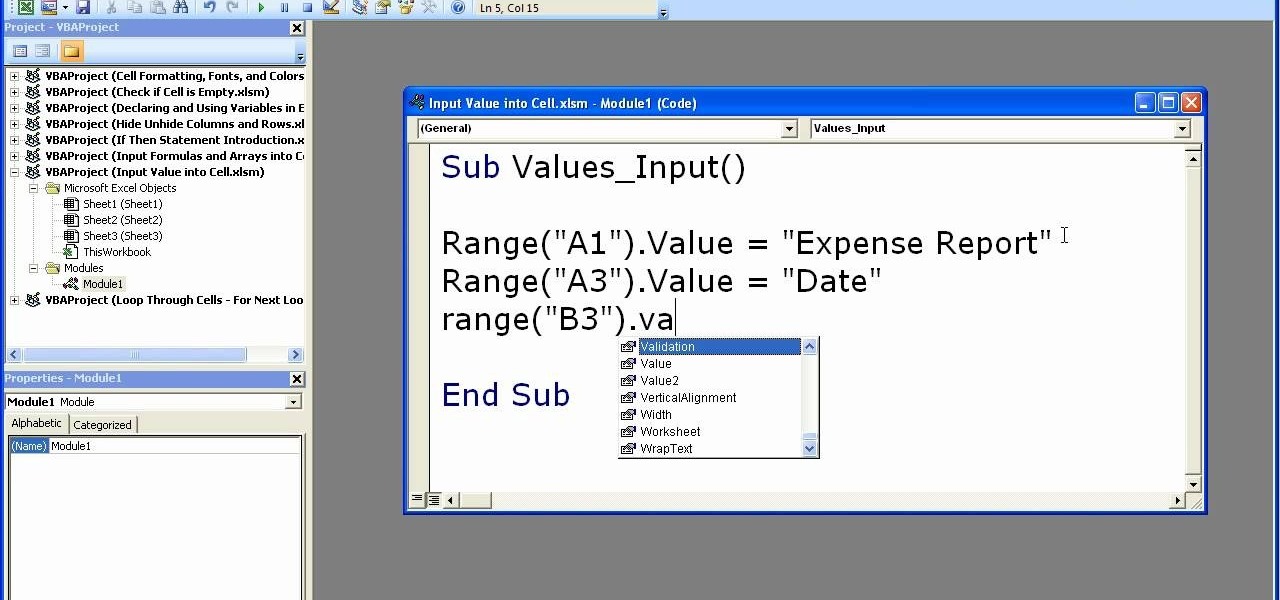
This video shows how to enter values into cells using Excel macros and Visual Basic. This includes a sample Expense Report that is used in this demonstration. In this demonstration, we will create the macro that inputs a title as "Expense Report", Three columns i.e. "Date", "Item" & "Amount", and the summery field as "Total Expenses", as well as the formulas located at the respective cells. Now, we're going to use two keyboard shortcuts i.e. "Alt + F11" to open-up the VBA window and "Alt + F8...
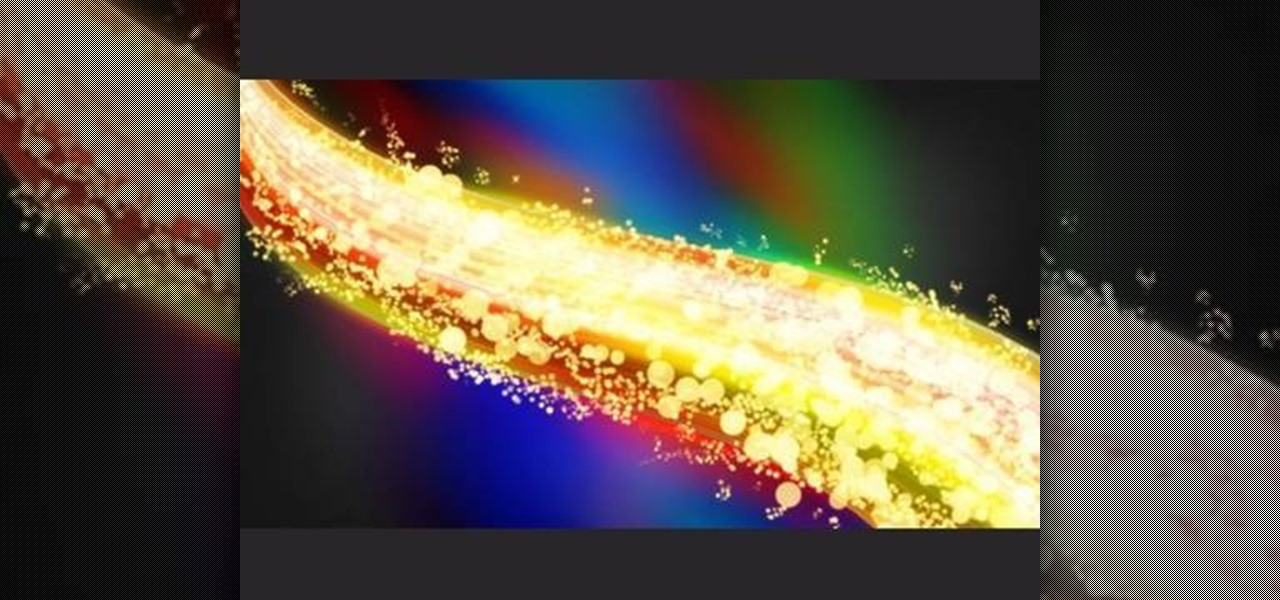
This video will help you learn how to create an Explosive rainbow color swath in Photoshop. First open a new file, keep the width 845, height 475, RGB color mode and white background.
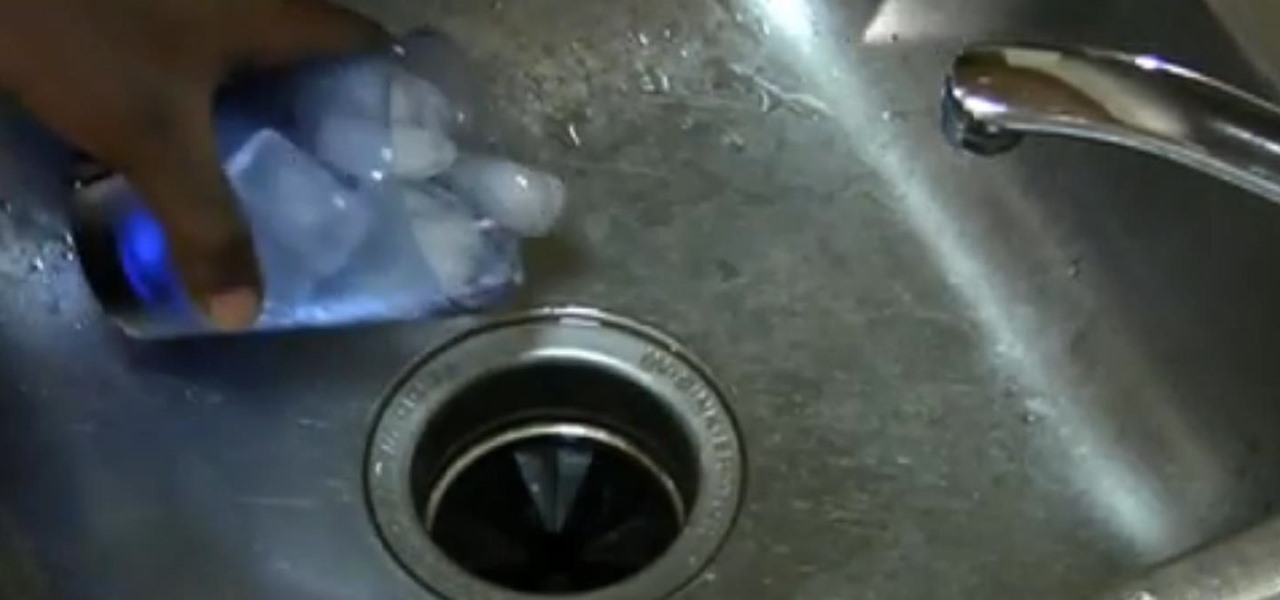
Does your kitchen smell like a landfill? Try these simple steps to clean out the culprit. This video will show you how to safely clean a garbage disposal.
The quickest way to get a gorgeous lawn is to lay sod, uniform patches of grass-covered soil held together by matted roots. It will go more smoothly if you know a few landscaping tricks. Learn how to lay sod for a perfect lawn with this how to video.
The phenakistoscope is a predecessor of the flip book, but don’t worry: it’s easier to make than pronounce.

In this tutorial, we learn how to quickly draw Shadow the Hedgehog. First, you will need to draw the outline of Shadow, drawing in the entire body. After this, darken up the lines to make the final outline of the character. Next, draw in the details of the face and the body. Then, shadow in the sides of the character and create more details to make him look more realistic. When finished, you can choose to color him with the right colors or just keep it shaded. Add in more details if you need ...

This video explains how to make a paper airplane for effectively. The first step is to fold your basic piece of paper into a triangle shape. After the creases in the paper have been created you must unfold the paper again. The second step is to fold the paper in another triangle shape starting from the opposite corner. After the shape has been formed you must refold the original triangle shape of the adjacent fold. The narrator then makes the plane into a smaller triangle shape by again foldi...

In this tutorial, we learn how to make a bear pop-up card. First, draw a big bear face on a 4x6 card. After this, fold the card in half so the face is in half. From here, use scissors to cut along the mouth line up until you reach the nose. After this, bend that flap up and down so it's creased and will flip both ways easily. After this, open the card back up and push the nose of the bear into the top. Then, close the card again and the nose will pop up from the page, enjoy!

In this tutorial, we learn how to draw Naruto & Hinata. First, draw the outline of the head and then draw the hair and bangs on the top of the head. After this, draw in the eyebrows, eyes, nose, and mouth. After this, draw in the neck and then the rest of the body. Draw in lines to show the folds for the clothing and then draw the body of the other character around this one. Draw Hinata in the same way as you drew Naruto, just make sure to make their faces and hair different. When done, you w...
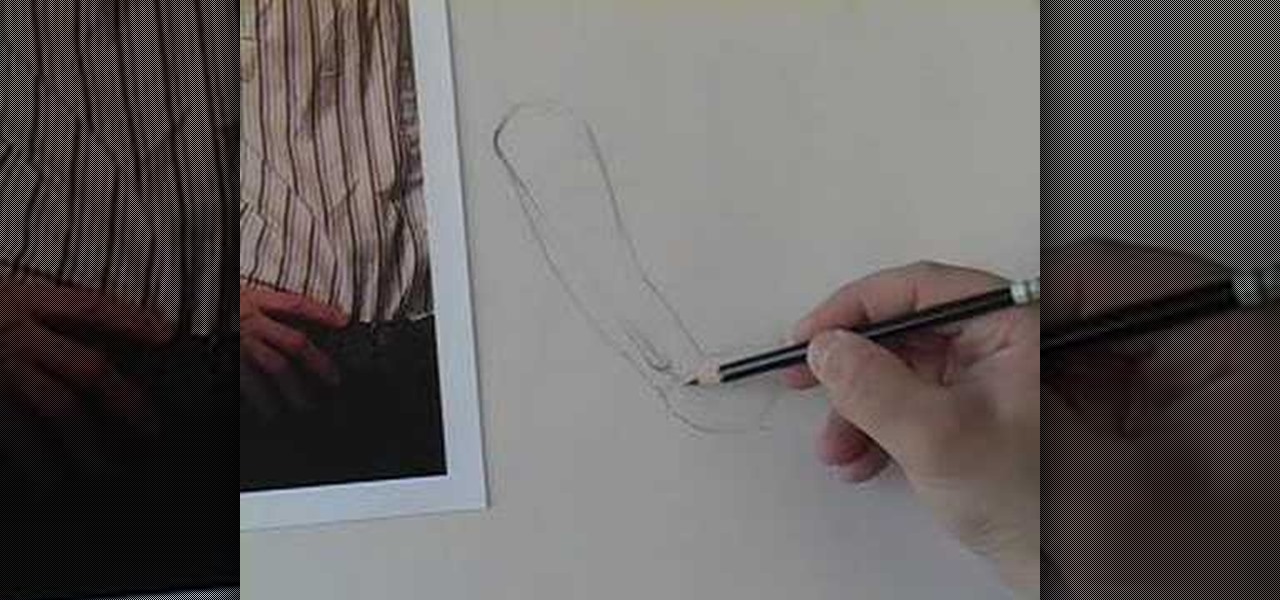
In this tutorial, we learn how to draw a hand on the hip. Start out by drawing the arm first. You will need to make sure to add in the different features of the arm to make it look more realistic. After you have drawn on the arm, then you can draw on the hand angled like it is sitting on a hip. Make sure you draw the fingers close to each other, not clenched or spread apart. Once you have finished, you can draw on the lines on the hands and the arms, then use shading to finish up the hand on ...

In this video, we learn how to do a quick draw of Sonic the Hedgehog. First, use your pen to draw the nose and the mouth. After this, draw in the eyes and the eyebrows above them. From here, draw in the spiky hair on top of the head, using big spikes. Draw in the ears in the hair and then draw in lines to create more details. Next, draw in the arm and the hand, with a glove on the hand. After this, draw in the details of the clothes, drawing in folds on them. From here, draw in the legs and t...

In this video, we learn how to draw a scary werewolf in the moonlight. First, you will draw the outline for the face and the body. Give the werewolf a hunched back to make it appear more human-like. Then, draw the permanent outline over this, including additional details on the body. From here, draw on the facial features and then start to add in lines to show the fur on the outside of the body. Use shading to create a more life-like appearance and then add in some color. When you are finishe...

In this video, we learn how to draw stained glass style doves. This is a complex picture to draw, so start off with just one dove drawn in the middle of the paper. Add in the feathers for the wings as well. After this, outline the dove in black and then erase any background lines. From here, draw in the black eye on the head, then start to draw another dove over this one. Draw it's head touching the left wing of the first dove. After you finish this, draw the third dove over the other two. It...

In this tutorial, we learn how to draw a basic dragon. First, draw the basic outline for the dragon, including the tail, wings, head, and body. From here, draw over the outline with the final outline in darker pen. After this, start to add in the details to the face and body. Once finished with that, move onto adding in shading and additional lines to make it look more realistic. Then, add in your colors. Use darker colors where the shading is to create more depth with the character. From her...
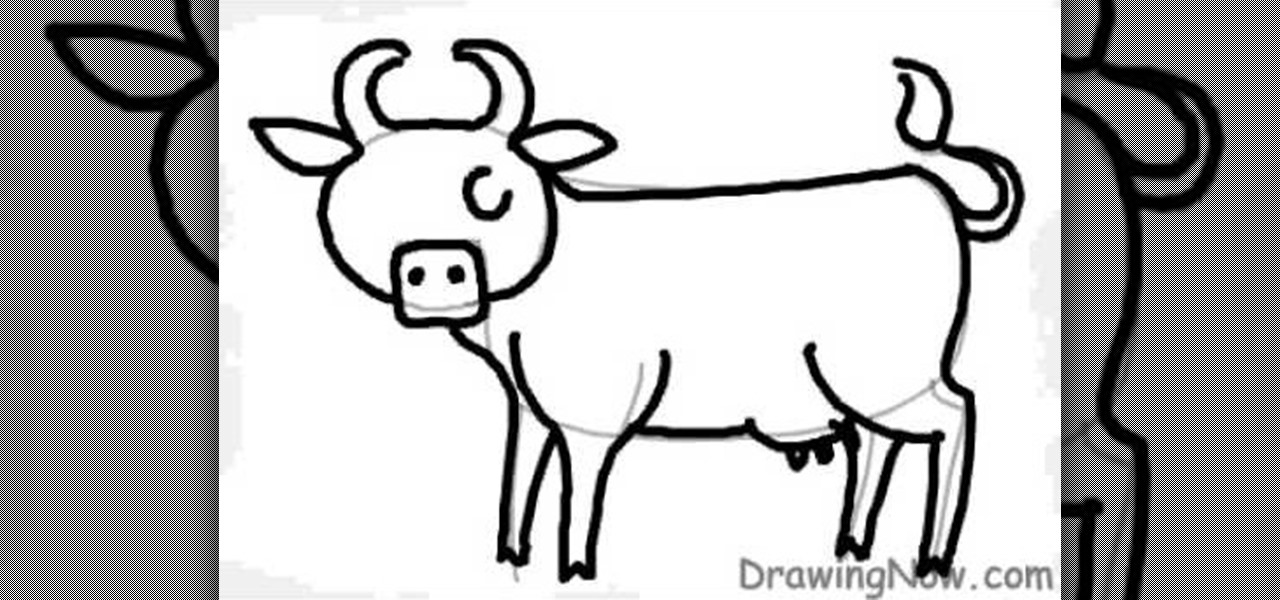
In this tutorial, we learn how to draw a cartoon cow. First, use gray pencil lines to draw the guidelines for the cow. After this, draw on the ears and the face, as well as the features of the face. Then, draw on a large oval for the body and then draw in the legs and the utters. From here, draw in the spots on the cow as well as the tail and the features for the tail. Use pink for the inside of the ears and the nose, as well at the utters. Finish this off with a blue sky background and save!
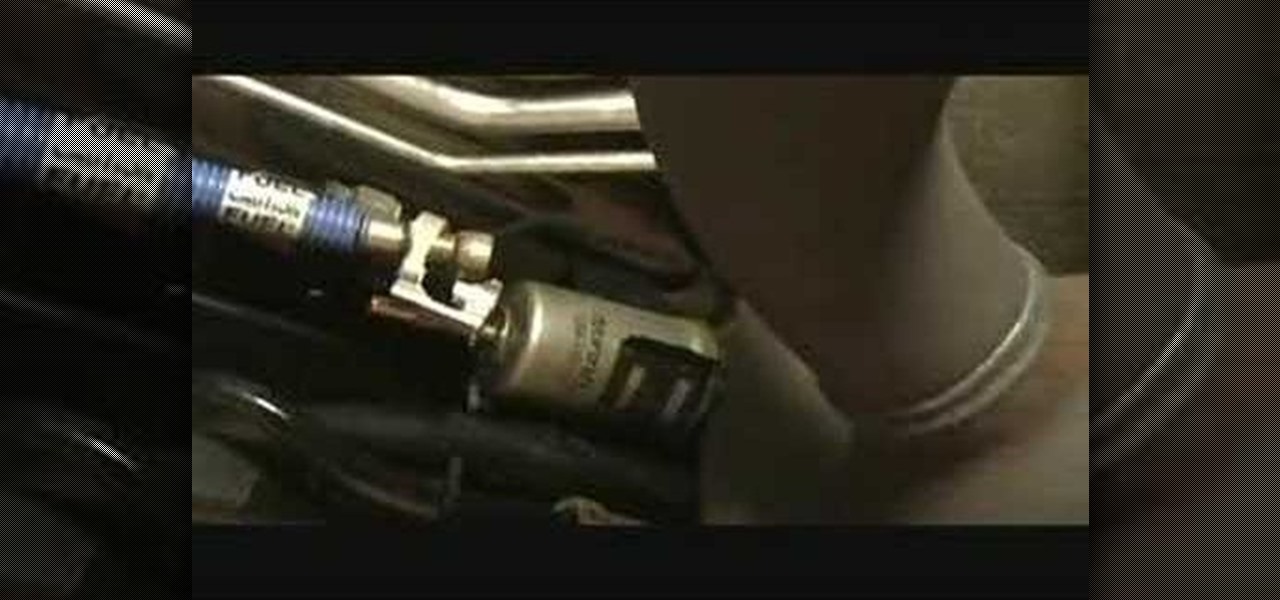
In this video, we learn how to remove a fuel filter. Start out by removing the secondary retainer cup. After this, you will install quick disconnect tool and rotate until the primary cup has been released. Repeat the previous steps until all the lines are disconnected from the vehicle. After this, you should be able to simply remove the fuel filter from the vehicle. Make sure you are using the right tools to remove the retainer cup so you don't damage anything underneath the vehicle. Once fin...
In this video, we learn how to transition from close to open embrace in tango. Use elastic energy to give you an option to open up and turn or send your partner into a line. For the followers, you should know how to be active with your embrace. The left hand should be on the leader's right arm, especially when they are sending you away. Doing this will help you transition from closed to open more easily. It will give you the correct positioning so you don't have any fumbles when you are tryin...
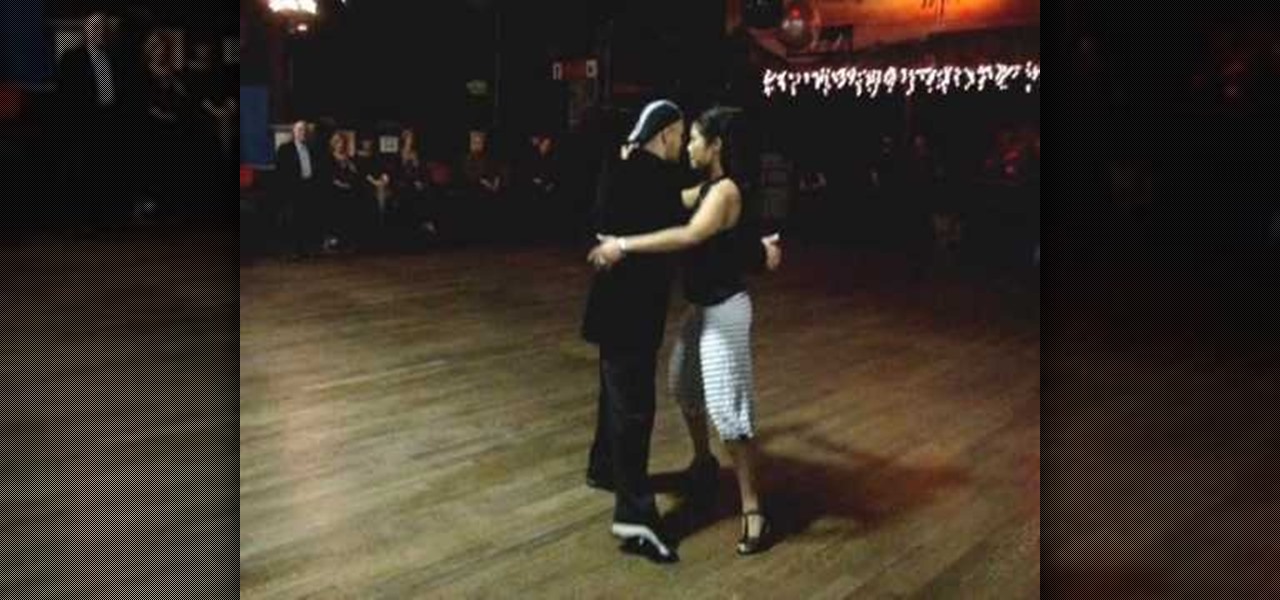
In this video, we learn how to do the Tango close to open, promenade and 1 alteration. Remember the basic rules of staying in the line of dance and going with the music. Twist your hips and go from closed to open, practicing this often so you get better at it. You and your partner should feel the music as you are both dancing. Keep the bodies in proper position so each of you can change from open to close as you would like. Use different alterations that you are comfortable with to get a diff...
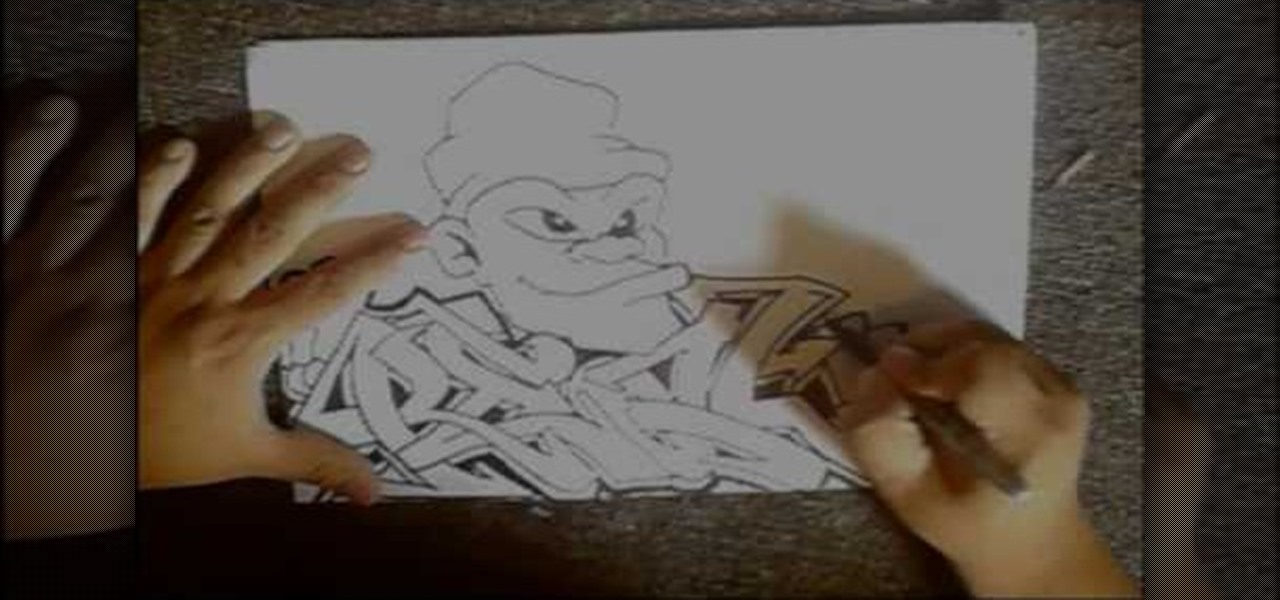
In this tutorial, we learn how to draw graffiti in pencil. Start out with a white piece of paper and a pencil. Then, draw your character's face, adding in the details of the face and the features of the face. Underneath this, shape out your letters that you want to write out. Cross the letters together, and make sure they are all touching each other. Shade in the areas next to the letters and add in lines and darker edges to the sides of them as well. Add in black in between each of the lette...
In this video, we learn how to draw a realistic mouth, nose, and eyes. Start out by drawing the outside shape of the eye, then draw in the details inside the eye. After this, shade in the pupil and add a white circle to make the eye look glossy. From here, add in the eyebrows and add darkness and lines to make it look more realistic. For the mouth, you will first draw the outline of the lips, then draw the teeth on the inside followed by additional details. Make the teeth different shapes and...

In this tutorial, we learn how to draw a dragon head. Start out by drawing the outline of the dragon head, giving it a pointed head and a large neck. Then, draw in flames coming from the mouth and large sharp teeth on the inside of the mouth. Draw in eyes, scales, and additional details around the entire area of the dragon. After this, you will be able to add in spikes on the back of the dragon as coming from the head down to the neck. Add in horns to the dragon, then shade in areas and add l...

In this tutorial, we learn how to create floating objects and razorblade props. First off, take your object and some double sided tape. Then, place the tape on the object to make it look invisible. After this, tape it to the middle of the plexi-glass. Have someone else help you move this, and then when you record it on video it will look like the object is moving around in the air without anything holding it. This is a great effect that looks even better on video! To create the razorblade pro...

In this tutorial, we learn how to draw a manga girl. Start out with a pen on a piece of paper and draw the eyebrows in the upper middle part of the paper. Color the brows in, then draw in the eyes, along with their creases and the bottom of them. Next, you will draw in around the face and add in the point for the chin. Add in the details for the face, making sure to draw in the eyelashes. When finished with the features, draw bangs on the front of the face, then draw hair all around the sides...

In this tutorial, we learn how to draw a dragon in profile. Start with a pencil on a white piece of paper and draw out the outline of the profile for the dragon. After this, start to add in the details for the side of the face, this includes the horns, teeth, nostrils, and scales for the dragon. Work your way into the middle of the dragon, drawing in different details, including the eyes and the mouth. Continue to shade and add different lines to the dragon, then finish it off with a horn or ...

Hikaru Utada is a drop dead gorgeous Japanese pop star who isn't afraid to take chances with her makeup. Though she plays it safe with neutral eye and lip colors when she's just walking around town, for music videos she amps up the volume and goes for a sexy feminine look.

Want to create a neat looking decorative item using just paper? Origami is the answer. The Origami Cherry Blossom paper ball created in this video by Tomoko Fuse requires papers, dexterity and a toothpick if the presenter is to be believed. The first steps consist of creating precreases on the paper. This step makes the subsequent folds easier to make as the fold lines also double up as markers. The second step consists of creating a complex shape. The same design is then repeated 30 times. F...
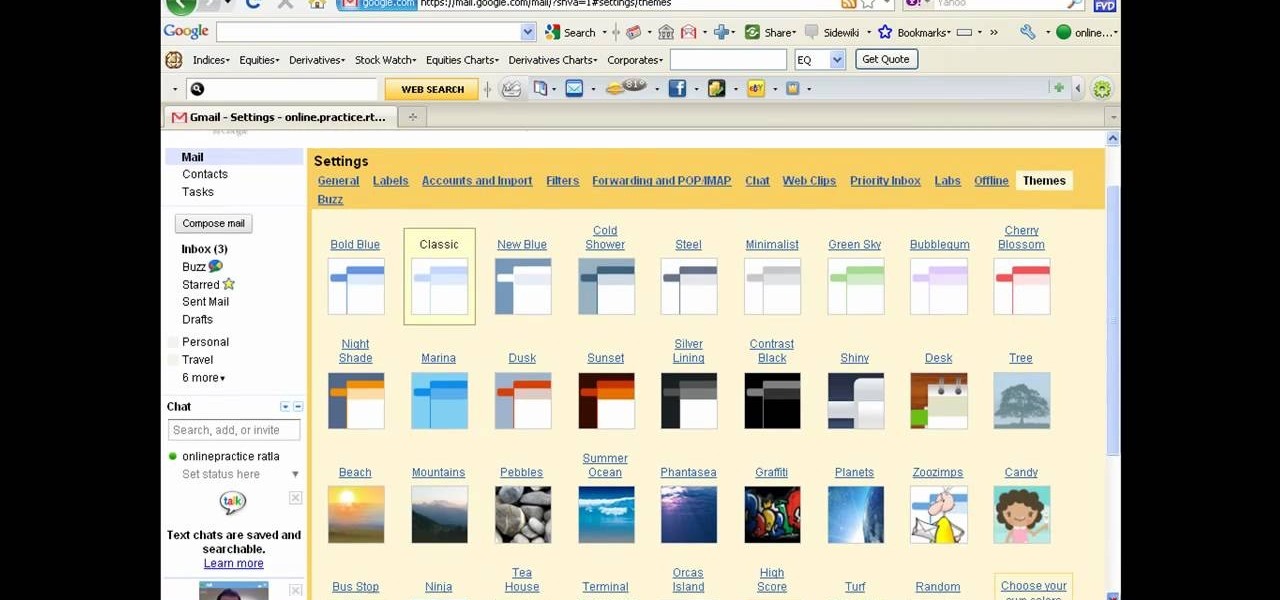
There a ways to personalize your Gmail experience, and one of those is picking personalized Gmail themes which make emailing funner. But if you're not sure what kind of theme you want to use from all the available Gmail theme choices, there's an option called "Random" which provides you a random theme based on your geographical location, and will change when in a different location.