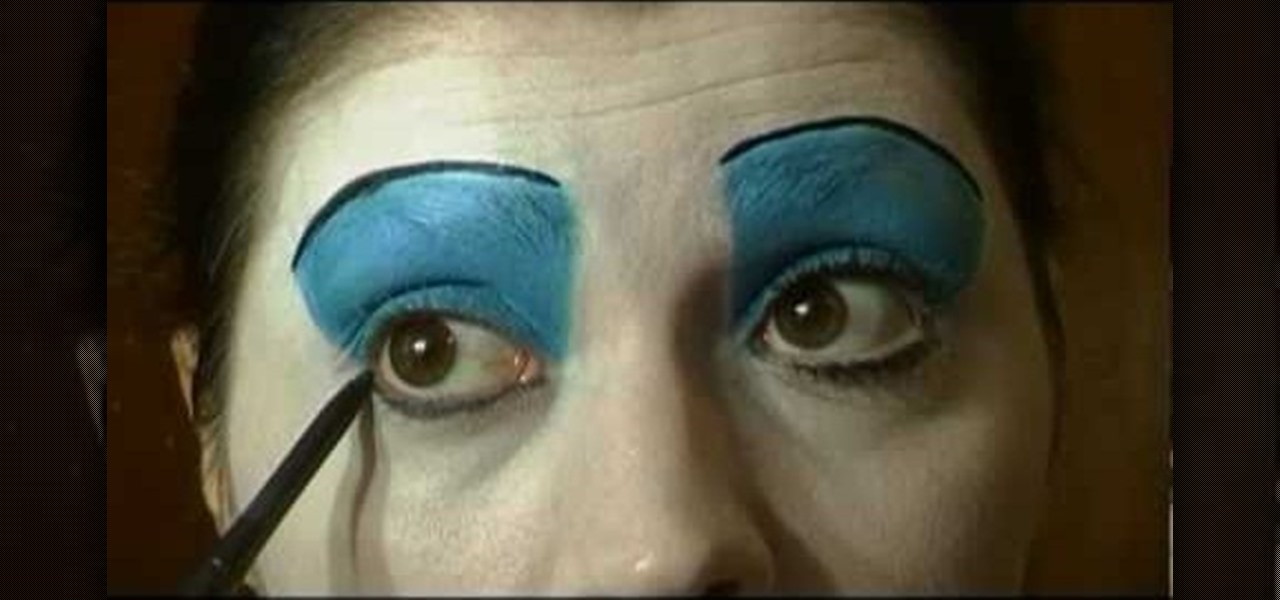
This video gives an awesome makeup tutorial for the Queen of Hearts from Tim Burton's version of "Alice in Wonderland". In Burton's film, Helena Bonham Carter plays the vicious Red Queen, a character not to be messed with. Even at Halloween. Also, you'll get some costume ideas to help compete your Queen of Hearts costume. See how to transform yourself with all of the following products:
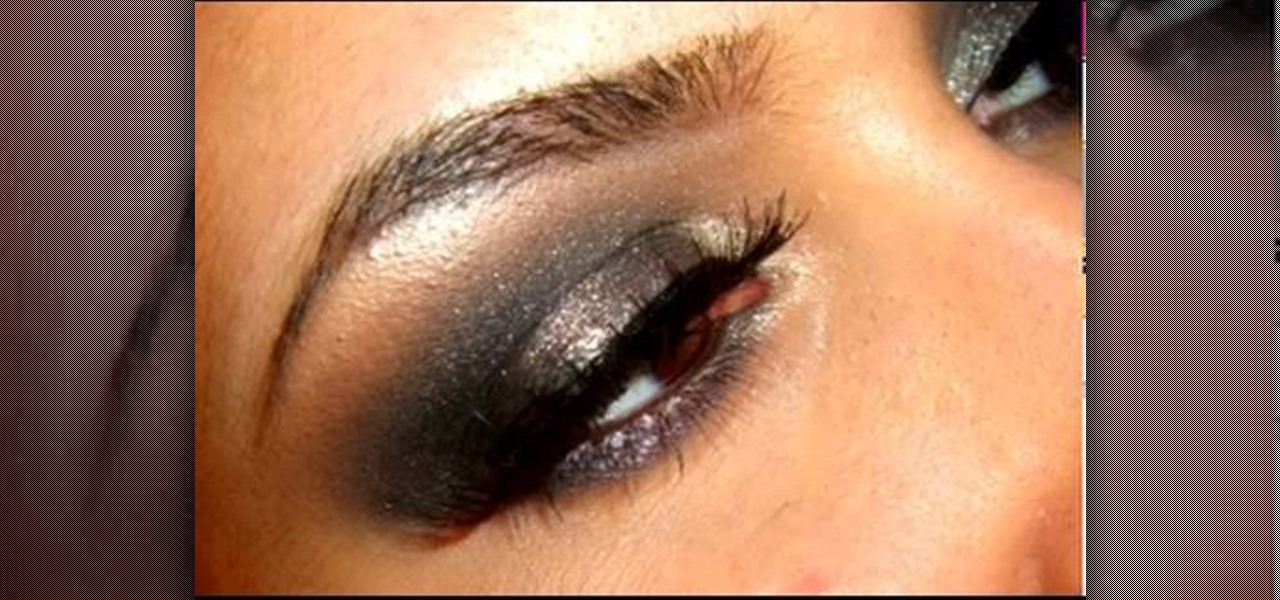
Just in case you've been living under a rock (AKA without internet) for the past couple of days, here's a quick update: "Gossip Girl" star Taylor Momsen has officially become the new face of Madonna and her daughter Lourdes' new fashion line, Material Girl.
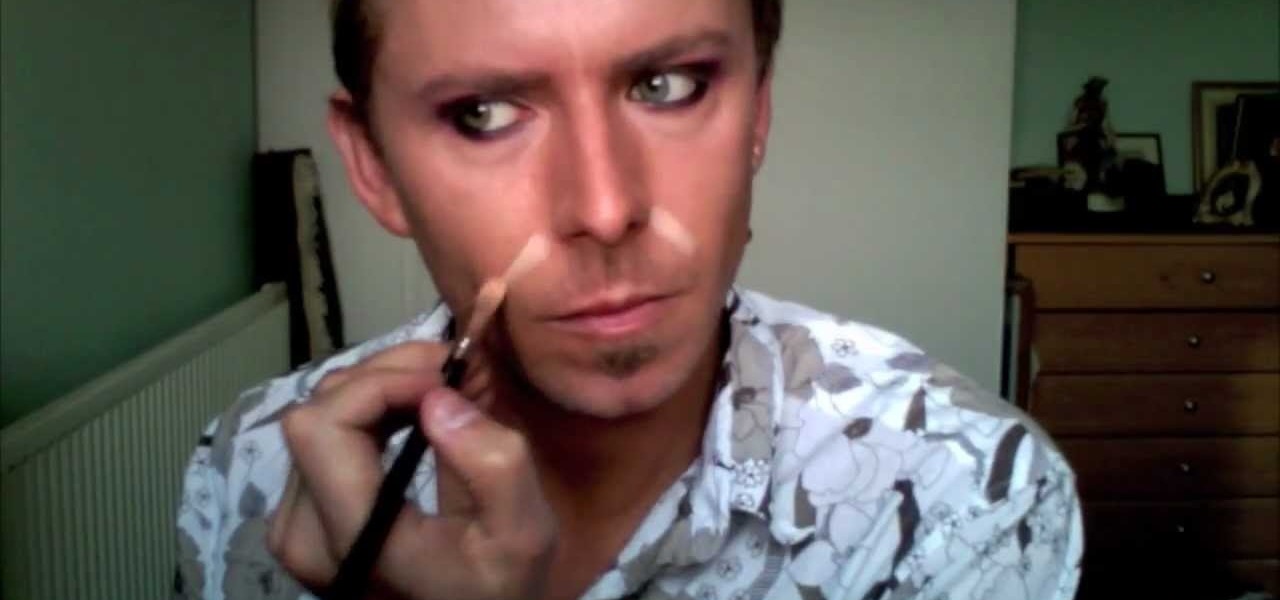
In this tutorial, we learn how to create a burnt burgundy contoured face and eye look. First, apply a primer to the entire eyelid as a base. Next, apply a shimmer pink eyeshadow with an eyeshadow brush. Next, line the lash line with black eyeliner, and then blend a burnt burgundy eyeshadow onto the outside corner of the eyelids. Circle the brush so the colors all blend into one but will still have the darker color on the outside. Next, take the same burnt burgundy color and pant it onto the b...

Is all that sunbathing you did as a college freshman finally catching up with you? Around your 30s and 40s all the sun damage you have accumulated over your lifetime finally starts taking its toll, resulting in a sudden influx of fine and deep lines, sagging skin, and mottled texture.
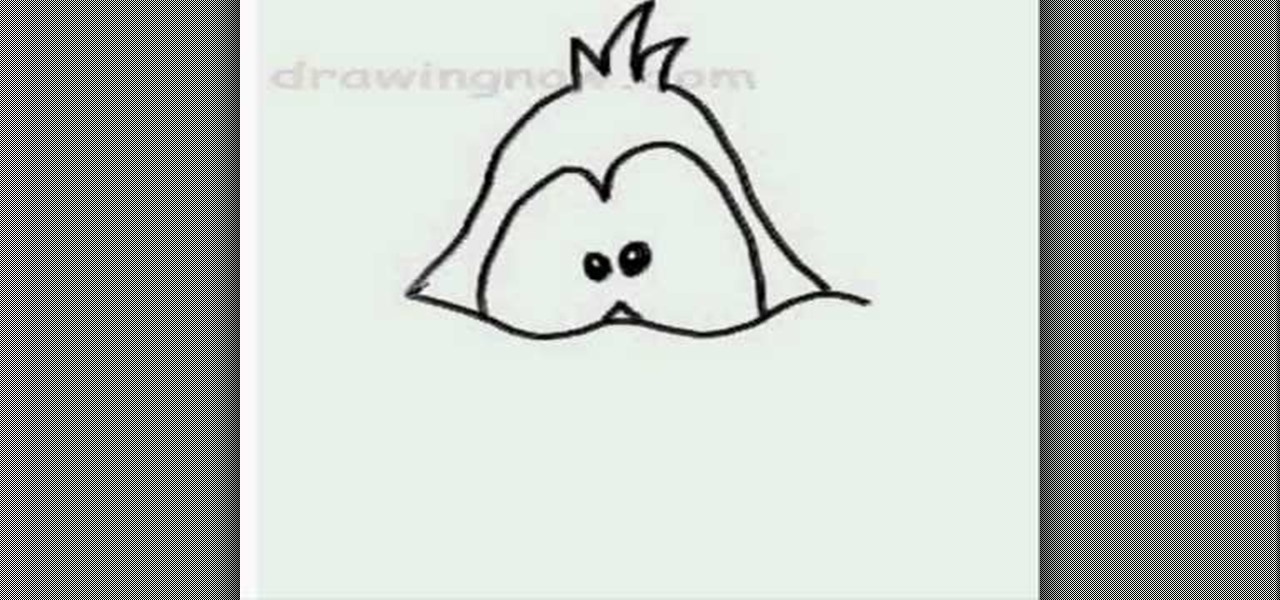
First of all you have to draw the two big eyes and a curved line supporting them. Now draw and darken the two eyeballs. Draw the top portion of the head and make some curves of hair at the top. Draw the round cheeks on both sides. Now you have to draw the round beak and the mouth as shown. Then draw the narrow neck and then draw two lines around it. Draw two nostrils over the beak and then also draw the two eyebrows. Now color the drawing as shown. Fill in black color in the face and neck. Le...
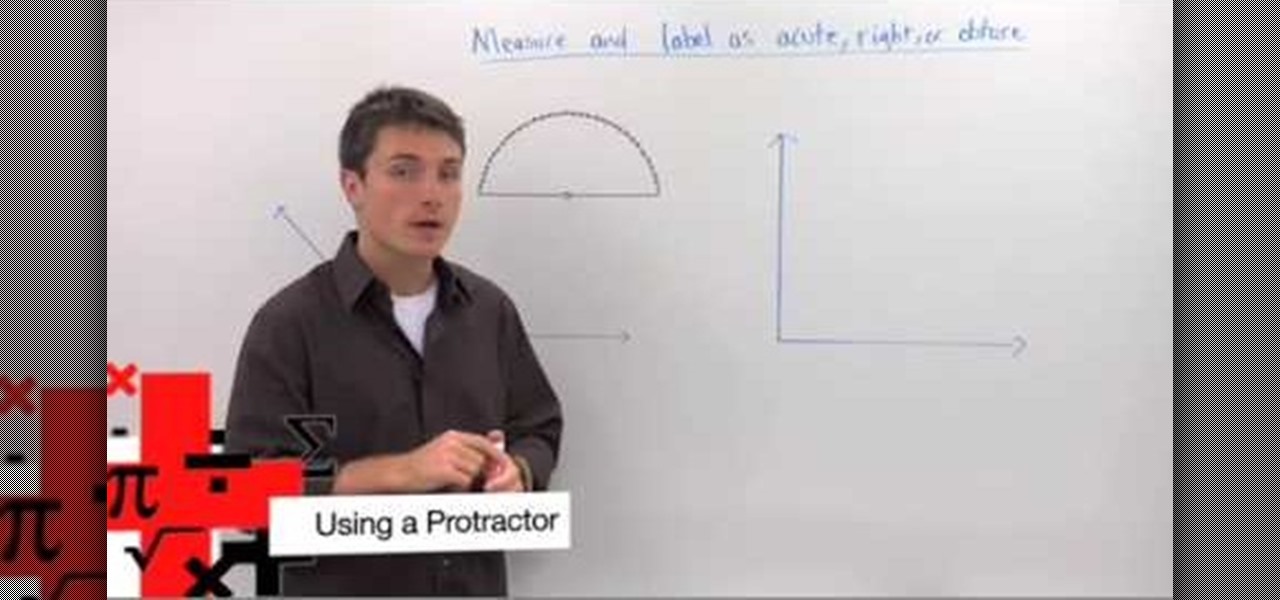
This video in the Education category will show you how to use a protractor to measure an angle. This video is from Brightstorm. In Geometry it is important to know how to measure an angle. This is a very simple and easy process. In order to measure an angle, you will need a protractor. Every protractor has a base and a center point marked on the base. You will put the center point on the vertex of the angle. Then align the base line of the protractor perfectly on one side of the angle. Now ch...

If you have ever wanted to learn Japanese or even just a few words in the language then this video is perfect for you to begin with. This video will show you how to write the word "tree" in Japanese in a fun creative way. The video takes a picture of an actual tree and redesigns it to become the word tree, but if you want to just learn how to write the word on it's own then a grab a piece of paper, pen and begin with making a horizontal stroke. Next, make a vertical line through the horizonta...

In this video, you are shown, you are shown how to properly do a concentrated hip extension. You are instructed to lay on the floor, supported on your elbows. With one knee on the floor, you are then told to life the opposite leg off the floor, completely extended, to form a horizontal line from the floor. While lifting the leg to about 40 degrees, you are to contract the muscles of the same glutes at the same time. After, return to the starting position, bringing your leg to form the horizon...

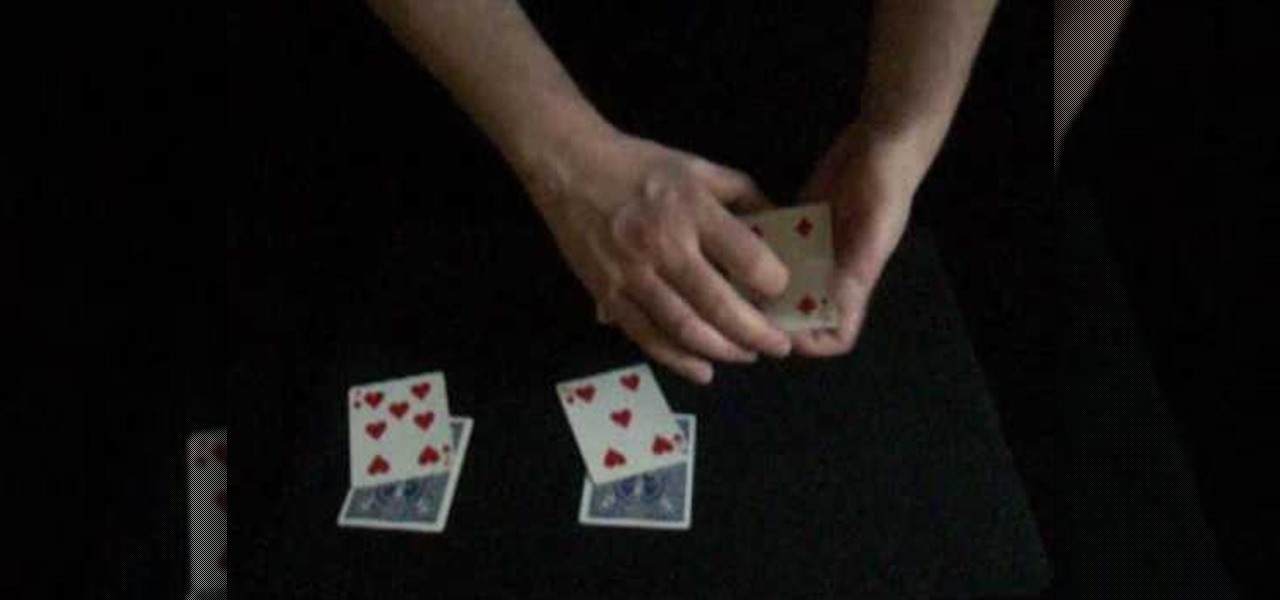
In this Magic & Parlor Tricks video tutorial you will see the "dyslexic queens" card trick. The 4 queens are laid out on the table face down; three in one line and the 4th below the top line. To each queen 3 red cards are added. These cards are between 1 to 10; no jacks or kings. Now the top 3 stacks are picked up one by one shuffled and when turned over, the queen has vanished. All the 4 queens are found in the 4th stack. Then the 4 stacks are put face down with 4 queens in the 4th stack. On...

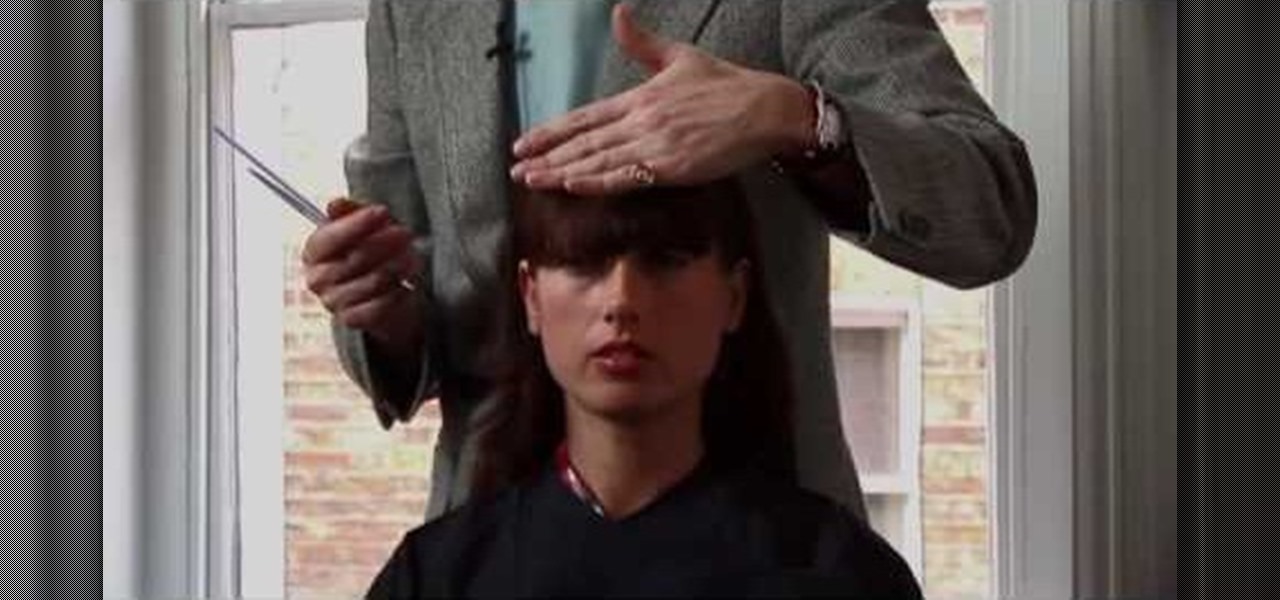
This video describes how to get a Kate Moss look with your bangs brought to you by stylist James Brown. Start with dry hair so that you can understand exactly where the bangs will be after cut as they can move up when they dry otherwise. Using a comb to pull the bangs down slightly and figuring where to put them just at the eyebrows you cut and move the hair back and forth along the brow to make sure it is staying in line with where you want it to end up. Continue until the hair is uniform ac...

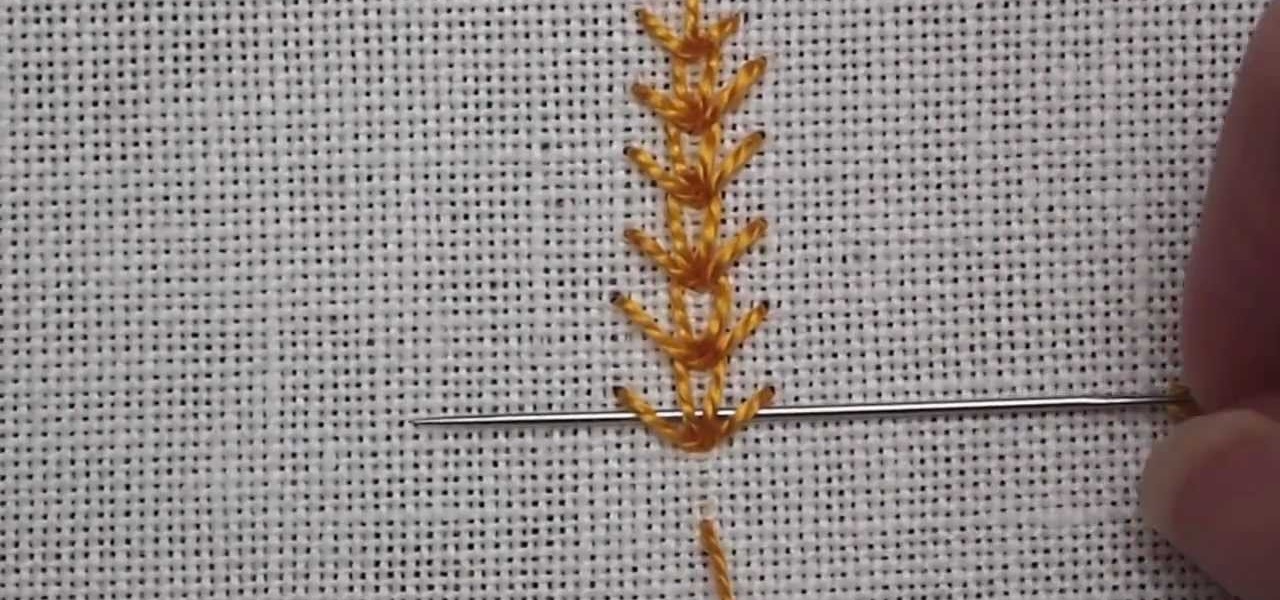
If you are a beginner at hand embroidery, one of the first stitches you will probably learn is the chain stitch. The chain stitch has many variations, and one of them is the wheat stitch, also known as the wheatear stitch. This stitch is simple to work and produces a line that resembles a shaft of wheat. The stitch can be used in all kinds of applications - it would make great background greenery in flowers and gardens, it can also serve as a seam embellishment in crazy quilting, and it can s...

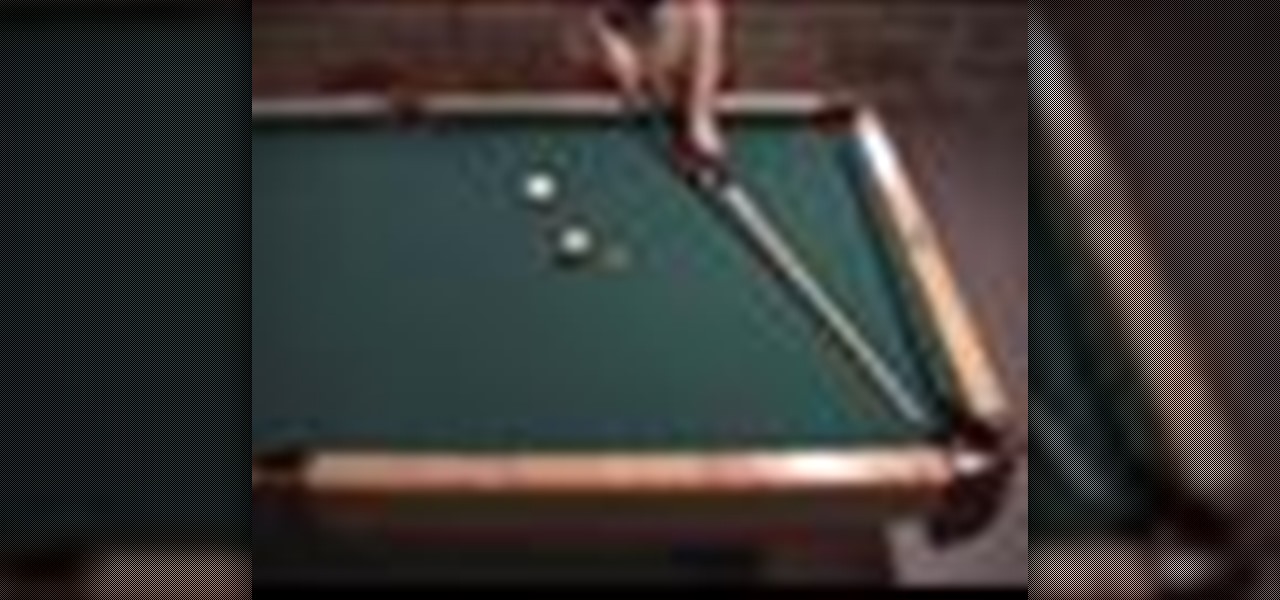
This pool shooting video shows how to use a parallel line to bank the object ball off the rail and into the pocket. Visualize a line between the two balls and the line parallel to the midpoint of the first line will be the aiming line. Shoot a bank shot in pool with a parallel line.

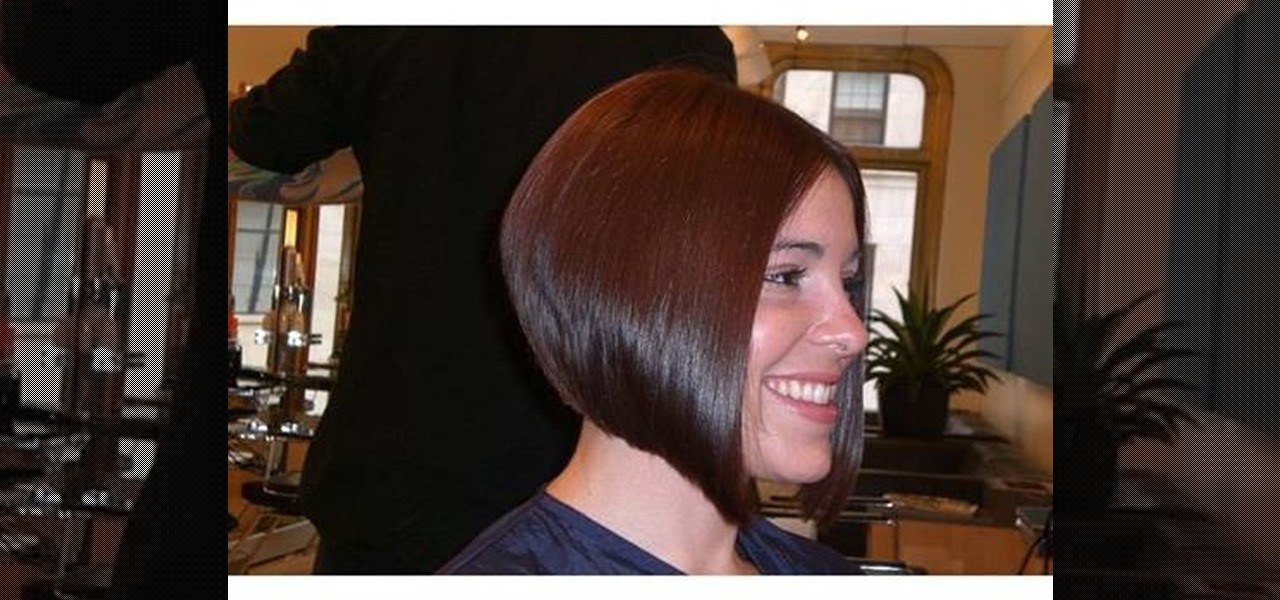
Are you obsessed with bobs now after watching bombshell actress Olivia Wilde donning one (albiet it was a wig) in the futuristic action film "Tron"? If you're serious about taking the plunge into short hairhood, then check out this video for your introduction to cutting and styling an A-line bob.

What's better than free pattern? A free pattern that fits you perfectly! This tutorial shows you how to draft the pattern for a basic A-line skirt completely by hand, and custom fit to your own measurements. All you need is some pattern paper, a pencil and a ruler.

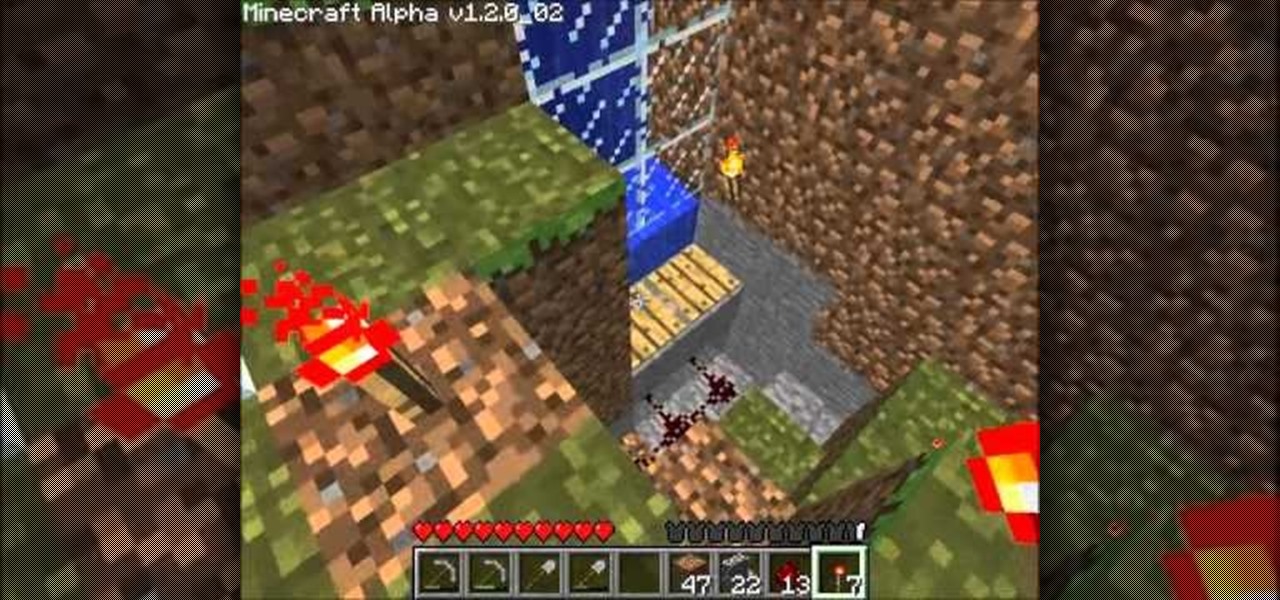
Being able to hide your redstone makes your trap look a little nicer, and also reduces the possibility of accidentally disturbing the line of redstone. This tutorial shows you a creative way to hide your lines of redstone wiring when building Minecraft traps.

When it comes to "Harry Potter" movie premieres, it seems that you just can't get through one without wondering if the movie theater you're at has turned into Hogwarts. The true fans always dress up in their wizarding best, from long cloaks to striped ties to Harry's famous glasses and lightning bolt scar.

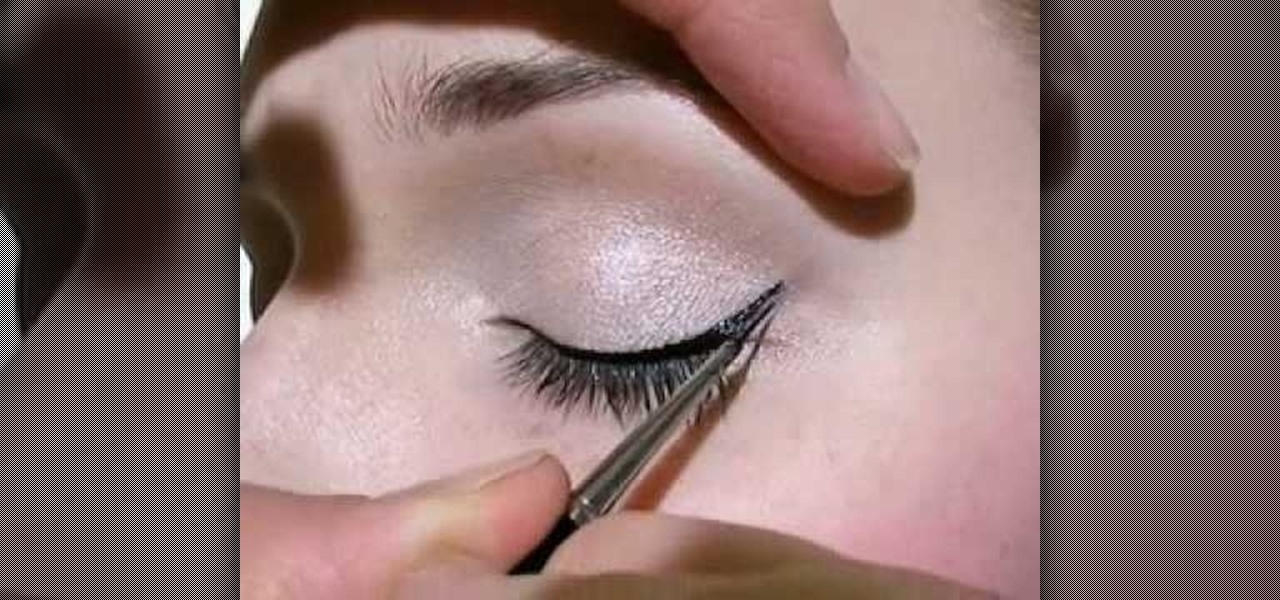
In this tutorial, we learn how to apply hot liquid eyeliner. First, line the eye with a slanted eyeliner brush that has been dipped into the liquid eyeliner. Line from the inside corner to the eye out to the outside of the eye. Pull the lid up gently so you can really push the eyeliner into the lashes to make them look darker and fuller. After this, line the outside corner of the eye and make a light flare if you would like a more dramatic look. This will finish the eyeliner look, have fun wi...

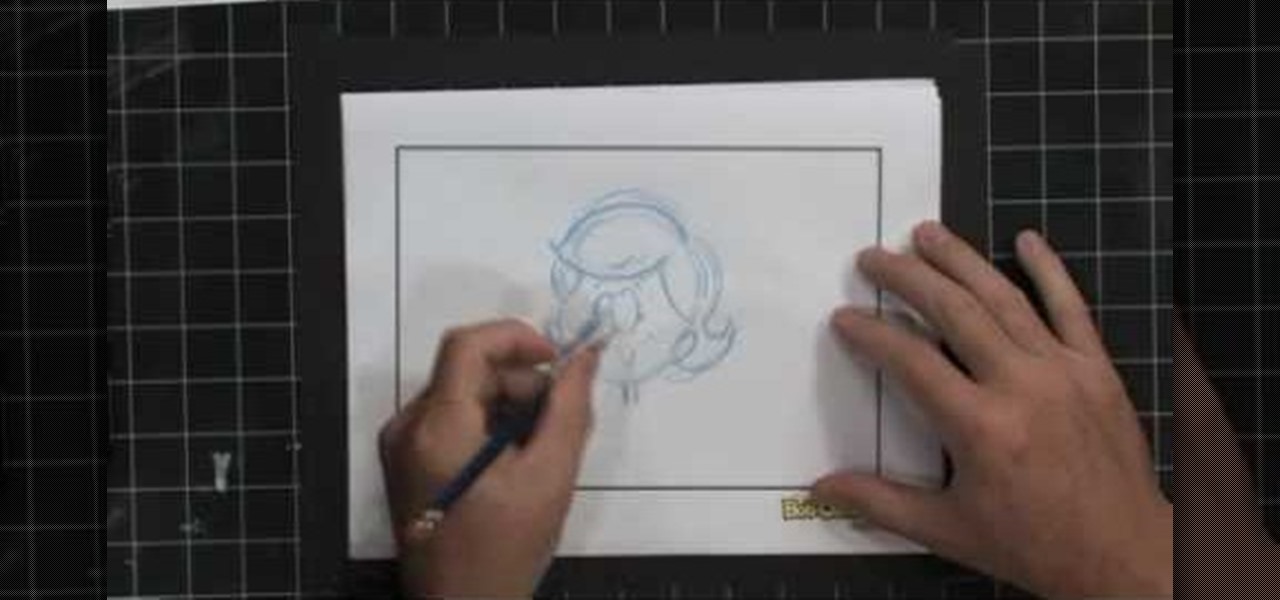
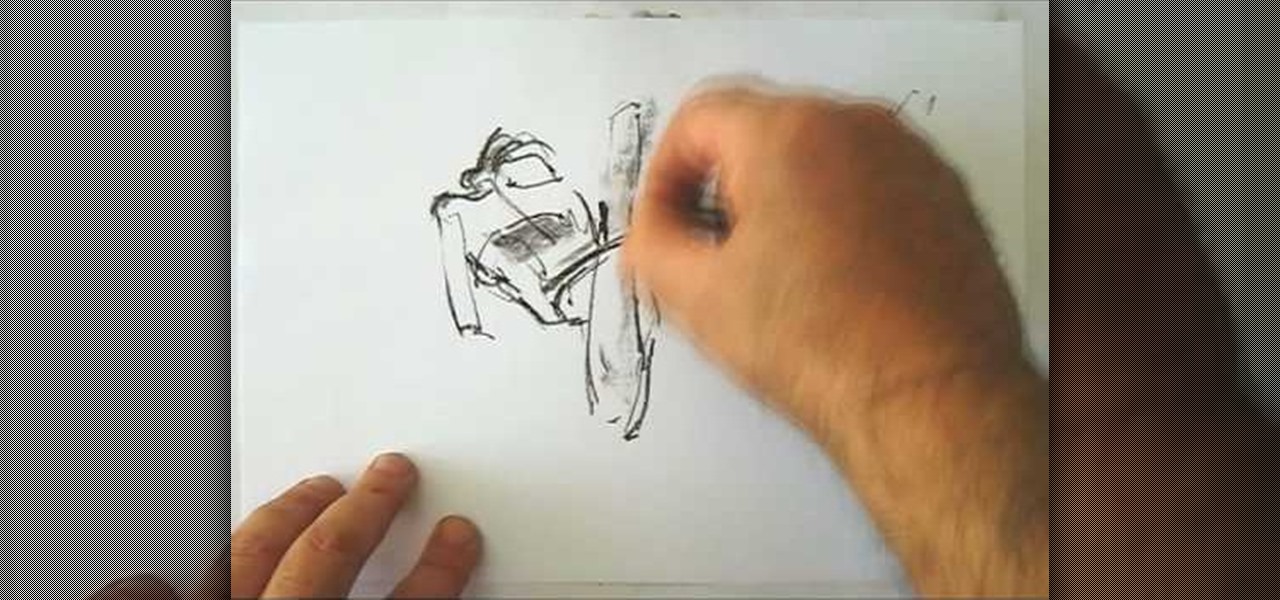
In this tutorial, we learn how to draw detailed hair. When you are drawing hair, you must remember to draw with the shape of the head not just the lines. You should also draw in the lines curved and feather them to show the different strands on the head. When drawing a guy or girl, draw different lengths in the hair and show the waves on them as well. For girls, when you are drawing curls you must make them ring shapes so they curve like curls. Just make sure you draw enough lines to show the...

Learn how to solve statistics problems that require you to find the regression line. Whether you need help studying for that next big stats text or just a hand finishing your homework, you're sure to be well served by this four-part free video math lesson from Salman Khan.

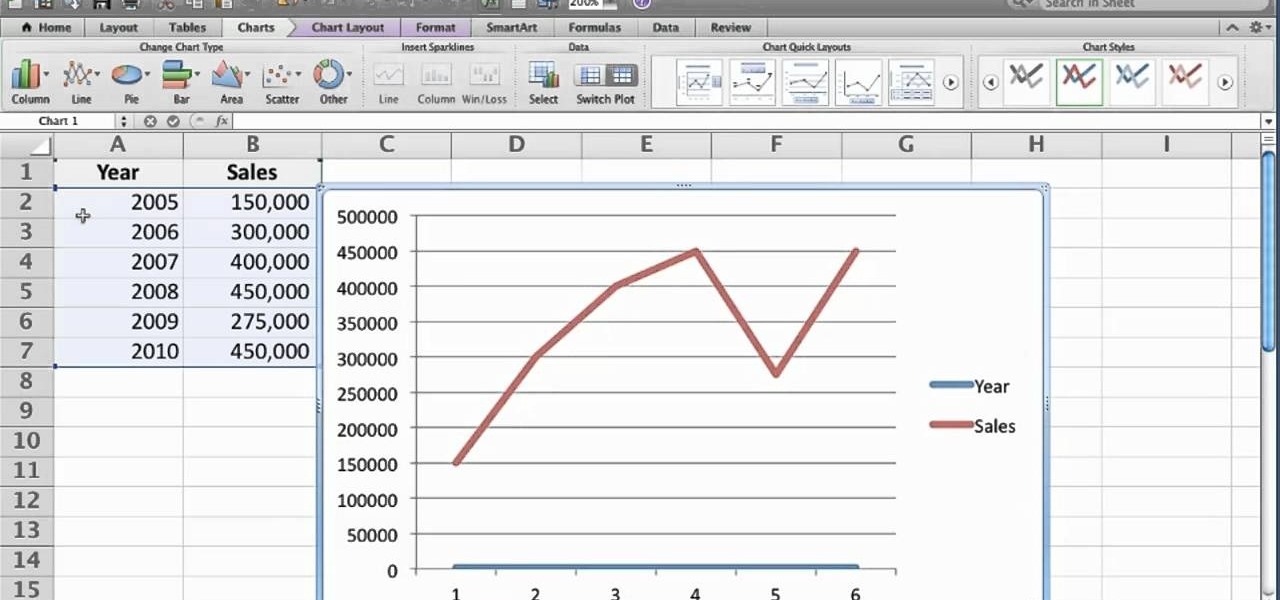
Want to generate a line chart in Excel 2011? This video will show you how it's done. Whether you're new to Microsoft's popular digital spreadsheet application, new to Excel 2011 or even an expert merely looking to brush up on the fundamentals, you're sure to be well served by this quality video tutorial from the folks at Lynda. For all of the details, and to get started creating and using line charts to visualize data in your own MS Excel '11 projects, watch the video.

In this tutorial, we learn how to draw curvy steps using pens. To start, you will first draw a horizontal line with a point in it. From here, you will need to draw lines coming out of the point. These lines will act as your reference point for the different items in the drawing. Next, draw the steps using the reference points. The one at the bottom should be larger, getting smaller as you work your way up. Draw these using the triangle shape in sort of a wedge. Shade in the bottom area to cre...

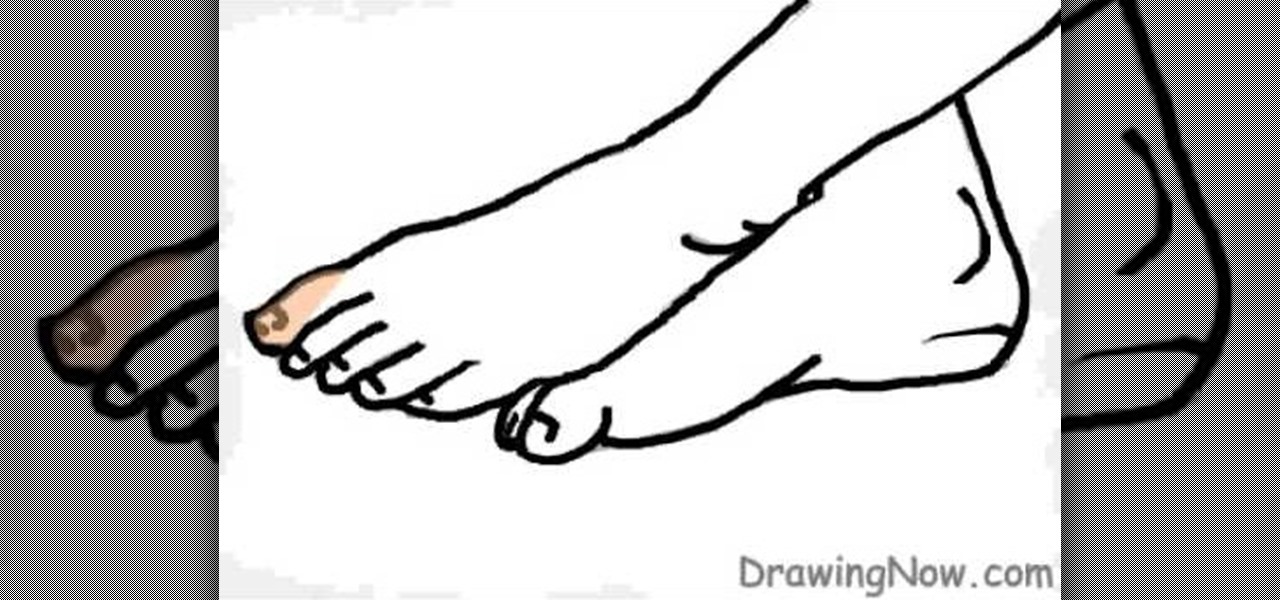
In this tutorial, we learn how to draw two feet. First, draw the feet crossed with just the ankles showing. After this, draw in the toes and then start to draw in lines where the muscles of the feet are. From here, you will start to add in the smaller details using a small brush. Then, create the toenails on the toes and color the feet and ankles a skin color. After this, add in gray to shade the lines onto the feet and ankles. Use darker lines to create contours of the limbs and then you wil...

In this video, we learn how to draw the classic Sonic the Hedgehog character. First, draw a round circle for the head. Then, draw in the eyes and the hair around the head in big huge lines. After this, sketch in the rest of the body. Then, start add details to the head, drawing in the eyes, mouth, and hair lines. From here, draw in the details of the body and then create the leg and feet clothing as well. Draw a bold black line over all of it, then you will add in shading to finish up this dr...

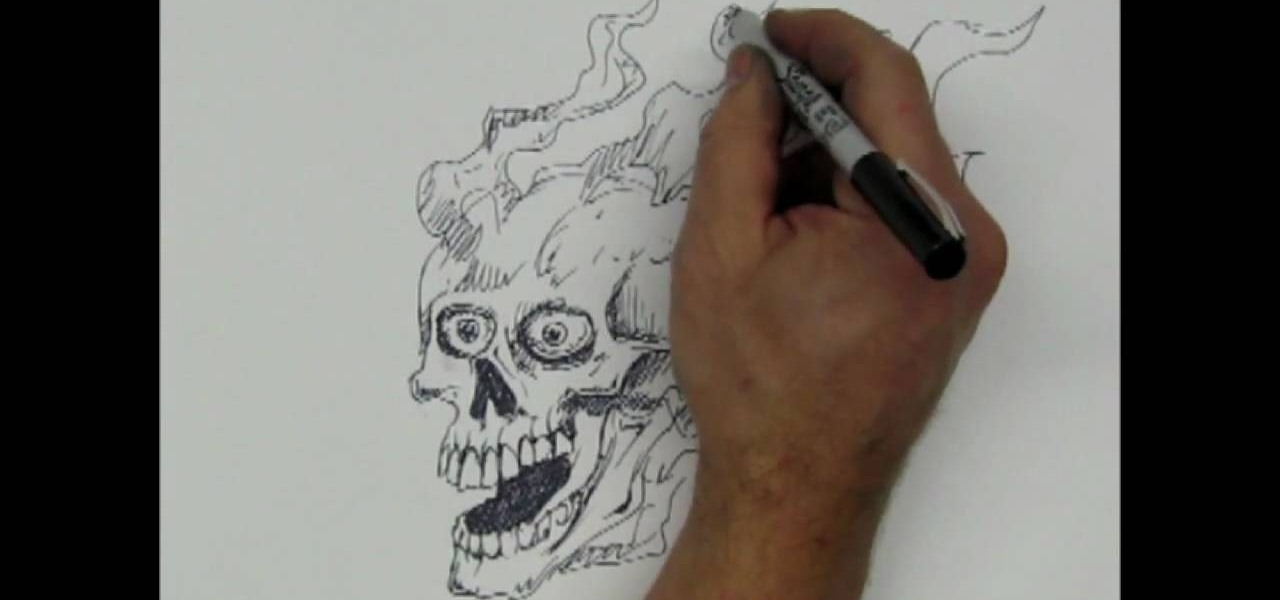
In this tutorial, we learn how to draw a skull with a Sharpie. First you will draw the eyes, make sure to draw lots of little lines around them then cross them to create depth. From here, draw the outline to the head and then the nose and the teeth. Make sure to add lines in around the head to show cracking and marks around the head. Use shading to create darker lines along the head and then add in additional details. Make this unique to you, it doesn't have to look one certain way. When fini...

In this tutorial, we learn how to draw a skull. First, draw the outline for the skull. Remember not to draw the hair on the head, because skulls do not have these! After this, you will draw on the cracks to the top of the head and shade around them. From here, draw in black on the inside of the eye sockets. Then, draw the lines around the eye sockets. From here, draw the area for the nose and then the teeth. Next, you will draw in the jaw line and add in additional shading and lines to finish...

In this video we learn how to draw hands without references. First, draw the basic structure of the hand using a photo to make sure it's true to size. After this, draw on boxes and circles to create the wrist, hand, and the knuckles. Then, you will draw on straight lines for the bones in the thumb. After this, start to add details of the fingers and make out their basic shape. As you continue with details, erase any background lines and start to add lines in for wrinkles on the skin. Finish t...

In this tutorial, we learn how to fit a dry lining back box. This is very easy to install, and the sides will grip the wires on your light. First, determine where you want your switch, then mark a quick line using a sturdy level. Next, you will cut out a hole in the wall the size of the box. After this, push the box into the wall. Then, you can add in the light switch to the box and secure it with the wires that are inside. This will finish up this project, just make sure the wires are place ...

In this tutorial, we learn how to draw curvy steps using pencil. To start, you will draw a thin horizontal line with a small point on it. After this, you will draw lines out from this, using a ruler to keep them straight. From here, draw your steps on the bottom of the page using the lines to keep them proportioned and in place. Draw them in a triangle wedge shape and then color them in. Shade the bottom and the sides to give them depth and dimension. After this, draw in the area around the s...

In this tutorial, we learn how to draw the female body. First, you will draw the outline of the body, starting with the basics. Then, start to shade in the different areas of the body and create contours. Make sure to draw longer and leaner lines to create a more feminine figure. Draw in her hips and make her body curvy, not just one straight line. After this, add in lines to the body to make it look more realistic and show the contours. To finish this, add in white for lighting and then cont...

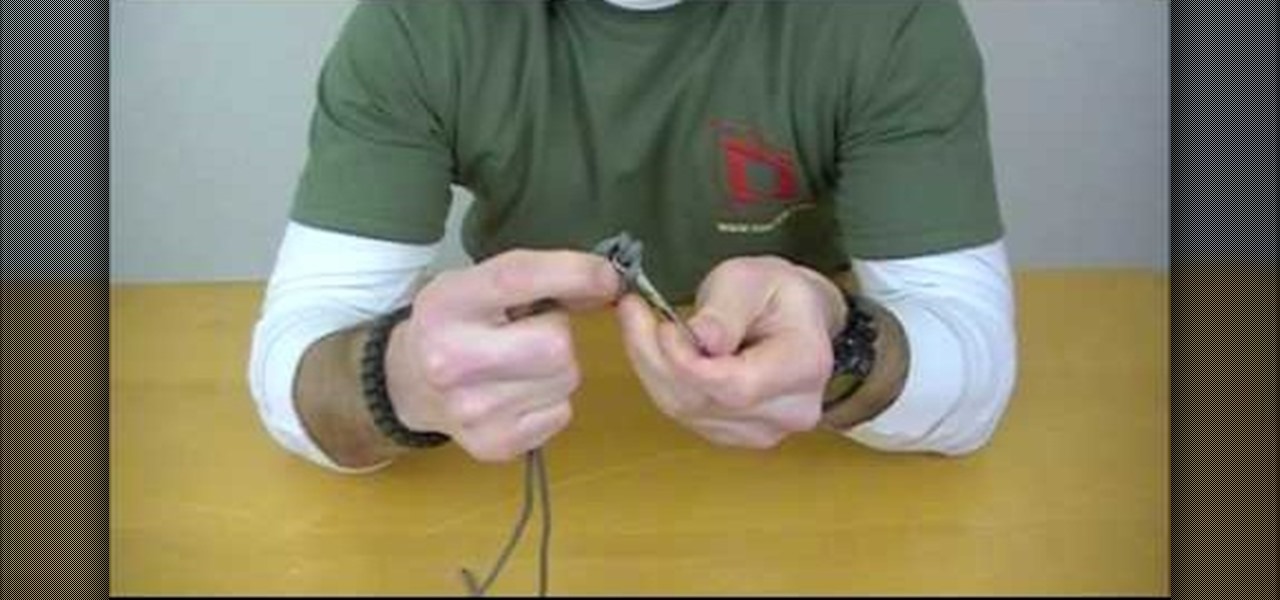
In this video, we learn how to tie a Palomar knot to secure a fishing line. This knot is pretty easy to tie, it won't take long. First, you will take the fishing line and make it into a loop. After this, insert it through the eye on the hook. Next, bring it back over and then tie an overhand knot, leaving it a little loose when you tie it. You should be able to see the working end hanging down. Now, take the loop and put it over the hook. Now when you tighten it up, you will have the complete...

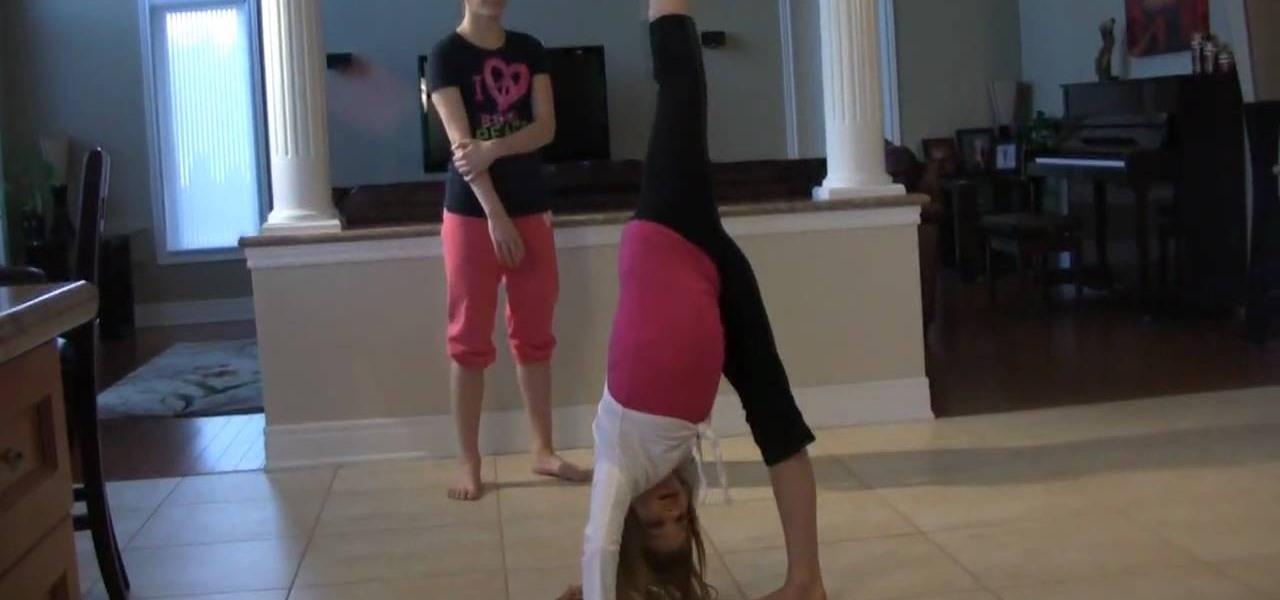
A needle is when one foot is on the ground (flat) in-line with the shoulders, and the opposite leg is kicked back, reaching for the sky. This puts the dancer in a "needle" position, with the straight legs forming a straight line, from head to toe. In this dance lesson, you'll learn how you can do a needle yourself. You need to be extremely flexible before trying this dance move, so don't over-exert yourself.

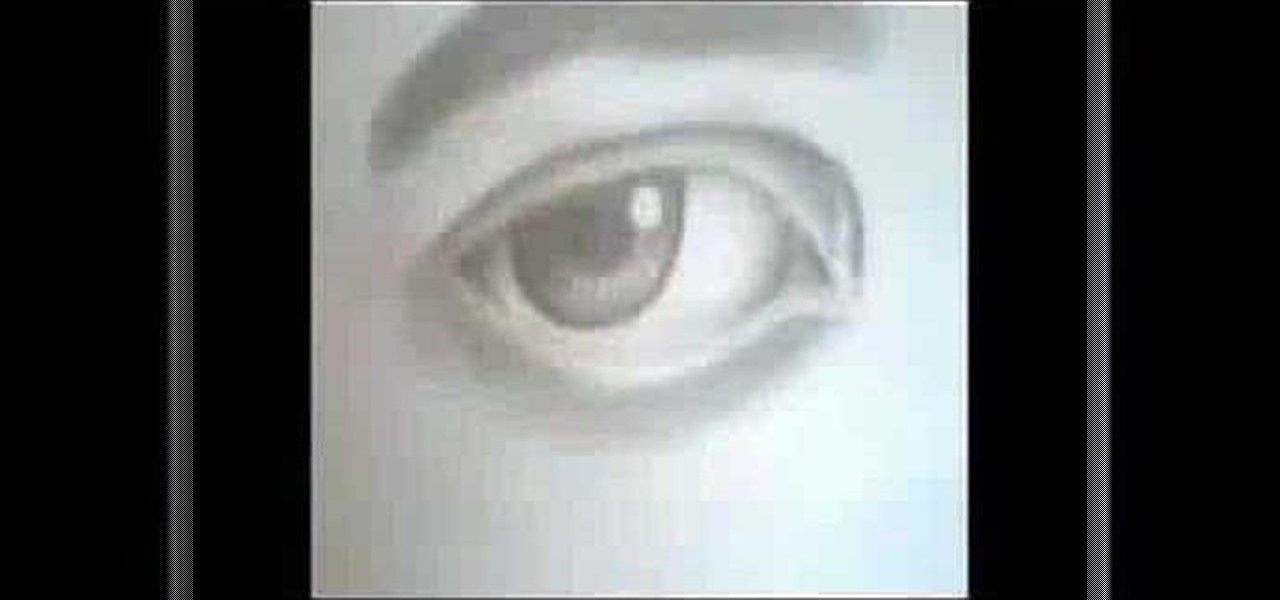
In this video, we learn how to draw a perfect eye. Start out by drawing the outline of the eye, the create the basic shape. After this, draw the crease above the eye and then the inside details of the eye. Darken the pupil, then add in lines around the pupil to show detail. Create a circle eraser mark near the pupil to show the eye having a glare, making it look more glossy. After this, shade in the sides of the eye and underneath where the bottom lash line is. From here, create the eyebrow a...

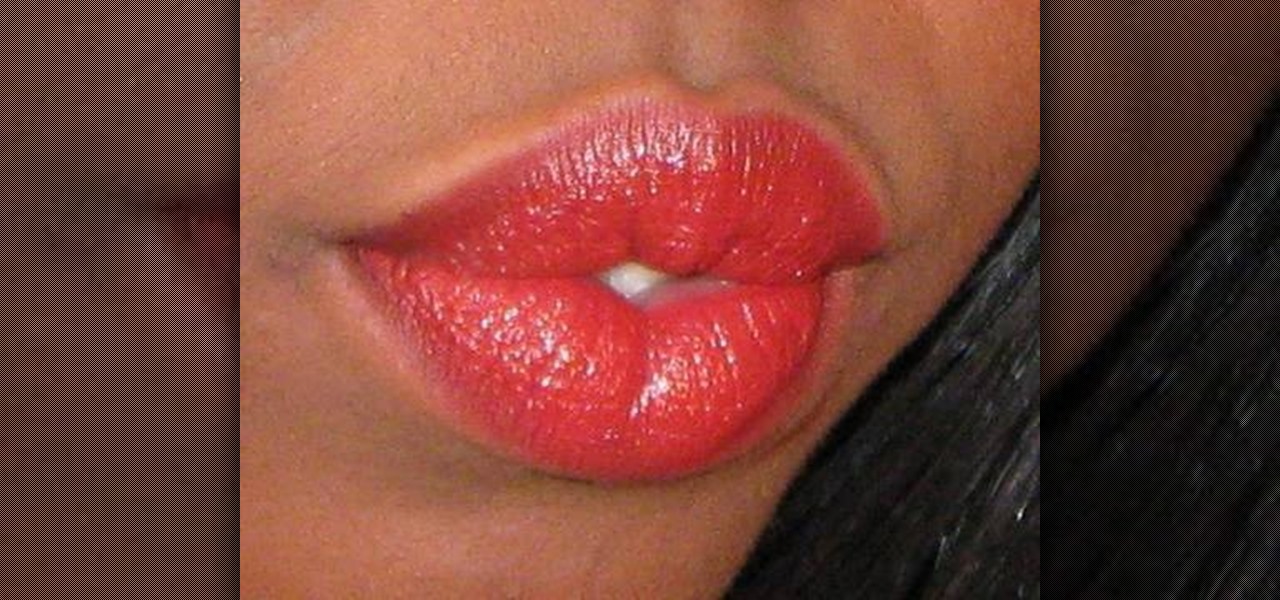
In this tutorial, we learn how to get perfect red lips for African American skin. First, take a dark red lip line from Studio Gear named "red wood" and apply it to the lines of the lips. Once your lips are fully lines, grab your lipstick and apply it to your lips carefully. The liner will be darker than the lipstick, so make sure you blend them in together lightly. After you are finished applying, clean up any smudges on the edges of your mouth. Then, apply makeup on the bottom an sides of th...

In this video, we learn how to draw an eye step by step. First, draw the curve of the eye on the top and on the bottom. Then, draw in the pupil of the eye and the inner corner of the eye. Use a light touch with the pencil to make the circle in the middle of the eye. Then, draw around it with a bolder line. After this, draw the crease above the eye, then draw shading to show where the crease line is. Next, fill in the pupil and add in a circle to make the eye appear glossy or that light is hit...

Zebra striped nails don't necessarily mean a big canvas of white paint striped meticulously - and painstakingly - with thin black lines. In fact, if you're going for a more avant garde nail look that's unique yet not too crazy to wear to the office, this minimalist zebra striped look may be it.

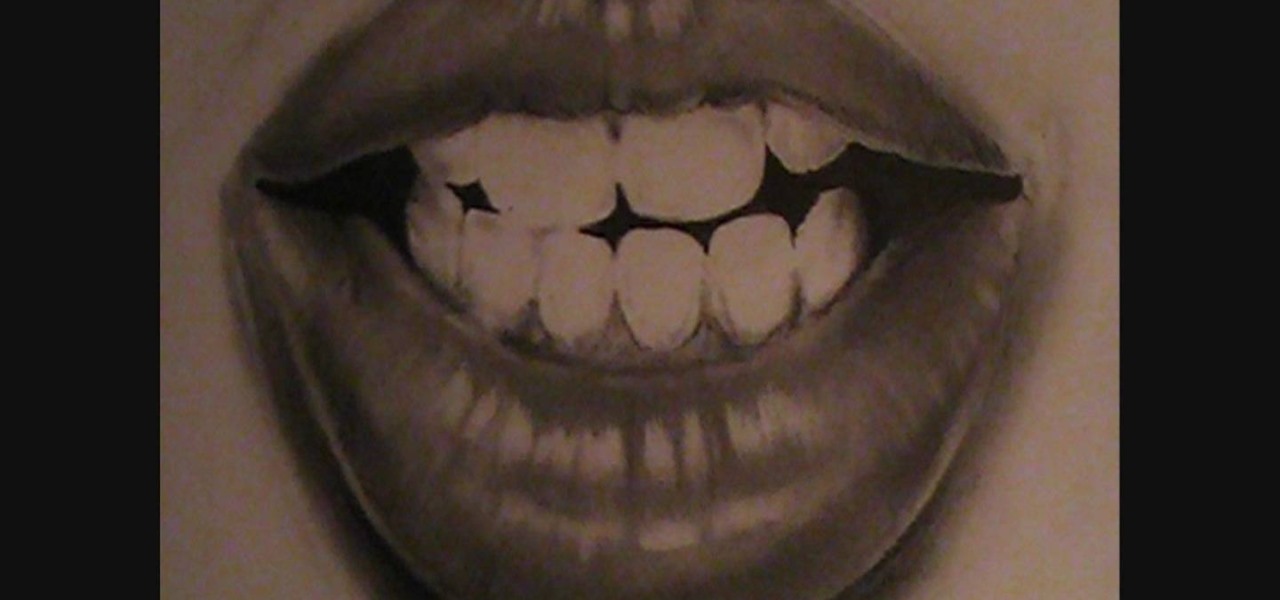
In this tutorial, we learn how to draw lips and teeth. First, you will need to draw the sketch or outline of the picture. You will need to make sure you take your time to create realistic lines for the lips and the teeth as well. From here, you will add in more lines on the lips to make it look more realistic. Then, add in the teeth in the middle of the lips and shade in the areas that are in between them. When you are finished with this you can add in more shading and lines into this and you...

In this tutorial, we learn how to draw super-simple trees. Start out with a pencil and piece of white paper. Draw a straight line for the trunk of the tree. After this, draw the branches coming off of the tree in diagonal lines. From here, draw smaller lines coming off of those to make more branches. Draw in a smaller tree next to the larger one and you will have created a very simple tree! You can add more detail to this by drawing on leaves and grass at the base, but this is the most simple...

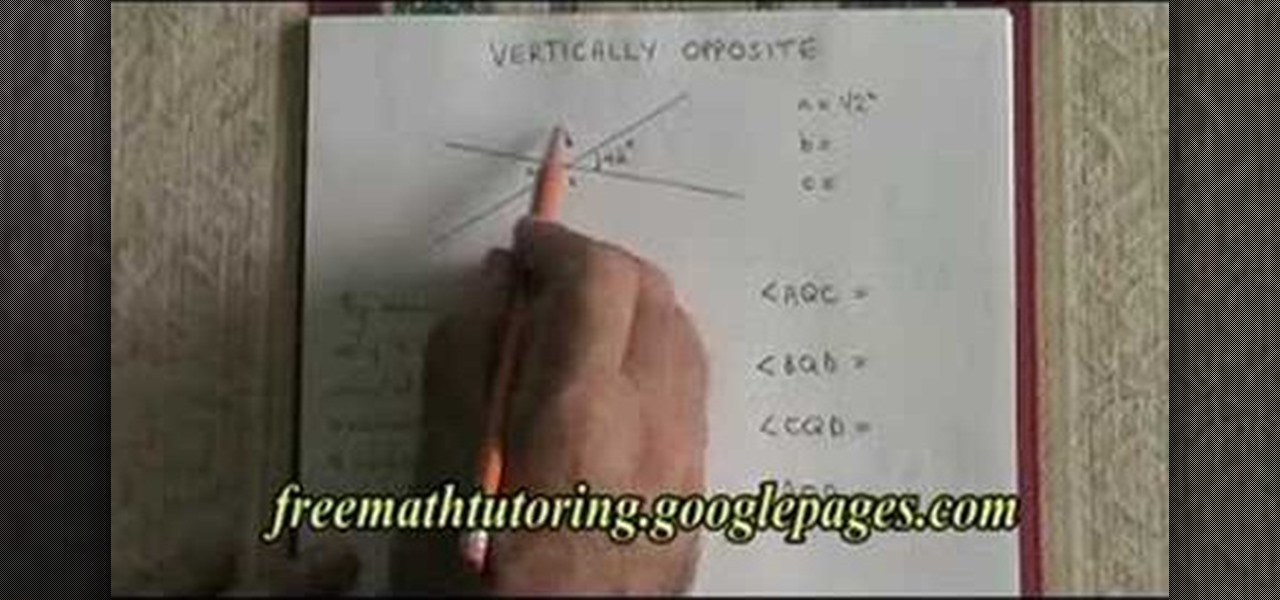
In this video we learn how to understand the Rule of Vertically Opposite Angles. This says that when two straight lines cross it produces vertically crossed lines that must have congruent angles. Because the lines are straight this has to happen. Remembering the rule "supplementary" you will be able to calculate the angle of A and B in the equation. Prove what each of the angles are using the different rules and then move onto the other two angles. Angle C can be figured out by knowing that i...

In this tutorial, we learn how to draw wolf paws. First, draw a rectangle on the paper and then draw in curves inside the rectangle that will give you a base for the paw's features. After this, draw two lines coming up from the paw and then draw claws on the bottom of the paw. After this, erase the sides of the rectangles. Start to add in additional lines for the claws on the paws and then add in details for the knuckles. To finish, draw in lines for the hairs and then finish off the paw with...

In this tutorial, we learn how to draw manga bodies. Start out by drawing circles for the body. These circles will start at the head, then go to the shoulders, arms, stomach, hips, knees, and ankles. After you do this, draw lines to connect them all together and make out the basic shape of the body. Now star to use a bolder line to create the realistic outline of the body. When you're finished with this, you will be able to do the fun part. You can fill in these spaces with color and lines to...


