New to Microsoft Excel? Looking for a tip? How about a tip so mind-blowingly useful as to qualify as a magic trick? You're in luck. In this MS Excel tutorial from ExcelIsFun, the 284th installment in their series of digital spreadsheet magic tricks, you'll learn how to create a line chart from years and percentage change. See how Excel makes the chart wrong, but then see how to fix it.
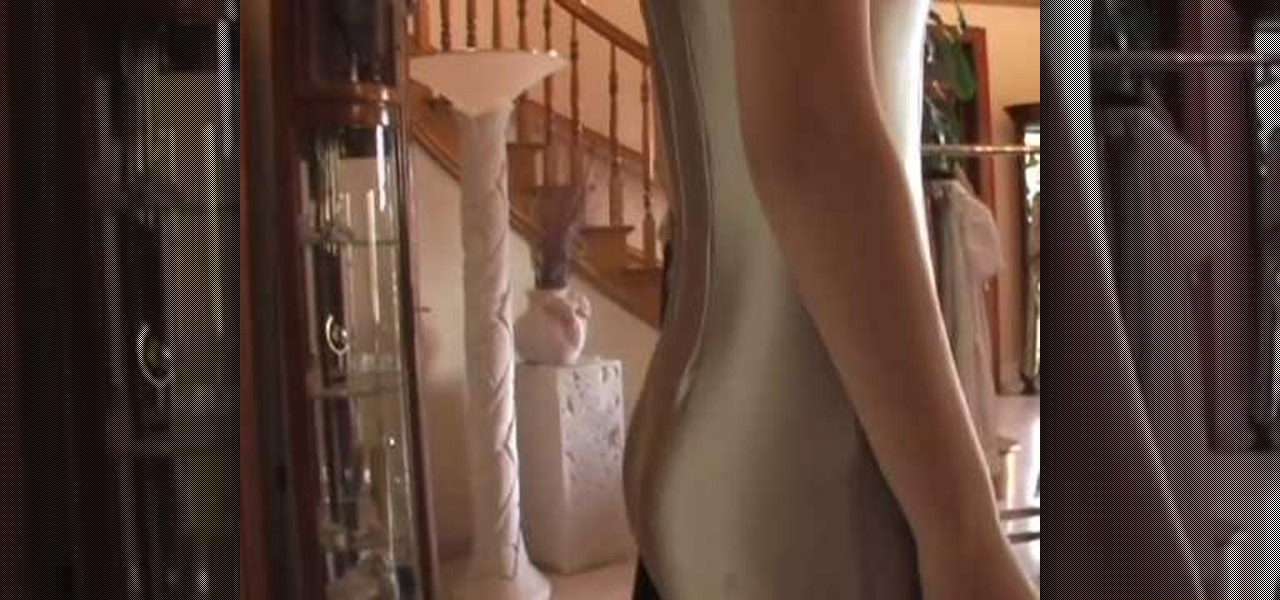
In this how-to video, you will learn how to choose a dress that flatters your body type. Jazmin Whitley, the designer for Li Cari, will help you with this. There are three body types in this example: long and lean, curvy, and small and curvy. If you are lean, you should accentuate the waist line. A waist band will help. For a curvy figure, look for an empire waist and materials that have flow. For the last body type, clothes should accentuate the waist line and bring balance at the top. This ...
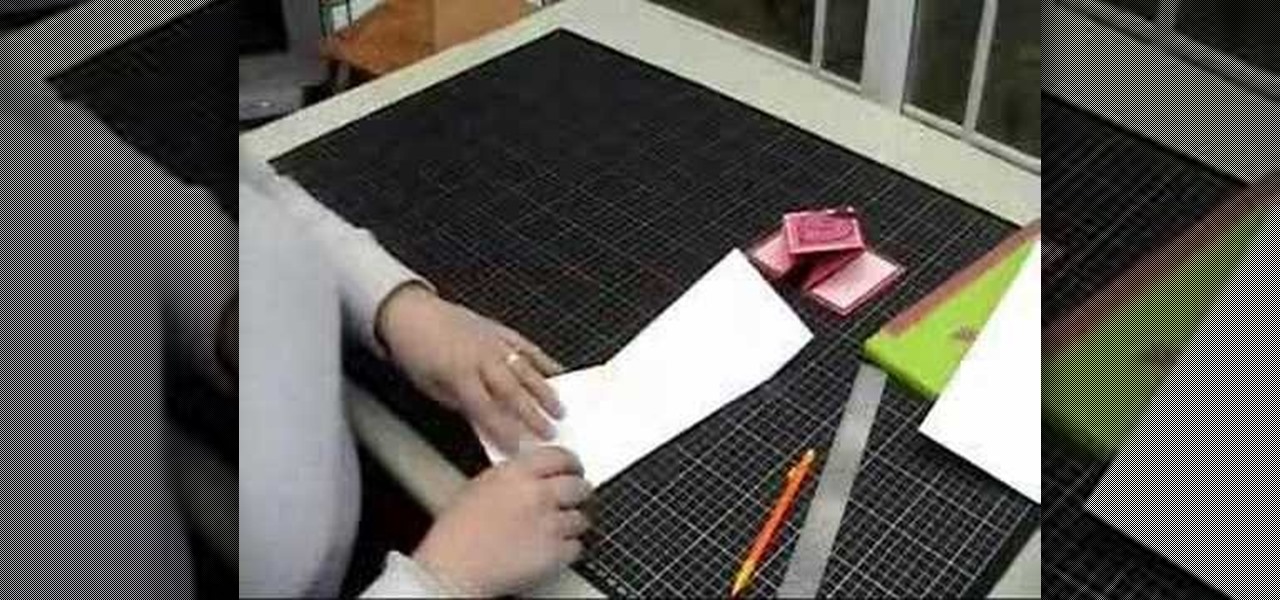
In this Arts & Crafts video tutorial you will learn how to make a diamond folded card. Get a sheet of paper 4x12 inches. Draw a pencil line at the half way mark, that is, at 6inches. Fold one of the lengths to the center pencil line. Do the same to other half of the paper. Open up the sheet and do the same fold in the opposite direction. Open up the paper and flip it over and you will see the diamond fold in the center. Now you fold from each side up to the cross where the diamond begins. Fli...
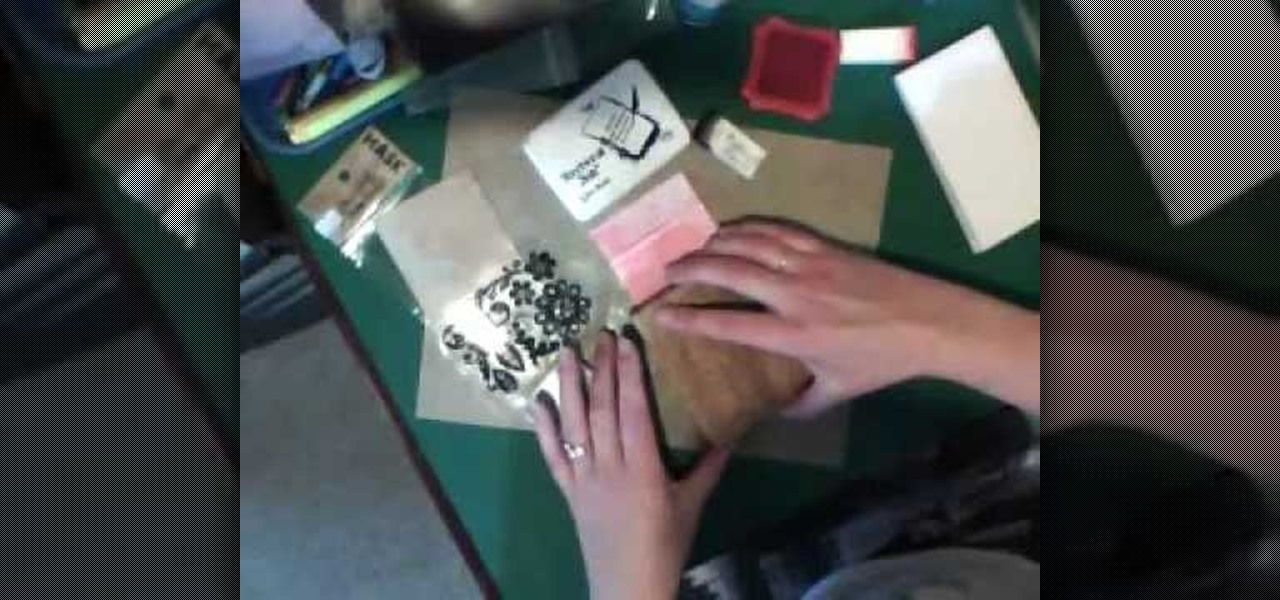
In this Arts & Crafts video tutorial you will learn how to make a stamped notepad cover. Put the note pad on the edge of a bigger sheet of paper, draw the outline and cut the paper along the lines. The paper should be longer than the notepad. Put the note pad on top of the paper aligned with one end and fold the other end of the paper. Remove the paper and crease it properly along the scoring lines. Depending on the theme you want for the cover, apply the required ink with sponge on the paper...

Solving the Inequalities using graph, first you have to take the inequality equation into equal. Then convert the equation into straight line equation i-e(y=mx+c). Giving own values for 'x' like (-1, 0, 1) we would get the value for 'y'. By plotting these points in the graph, you will get an straight line. If the given equation is greater than symbol, shade towards the positive part. If the given equation is smaller than symbol, shade towards the negative part. This is an one method to solvin...
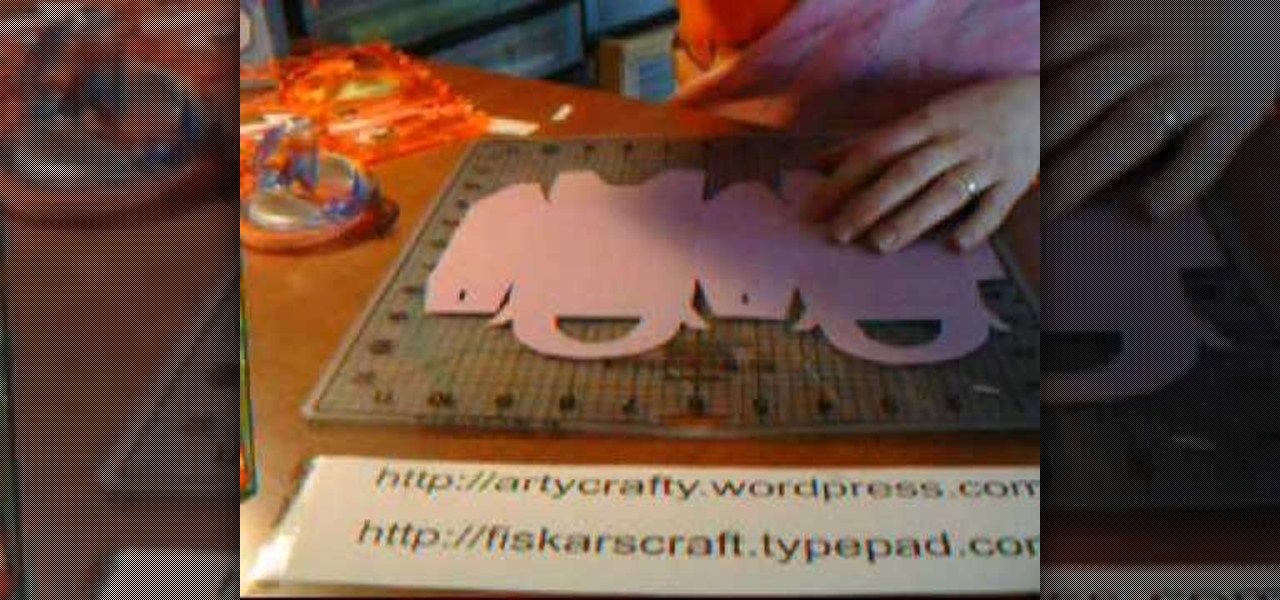
In this Arts & Crafts video tutorial you will learn how to make handmade treat boxes. Materials needed for this project are trimmer with scoring blade, PDF template, cardstock, scissors, Fiskars fingertip craft knife, Fiskars templates, Fiskars ultra shape Xpress, decorative scissors and embellishments. Download the PDF template from http://artycrafty.wordpress.com, print it out on a cardstock on the non-decorative side and cut out the shape along the thick line. Then score along the dotted l...

In this video, Mark Donovan shows us how to mount a mirror on a door. First, take the mirror and position it the height you want it located. Then, mark the top with a pencil and make sure the mirror lines up with lines on the door and it's in the center. Now, screw in the door attachments in the thickest part of the mirror. Attach the mirror and screw the screws so that the mirror is completely secure. Now, you can hammer in the screws to make sure they are completely attached to the door and...

In this tutorial, we learn how to find the best wedding dress for your body type. The rectangle or oval shape body doesn't have a well defined waist line, so you will need a dress that draws attention to the hair and face. A pear shaped body is where the bust and wast are smaller than the lower half of the body. You will want to select a wedding dress with ruffles or shoulder pads to draw attention to the top half of your body. A triangle shaped body has a large bust. You will want to select ...

This video demonstrates how to make a hexagon from a square paper. Fold a square paper into half horizontally. Fold this rectangle into half again forming a square one-quarter of the original size. Fold the open edge towards the center fold on either side forming a crease. Take the closed corner and fold towards the center crease. Open the center fold and fold it inwards. Fold the corner towards the diagonal edge on both sides, this forms a cone like structure with a paper edge at three-quart...

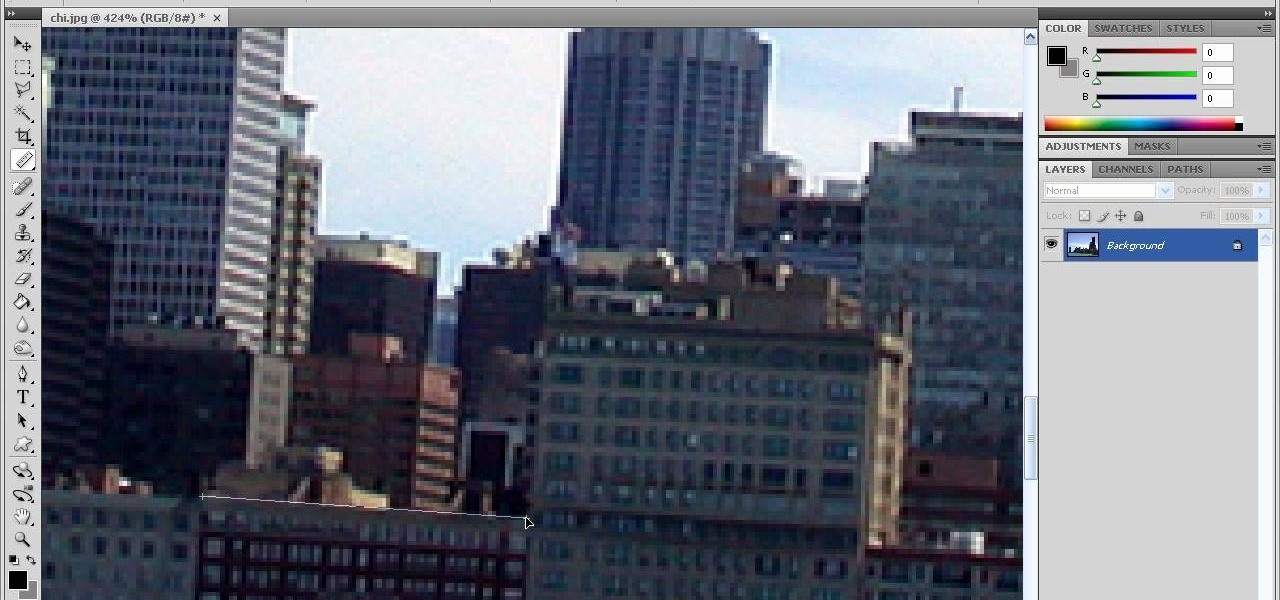
In this how-to video, you will learn how to straighten crooked photos in Photoshop. First, open the photo you want to straighten in Photoshop. Next, use the ruler tool under the eye dropper tool. Select it and zoom in to an area. Find a crooked line to straighten, such as a building rooftop or ground line of some sort. Click, hold, and drag. Next, zoom out. Go to image, image rotation, and arbitrary. Click okay and your image will be adjusted. Go to the crop tool and crop out the spaces. Hit ...

In this how to video, you will learn how to turn a photo into a line drawing in Photoshop. First, open your image in Photoshop. Create three layers of the same photo. The top two layers will be worked with. The bottom layer will remain the same. Take the top layer and change it to color dodge. Select control and I on the keyboard to invert it. Go to filter and blur to choose Gaussian blur. If you have dark lines, use a small amount of blur. You can use a lot of blur to get a unique look. Clic...

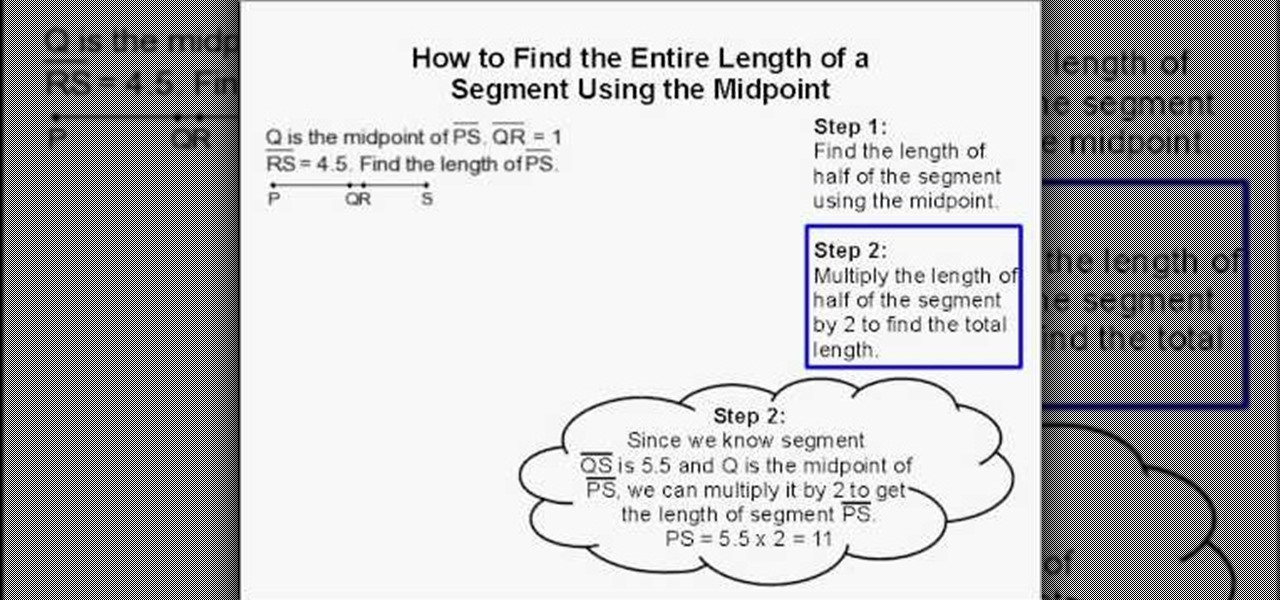
This video shows the method to find the length of the total segment using the midpoint. Let the total line segment be PS. Let Q be the midpoint of PS. Let R be a point on the line segment QS. The first step involves the use of midpoint to find out the length of QS. We are given that QR = 1 and RS = 4.5. QS is equal to QR plus RS which is equal to 5.5. Now since Q is the midpoint of PS the total length of the segment PS is equal to twice the length of the segment QS. This is equal to 11 units....

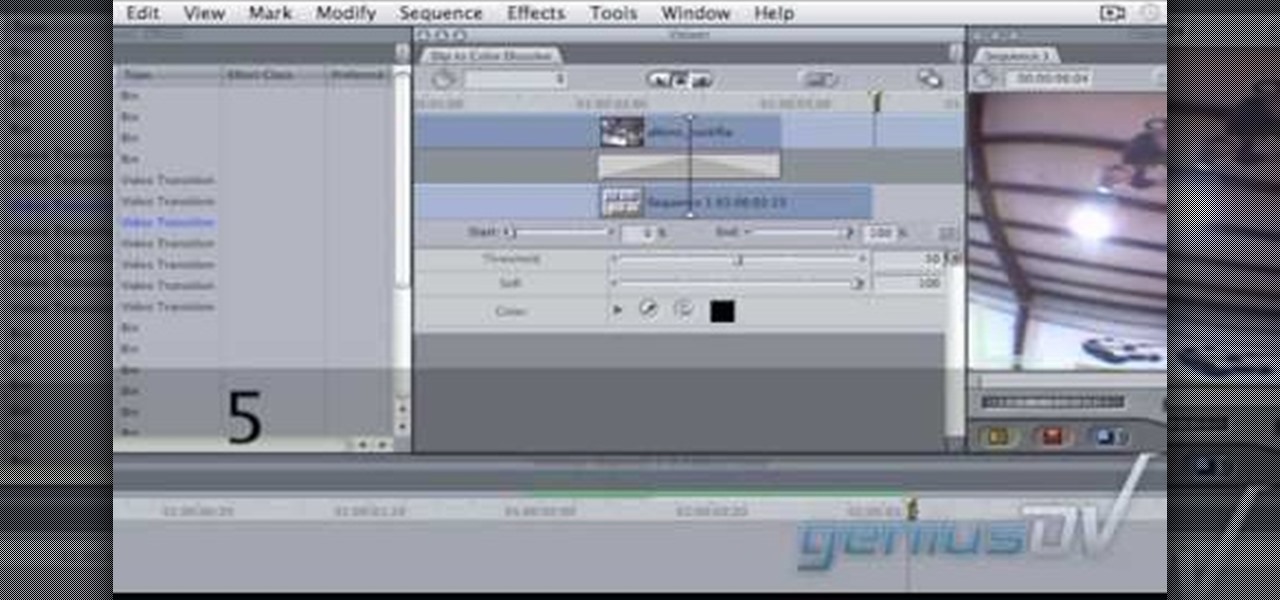
In this video tutorial, viewers learn how to create a freeze-frame effect in Adobe Final Cut Pro. Begin by placing the time line indicator to where you would like to place your freeze-frame. Press Shift and N to create the freeze-frame. The default user preference is 10 seconds. To change it, change the time and click on the insert button to splice the new freeze-frame time into the time line. Now click on the Effects tab and select the Dip to Color Dissolve under Video Transitions and Dissol...

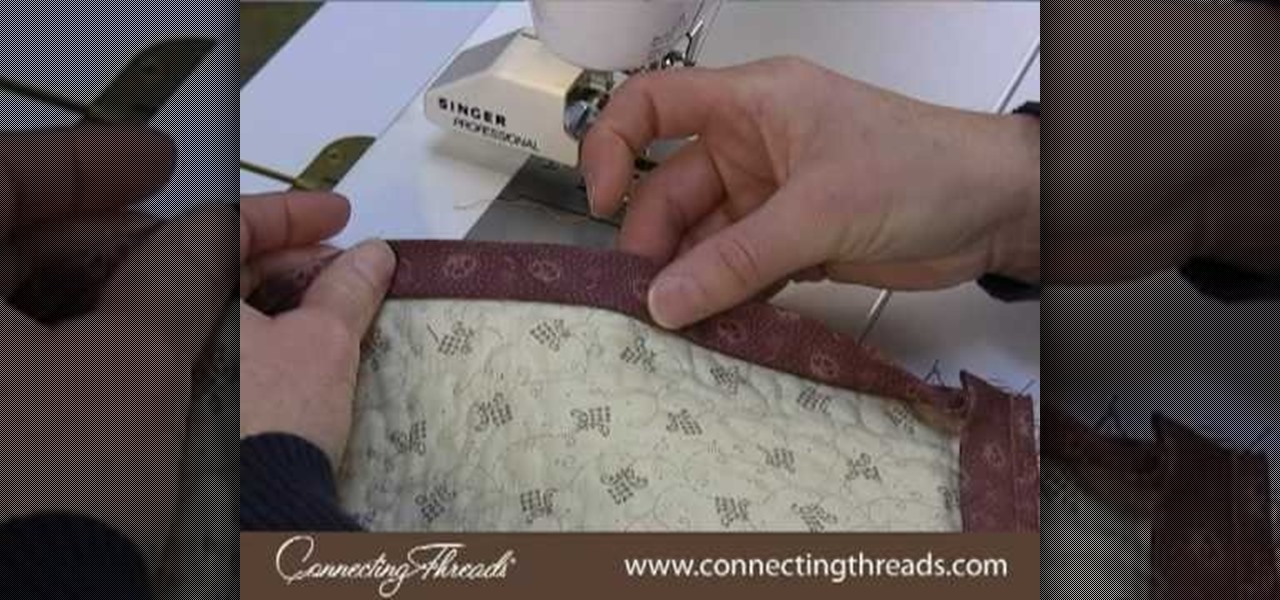
In this video we are shown how easy it is to complete the finishing join on a quilt binding. Just before the final join 6 inches of binding should be left over at the beginning and the end, while the rest of the binging should already be sewn down. The two ends of the binding should overlap by at least 6 inches. You will then need to cut the thread and remove the quilt from the machine, then measure the binding width and overlap the two pieces and cut off the excess binding to match the width...

Love4Nails shows step by step tips for achieving this look. Begin by choosing a background color. On top of the base, apply white polish. Then apply a smile line on the top portion of the nail as you would when doing a French manicure. Then fill in the nail. If its not perfectly straight its ok because it will be covered. Next, apply glitter polish on the white area of the nail. With the white polish make three dot and use a dotting tool to extend them, creating flowers. With the original blu...

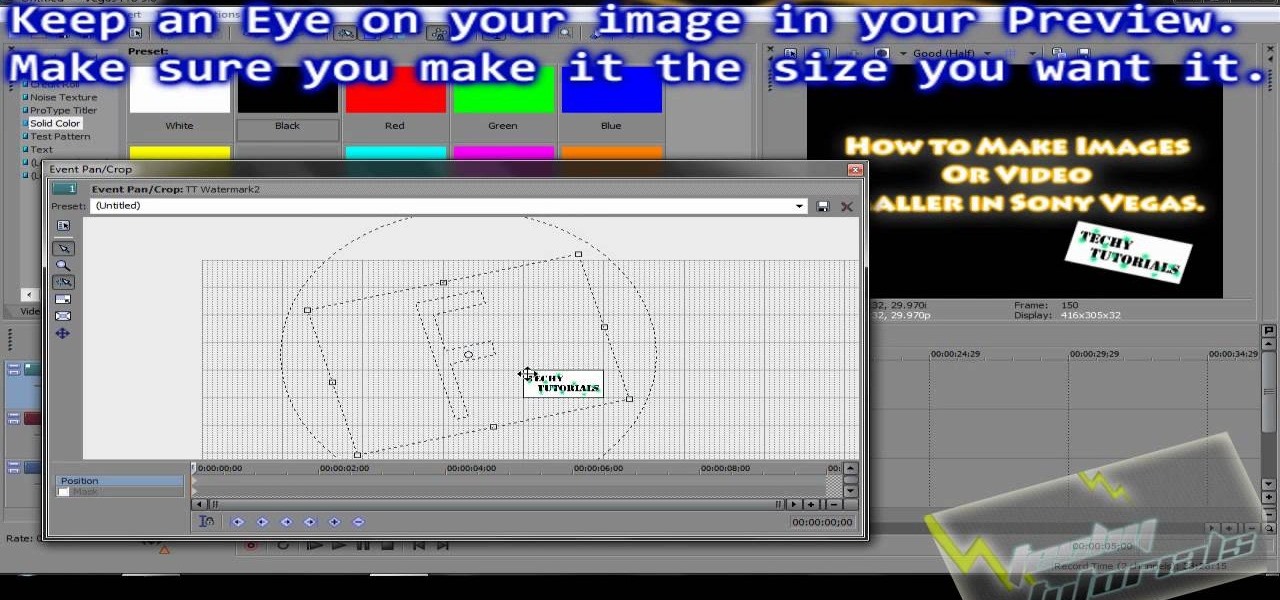
In this video tutorial, viewers learn how to re-size an image or video in Sony Vegas. Begin by opening the image or video that you want to re-size in Sony Vegas and drag it into the time line. Then click on Event/Pan Crop on the right side of the clip in the time line. Now re-size/rotate the video/image by dragging in and out. Finish by simply closing the window. This video will benefit those viewers who create videos using Sony Vegas and would like to learn how to make their video image smal...

In this video tutorial, viewers learn how to build a movie from individual clips in iMovie. Using clips in iMovie will easily allow users to create a movie. On the right side of the screen in iMovie, there will be a library of all the clips and images that you have imported. Click on the Clips Viewer to arrange the clips in an order that you would like. Just drag them to the clip viewer. You can change the position by dragging a clip over another. Click on the time line viewer to see how long...

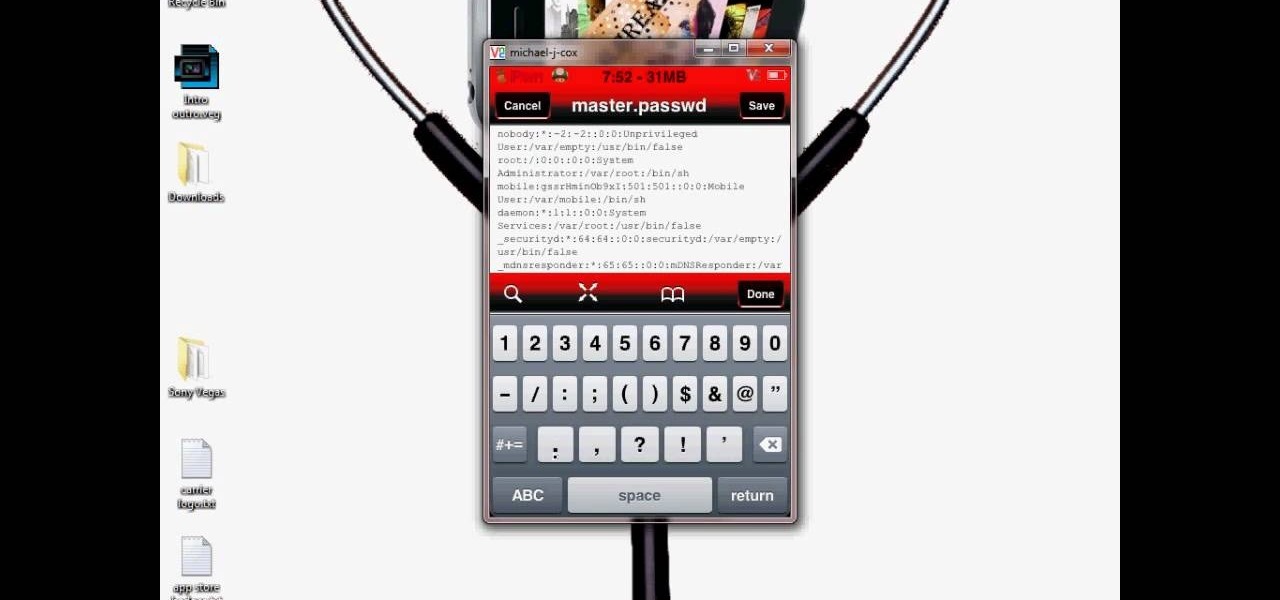
This video tutorial from DrJailbreak shows how to reset your SSH password on iPhone or iPod.If you changed your password through Rock with your Mobile Terminal and forgot it, this is what you are going to do to set your root and mobile password back to alpine.First you will need iFile application. Open Cydia and browse to http://repo.beyouriPhone.com. Navigate to Be Your iPhone Repo and scroll down to iFile. Download and install.Open iFile and navigate to /Private/etc.Scroll down and open mas...

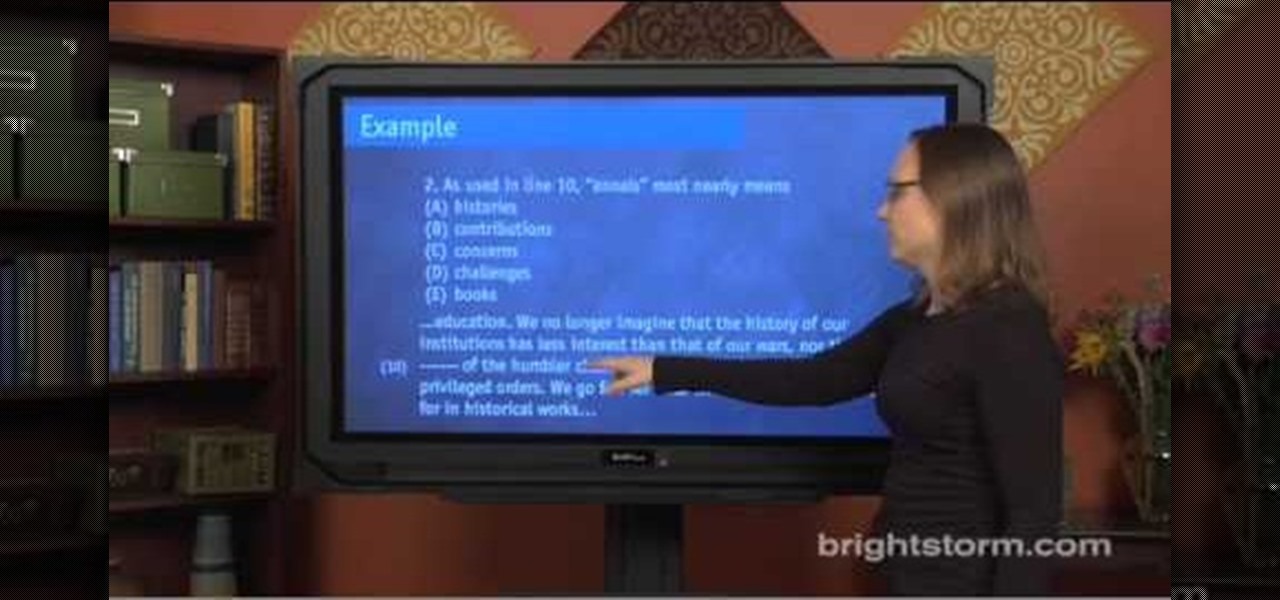
Eva Holtz shows us how to approach different types of questions on the SAT, in this episode from Brightstorm. The different types of questions in the SAT Passages section include "Vocabulary in Context", "Line reference", "Whole passage", and "I, II, III, except, least, not" questions. Eva explains that the best way to approach Vocabulary in Context questions is to treat them like Sentence Completion questions. First, read two lines before and after the word in question. Then, it's best to ca...

This video illustrate us how to draw a graffiti character. Here are the following steps:Step 1: First of all take a paper and start drawing a semi circle and then from this semi circle draw another semicircle bigger then the previous one.Step 2: Now draw two oval within the semicircle and one small square showing the face and the belly of the character.Step 3:Now draw two lines sideways to the character and draw a small circle on these lines showing a tree.Step 4: Now write free hand letters ...

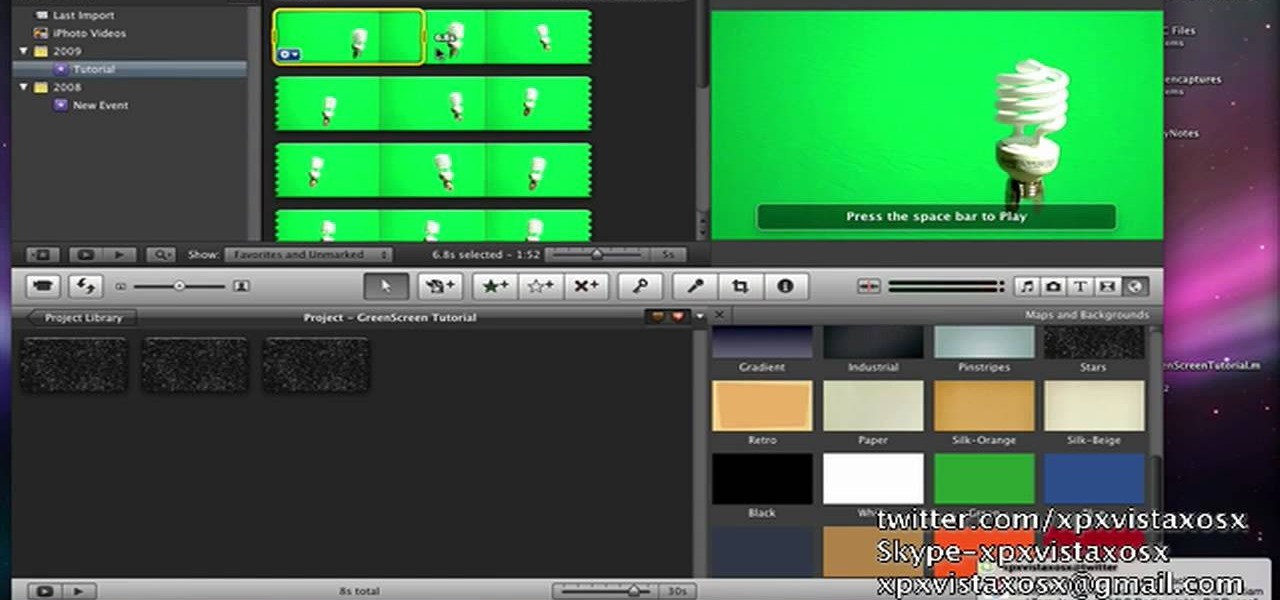
In this video tutorial, viewers learn how to use chroma key in iMovie '09. This video teaches users how to use chroma key to replace the background of videos. Begin by opening the program. Now drag or image or video background into the time line. Now click on iMovie and select Preferences. In the General tab, check the Show Advanced Tools option. Then simply drag the video that you want over the background image/video in the time line. This video will benefit those viewers who enjoy creating ...

This is a clear video showing how to easily draw a 3D letter 'B'. First of all you start by just writing the letter 'B' normally; and then you double outline all of the lines you have drawn, both inside and outside of the letter. Color it in with a block color for a 2-dimensional letter. Then its time to make it 3D! In the middle you just add lines parallel to the 2D letter, and also around the top and left sides of the shape; color this in with a darker color, and voila! You should now have ...

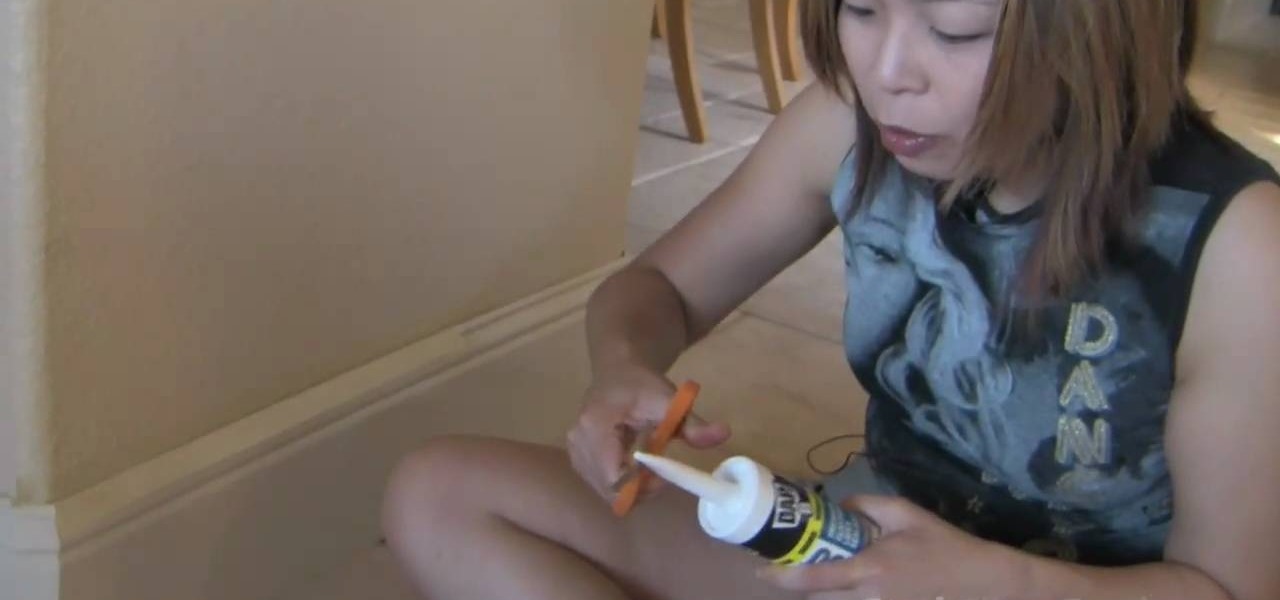
How to caulk the baseboards in your home

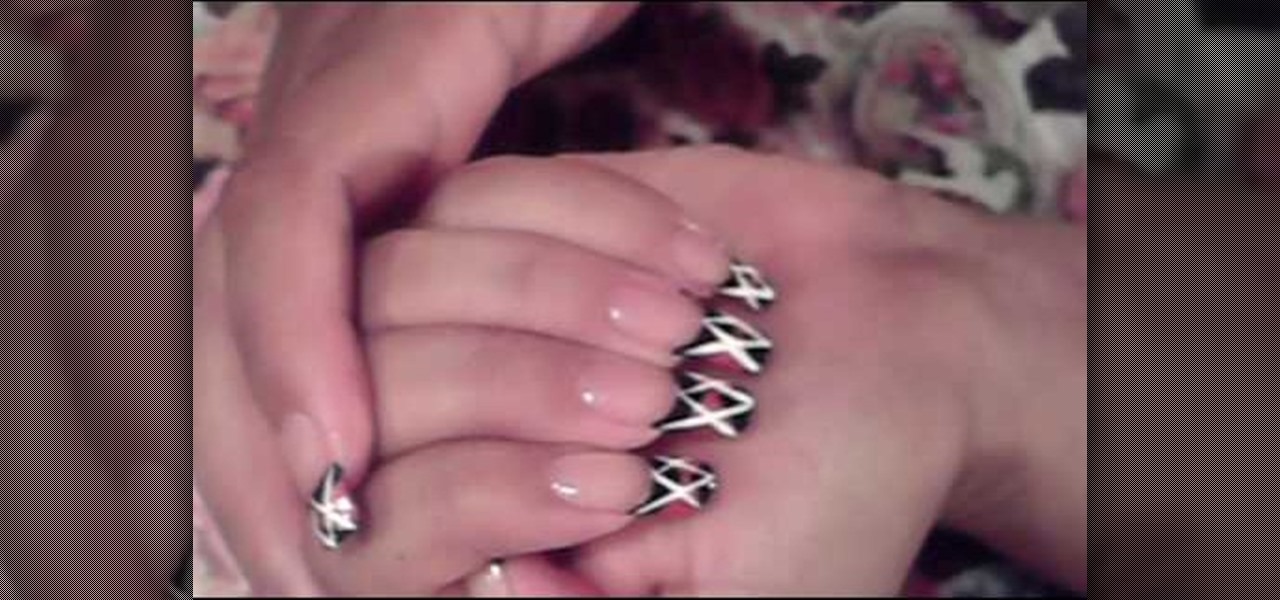
this short video shows how to paint nails in a black, pink, and white art design. The steps are simple and easy to follow. The first thing to be done is a regular black, French tip manicure. Once the black French manicure is completely dry, a pink thin tip nail polish is taken. From the middle of the nail , on the black tip, draw a V mark facing sideward on both sides. The next step is to fill the two "V"s, inside with the pink color. Once dried, with the white thin tipped nail polish, a line...

This is a great instructional video on how to make a decorative paper star. The materials you need are color papers, ruler, stapler, scissors, adhesive tape, pencil and cutting pliers. Take a paper and make a square of 20 cm side. Now fold the paper twice and get a triangular shape. Now draw four lines on it. Then cut along the lines with the help of scissors. Take the middle square and staple it. Then go to the back side and staple the ends. Repeat this process and get a star. You can make t...

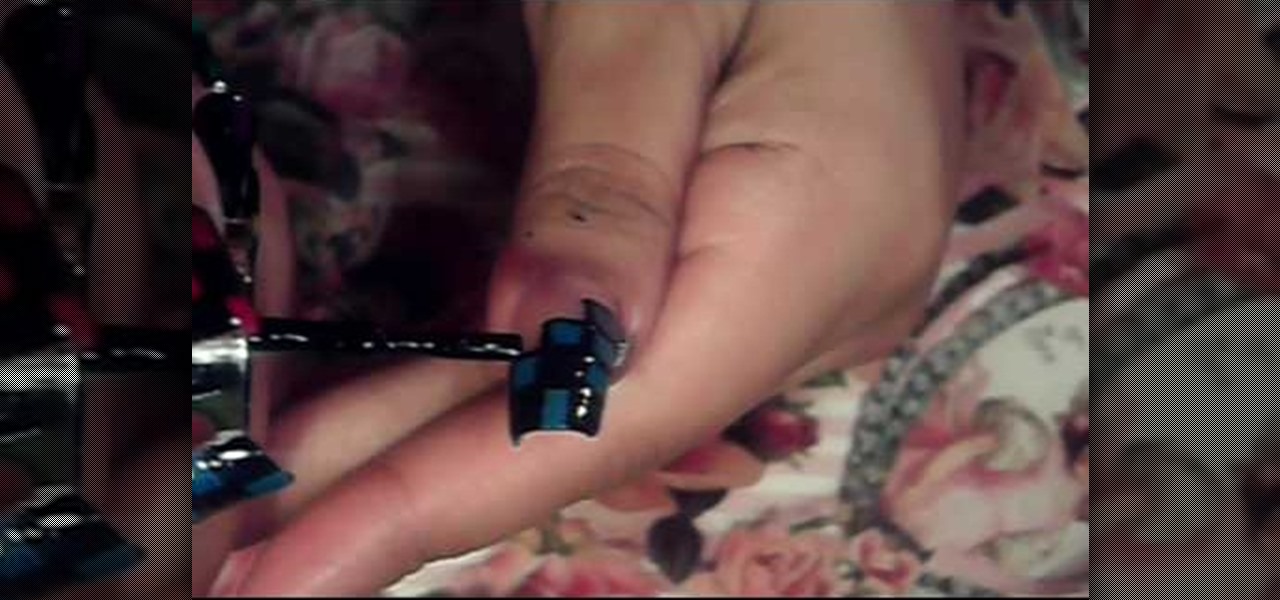
This video is about how to paint your nails with a colorful checker art design. The first thing that you will have to do is to apply the hydrating base coat on your nail. After putting the hydrating base coat on your nail, get a piece of paper for you to place the black nail polish. After placing the black nail polish on the paper, use the dotting tool and place a series of zigzags on the nail. The next step is to fill in the zigzags depending on the color you want. After filling in, make a s...

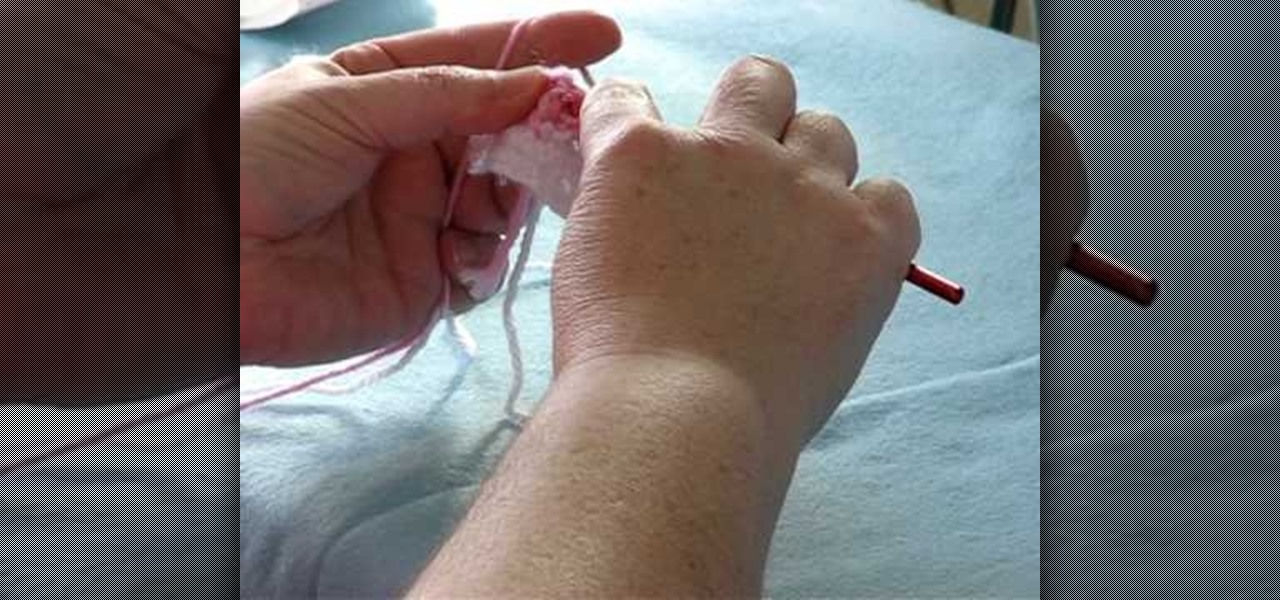
Donna teaches how to do a front-post, back-post crochet stitch. First of all you'll need yarn and a hook. Start with a single crochet. Donna uses white to create the single crochet and to create a heart, goes over the single line with pink to create a double crochet. To create the double line, go around and through. from front to back, through the single post. Always have the yarn going through the same side. The basic method using the pink, is to make the design in a "V" shape. Using this me...

To make mini cupcake earrings first take a piece of sculpey and make a cylinder. Make vertical indentations around the cylinder, similar to those an the edge of a quarter. this forms the bottom of the cupcake. Next take another small piece of sculpy and role it into a line like a piece of yarn. starting at the edge of the top of your cylinder coil the line of sculpy around the edge and up, similar to a piece of novelty poop. this forms the cupcake. stick a earring finding through the top of t...

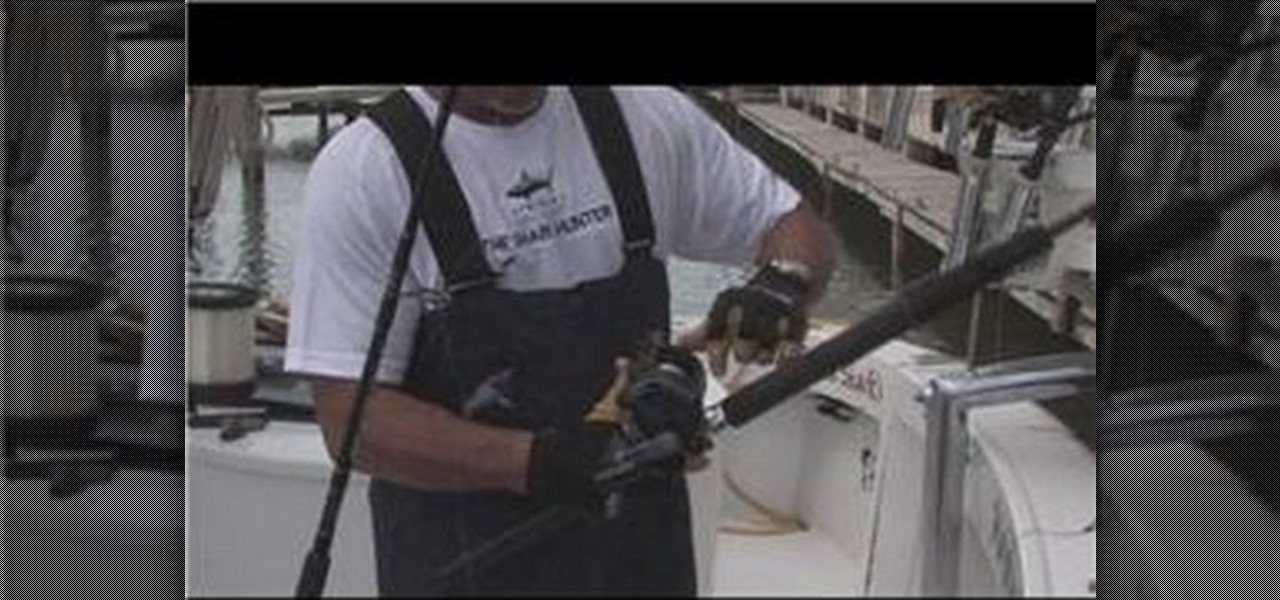
In this video tutorial, viewers learn how to identify the different parts of a fishing rod. This video introduces 2 types of rods, spinning rod and conventional rod. The spinning rod is used for light tackle fish. The line comes off from the bottom of the rod. The rod is designed to bend flexibly. The conventional rod is used for bigger fish. The line comes off from the top of the rod. The rod bends more stiffly. This video will benefit those viewers who enjoy fishing and would like to learn ...

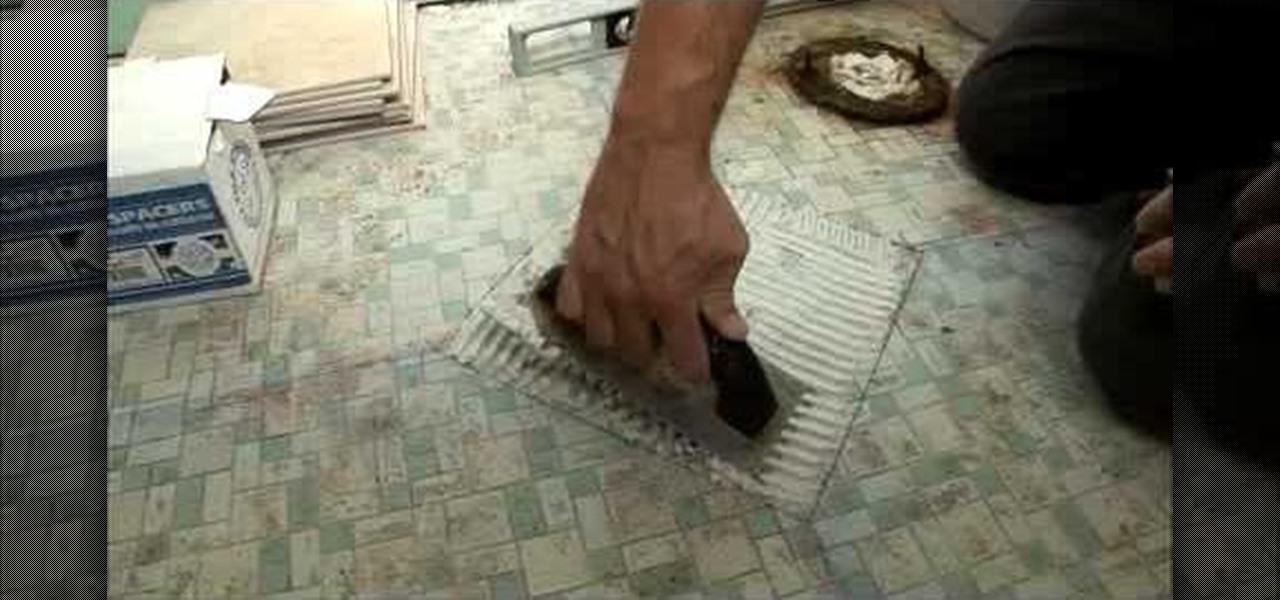
This video is from DannyLipford and covers the proper technique to lay tile in the bathroom. The first step is to lay some chalk lines to find the exact center spot of the room. The first tile will be put down diagonally so that the corners sit on the four chalk lines. Next the mastic is put down on the floor for the first tile and the tile is set into place. The process repeats itself until the tiles reach the toilet where some cuts are required. The presenter is using a portable wet saw tha...

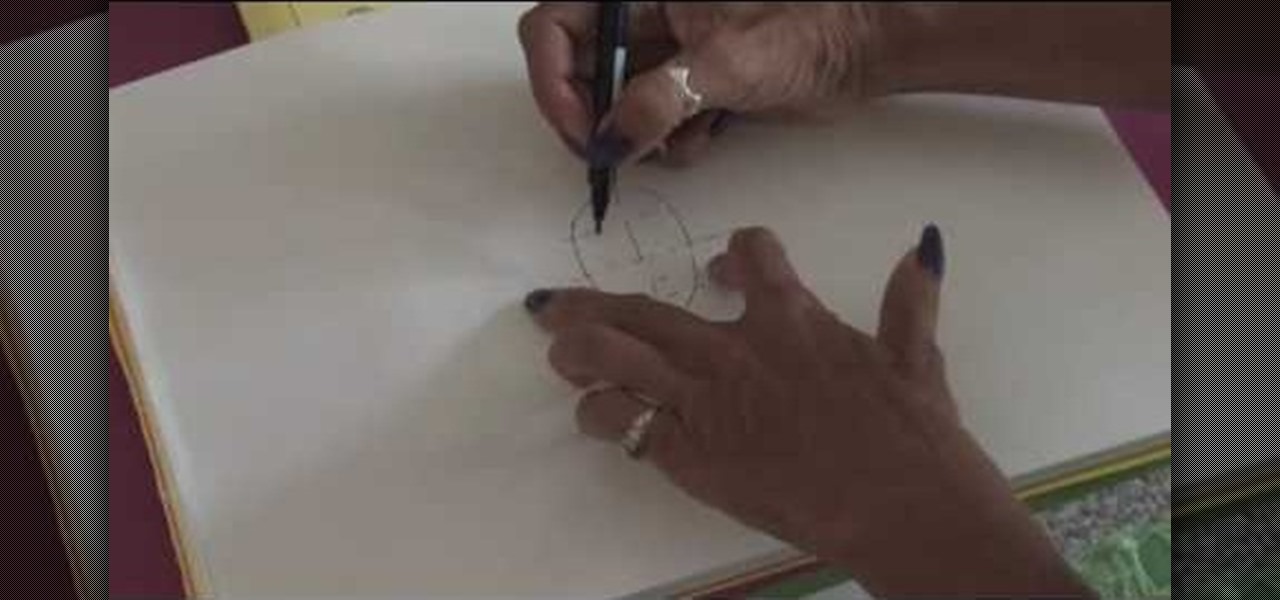
TVLessonDotCom teaches you how to draw a person's face from the front. Start with a basic oval shape. You can do this part in pencil and then erase it. Use a vertical cross line and a horizontal one. Add two more horizontal ones to break the face into sections: hairline, eyes, nose and mouth and then chin. The eyes are small oval shapes. You can also create a small circle in the middle and then eyebrows. Draw the nose next and then add the mouth. Everything must be in proportion, so the verti...

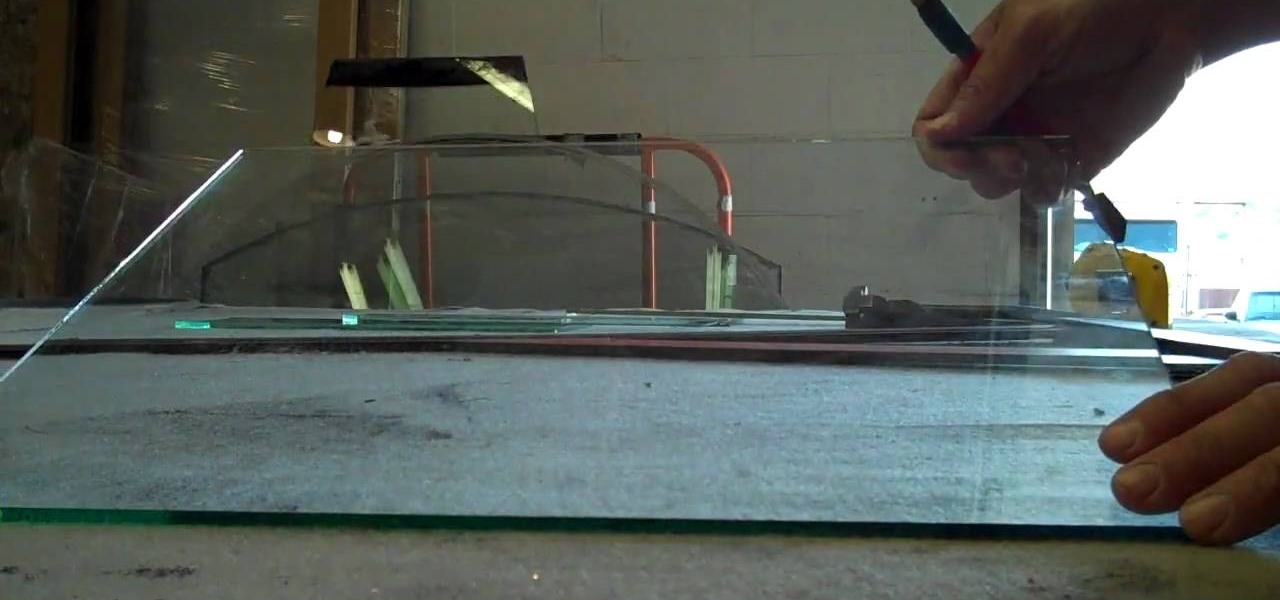
This is a Fine Art video tutorial where you will learn how to cut plate glass. Measure the plate glass and make sure the measurements are correct. Then place the guide along the line of the cut, take your glass cutter and score along the edge of the guide. If the plate is small in size, take the base of the cutter and place it underneath the score mark and apply equal pressure with your hands on both sides of the score. The plate will snap with a nice clean cut. Another way to snap the glass ...

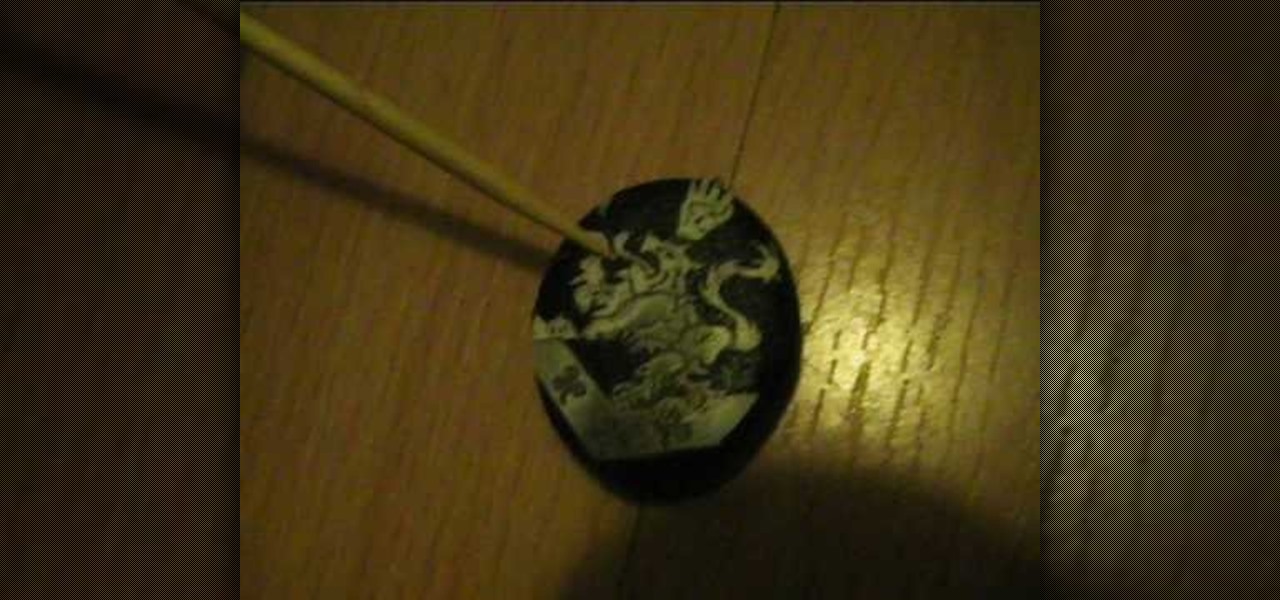
In this video, Alice demonstrates how to make a crest necklace using simple things. For making this necklace she collects some materials such as oblong shaped rock or polymer clay, some paints, a computer print of a cullen crest and so on. She uses the ordinary black paint to paint the rock completely. Next, she collect a computer print of a layout for the culler crest and carefully cutout the shape and using craft glue she stick it on the painted rock to see it fit. she takes some white pain...

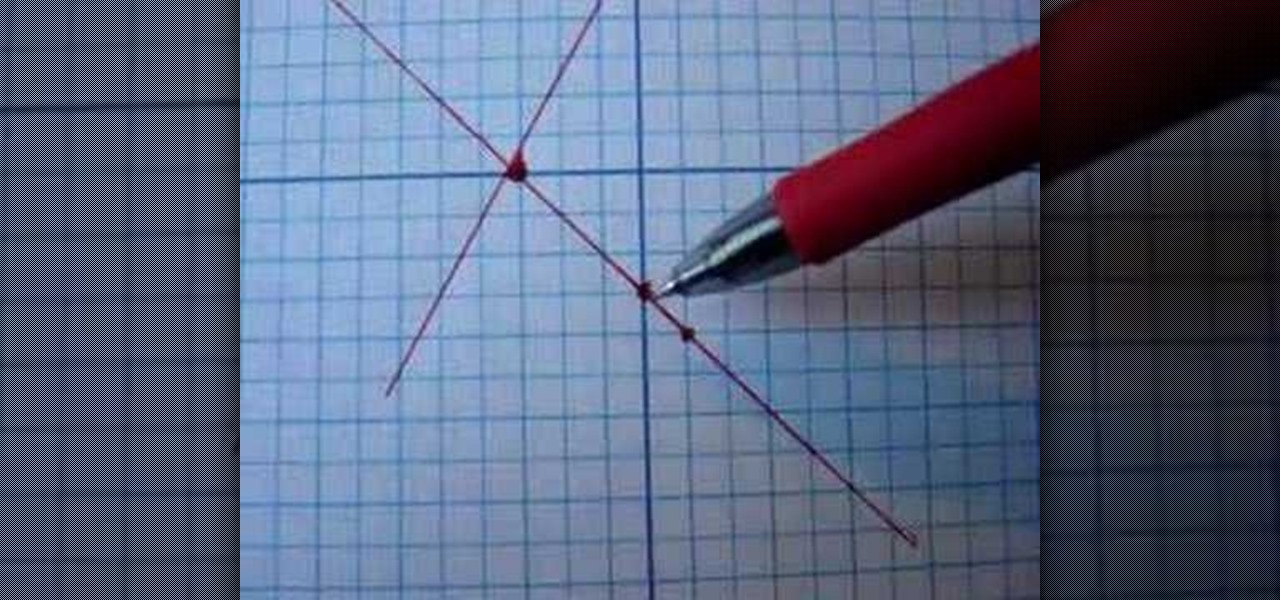
This video shows the viewer how to solve simultaneous equations using a graph or ‘graphing’ as it is referred to. This is done by first rearranging both equations so that y is the object of both equations. The equations can then be solved via substitution – the video does not cover this. Using graphing the next step is to plot both of the lines onto the graph. This can be done by substituting varying values of x to give the y co-ordinates. The solution to the linear equation should be the poi...

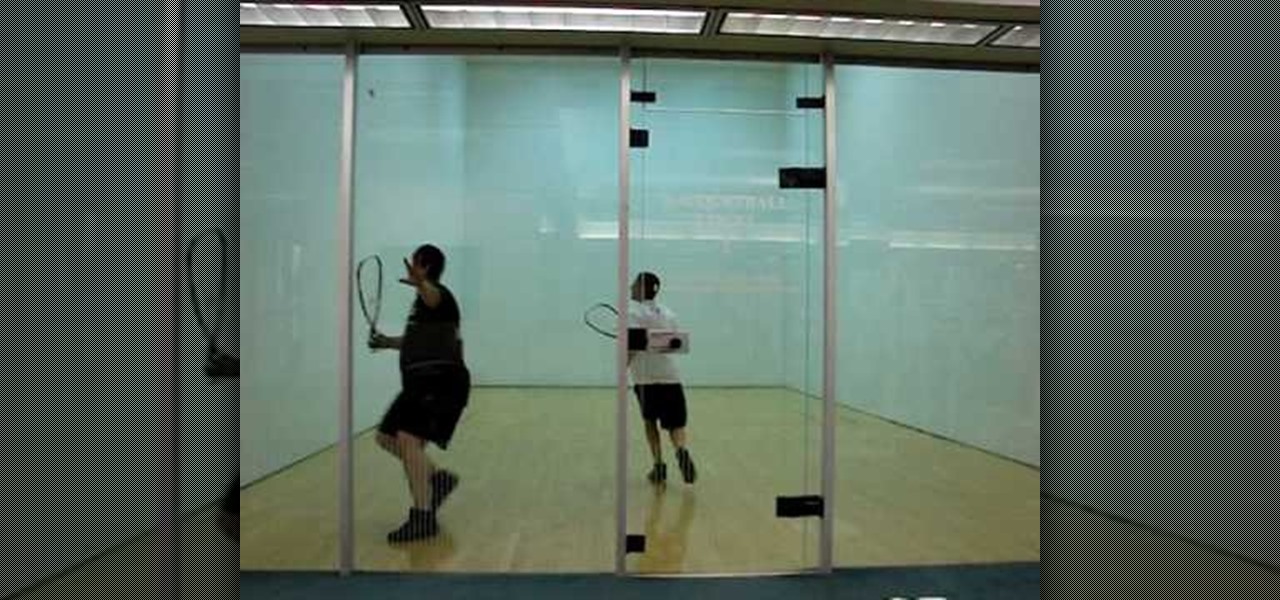
This video demonstrates the cross court backhand shot in a Racquetball match. It demonstrates the proper form and timing in an actual racquetball match. It provides helpful tips: for example, the cross court backhand shot should be employed strategically. The best time to consider using the cross court backhand shot is when you see your opponent leaning on the down line: i.e. use the cross court backhand, if it appears that your opponent has already committed to a line of attack. If it appear...

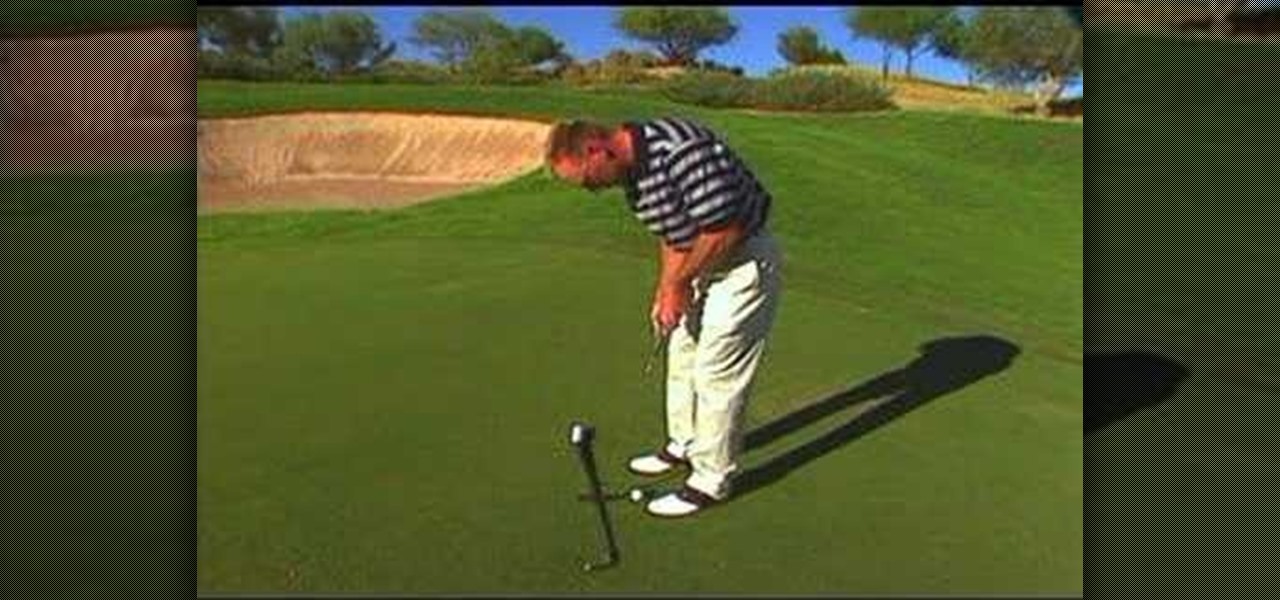
The difference between a professional put and an amateur put is in the finish of the put. The professional moves his shoulders directly parallel to the target line while moving his eyes instead of his head to follow the ball. The amateur swivels their entire body to follow the ball which creates an inaccurate shot. This movement lifts the body which completely messes up a shot. For practice you can practice swinging your putter exactly the same path of a straight line. This will help create a...

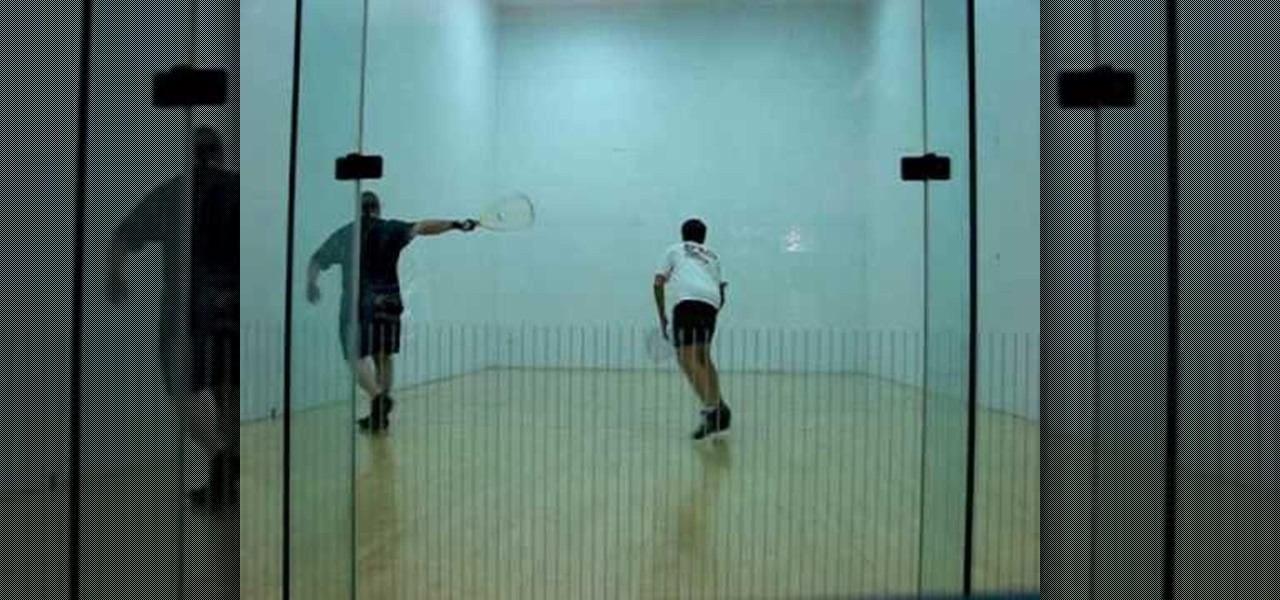
This video illustrates how to play Racquetball and how to teturning the Lob Z. Your main priority should be to cut off the Lob Z at or around the dotted line. If the serve is low in your hitting zone, take an aggressive shot like down the line or cross court pass. Make sure to square up to the side wall as shown in the video. If it is a good serve and the ball is high in your hitting zone, play it safe and go up to the ceiling. This will get your opponent out of center court and allow you to ...

A method for solving a linear system with no solution is described. The method is described in 4 steps. The first step in the method is designed to solve a linear system that is described consist of “solving by graphing”. Details for “solving by graphing” first consist of finding points to graph using two different equations. The second step in the method consist of placing the points from both equations on the same graph in order to find out if bo...

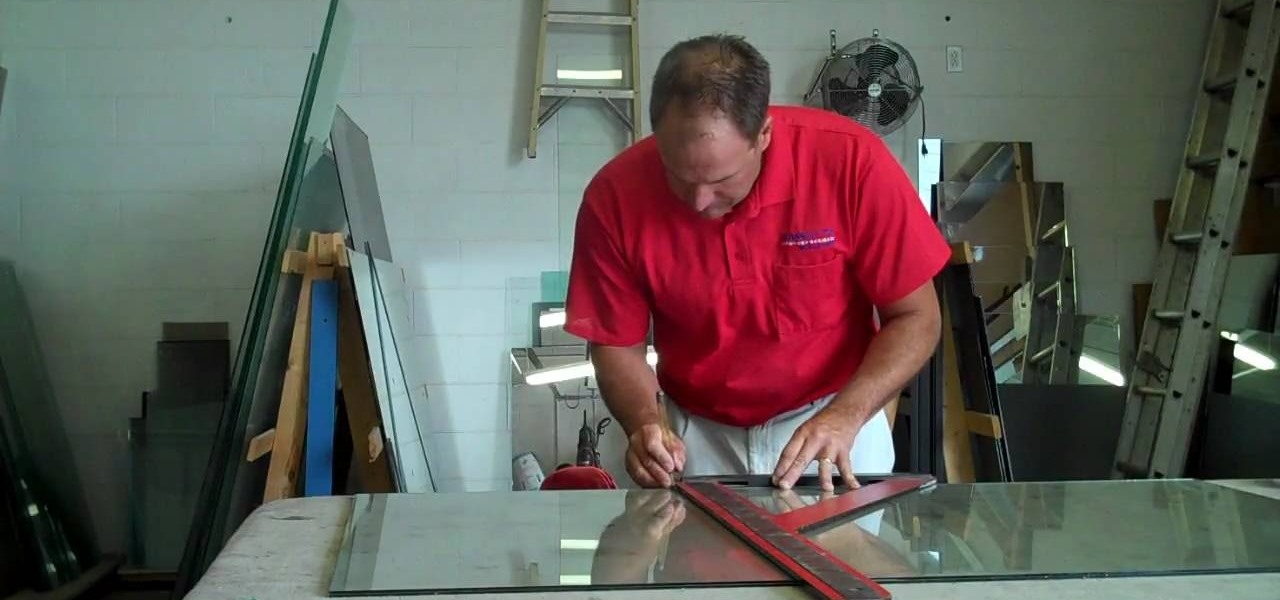
In this video tutorial, viewers learn how to cut laminated glass. Laminated glass is a safety glass that has two pieces of glass with a plastic foam in between. The materials required to cut laminated glass are: an oil glass cutter, L-square, razor blade and an optional propane torch. Begin by marking the glass to your preferred measurement. Then use the L-square to line up the marking. Then use the oil glass cutter to cut down the marked line. Flip it over do the same on the other side. Then...

In this video from thingstoknow we learn how to unclog your garbage disposal and sink. If your sink is clogged and you have a garbage disposal, turn on the disposal first, then turn on the water, and hold the plug down. This will force the water into the line and you'll feel the water backing up against the plug. This force will clear the clog within the line. When it clears pull the drain plug and you have successfully cleared your clog. It is important to not turn on the disposal switch whi...


