How To: Square Dance the Veer Left/Right, Wheel & Deal
This square dance video teaches the following square dance calls on the mainstream list: Veer Left/Right, Wheel & Deal (Two Faced Line), Ladies/Gents Promenade.


This square dance video teaches the following square dance calls on the mainstream list: Veer Left/Right, Wheel & Deal (Two Faced Line), Ladies/Gents Promenade.

Watch this video demonstration of the knitting technique short row shaping. In traditional knitting shoulder shaping, stitches are bound off across the top edge of the shoulder on sequential rows, creating a stair-step line. It can be difficult to make a neat job of seaming this shoulder line. Short-row shaping provides the same slope, but creates an even line across the top edge to facilitate a neater finish.
This is a step by step video on tying a variation of Ed Ward's Steelhead Intruder. The guys at Tight Lines fish this fly with great success all fall and winter. Excellent fly for migratory Steelhead and Browns on the Great Lakes Tributaries.
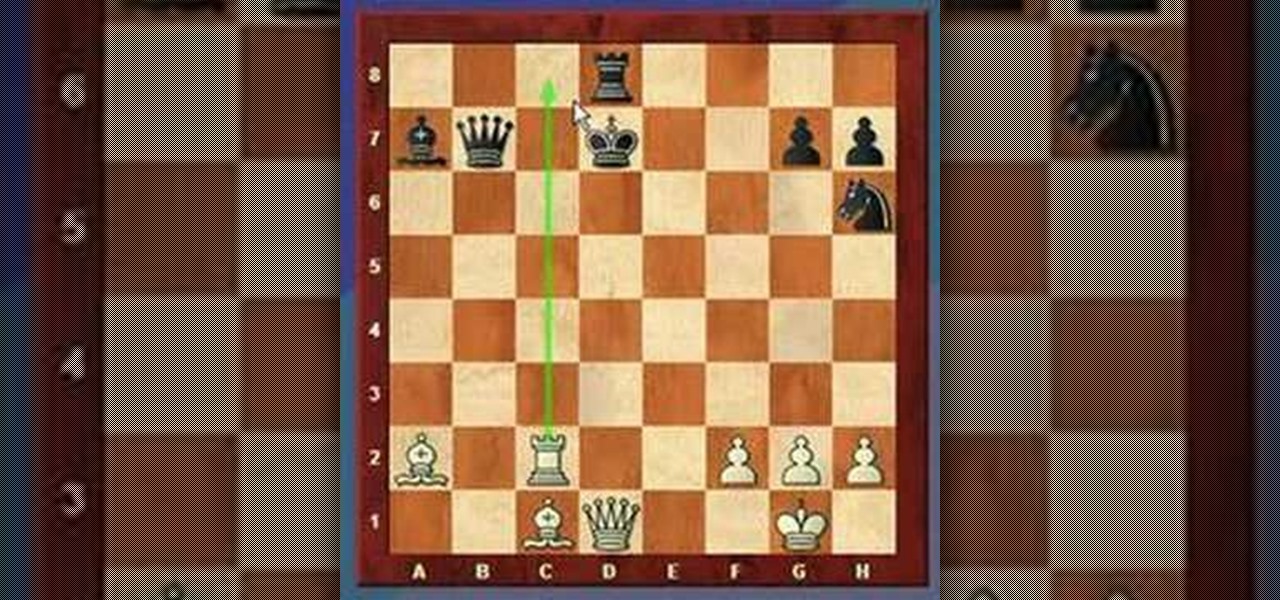
Need some more chess tactics for your arsenal? Well, why not try out this "skewer" tactic from this video lecture. A skewer is an attack on two pieces on the same line. The opponent moves the more valuable piece exposing an attack on the second piece. The skewer is a reverse cousin to the "pin."
Make a luxury brass case for an MP3 player. When a design is made, draw it on a section paper. Stick the paper on a brass plate with glue, and cut the brass plate along the line on the paper with a jigsaw.
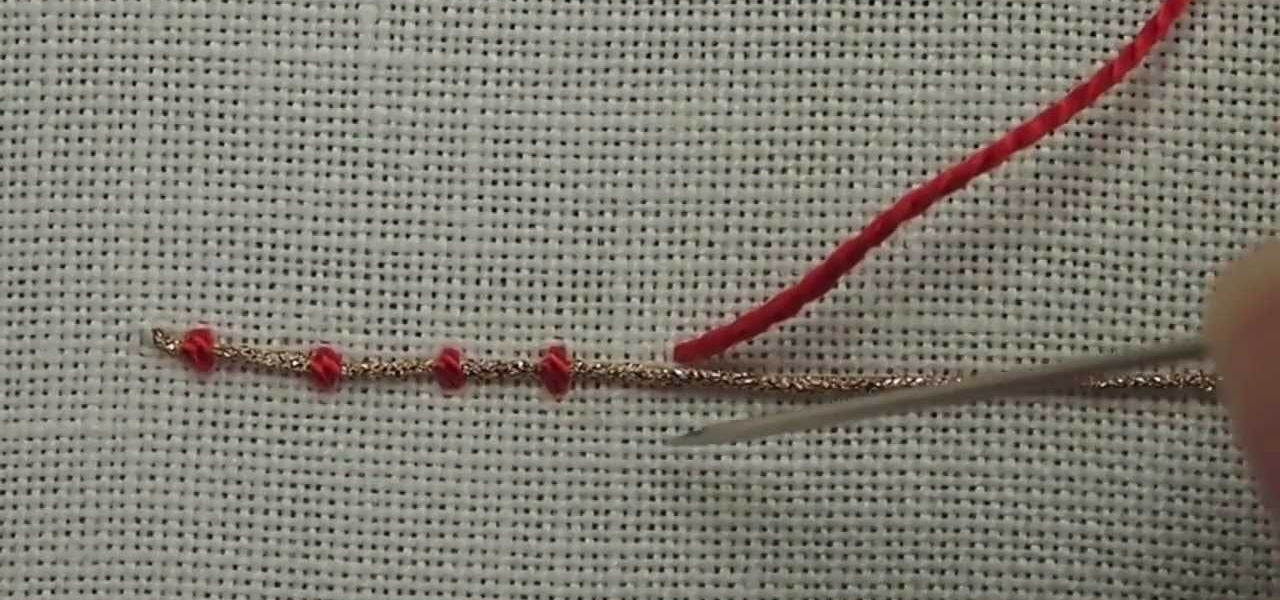
Couching is another easy embroidery stitch in hand embroidery, and a great way to create decorative line stitches that scroll and twirl about. It's also widely used for filling areas, and historically was used to great effect during the Middle Ages and Renaissance in a technique called Or Nue. Here's a video from Needle 'n Thread that demonstrates couching a single thread for an outline.
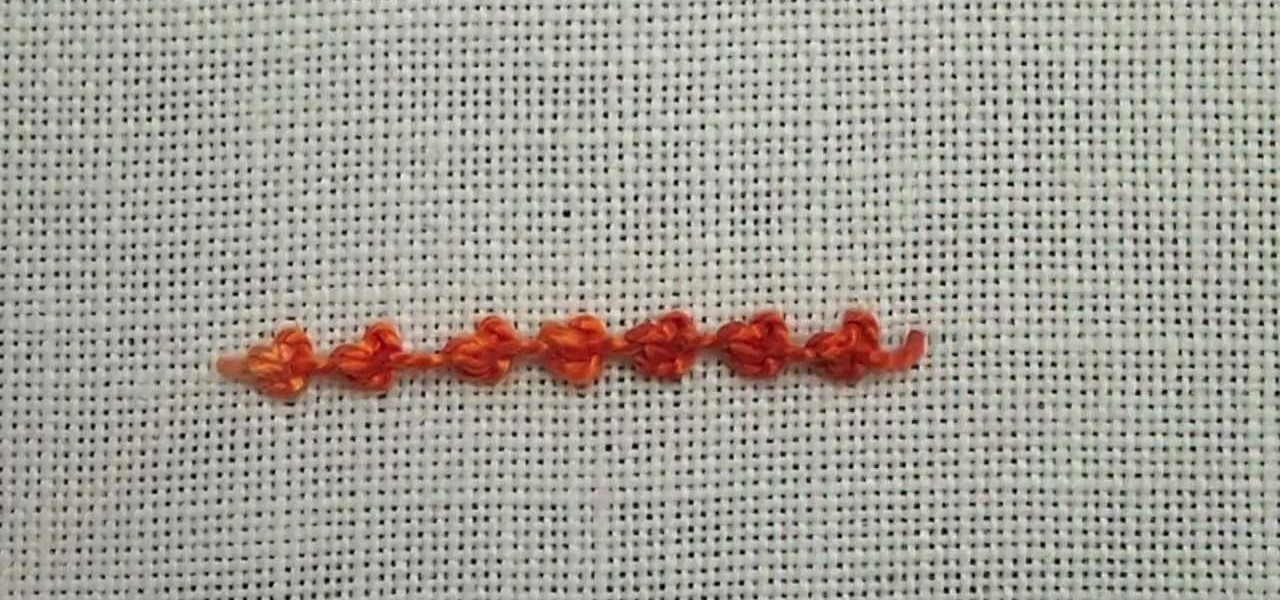
Here's another video tutorial from Needle 'n Thread for hand embroidery stitches - this one is for the Palestrina stitch. Palestrina stitch is used for outlining or filling and is common in both Jacobean designs as well as in Mountmellick embroidery, the latter because it gives a highly textured line or fill area.
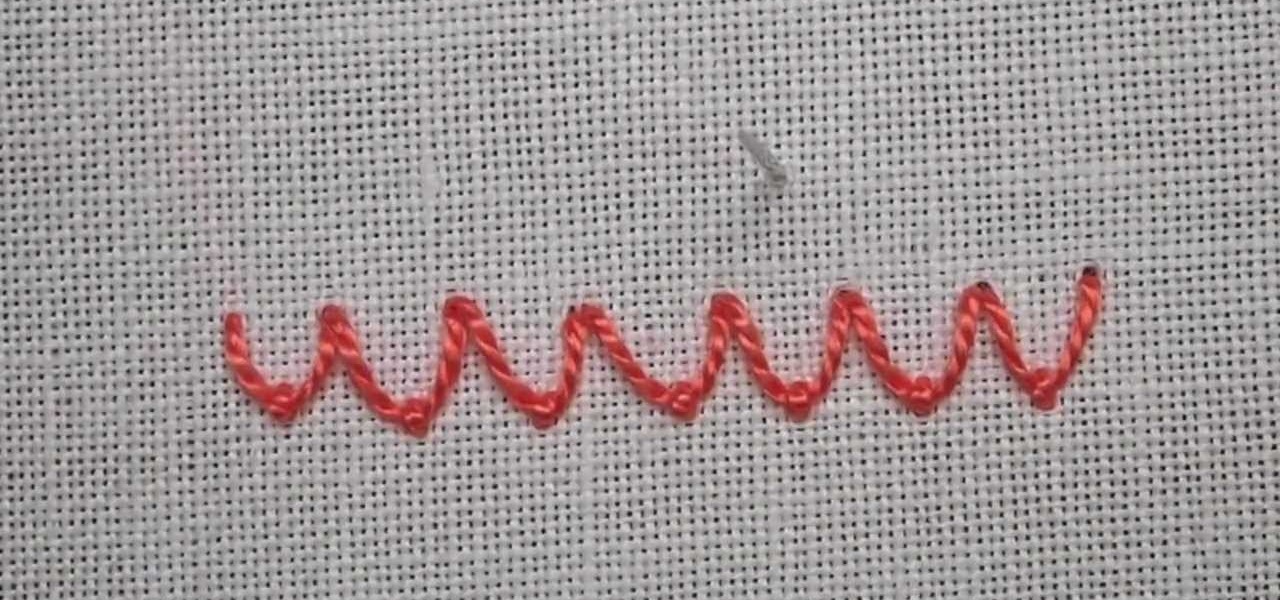
The fly stitch is another basic embroidery stitch used for straight and curved lines, seam embellishments in crazy quilting, and general surface embroidery techniques. The fly stitch can be worked horizontally and vertically. In this video, it is worked horizontally. Watch this video from Needle 'n Thread to see how it's done.
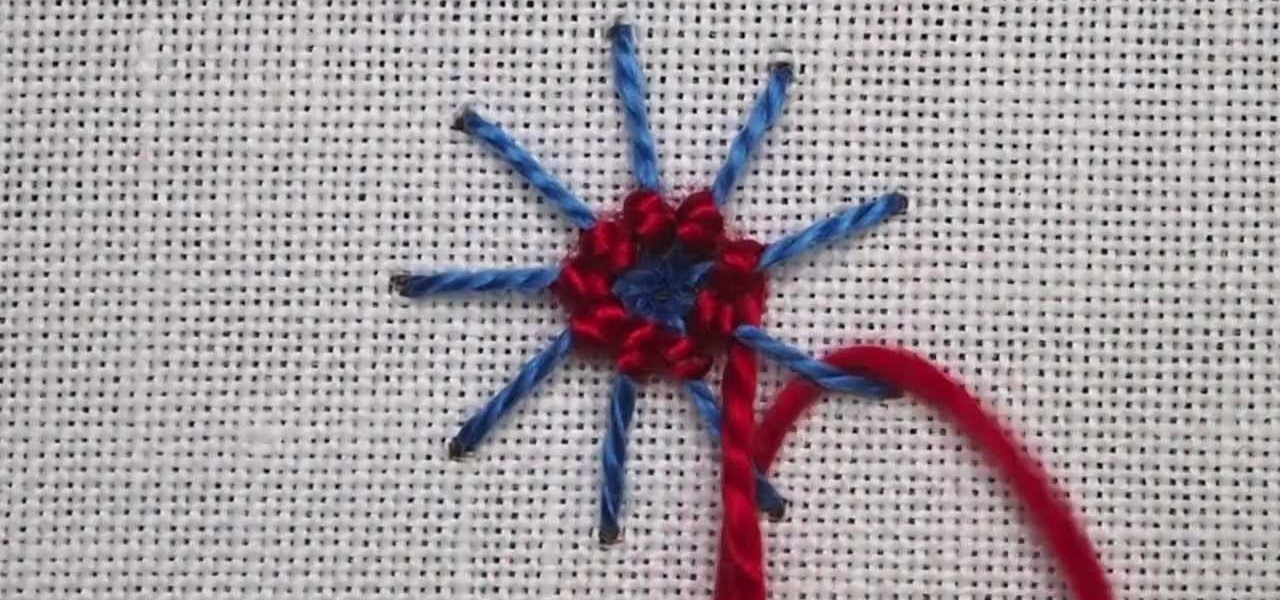
The spider web stitch and the ribbed spider web stitch are both "woven" embroidery stitches, either used as isolated accents or used in clusters. They aren't a line stitch or a filling stitch, and they aren't really a "small" detached stitch that can speckle a background lightly, either. Watch this video from Needle 'n Thread to see how it's done.
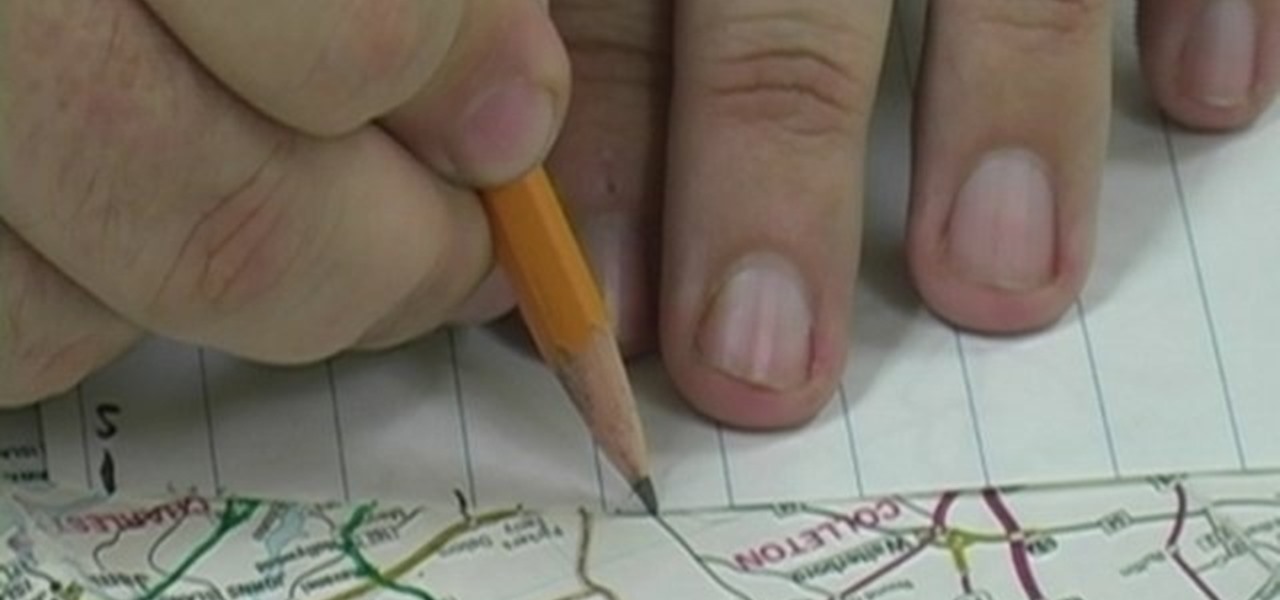
Check out this video to learn how to turn a squiggly line on a map into a straight distance that is easy to measure. This is an excellent video to help you improve your map skills.

For making videos at home, a teleprompter would greatly reduce the amount of memorizing lines, cutting and editing. Put together this easy teleprompter and start your own show today.
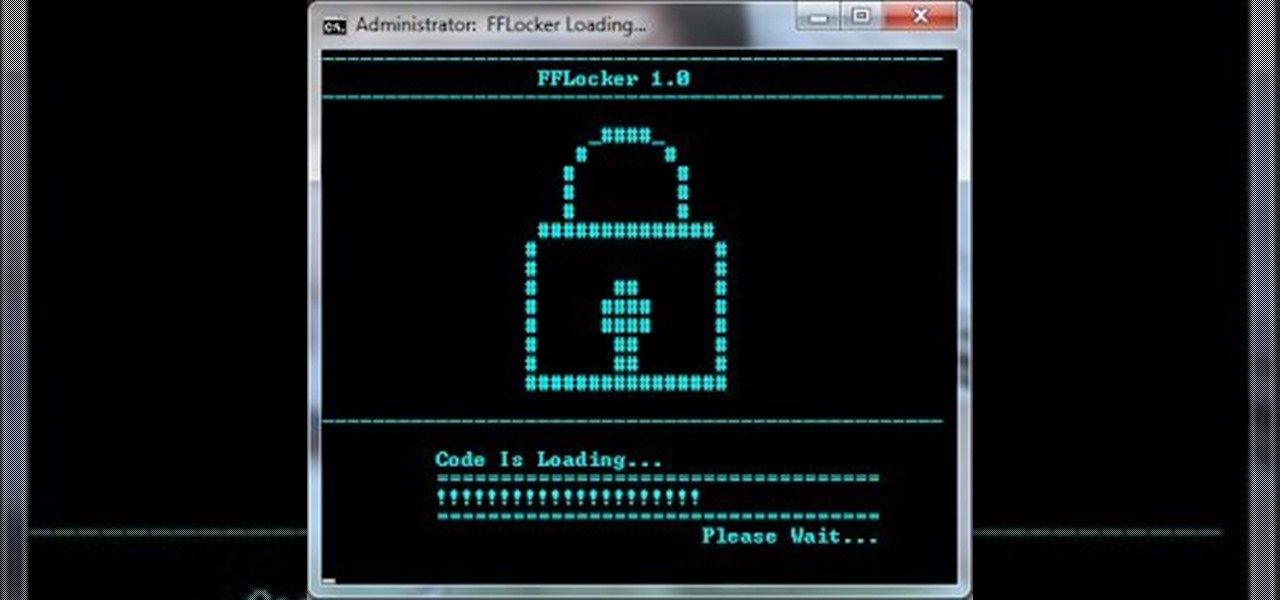
Welcome, everyone! While Linux distributions are almost always used for exploits, security, pentesting and other stuff covered in Null Byte, knowing the Windows Command Line (or Command Prompt) is a useful skill that can help you in various ways, such as using exploit programs made for Windows or using the command line on someone else's Windows computer.
The two-hook panfish rig is meant for vertical fishing under the boat in fairly deep water, for deep-dwelling fish like crappie, catfish, bluegills, and sometimes even bass. It involves two hooks hanging off the line, off droppers, to fish close to the bottom. Watch and learn as Wade Bourne of MyOutdoorTV shows you how to fish a two-hook panfish rig.
Nothing is more fun that fly fishing with popping bug for panfish. With popping bugs, you can get bite after bite from little bass. Wade Bourne, host of Wade's World on MyOutdoorTV, shows you how to fish for bluegill and panfish using a fly rod and popping bugs.

The Half Blood Knot is similar to the clinch knot. It is same knot with two different names. This instructional video demonstrates a variation called the Locked Half Blood Knot. This variation adds a way to secure the tag end in the final steps of tying the knot. The half blood knot is used to attached lures, hooks and swirvels to the fishing line. Watch this video fishing tutorial and learn how to tie a locked half blood knot on a fishing line Tie a locked half blood knot on a fishing line.
What's the easiest way to adjoin two fishing lines? The blood knot. And no, you're not going to cut yourself, that's not why it's called the "blood" knot. It's also referred to as the Barrel knot, and is usually used for monofilament nylon lines. Wade Bourne of MyOutdoorTV will show you how to tie the blood knot.
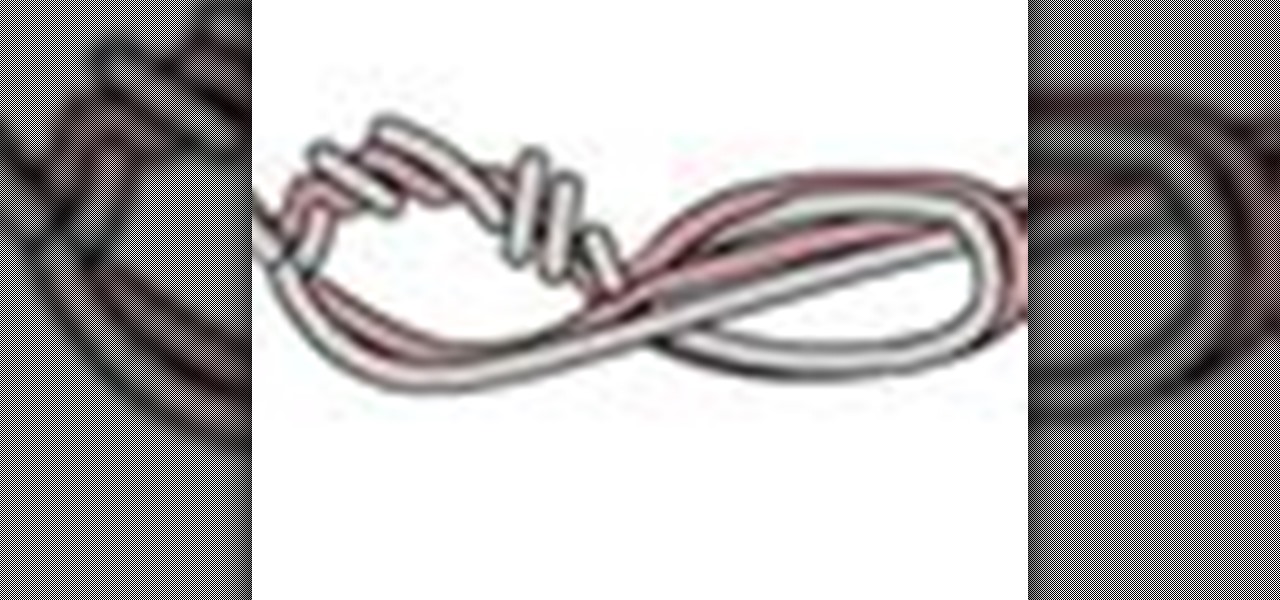
Ever wonder how to tie the seaguar knot for fishing? Then stay tuned for this fishing knot tutorial video. The seaguar knot was introduced by the factory reps from fluorocarbon manufacturer Seaguar, this easy to tie and reliable fishing knot joins fluorocarbon leaders to monofilament line. 1. Make a loop in the line and in the leader and hold loops side by side. Note: line running from left is on top. 2. Insert index finger into loops and make 3 full counter clockwise twists. 3. Hold loops op...
Welcome to the second Goonight Byte! Our second coding session was kindly hosted by th3m, so props to him for letting this happen.

Our first Community Byte went well! We had around 8 people in the room coding collaboratively and watching to learn. LukeStav did the kind task of hosting it on Gobby for all of us, so big thanks to him!

THE ELUSIVE SUN / APOLLO LINE and MAGNETISMLearn about this elusive but well handy line !! It used to be associated with fame and fortune !!!Learn how to identify any periods of your life covered by the SUN line and sparkle (hopefully)

This video palmistry lesson offers a basic introduction to the main lines used for a reading: the heart, head and life. The demonstrator covers what information can be interpreted from those lines, and how a palmist interprets that information. Check out this how to video and learn some basics for your own palm reading practice. Read the heart, head, and life line for palmistry.

While everyone wants to run or pass the football, it's the five members of the offensive line who make that happen. They block for the running back and protect a quarterback. If you have linemen who can dominate the line of scrimmage, then you can win a game of football. Control the line of scrimmage.
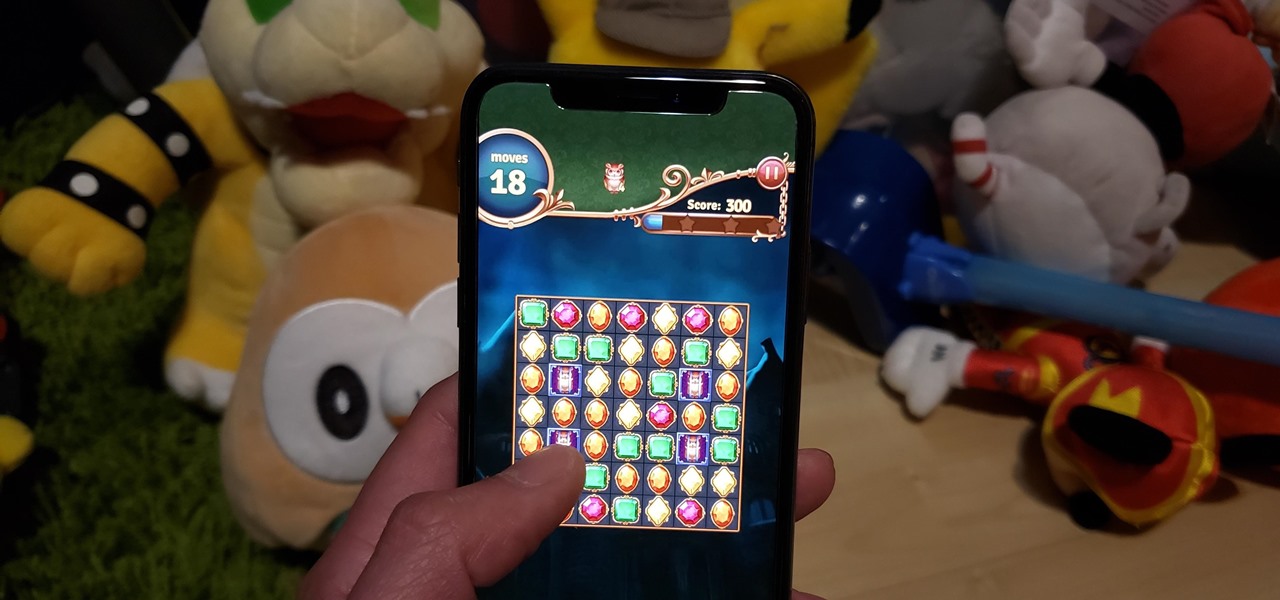
Though not as flashy as other mobile gaming genres like first-person shooters, puzzle games continue to glue players to their phones. Puzzlers are perfect companions while out and about or on a commute, and they're also a great way to stimulate your brain and hand-eye coordination in a fun, relaxing way.

All of the new iPhones from 2018 were released with dual-SIM support, but none of them were capable of actually using the eSIM in iOS 12, only the physical nano-SIM. But on iOS 12.1 and later, you can finally take advantage of eSIM so you can have, say, a business and personal plan on your iPhone XS, XS Max, or XR at the same time.

Take one down, pass it around, 99 bottles on which to play classical music? As someone who has studied music extensively, I've seen many interpretations of famous pieces of music played on glass bottles, but hearing these four interpretations of famous pieces (not all classical) completely blew my mind.

Greetings to all geeks, hackers, nerds, and explorers of Null Byte. Welcome to my brand new tutorial, "Using BASH for Computer Forensics". This tutorial will give you a look at how the computer programming language, Bash, can be used to find out details on apple devices for later use.

Welcome back, friends! Many times, businesses, friends, and family will lock their zip files with a password to keep their files secure. It is reasonable, and understandable. Well, thanks to hackers, there are many ways to get past this wall of security.
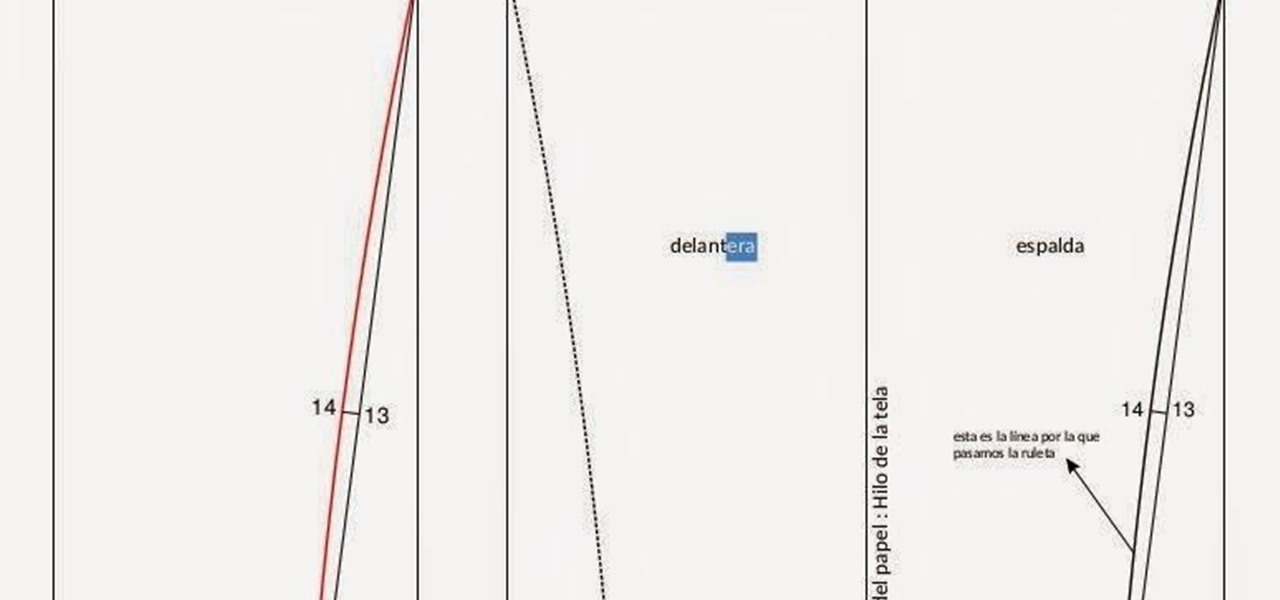
A well designed sleeve is very important to creating a top or jacket that fits comfortably. Get your correct measurements before you begin. Please view the following step-by-step instructions and accompanying video and diagram to create the basic sleeve.

Welcome back, my hacker apprentices! To enter the upper echelons of hackerdom, you MUST develop scripting skills. It's all great and well to use other hacker's tools, but to get and maintain the upper hand, you must develop your own unique tools, and you can only do that by developing your scripting skills.
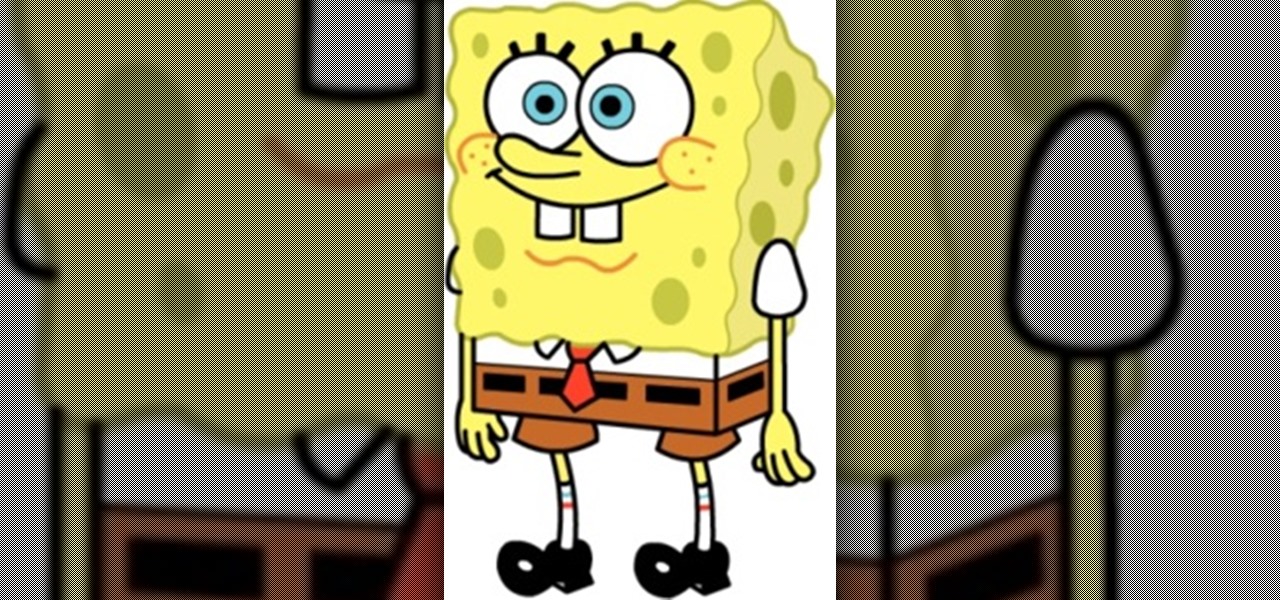
Today we're going to draw Spongebob! He's going to be facing forward, so even beginners should find drawing this guy to be a piece of cake! 1) Begin by sketching out a rectangle with a broader top and a narrow bottom, make sure it's not too skinny though. This will be the base of Spongebob's body.
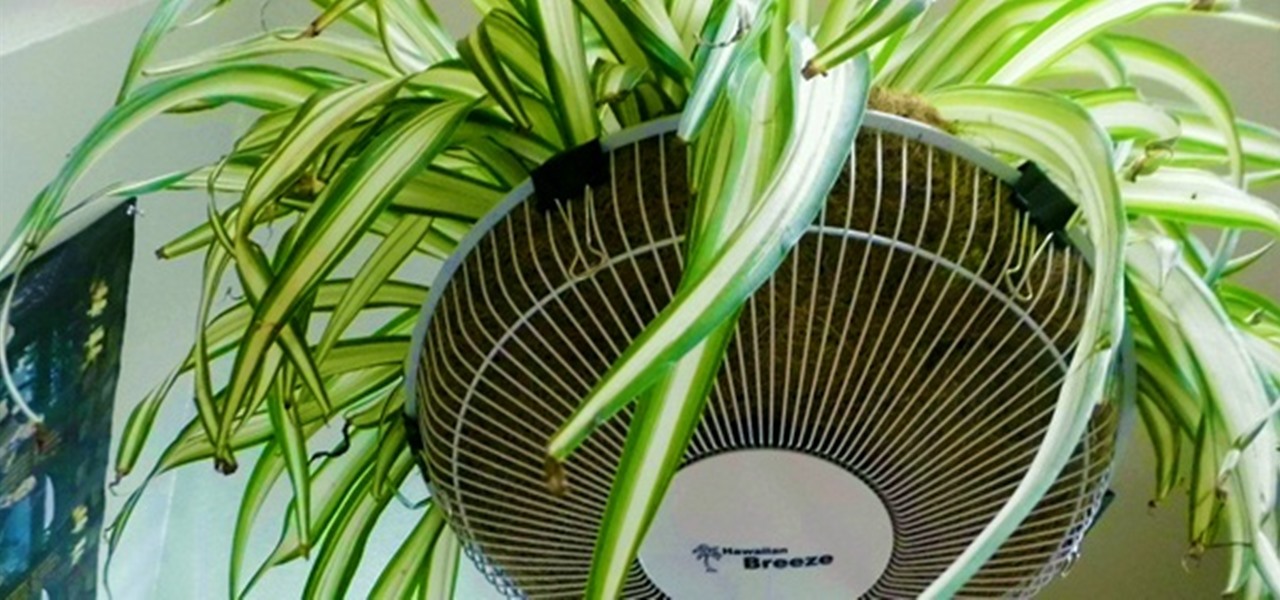
Everybody should have plants in their home. Not only do they give off oxygen, but they add a whole new level of decor and awesomeness to an otherwise drab room. So naturally, if you want to improve a room, just display a few plants.
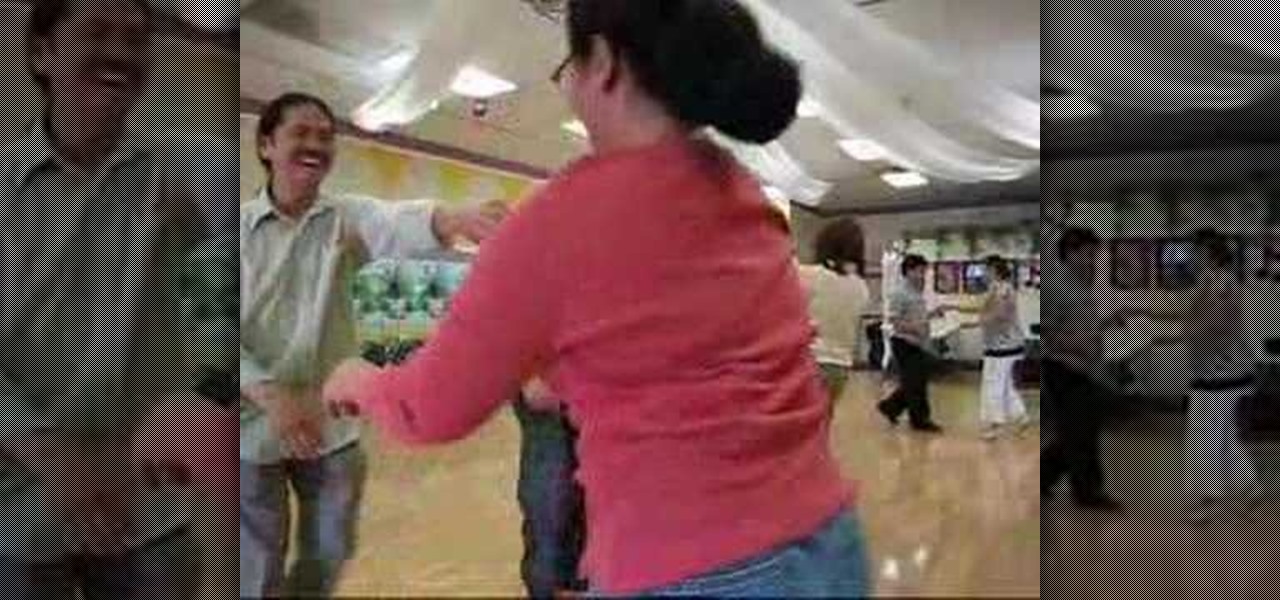
It's time to boogie! Get your shoes on, put on your dancing shirt, turn off your phone, and tell your friends you've gone on a permanent vacation! The boogie line dance is a simple line dance - easy enough for a toddler to learn, but hard to forget! This instructional video will get you up and boogieing in no time. So don't be shy, watch this dance video and get your boogie on.
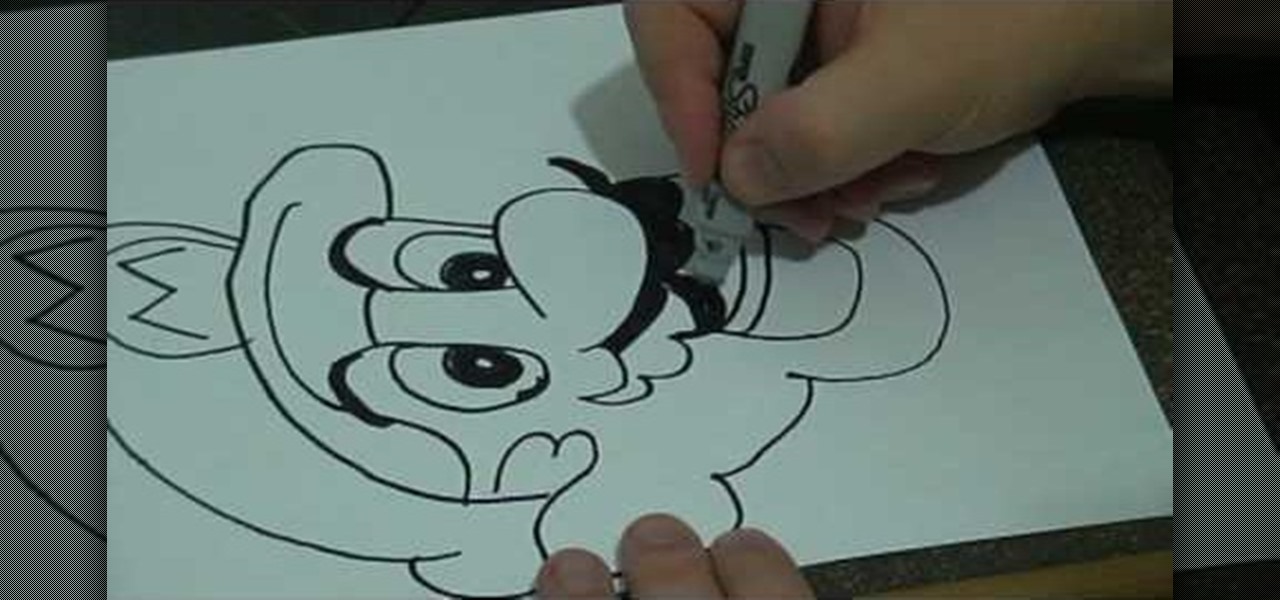
In this tutorial, we learn how to do a basic line drawing of Mario. To start, draw the basic outline of the face with a black marker. Draw in the details of the mouth, don't forget the teeth, tongue, and inside of the mouth. After this, draw in the nose and then the eyes. Draw in the pupils and then start to draw in the mustache and eyebrows. After this, create the hat and then draw around to the side of the head to draw the ear in. When finished, you can leave empty or color in with appropri...
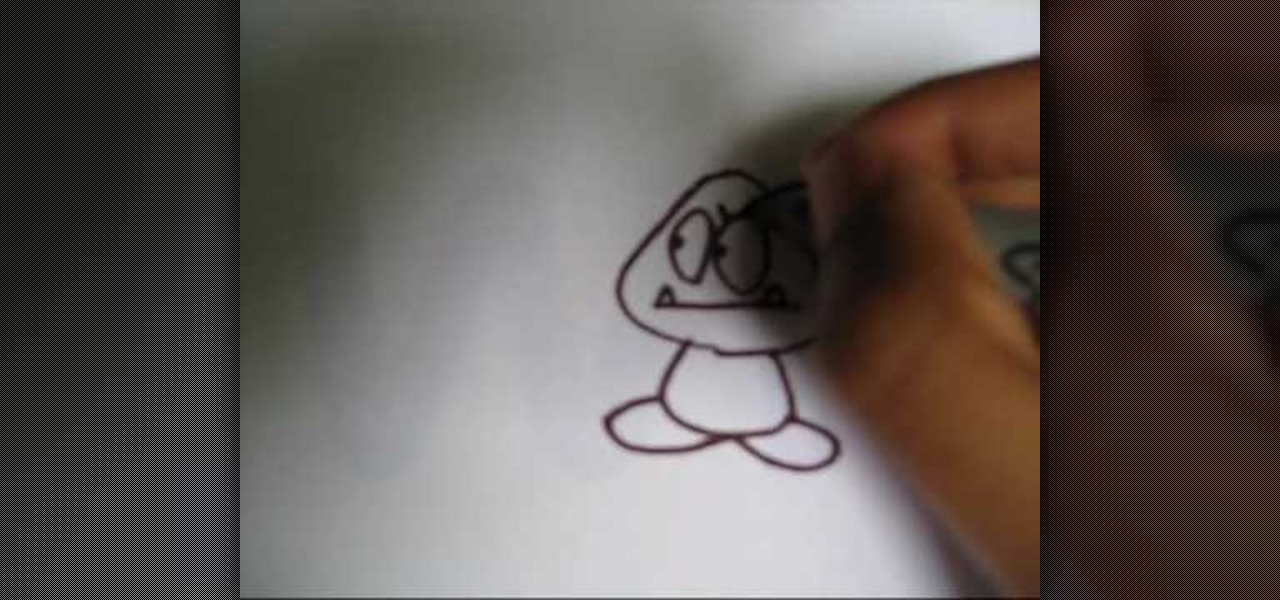
In this tutorial, we learn how to draw a Goomba from Super Mario. First, draw the softened triangle shape of the top of the head, then draw the body and the oval feet at the bottom. After this, draw on the oval eyes and then a flat mouth with two triangle teeth on both sides. From here, draw on the eyebrows to Goomba in thick lines. To draw another type of Goomba, draw the same basic shape, but then make the eyes squished into small lines and then draw the mouth with crunched teeth on the ins...

In this tutorial, we learn how to draw Sonic the Werehog. Start by drawing the outline of the character, making sure to draw in the spiked hair on the back of the head. Then, draw in the circle for the head and use crossing lines to reference where you want the features of the face to go. Draw in the features and then add in more detail to them as well. Erase the background lines and then draw in the details of the body. From here, color in the body and then shade in corners to make it look m...
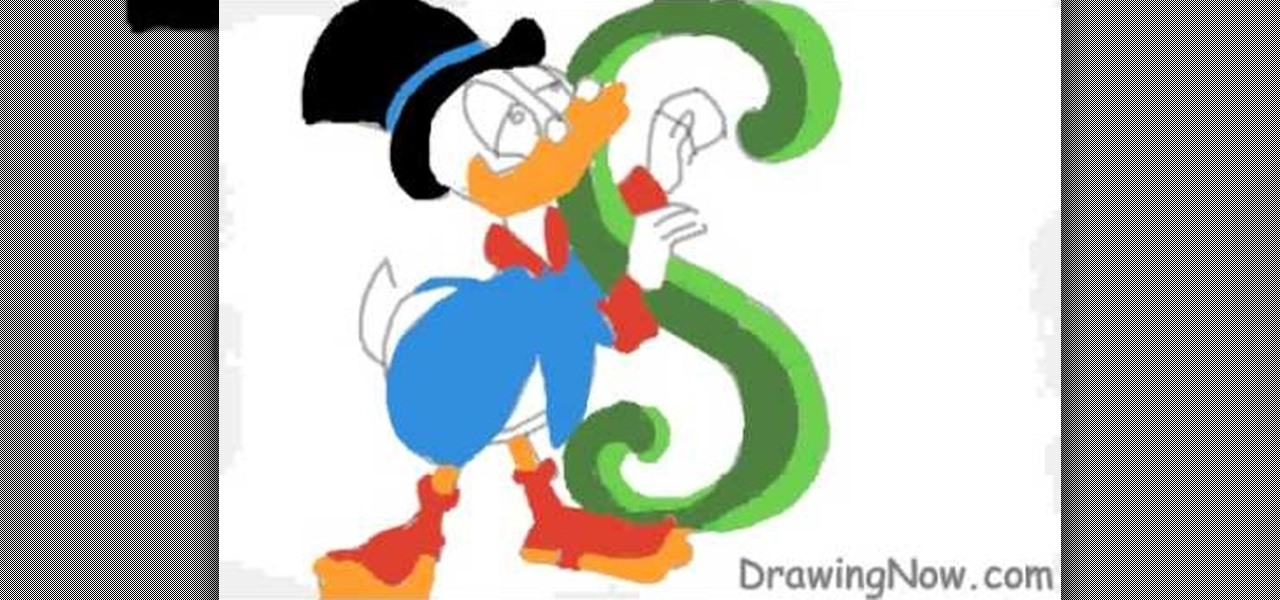
In this tutorial, we learn how to draw Uncle Scrooge McDuck. Start off by drawing the outline of the hat, heat, neck, upper body, instrument, and lower body. After this, draw on the eyes, glasses, and the beak. From here, you will start to add in additional details and erase the outline lines from where they aren't needed. Start to add in lines to create folds on the character and then color him in with the appropriate colors. After this, add in shading to different parts of him and his instr...
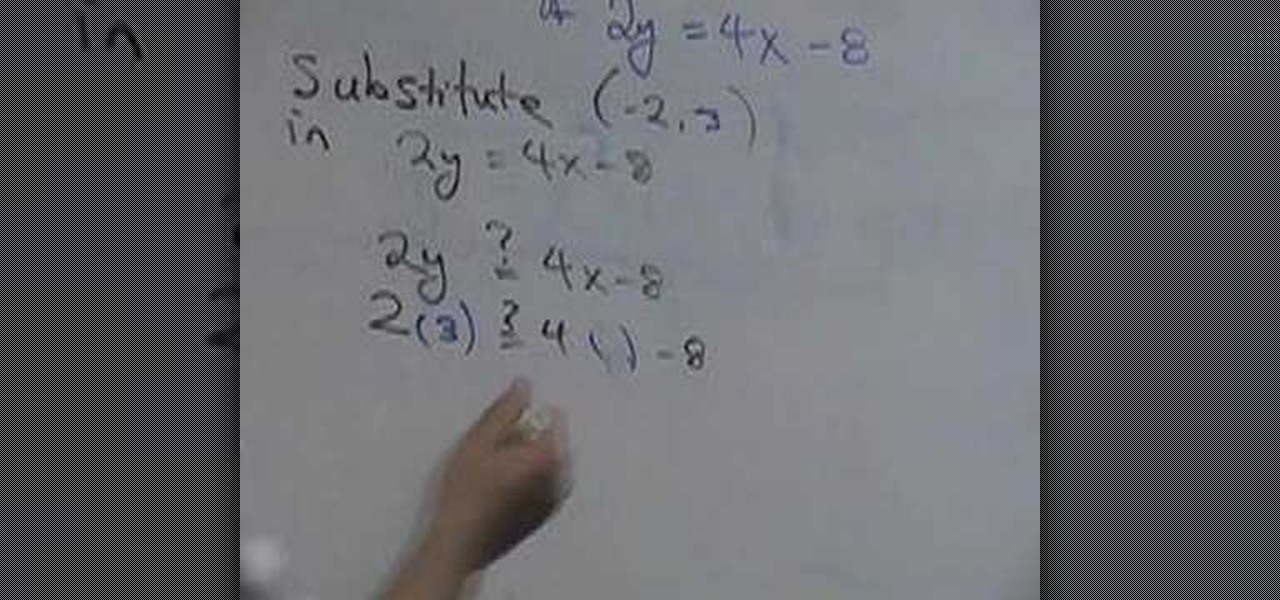
In this video, we learn how to graph an equation. First, pick a point out of the equation and see if it's a solution to the equation. This equation shows where two lines cross in the math problem. See if the two coordinates are part of the line that is on the equation. The two numbers are going to be the 'x' and 'y' that you plug into the equation. Once you have these written out, you will be able to graph them using the coordinates on the graph. Once finished, you will have graphed the equat...
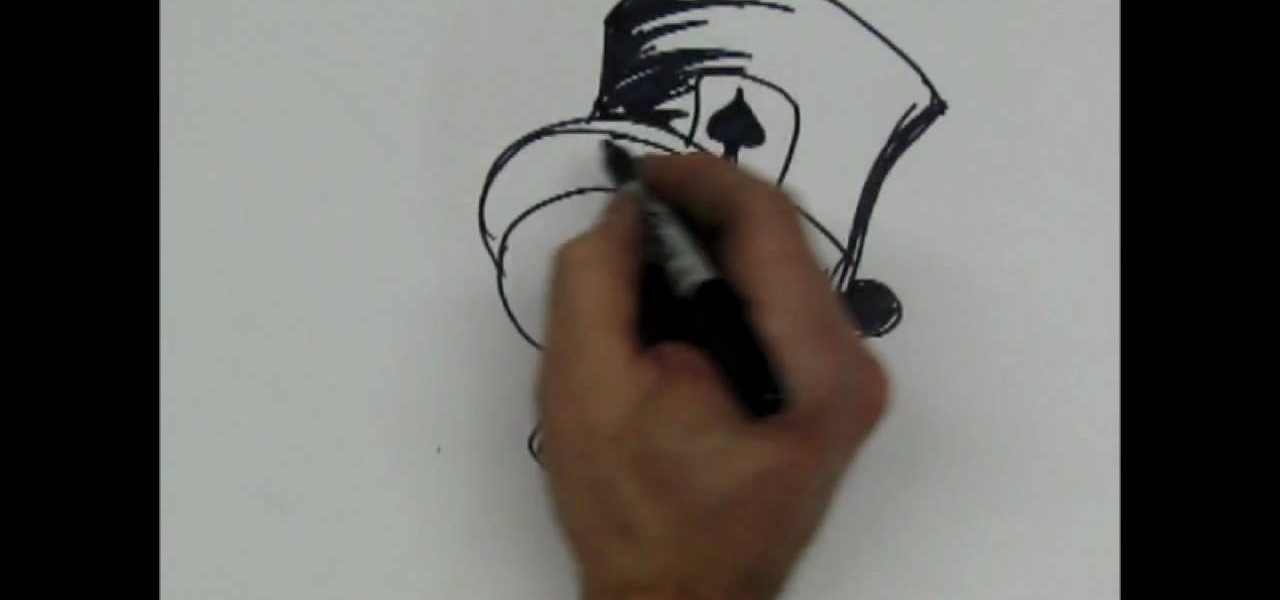
In this tutorial, we learn how to draw a skull with a top hat. First, use a Sharpie marker to draw the nose of the skull and then the eyes. Color these in completely black, since you want be drawing eyeballs in them. After this, draw the skull around it. Draw in the teeth clenched together and then add in lines around the head of the skull to show cracks in the bones. After this, add in additional details around the jaw line and on the head of the skull. When finished, draw on the hat to the ...

In this tutorial, we learn how to draw a cylinder. First, you will draw the sides of the cylinder and then the curves for the top and the bottom. After this, complete the circle at the top and then shade in the side with crosshatching. From here, draw some lines to shade in on the side next to the cylinder. If you want to draw a cylinder on its side, draw a box around it first and then continue to draw. Make sure all your lines are equal to each other so it evens up and looks more realistic f...
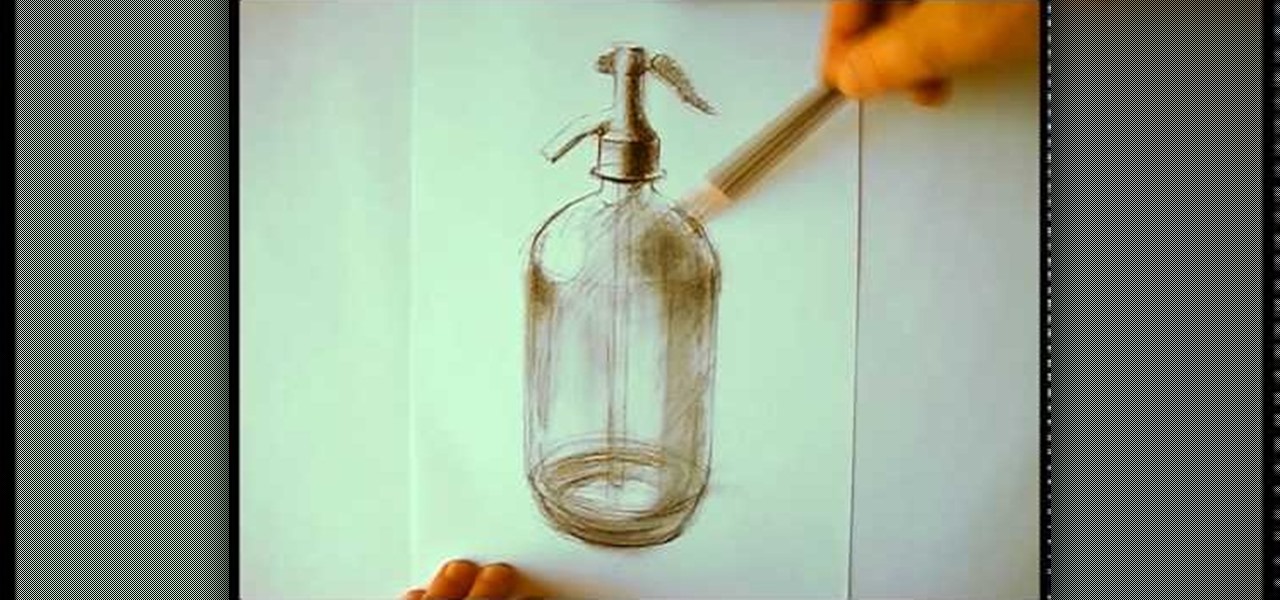
In this tutorial we learn how to draw a glass bottle. To start the bottle, you will draw the outline of the bottle starting with the cap to the base. After this, start to shade in the top and around the sides of the bottle. Small lines will create the effect of the bottle seeming to be transparent. After this, start to shade in around the sides of the bottle and on the bottom. Draw the inside lines and the other side as well so you can see that it is clear. Then, use the eraser to smear the c...