In this tutorial, we learn how to draw hands in the anime style. When you are drawing hands, they have a square look to them. So, start out with that shape and then start to draw the fingers onto the hand. Indicate where the joints will be and then you can further elaborate with the fingers. Make sure you make the fingers the correct sizes. The pinkie should be away from the wrist, as well as the thumb. Use a line to help center all of the fingers and then draw them around this. When finished...
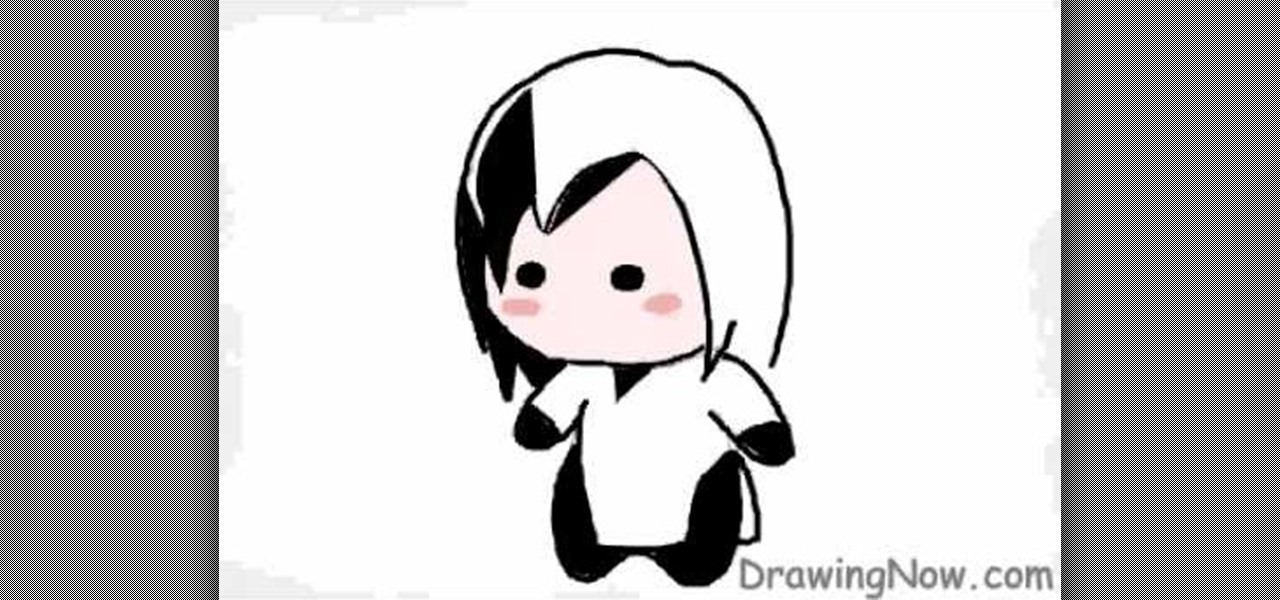
In this tutorial, we learn how to draw a Chibi Orochimaru from Naruto. Start off by drawing the outline for the character, then add in the details for it as well. After this, you will start to draw in the shading and the additional lines to give it more details. Then, you will need to erase the background lines that you used as a guide to draw the final product. From here, you will start to shade in colors on the character and then draw in any additional details or facial features. To finish ...
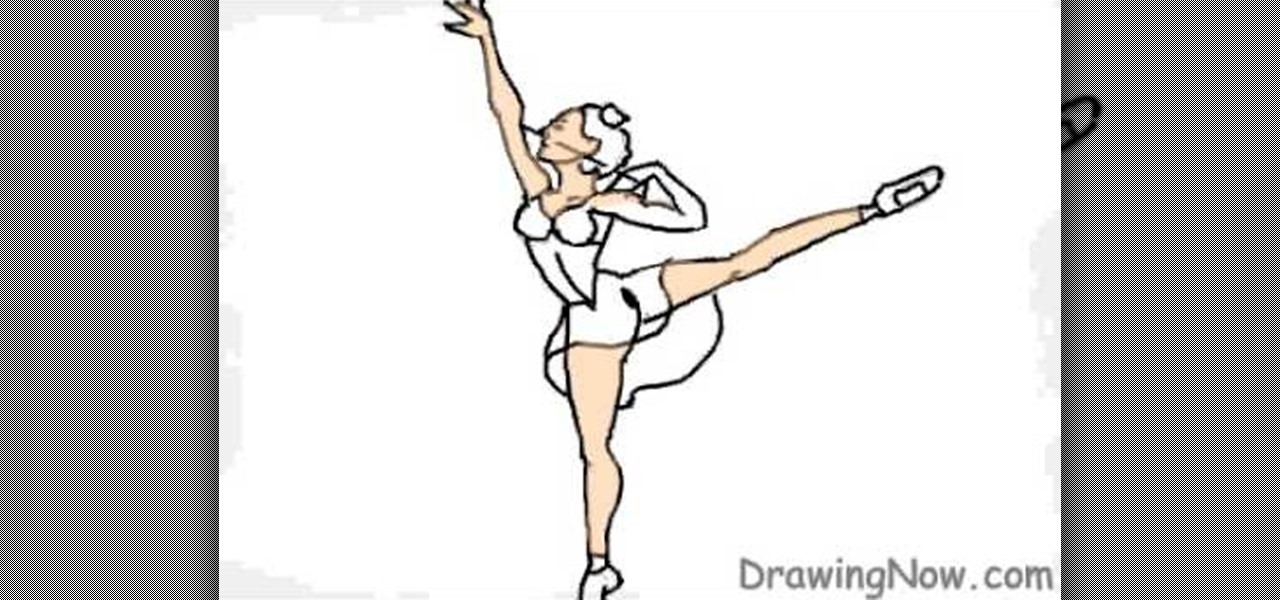
In this tutorial, we learn how to draw a ballerina. Start off by using circles and basic lines to draw the outline of the ballerina's body. Then, use a darker brush to create the body and add in the details of it as well. Draw one leg up in the air, while the ballerina is standing on the other with her arm raised high in the air. Erase any background lines, then start to draw in details of what the ballerina is wearing on her body. Draw in additional details around the figure, then when you a...
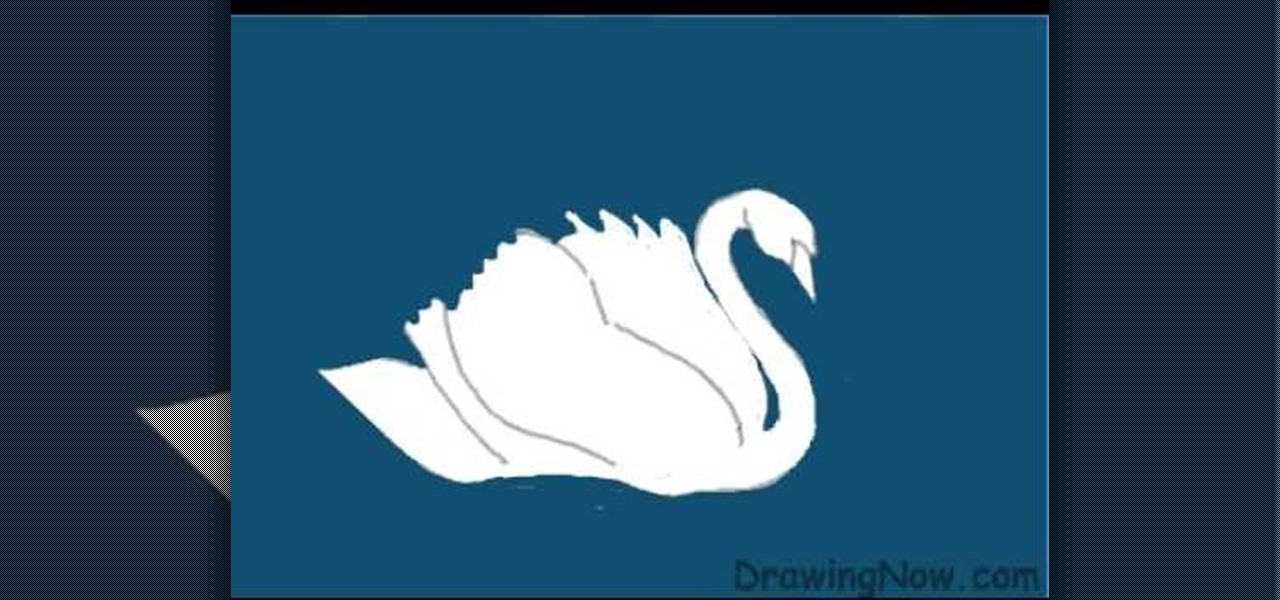
In this video, we learn how to draw a swan. First, draw the head and the neck, then draw an egg shape for the body. Next, draw in the wings for the swan and erase any background lines to make it look more realistic. From here, add in details to the face and make the beak more apparent. Then, you will color in the background and color the swan white, adding in lines for the feathers. After this, use white and grays to create a reflection underneath the swan. Then color the swan with light brow...

In this video, we learn how to draw Darth Vader from Star Wars. Start out by drawing the outline for the body, then draw in reference lines around to figure out where the facial features will go. From here, use a darker paint brush to make the outline darker and then erase any background lines. Then, start to add in the details to the body as well as to the outfit of the costume. Color in the background and then draw on the muscular details to the body. Add in color to the body and the cape t...

In this video, we learn how to subtract decimals. If you can subtract using basic numbers, then you will be able to subtract decimals. First, you will line up the tens and the other units of the numbers. Once this is finished, you will start to take away the top number from the bottom number. Borrow from the number to the left if you need to, then write down what you are left with on the bottom. Once you come up with your number, make sure you place in the decimal point where it goes. All you...

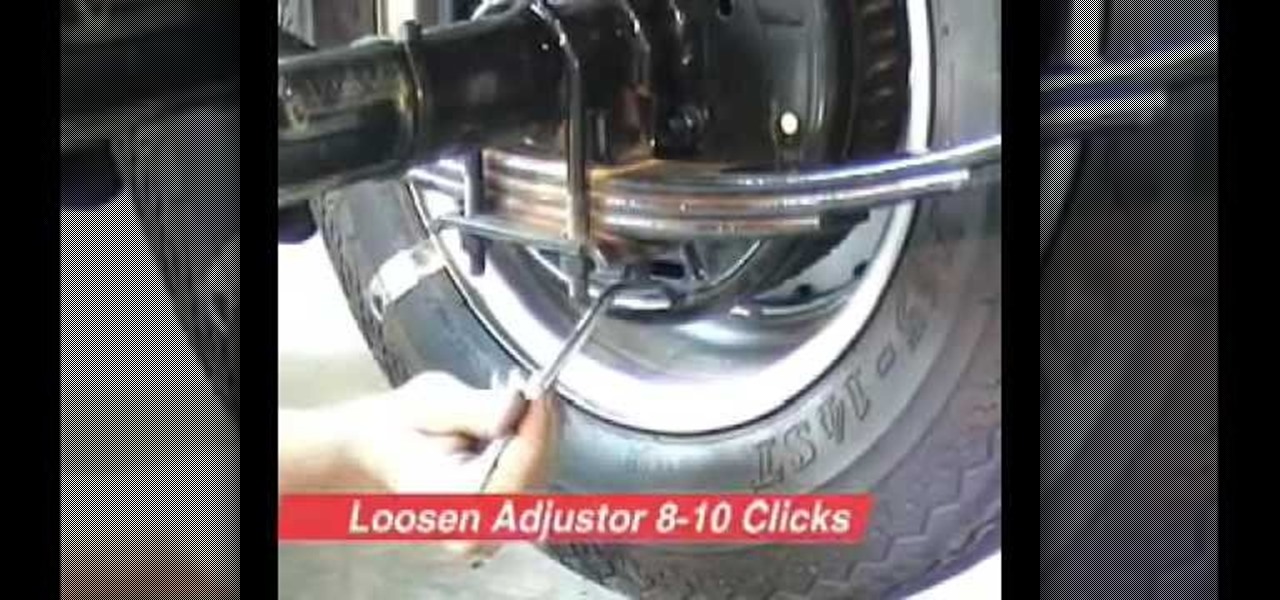
In this video, we learn how to bleed and adjust trailer brakes. First, level the trailer and use a jack stand to support it. Now, hand bleed the brakes using the master cylinder. From here, let any air out of the break line, doing this on all the different brake lines. Next, fill up the master cylinder with oil to make sure it doesn't run dry. Open the pressure valve and then close it as your run through the process. When finished, you will need to adjust the brakes by lifting the trailer. Af...

In this video we learn how to draw Neji Shippuuden. First, draw the outline for the head, use lines in the middle of the face to figure out where to place the facial features. After this, use a pencil to draw on the hair around the face and then draw on the headband. From here, add on the details to the hair and then start to add in shading around the face to make it look more realistic. After this, draw in the shoulders on the side and then draw in the rest of the details of the face. Finish...

In this video, we learn how to draw the manga character, Katara. Start out by drawing the basic outline of the character. Have her hands out in the air, like she is in a striking position. Then, add in the details of her face and hair, then work your way to adding in the details of her arms and the rest of her body. Draw a long dress on her, adding in the lines to show folds in the dress. Once you have finished with all the details, start to add in the colors to the skin and the outfit. Finis...

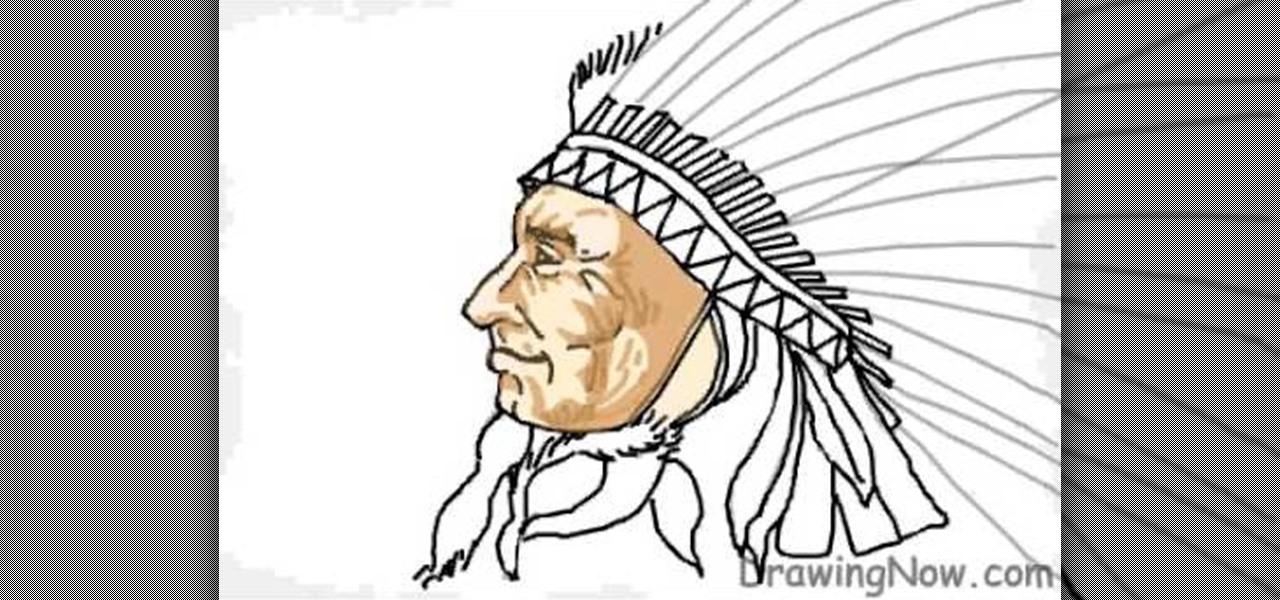
In this tutorial, we learn how to draw the head of a Native American Indian chief. First, you will draw the outline of the head as well as the head dress that he is wearing. Draw in lines to show where the jaw lines, cheeks, and other facial features are. After this, draw in the details of the face then get to work on the headdress. Add in details to this, then start to add in colors to it, making it as colorful as you would like it to be. When finished, add in some feathers at the bottom and...

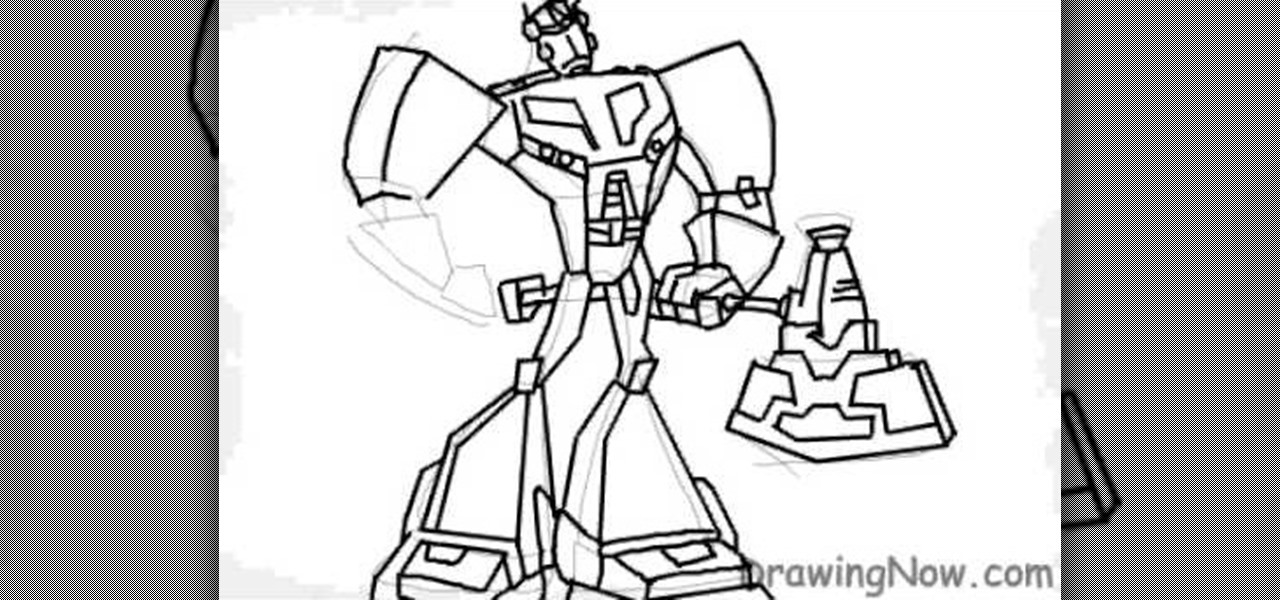
In this tutorial, we learn how to draw Optimus Prime of Transformers. Start off by drawing the outline of the entire body of the character. Make sure to add in the large arms and feet as well. Next, draw over this to make a more elaborate outline including the details for Optimus Prime. Once you have all the details draw, erase the background lines. Ten, color in the character and add in lines and shading to make it look more realistic. Once you have done this, then you will finish off with a...

In this tutorial, we learn how to create a nice drawing composition. First, use your pencil to sketch a light outline of the still life objects that you're drawing. After this, you will add in lines on the side of them for their shadows, then shade the area in between the lines in. Next, you will darken up the sides of the shapes to make them appear more in-depth and make them look more real. Use your pencil to blur the pencil markings and make everything look more realistic. When finished, y...

In this tutorial, we learn how to draw Kazekage Gaara. First, draw the outline of the character using a pencil. Then, draw in the features of the face and the hair as well. From here, draw in lines on the clothing to create the folds and make it look more realistic. After this, continue to add in details on the clothing to show the arm and the backpack on the character. Start to add shading to the character and the clothing until you finish the drawing. Clean up any stray or background lines,...

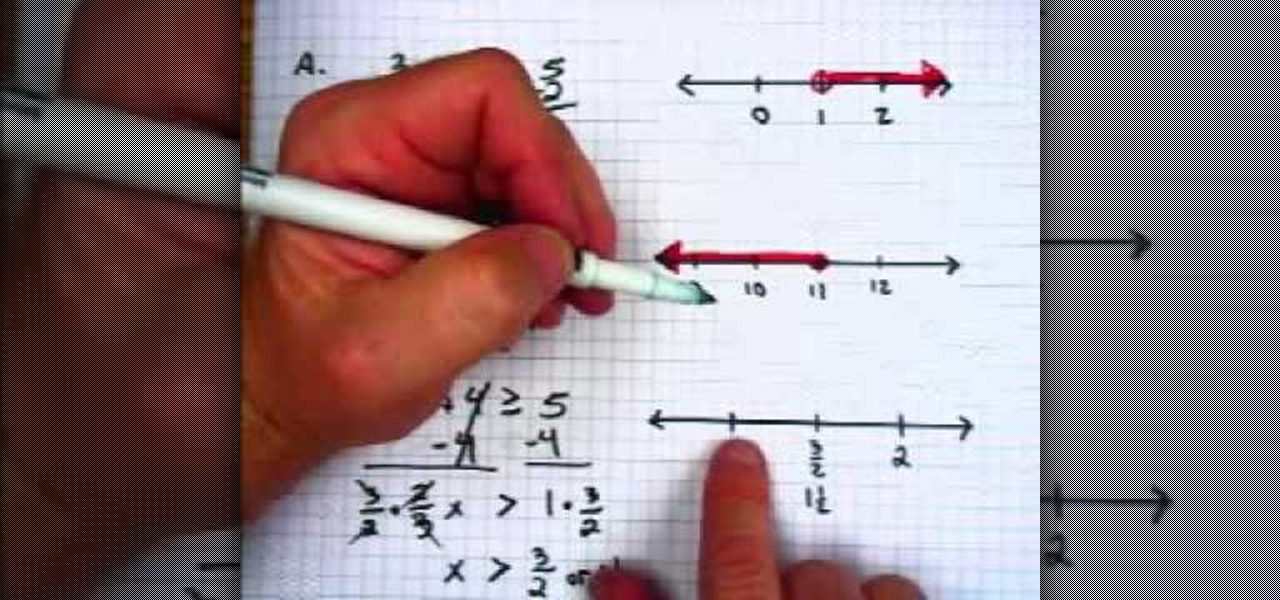
In this video, we learn how to graph inequalities on a number line. Inequalities have a greater than or less than sign instead of an equal signs. Remember that these are no different than figuring out how to graph normal equations. First, you will need to remove the single numbers from each side of the equation. Continue to do math on the equation until you figure out what 'x' is. From here, draw the numbers on your graph and then find the number that 'x' is greater to or less than. Use an op...

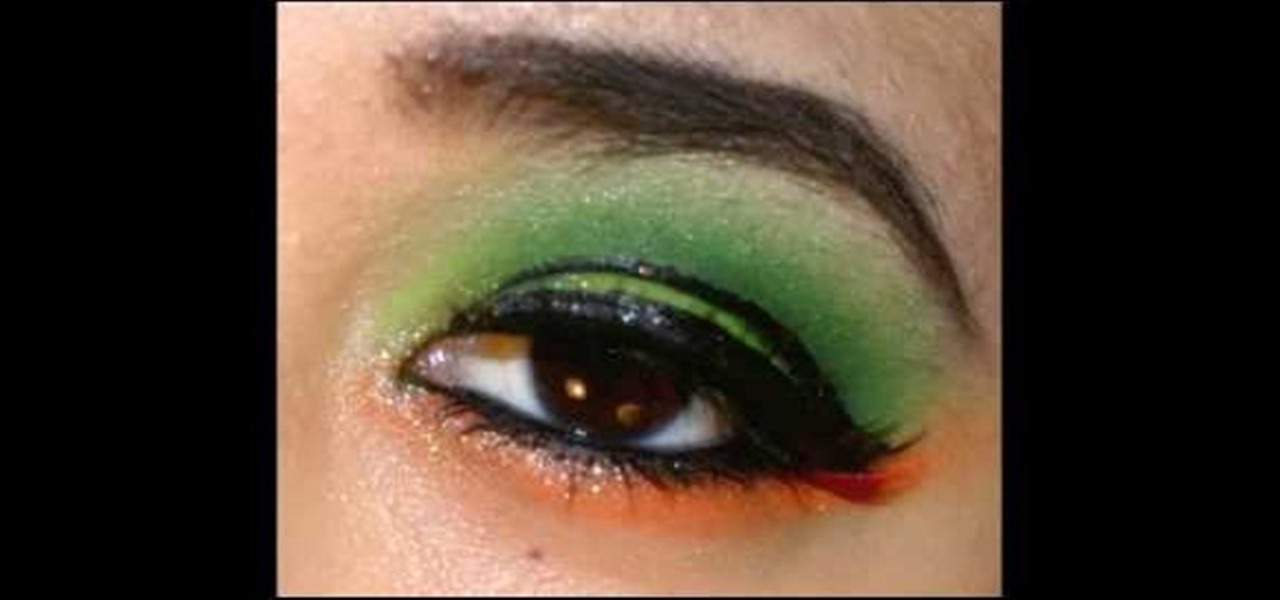
In this tutorial, we learn how to create a neon green and orange look using Kryolan UV. To start, you will brush a shimmery and sparkly white eyeshadow underneath the eyebrow on the brow bone. From here, apply a light green eyeshadow on the eye and into the crease. From here, apply a darker green shimmer shadow to the crease of the eye and blend it into the outer corner. Then, apply a sparkly orange eyeshadow on the bottom lash line, from the inner corner to the outer edge, meeting with the g...

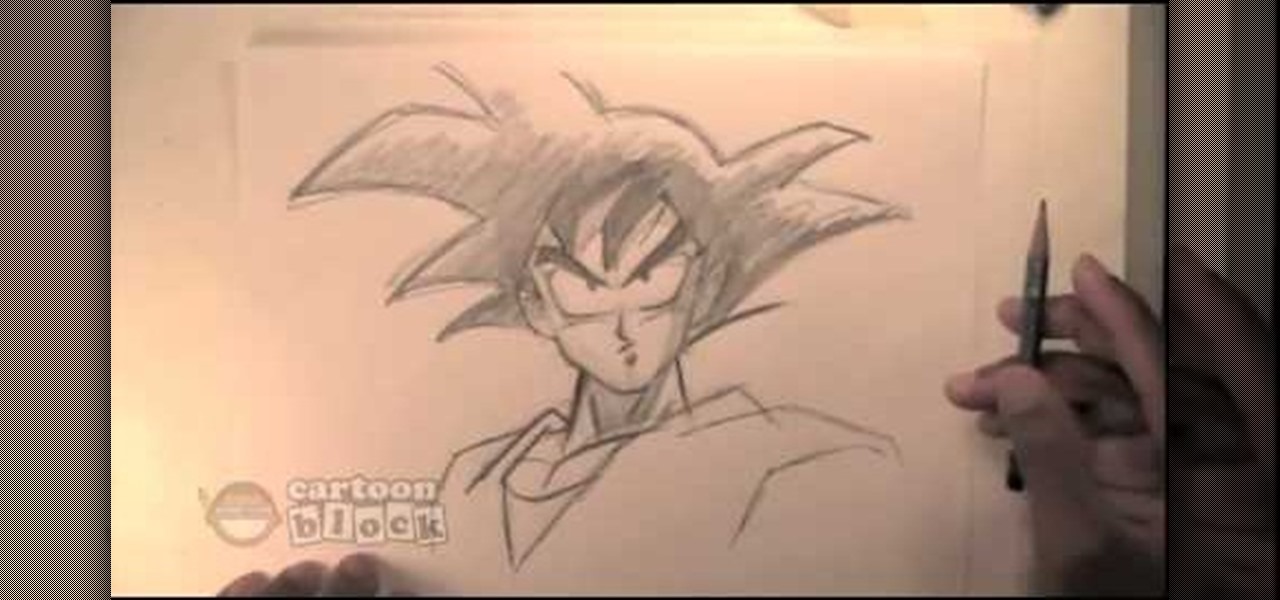
In this tutorial, we learn how to draw Goku. First, you will start drawing the outline of the face, including the features of the face. After this, darken around them by drawing with the pencil. From here, draw in the hair on the top of the head and the ears on the side of the head. Next, you will draw in the neck and the rest of the body as well. Add in lines on the body to show the contours and the muscle on the body as well. Finish this off by adding in shading and erasing any background l...

In this video, we learn how to draw Naruto Fuuton Rasen-Shuriken. To start, you will first draw the outline with a light pencil. Then draw it darker over the outline with more details to make the final outline. From here, start to add details into the middle and then draw on the entire body. From here, draw on the clothes and make sure to put the lines on to show the folds and creases of them. Draw on the details of the face and finish off cleaning up any lines that aren't needed. Shade in wh...

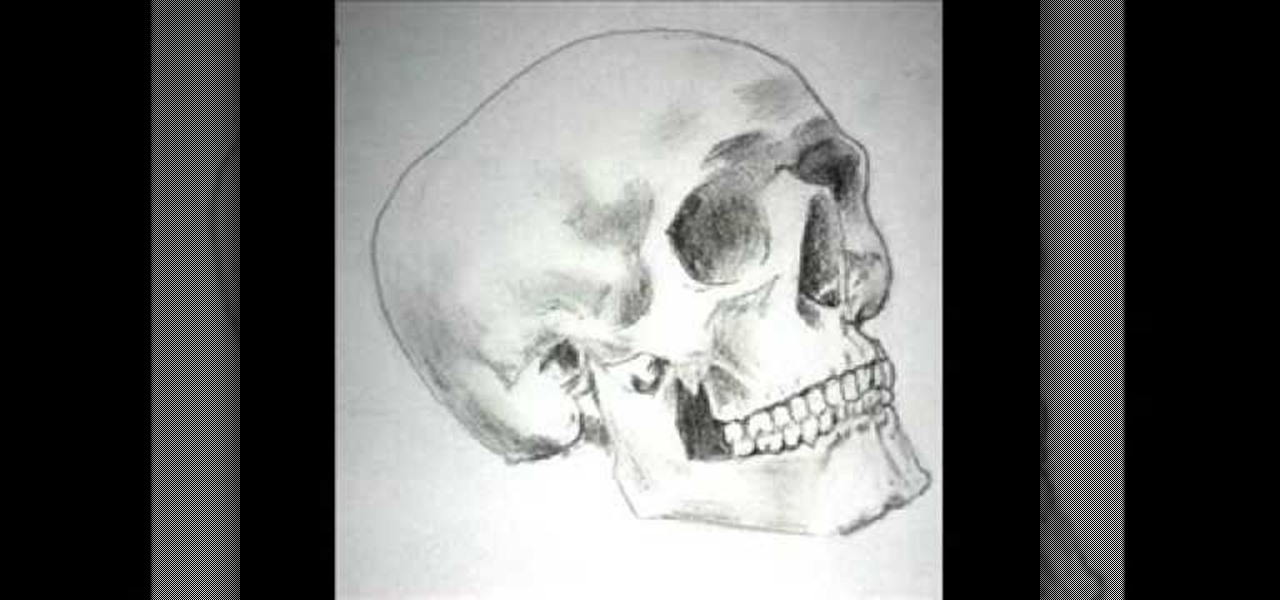
In this tutorial, we learn how to draw a skull. First, select a picture of a skull that you want to draw. Then, sketch a few lines so you know where you are going to position the sockets in the eyes. Also do this for where you're going to position the nose and mouth cavities. Then, erase any unwanted background lines. From here, you will draw over your original sketch and then tone the eyes and the sockets. From here, you will tone and add shading to the rest of the skull and the areas behind...

In this tutorial, we learn how to draw a skull. First, draw the letter c with flames inside of it. After this, draw a lightning shape next to that and then draw teeth on the bottom of it. From here, you will draw in the rest of the head to the left of the side. Add in details and lines to show the bones curving and the jaw bone. After this, draw in the teeth on the bottom of the mouth on the jaw line. To finish this up, you will use your pencil side to shade in the side of the skull and add i...

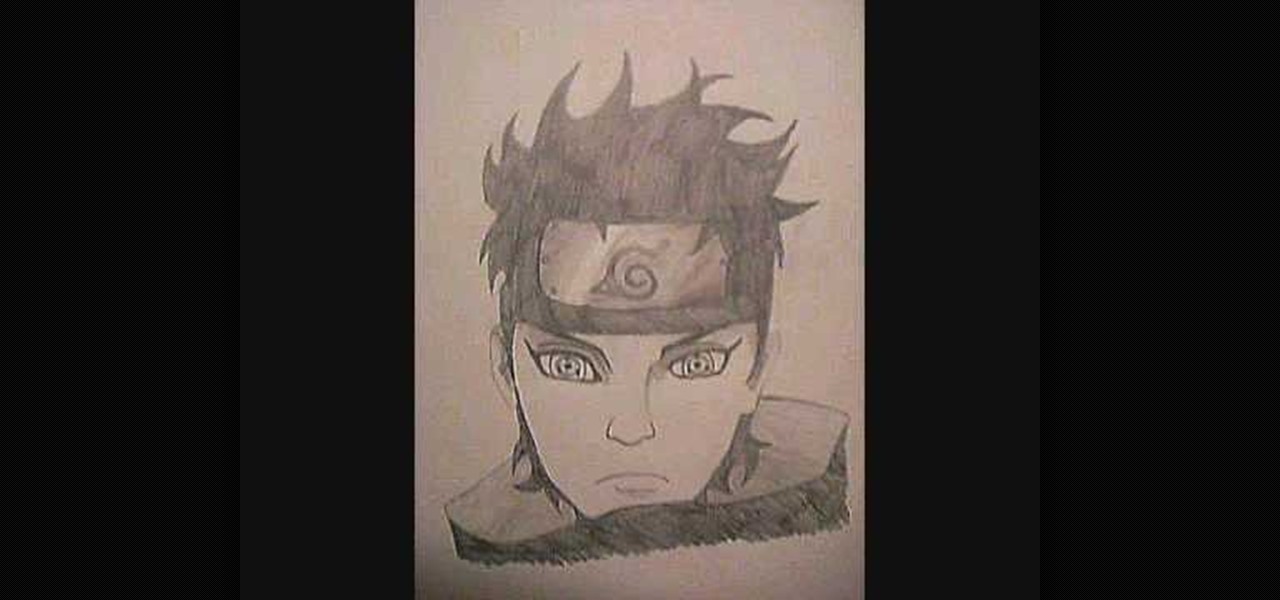
In this tutorial, we learn how to draw Shisui Uchiha. First, draw the outline of the face. After this, draw in the eyes pushing on the pencil harder to make them darker. Then, draw in the band around the forehead and draw in the details of the face as well as the facial features. Add in lines on the face to make it look more realistic and aged. From here, draw in the hair on top of the head, adding a lot of lines to show the strands. From here, draw the shoulders on the body under the head an...

In this tutorial, we learn how to draw the 8-Tails Jinchuuriki, Killerbee. Start out by drawing the outline of the character. You want to make sure you draw reference lines on the head so you know where to place the eyes, nose, and lips. Next, you will start to draw in lines to show wrinkles on the face and then the headband on the top of the head. After this, add some shading into the face to add some depth. From here, you will draw in the hair and the band around the head, giving it more de...

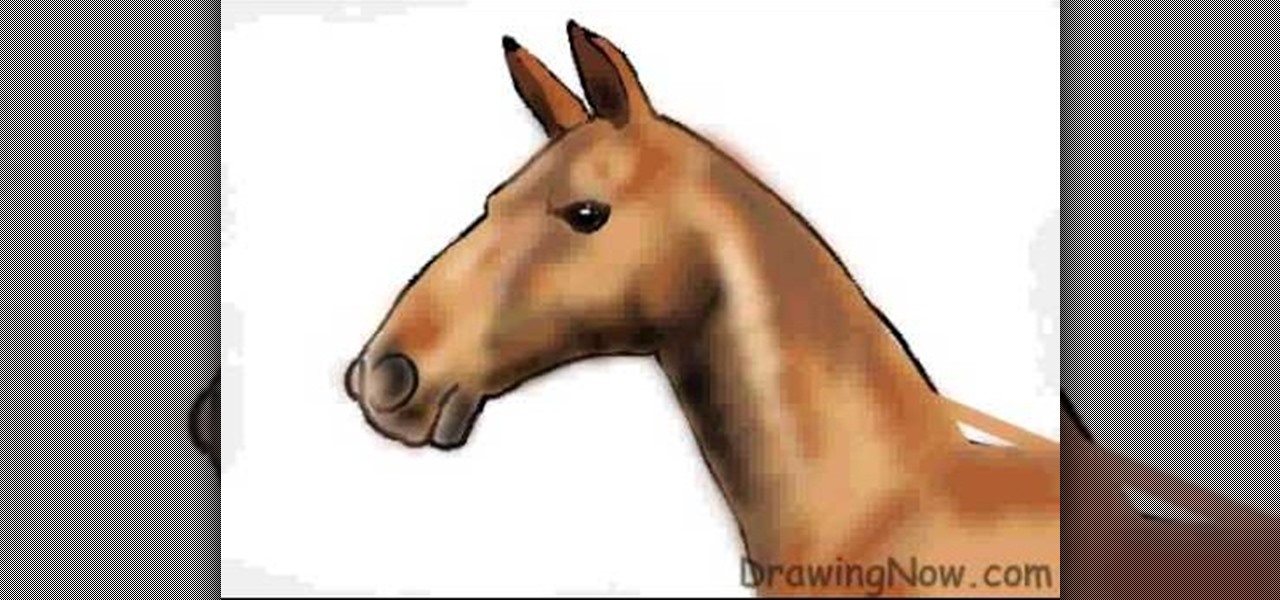
In this tutorial, we learn how to draw the head of a horse. Start out by drawing the outline of the horse's head and the neck. Then, draw in the ears and the details for the nose and the face. Next, color in the horse and then add shading along the sides of the horse and fill in the features with black. Use different colors of brown to show a contrast between the colors on the horse. After this, you will use small lines to create hair on the horse, then add in additional features. Clean up an...

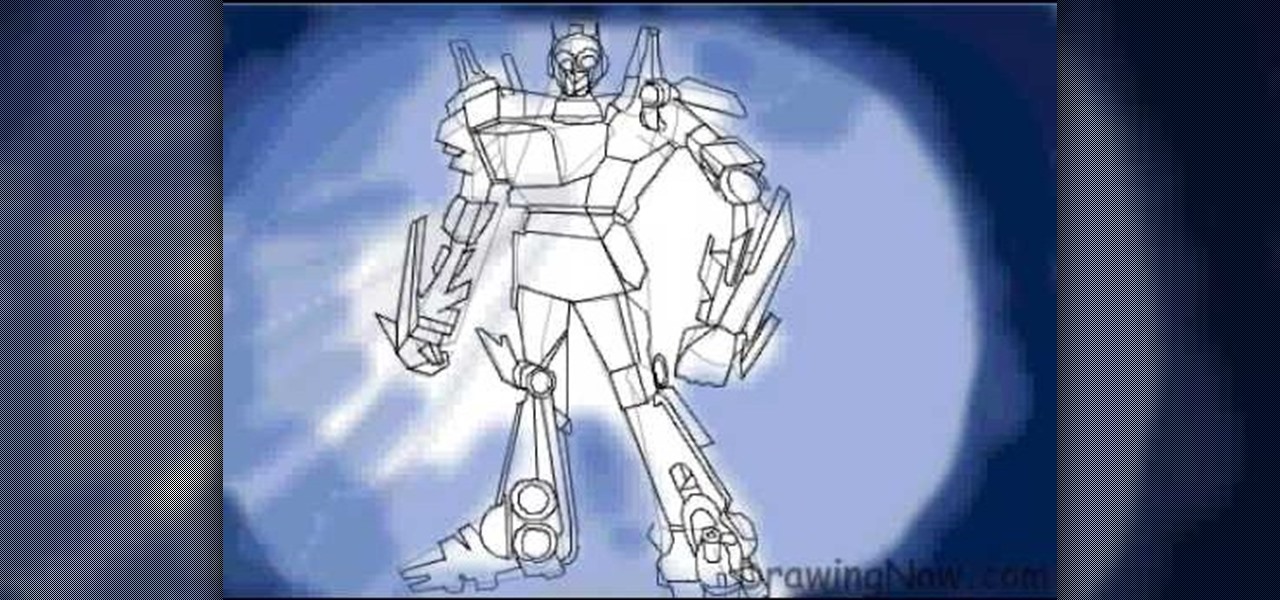
In this tutorial, we learn how to draw Optimus Prime, leader of the Transformers. First, draw the outline of Optimus Prime, use basic lines and circles to show where the joints are going to go. After this, draw the full outline around the character, using a dark line to make it look 3D. Then, draw in the rest of the details for the character, giving him a look like a machine or a bunch of metal. Next, you will start to shade in the different parts and add colors that were used in the movie. W...

In this tutorial, we learn how to draw The Incredibles. Start out by coloring the background orange, yellow, and white. Then, draw the outlines of the bodies for all of the characters in the family. After this, draw in the details, giving them a 3D type of image. Next, you will color in the clothing and add in the fine details for the hair and the face as well. Erase any background lines from the drawing to clean it up, then add in some shading to make it look more realistic. To finish this, ...

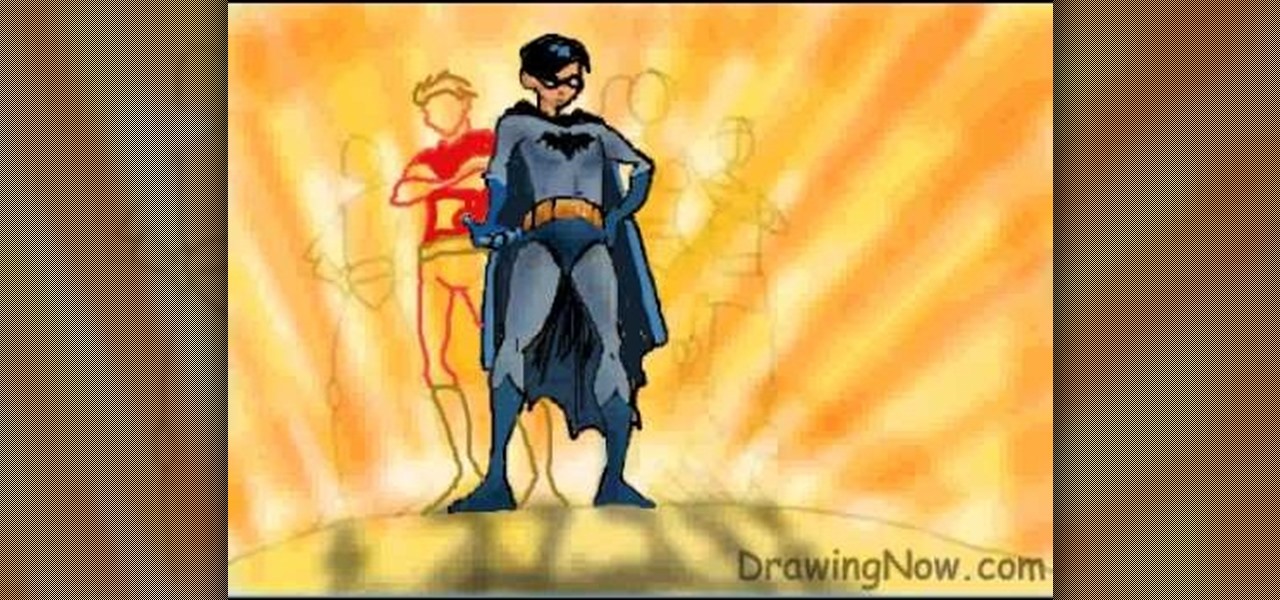
In this tutorial, we learn how to draw the cartoon Teen Titans. Start off by drawing the basic outlines of all the characters. Use circles and basic lines to draw out the outlines of them all standing together. From here, draw in the color for the background behind them, then start adding in details for each of the characters. Draw in each of their outfits, as well as facial features. Use lines and shading to make the characters look more realistic. Color them with the appropriate colors for ...

In this video, we learn how to make a great 3D paper snowflake. First, fold a square blue piece of paper into a triangle. Then, draw lines from the middle to the top going in the triangle shape. Cut these lines on both sides, avoiding the middle and the very top. Make sure you don't cut in the middle either. After this, open up the folder and take the inside. Roll it up and then tape it together so there's a ring on the inside. Flip it over, then make another ring on the top side and tape it....

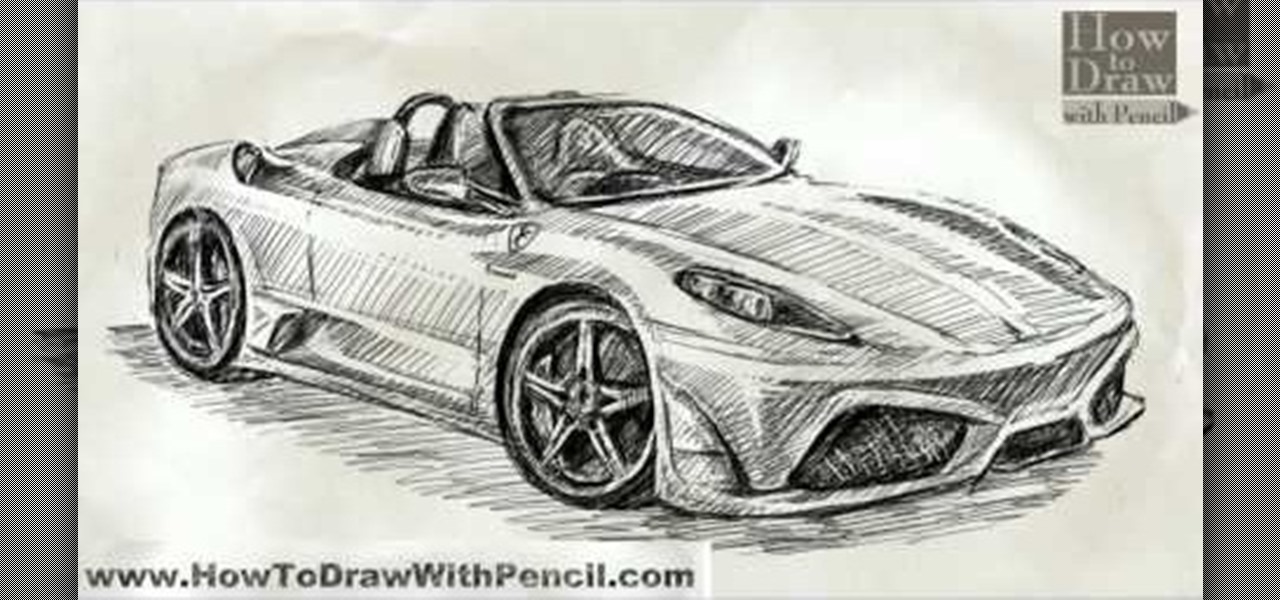
In this tutorial, we learn how to draw a Ferrari Scuderia Spider 16M. Start out by drawing the outline of the vehicle. Make sure you draw in the areas for the tires and the windshield, as well as the other areas of the car. After this, add in shading around the car on all of the sides. Next, start to draw in the details around all of the car. Add in shading and additional lines to make it look more realistic. After this, you will need to use the eraser to erase any unwanted lines that don't b...

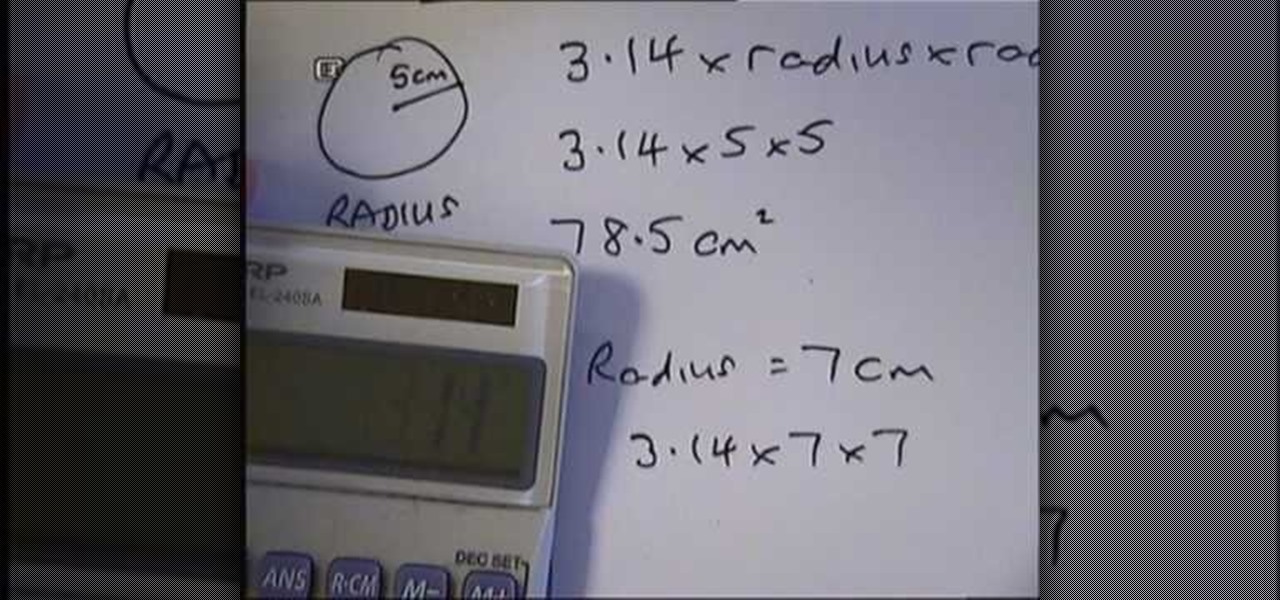
In this tutorial, we learn how to find the area of a circle. The line from the middle to the edge of the circle is called the radius. Find what this is in your equation, then multiply (3.14 X radius x radius). This will always work out the area of a circle for you. So, do this equation with your calculator or by hand, then you will have the correct answer for the area. Make sure to add the units squared after you get the answer. If you are given the diameter (line all the way across), you wou...

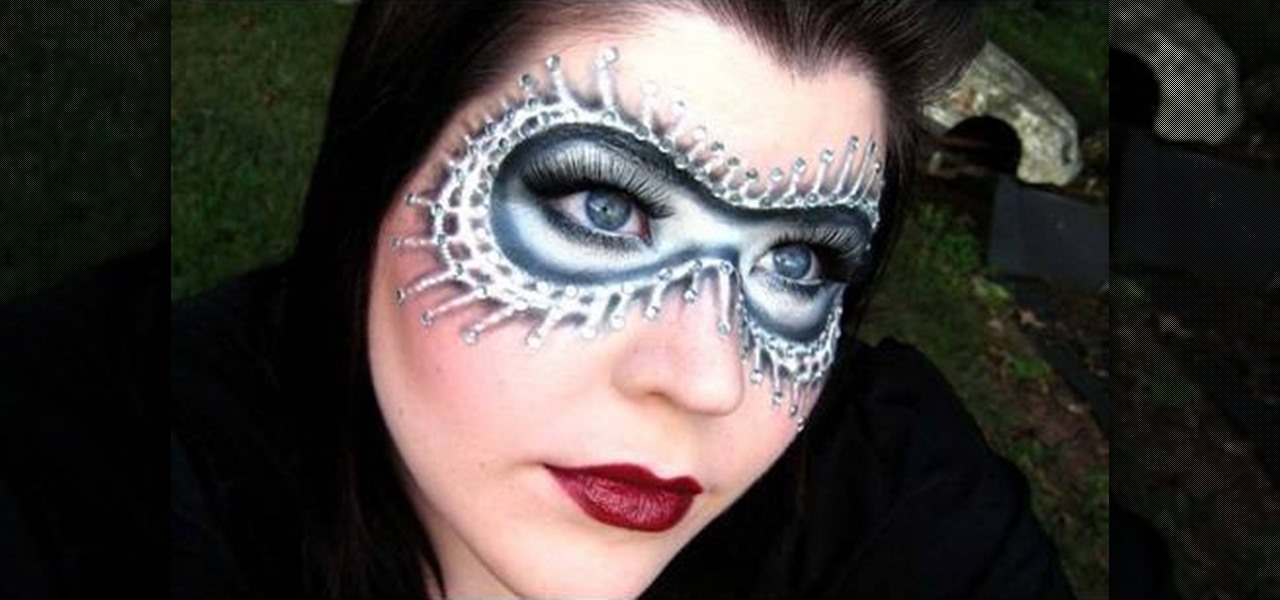
In this video we learn how to apply a black & white masquerade mask with makeup. Start off by drawing on a white mask around your face with white eyeliner, filling it in. Then, apply white shadow over this to make it a matte finish. From here, draw lines coming out of the mask with the white eyeliner all around the mask. Color in around the lines with black and then blend them out gently towards the outer area of the face. Then, define the inner mask with black eyeshadow and apply false lashe...

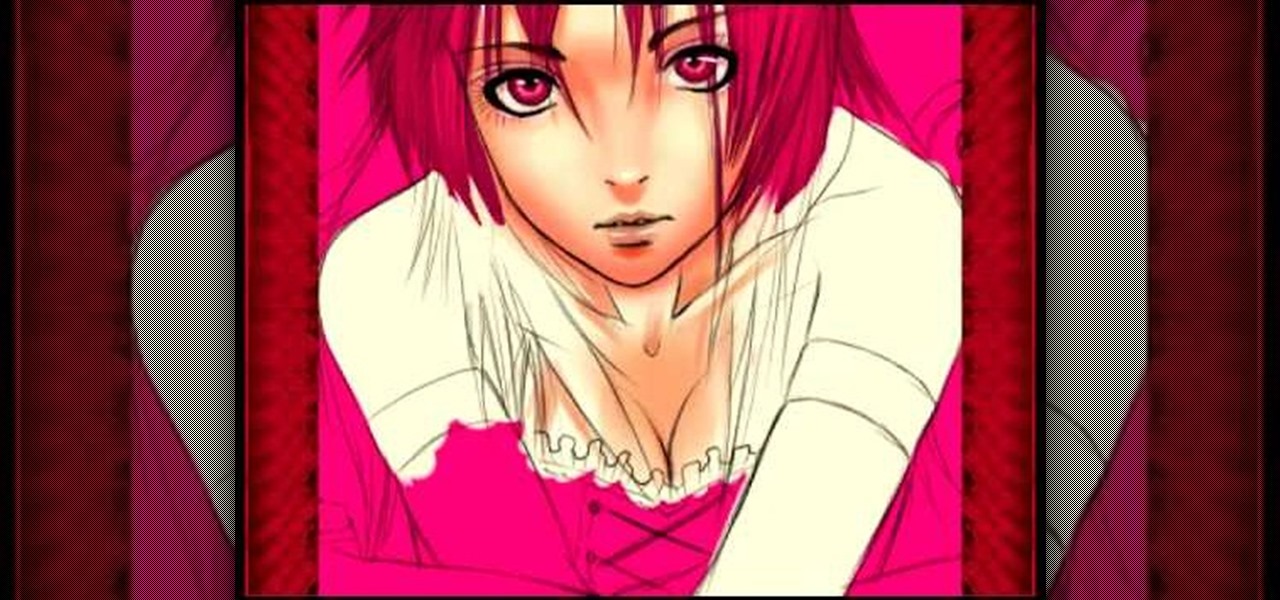
In this video we learn how to color manga. For the girl, start by coloring the entire drawing pink. Then, remove the color from the face and add in shadowing and colors for the lips and eyes. Then, color in the color of the face and the hair as well. Color in the skin color and draw in black lines to show where the contours of the body are at. Color in the shirt pink with black lines to show where it's being laced up at. Darken up any of the features of the face, then save this to finish.

In this video, we learn how to draw a graffiti spray can. Start out by drawing the top of the can with the nozzle on the very top. Use a half circle with a thick line under it to make the top. Next, draw the rest of the can creating a face on the side of the can with a mouth, nose, ears, and eyes. Then, draw in the bottom of the can using a circle shape and filling it on black so it looks sealed. Add in some lines to show the can spraying, then write in graffiti letters underneath to finish!

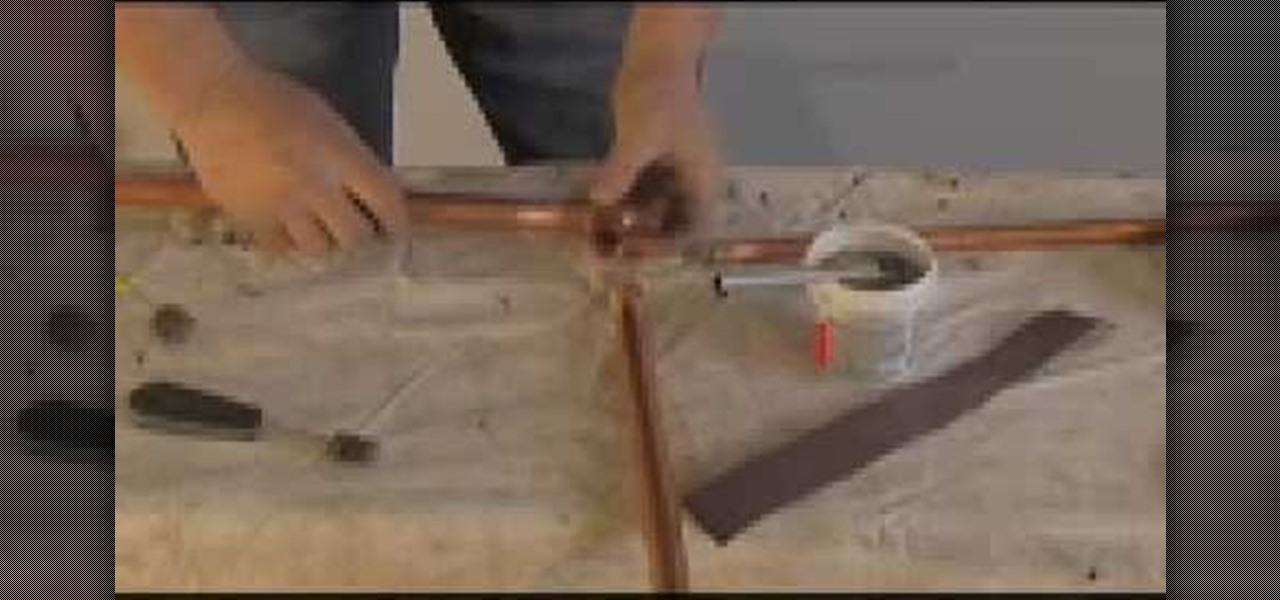
In this tutorial, we learn how to solder copper water lines. First, take a sand cloth and thoroughly clean the outside of the tube. Then, take a cleaning brush and clean the inside cup of each side of the fitting. Apply flux to the inside of the fitting, then insert the tube inside. Make sure the tube is inserted into the bottom of the cup properly. Now, take a torch and apply the head to the cup of the fitting. Wait until the solder starts rolling and goes all the way around the fitting. Whe...

In this video we learn how to make a unique paper rose. First, grab a square piece of paper and fold it into quarters while maintaining the fold. Then, fold along the diagonals and fold lower in half twice and the top in half twice. Then, fold the halves in half and repeat the previous steps. After this, follow the folds that you created, rotating the paper as you continue to fold. After all of the lines are lined up and you have folded it, it will become a unique paper rose that you made! En...

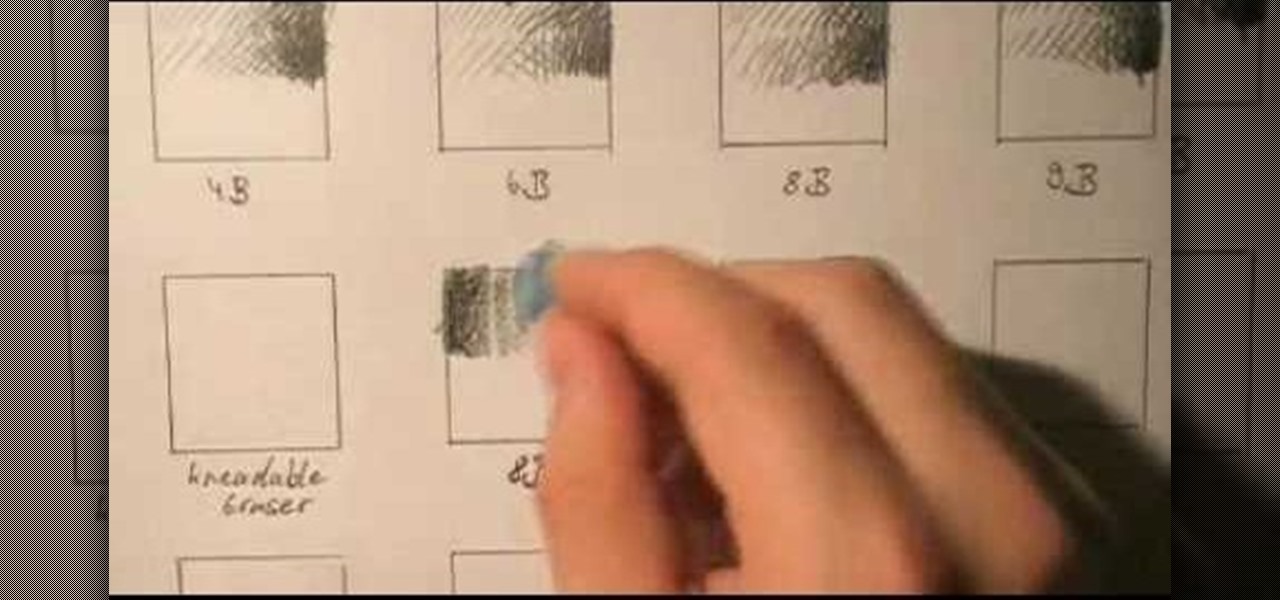
In this video, we learn how to draw with basic concepts and techniques. To shade with different pencils, you will start out by doing a light touch on the pencil and then push down harder to create a darker shade. Use different pencils to get long and wider lines from the shading. A 4B and a 6B pencil will have lines that look the same, but they are different in the way they apply graphite to the paper. Practice using all of your pencils to get an idea of how they write, then you can choose wh...

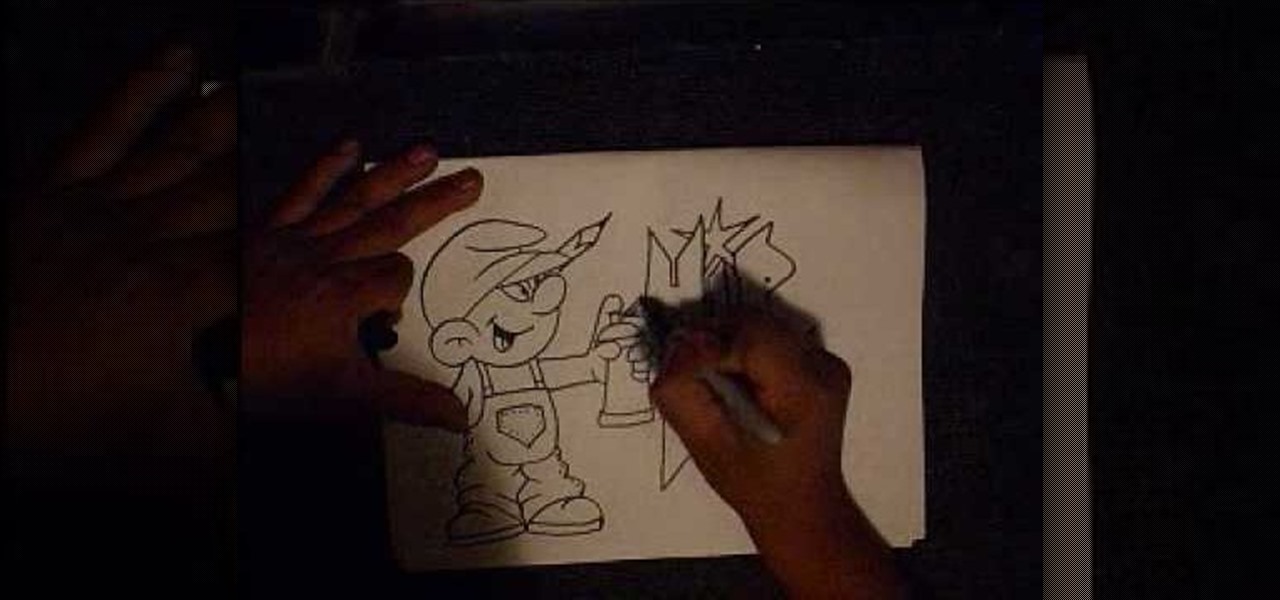
In this tutorial, we learn how to draw a graffiti Smurf character. Start off by drawing the hat for the Smurf, then draw in the ear on the side of the head. Then, draw in the face and start to add in the details. Draw in the mouth, nose, and eyes. After this, draw in the upper body and the clothing that the Smurf is wearing. Add crinkled lines on the edges to make it look like the pants are too big, then draw in the feet, arms, and hands. Draw a spray paint can in the hand of the Smurf, then ...

In this tutorial, we learn how to draw Orochimaru. Start with drawing a circle for the head, then draw lines crossing the circle to use as a measurement of where the features of the face will be. After this, draw in the eyes, nose, nostrils, mouth, and eyebrows. Next, draw in the neck and the shoulders for the body. Once finished with this, draw in the hair surrounding the face, then erase the back lines from the drawing because you won't need them any longer. To finish, add in details to the...

In this tutorial, we learn how to draw Sango and Kilala. Start out by drawing a circle and reference lines for the head, then draw a stick for the body and draw a half circle going off the bottom of the page. Then, draw circles on the upper body to create the hands and draw fingers coming off of those. Now, draw in the neck and the clothing that is on the character. Erase the background lines, then all in the features of the face and the hair around the head. Also make sure to draw on the ear...

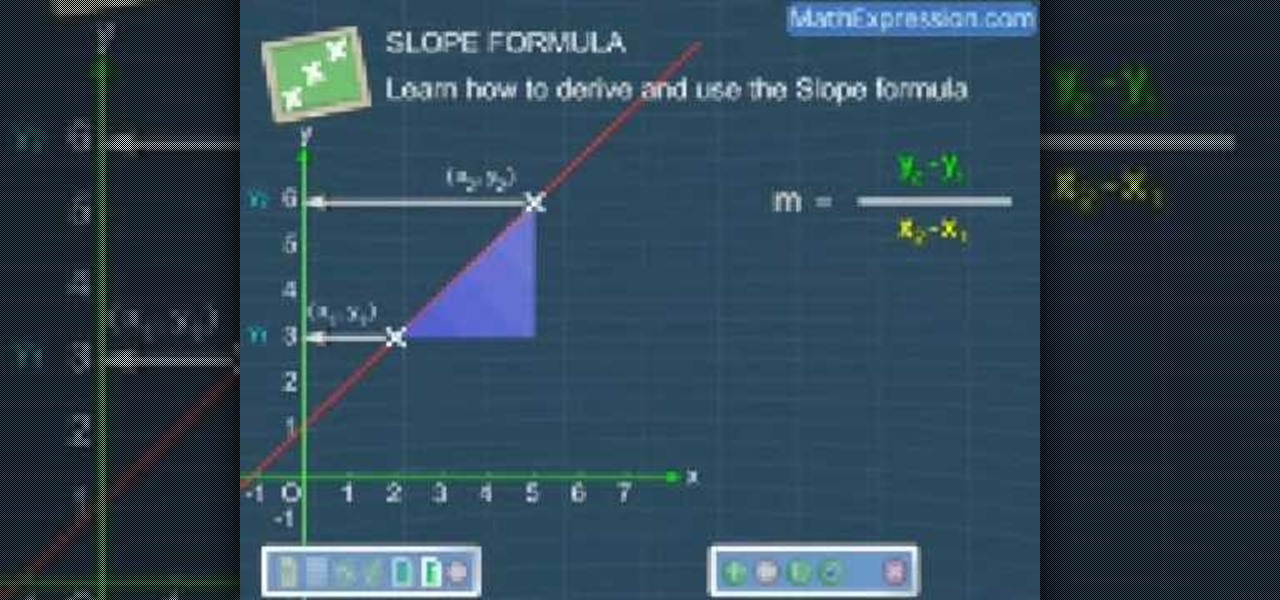
In this video, we learn how to derive and use the slop formula. The slope of a line is equal to change in y divided by the change in x. First, put the first point on the coordinate point. Then, represent the X and Y by X1 and Y1. Then, put the second point on the plane, representing the coordinates with X2 and Y2. Now, with these two points, draw a straight line and derive the formula from here. The change in X will be from X1 to X2. Now, replace that with the change in X and do the same for ...

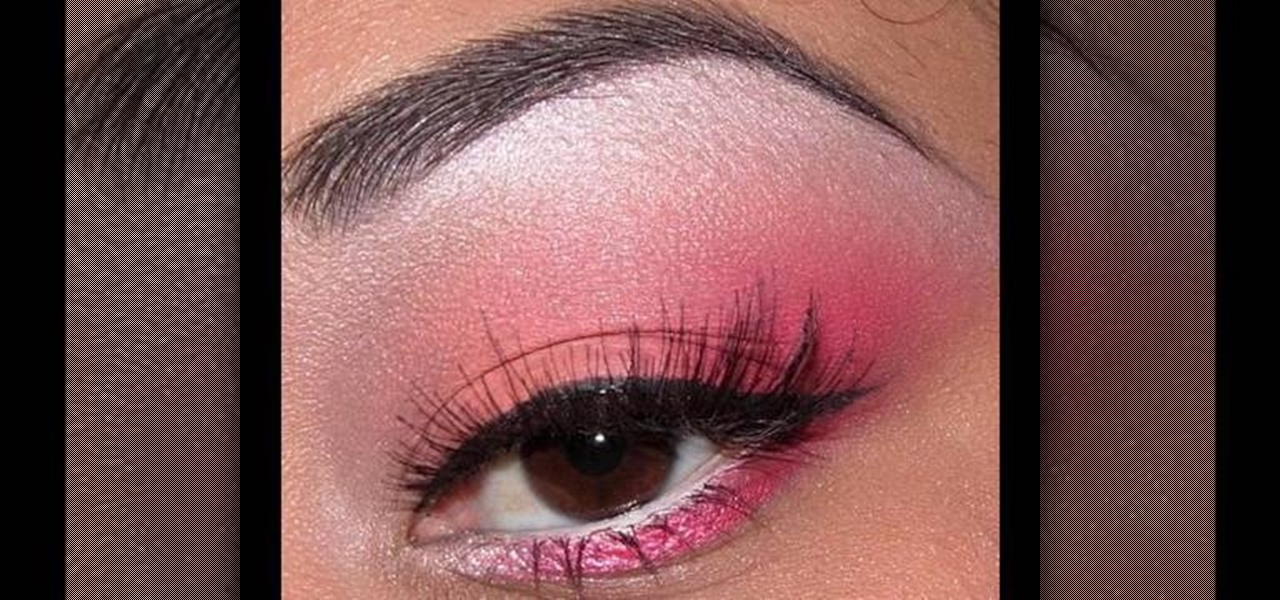
In this tutorial, we learn how to create a punk rock look with pink and coral eyeshadows. First, take a coral shadow and brush it over your entire eyelid. After this, brush a darker color on the corner of the eye and then use a white color underneath the brow bone. Now take a coral pigment and brush it over the first coral color to create a brighter shade. Blend the white in with the coral towards the crease of the eye. Add more color as you see fit until the color pops and is very bright. Af...

In this tutorial, we learn how to draw PokŽmon heads. Start out by drawing a circle for the head, then drawing intersecting lines in it to create a reference point for the features of the face. Next, draw the ears coming out of the head and then draw the eyes, nose, and mouth. Once finished, you will need to fill in the eyes so they have the correct look, then add in further details along the face. Make sure to add lines to the edge of the head to make it look like it has fur, then add in any...


