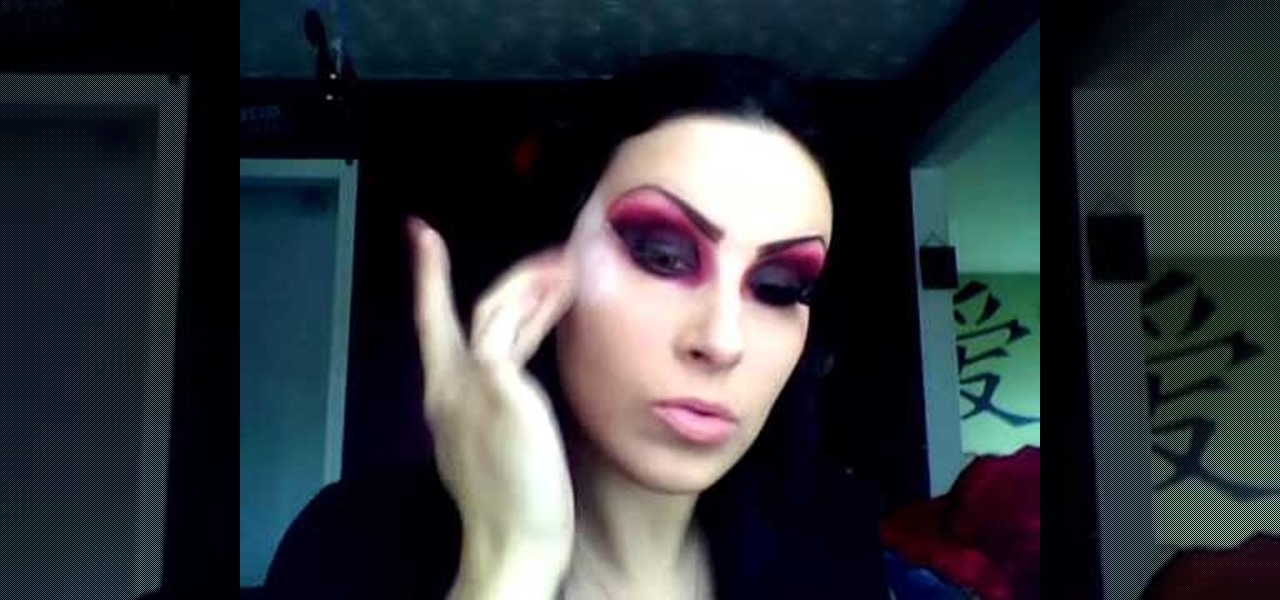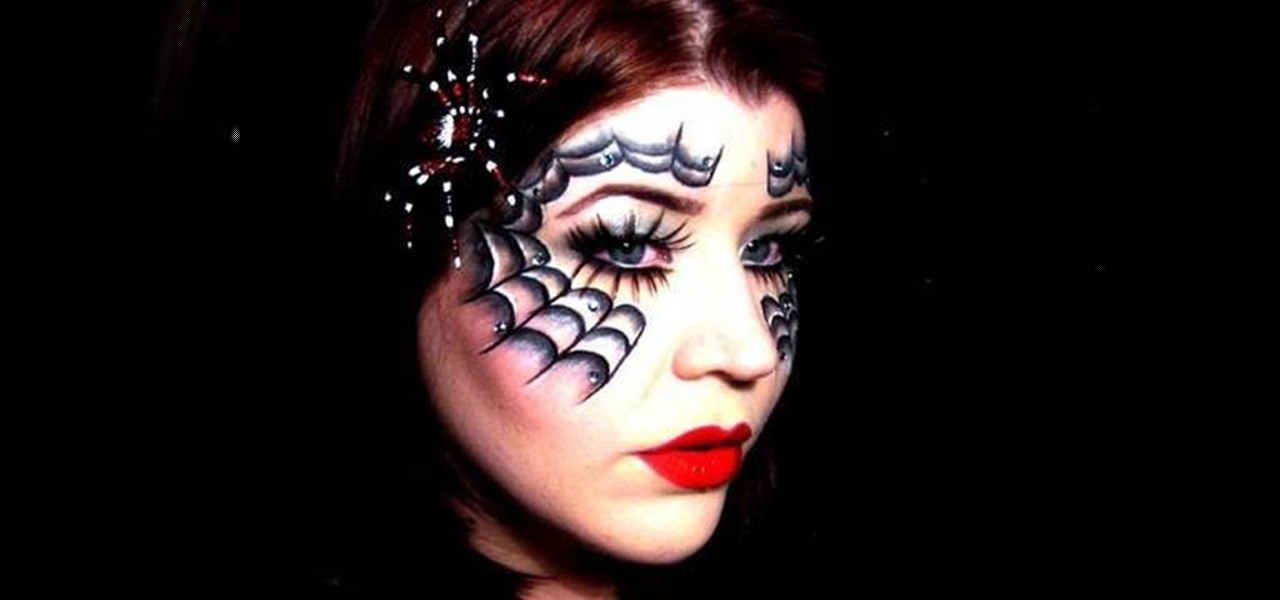
In this makeup video, we learn how to apply a "black widow" mask with makeup for Halloween. Start out by applying silver and black shadow to the eyes along with mascara and eyeliner around the eyes. Now, take a white eyeliner pencil and draw a spider web around your eyes and going down your face. When finished with this, use a black liquid eyeliner pen to draw over the white that you just drew. Use a black shadow to mix in with the thick white crossing lines to create a sort of web look to th...
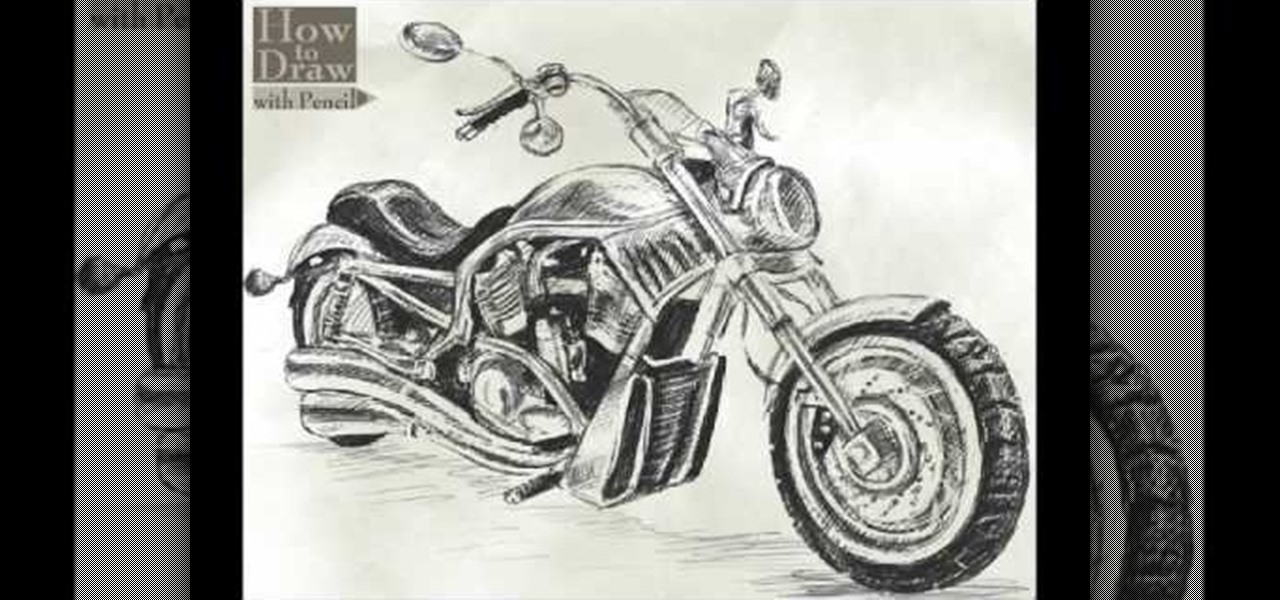
In this video, we learn how to draw a Harley-Davidson V-ROD. First, draw the outline of the vehicle using a light pencil. After this, start to add in the details of the wheel and front of the motorcycle. From here, add in shading and additional details to make it look more realistic. Make sure you draw on the small details of the motorcycle because this will make all the difference. Shade in additional details on the drawing and then erase any lines that you don't need. Use the eraser to crea...
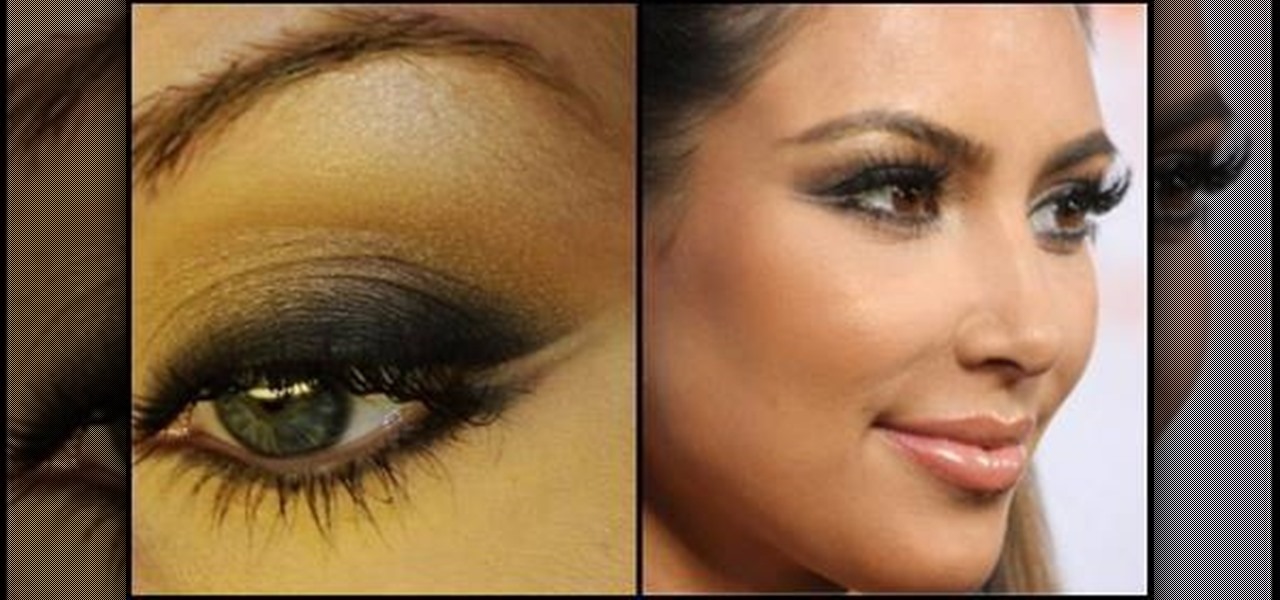
In this tutorial, we learn how to create a double winged eyeliner look with Kim K. First, you will need to apply a medium toner color to your eye, then apply a brown to the crease and other edge. From here, use an eyeliner brush to apply liner at the lash line all the way in. Create the winged effect by dragging out the liner brush while it's damp. Apply liner on the bottom of the eye, then smear it with your finger. Use a smaller brush to create the wing from the bottom of the eye going up u...
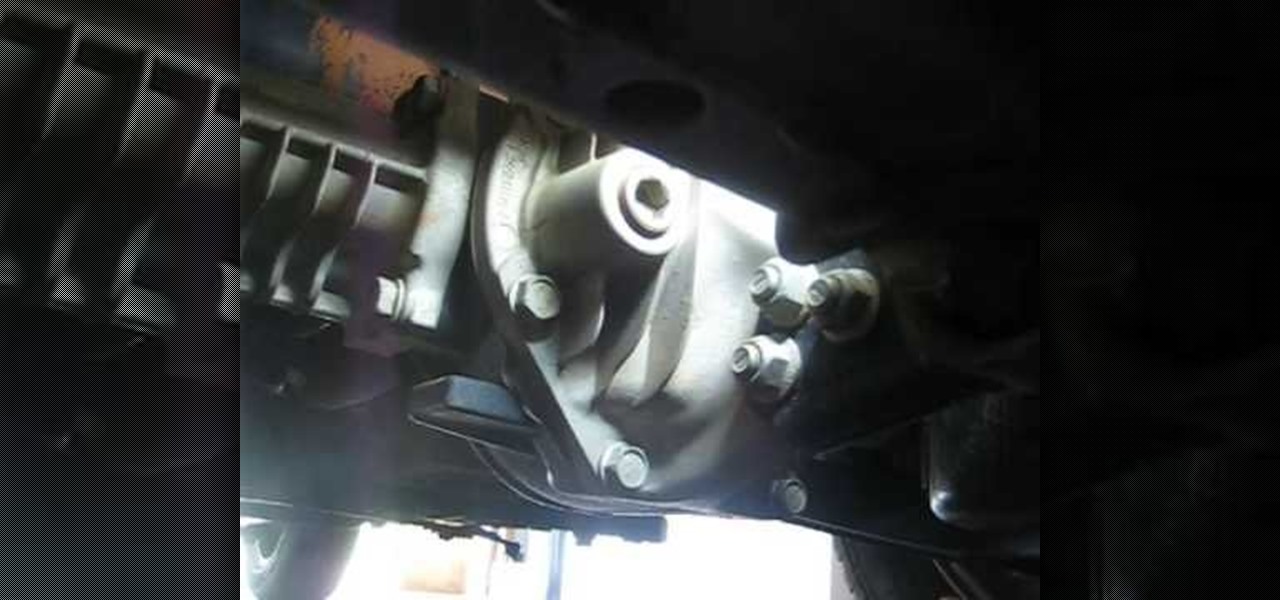
In this tutorial, we learn how to change your differential oil on a Jeep Grand Cherokee. First, you will need to remove the drain plug from the underneath of the vehicle, then let it drain out onto an oil pan, use a pipe and pump to do this. Once it's finished draining, you will need to replace the plug. After this, grab a new pump and pour your new oil into the pump. Remove the plug again, then pump the oil back into the engine. Once the oil is full, you can replace the drain plug and check ...

In this video, we learn how to switch brake pads with Marc DiVall. You first want the side that is longer because that's the trailing side. The arrow should also be pointing to the left. If they are rear mounted, that means the brakes are on the wrong side. Go in and remove the mounting nut from the pad and line everything back up. Use your wide washer and spacers to shift around, which will allow your brake pad to rotate. Replace with the washers and then the bolt and then you can place thes...
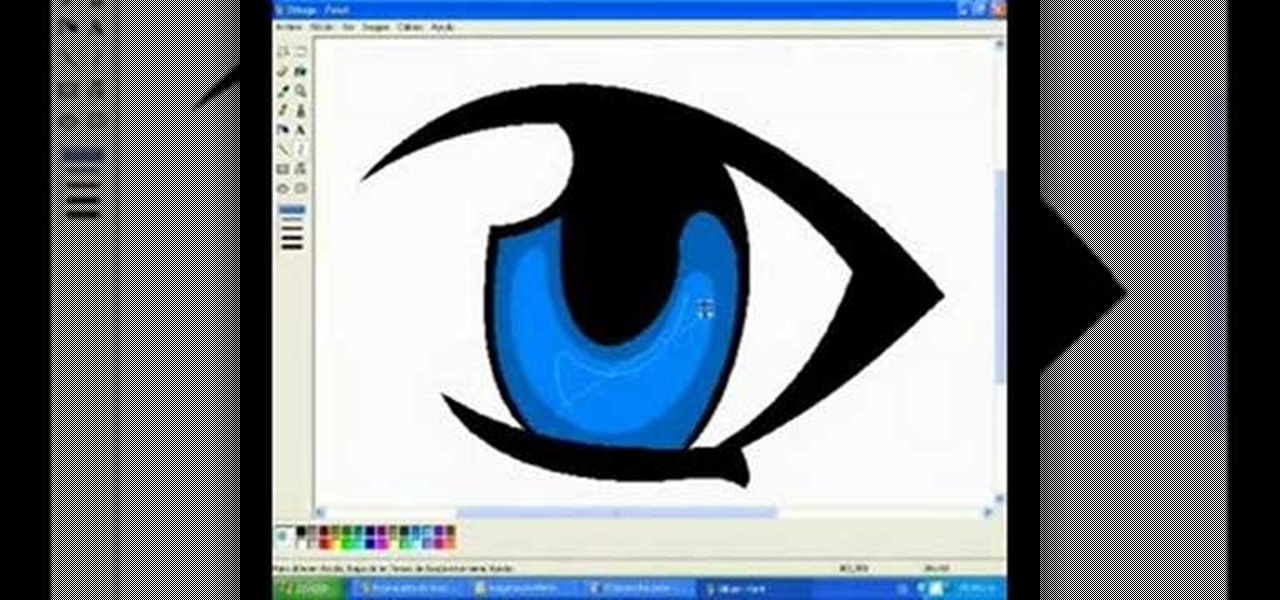
In this video, we learn how to draw a manga eye in MS Pain and make it blink. Start out in Paint and draw the outline of the eye. After this, color the outside area in black and then fill in the pupil area of it. Color the eye blue or any color that you desire, then add in lines to the middle of the eye to make it look more realistic. Leave white around the edge of the eye. Create an eyebrow over this, then add it to a flesh-toned background. Once you have done this, you will be finished with...

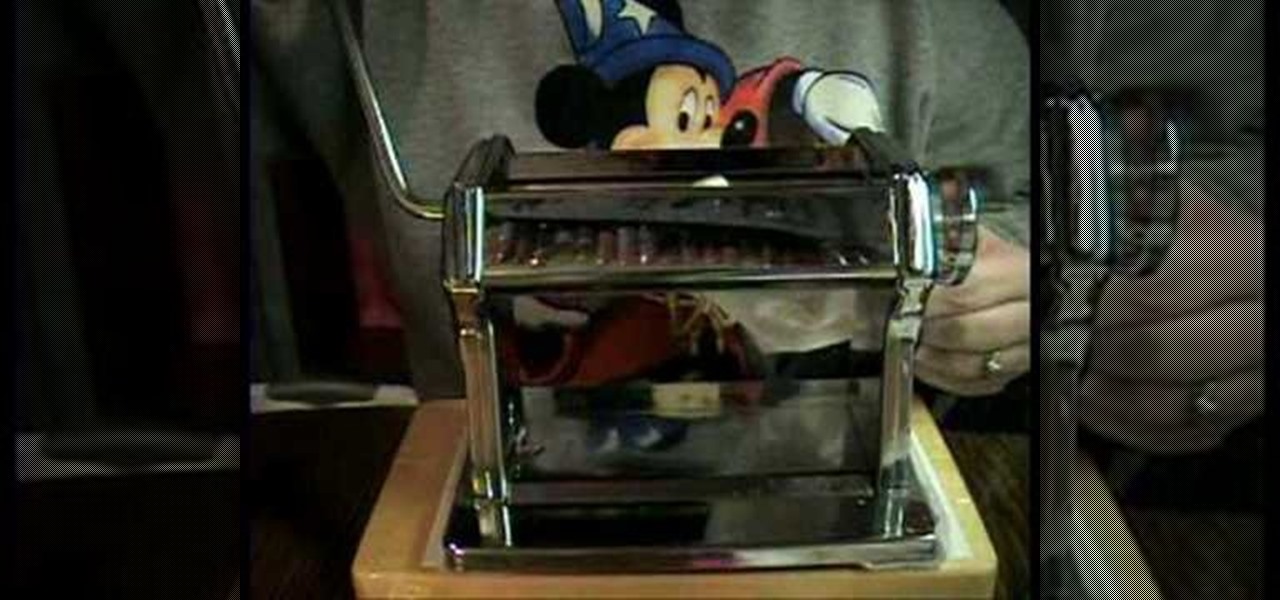
In this video, we learn how to clean a pasta machine for polymer clay. First, take a diaper wipe and scrub the blades. Then, roll the wipe through the blades. Scrub all over the machine and roll your blades several times while scrubbing on the inside. Roll the wipe inside the machine several times or until the machine starts to roll through with clean lines. That way you will not get different colors when you use white clay. Push white clay through the machine to see if other colors show up. ...

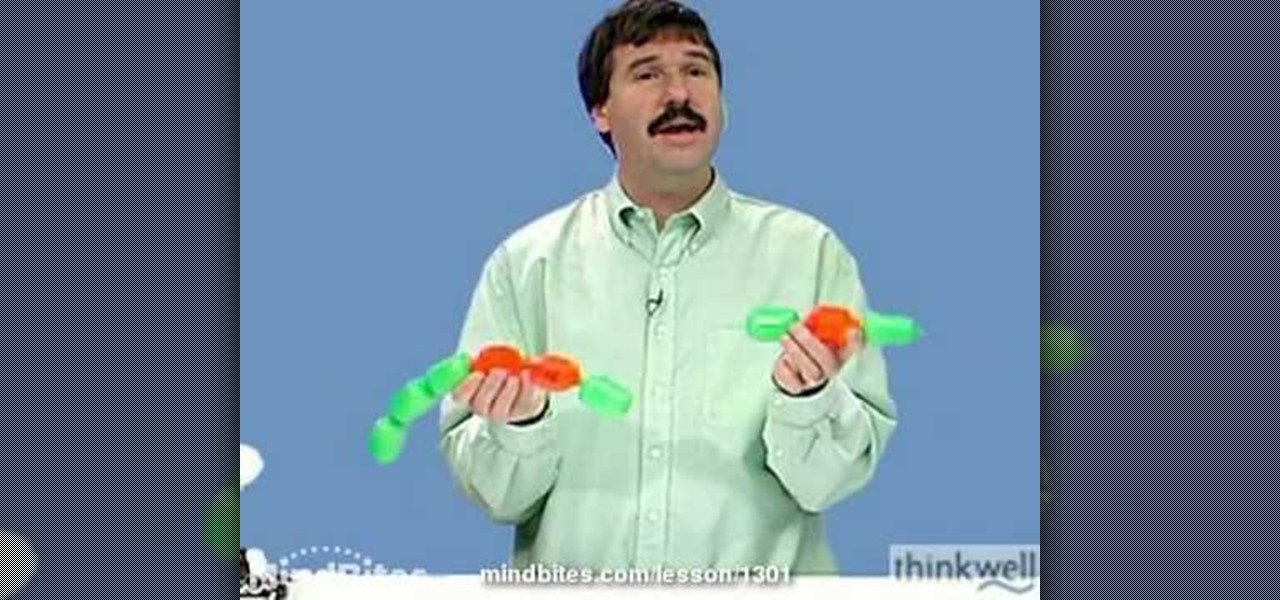
This is a video tutorial in the Education category where you are going to learn how to describe chemical formulas. A chemical formula represents the actual number of atoms of each element within a molecule. Different visual representations of molecules include the ball and stick three dimensional model, a line drawing that represents the structure in two dimensional terms, and a shorthand used by organic chemists. If a molecule has 4 green atoms and 2 orange atoms, the ratio of green to orang...

Vampires are obviously going to be the costume du jour this Halloween (as it has been every Halloween since "Twilight" ensnared the imaginations and burgeoning sexuality of preteen girls everywhere), so why not get in with the in crowd and dress like one?

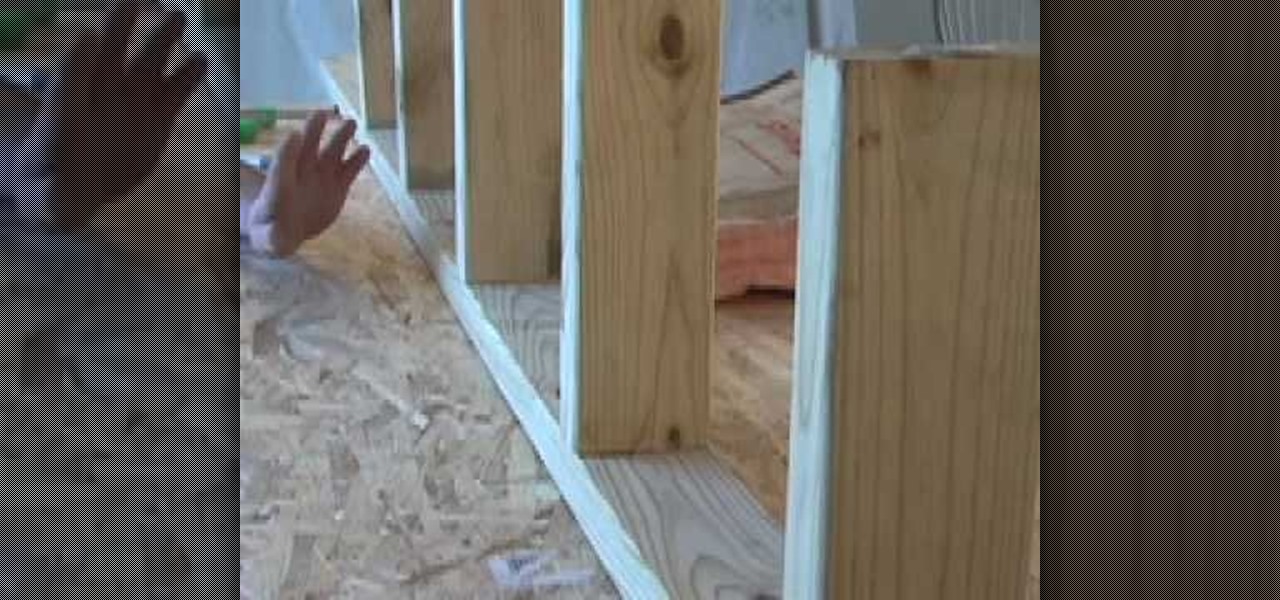
In this tutorial, we learn how to frame a wall 16 inch out on a subwall with Bob Schmidt. First, grab some straight plates for the top and bottom plates of the wall. Then, you will need a framing square as well. When doing a layout for the wall, you will first need to lay the plates next to each other. Then, find the red marks at the typical wall stud layout. Go ahead and make your first mark at 3 quarters back from every red stud mark. Then, place the framing square on the wood and line it u...

In this video, we learn how to draw an anime eye step by step. Start out by drawing the outline of the eye. Then, fill in the eye with details and create shadows as well. From here, you will add in further details, including the shading and lines that make it look more realistic. Make sure you draw in the creases for the top and the bottom of the eye as well as the lashes on the top and the bottom. Draw in the details on the inner corner of the eye and add a white spot to make the eye appear ...

In this tutorial, we learn how to apply red eyeshadow with glitter eyeliner for a party. Start by applying a red shadow all over the eye, out into the outer corner of your eyes. Next, add a black color to the outer edge of the eye and blend in with the red in the crease of the eye so there are no hard edges. From here, apply a pink and white shadow underneath the eyebrow to create a highlight. Next, you will take a glitter eyeliner and apply it to your upper lash line, then take a small brush...

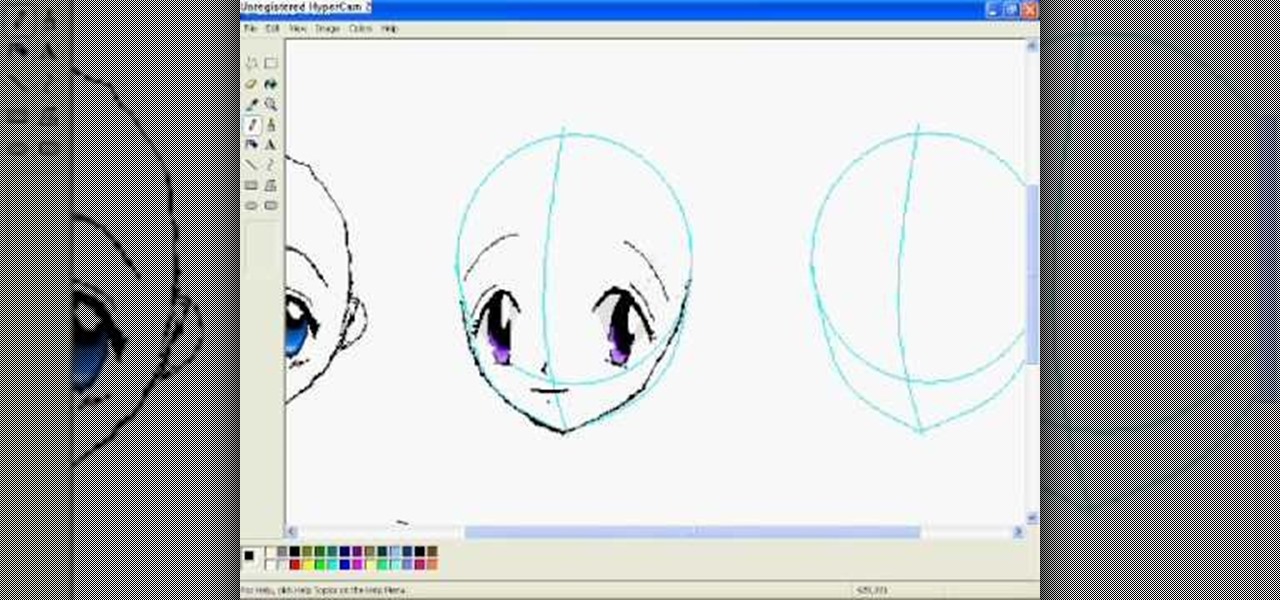
In this video, we learn how to draw anime eyes in MS Paint. First, draw the round circle for the head and draw a line in the middle for reference of where the eyes will go. To draw large eyes, draw two round circles and then a small pupil at the top. Color the pupils in black and color the rest any color you'd like. For female eyes, make the pupils much larger and add in eyelashes on the eyelids. Shade in underneath the lids and add white to show they are glossy. These are both great looks fo...

In this tutorial, we learn how to accurately read a tape measurement. First, roll out the tape measure, then find the inch marks. These will be in red. From here, you will find the half inch marks between each of the red inches. Half of the half inches will be right in the middle of that, and exactly half of the half! In between this, you will find 3/4 of an inch and 1/8 of an inch. Make sure you have a good view of the lines on the tape measure so you can identify these correctly. The last m...

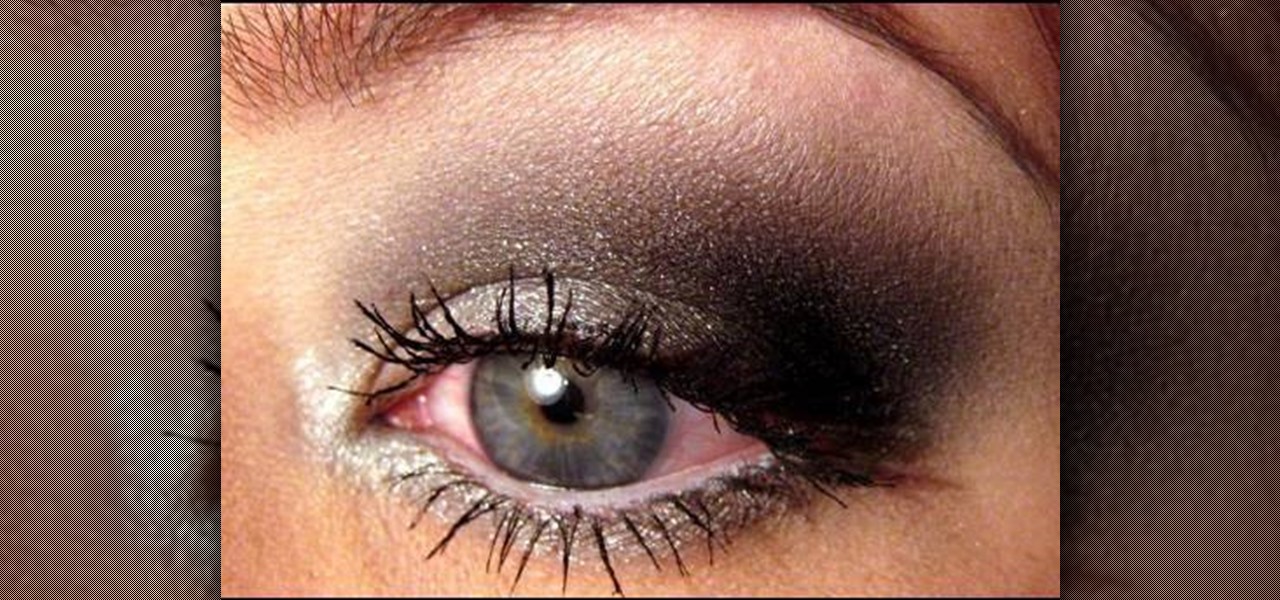
In this tutorial, we learn how to apply a silver smoky makeup look for a hooded eye. Start out with a silver color brushed all over the eyelid. After this, brush a darker color in the crease of the eye, blending in the outer corner of the eye. From here, blend this up towards the brow bone. Place black on the outer corner of the eye to deepen the area, then blend out. After this, apply a light shimmer underneath the brow for a highlight and blend with the bottom colors. Apply the silver color...

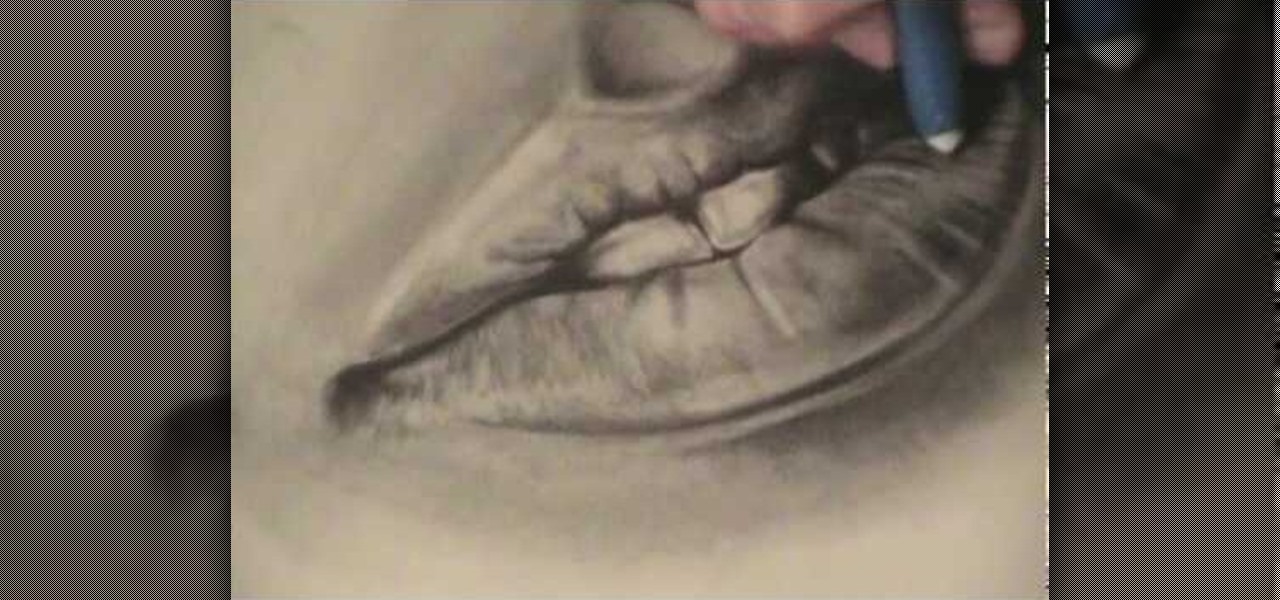
In this tutorial, we learn how to draw realistic lips and teeth. First, draw on your outline for the lips and teeth, using a light pencil. Try your best to get it as natural looking as possible. Now, draw in the shadows and the mid-tones for the lips. Also add in reflective lights and draw in the teeth. Add in details to the teeth and use darker lines to separate them. Use dark creases to form the lips and then continue to add in additional details. When you're finished, darken around the mou...

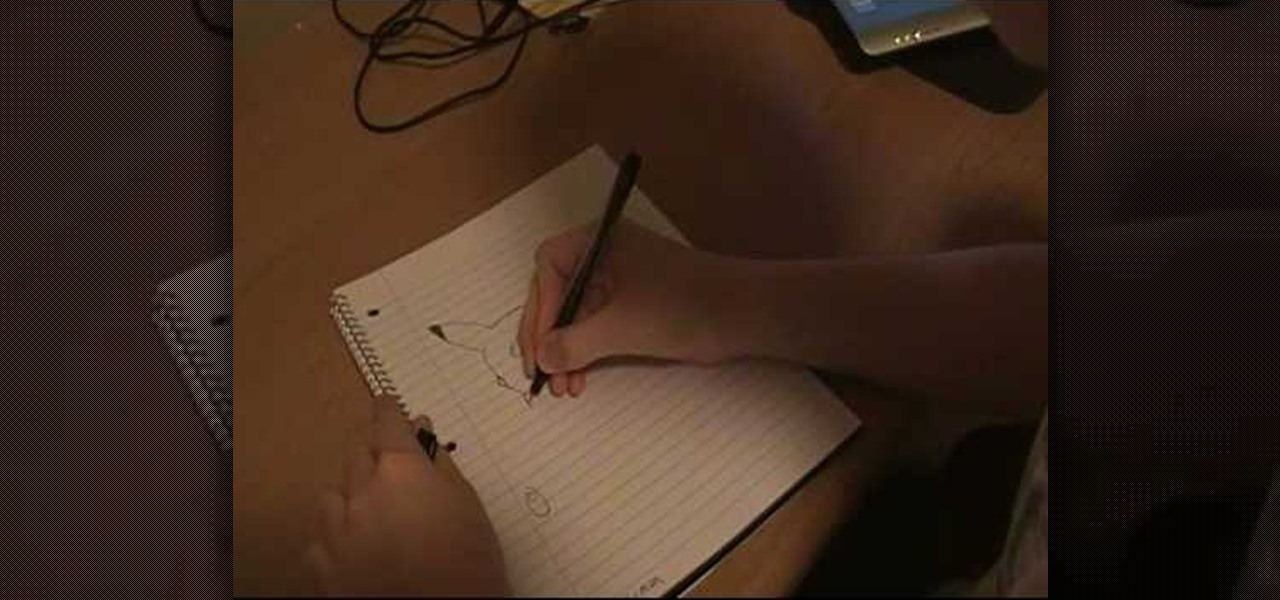
In this video we learn how to draw Pikachu from Pokemon. First, draw the ears and the top of the head. After this, create the sides of the head and color in the tops of the ears. Draw in circles for the eyes and then draw in the nose, cheeks, and smile. Continue on to draw the rest of the body and the details of the chin of the character. Add in the details for the side of the body and then add in shading and body lines wherever possible. When you are finished, share this with others and be a...

In this video we learn how to draw the iris of an eye. First, draw the outline of the eye and then draw the first layer of crosshatch on the eye. This is just diagonal lines overlapping each other. For the next step get out your 3B or 2B pencil and go over the first layer that you just made matching the tones of your reference image. Then, add in the darkness for the pencil making it completely black. Leave a square on the upper corner of the eye that is white to create a glare. Then, add in ...

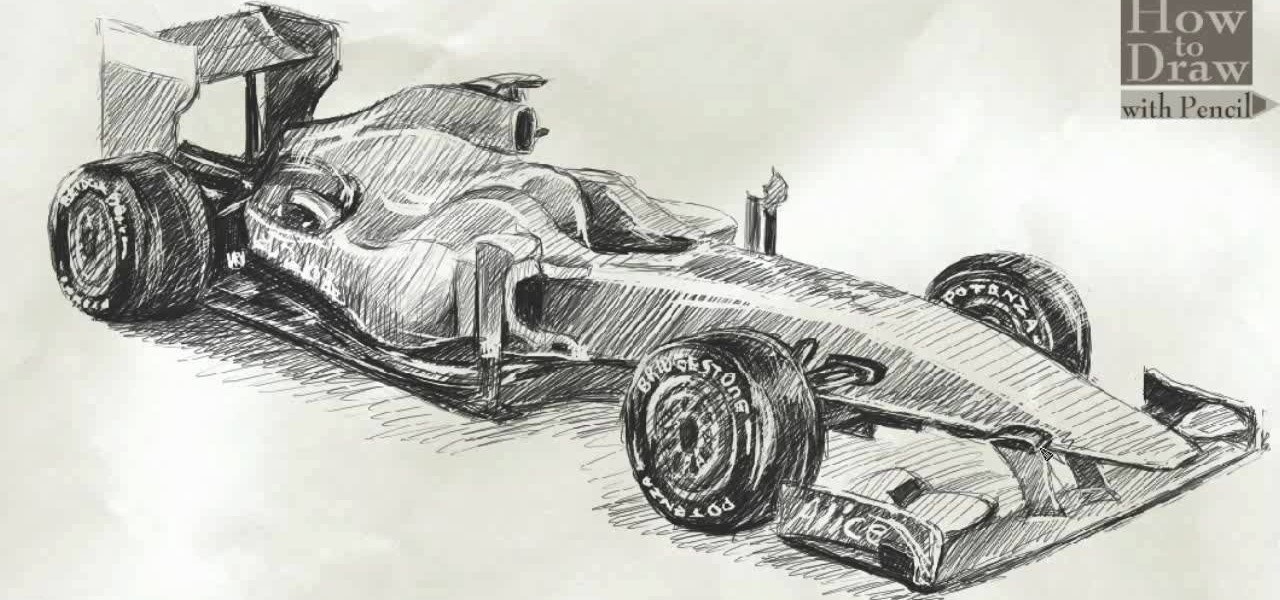
In this video, we learn how to draw a Formula 1 Ferrari F60. Start out by drawing of the car, then start to shade it in. Shade in the wheels and then the rest of the vehicle with a lighter pencil. After this, use the eraser to erase different parts of the car to make it look more realistic. Draw in darker lines with the pencil to make it more shaded. Then, add in shading on the bottom of the car and continue to darken the care until it's completely filled in. Add in writing on the wheels and ...

In this video we learn how to analyze the conclusion of a sample argumentative essay. The conclusion is only two lines long, but it should be looked over thoroughly. The conclusion should reinstate the main thesis from the essay. It should also give an indication of how the thesis was argued for. You should avoid the phrase "I feel that", "I believe that", and "I feel strongly that". When you change up this, it will make the conclusion appear stronger. When you do this, your conclusion will b...

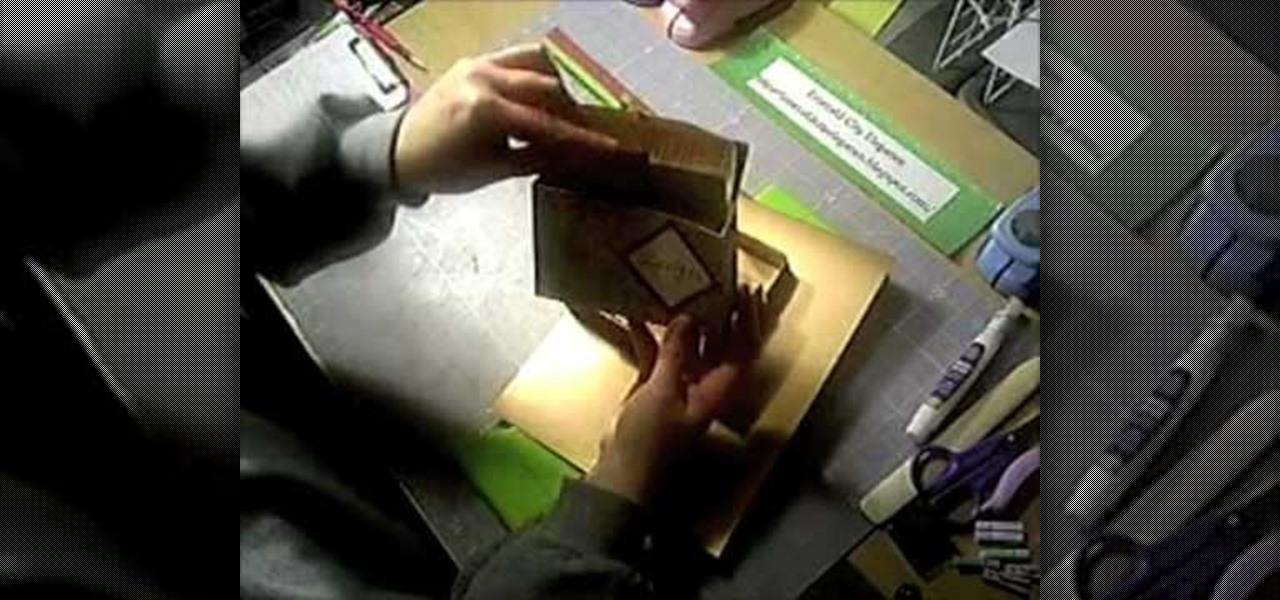
In this tutorial, we learn how to make a small recipe card box. First, you will need to grab any color of card stock that is 8.5" by 11". You will also need a scoring tool, scissors and adhesive. After this, you will need to score your card stock in all the different areas to make the correct measurements. When finished, fold up the box using the score lines to fold along the sides. Then, take another piece of card stock and score it to use and folds inside of the box to separate different se...

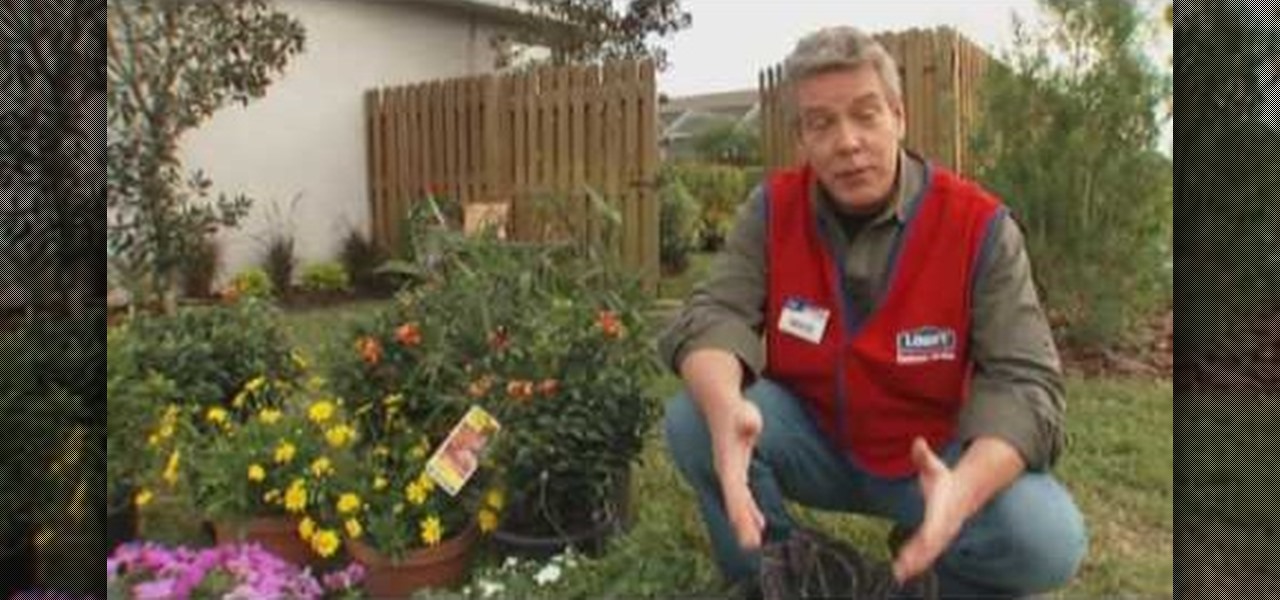
In this tutorial, we learn how to design, plan & install a water-wise landscape w/Lowe's. Traditional landscape can require a lot of time but there are a lot of ways to make it more simple. A water wise landscape is easy to do and will look great. This simply means using your landscape simply to achieve great results. First, you need to plan and design and call utility companies to see what areas to avoid electrical and gas lines. Draw out a plan of your property and then draw how you want yo...

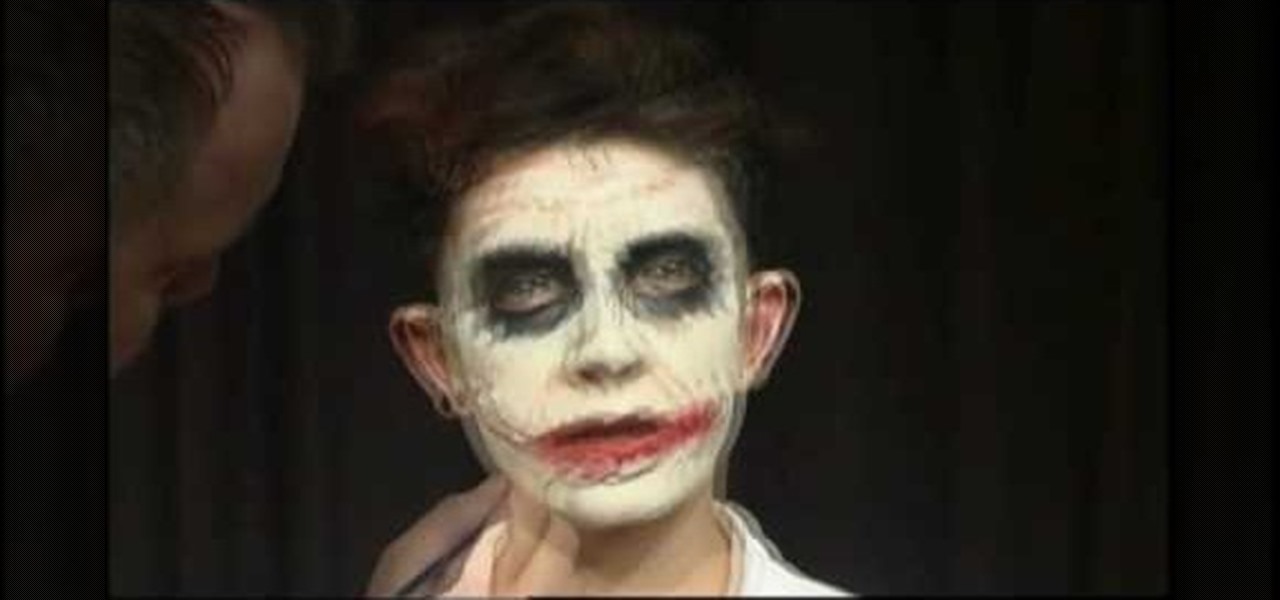
In this video, we learn how to make a prosthetic Glasgow smile like the joker. First, smooth the material onto the face and around the lips. Follow the shape of the lips for the sides of the mouth to make it look larger. Use a Q-tip to push on the prosthetic onto the face. Once this is attached, you can add in the color to the lips to make it look more realistic. Makeup will need to be added to the entire face. White should be on the face, black should be around the eyes. Go for a cracked and...

In this video, we learn how to draw a sports car. Start out by drawing the wheels and the base of the car. After this, draw the rest of the body of the car and the windows. Then, add in the wheels, tail lights, and the rest of the details of the vehicle. Once you have finished this, add in shading and lines to create a more defined vehicle. Continue to draw using this same method, drawing different types of cars and vehicles that you like. Make sure to look at a picture of different cars as y...

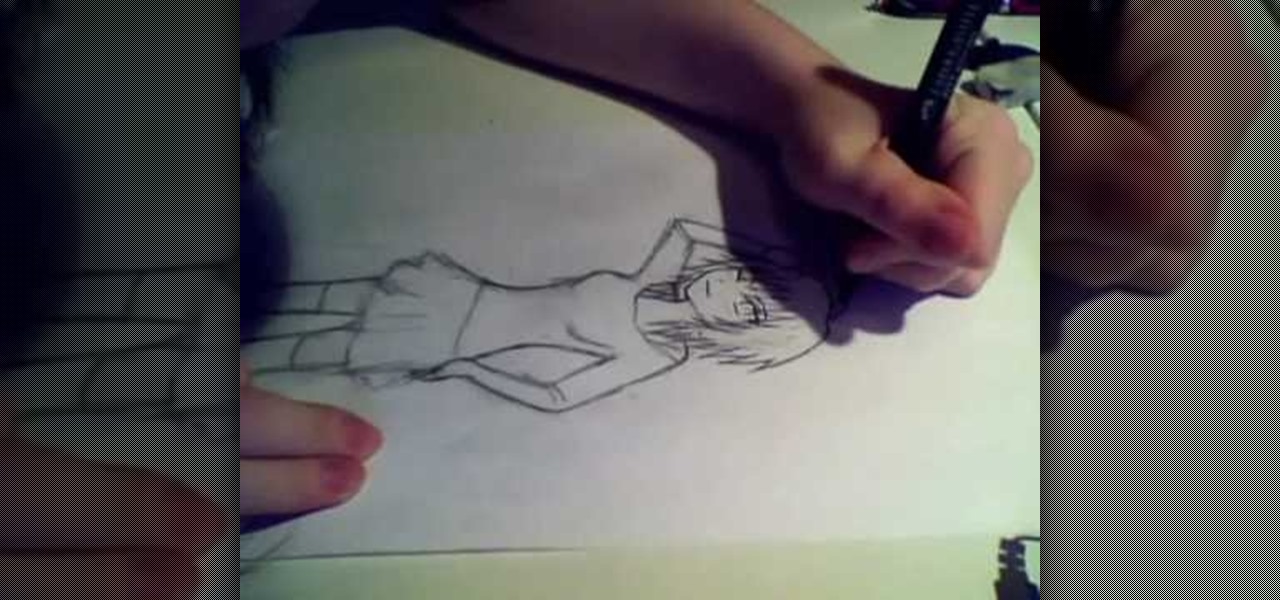
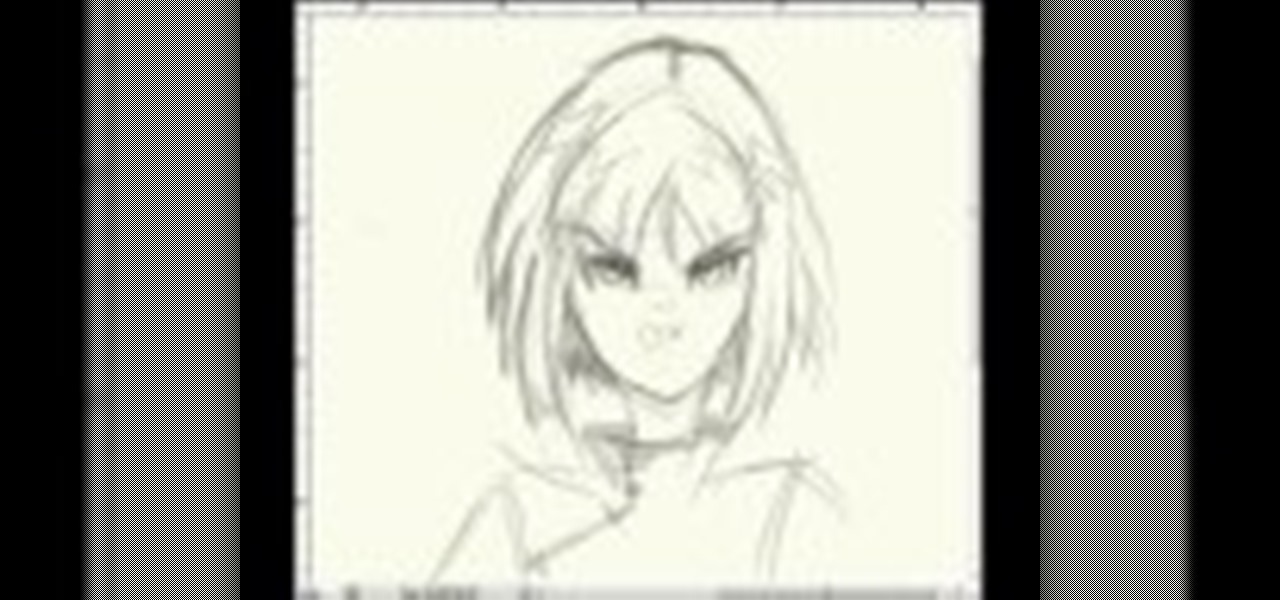
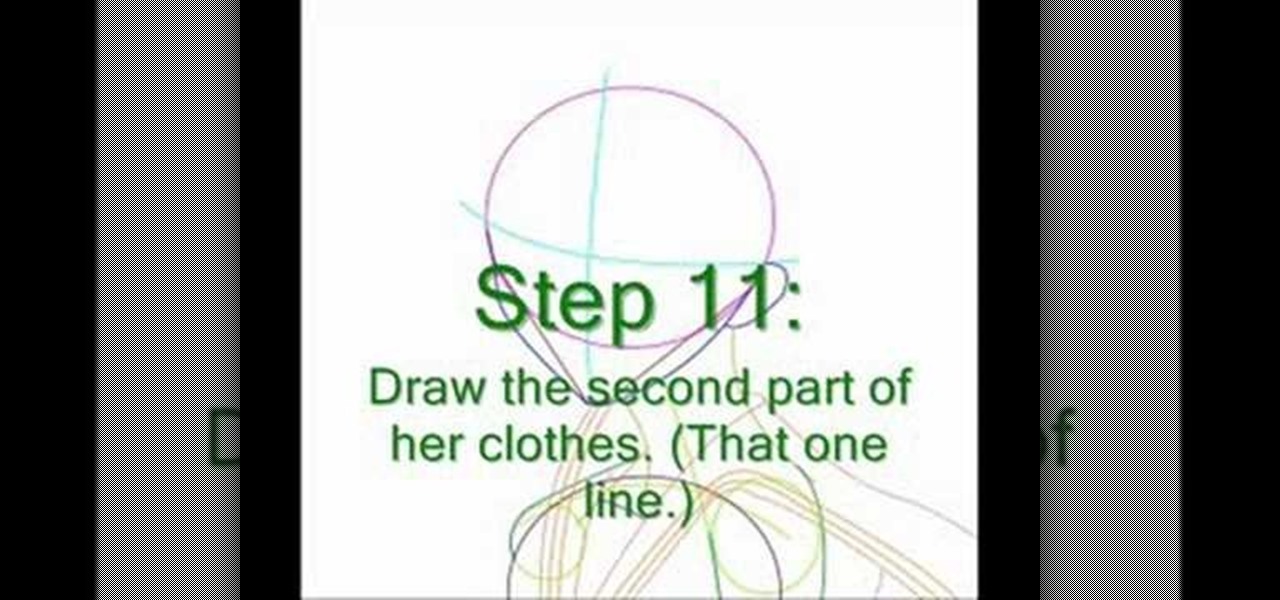
In this tutorial, we learn how to draw a manga girl. Start off by drawing the outline of the body, starting with the head. After this, draw the neck and shoulders, leading down to the rest of the body. Make sure to give the character feminine curves as you are drawing. Then, add in the features of the face and then give her bangs and short spiky hair. Next, draw a long sleeved shirt on her, that has wide shoulders on it. Continue to draw, making sure to add on lines to show contours where the...

In this tutorial, we learn how to draw manga basics. First, you will draw a circle for the head, then make a point at the bottom for the chin. After this, draw in lines on the face so you can reference where the eyes, nose, and mouth will be. Then, you will need to decide what expression you're going to use. Once you have decided, you will need to draw in the eyes, creases of the eyes, and eyebrows. Then, you will draw in the nose and the mouth. The female eyes look different from the male's,...

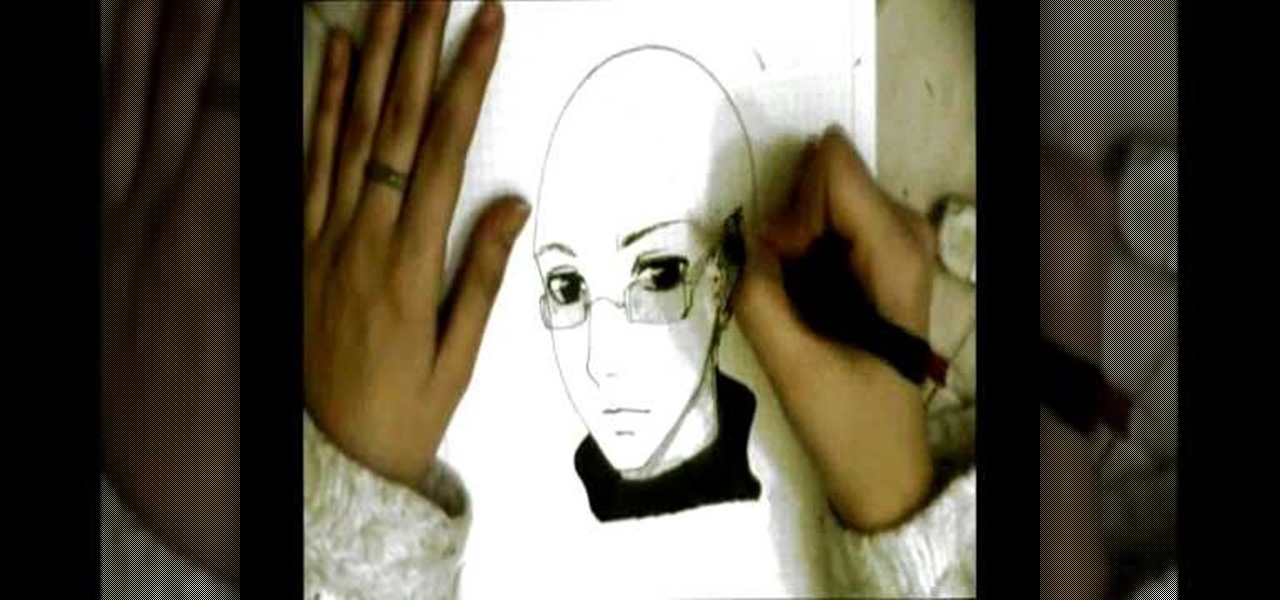
In this tutorial, we learn how to draw wavy manga hair. Start off with your manga face shot and then grab a pencil. Draw in strands of hair on the forehead and create bangs across to the eyebrows. After this, draw down hair on the head going down around the ears and throughout the rest of the head. Use a light touch of the pencil to create most of the strands coming from the root of the head, then use a darker line to create different types of strands. When finished, add in additional details...

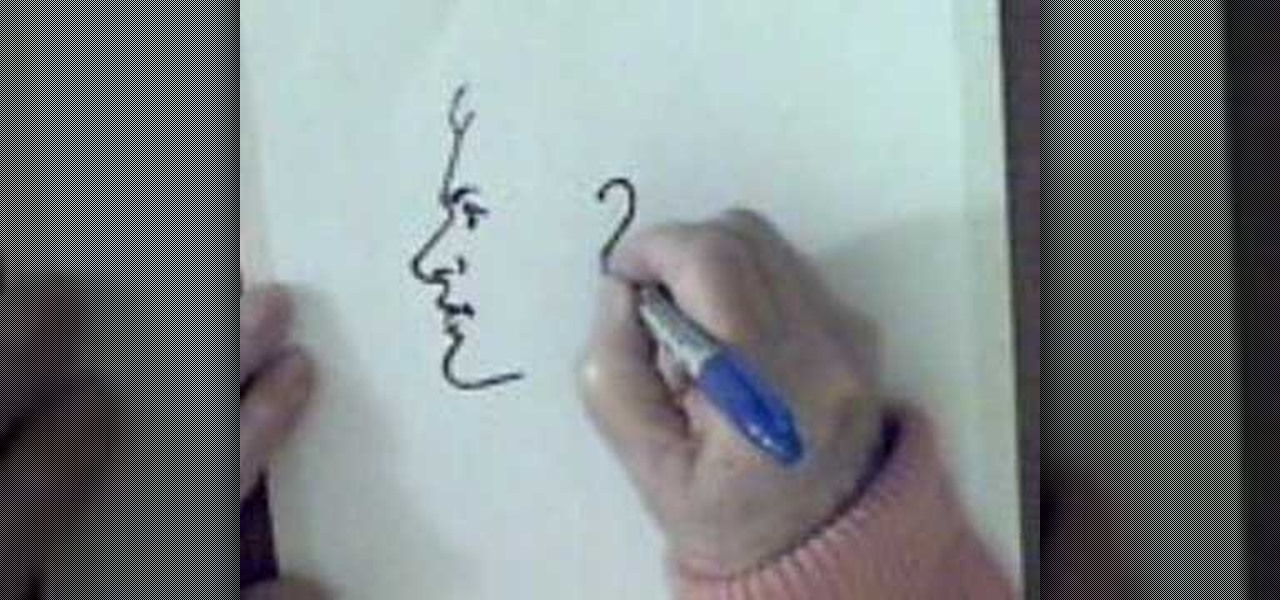
In this video, we learn how to draw a man's face in profile. With a Sharpie marker, first draw the bump to show the forehead of the face, then the bump for the nose. After this, draw the upper lip, then the bottom lip. Draw in a crease around the mouth the make the shape of the lips. After this, draw in the chin to the specifications you would like. After this, draw in the detail of the eye and the eyebrow around the area of the forehead. Next, draw in the nostril of the nose and then a creas...

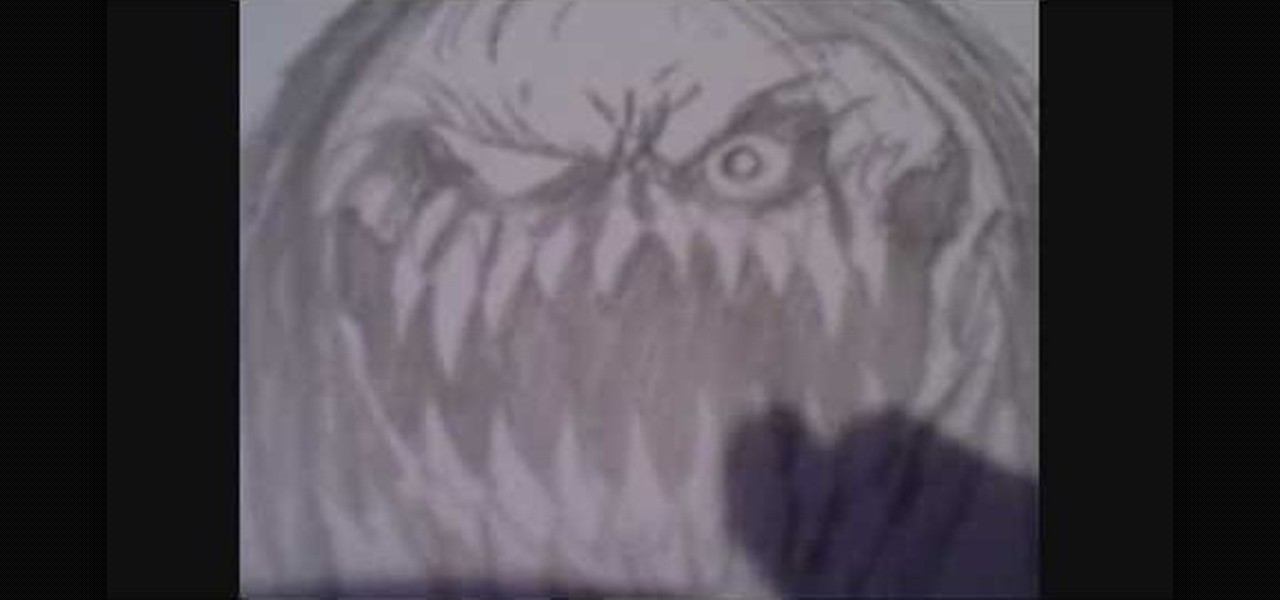
In this tutorial, we learn how to draw a scary demon mother. Start off by drawing a circle for the face with huge sharp long teeth and small evil eyes. Add in details around the face to create a more realistic feel and creases in the eyes. Next, draw in the hair by using your pencil and just drawing in straight and straggly hair. After this, add in additional details to the eyes and the rest of the face, creating a nose and other features you want. After this, draw in lines on the bottom of t...

In this video, we learn how to draw Rukia. Start out by drawing a circle with a triangle shape at the bottom. Then, draw reference lines in the face to measure where the features of the face are going to be. After this, start to draw in the details of the face. Draw the eyes, mouth, nose, eyebrows, and any other details you need. Make sure the eyes match the original character and leave white for the pupils to show. Draw in the hair to finish up the drawing, making sure to draw the eyebrows a...

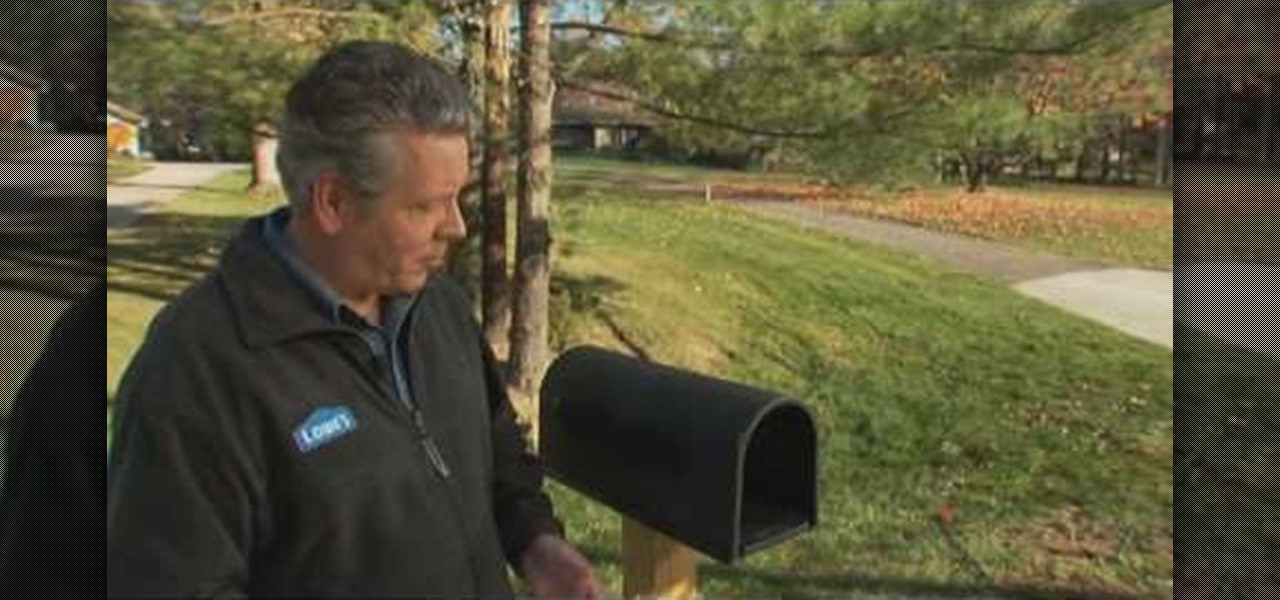
In this tutorial, we learn how to install a new mailbox post and box with Lowe's. First, you will need to gather all your tools and a new mailbox. After this, print out directions for the project through the Lowe's website. Now, call 811 to call your utility company to make sure you aren't digging through an electrical line. Mail boxes have a specific height they need to be installed at, so make sure you follow these guidelines. After this, dig out the hold from the ground, then fill in grave...

In this tutorial, we learn how to draw a young woman's face in a profile. Start by drawing the forehead, then drag the pen down until you reach the nose area. After this, draw down to the mouth, accentuating both of the lips. Next, draw the chin on the face, then the jaw line. After you have done this, start with the eye and make sure you add detail as to where the crease of the eye is at. Next, you will draw in the eyebrow and then start to add in the bangs and the rest of the hair. Add in a...

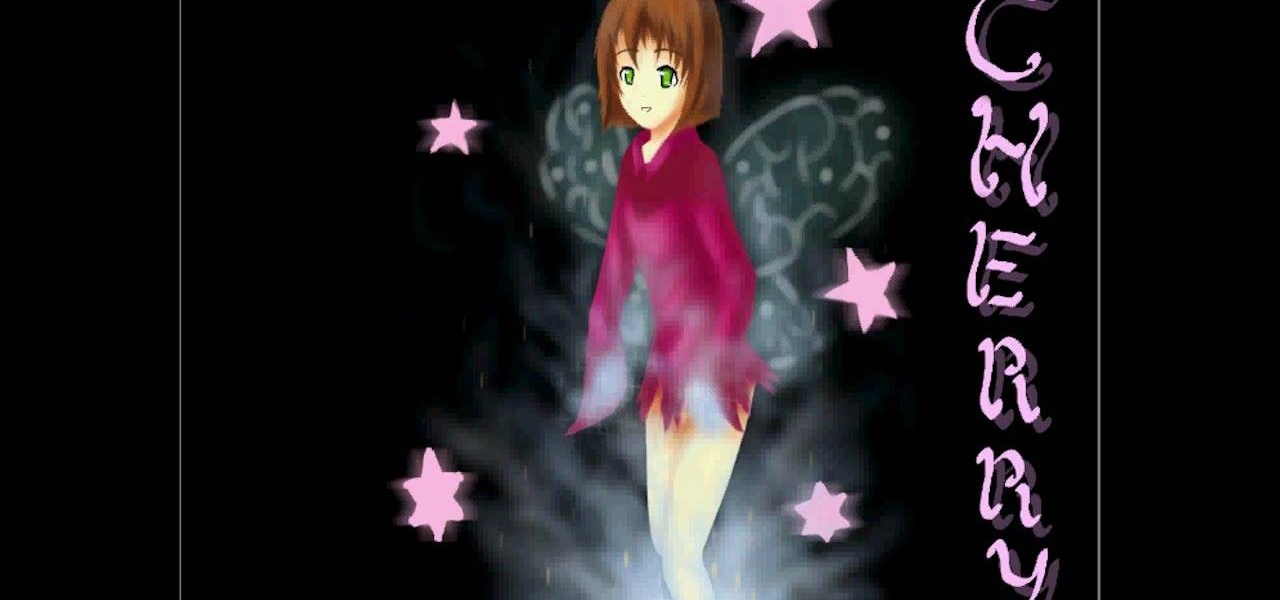
In this video, we learn how to draw a cherry fairy. First, sketch the entire picture before you start to draw in any detail. After this, draw in darker lines where you want the features of the body to go, then start to add in features of the face. Next, add in color to the face and to the outfit of the fairy. Make sure you give her hair and bangs that are surrounding her face as well. Once you have the color completed, create a white light coming from the bottom of the fairy and going up into...

In this tutorial, we learn how to draw manga facial expressions. To draw an angry face, you will draw a circle for the head with a point for the chin. Then, you will draw in a slight frown for the mouth and half circles for the eyes. Then, draw in slanted eyebrows above the eyes to make the character look angry. Add in highlights around the face to make the expression larger. Then, add in lines around the face to show it being crunched up and the person being angry. You can also make the mout...

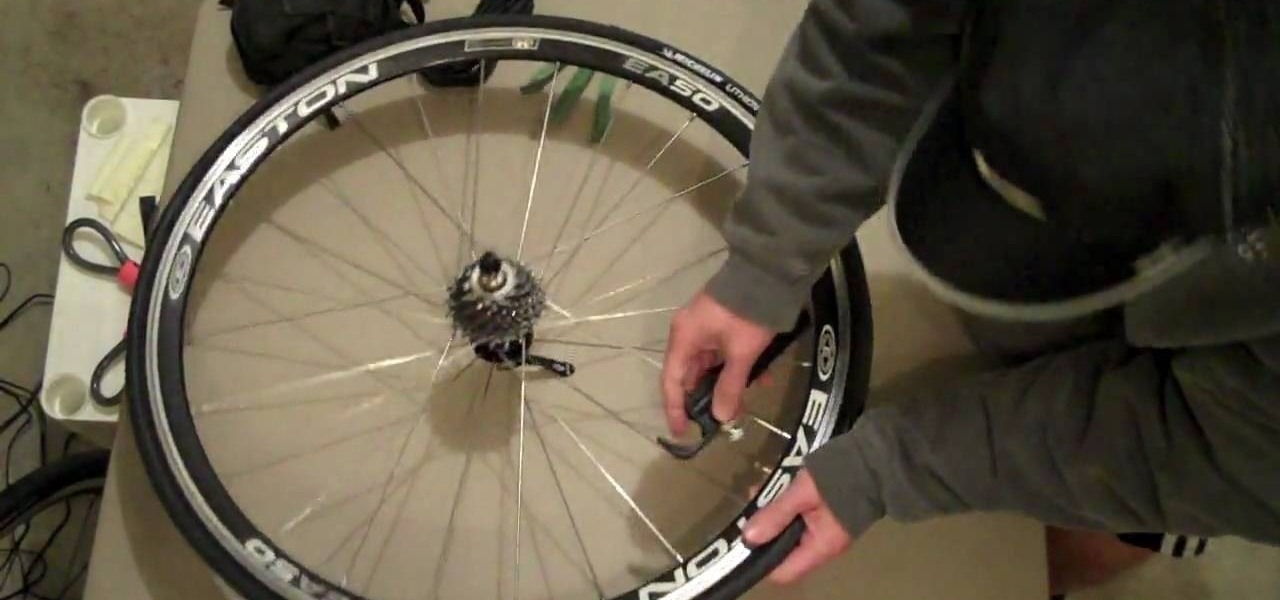
In this tutorial, we learn how to change a bike tire with CO2. First, you need to take the tire and wheel off of the bike. Then, release the air from the tire and then remove it from the wheel. After this, use a lever to remove the inner tube from the wheel as well. Replace this with a new tube and tire, then apply back onto the wheel of the rim. Line this up on the bike to place it back on, then screw all the parts back on. After this, tighten up your brackets and chain then you will be read...

In this tutorial, we learn how to draw Raichu from PokŽmon. Start off with a pencil on a piece of white paper, then start to draw the face of the character. Add in the outline of the facial features, then all in the details of them as well. Next, draw the ears of the character on, then start to draw the rest of the body. Make sure to add on the feet and the arms of the character as well. Make sure to draw on details that are needed, then draw on the tail coming from the back. To finish, add i...

In this tutorial, we learn how to draw Death the Kid from Soul Eater. First, you will need to draw in circles around the body where the joints would go. After you do this, draw the outline of the body around the joint markers. Next, you will start to draw in the arms for the character and add in the full detail of the arms and machinery. Next, use a darker line to create the details in the body and the outline as well. When finished, you will need to add in the details of the face as well as ...

In this tutorial, we learn how to draw Tohru Honda. Start out by drawing a circle for the head, then lines on the face to reference where the facial features go. After this, draw a stick for the body alone with a neck. Draw in circles where the shoulders go, then start drawing around that to create the body. Draw on the school uniform for her, then draw on the ear and additional details for the uniform. After this, draw on the bangs and the hair, then add on the bows to the hair. Then, draw o...

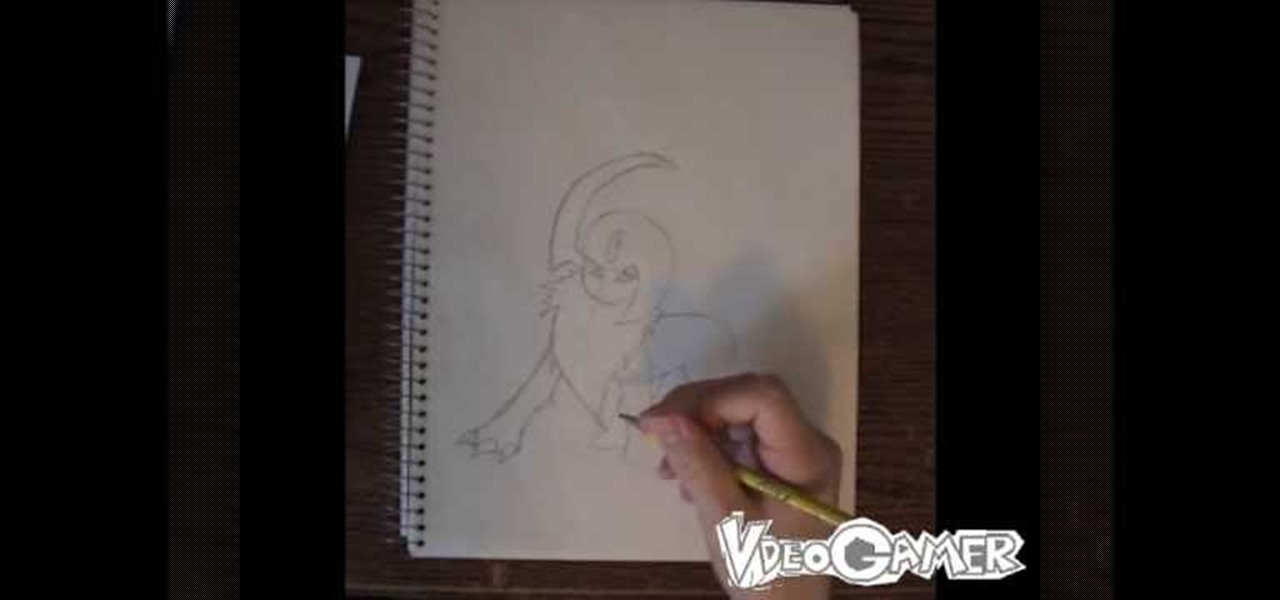
In this tutorial, we learn how to draw Absol. Start out by drawling the outline of the character, starting with the head. After this, draw on the details of the body, including the claws that are on the feet. Next, you will draw on lines for the fur that are on the main part of the upper body. Draw on the tail towards the read, then draw a large wing on the upper and lower body. You will also want to draw on a flat background to show that Absol is standing up. Add in details and shading to th...

In this tutorial, we learn how to draw Husky. First, you will start by drawing the dorsal fin of the character. After this, draw the rest of the body including the lower and upper body. Also make sure you draw the head. Now, draw the arms crossing, then go over the drawing with a harder pressed pencil. Draw in the details of the face, then start drawing in the details of the fins and the upper body. Once the details are in, draw the hair and add in some scales along the entire body. Once fini...


