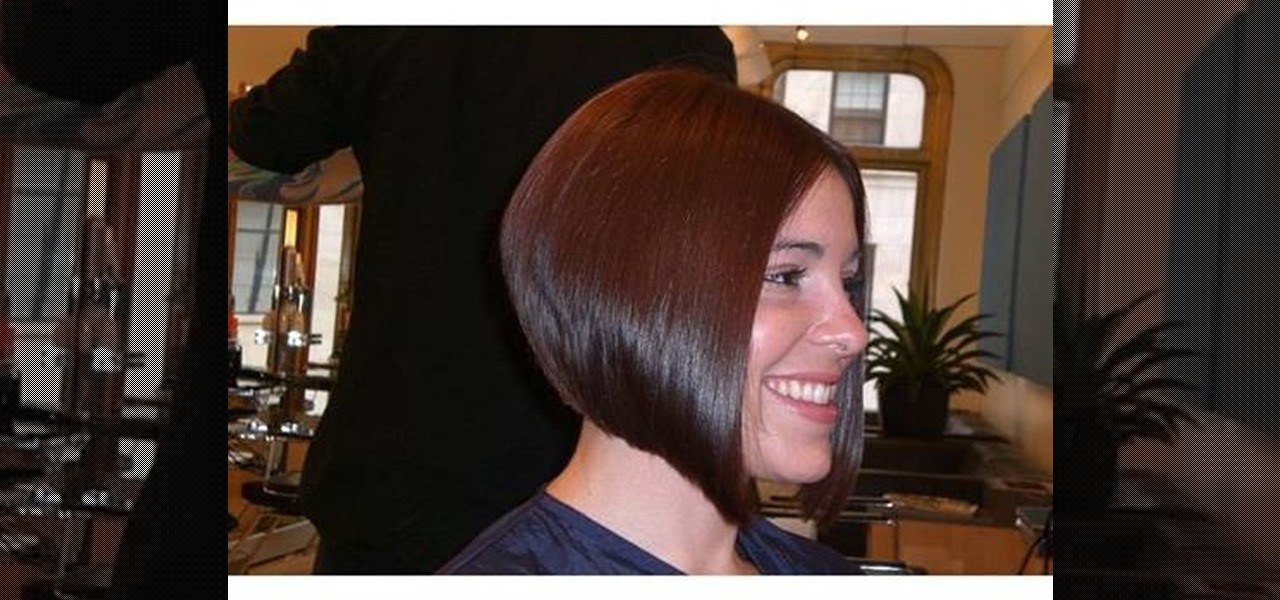
Are you obsessed with bobs now after watching bombshell actress Olivia Wilde donning one (albiet it was a wig) in the futuristic action film "Tron"? If you're serious about taking the plunge into short hairhood, then check out this video for your introduction to cutting and styling an A-line bob.

What's better than free pattern? A free pattern that fits you perfectly! This tutorial shows you how to draft the pattern for a basic A-line skirt completely by hand, and custom fit to your own measurements. All you need is some pattern paper, a pencil and a ruler.
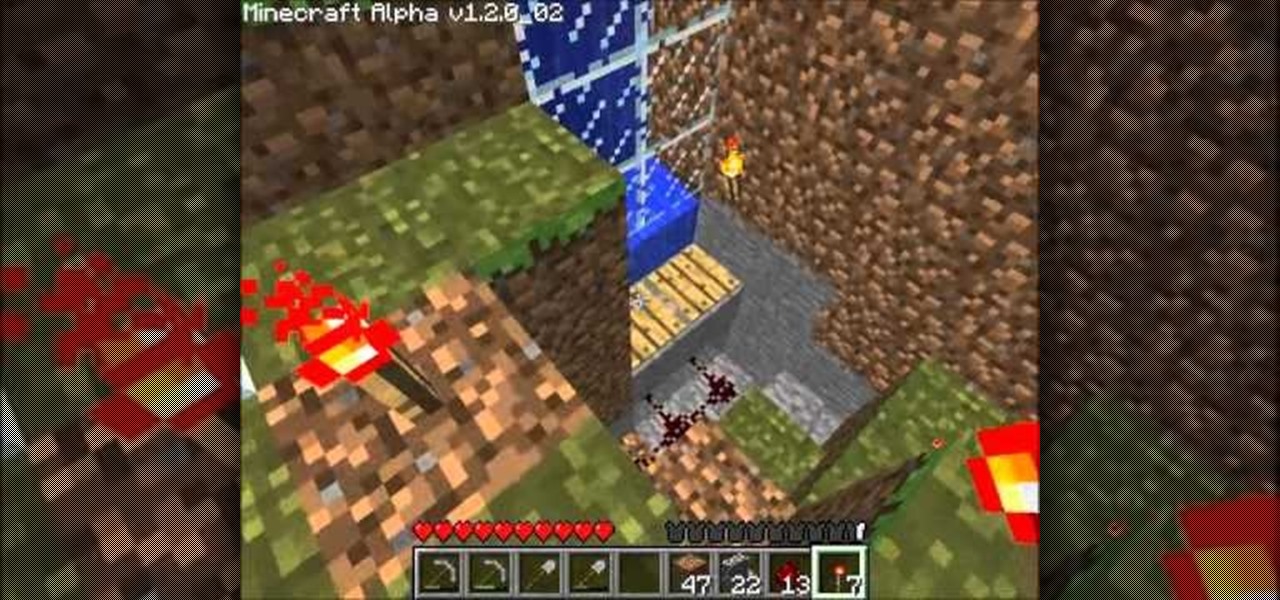
Being able to hide your redstone makes your trap look a little nicer, and also reduces the possibility of accidentally disturbing the line of redstone. This tutorial shows you a creative way to hide your lines of redstone wiring when building Minecraft traps.
When it comes to "Harry Potter" movie premieres, it seems that you just can't get through one without wondering if the movie theater you're at has turned into Hogwarts. The true fans always dress up in their wizarding best, from long cloaks to striped ties to Harry's famous glasses and lightning bolt scar.
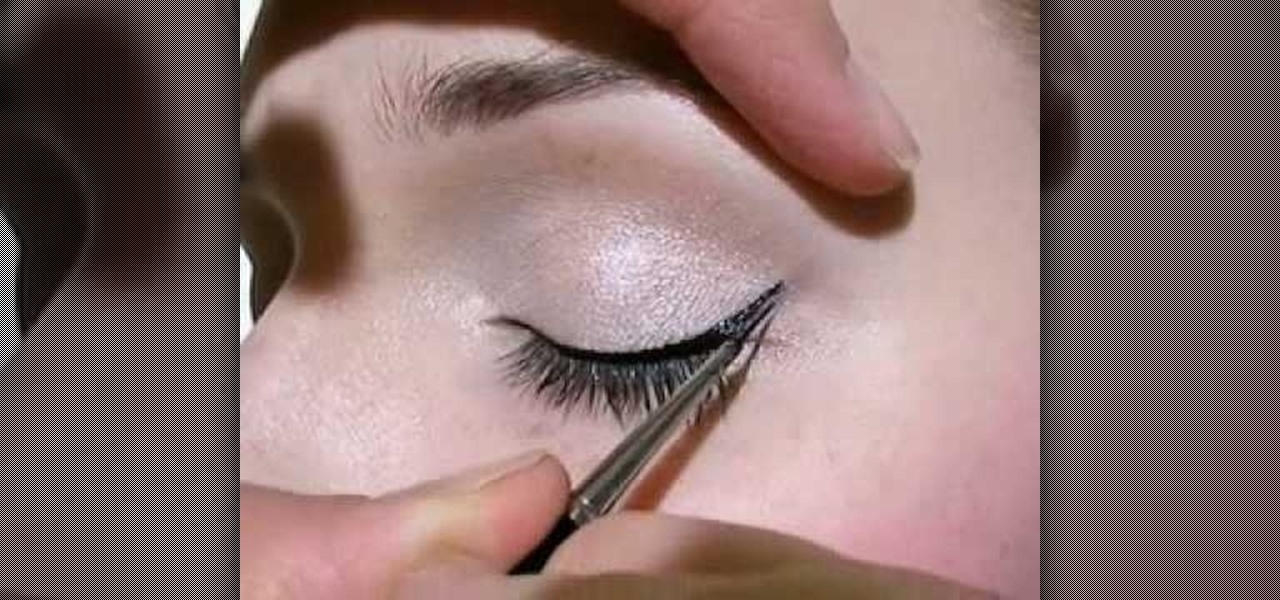
In this tutorial, we learn how to apply hot liquid eyeliner. First, line the eye with a slanted eyeliner brush that has been dipped into the liquid eyeliner. Line from the inside corner to the eye out to the outside of the eye. Pull the lid up gently so you can really push the eyeliner into the lashes to make them look darker and fuller. After this, line the outside corner of the eye and make a light flare if you would like a more dramatic look. This will finish the eyeliner look, have fun wi...
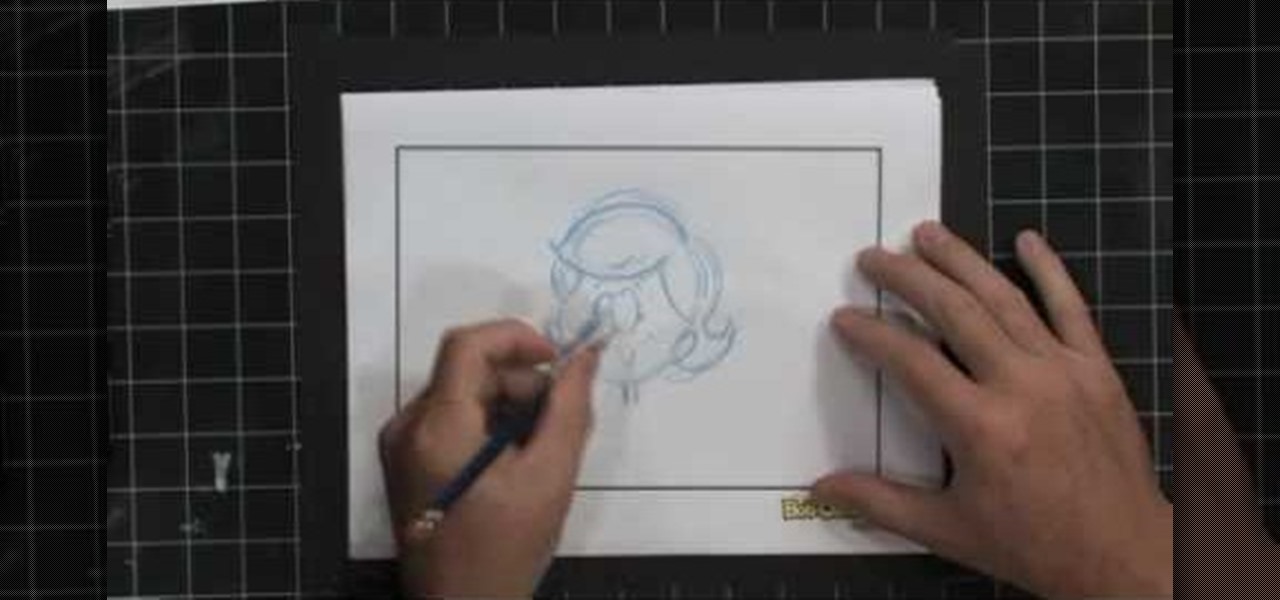
In this tutorial, we learn how to draw detailed hair. When you are drawing hair, you must remember to draw with the shape of the head not just the lines. You should also draw in the lines curved and feather them to show the different strands on the head. When drawing a guy or girl, draw different lengths in the hair and show the waves on them as well. For girls, when you are drawing curls you must make them ring shapes so they curve like curls. Just make sure you draw enough lines to show the...

Learn how to solve statistics problems that require you to find the regression line. Whether you need help studying for that next big stats text or just a hand finishing your homework, you're sure to be well served by this four-part free video math lesson from Salman Khan.
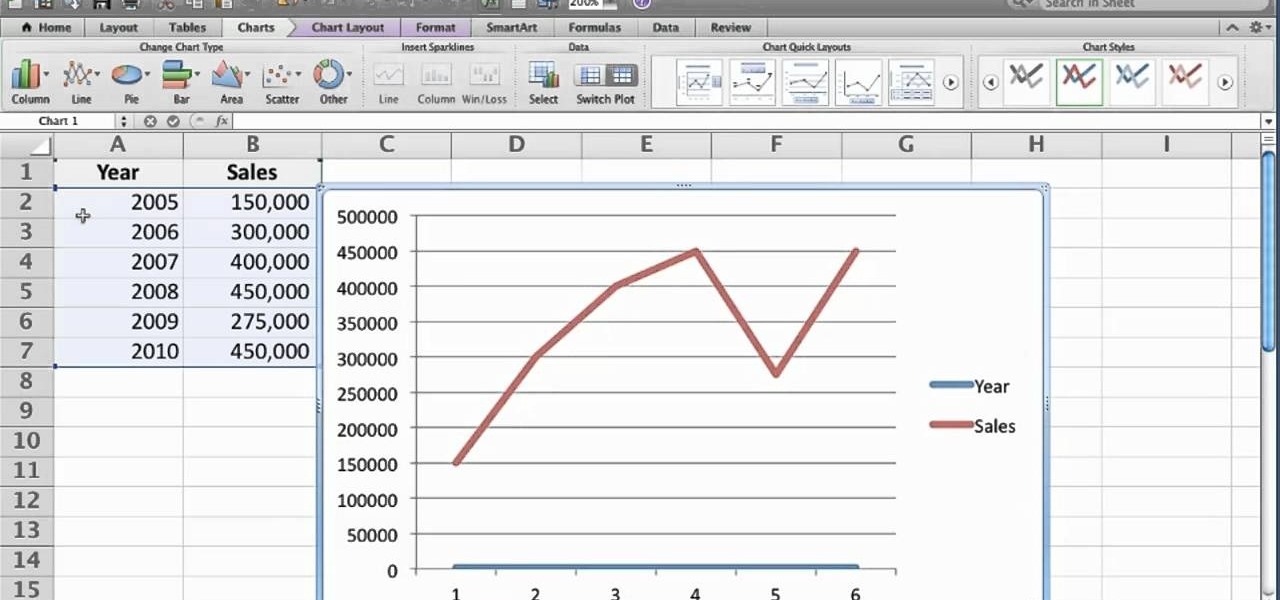
Want to generate a line chart in Excel 2011? This video will show you how it's done. Whether you're new to Microsoft's popular digital spreadsheet application, new to Excel 2011 or even an expert merely looking to brush up on the fundamentals, you're sure to be well served by this quality video tutorial from the folks at Lynda. For all of the details, and to get started creating and using line charts to visualize data in your own MS Excel '11 projects, watch the video.
In this tutorial, we learn how to draw curvy steps using pens. To start, you will first draw a horizontal line with a point in it. From here, you will need to draw lines coming out of the point. These lines will act as your reference point for the different items in the drawing. Next, draw the steps using the reference points. The one at the bottom should be larger, getting smaller as you work your way up. Draw these using the triangle shape in sort of a wedge. Shade in the bottom area to cre...
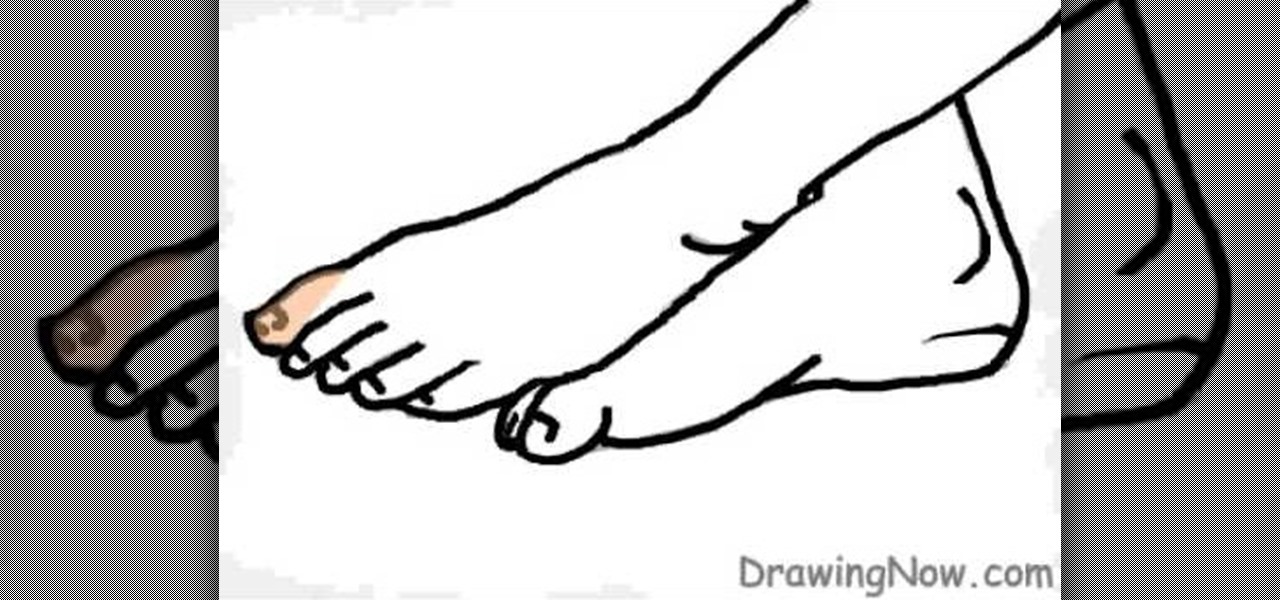
In this tutorial, we learn how to draw two feet. First, draw the feet crossed with just the ankles showing. After this, draw in the toes and then start to draw in lines where the muscles of the feet are. From here, you will start to add in the smaller details using a small brush. Then, create the toenails on the toes and color the feet and ankles a skin color. After this, add in gray to shade the lines onto the feet and ankles. Use darker lines to create contours of the limbs and then you wil...
In this video, we learn how to draw the classic Sonic the Hedgehog character. First, draw a round circle for the head. Then, draw in the eyes and the hair around the head in big huge lines. After this, sketch in the rest of the body. Then, start add details to the head, drawing in the eyes, mouth, and hair lines. From here, draw in the details of the body and then create the leg and feet clothing as well. Draw a bold black line over all of it, then you will add in shading to finish up this dr...
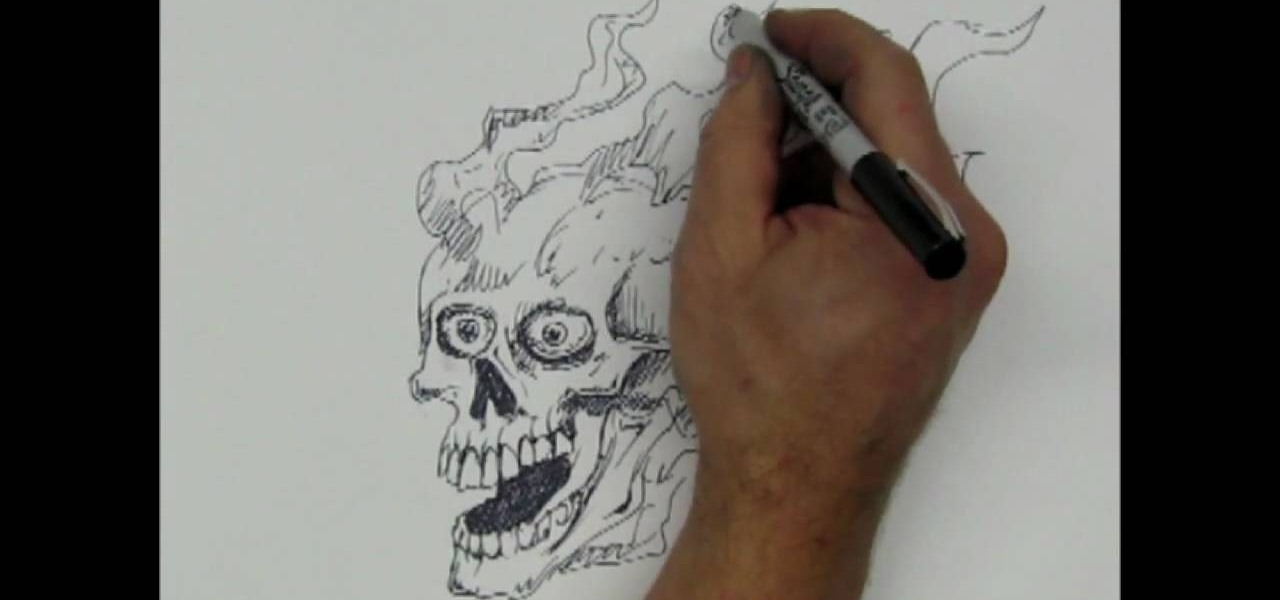
In this tutorial, we learn how to draw a skull with a Sharpie. First you will draw the eyes, make sure to draw lots of little lines around them then cross them to create depth. From here, draw the outline to the head and then the nose and the teeth. Make sure to add lines in around the head to show cracking and marks around the head. Use shading to create darker lines along the head and then add in additional details. Make this unique to you, it doesn't have to look one certain way. When fini...
In this tutorial, we learn how to draw a skull. First, draw the outline for the skull. Remember not to draw the hair on the head, because skulls do not have these! After this, you will draw on the cracks to the top of the head and shade around them. From here, draw in black on the inside of the eye sockets. Then, draw the lines around the eye sockets. From here, draw the area for the nose and then the teeth. Next, you will draw in the jaw line and add in additional shading and lines to finish...
In this video we learn how to draw hands without references. First, draw the basic structure of the hand using a photo to make sure it's true to size. After this, draw on boxes and circles to create the wrist, hand, and the knuckles. Then, you will draw on straight lines for the bones in the thumb. After this, start to add details of the fingers and make out their basic shape. As you continue with details, erase any background lines and start to add lines in for wrinkles on the skin. Finish t...
In this tutorial, we learn how to fit a dry lining back box. This is very easy to install, and the sides will grip the wires on your light. First, determine where you want your switch, then mark a quick line using a sturdy level. Next, you will cut out a hole in the wall the size of the box. After this, push the box into the wall. Then, you can add in the light switch to the box and secure it with the wires that are inside. This will finish up this project, just make sure the wires are place ...
In this tutorial, we learn how to draw curvy steps using pencil. To start, you will draw a thin horizontal line with a small point on it. After this, you will draw lines out from this, using a ruler to keep them straight. From here, draw your steps on the bottom of the page using the lines to keep them proportioned and in place. Draw them in a triangle wedge shape and then color them in. Shade the bottom and the sides to give them depth and dimension. After this, draw in the area around the s...
In this tutorial, we learn how to draw the female body. First, you will draw the outline of the body, starting with the basics. Then, start to shade in the different areas of the body and create contours. Make sure to draw longer and leaner lines to create a more feminine figure. Draw in her hips and make her body curvy, not just one straight line. After this, add in lines to the body to make it look more realistic and show the contours. To finish this, add in white for lighting and then cont...
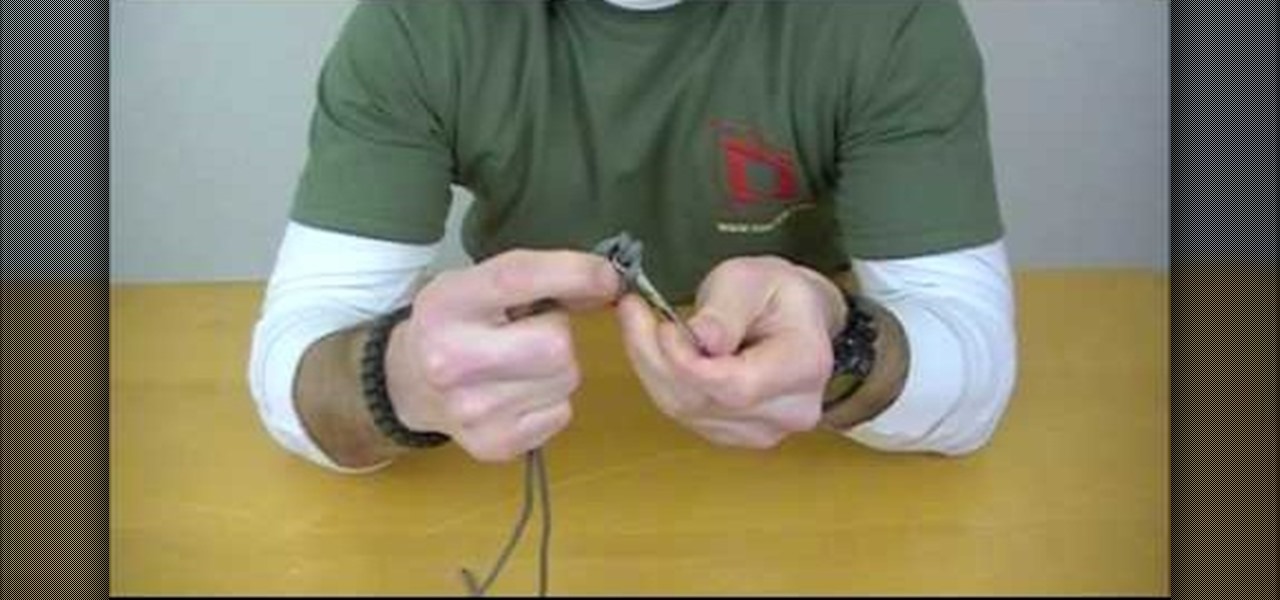
In this video, we learn how to tie a Palomar knot to secure a fishing line. This knot is pretty easy to tie, it won't take long. First, you will take the fishing line and make it into a loop. After this, insert it through the eye on the hook. Next, bring it back over and then tie an overhand knot, leaving it a little loose when you tie it. You should be able to see the working end hanging down. Now, take the loop and put it over the hook. Now when you tighten it up, you will have the complete...
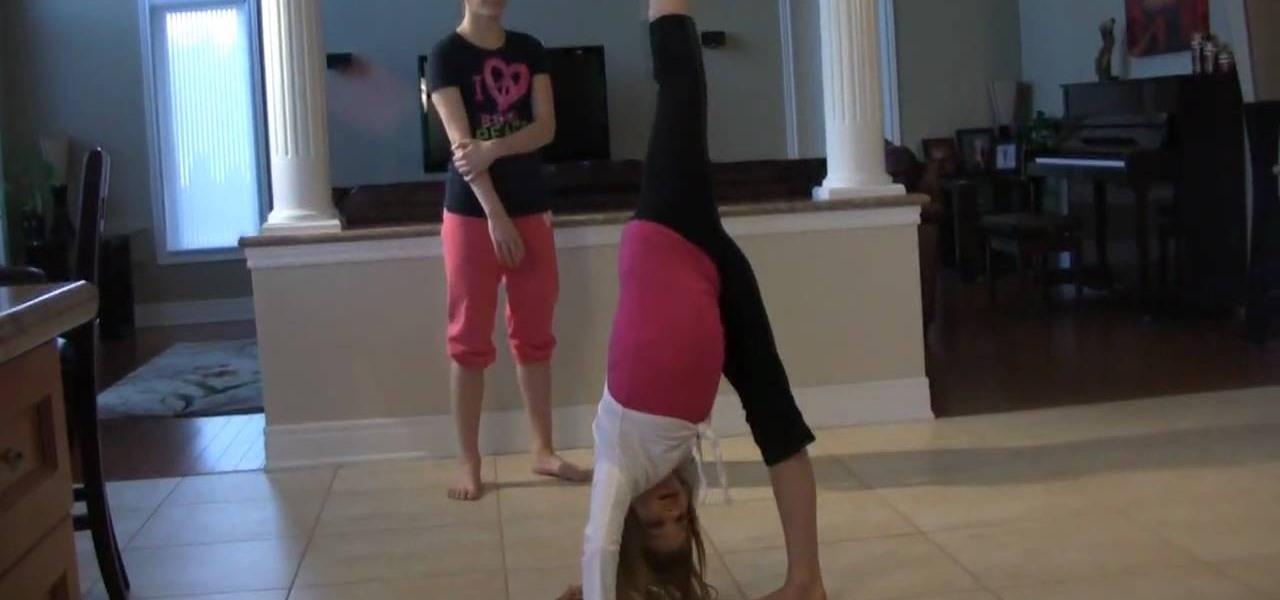
A needle is when one foot is on the ground (flat) in-line with the shoulders, and the opposite leg is kicked back, reaching for the sky. This puts the dancer in a "needle" position, with the straight legs forming a straight line, from head to toe. In this dance lesson, you'll learn how you can do a needle yourself. You need to be extremely flexible before trying this dance move, so don't over-exert yourself.
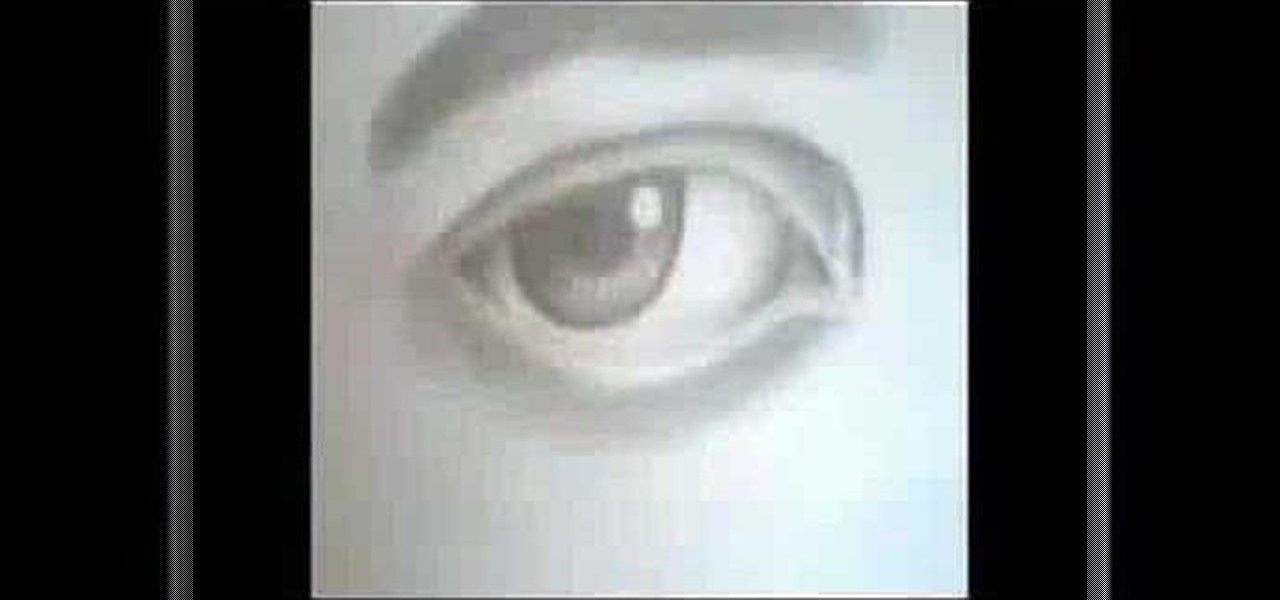
In this video, we learn how to draw a perfect eye. Start out by drawing the outline of the eye, the create the basic shape. After this, draw the crease above the eye and then the inside details of the eye. Darken the pupil, then add in lines around the pupil to show detail. Create a circle eraser mark near the pupil to show the eye having a glare, making it look more glossy. After this, shade in the sides of the eye and underneath where the bottom lash line is. From here, create the eyebrow a...
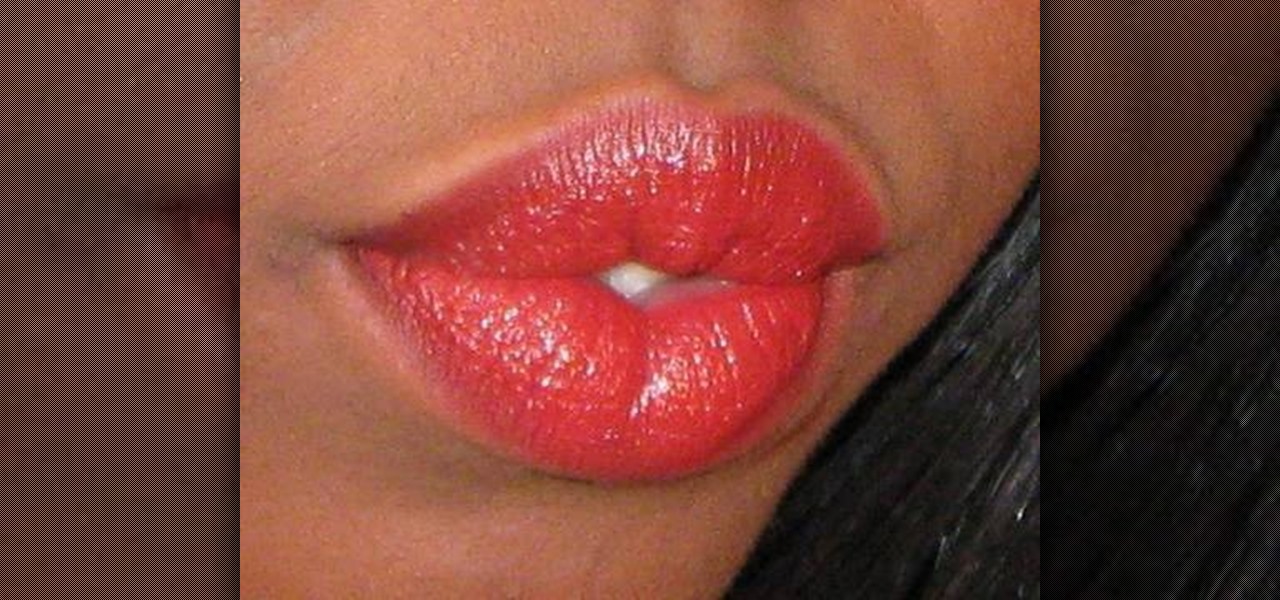
In this tutorial, we learn how to get perfect red lips for African American skin. First, take a dark red lip line from Studio Gear named "red wood" and apply it to the lines of the lips. Once your lips are fully lines, grab your lipstick and apply it to your lips carefully. The liner will be darker than the lipstick, so make sure you blend them in together lightly. After you are finished applying, clean up any smudges on the edges of your mouth. Then, apply makeup on the bottom an sides of th...
In this video, we learn how to draw an eye step by step. First, draw the curve of the eye on the top and on the bottom. Then, draw in the pupil of the eye and the inner corner of the eye. Use a light touch with the pencil to make the circle in the middle of the eye. Then, draw around it with a bolder line. After this, draw the crease above the eye, then draw shading to show where the crease line is. Next, fill in the pupil and add in a circle to make the eye appear glossy or that light is hit...
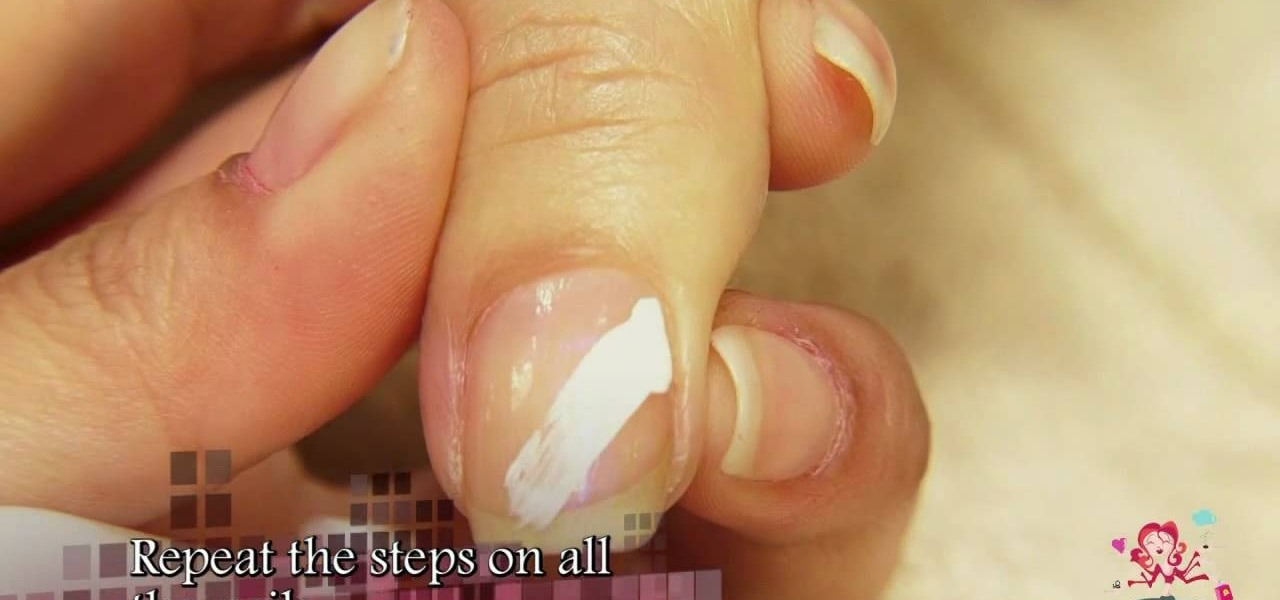
Zebra striped nails don't necessarily mean a big canvas of white paint striped meticulously - and painstakingly - with thin black lines. In fact, if you're going for a more avant garde nail look that's unique yet not too crazy to wear to the office, this minimalist zebra striped look may be it.
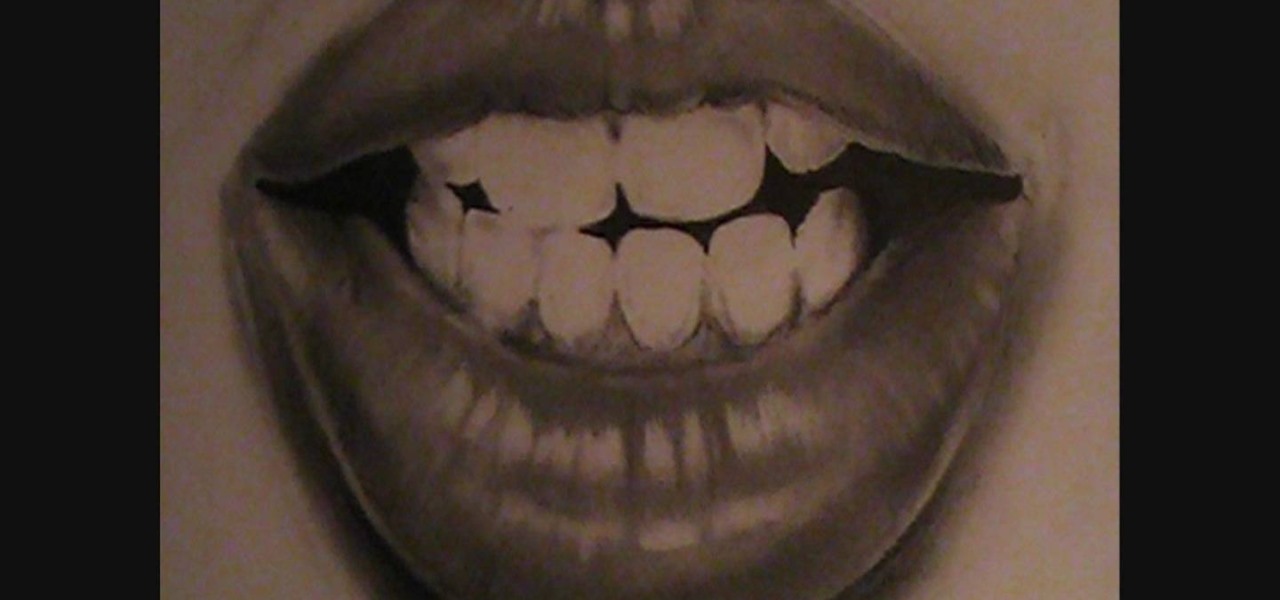
In this tutorial, we learn how to draw lips and teeth. First, you will need to draw the sketch or outline of the picture. You will need to make sure you take your time to create realistic lines for the lips and the teeth as well. From here, you will add in more lines on the lips to make it look more realistic. Then, add in the teeth in the middle of the lips and shade in the areas that are in between them. When you are finished with this you can add in more shading and lines into this and you...
In this tutorial, we learn how to draw super-simple trees. Start out with a pencil and piece of white paper. Draw a straight line for the trunk of the tree. After this, draw the branches coming off of the tree in diagonal lines. From here, draw smaller lines coming off of those to make more branches. Draw in a smaller tree next to the larger one and you will have created a very simple tree! You can add more detail to this by drawing on leaves and grass at the base, but this is the most simple...
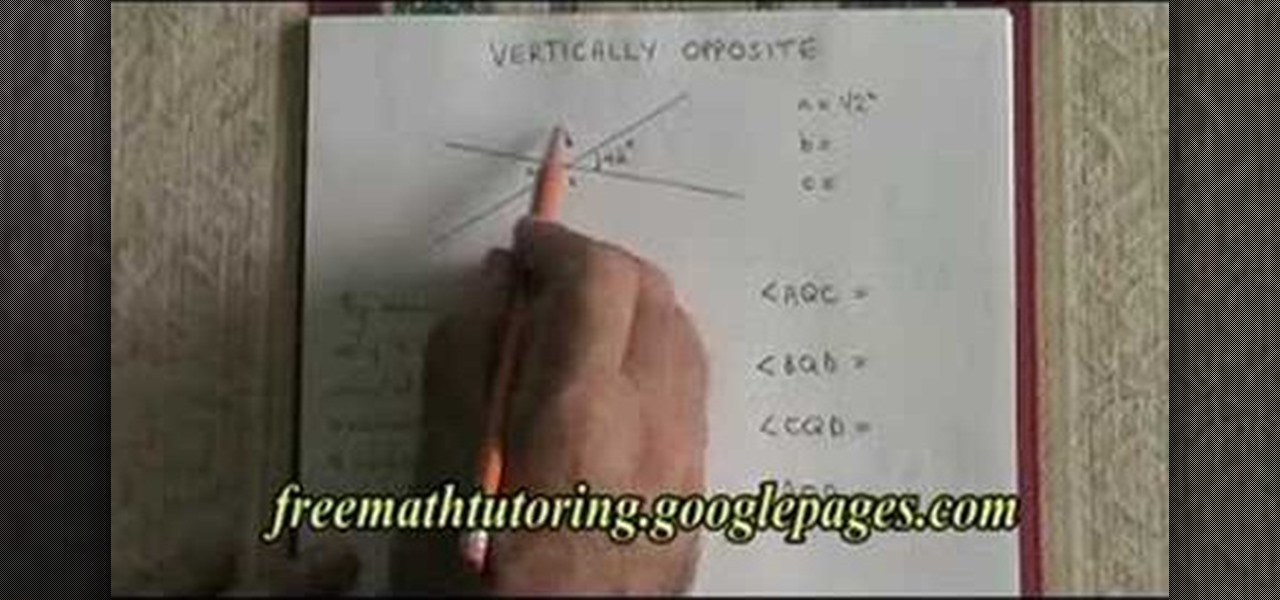
In this video we learn how to understand the Rule of Vertically Opposite Angles. This says that when two straight lines cross it produces vertically crossed lines that must have congruent angles. Because the lines are straight this has to happen. Remembering the rule "supplementary" you will be able to calculate the angle of A and B in the equation. Prove what each of the angles are using the different rules and then move onto the other two angles. Angle C can be figured out by knowing that i...
In this tutorial, we learn how to draw wolf paws. First, draw a rectangle on the paper and then draw in curves inside the rectangle that will give you a base for the paw's features. After this, draw two lines coming up from the paw and then draw claws on the bottom of the paw. After this, erase the sides of the rectangles. Start to add in additional lines for the claws on the paws and then add in details for the knuckles. To finish, draw in lines for the hairs and then finish off the paw with...
In this tutorial, we learn how to draw manga bodies. Start out by drawing circles for the body. These circles will start at the head, then go to the shoulders, arms, stomach, hips, knees, and ankles. After you do this, draw lines to connect them all together and make out the basic shape of the body. Now star to use a bolder line to create the realistic outline of the body. When you're finished with this, you will be able to do the fun part. You can fill in these spaces with color and lines to...
In this tutorial, we learn how to draw Electivire from PokŽmon. Start out with a very sharp pencil and lightly draw the outline of the body of the character. After this, use a firmer hand to draw a darker line on the outline of the body, then start to add in details of the face and the rest of the character. Next, draw the details on the body to give it more of a personality and make it look more realistic. Continue to draw on the rest of the body parts, using lines and shading where appropri...
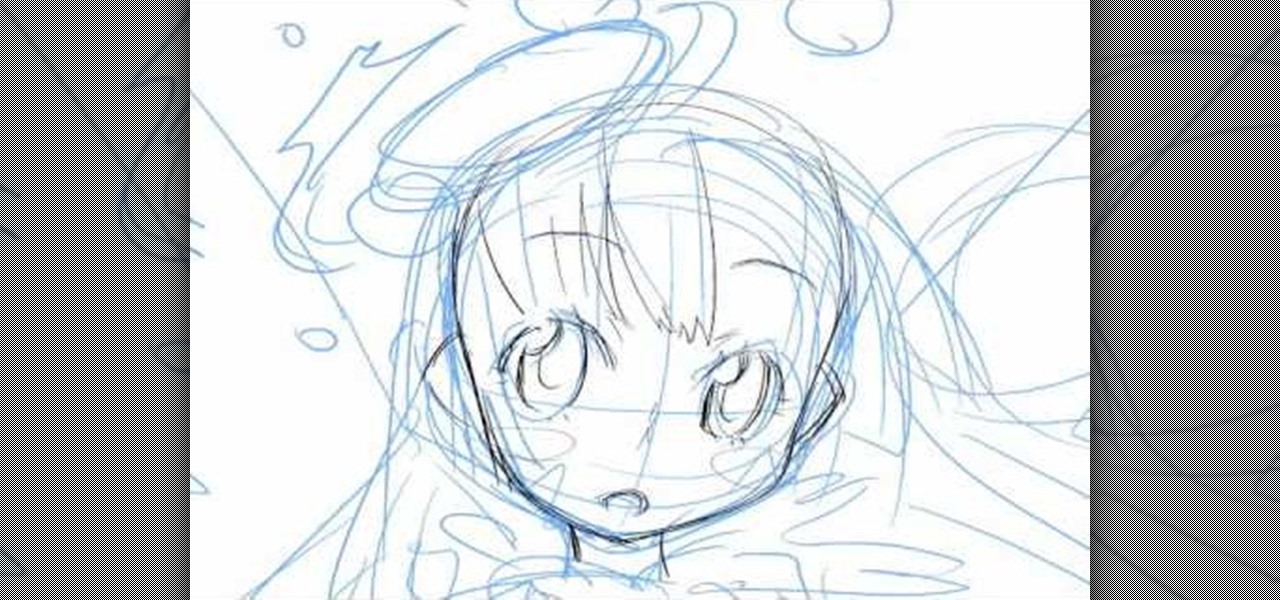
In this video, we learn how to draw Karin. First, start drawing a circle and then add the eye line to help you place the eye. After this, draw in a triangle at the bottom of the circle as a reference to where the chin will go. Then, draw in a line for the body, then circles for the body and shoulders. After this, draw in the neck and then draw the rest of the body. Now, draw in the hair and the details of the face. Once you have finished this, erase the background lines from the face and then...
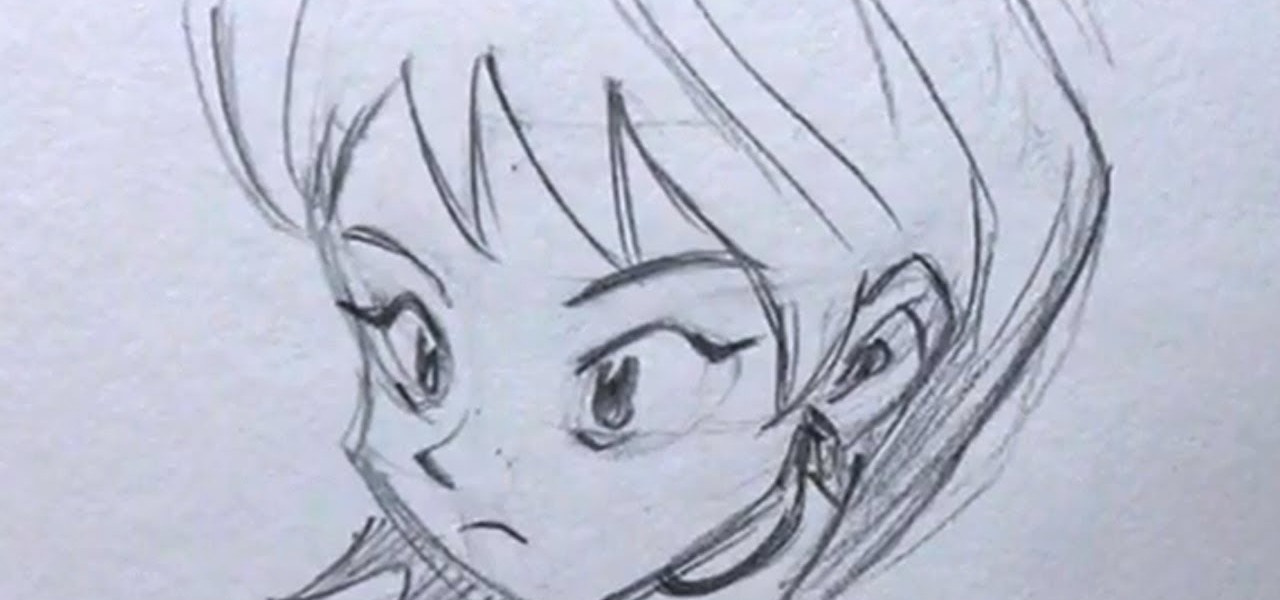
In this tutorial, we learn how to draw manga faces 3/4 view tilted down. You will start with a circle for the head, but you will make the chin go off to the side slightly. Next, you will draw a horizontal and vertical intersecting line off to the side of the face where the chin is. Next, draw in the circles for the eyes, then draw in the brow line. The brow line should be lower than normal. Once you have all the guidelines set up, add in the ear and start to draw in the details of the face. W...
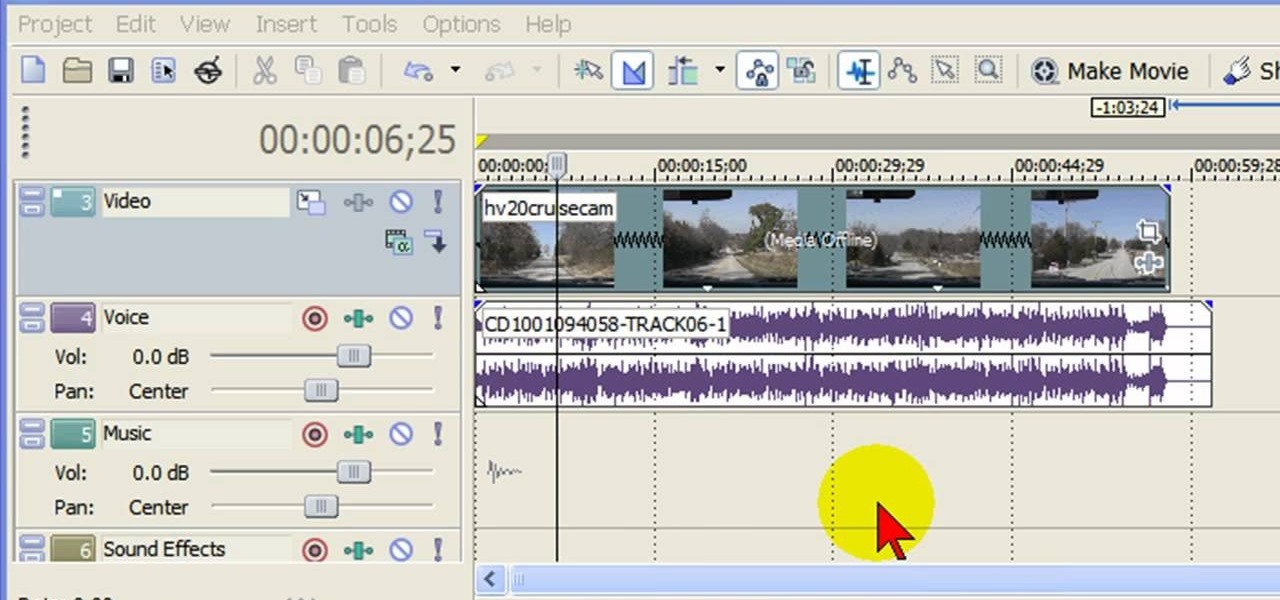
In this tutorial, we learn how to remove audio, record voice over, unlock audio in Vegas. First, load a video clip to the time line. Then, remove the audio by right clicking on the track and going to "group" and "remove from" Once you remove it, you can delete it and then add in new audio or a voice over. Just import media if you have an audio track you want to add into the time line. Drag and place it, just make sure it's not muted and play it. You can also record a voice over for the time l...
In this tutorial, we learn how to draw Train Heartnet. Start off by drawing a circle for his head, then lines in the head for reference of where the features will go. Next, draw a stick for the body and draw circles where the shoulders and wrists would be. After this, draw in the neck and the upper body. Draw in the clothes after this, adding in as much detail as you would like. Make sure to add in shading and lines to make the clothes look more realistic. Next, you will need to draw in the f...
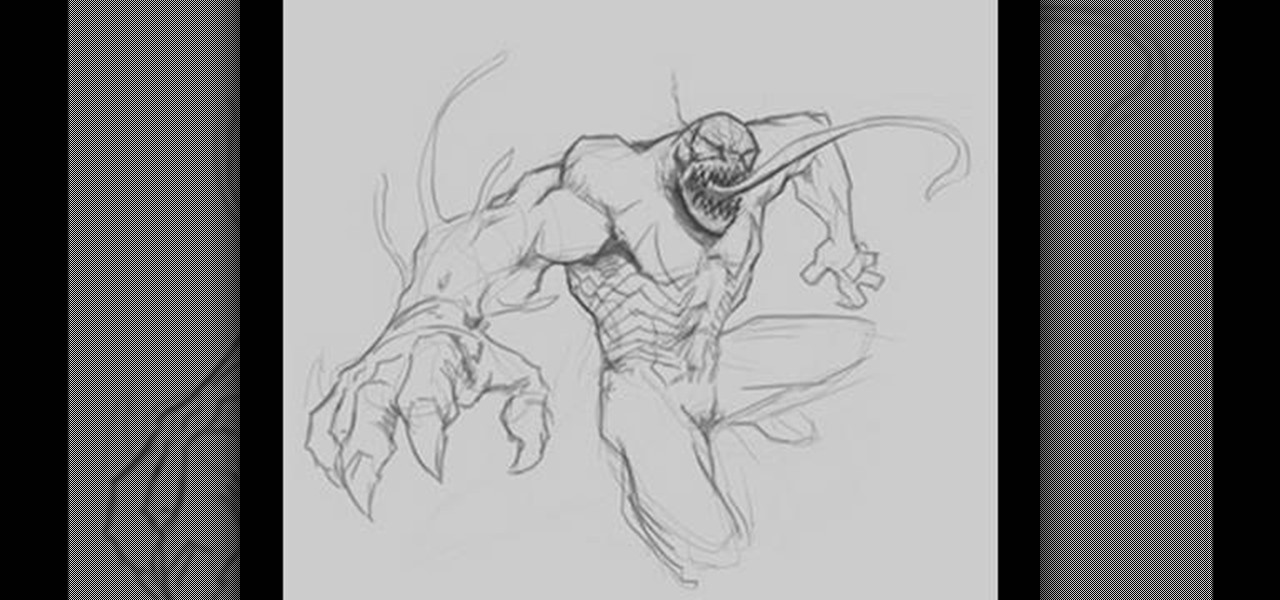
In this video, we learn how to draw Venom. Start out by drawing the outline of the entire body of the character. Use a soft line to create light lines throughout the entire body. After you have completed this, use a more bold line to draw around the body and start filling in details. Add the veins to the arms and then use shading to make them look more realistic. Draw in the details of the face and tongue, then continue on until you reach the torso to the feet. Once finished with the drawing,...
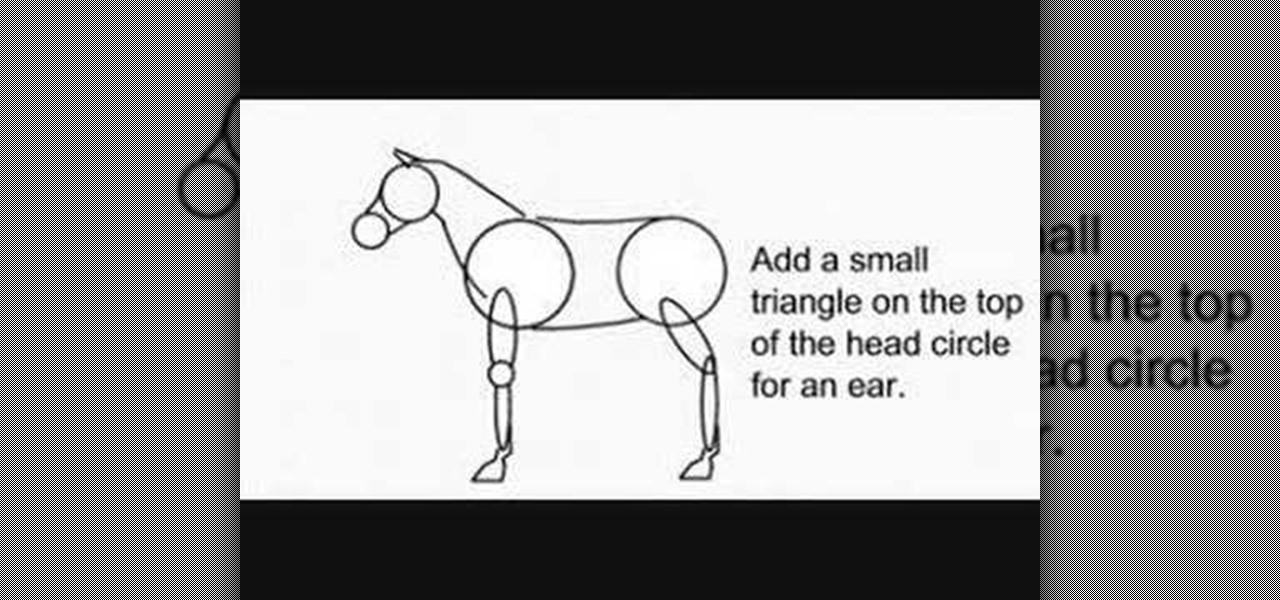
In this video, we learn how to draw a decent horse. First, start with two circles connected by two curved lines. Next, add a sausage for the top of each leg and add a small circle for the front of the knee. Then, add another for the lower part, and add two hoof outlines at the base of each leg. Then, add the back of the hooves. Next, draw two more lines that are far apart at the bottom and narrow at the top for the neck. Then, draw two circles for the top of the head and the muzzle. Join the ...
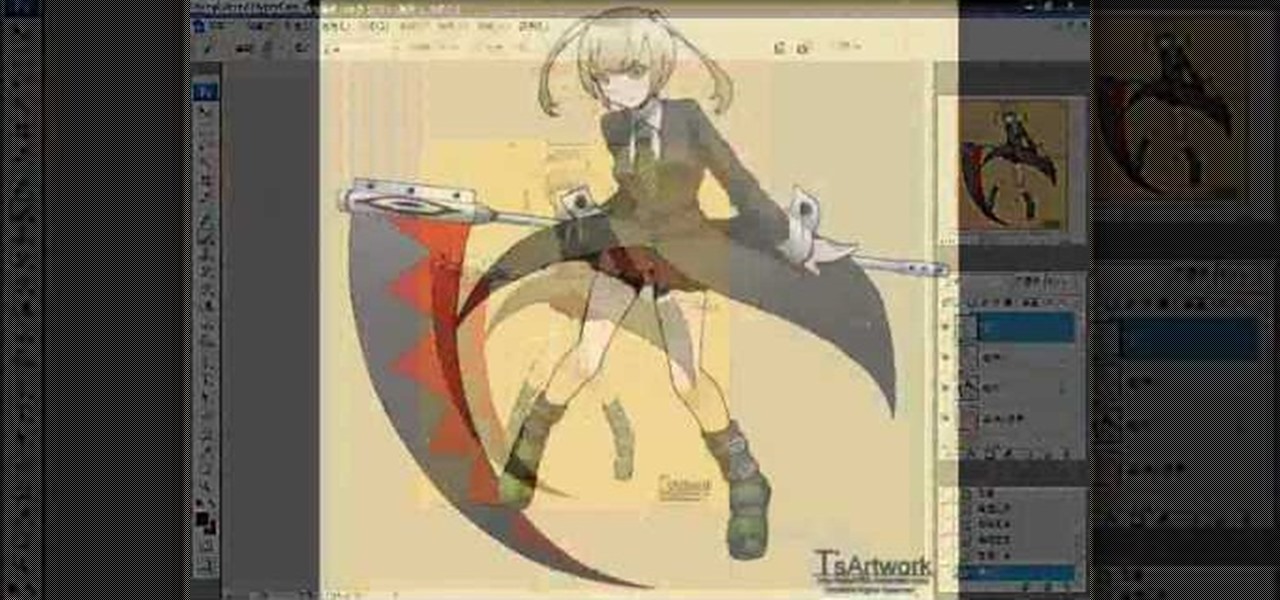
In this tutorial, we learn how to draw an anime or magna illustration on your computer. To start out, you will open up a new draft and start to create the outline of the anime together. As you continue, you will draw in darker lines that will be the outline and the details of the character as well. Erase any background lines from the drawing that don't fit in, then create new additional lines. When you're done, start to add in the facial features and details, then add in the hair and clothing...
Fine lines and wrinkles are one of the most visually disturbing parts of aging. If your wrinkles are making your look older than you feel and interfering with your life, watch this video to learn how to get rid of them and keep them from coming back.
In this clip, you'll learn how to create styles in Silverlight with in-line attributes & XAML. when working in Silverlight. Whether you're new to Microsoft's popular web application framework or a seasoned web developer merely looking to improve your chops, you're sure to find benefit in this free MS Silverlight programming lesson. For more information, including a complete demonstration and detailed, step-by-step instructions, take a look.
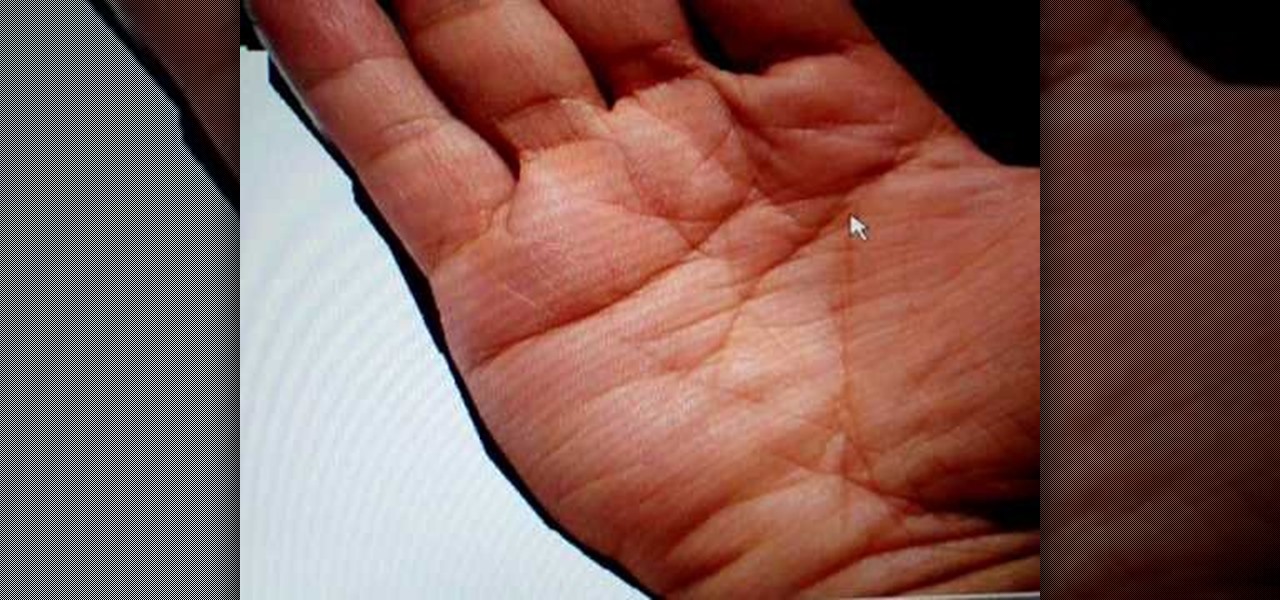
In this video, Peter John teaches us how to palm read the right hand and changes. The square hand is usually the practical side of the person. Where the thumb comes out from the side of the hand shows a person of extravagance. When the thumb is closer to the hand it shows a person who clings or holds onto their money. A line underneath the pointer finger means the person is going to go into business. A line coming out from underneath that means someone who controls their emotions and can make...
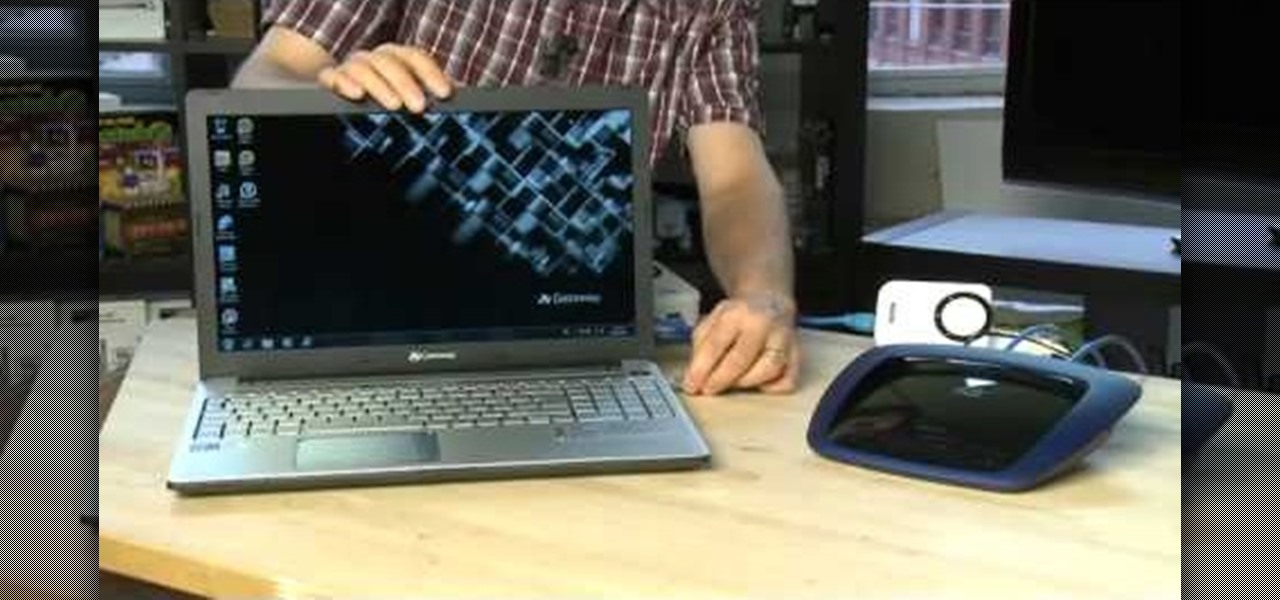
Interested in setting up a network over your power line? This brief video tutorial from the folks at Butterscotch will teach you everything you need to know. For more information, including detailed, step-by-step instructions, and to get started setting up your own home network, take a look.