
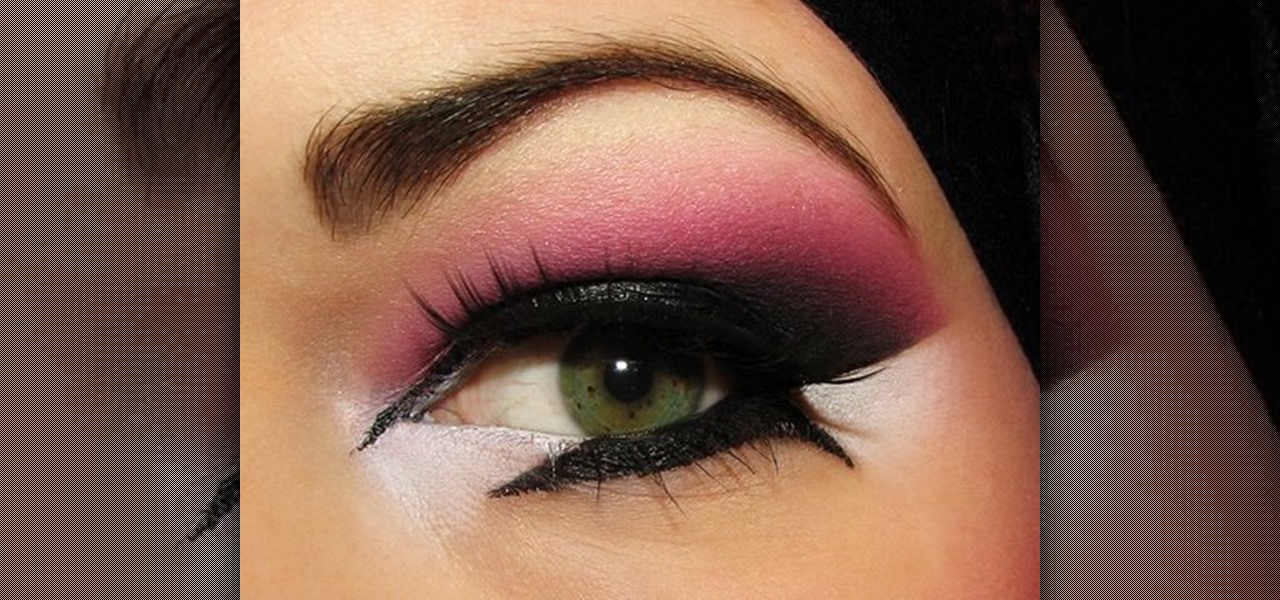
How To: Line Arabic eyes with pink & purple eye shades
- First apply Urban Decay primer all over the eye. - Put a piece of tape underneath your eye.

- First apply Urban Decay primer all over the eye. - Put a piece of tape underneath your eye.
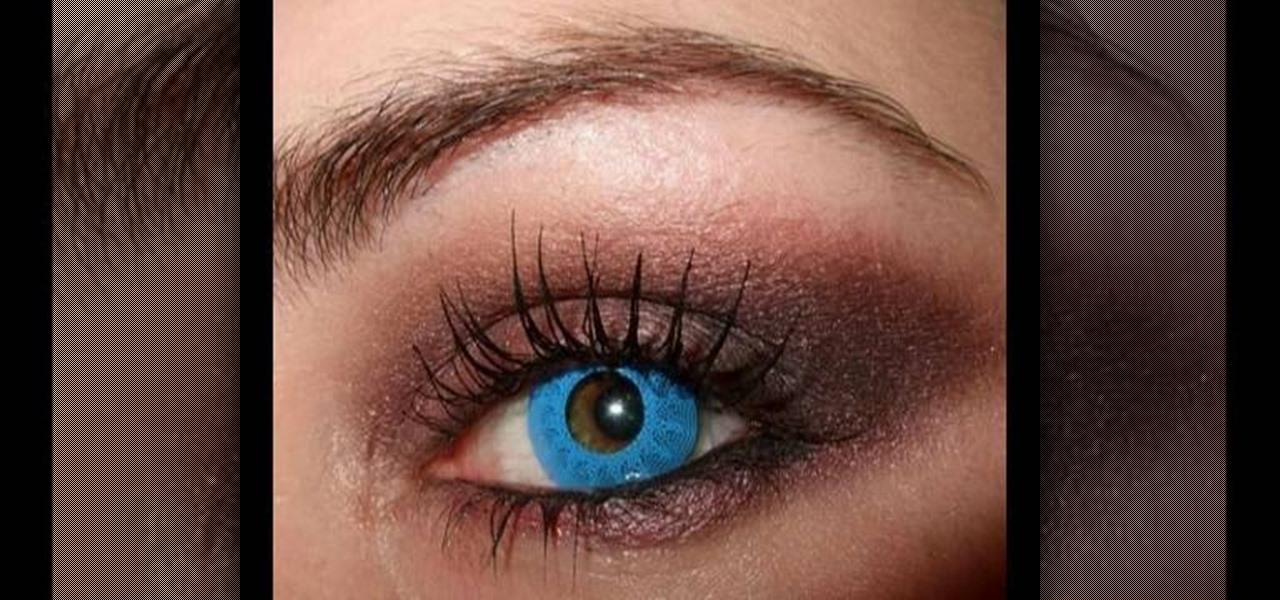
To get the smoky vampy look, inspired by Amy Lee of Evanescence, follow these instructions: 1. Wash, moisturize face, and apply primer/foundation/concealer as you normally would.
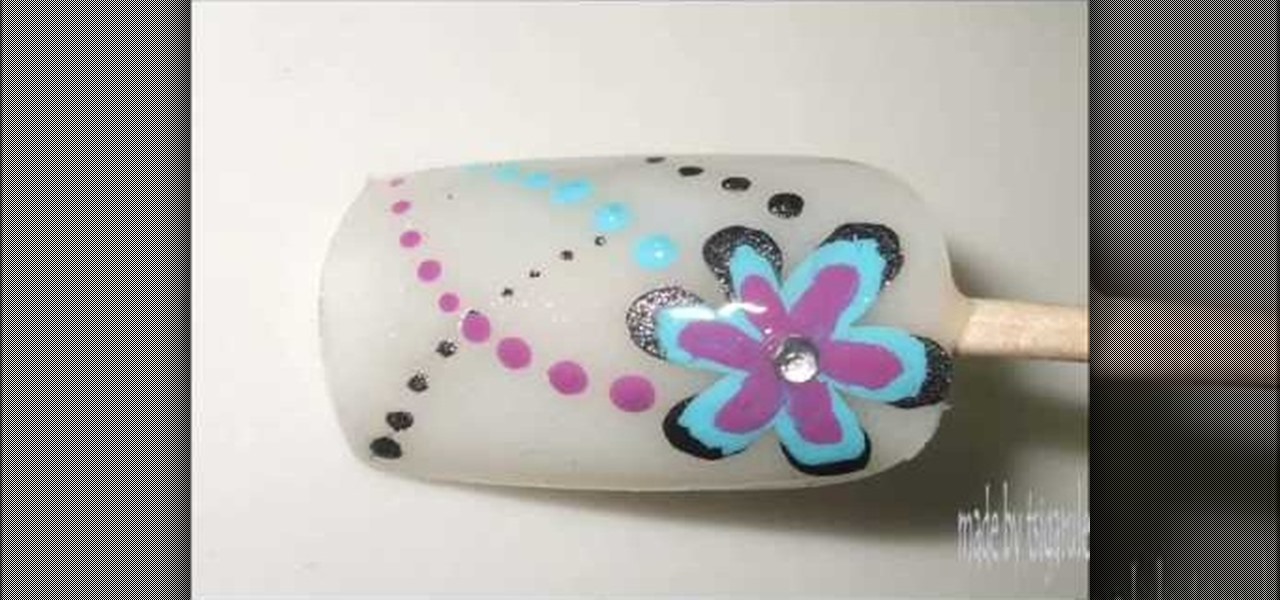
This video shows some you how to get nails with designs using glitter and rhinestone. • Nails are painted with different colors, glitters & stones.
This makeup palette is the Forest Fairy Sprite Wood Nymph created by MissChievious. Begin with regular foundation. Get a little dark gold and golden cream eyeshadow with a knife & mix it into foundation. Take a large makeup blush type brush & put green shadow around top & sides of forehead blending it up into hairline & around the sides of face, continuing slightly onto the cheek hollows as you might do a light contouring. Take golden cream & dark gold & mix them before applying to center of ...
If you have a stack of old t-shirts that sit in your dresser, unworn, why not get some use out of one of them by transforming it into a scarf? Save some money... You'll have scarves for days with this technique!

Pants too long or too short? Skip the cost of a tailor – hemming your own pants is "sew" easy. You Will Need

Doing the laundry uses a lot of water and energy. Here’s how to wash your clothes with a clean conscience. This video will show you how to conserve energy when doing laundry.

Need a way to keep the kids busy on a rainy day? Making a pop-up card is quick, easy, and will entertain them for hours! Watch this video to learn how to make a pop-up card.

Take a lesson in architecture from renowned architect Doug Patt by watching this video tutorial. If you want to learn about drawing and designing, without going to school, Doug's just the teacher. Watch to see how to draw and letter with lead like an architect.
So now you've completed everything that the Dark Brotherhood quest-line in The Elder Scrolls V: Skyrim has to offer. But now what's left to do? Anything? Well sonny, there is something you could do! After you complete the quest-line, one of your goons will suggest to you that some upgrades are in order for the sanctuary. Doing so will add some really cool bonuses.
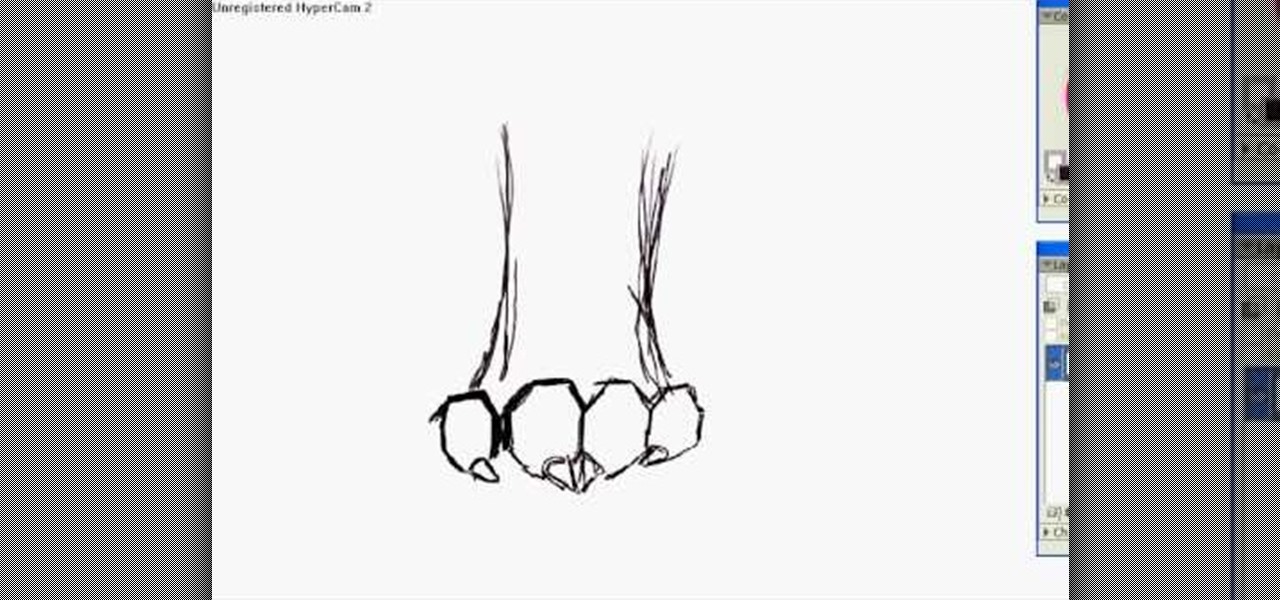
In this video, we learn how to draw animal paws from the front. First, draw the wrists for the paws and make the bottom part wider. After this, draw on the nails on the very front of the wrists. Make sure to add on a pointed tip for the claw on the top of the nail. After this, start to add in additional lines around the joints in the paws to make it more bold. Then, you will need to add in additional lines on the sides to make it look like hair. This will complete your paws, have fun with the...

In this tutorial, we learn how to draw fold legend Bob Dylan. To start, you will first draw the hair and the head along with the upper body, hands, and guitar. After this, you will start to add in the facial features. Draw on the eyes and add lines to make the face look more realistic. Make sure it looks like he is holding the guitar with his hand, showing one hand around it. After this, you will need to add color to the drawing on both the clothing and the skin. To finish, you will erase any...
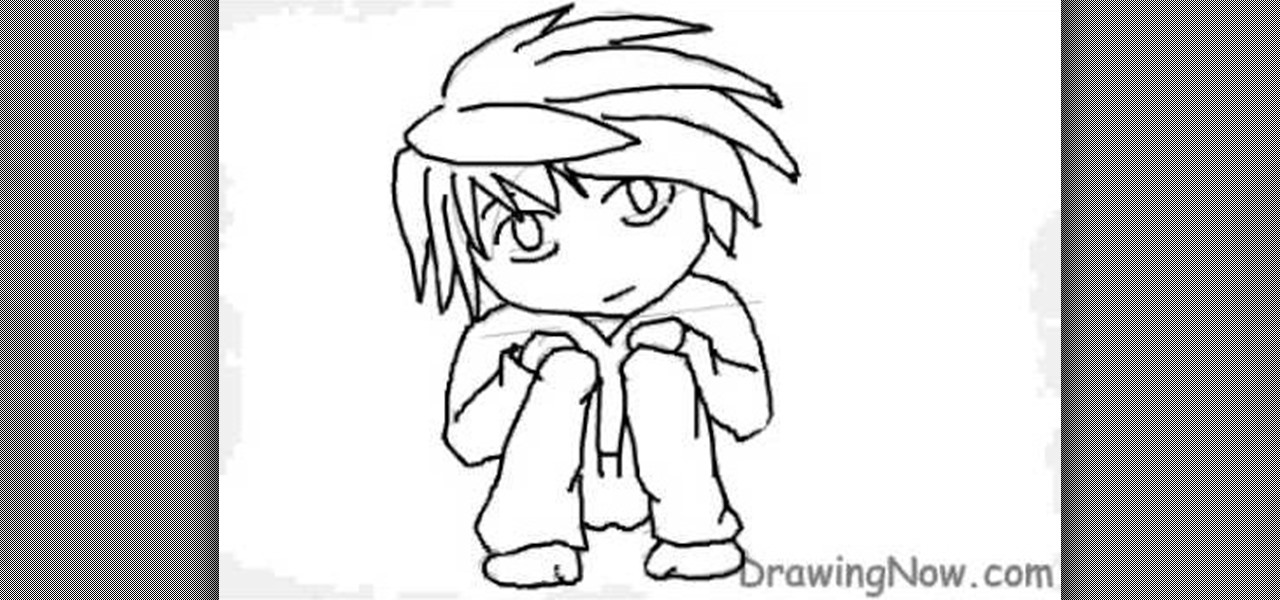
In this video, we learn how to draw a chibi L. As with any drawing, you want to start with the outline of the character to get a feel for where all the parts are going to go. After this, you will use a different drawing material to draw over this and create the final lines for the Chibi L. After this, start to draw in the details of the face and the rest of the body. Also make sure you draw in the hair, adding lines to show where the different strands are. Finish this off by coloring the skin...

In this tutorial, we learn how to draw a female face with hair. First, draw the head and then draw the shape of the chin. From here, you will draw the bangs and the hair. Draw the hair with wavy lines to make it appear curly. After this, draw on the features of the face with a darker marker. Make sure to add in small details and lines to make the face appear more realistic. Then, start to add in the details of the hair and give her a smile on the face. Finish the upper body and then add in so...
In this drawing tutorial, we learn how to draw a chibi Sokka. Start off by drawing a round circle for the head of the character. After this, draw on the ears to the sides of the head. Then, draw on the hair on the back of the head followed by the facial features. After this, draw on the body, but don't draw a neck because this character doesn't really have one. Once you have the outline finished, start to use a darker marker to create the clothing and other details onto the character. Clean u...

In this video, we learn how to draw Hinata. To start, you will draw a circle with lines in between it to place where the eyes will go. Next, you will draw in the eyebrows and the other details around the face. After this, draw in the bangs and the hair, adding lines for them to show the different details. After this, you will draw in the area of the neck and then the clothing on the upper body. Finish off the details in the eyes and then shade in the hair and around the body. When finished, s...

In this tutorial, we learn how to draw a twisted skull. First, draw the outline of the skull and then start to draw in the jaw line around the middle. After you have this drawn out, draw in the teeth on the top and bottom of the face. Then, draw in the eye sockets and the nose shape. From here, start to add in lines that look like cracks around the top and sides of the skull. There is no perfect way to draw this, draw it how you feel it should look! Add in some shading to show the depth and c...
In this tutorial, we learn how to get Leona Lewis' Avatar themed "I See You" makeup look. First, you will need to apply black eyeshadow to your entire lid up until you reach the crease. After this, use a brush to blend the color out and create a winged effect on the outside corner of the eye. Next, apply this color on the bottom lash line, making a slightly smudged effect with your finger. From here, you will apply a teal colored shadow all over the eye and on the outside flare as well. Then,...
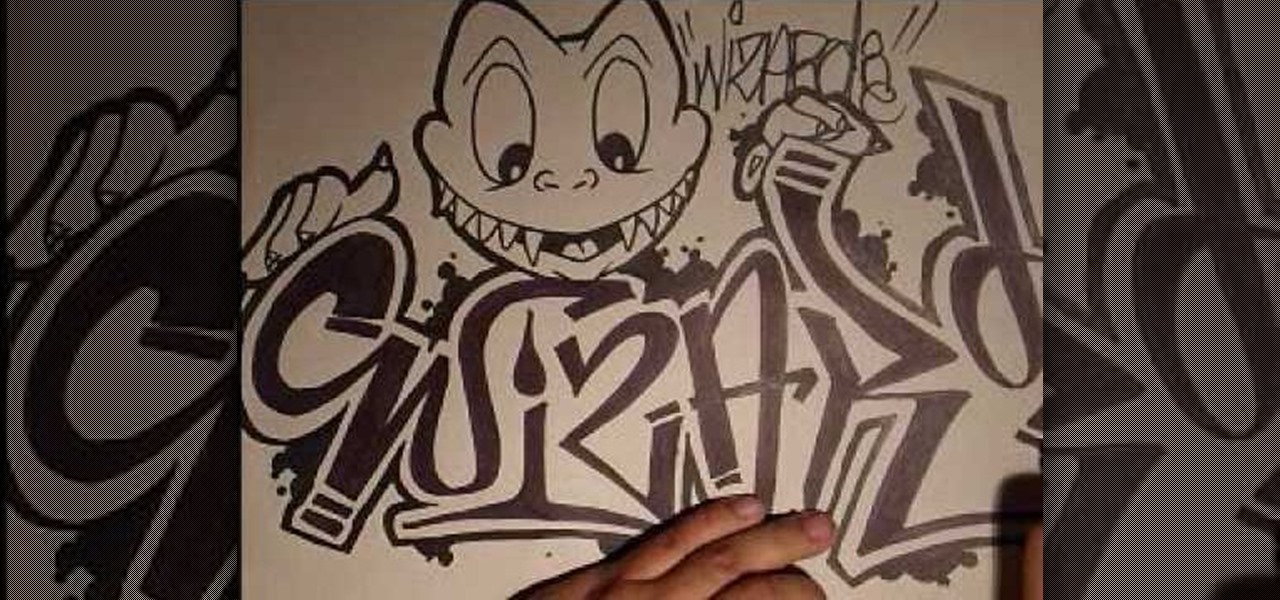
In this video, we learn how to draw a graffiti character. Start out by drawing two large eyes with small pupils at the bottom of them. Next, you will draw a nose and a mouth with pointed teeth. From here, you will draw the head around this and the jaw line for the mouth. Shade in the mouth and add lines to the face, then draw graffiti letters for the name of the character right underneath it. When you draw the letters, make sure to drag the letters out to make them flare more and stand out. W...

In this video we learn how to make a rose out of paper. First, draw on a piece of paper four squares with a diamond in the middle. Fold it in half then flip it over and fold it again. After this, you will fold it again, folding it in half several times. you should have small lines all over. Then, take the line and make a diamond shape out of it. Fold this down in the middle, then take the creases and start folding around this. Twist the bottom into a stem, then you will have the rose and can ...
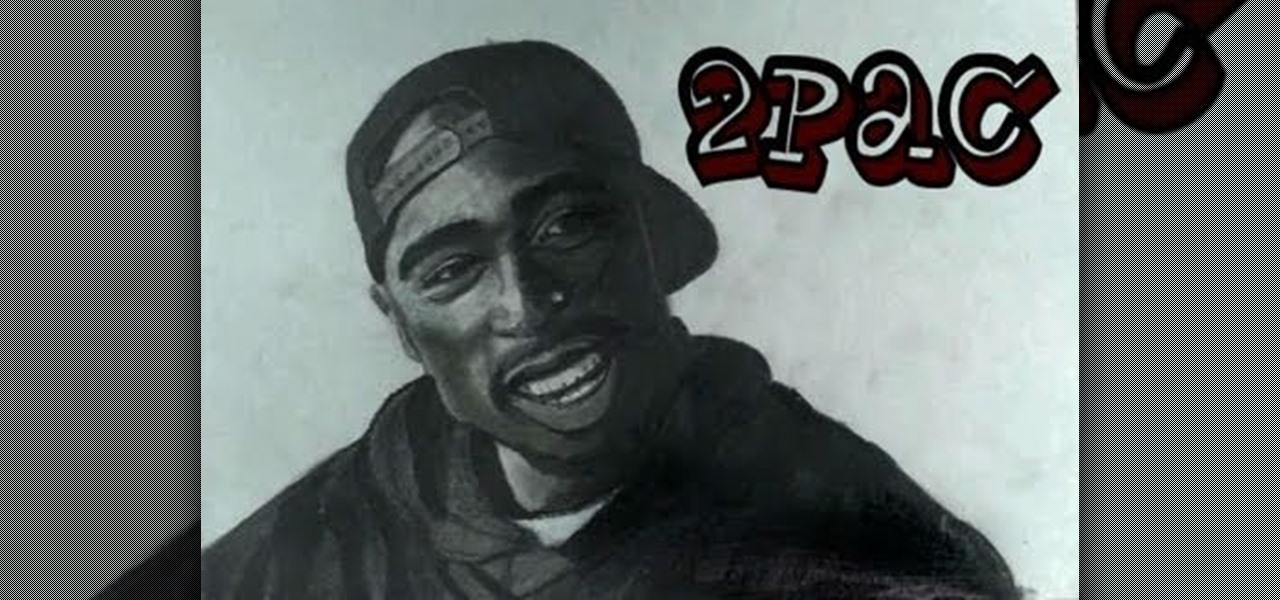
Everyone remembers the day Tupac Shakur sadly passed away at the hands of gunfire, but his memory and music live on, and so does his ruggedly handsome look, which you can recreate in a 2Pac portrait. Merrill K shows you how he draws Makaveli in this drawing tutorial, so grab your art supplies and follow along. Pause the video when needed.
A fancy, elegant hairstyle doesn't have to be a pain in the ass to maintain. In fact, there are certain hairstyles that look gorgeous even as you've just woken up and are getting out of bed.

In this tutorial, we learn how to draw a neighborhood using an imaginary box. First, draw a straight line and then the boxes should go around it. Continue to draw additional boxes around the line, then fill them in with the outline and further details. Draw in the roof, walls, windows, and doors. When you finish with the details, start to shade them in and then add in the street details. Make sure to give the ground some rough edges and also add in lights on the street. Add as many details as...
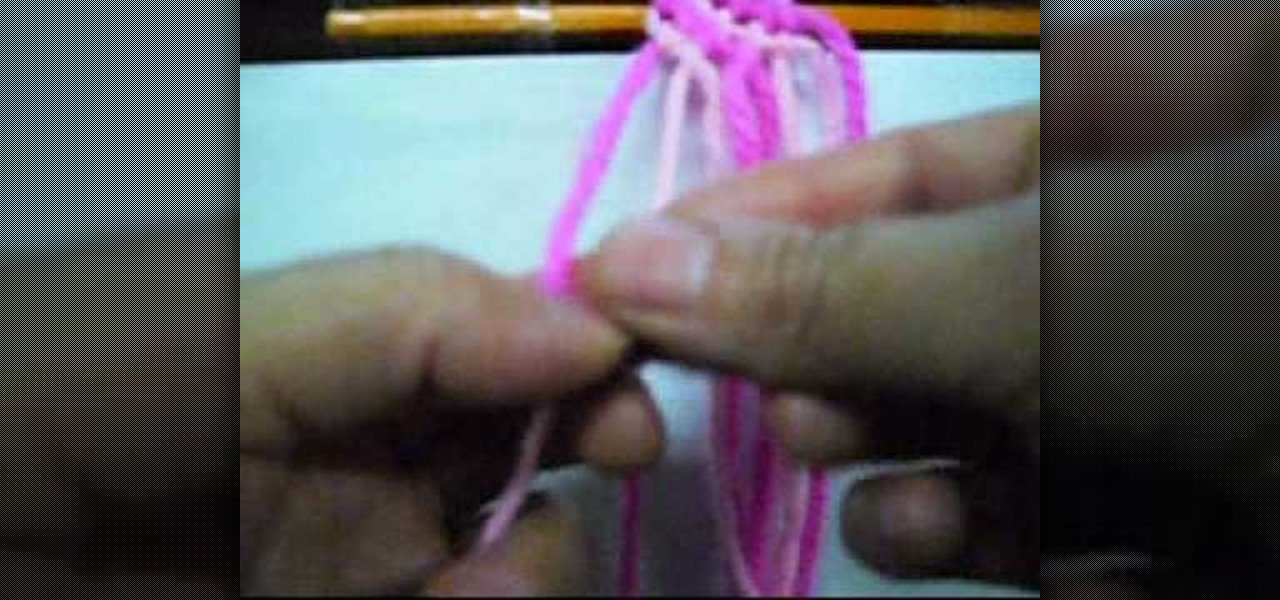
In this tutorial, we learn how to make a dual-colored line friendship bracelet. Start by creating knots in the strings going from left to right. After you have covered all of the strings on the bracelet, you can start to braid. Make sure the strings are clipped at the top to keep them in place. When you start to braid, take the two to strings on the left, and braid them in with the others going from left to right. Then you can continue to do this process until you reach the end of the strings...

In this tutorial, we learn how to draw the face of an anime young man. Start out by using a pencil on a white piece of paper, drawing spiky hair at the top of the page. After this, draw in additional lines to create more hair around the face, then draw in the sides and the bottom of the face. Next, draw in the features of the face, including the eyes, nose, ears, and mouth. Then, start to draw the clothing and add shading in on the clothing and the top of the hair. Add in more lines to make i...

In this video, we learn how to draw and color landscape scenery. First, draw your starting point, making a horizontal line. After this, draw other reference points on the paper, then start to draw in lines to see where your structures are going to be. After you do this, make trees on the paper, then start to fill in details of plants and flowers around the trees. Draw in buildings and stairs, making mountains and hills in the background. Add as many detail as you feel needed, and then start t...

In this tutorial, we learn how to draw steps in perspective. Start off by drawing a dot in the middle of the paper. From here, draw lines using a ruler coming from the middle diagonally on the top middle and sides. Now, you will be able to draw your pictures using these as a reference point. The lines at the top will show the steps that are at the top and farthest away the closer they get to the dot in the middle. After this, fill in the details of the picture making different items around th...

In this tutorial, we learn how to draw wings. To start, use line options to make curves that bend out and turn into a long and thin wing. You can copy and paste this wing so that all the different parts of the wing are the exact same. After this, use a free hand brush to draw curved lines onto the top of the wing outline. After this, start to add circles and other details to the wing. You can fill it in with color or add in more feathers where they would be on top of the wing. To finish, save...
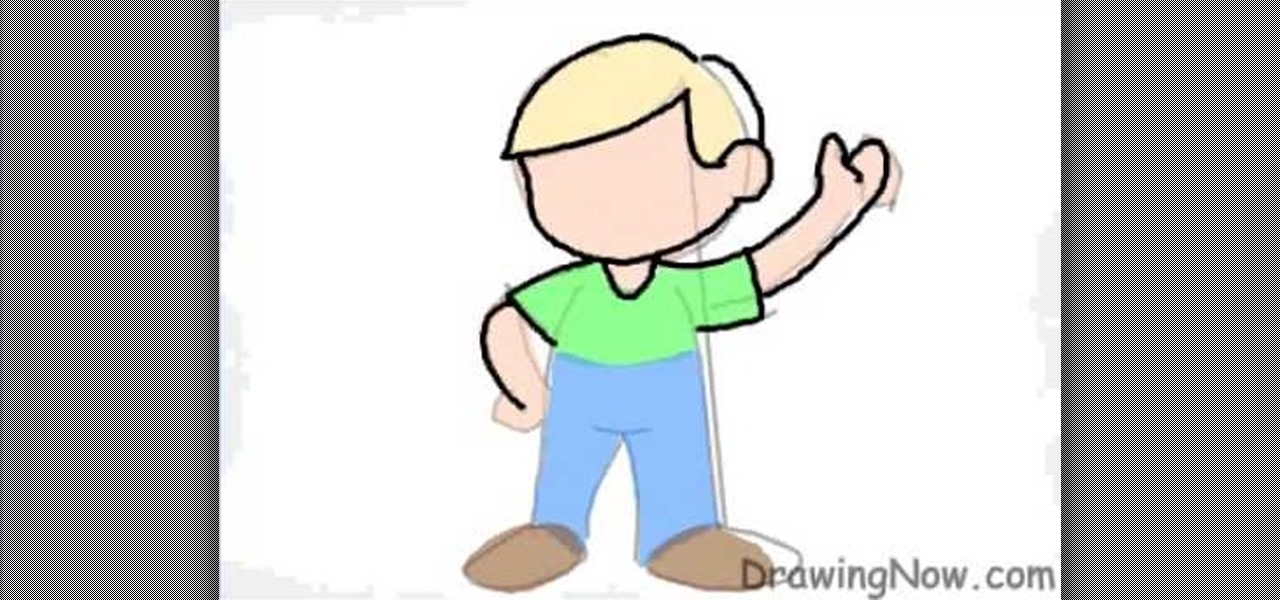
In this tutorial, we learn how to draw a cartoon figure of a boy. Start out by drawing a large circle for the head, then drawing the arms underneath and a circular body. next, draw the hair onto the boy, and add shoes, a shirt, and pants. Now, color the hair yellow, the body skin color, the shirt green, and the pants blue. Outline the drawing with black ink, then add on the facial features. Start with two circular eyes, a nose, and a small mouth that is a curved line. Add in more hair to the ...

In this tutorial, we learn how to draw an interior perspective of a room. First, draw a horizontal line, then start to draw squares around it, then add in the back doors and the shelves, counters, windows, and more. Add in details using vortex lines as your focal point. You can use this technique to draw several different perspectives of different rooms. You can draw kitchens, mudrooms, living rooms, bedrooms, and more. You can also add in the little details, including couches, artwork, thing...

In this video tutorial, viewers learn how to draw a cartoon bird. Using the gray pencil tool, draw an oval shape for the body of the bird. Then create the lines for the wing and tail. Now add the details with black outlines. Then use transparent colors to fill the body, tail and wing with different shades of color. Add details to the wing by drawing some lines. The beak should be short and sharp, and the eyes should be highlighted in white. Color the branch with the brown paint tool and the l...
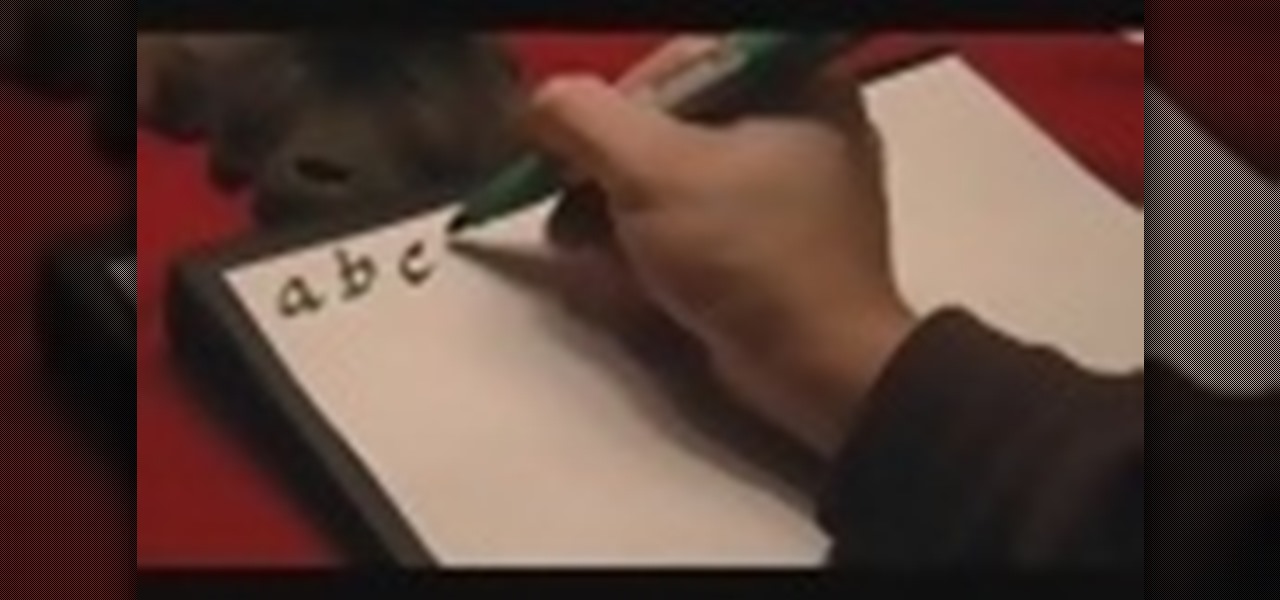
In this tutorial, we learn how to write in lowercase calligraphy letters. To begin, you will write in lower case letters just use a more find edge then you do when writing normally. The letters will all have a twist to the edge of them to make them look more fancy than normal. There are no straight lines, all the lines have a slight curve or curl at the end of them. Practice doing each letter on a piece of paper with a calligraphy pen or marker. The letters will look very similar to the usual...
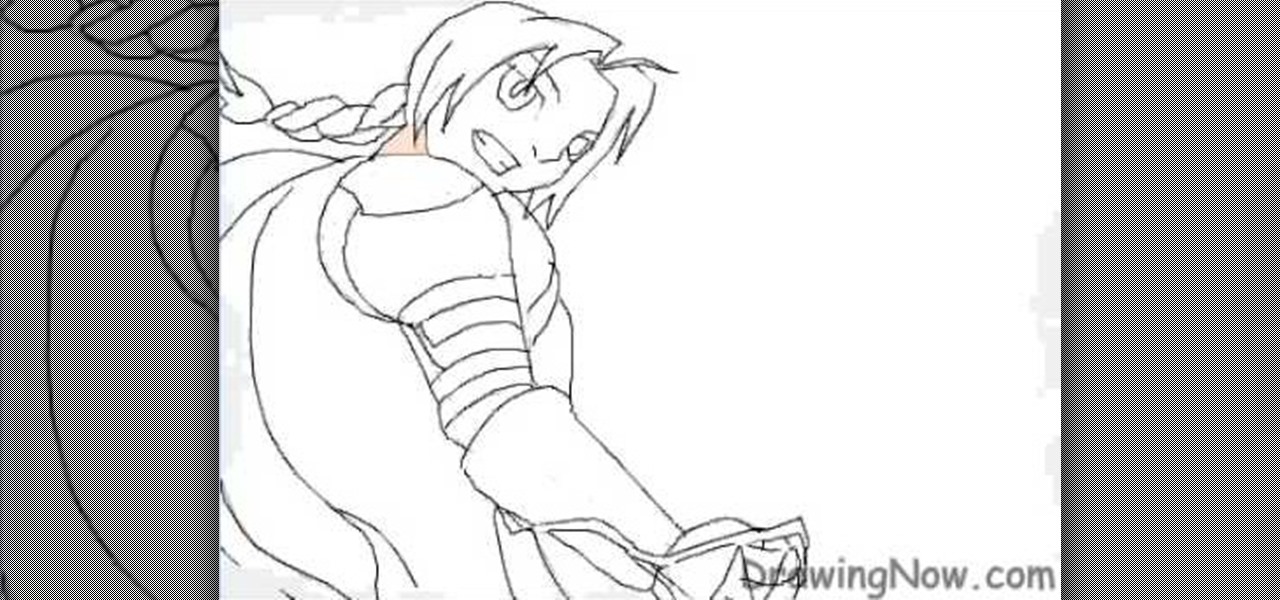
In this video tutorial, viewers learn how to draw the animated character, Edward Elric. Begin by drawing the guidelines of the character in 30% black pencil lines. The head is drawn as an oval shape. The shoulder is guided by a large circle and the elbow by a smaller circle. Connect the shoulder and elbow together with a stick line. Add details with the opaque pencil and erase the guidelines. To color, start with a mid-tone and add shading. Use some transparent tones on the mechanical arm. Hi...
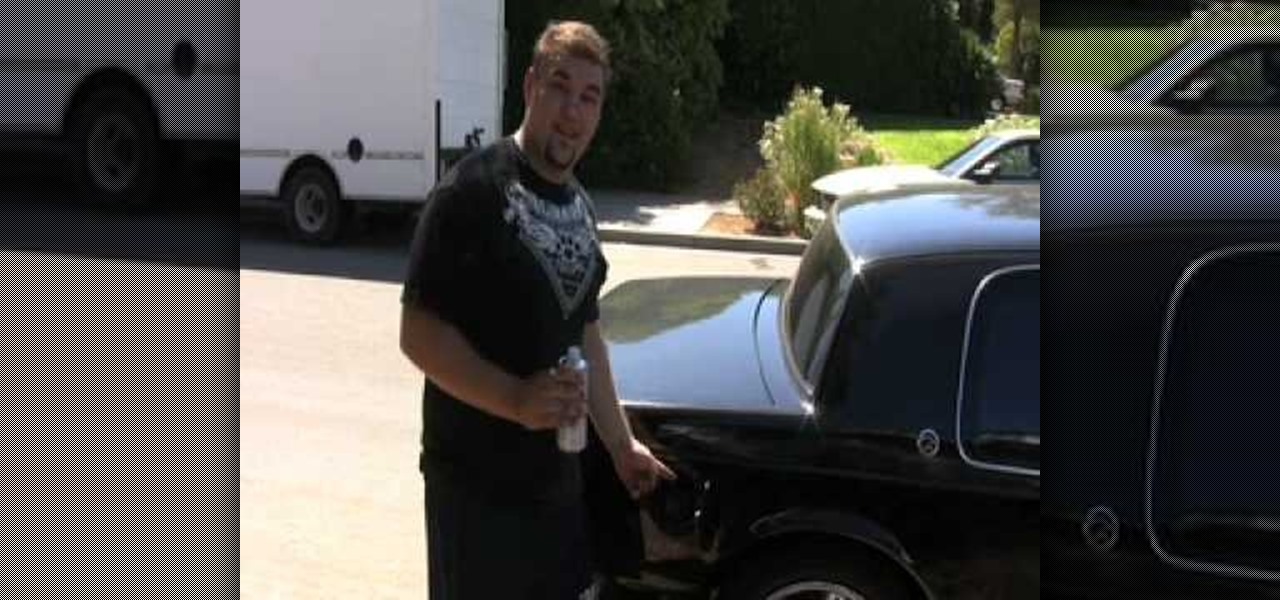
In this video tutorial, viewers learn how to clean the residue out of a car using Sea-Foam. Sea-Foam is a formula that is used to clean any car's residue buildup. Begin by turning on the vehicle. Add 1/3 of Sea-Foam into the vacuum lines that is connected to the break master housing. Then return the vacuum line to it's original spot. Next, add 1/3 of Sea-Foam into the crank case. Finish by adding the remainder of the Sea-Foam into the gas tank. This video will benefit those viewers who have a...
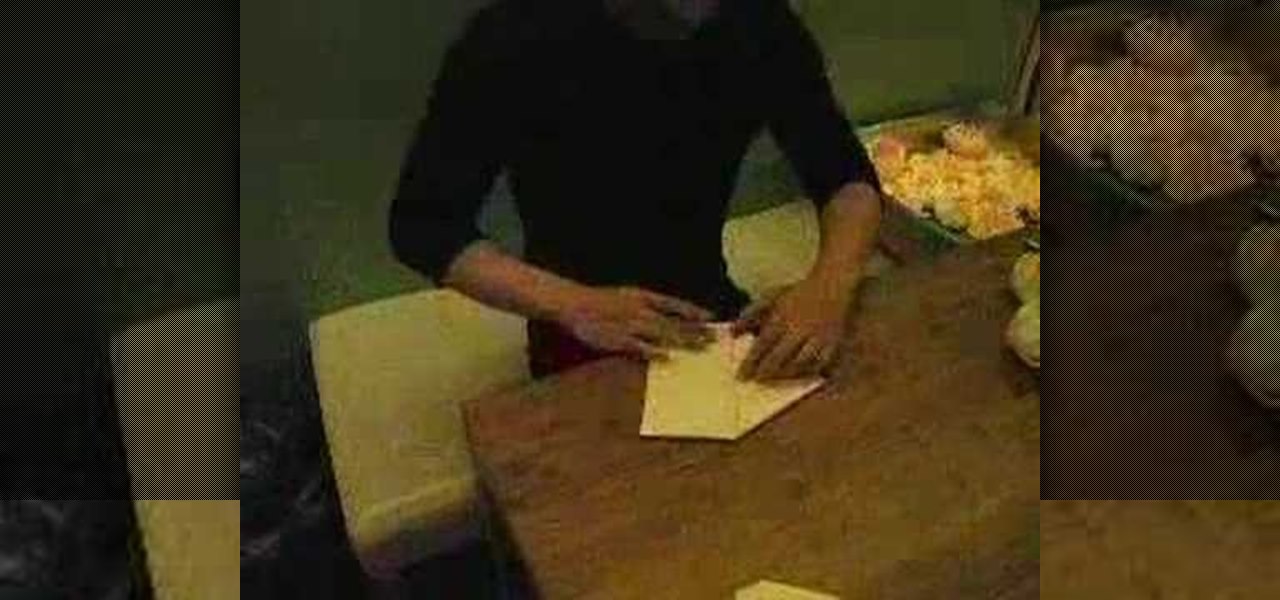
In this Hosting & Entertaining video tutorial you will learn how to fold a cloth napkin into a flower. First fold the napkin in half. Then lift one corner and fold it back up to the center fold line and do the same for the other corner also. Now fold the center point back up to the center fold line. Flip the napkin over and repeat these steps. Then open up the center fold and fold the protruding triangles back up to the center point of the napkin. You now have a square folded napkin. . Now fo...
More likely than not, you're going to be doing smokey eyes off and on for the rest of your life because the makeup look flatters whether you're 21 or 52, going to graduation or just going to work.
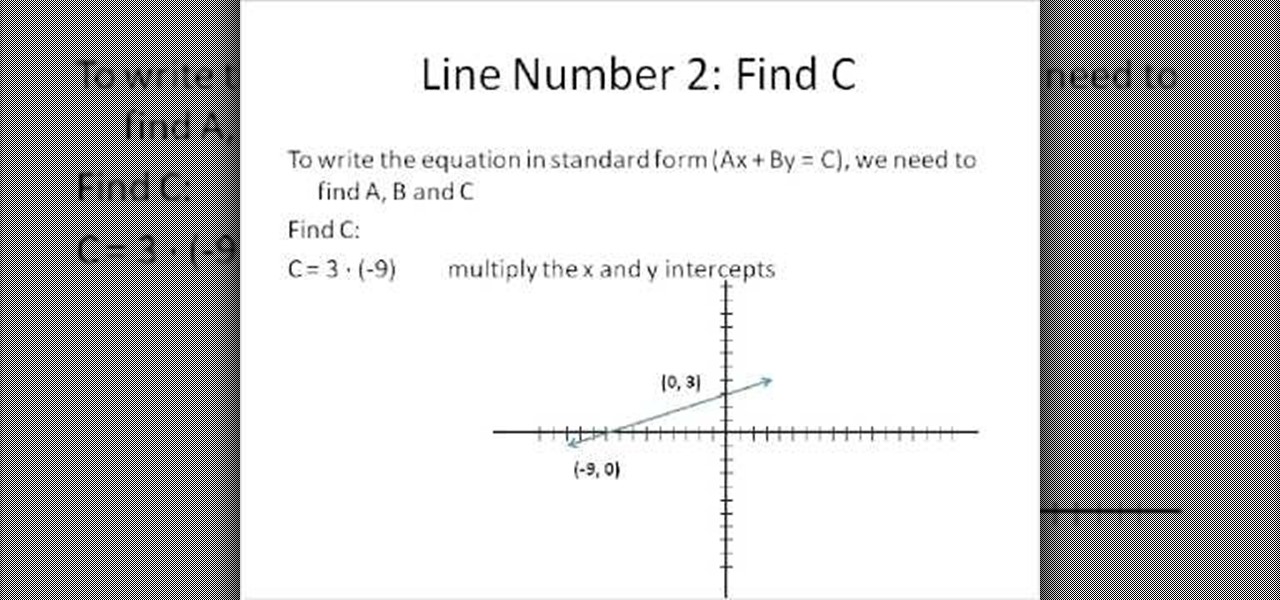
Looking for a primer on how to solve a standard-form linear equation in algebra? Learn how with this free video lesson, which offers examples of how to use the x and y intercepts of a line to write the equation of the line in standard form. From Ramanujan to calculus co-creator Gottfried Leibniz, many of the world's best and brightest mathematical minds have belonged to autodidacts. And, thanks to the Internet, it's easier than ever to follow in their footsteps (or just finish your homework o...

In this video tutorial, viewers learn how to draw Homer Simpson from the animated shot, The Simpson's. Begin by making a light outline of where the top of the head, sides of the head, ear and neck will be. Then do a light sketch of where the mouth, nose and eyes will go. Make the eyes large and make one eye overlap the other. Also make the nose into a sausage shape and mouth into a lemon shape. The eyes should be overlapped by the nose. Make the top of the ear line up with the bottom of the m...
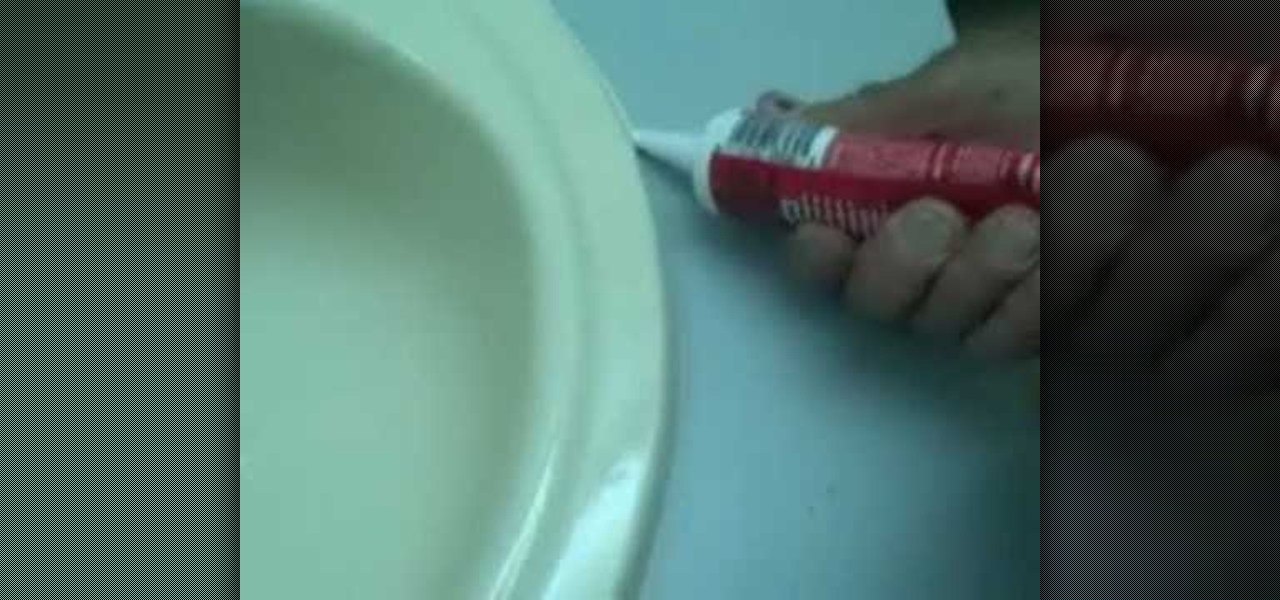
This video demonstrates how to caulk a sink. For this project, you will need a tube of caulk, a towel, and an X-acto knife.
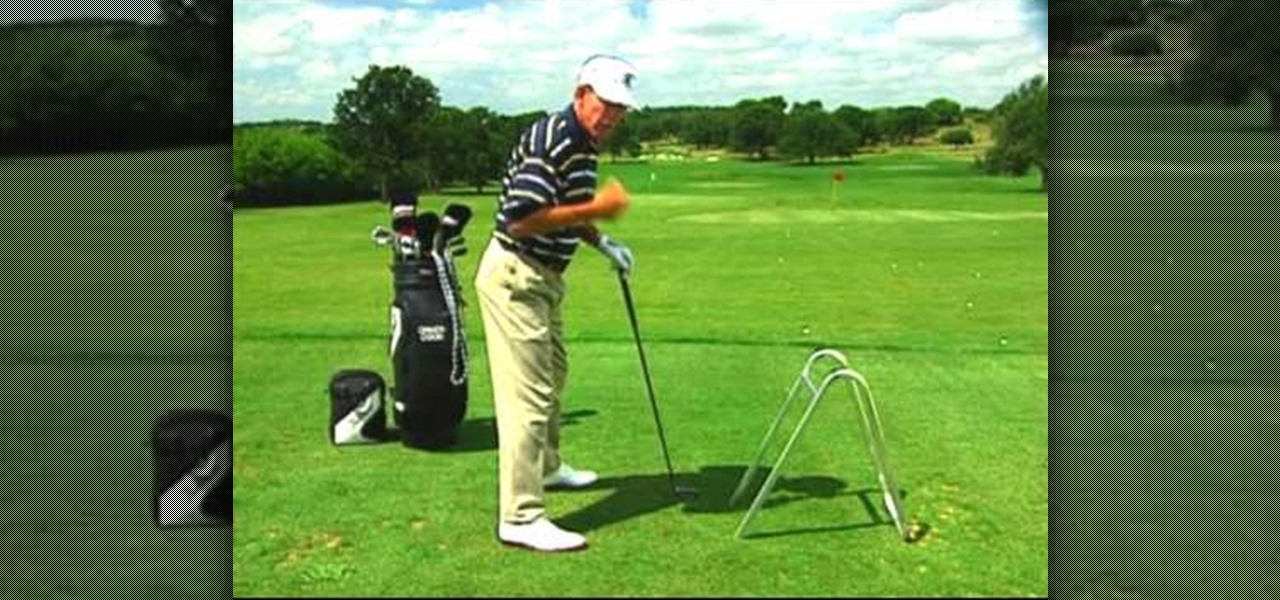
In this video tutorial, viewers learn how to use a jump rope drill to help prevent golf pull shots. When beginning a swing, some people tend to rock the right shoulder upwards which doesn't get it far enough from the target line and causes the down swing to go out and over the target line. When swinging, make the right shoulder go straight backwards away from you and put the weight on your left heel. To perfect this, loop a jump rope over a fixed object. Then alternated and pull one end of th...