
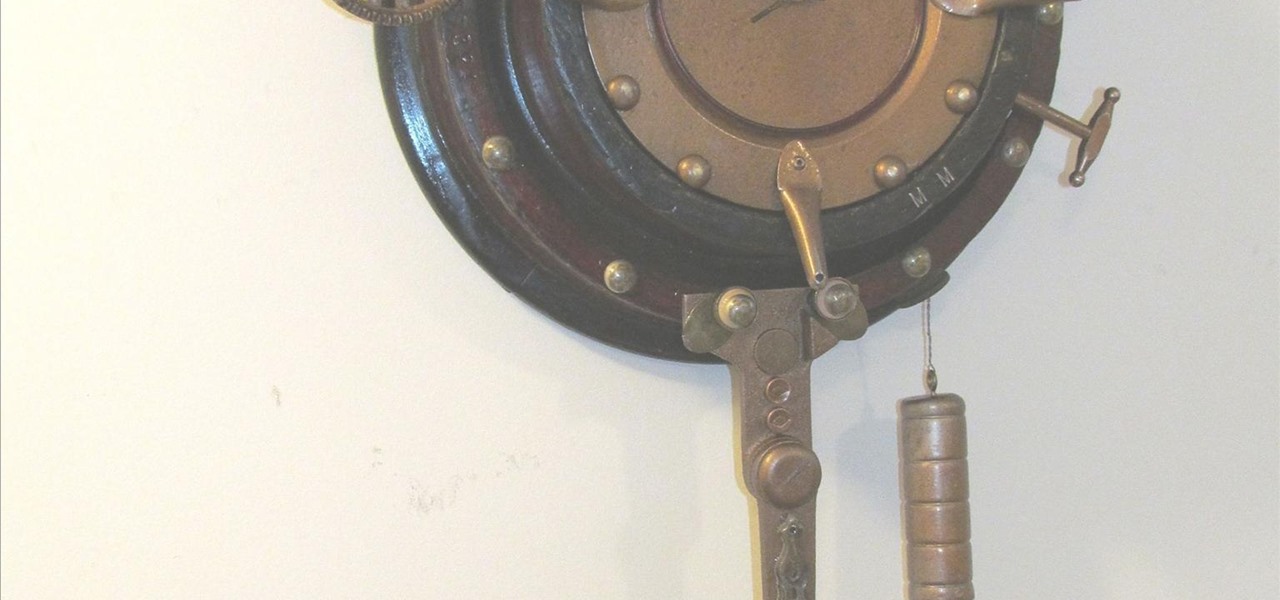
News: Real Metal-Real Wood-Real Steampunk
If you are tired of finding production line, plastic Steampunk pieces then I hope you check out my site and let me know what you think.

If you are tired of finding production line, plastic Steampunk pieces then I hope you check out my site and let me know what you think.
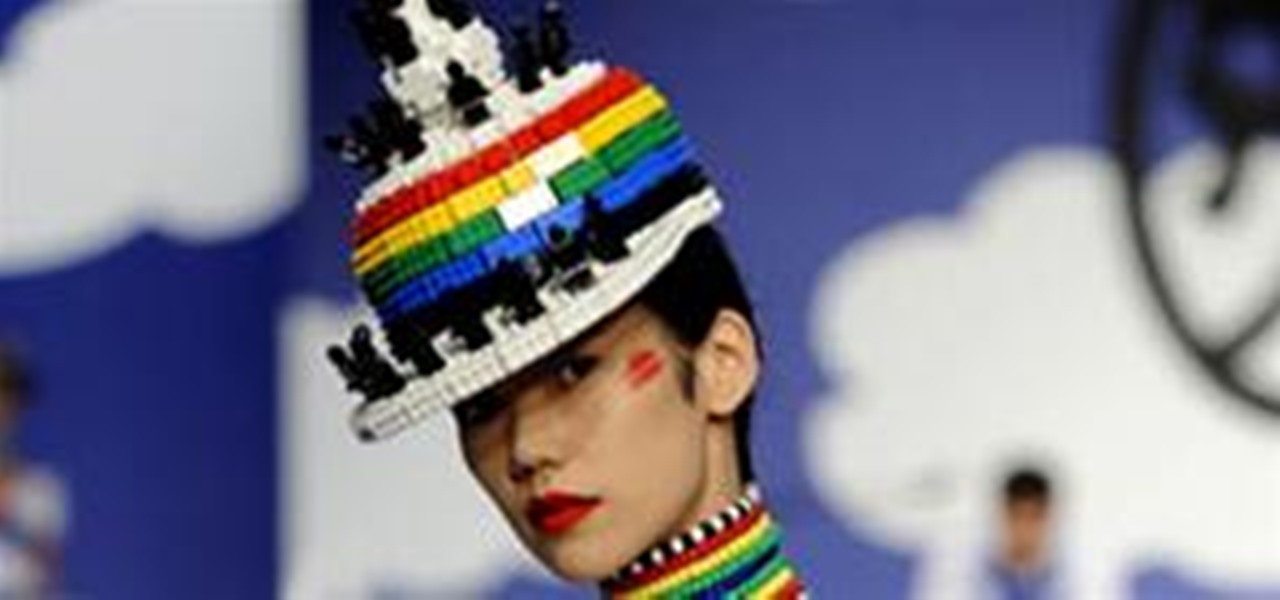
Whether you're inclined to love it or leave it, you've gotta admit one thing about JC de Castelbajac's LEGO fashion line- it's fun. More 80's pop culture revival: LEGO constructed hats and LEGO inspired prints set to cartoon blue skies. Scroll all the way down for JC de Castelbajac's runway videos (one in LEGOmation, the second live footage of the actual runway show). Previously, Make-It-Yourself LEGO Gummies.
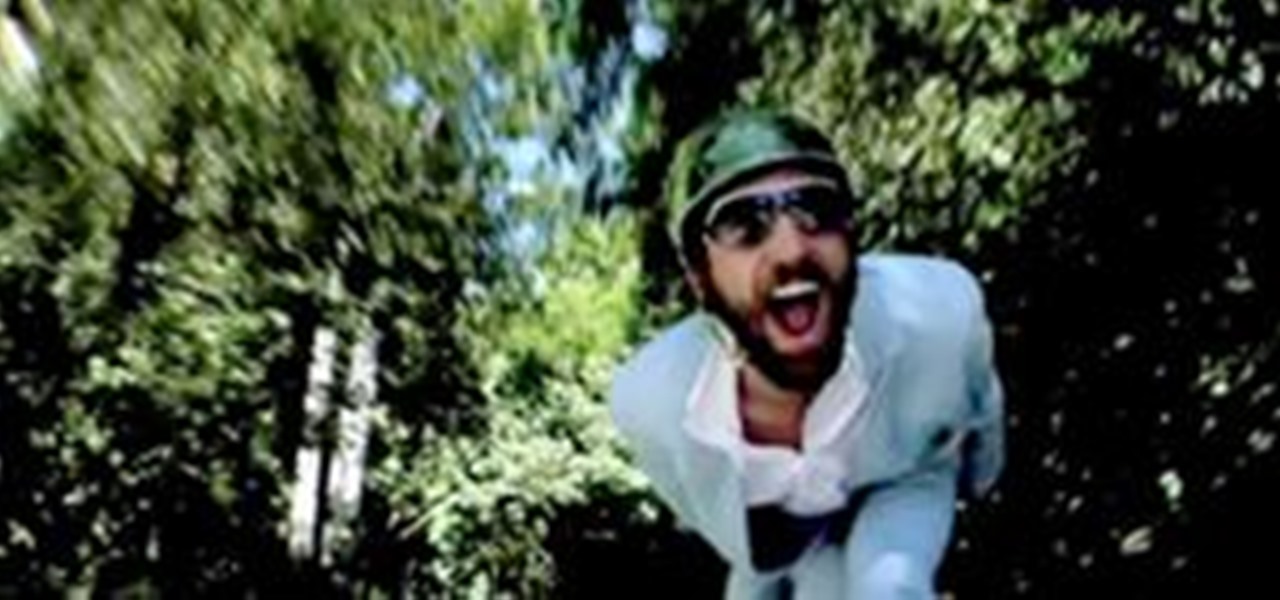
Created as an advertising campaign for fashion designer Adam Kimmel, filmmaker Ari Marcopoulos and friends dressed up total-skateboarder-nuts in Kimmel's spring line... and sent them barreling down a hill in Claremont, California.

This amazing ball catching robot named TOTO (Tracking of Thrown Objects) has been built to speed up "fully automated production systems...where parts will be transported between workstations by robotic throwing and catching".

In this tutorial, we learn how to quickly draw Shadow the Hedgehog. First, you will need to draw the outline of Shadow, drawing in the entire body. After this, darken up the lines to make the final outline of the character. Next, draw in the details of the face and the body. Then, shadow in the sides of the character and create more details to make him look more realistic. When finished, you can choose to color him with the right colors or just keep it shaded. Add in more details if you need ...

This video explains how to make a paper airplane for effectively. The first step is to fold your basic piece of paper into a triangle shape. After the creases in the paper have been created you must unfold the paper again. The second step is to fold the paper in another triangle shape starting from the opposite corner. After the shape has been formed you must refold the original triangle shape of the adjacent fold. The narrator then makes the plane into a smaller triangle shape by again foldi...

In this tutorial, we learn how to make a bear pop-up card. First, draw a big bear face on a 4x6 card. After this, fold the card in half so the face is in half. From here, use scissors to cut along the mouth line up until you reach the nose. After this, bend that flap up and down so it's creased and will flip both ways easily. After this, open the card back up and push the nose of the bear into the top. Then, close the card again and the nose will pop up from the page, enjoy!

In this tutorial, we learn how to draw Naruto & Hinata. First, draw the outline of the head and then draw the hair and bangs on the top of the head. After this, draw in the eyebrows, eyes, nose, and mouth. After this, draw in the neck and then the rest of the body. Draw in lines to show the folds for the clothing and then draw the body of the other character around this one. Draw Hinata in the same way as you drew Naruto, just make sure to make their faces and hair different. When done, you w...
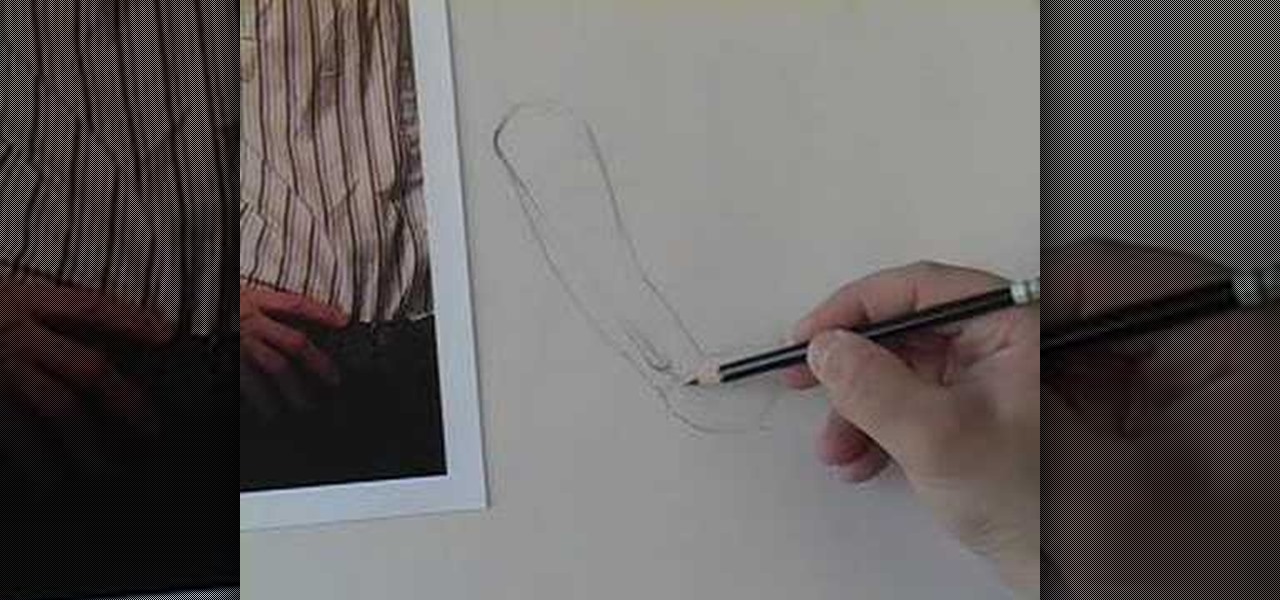
In this tutorial, we learn how to draw a hand on the hip. Start out by drawing the arm first. You will need to make sure to add in the different features of the arm to make it look more realistic. After you have drawn on the arm, then you can draw on the hand angled like it is sitting on a hip. Make sure you draw the fingers close to each other, not clenched or spread apart. Once you have finished, you can draw on the lines on the hands and the arms, then use shading to finish up the hand on ...

In this video, we learn how to do a quick draw of Sonic the Hedgehog. First, use your pen to draw the nose and the mouth. After this, draw in the eyes and the eyebrows above them. From here, draw in the spiky hair on top of the head, using big spikes. Draw in the ears in the hair and then draw in lines to create more details. Next, draw in the arm and the hand, with a glove on the hand. After this, draw in the details of the clothes, drawing in folds on them. From here, draw in the legs and t...

In this video, we learn how to draw a scary werewolf in the moonlight. First, you will draw the outline for the face and the body. Give the werewolf a hunched back to make it appear more human-like. Then, draw the permanent outline over this, including additional details on the body. From here, draw on the facial features and then start to add in lines to show the fur on the outside of the body. Use shading to create a more life-like appearance and then add in some color. When you are finishe...

In this video, we learn how to draw stained glass style doves. This is a complex picture to draw, so start off with just one dove drawn in the middle of the paper. Add in the feathers for the wings as well. After this, outline the dove in black and then erase any background lines. From here, draw in the black eye on the head, then start to draw another dove over this one. Draw it's head touching the left wing of the first dove. After you finish this, draw the third dove over the other two. It...

In this tutorial, we learn how to draw a basic dragon. First, draw the basic outline for the dragon, including the tail, wings, head, and body. From here, draw over the outline with the final outline in darker pen. After this, start to add in the details to the face and body. Once finished with that, move onto adding in shading and additional lines to make it look more realistic. Then, add in your colors. Use darker colors where the shading is to create more depth with the character. From her...
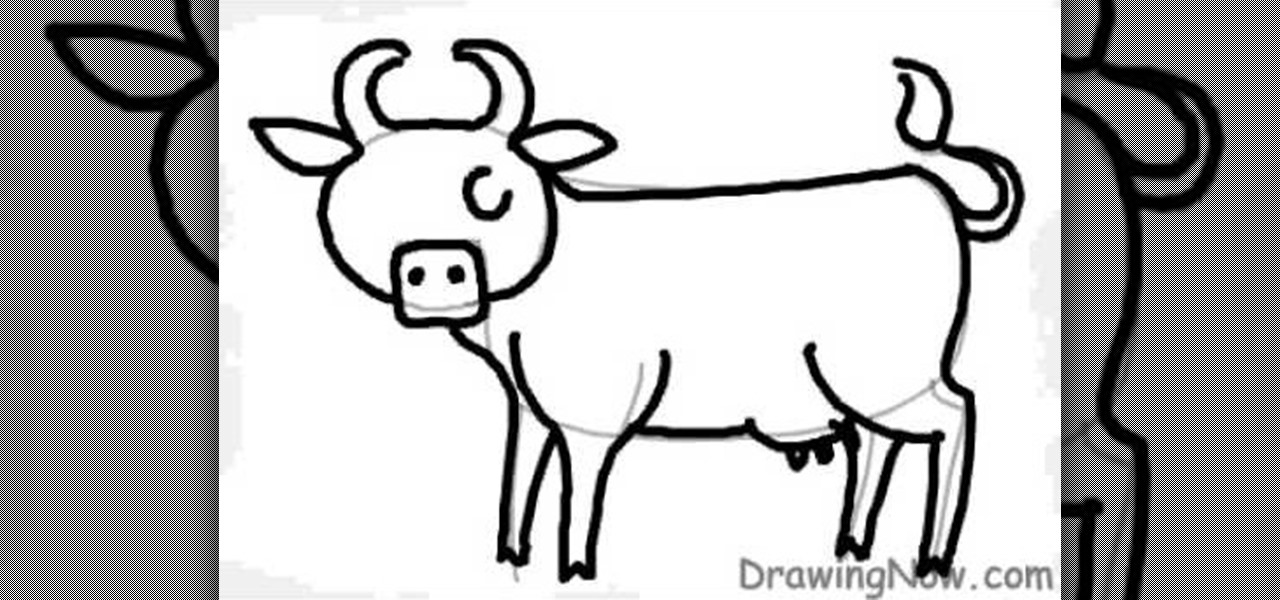
In this tutorial, we learn how to draw a cartoon cow. First, use gray pencil lines to draw the guidelines for the cow. After this, draw on the ears and the face, as well as the features of the face. Then, draw on a large oval for the body and then draw in the legs and the utters. From here, draw in the spots on the cow as well as the tail and the features for the tail. Use pink for the inside of the ears and the nose, as well at the utters. Finish this off with a blue sky background and save!
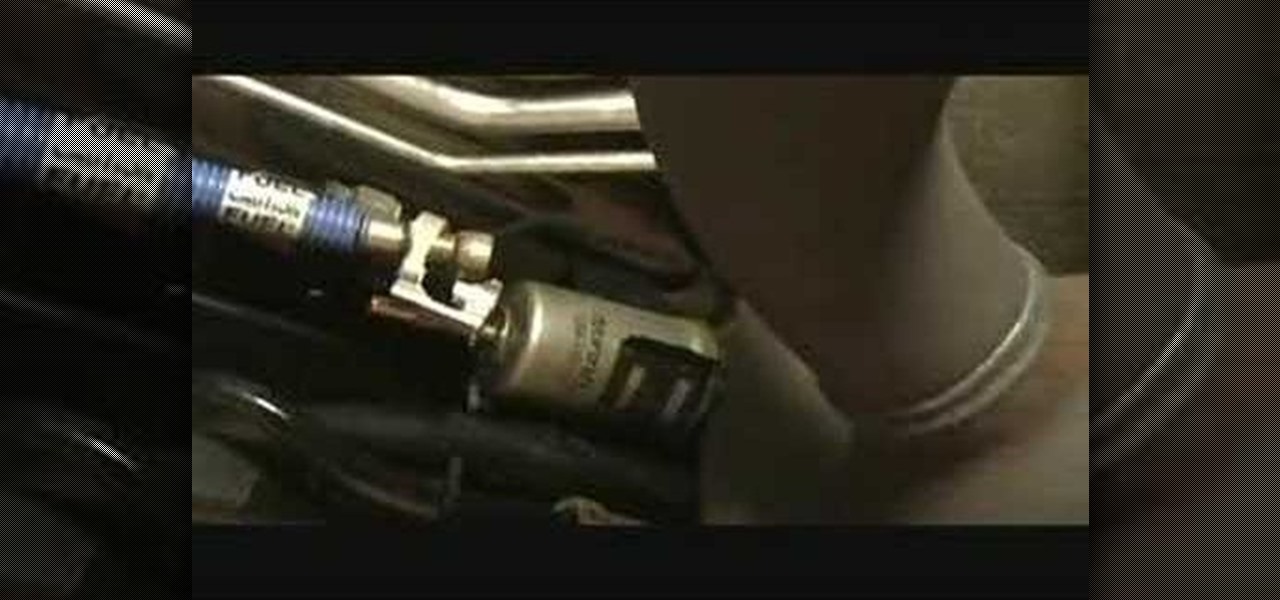
In this video, we learn how to remove a fuel filter. Start out by removing the secondary retainer cup. After this, you will install quick disconnect tool and rotate until the primary cup has been released. Repeat the previous steps until all the lines are disconnected from the vehicle. After this, you should be able to simply remove the fuel filter from the vehicle. Make sure you are using the right tools to remove the retainer cup so you don't damage anything underneath the vehicle. Once fin...
In this video, we learn how to transition from close to open embrace in tango. Use elastic energy to give you an option to open up and turn or send your partner into a line. For the followers, you should know how to be active with your embrace. The left hand should be on the leader's right arm, especially when they are sending you away. Doing this will help you transition from closed to open more easily. It will give you the correct positioning so you don't have any fumbles when you are tryin...
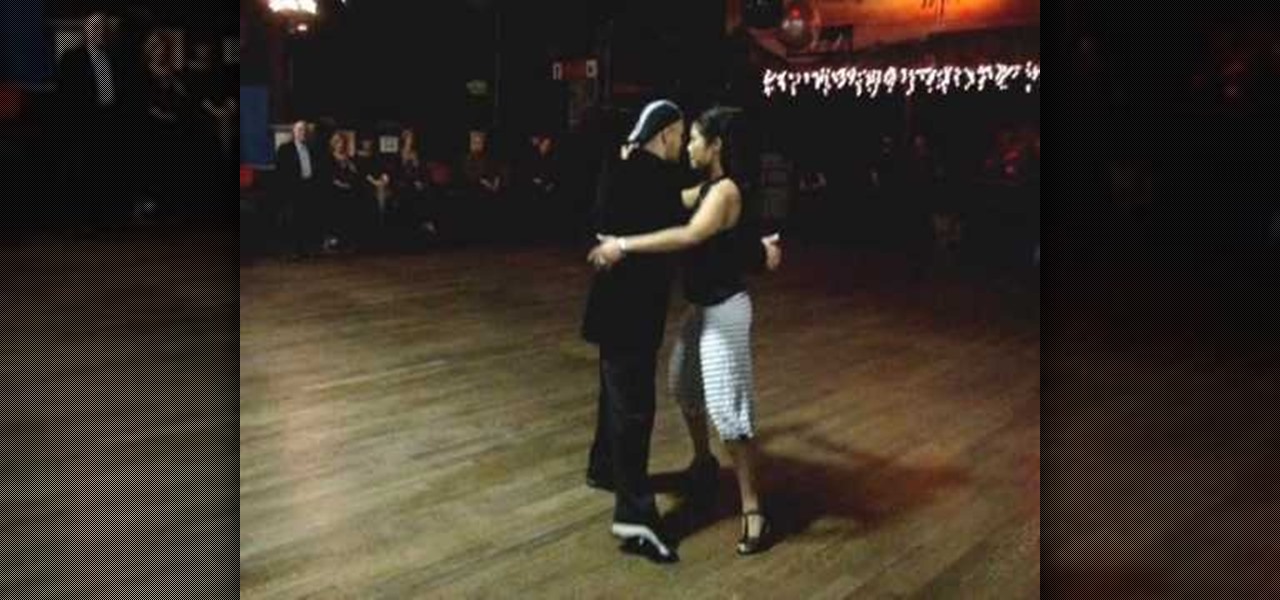
In this video, we learn how to do the Tango close to open, promenade and 1 alteration. Remember the basic rules of staying in the line of dance and going with the music. Twist your hips and go from closed to open, practicing this often so you get better at it. You and your partner should feel the music as you are both dancing. Keep the bodies in proper position so each of you can change from open to close as you would like. Use different alterations that you are comfortable with to get a diff...
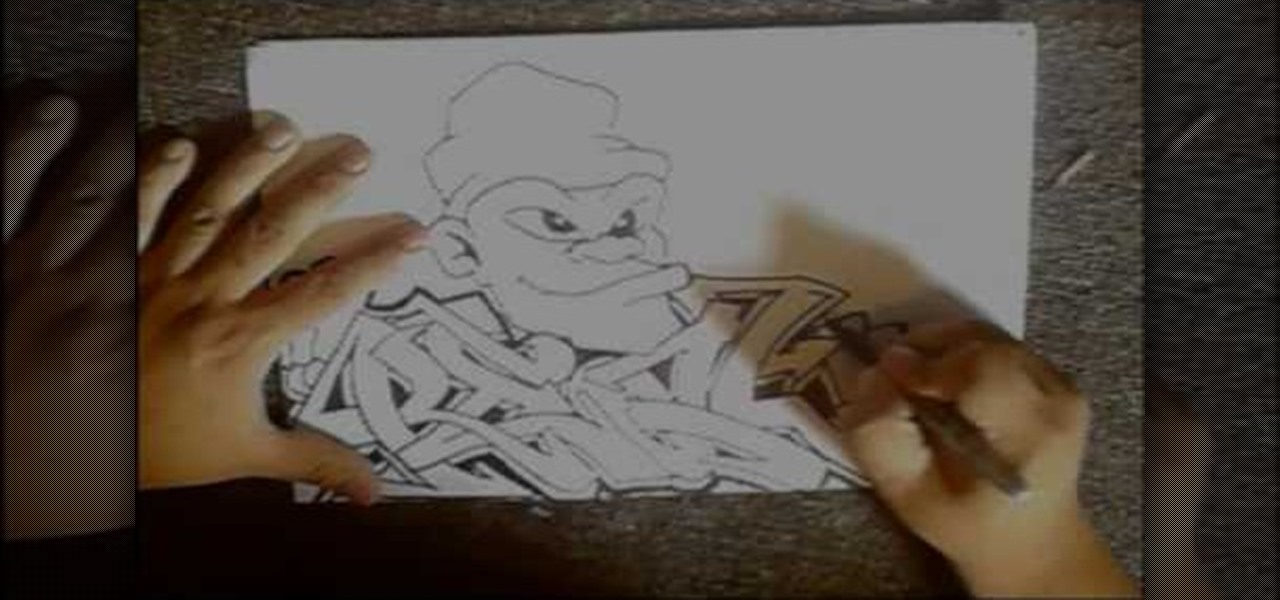
In this tutorial, we learn how to draw graffiti in pencil. Start out with a white piece of paper and a pencil. Then, draw your character's face, adding in the details of the face and the features of the face. Underneath this, shape out your letters that you want to write out. Cross the letters together, and make sure they are all touching each other. Shade in the areas next to the letters and add in lines and darker edges to the sides of them as well. Add in black in between each of the lette...
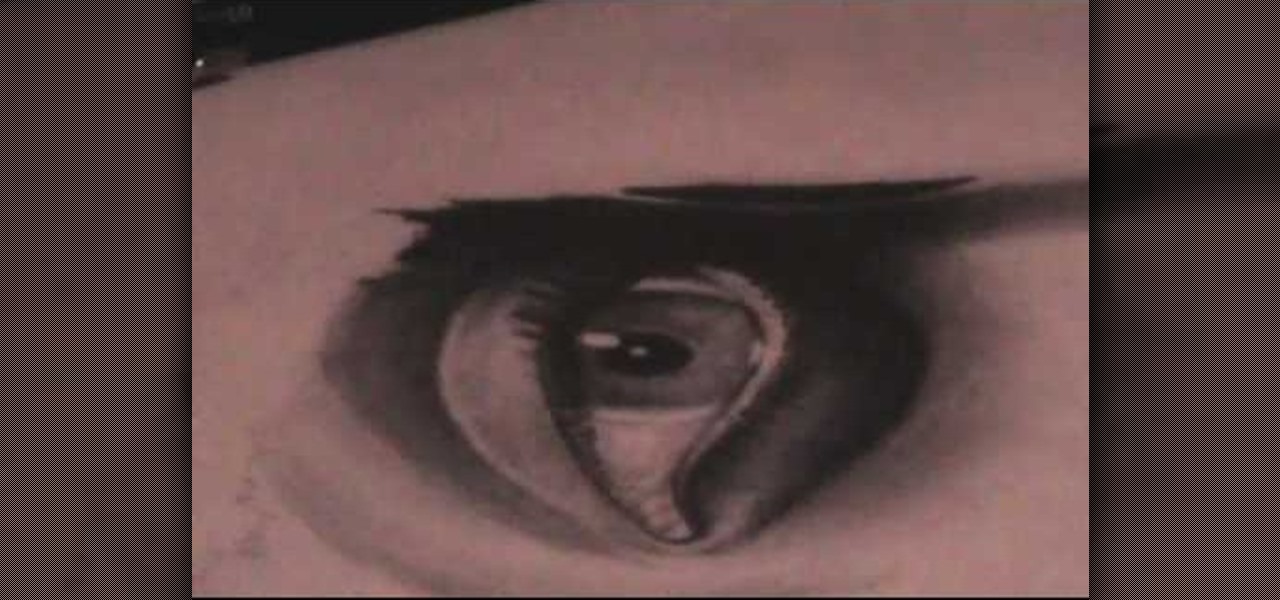
In this video, we learn how to draw a realistic mouth, nose, and eyes. Start out by drawing the outside shape of the eye, then draw in the details inside the eye. After this, shade in the pupil and add a white circle to make the eye look glossy. From here, add in the eyebrows and add darkness and lines to make it look more realistic. For the mouth, you will first draw the outline of the lips, then draw the teeth on the inside followed by additional details. Make the teeth different shapes and...

In this tutorial, we learn how to draw a dragon head. Start out by drawing the outline of the dragon head, giving it a pointed head and a large neck. Then, draw in flames coming from the mouth and large sharp teeth on the inside of the mouth. Draw in eyes, scales, and additional details around the entire area of the dragon. After this, you will be able to add in spikes on the back of the dragon as coming from the head down to the neck. Add in horns to the dragon, then shade in areas and add l...
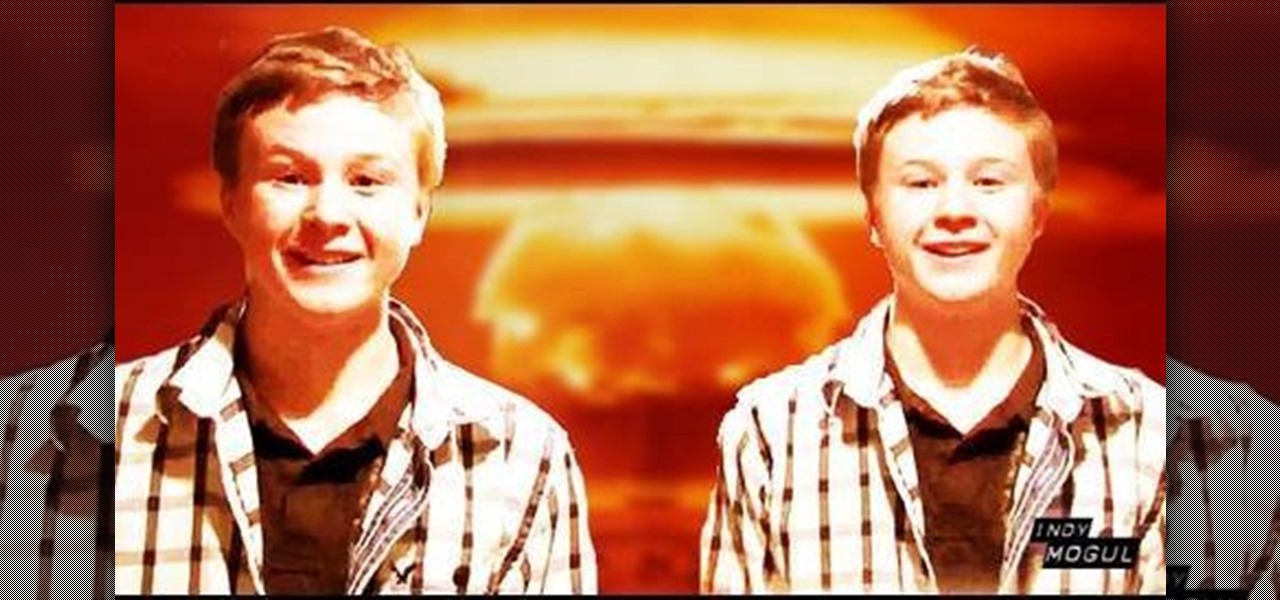
In this tutorial, we learn how to create floating objects and razorblade props. First off, take your object and some double sided tape. Then, place the tape on the object to make it look invisible. After this, tape it to the middle of the plexi-glass. Have someone else help you move this, and then when you record it on video it will look like the object is moving around in the air without anything holding it. This is a great effect that looks even better on video! To create the razorblade pro...

In this tutorial, we learn how to draw a manga girl. Start out with a pen on a piece of paper and draw the eyebrows in the upper middle part of the paper. Color the brows in, then draw in the eyes, along with their creases and the bottom of them. Next, you will draw in around the face and add in the point for the chin. Add in the details for the face, making sure to draw in the eyelashes. When finished with the features, draw bangs on the front of the face, then draw hair all around the sides...

In this tutorial, we learn how to draw a dragon in profile. Start with a pencil on a white piece of paper and draw out the outline of the profile for the dragon. After this, start to add in the details for the side of the face, this includes the horns, teeth, nostrils, and scales for the dragon. Work your way into the middle of the dragon, drawing in different details, including the eyes and the mouth. Continue to shade and add different lines to the dragon, then finish it off with a horn or ...

Hikaru Utada is a drop dead gorgeous Japanese pop star who isn't afraid to take chances with her makeup. Though she plays it safe with neutral eye and lip colors when she's just walking around town, for music videos she amps up the volume and goes for a sexy feminine look.

Want to create a neat looking decorative item using just paper? Origami is the answer. The Origami Cherry Blossom paper ball created in this video by Tomoko Fuse requires papers, dexterity and a toothpick if the presenter is to be believed. The first steps consist of creating precreases on the paper. This step makes the subsequent folds easier to make as the fold lines also double up as markers. The second step consists of creating a complex shape. The same design is then repeated 30 times. F...
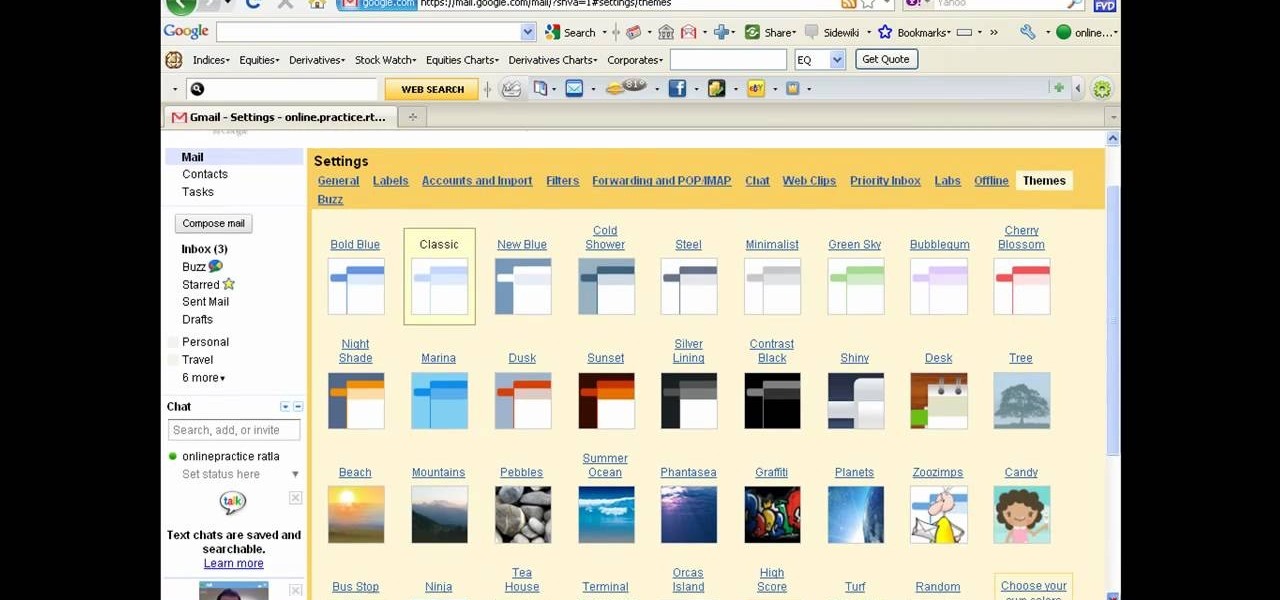
There a ways to personalize your Gmail experience, and one of those is picking personalized Gmail themes which make emailing funner. But if you're not sure what kind of theme you want to use from all the available Gmail theme choices, there's an option called "Random" which provides you a random theme based on your geographical location, and will change when in a different location.

Working with friends is always fun in Shank, but if one person doesn't really know the strategy that you need to employ to wine a boss battle, well, you can just forget it every going any better than bad. But don't worry, in this video, you and your friends can work to succeed against the Bouncer boss in Co-Op mode! You will just need to employ a simple tactic of waiting for him to use his stomp attack, and then lining up a timed trigger pull from both of you to start a double attack against ...

In this video, we learn how to do a single crochet going through back loops only. First, do your foundation crochet, then start doing single crochets. With the chain, there is two loops, the back and front. To the back loop, you would go through these with your crochet hook, then pull on the yarn to continue to crochet. Make sure you find the difference between these so you know which loop to go through. Start to do back loop crochets and continue until you reach the end of the line. Make sur...
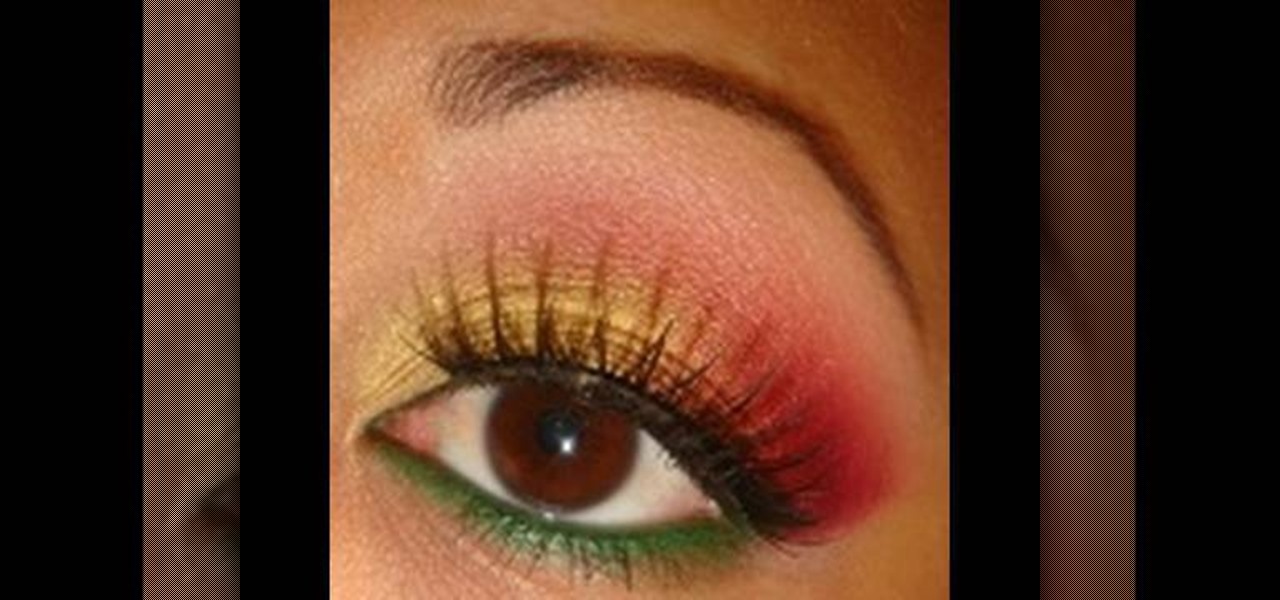
In this video, we learn how to apply red, green, and gold shades for Christmas. First, apply a light concealer underneath the eyes and primer on the lids. After this, apply a gold shadow to the inner crease of the eye to half of the lid. Pat this color on so it's bright, then apply a pink shadow to the middle and outer edge of the eye. After this, apply a bright pink to the outer edge and blend it into the crease and with the gold color. After this, take a green eyeliner and line the bottom o...
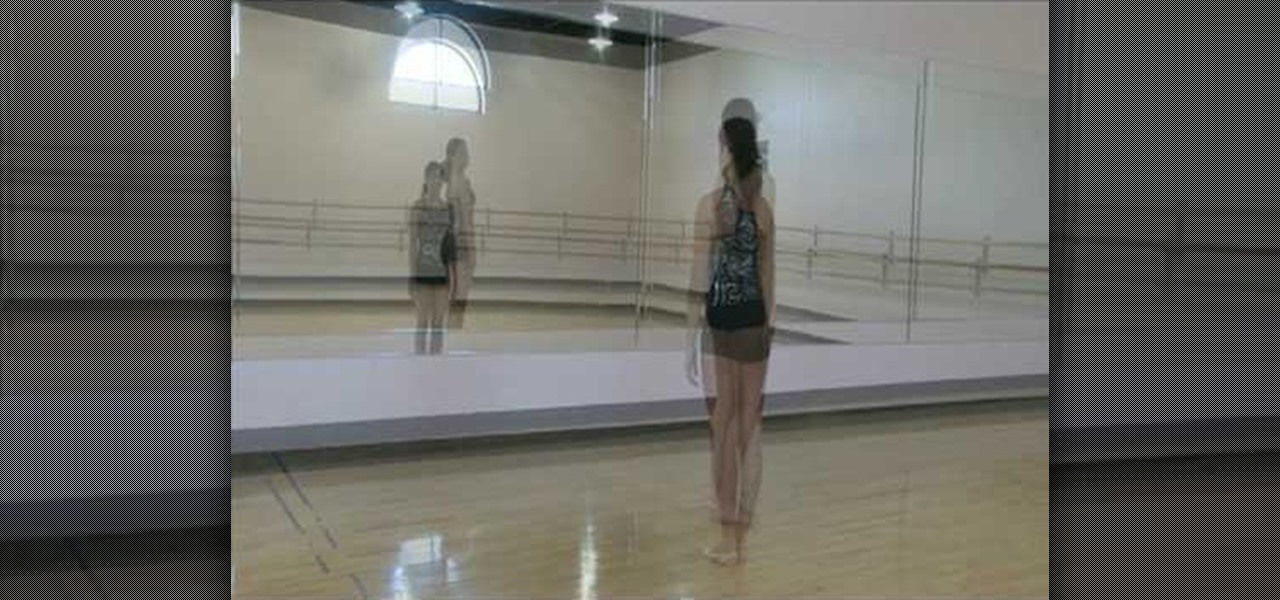
In this video, we learn how to spot as a beginner. Spotting is used for when you are doing turns quickly. You want to keep your eye on the same exact spot in the room so you turn in the same exact way each time, and you don't lose your focus. To practice this, stand in front of a large mirror and practice doing turns slowly, without losing your focus from the spot you're looking at. After you have mastered this, start to do turns quicker, then with using your arms to help you turn. Eventually...

Sarah teaches us how to do a Dias de las Muerto look for Halloween in this tutorial. First, apply a pure white makeup to the entire face, including the lips. After this, wipe makeup off from around the eyes and draw a circle around them, including the top of the eyebrows down to the top of the cheeks. Next, apply a black flower like shape over the circles you just created. After this, apply a dark green paint to the inside of the eyes, covering everything in them. Next, apply dots at the top ...

First you need to go to your site and click any post you want and see the simple heading and now you want to change the background. To do this, first you need to go to your word press admin and then click custom file editor in thesis options it will open your code window and here you will have to paste the code which is showing in the video. you will have to paste it in custom.css. After pasting the code you have to click the green save button.

In this video, we learn how to use pink and greens for a Barbie makeup look. First, you need to prime your eyes. Next, apply a pink eyeshadow above your crease. Follow this by highlighting with a frosty white underneath your eyebrow. Apply a green base to your lids and lower lash line next, then add a bright green pigment over this. Now, apply a sparkly burgundy color to your crease, then blend in with the other colors and apply black eyeliner. Apply false eyelashes, then mascara to the top a...

In this video, we learn how to create a minimal back to school makeup look. First, you will need to shape your eyebrows and apply brow gel if they look bad. Next, apply foundation and bronzer as you need it on your entire face. If you have dark circles around your eyes, use concealer to help remedy the darkness. Next, you will want to apply a thin layer of eyeliner to the top of the eyes, following your natural line. You can use a purple color instead of black if you want a cute flare. Now, c...

In order to create a black, white, and purple nail design, you will need the following: black acrylic paint, a paint brush, purple glitter nail polish, white nail polish, and a shaping tool.

In this video, we learn how to draw a cartoon dragon with a big head. First, draw the outline of the dragon, making the head much larger than the body. After this, add in small details to the dragon using the light pencil mark. Next, take a bold marker and trace over the pencil lines that you made, filling in the eyes, nose, teeth, wings, tail, ears, etc. After you do this, color the dragon completely green. Then, take a darker green color and apply it to the edges and where you want shadowin...

In this video, we learn how to draw cartoon style mouths. Start out by grabbing a marker and drawing a round circle, then draw a shape on the inside and draw teeth on the top and bottom of it. After this, draw a tongue inside of it. For the next mouth, draw a curved line with teeth on the top, then a tongue in the middle. For the next mouth, you will draw a long tongue sticking out of a mouth. These mouths can be used in a number of different pictures, depending on what kind of face you are g...
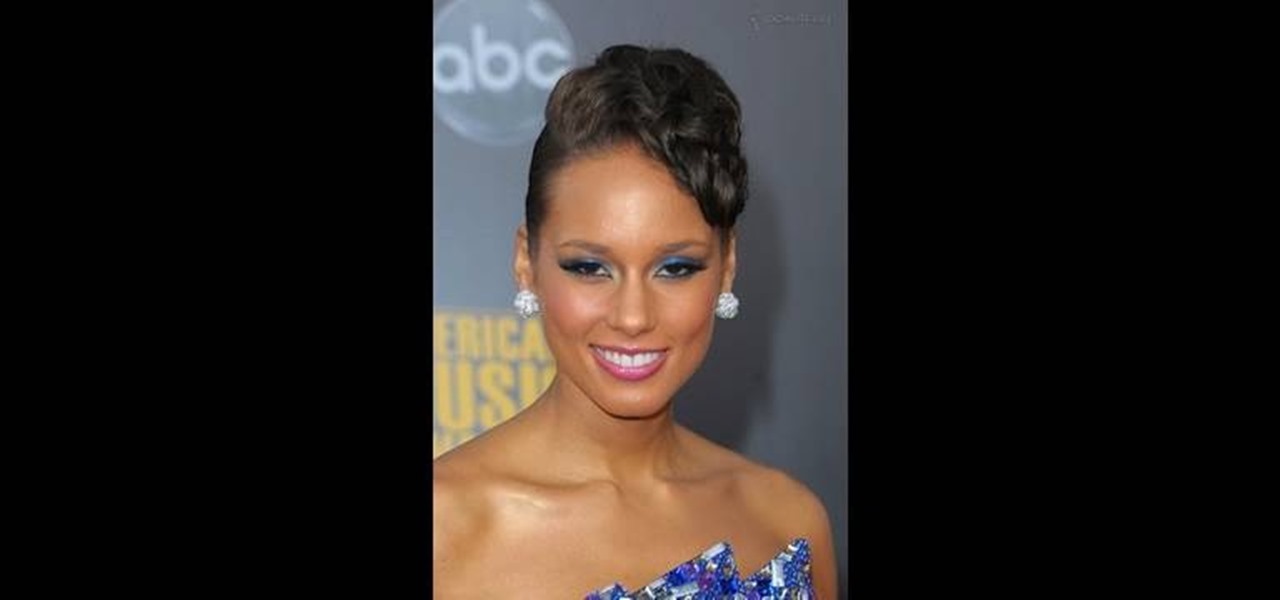
In this tutorial, we learn how to create an Alicia Keys inspired bright light blue look. First, apply eye primer to your lid, then apply a blue eyeliner to the entire lid. Next, take a fluffy brush and blend the blue out around your eye. After this, apply a bright blue eyeshadow to the entire lid, blending the dark in at the end of the eye. Next, apply black eyeliner to the upper lid, then apply mascara. Next, apply black eyeliner to the water line of the bottom lid, as well as a thin coat of...

In this tutorial, we learn how to draw Goofy. First, draw the nose and then draw in the face. After this, start to extend the face down with the neck and a collar. After this, draw the back of Pluto and then his four legs like he's walking. Next, draw a darker line over the picture, then draw a tongue hanging out of the mouth and eyes and ears. Make sure to draw the tail, then start to color the picture with Pluto's signature colors. Add in any additional details, then save your picture onto ...
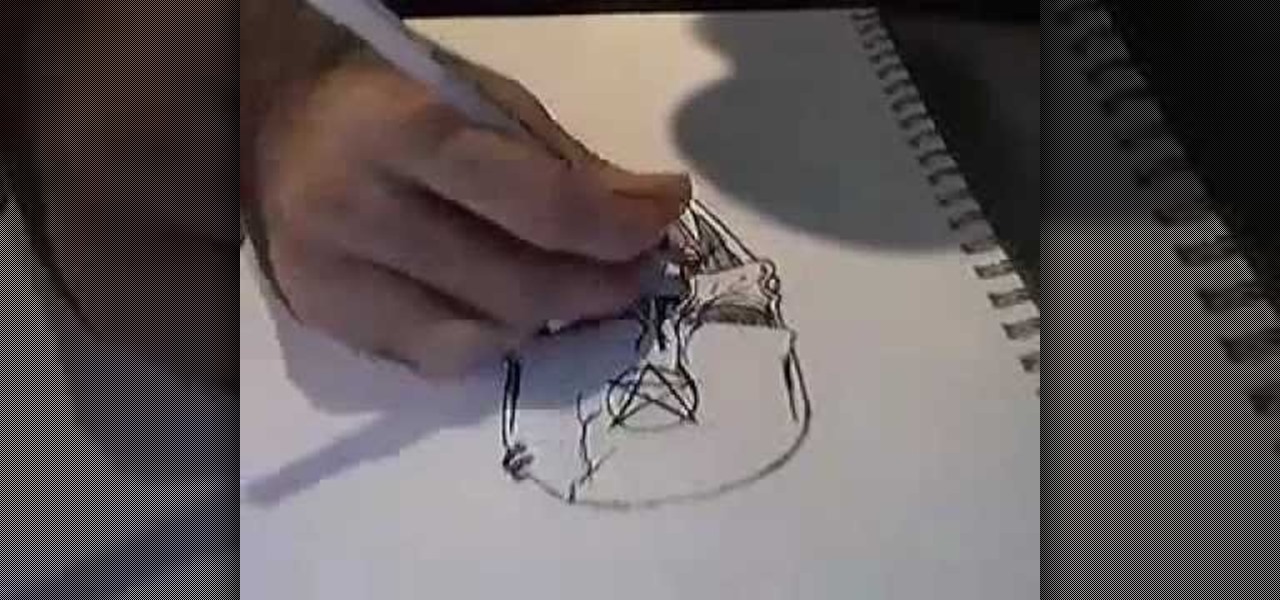
In this video, we learn how to draw a skull. Start off by drawing in the eyes and then draw the nose and basic outline of the head. Add in lines on the head to show broken and cracked bones. After this, draw in eye sockets and add details to the nose as well. Shade in the eyes and then start to draw the jawbone and where the teeth are at. Shade between the teeth and then draw the chin in. Add in shading where you feel it's needed, then add in more cracks to make it look more real and you're f...