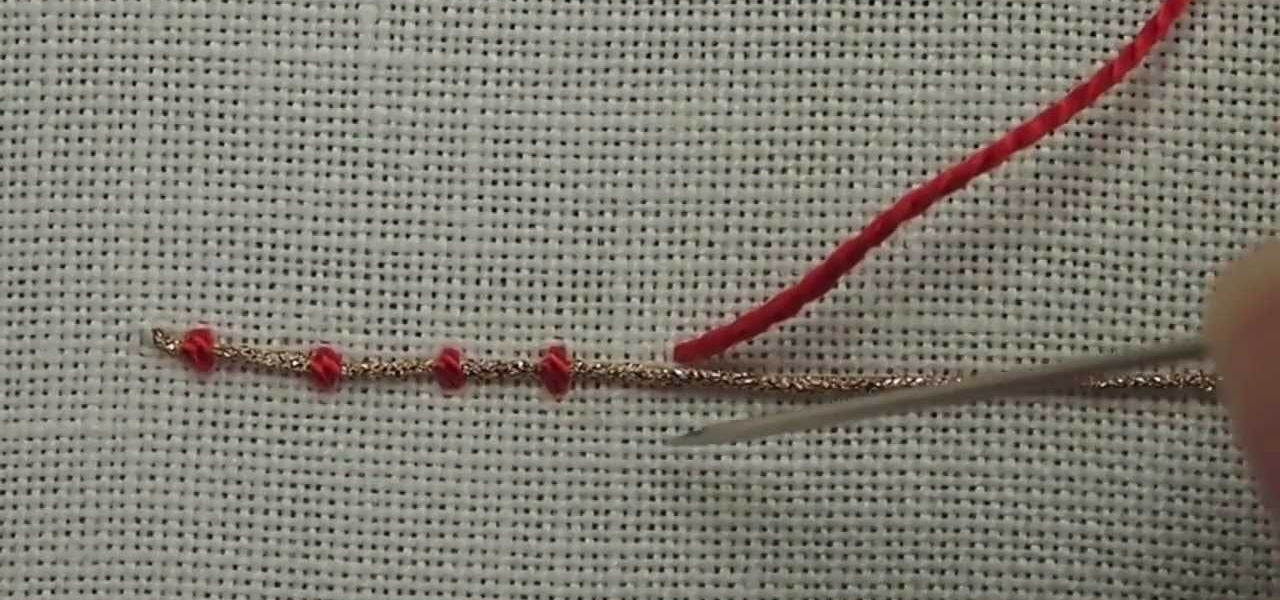
Couching is another easy embroidery stitch in hand embroidery, and a great way to create decorative line stitches that scroll and twirl about. It's also widely used for filling areas, and historically was used to great effect during the Middle Ages and Renaissance in a technique called Or Nue. Here's a video from Needle 'n Thread that demonstrates couching a single thread for an outline.
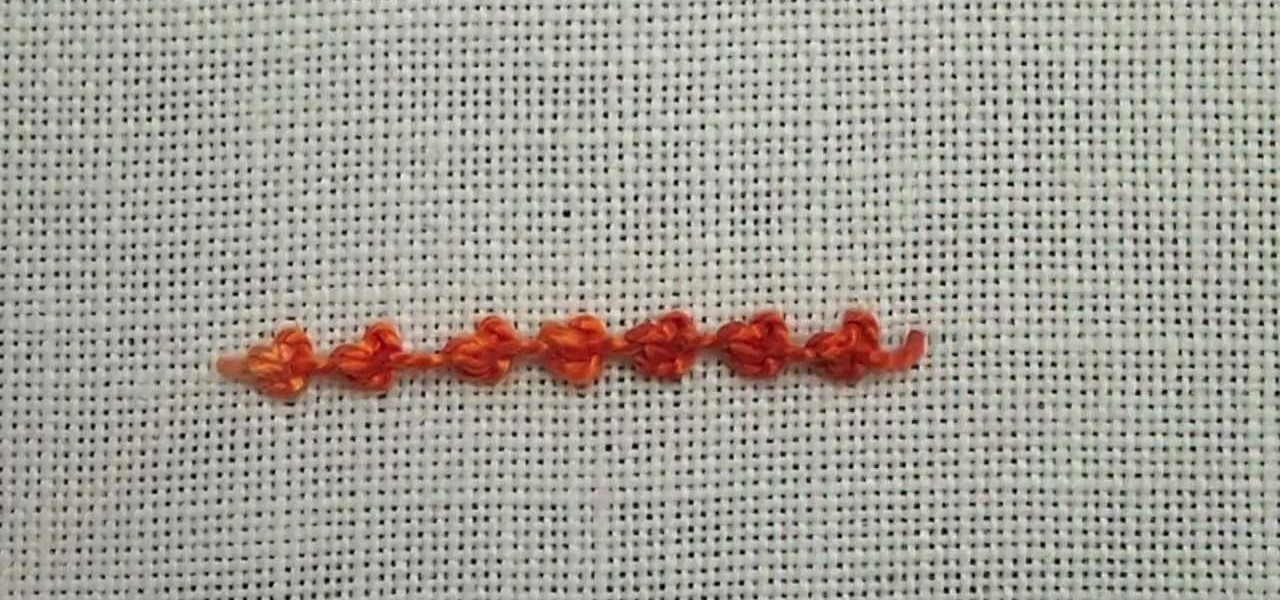
Here's another video tutorial from Needle 'n Thread for hand embroidery stitches - this one is for the Palestrina stitch. Palestrina stitch is used for outlining or filling and is common in both Jacobean designs as well as in Mountmellick embroidery, the latter because it gives a highly textured line or fill area.
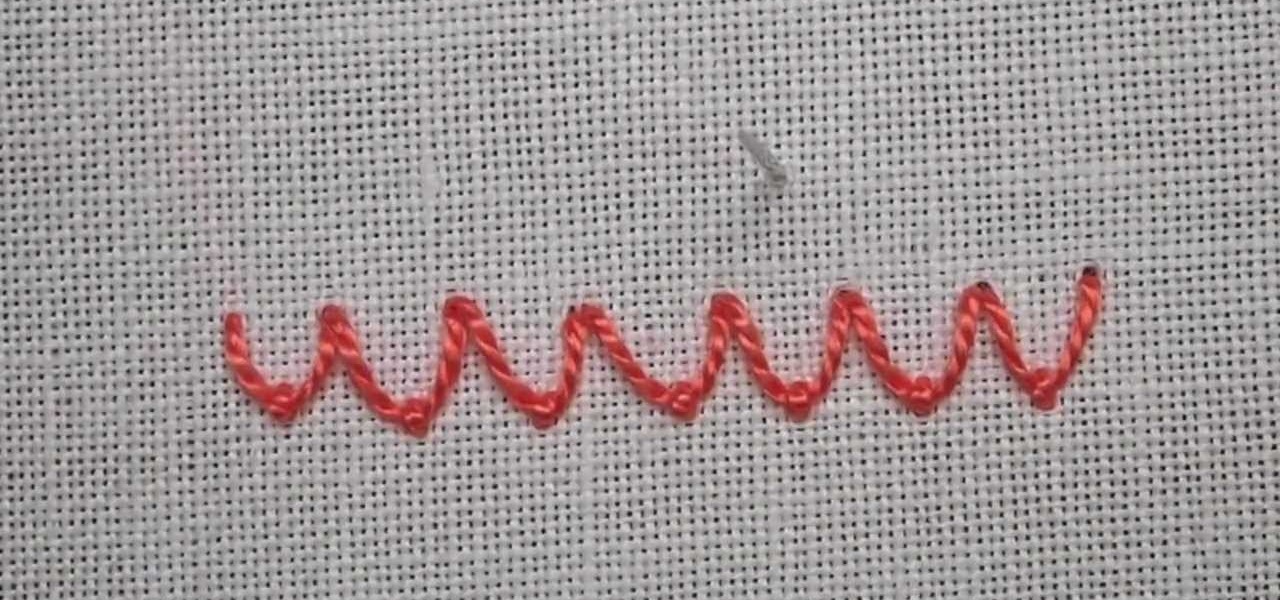
The fly stitch is another basic embroidery stitch used for straight and curved lines, seam embellishments in crazy quilting, and general surface embroidery techniques. The fly stitch can be worked horizontally and vertically. In this video, it is worked horizontally. Watch this video from Needle 'n Thread to see how it's done.
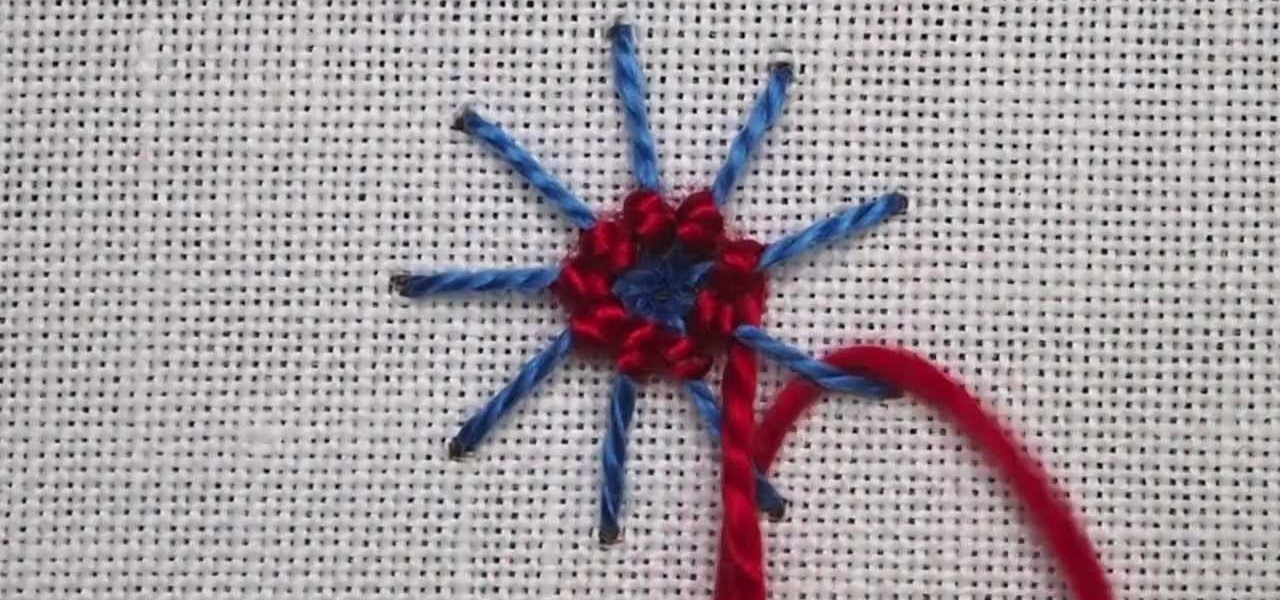
The spider web stitch and the ribbed spider web stitch are both "woven" embroidery stitches, either used as isolated accents or used in clusters. They aren't a line stitch or a filling stitch, and they aren't really a "small" detached stitch that can speckle a background lightly, either. Watch this video from Needle 'n Thread to see how it's done.
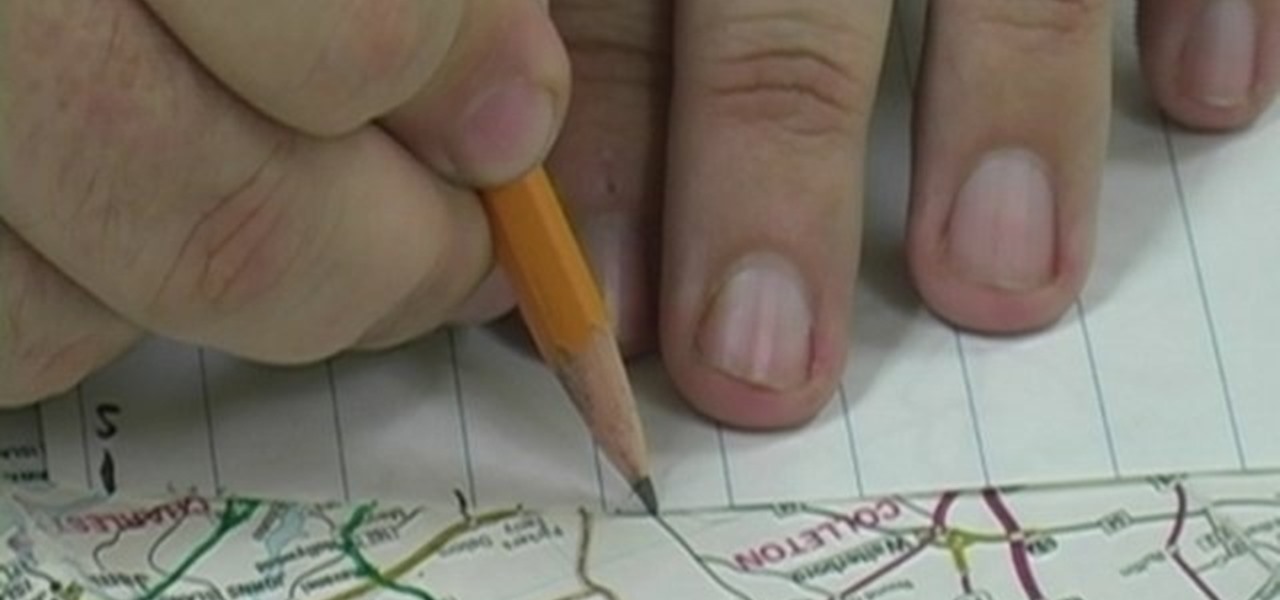
Check out this video to learn how to turn a squiggly line on a map into a straight distance that is easy to measure. This is an excellent video to help you improve your map skills.

For making videos at home, a teleprompter would greatly reduce the amount of memorizing lines, cutting and editing. Put together this easy teleprompter and start your own show today.

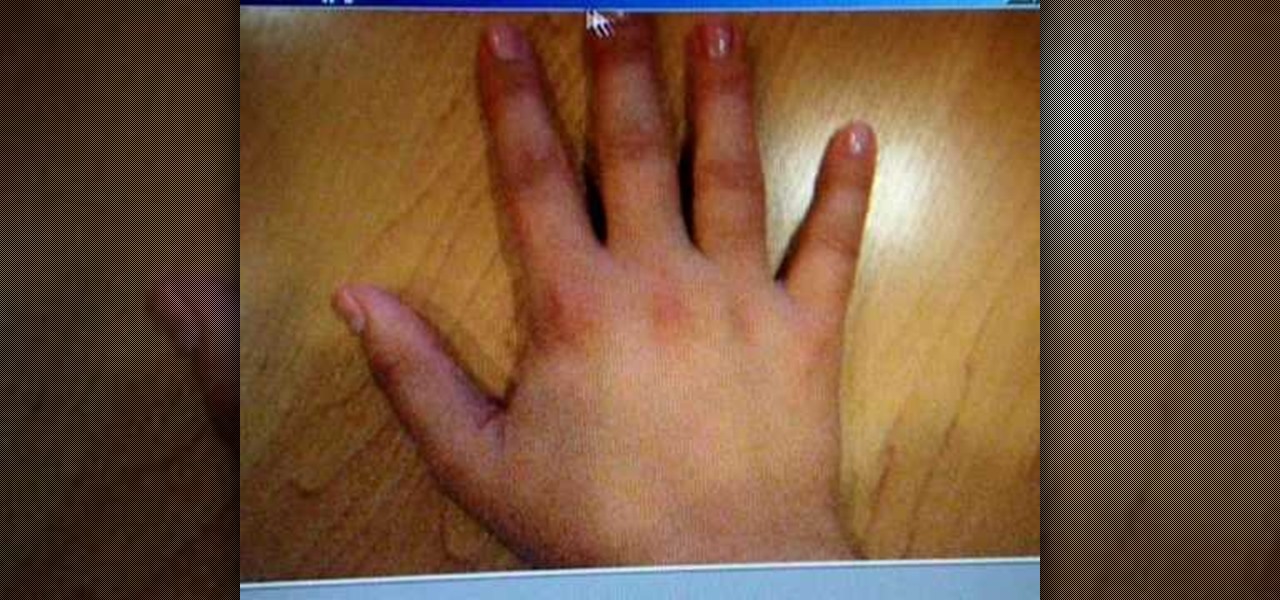
In this tutorial, we learn how to explain the broken heart line in palm reading. When a hand has a heart shape going towards the heart, but is broken this shows someone will be sympathetic and have a heartbreaking change in their life. There will be a break in the heart and their emotions will be tested. Look at the lines to make sure it's going towards the heart and not the head. The line to the head is curved. The shapes of the fingernails can tell if someone is cautious or if they hold ont...

In this video tutorial, viewers learn how to draw a human skull. Begin by drawing a half circle with the opening at the bottom. Add cheekbones by drawing two lines, starting just inside the line of the half circle and gently curving outside the half circle. Continue the cheekbone line downward and curve inward. Connect the 2 lines horizontally to shape the top teeth. Now draw a bottom U-shape connecting the bottom of the cheekbones and across the bottom jaw line. Draw a second U-shape line an...

Nothing is more fun that fly fishing with popping bug for panfish. With popping bugs, you can get bite after bite from little bass. Wade Bourne, host of Wade's World on MyOutdoorTV, shows you how to fish for bluegill and panfish using a fly rod and popping bugs.

Learn how to get a soft blue makeup look using NYX Magic Wand. - The first thing to use is the creamy concealer from NYX under the eye.

Pull the line towards yourself, applying tension. Form a bite. having the working end towards the standing part. Fold the line away from the direction of pull, weave the marlin spike through the hole and then pull the line tight.

Although a little jumpy, this CAD software tutorial covers using a line based family to make a parametric awning in Revit Architecture. As the line is drawn longer you get more awning members. It covers using formulas in families as well as nesting one family in another in Revit. Watch and learn how to create line based parametric arrays in Revit Architecture. Knowledge of Revit is necessary to really follow the tutorial. Create line based parametric arrays in Revit.

Looking for a new knot to try on your fishing trip? Take a look at this instructional video and learn how to tie the Grinner Knot. The Grinner Knot is a very strong knot that works with all line types also braided lines. The breaking strength is close to 100 percent. It is fairly easy to tie and is mostly used for attaching swivels of hooks to the line. The grinner knot can be used for lures too. All in all a great all around knot to have in the fishing knot arsenal. Tie a Grinner Knot on a f...

The Clinched Blood Knot is a strong knot for tying a medium size hook to a medium size line. The clinched blood knot is very similar to the half blood knot but it differs in that the line it is passed through the eye of the hook twice. A good knot for tying the line to terminal tackle. Tie a Clinched Half blood Knot for fishing.

The Half Blood Knot is similar to the clinch knot. It is same knot with two different names. This instructional video demonstrates a variation called the Locked Half Blood Knot. This variation adds a way to secure the tag end in the final steps of tying the knot. The half blood knot is used to attached lures, hooks and swirvels to the fishing line. Watch this video fishing tutorial and learn how to tie a locked half blood knot on a fishing line Tie a locked half blood knot on a fishing line.

Learn how to use Masking, Motion Tweens, and Motion Guide Layers to create an animated pencil drawing a curved line. Tools used are the Rectangle tool, Pencil tool, and Free Transform tool. This is an intermediate level Flash tutorial. Animate a pencil drawing a curved line in Flash.

This video shows you how to use the Line tool, Eraser tool, and all of the shape tools in Illustrator. You also learn how to use modifier keys to access additional options. Check out the video by Matthew Richmond now! Use the Line, Eraser, and shape tools in Illustrator.

Tips for dealing with flaking lines. Good for both single handing and strong winds. Deal with flaking lines on your boat.

If you use the follow technique on a shot with a small cut angle, the cue ball will deviate from the line tangent to 90 degrees. Deviation from tangent line.

What's the easiest way to adjoin two fishing lines? The blood knot. And no, you're not going to cut yourself, that's not why it's called the "blood" knot. It's also referred to as the Barrel knot, and is usually used for monofilament nylon lines. Wade Bourne of MyOutdoorTV will show you how to tie the blood knot.

Ever wonder how to tie the seaguar knot for fishing? Then stay tuned for this fishing knot tutorial video. The seaguar knot was introduced by the factory reps from fluorocarbon manufacturer Seaguar, this easy to tie and reliable fishing knot joins fluorocarbon leaders to monofilament line. 1. Make a loop in the line and in the leader and hold loops side by side. Note: line running from left is on top. 2. Insert index finger into loops and make 3 full counter clockwise twists. 3. Hold loops op...

Start with clean nails. See How to Give Yourself a Manicure.
USE WINDOWS 7 ULTIMATE x64 w/ all the latest updates always OF COURSE AND... USE THE ASTON 2 SHELL REPLACEMENT, MENU, DESKTOP, W/ THEMES...

For a lot of would-be cord cutters, the lack of streaming local sports is the only hurdle that needs to be cleared before they can sever all ties with big cable. This is why it was a huge victory for us anti-cable folks when Yahoo announced that they would be hosting the first ever live-streaming NFL game this Sunday at 9:30 AM Eastern.

Welcome back, my hacker novitiates! In an earlier Linux Basics tutorial, I had demonstrated the basics of the Apache web server. Since Apache is the world's most widely used web server on the Internet (as of July 2015, Apache was 38%, IIS was 26%, and Nginx is 15%), the more you know about it and understand it, the more success you are likely to have hacking it.

Welcome back, friends! Many times, businesses, friends, and family will lock their zip files with a password to keep their files secure. It is reasonable, and understandable. Well, thanks to hackers, there are many ways to get past this wall of security.

A well designed sleeve is very important to creating a top or jacket that fits comfortably. Get your correct measurements before you begin. Please view the following step-by-step instructions and accompanying video and diagram to create the basic sleeve.

Video: . Whether you are gardening, cooking, riding a motorcycle or just want to cover up on a bad hair day, doo rags are easy to make and fun to personalize to suit to your style. If you would rather just download the durag pattern click here.

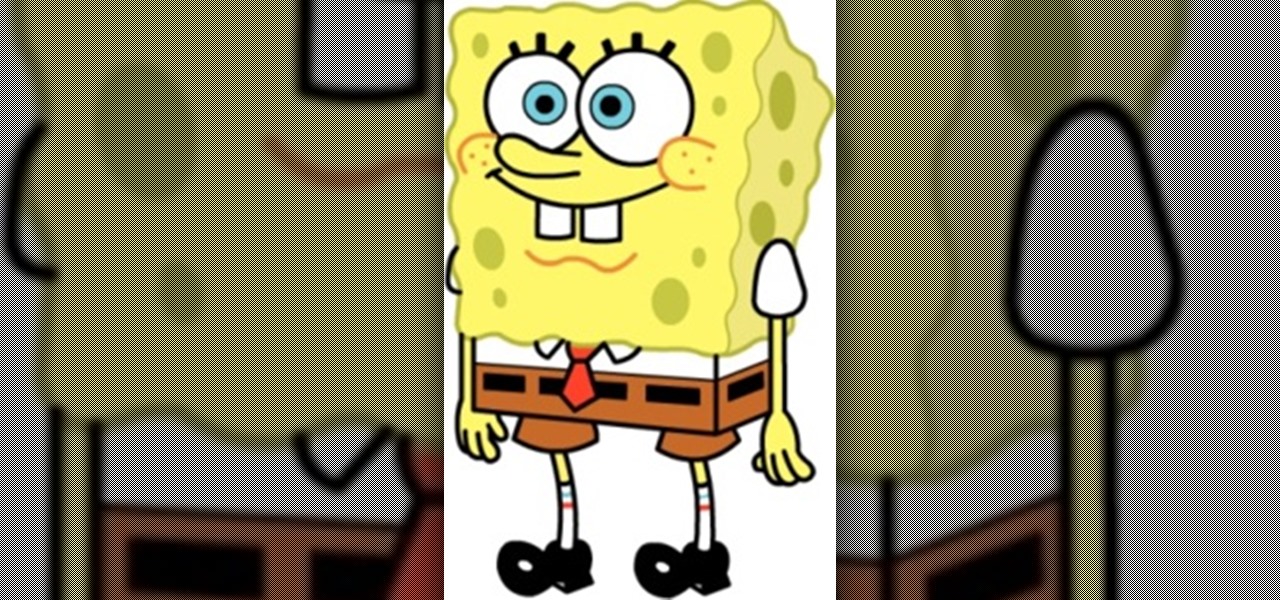
Today we're going to draw Spongebob! He's going to be facing forward, so even beginners should find drawing this guy to be a piece of cake! 1) Begin by sketching out a rectangle with a broader top and a narrow bottom, make sure it's not too skinny though. This will be the base of Spongebob's body.

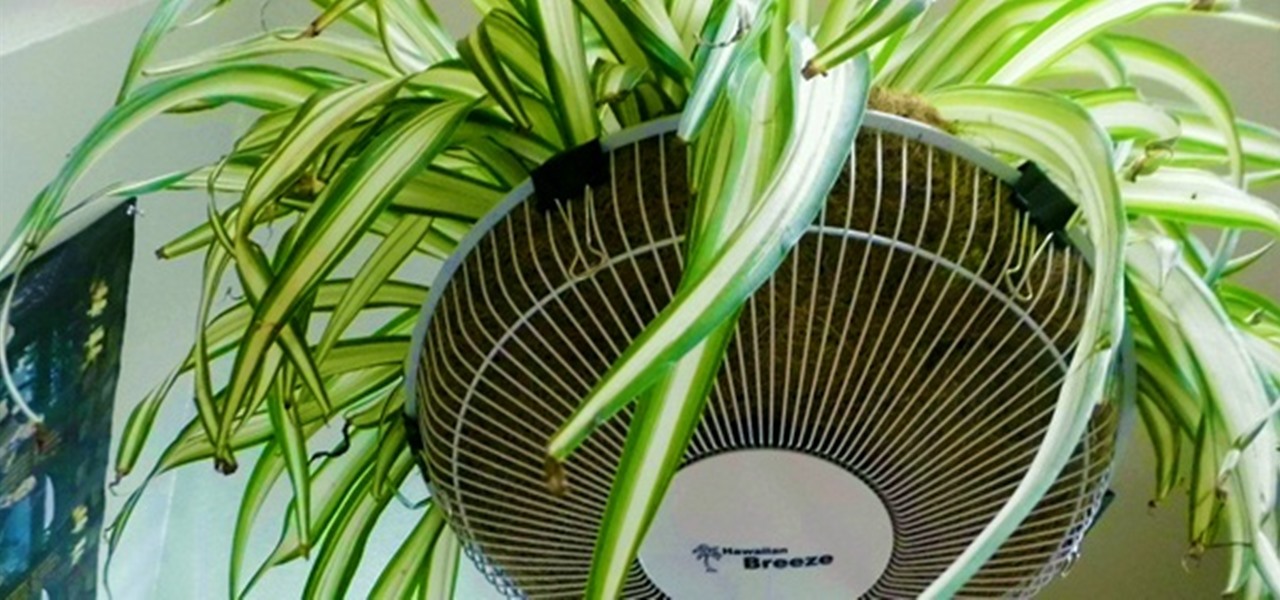
Everybody should have plants in their home. Not only do they give off oxygen, but they add a whole new level of decor and awesomeness to an otherwise drab room. So naturally, if you want to improve a room, just display a few plants.

It's time to boogie! Get your shoes on, put on your dancing shirt, turn off your phone, and tell your friends you've gone on a permanent vacation! The boogie line dance is a simple line dance - easy enough for a toddler to learn, but hard to forget! This instructional video will get you up and boogieing in no time. So don't be shy, watch this dance video and get your boogie on.

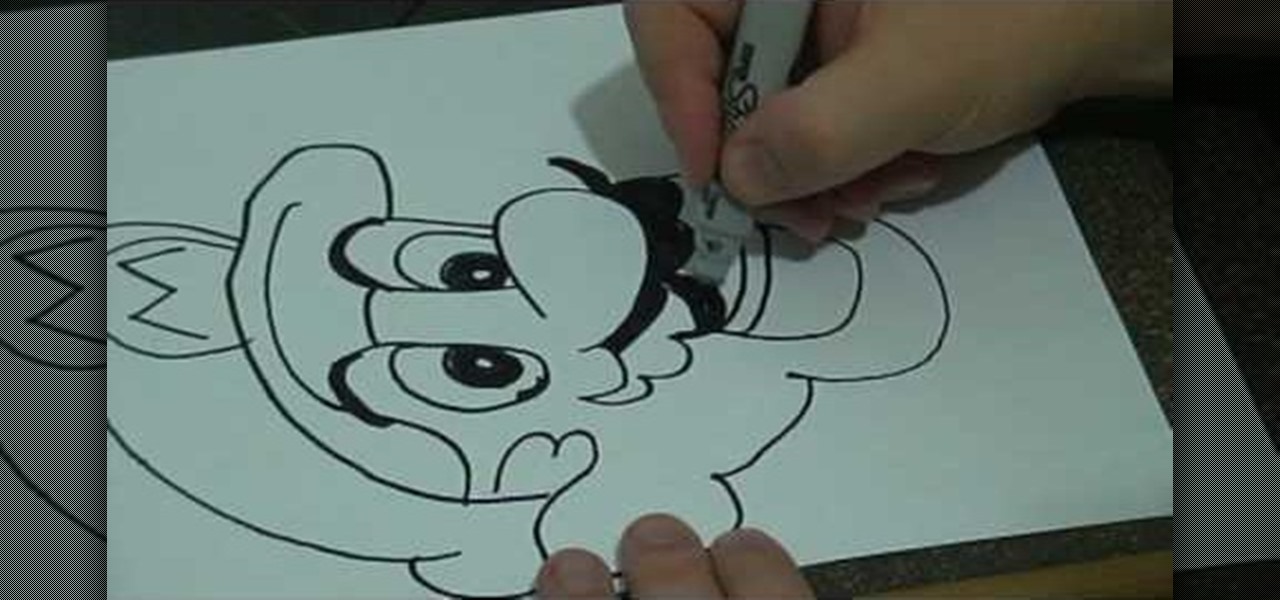
In this tutorial, we learn how to do a basic line drawing of Mario. To start, draw the basic outline of the face with a black marker. Draw in the details of the mouth, don't forget the teeth, tongue, and inside of the mouth. After this, draw in the nose and then the eyes. Draw in the pupils and then start to draw in the mustache and eyebrows. After this, create the hat and then draw around to the side of the head to draw the ear in. When finished, you can leave empty or color in with appropri...

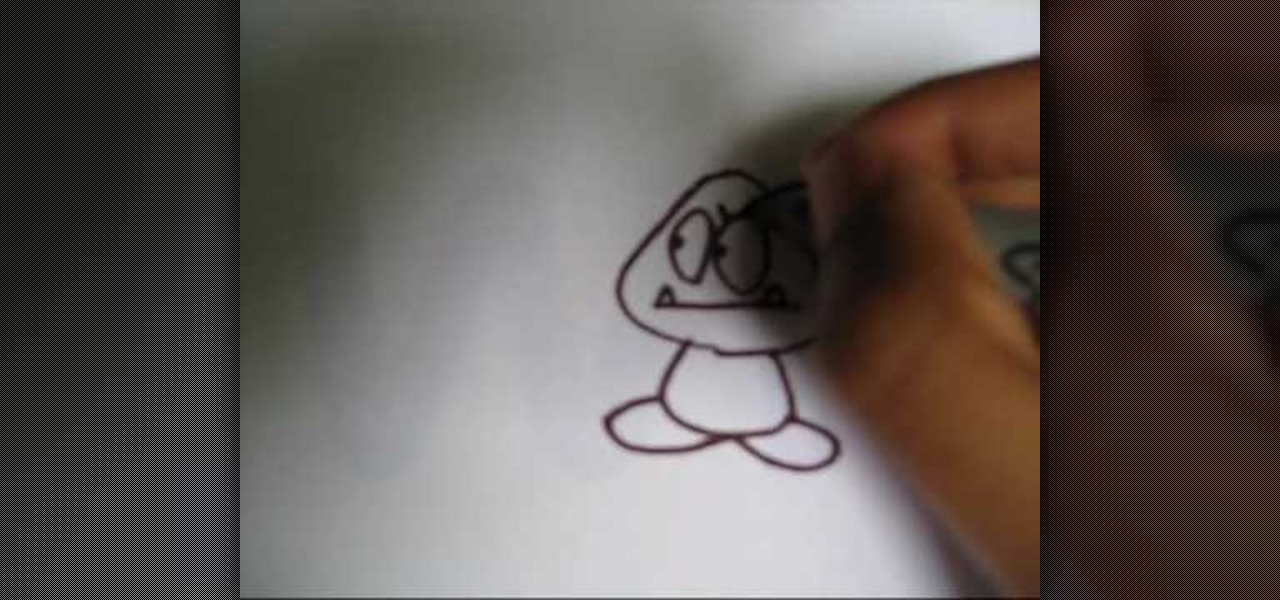
In this tutorial, we learn how to draw a Goomba from Super Mario. First, draw the softened triangle shape of the top of the head, then draw the body and the oval feet at the bottom. After this, draw on the oval eyes and then a flat mouth with two triangle teeth on both sides. From here, draw on the eyebrows to Goomba in thick lines. To draw another type of Goomba, draw the same basic shape, but then make the eyes squished into small lines and then draw the mouth with crunched teeth on the ins...

In this tutorial, we learn how to draw Sonic the Werehog. Start by drawing the outline of the character, making sure to draw in the spiked hair on the back of the head. Then, draw in the circle for the head and use crossing lines to reference where you want the features of the face to go. Draw in the features and then add in more detail to them as well. Erase the background lines and then draw in the details of the body. From here, color in the body and then shade in corners to make it look m...

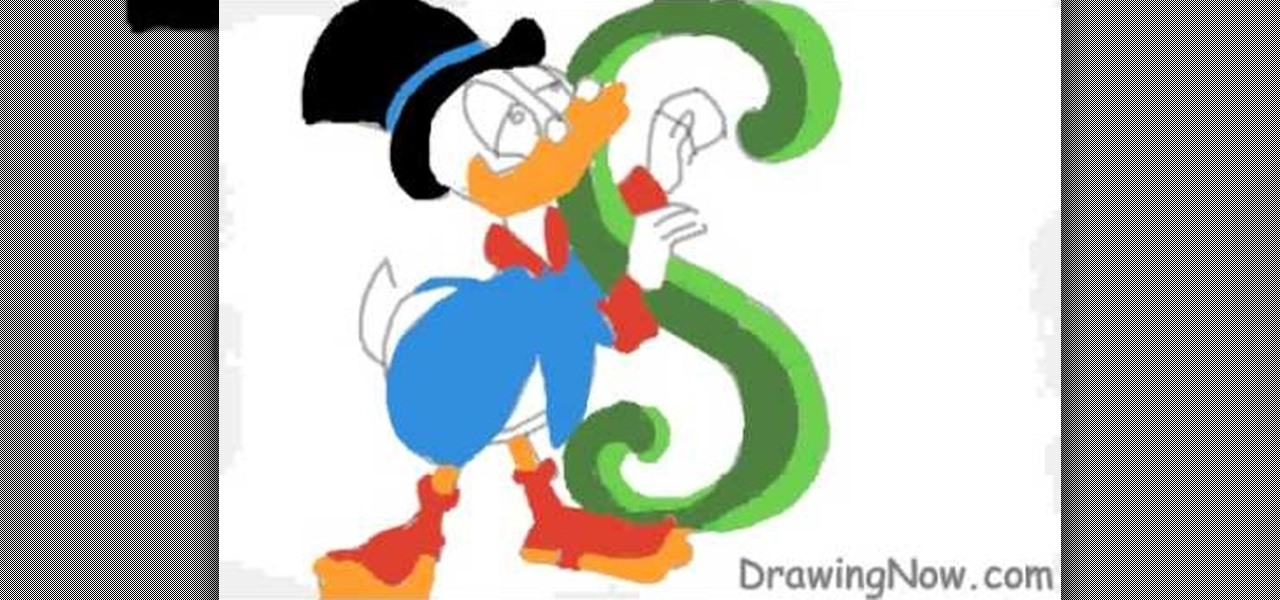
In this tutorial, we learn how to draw Uncle Scrooge McDuck. Start off by drawing the outline of the hat, heat, neck, upper body, instrument, and lower body. After this, draw on the eyes, glasses, and the beak. From here, you will start to add in additional details and erase the outline lines from where they aren't needed. Start to add in lines to create folds on the character and then color him in with the appropriate colors. After this, add in shading to different parts of him and his instr...

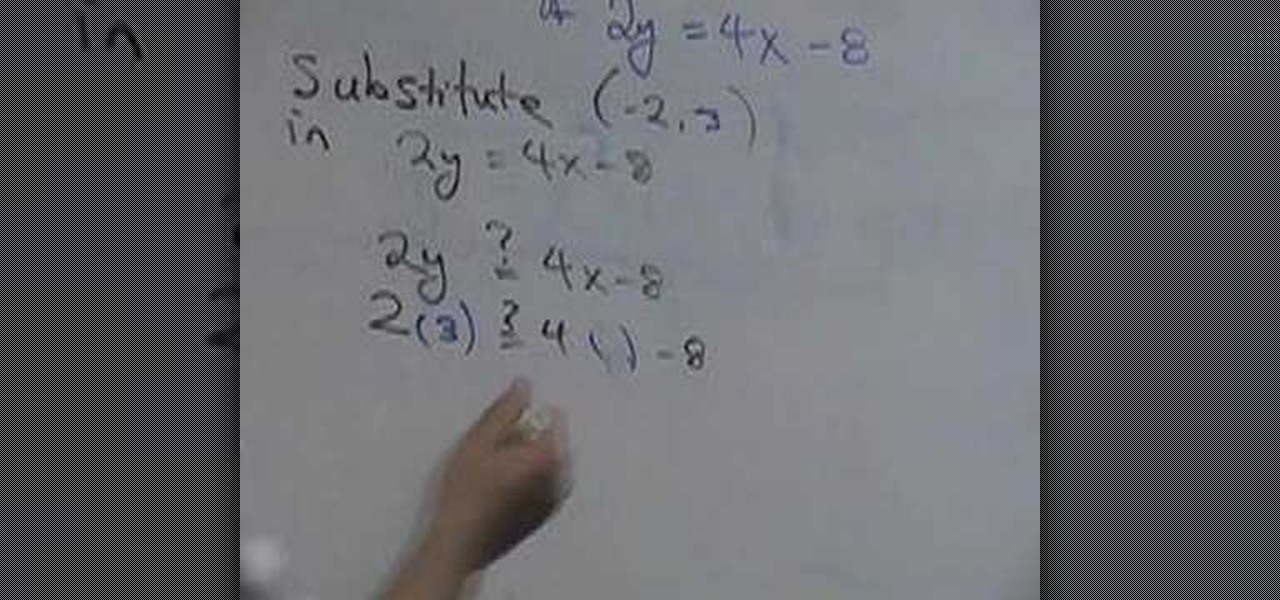
In this video, we learn how to graph an equation. First, pick a point out of the equation and see if it's a solution to the equation. This equation shows where two lines cross in the math problem. See if the two coordinates are part of the line that is on the equation. The two numbers are going to be the 'x' and 'y' that you plug into the equation. Once you have these written out, you will be able to graph them using the coordinates on the graph. Once finished, you will have graphed the equat...

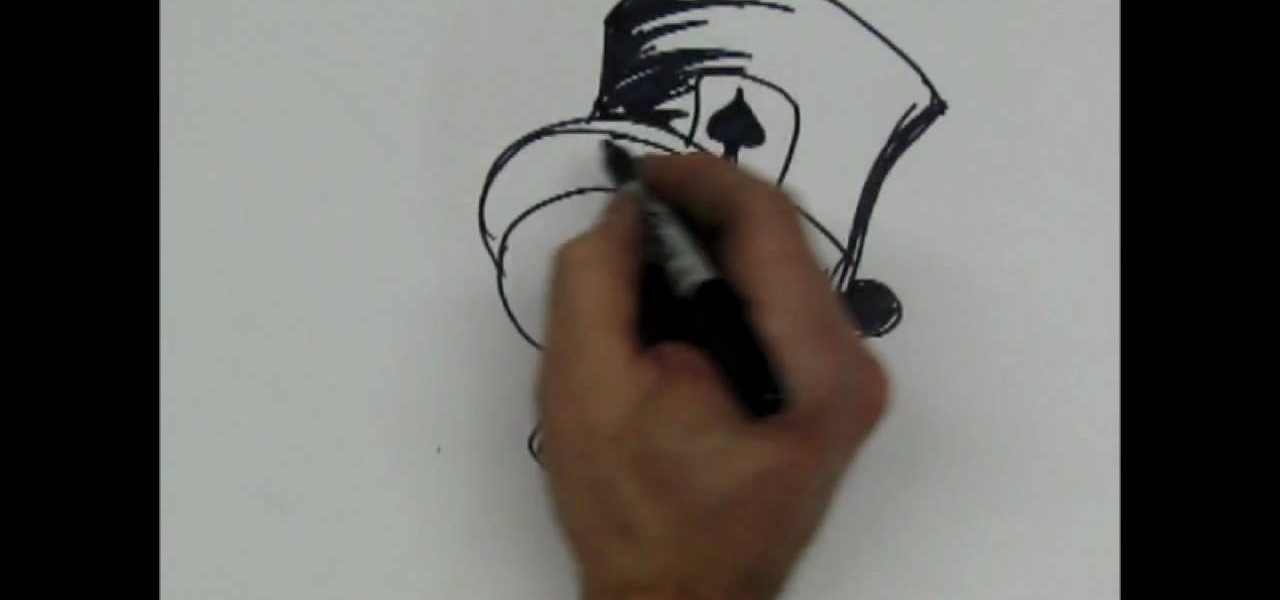
In this tutorial, we learn how to draw a skull with a top hat. First, use a Sharpie marker to draw the nose of the skull and then the eyes. Color these in completely black, since you want be drawing eyeballs in them. After this, draw the skull around it. Draw in the teeth clenched together and then add in lines around the head of the skull to show cracks in the bones. After this, add in additional details around the jaw line and on the head of the skull. When finished, draw on the hat to the ...

In this tutorial, we learn how to draw a cylinder. First, you will draw the sides of the cylinder and then the curves for the top and the bottom. After this, complete the circle at the top and then shade in the side with crosshatching. From here, draw some lines to shade in on the side next to the cylinder. If you want to draw a cylinder on its side, draw a box around it first and then continue to draw. Make sure all your lines are equal to each other so it evens up and looks more realistic f...

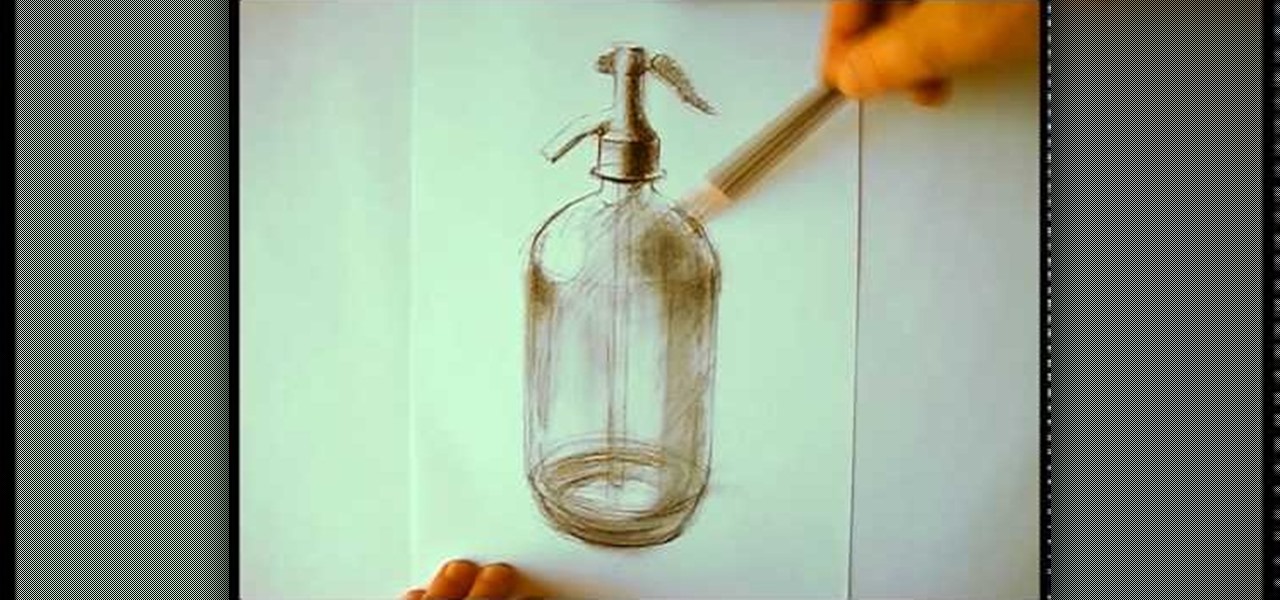
In this tutorial we learn how to draw a glass bottle. To start the bottle, you will draw the outline of the bottle starting with the cap to the base. After this, start to shade in the top and around the sides of the bottle. Small lines will create the effect of the bottle seeming to be transparent. After this, start to shade in around the sides of the bottle and on the bottom. Draw the inside lines and the other side as well so you can see that it is clear. Then, use the eraser to smear the c...

In this tutorial, we learn how to draw hands in the anime style. When you are drawing hands, they have a square look to them. So, start out with that shape and then start to draw the fingers onto the hand. Indicate where the joints will be and then you can further elaborate with the fingers. Make sure you make the fingers the correct sizes. The pinkie should be away from the wrist, as well as the thumb. Use a line to help center all of the fingers and then draw them around this. When finished...


