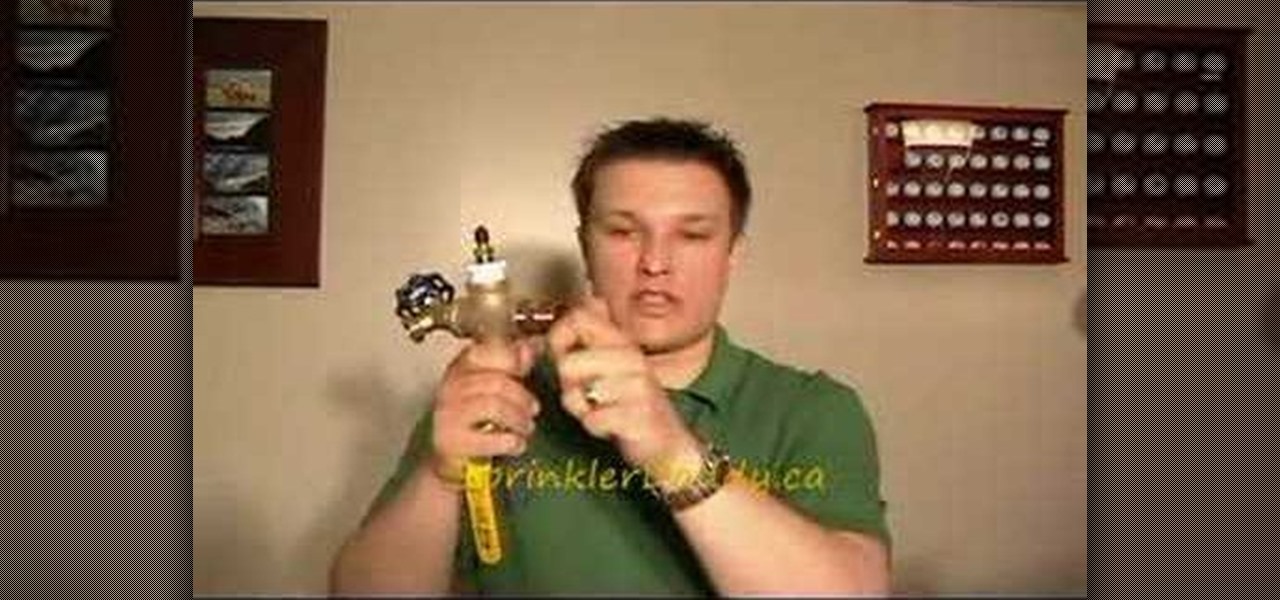
Connecting your sprinklers to the water line is actually fairly easy when you're installing your own sprinkler system. Basically, you just go to your outside tap, screw it off and screw in your house connection.
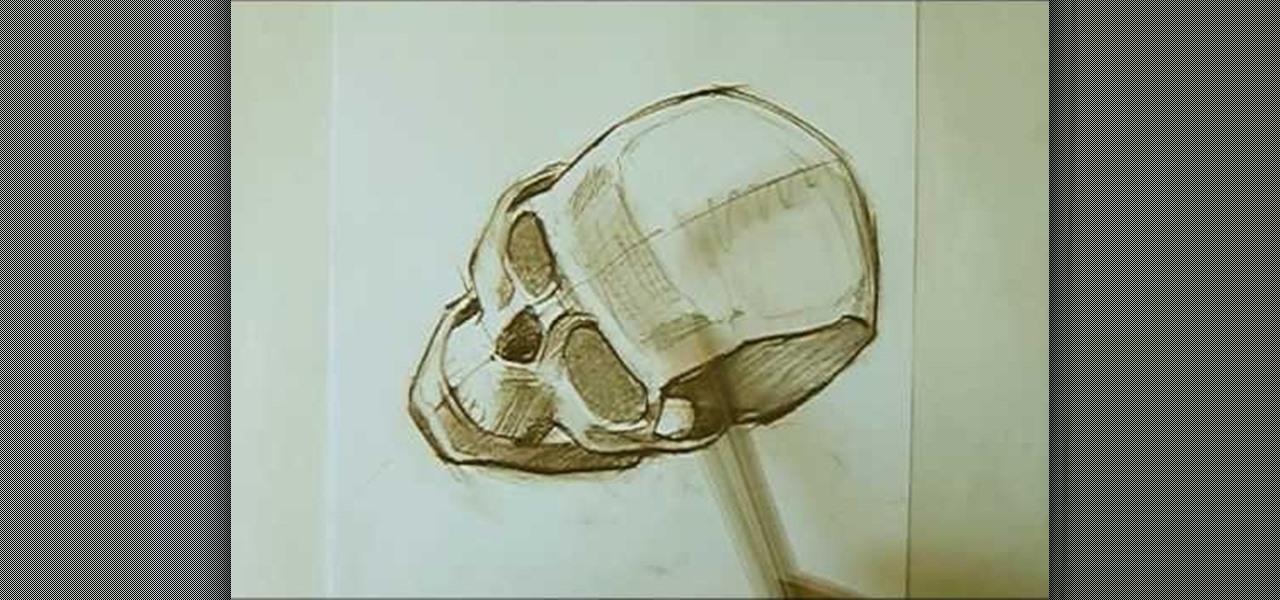
In this tutorial, we learn how to draw a skull with proper proportions. First, draw the outline of the skull with the light touch of a pencil. After this, use the pencil to draw two crossing lines that are the same length. Next, draw in the features of the face and head using the lines on the drawing. From here, you will start to add in the details to the features of the face and erase any background lines. Use the side of your pencil and the top of it to shade in the sockets and lines. To fi...
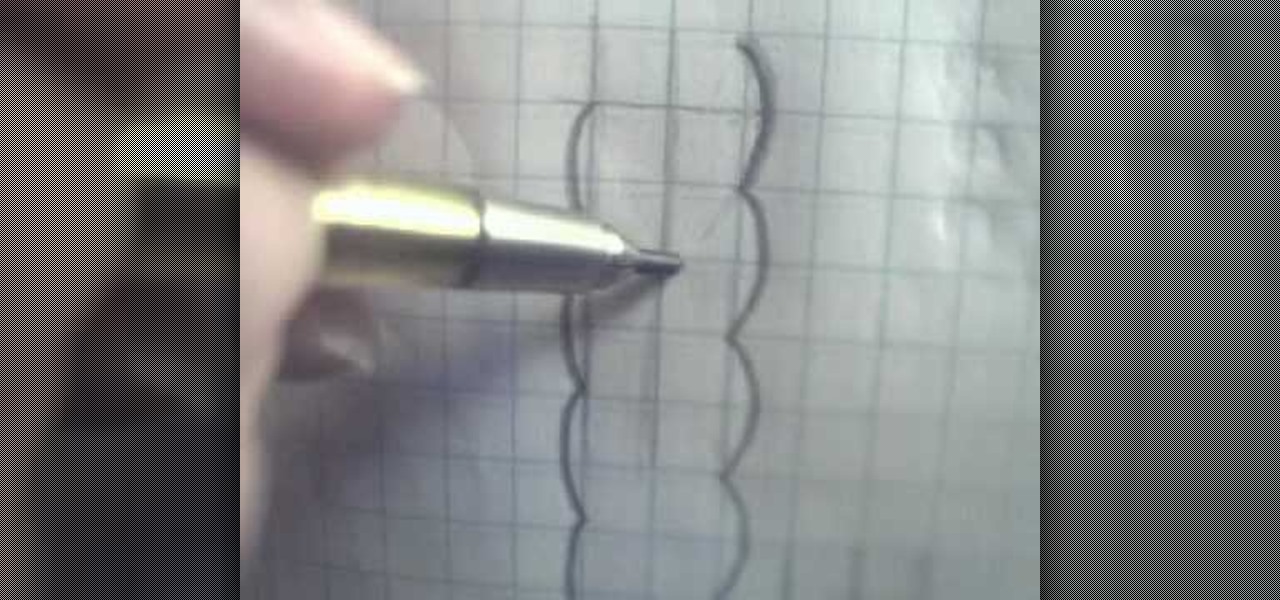
In this tutorial, we learn how to draw braided hair. Start off using grid paper and a pencil to practice. Then, draw two lines parallel together and draw a line in between each of those. From here, draw on a circle around these and continue the pattern all the way down until you reach the end of the lines. Then, draw a line in the center where the circles meet and start to shade in the area to the right, creating a line coming out of it from the left. Practice doing this to get a better idea ...
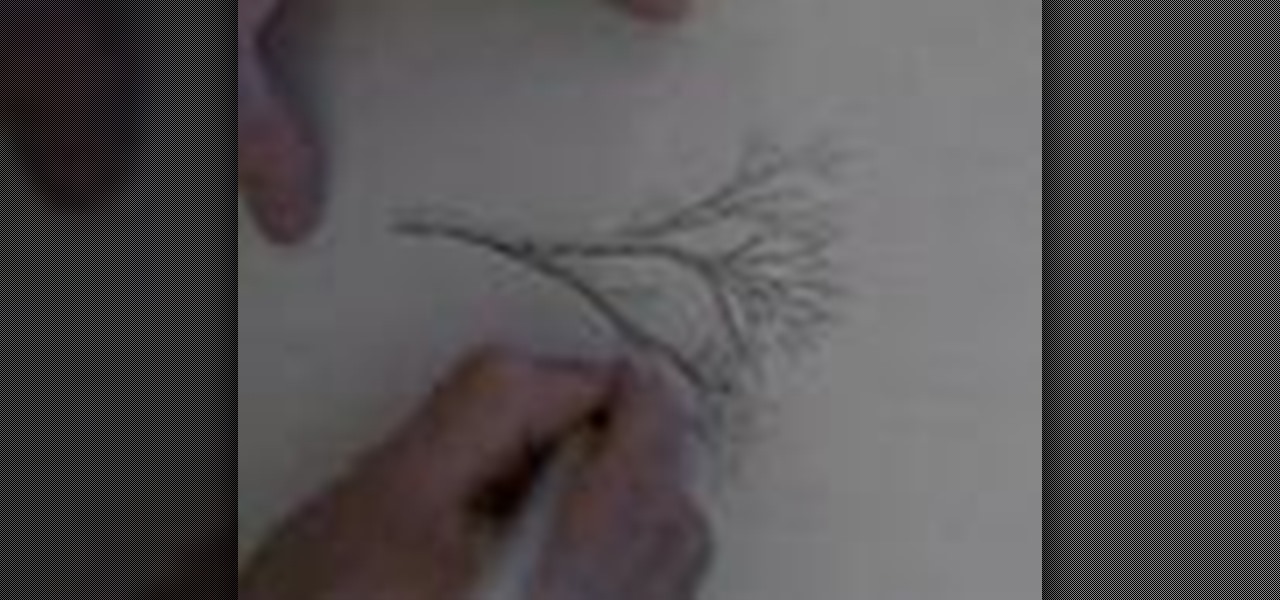
In this tutorial, we learn how to draw a tree branch. Start out drawing two lines for the trunk of the tree. Work these lines up until you reach the top where the branches are located. Then, draw outward lines that will be the branches. Do not make all of them the same size. You want this to look realistic, so make them all vary in size. Draw small lines at the tip of every branch to make it look like wood coming off of them. When finished, add in lines along the branches to show bark on them...
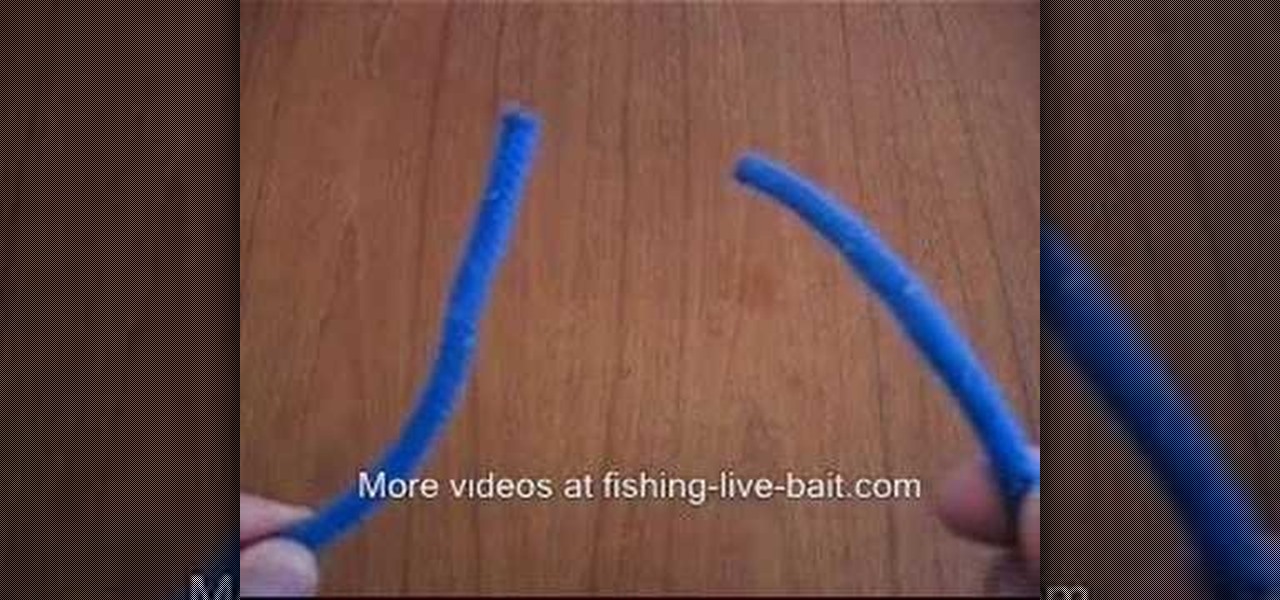
In this video we learn how to tie an easy fishing knot system. First, put the line through the hook and pull. Then, take the end of the line and make it come through the loop. Bring this over and then you will have a hole at the bottom of the string. Take the end of the line and put it through the hole around six to eight times to get a strong knot. Then, pull on the main line and you will see the knot glide up to the hook, To go lower, just pull it down. This creates a strong and efficient k...
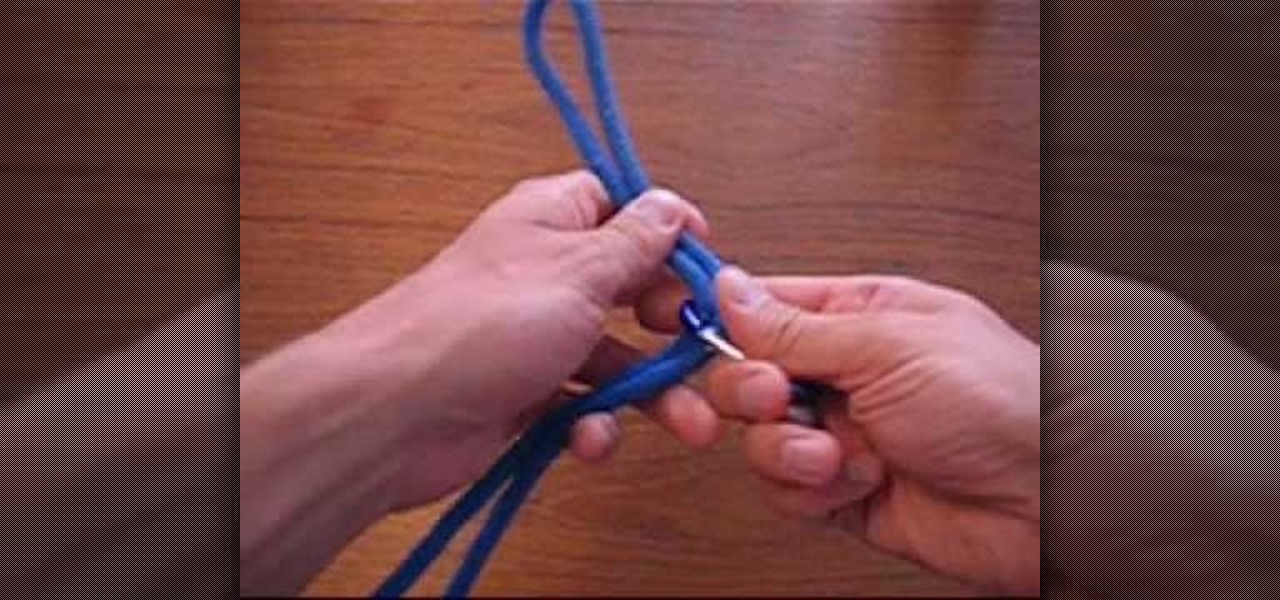
Use 12 inches of fishing line and a fishing hook. Make a large loop, folding the fishing line in half and put the fishing hook through it about a quarter of the way down the fishing line. Take the loop under the hook, draw it through the hole that was created. Pull to tighten. Next, take the small, loose end of the loop and place it around the fish hook. Pull the fishing hook through. Pull the end of the fishing line tightly so that the knot is firm and secure. Watch the video for more inform...

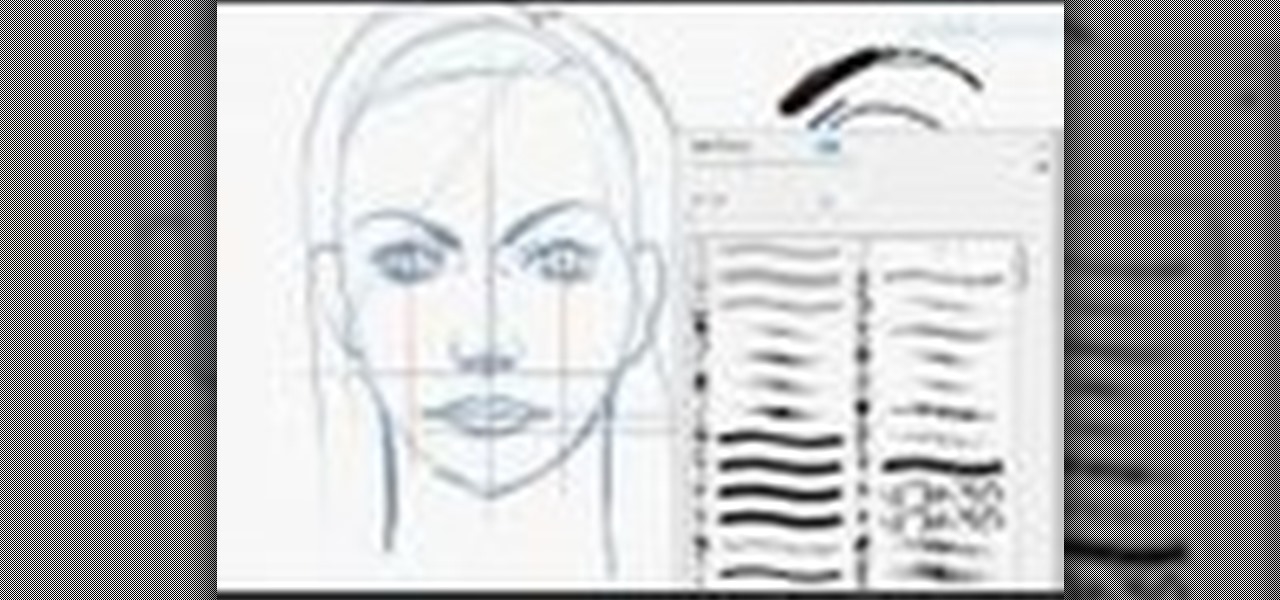
In this tutorial, we learn how to sketch a female face. Start with an upside down egg shape for the face, then draw in the contours of the chin. Use reference lines on the face to help you place where the eyes, nose, and mouth are going to go. After this, start to draw in the additional features, using a lot of lines to contour the face and make it look as realistic as possible. It's very important to use the lines in the background of the face so everything is even and lined up. After this, ...

In this tutorial, we learn how to draw a parallelogram given base, angle & altitude. First, you will draw the base of the parallelogram, using your ruler to measure out the line. Next, you will draw a dotted line perpendicular to the line that you just drew that is 3 cm in length. Then, you will draw another dotted line on top of the one you just drew. This dotted line shows where the top of your parallelogram will be. Then take your protractor and draw it at the angle the problem gives you. ...

This is a useful technique to use especially when you're working with comic characters with the Cinema 4D modeling software. This tutorial shows you how to use line weight when you're manipulating 2-D line art for your own personal projects.

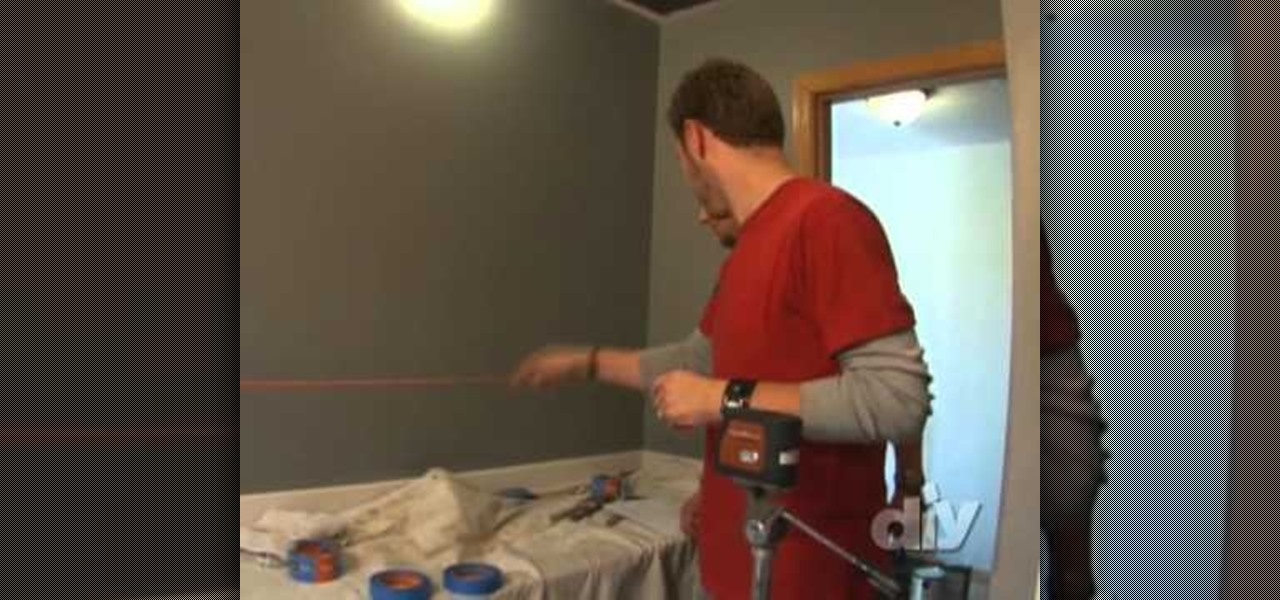
Painting straight, even accent lines on a wall (or racing stripes on a car for that matter) can be infuriating, but there are some tools and tricks that can make it much easier. This video will show you how to use a wide-angle level and one simple trick with paint tape to make sure your accent lines come out perfectly straight and without any smearing.

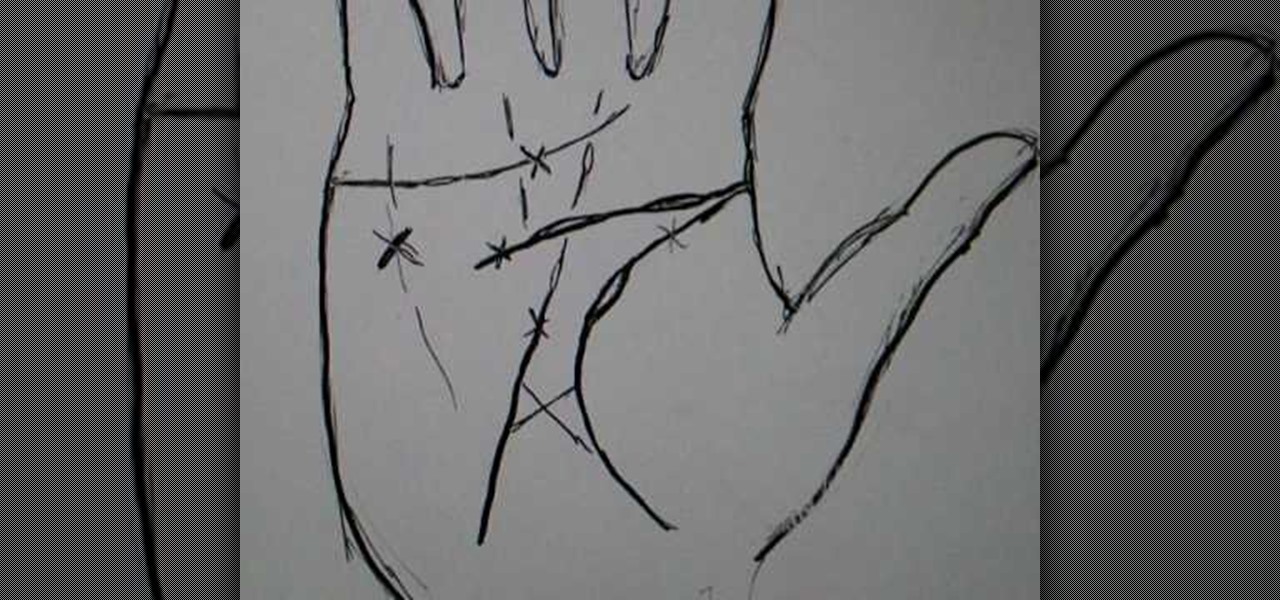
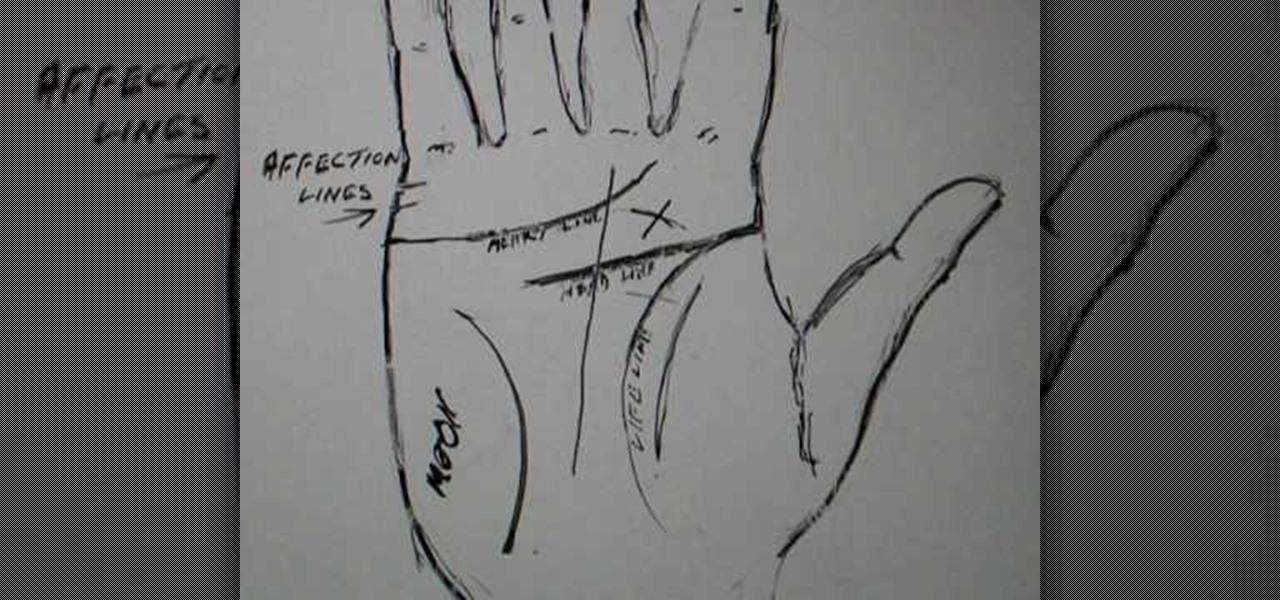
In this tutorial, Peter John teaches us how to palm read: Crosses & islands on the main lines. Lines in the hand show how a person makes a change. When there is an island on the hand, this means the person needs to slow down and be careful. This could also mean their work is going to slow down or something in their career is going to change. If the island continues on throughout the hand, this means the person will manage to carry on and stay within their line of work when they are challenged...

In this video, we learn how to write numbers in calligraphy copperplate. To write the number five, you will simply make the shape of the number, but add in a thick edge to the bump and curved edges to the end. To write the six, use a thick line on the side of the number and a thin line for the circle in the middle. To make the seven, the top should be curved and thick, and the lower line should be very thick with a straight edge. To make the eight, draw the number so that the left edge is thi...

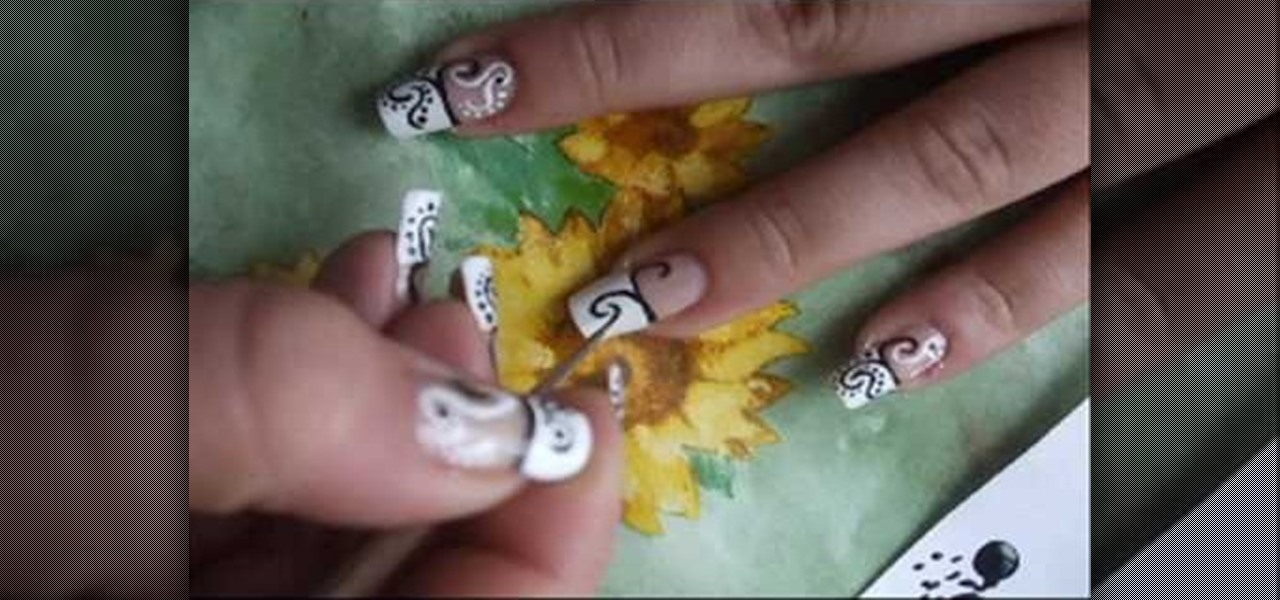
Create swirly black & white nail art Use base and top coat, black and white nail polish and paint brush nr 2/0.

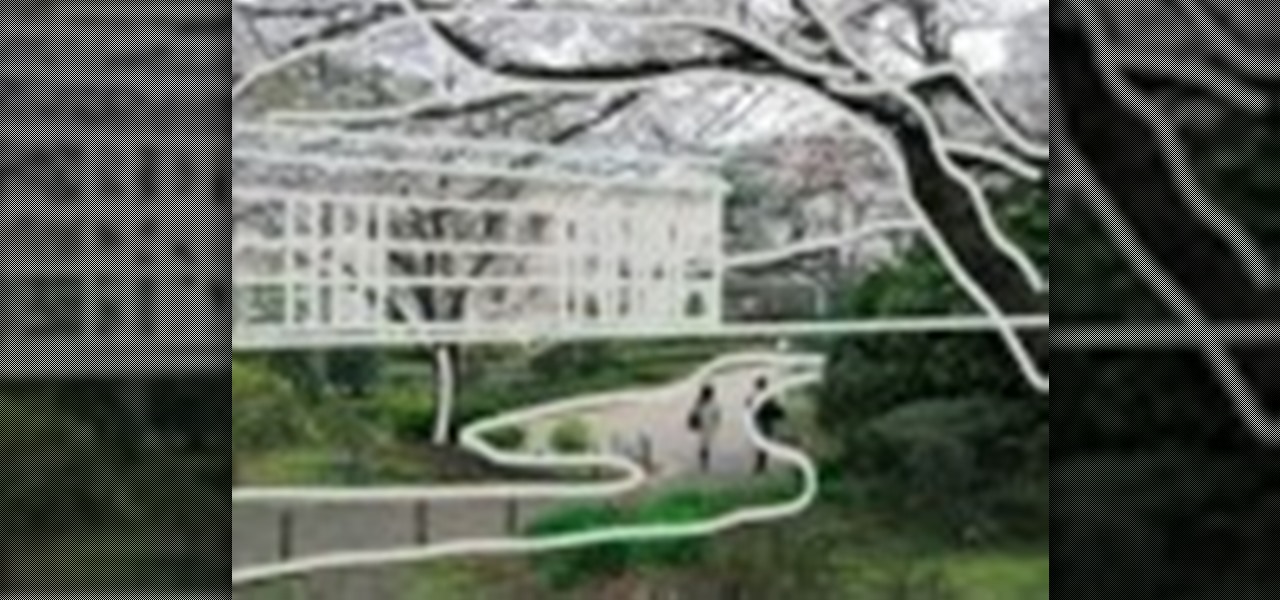
In this video, we learn how to measure your space when drawing a landscape. First you want to draw a line in the middle and measure out the line to the top of the building, and create another line there. Measure the length and then measure the edge of the outside of the building. After this, find the end point for the building and measure from the top down or from the second line to the roof, then draw the line across. Measure in from the end to get the angle, then find the layout for the tre...

In this video, we learn how to write the letter "b" in calligraphy copperplate. Start off with a piece of lined paper and your calligraphy pen. Create a smooth curved line going down, with a dot that is at the end of the line. After this, create a swirl on the left hand side of the line, then curve it out to make the top of the letter of the humps on the "b". Make sure you grab ink often, especially when you want to make a bolder line. Continue down to make the humps of the letter, then when ...

In this video, we learn how to write the letter "r" in calligraphy copperplate. Start out by dipping your calligraphy pen into ink, then creating a curved line with a dot at the end of it. Next, fill in the line so it is smooth and there are not ragged edges. Next, draw a large swirl on the left side next to the curved line, then draw it over to make the initial loop on the "r". After this, create a loop in the middle, then draw it back down to make the end hump of the "r". After this, draw i...

In this video tutorial, viewers learn how to draw Obi-Wan from Star Wars. Begin by drawing a circle for the head and rectangular shape for the jaw. Then draw a line 1/3 way across the circle. Draw the eyes on the line and the nose just underneath the line. Now draw 2 lines from the ends of the eyes to the rectangular shape. Use those lines as a guide to draw the length of the mouth. Then add the ears, eyebrows and beard. Now lightly draw the hair. Finish by coloring and shading the image. Thi...

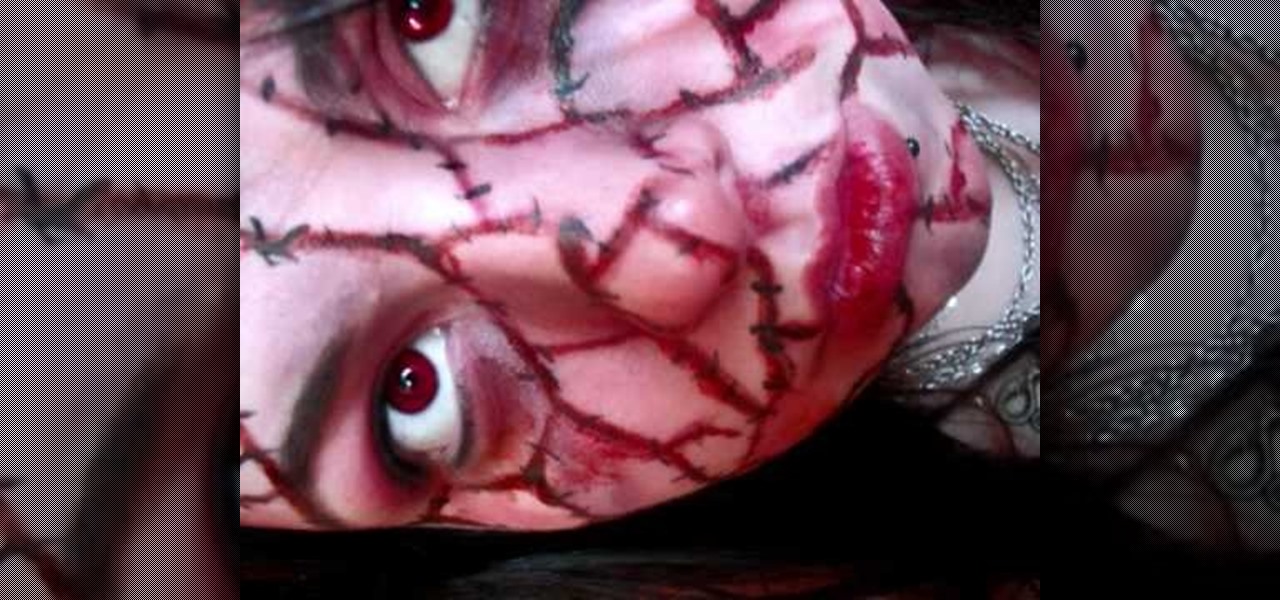
In order to do a bloody makeup look for Halloween, you will need the following: deep red blush, deep shadow Mac paints, eyeshadow, contour shadows, theatre blood, and eyeliner.

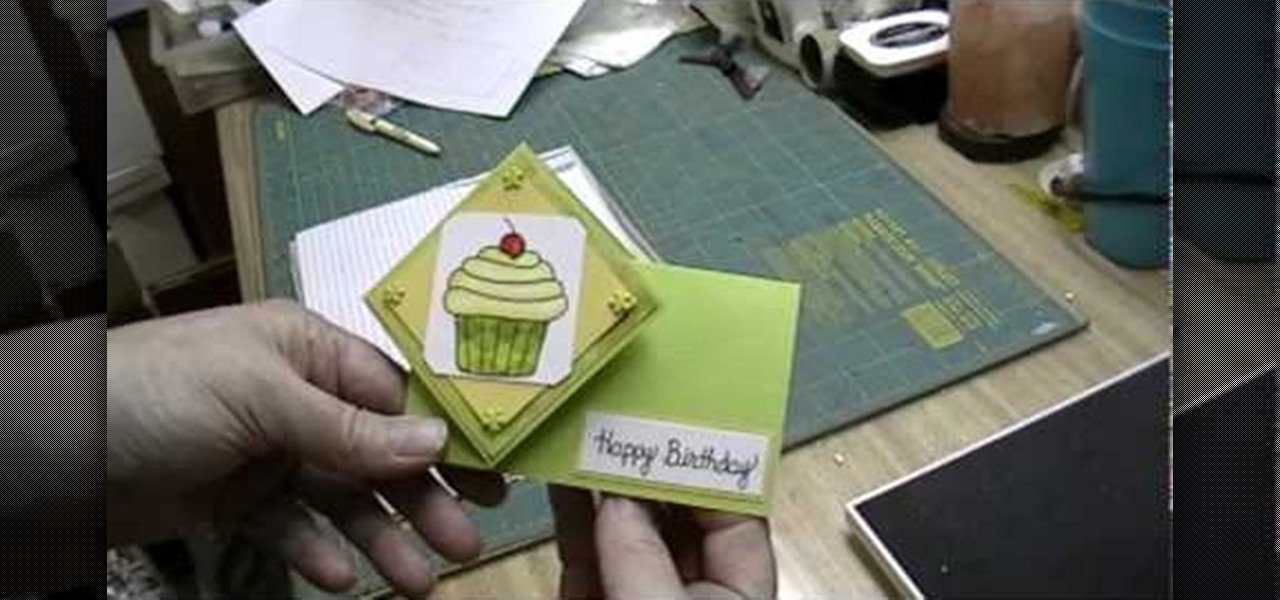
In this video, we learn how to make a twist turn style card. The card will open with a neat pop out image on the front of the card! First, get an 8 1/2 x 5 1/2 piece of card stock and then score it 2 and 3/4 inches from the left edge and 4 inches over from the left edge. Then, turn the card the other way and find the center, then score from the right end to the very first score line. Then flip the card over and score the rest of the center line up to the first line. Now, make a score line fro...

This video teaches you how to apply make up for a vampire look. Start by applying black eye-liner to your upper and lower lash line. Make sure to apply it pretty thick. Next, blend out the liner with a flat brush. Blend up on the upper lash line so that the liner is covering the eye lid. Blend the lower lash line downwards. Next, take a fluffy brush and dark red eye shadow and apply to the inner half the upper lid and also to the lower lash line. Add the same shadow to the inner corners of th...

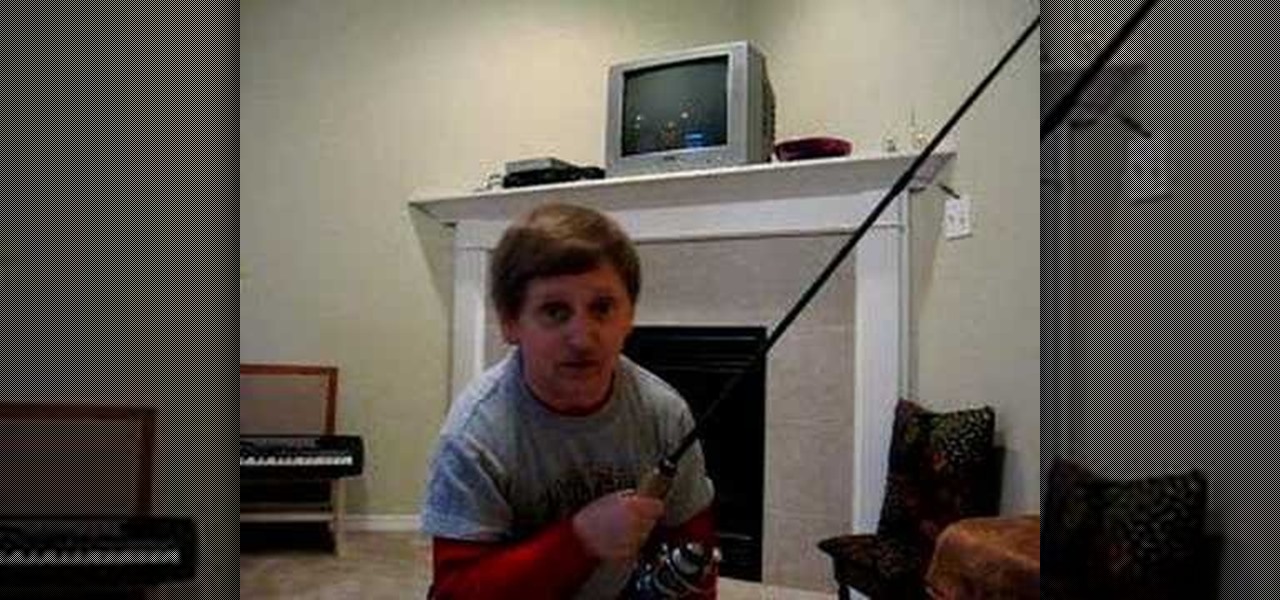
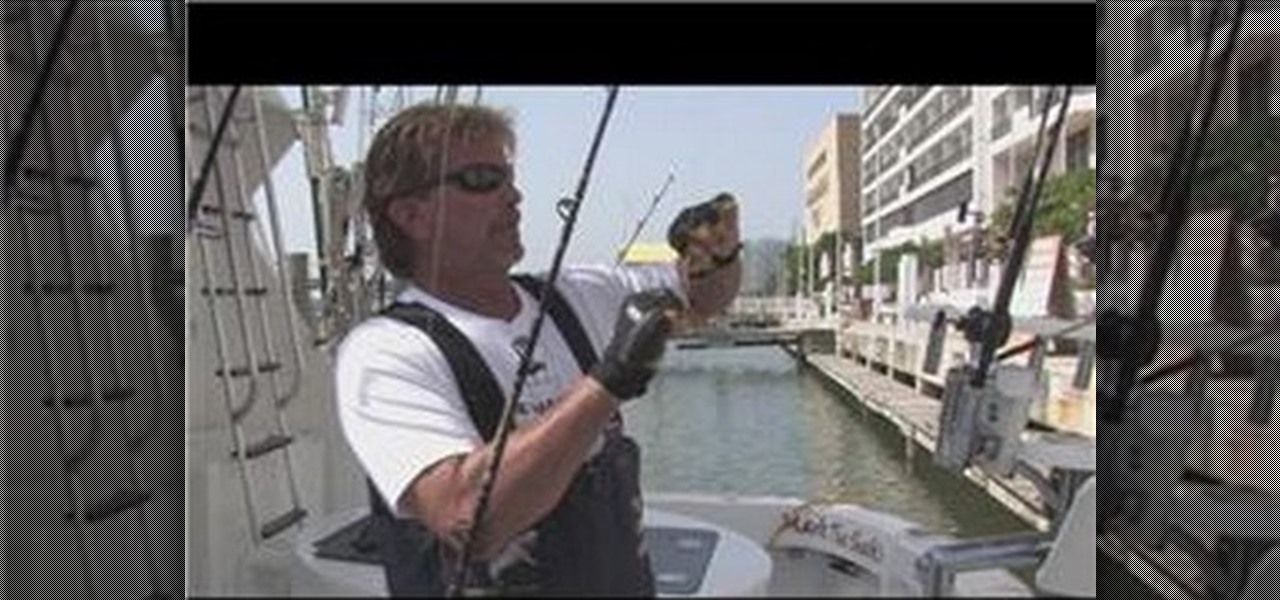
Adjusting the drag on your fishing line is one of several important setting that you can set on a modern rod. This video features a bass fisherman going through how to properly set the drag on your rod for different fishing situations. Basically, if you're catching a big, ornery fish, you need less drag so that he can run without breaking your line. Smaller fish, more drag, easier reeling in.

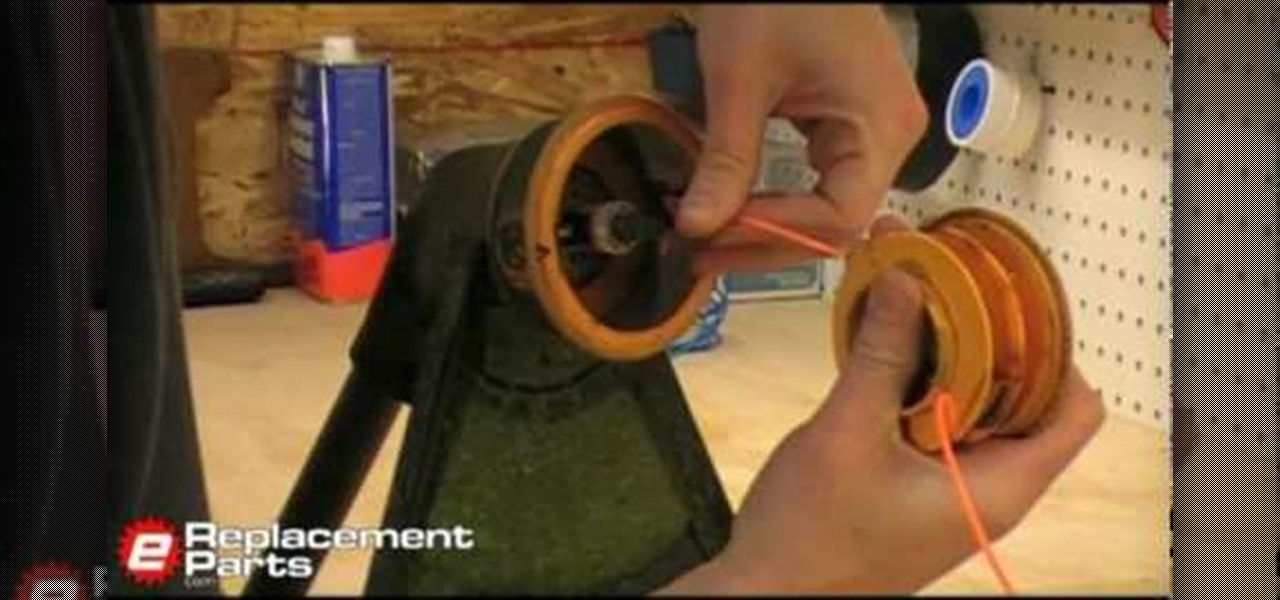
Trimmers, or as some people call them weed-whackers, need one important piece for it to work properly: the trimming line, of course. This helps cut off pieces of unwanted grass or weeds with just one single swipe and is easy to replace. In this tutorial, you'll find out how to replace trimmer line in three different devices easily. So sit back, pay attention, and good luck!

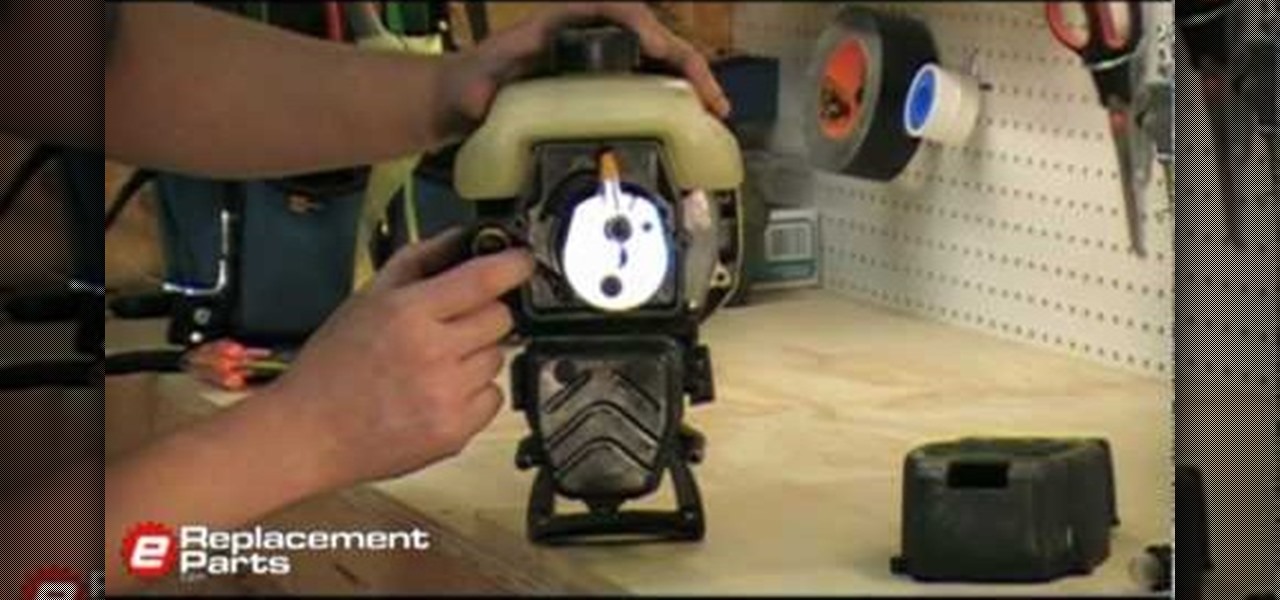
Replacing a fuel line, is a common practice when it comes to dealing with outdoor tools and equipment. In this tutorial, you'll be focusing on a trimmer fuel line. It's a difficult task that can take some time to complete, but the end result will be a much more efficient working device that will save you time and money. So check out the tutorial above and good luck!

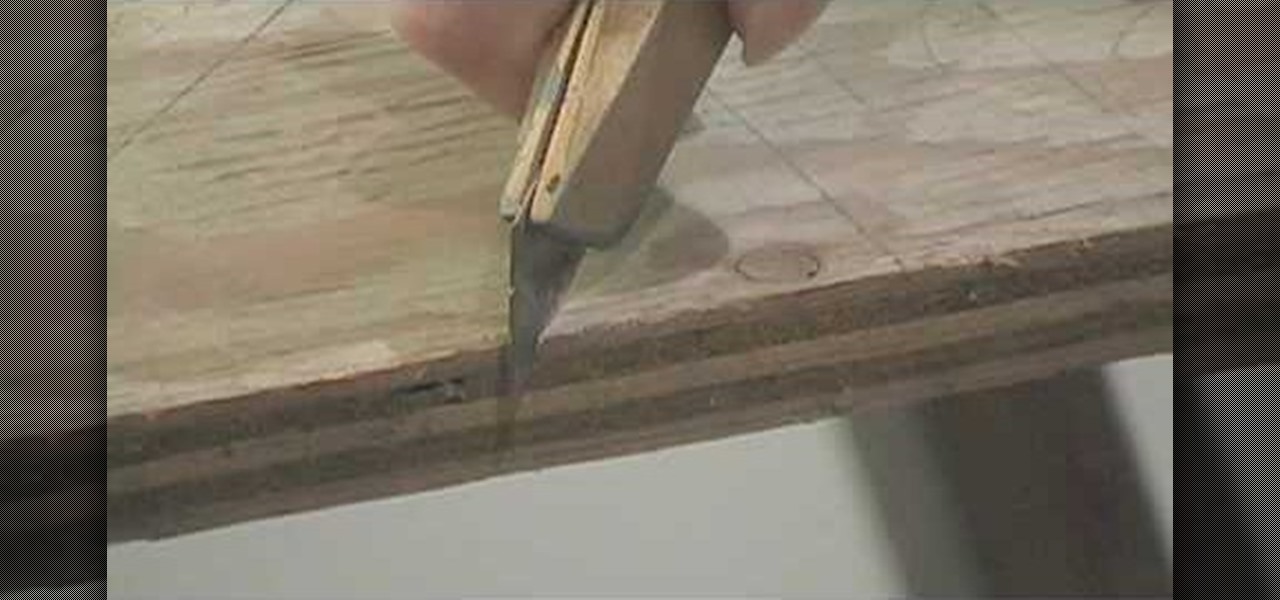
If you need to snap a diagonal chalk line on a sheet of plywood, you could hope that the hook will hold when you pull on it or try to find a third hand – or you can follow this video guide, which demonstrates a method for snapping chalk lines using a utility knife. For a complete overview of the technique, watch this free DIY tutorial.

Want to go fly fishing but lack the necessary technical know-how when it comes to the sport's specialized equipment? Never you fear, brave pescador(a): with this fly fisherman's how-to, you'll learn how to load fly fishing lide on a rod and reel. When loading fly fishing line on a rod and reel, pull the leader out to get down to the fly line, and pull the line through the guides so that the line will cast properly. Learn how to pull the entire length of the leader through the tip guide with h...

Want to go deep-sea fishing but lack the necessary know-how when it comes to the sport's specialized equipment? Never you fear, brave pescador(a): with this fisherman's how-to, you'll learn how to attach a leader to a braided fishing line for drop shotting.

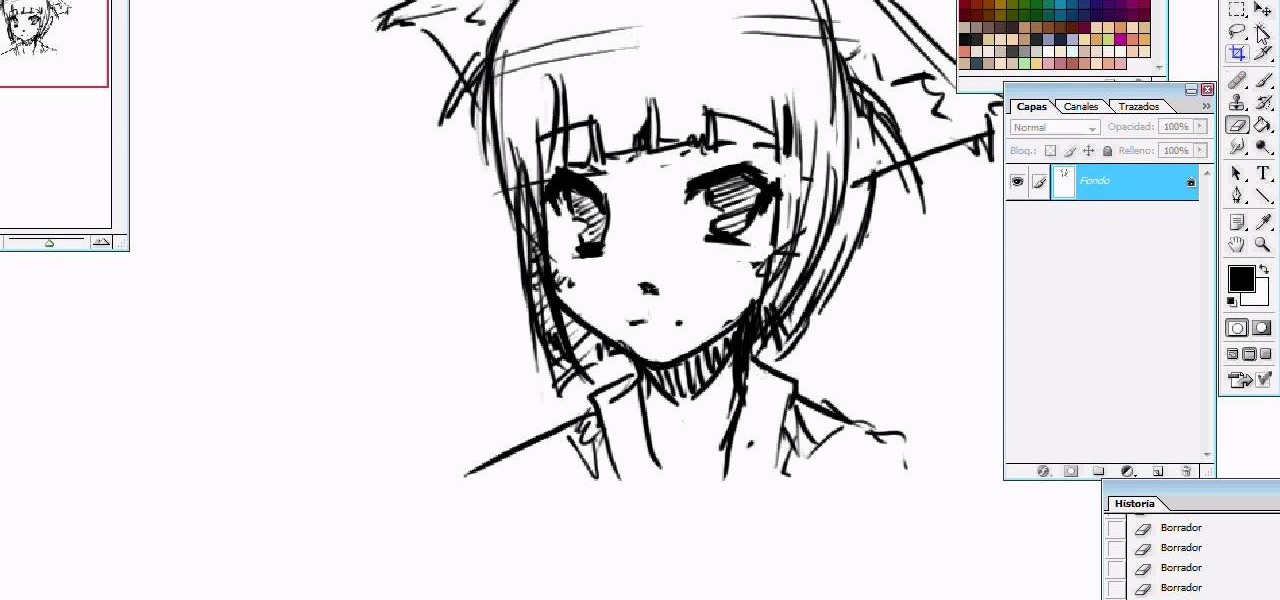
co23ghttoe is here to show you how to draw a manga fox girl. You first start with a circle and two lines to line up the eyes on the face. The eyes can come out looking pretty rough but with the proper use of eyebrows, it can make a "cuter" expression. You then outline the bottom half of the face, like the cheeks and the chin. Follow up with the hair by dashing your lines down her face. Finish up with her neck and shoulder line. Now is time to add the fox ears. Erase some of her head as demons...

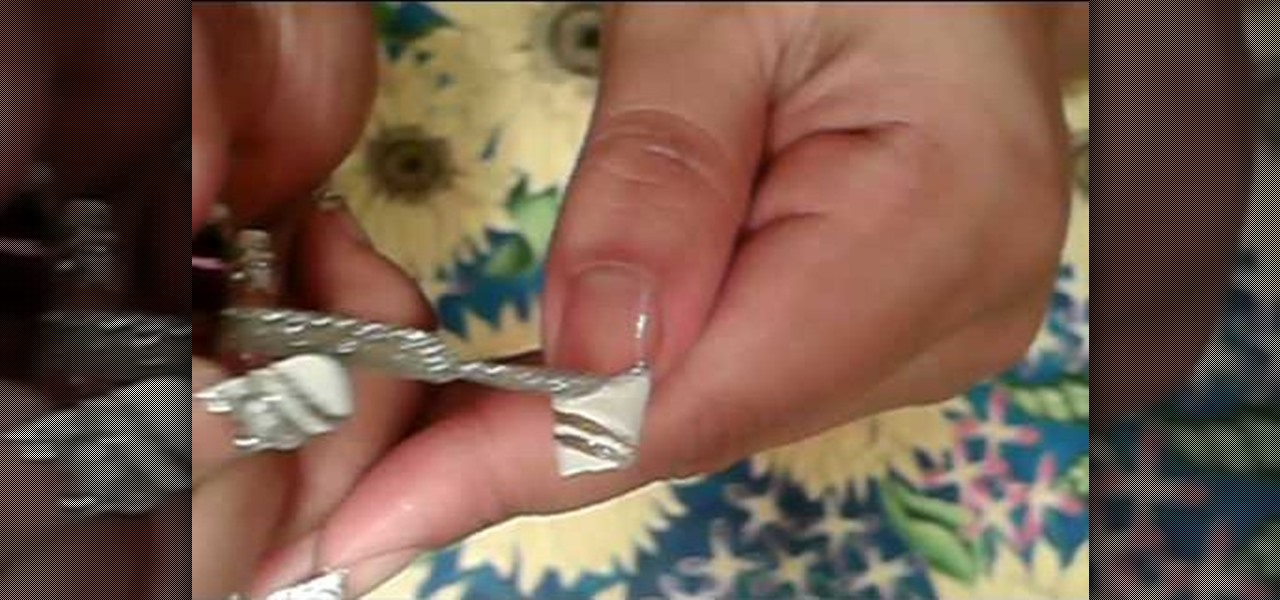
The process of painting your fingernails, with a French manicure with silver accents, is a multi-stepped process. Before you begin, put a hydrating base-coat on your bare nail, and let it dry. Then take white nail art polish, and draw three parallel diagonal lines across the nail, starting from the top of the nail (where the white meets the skin" to the bottom. Once you have completed the three lines, take white nail polish and create a French manicure, filling in the nail from the skin line ...

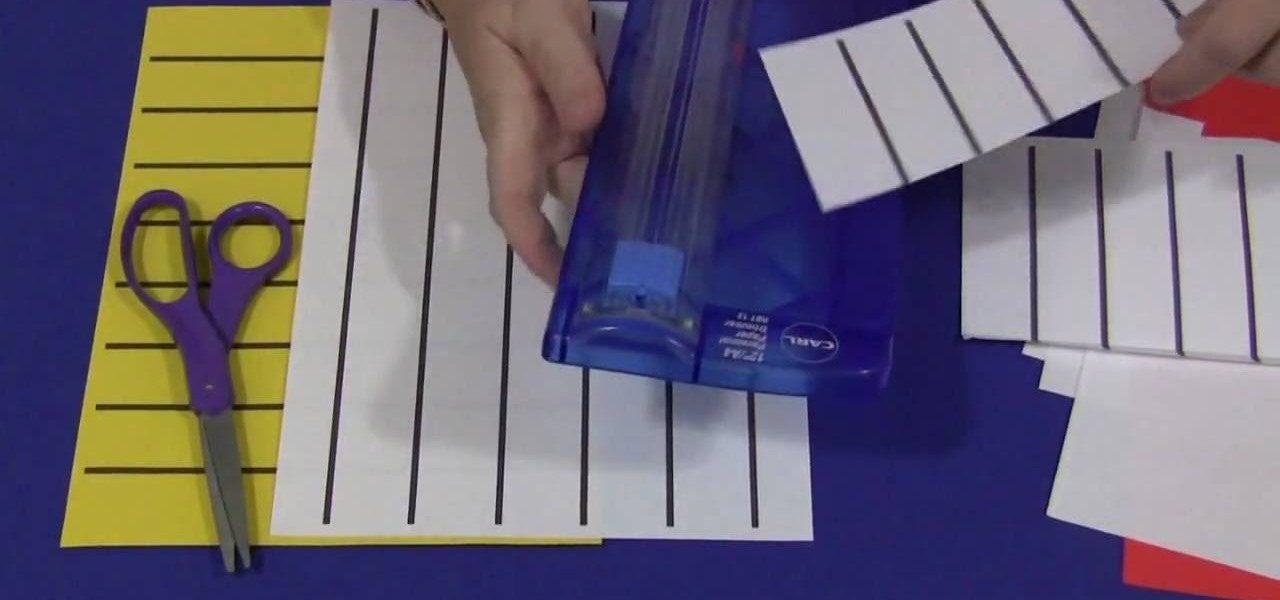
Shelley Lovett has some tips for helping a young child learn how to use scissors. The first thing you need to do is make sure you have paper and child size scissors available for the child to use. A full sheet cut in half is usually more manageable for a young child to work with. Have the child take the paper and just make cuts into the paper however they feel comfortable. Using colored paper can make it more interesting for them. After that very beginning practice stage has been accomplished...

This video provides a diagram and explanation of the some of the more common mysteries in palm reading. Although the video does not provide much instruction for the actual act of palm reading, the diagrams are very helpful in determining which lines on the palm of the hand would be used to conduct a reading. The diagram shows the names and locations of each line that can be read on the palm. The life line, line of affection and line of intuition are explained in detail. The psychic cross is a...

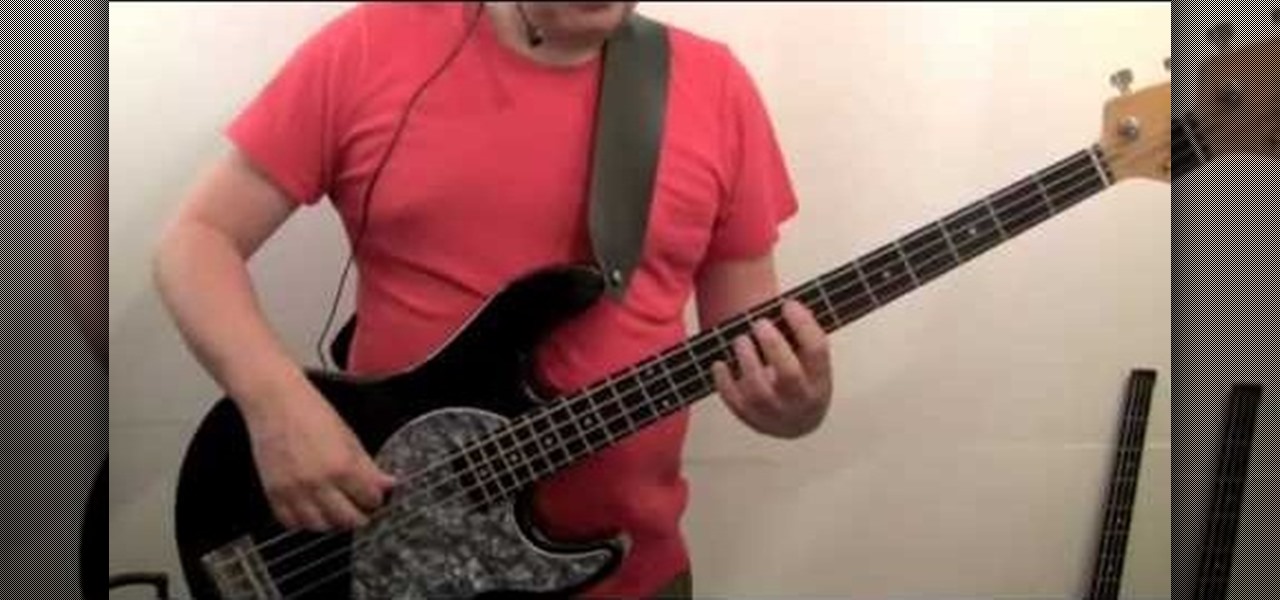
Paul from how-to-play-bass.com gives a great lesson on how to play "London Calling" by The Clash. This is a great pacing, walking bassline with ample slides and triplet rhythm. Pay attention.

To begin with you have to pass the line all the way through the eye of the hook and do it crosswise seven or eight times. Run it through the loop once more and then pass it all the way through the main loop of the line. Make certain that your line is wet. Another special way is that you can tie a loop on the line and then craft another loop and then pass it all the way through the eye of the hook and then bind it and cut it off. One more way to create a knot for the live bait is first craft a...

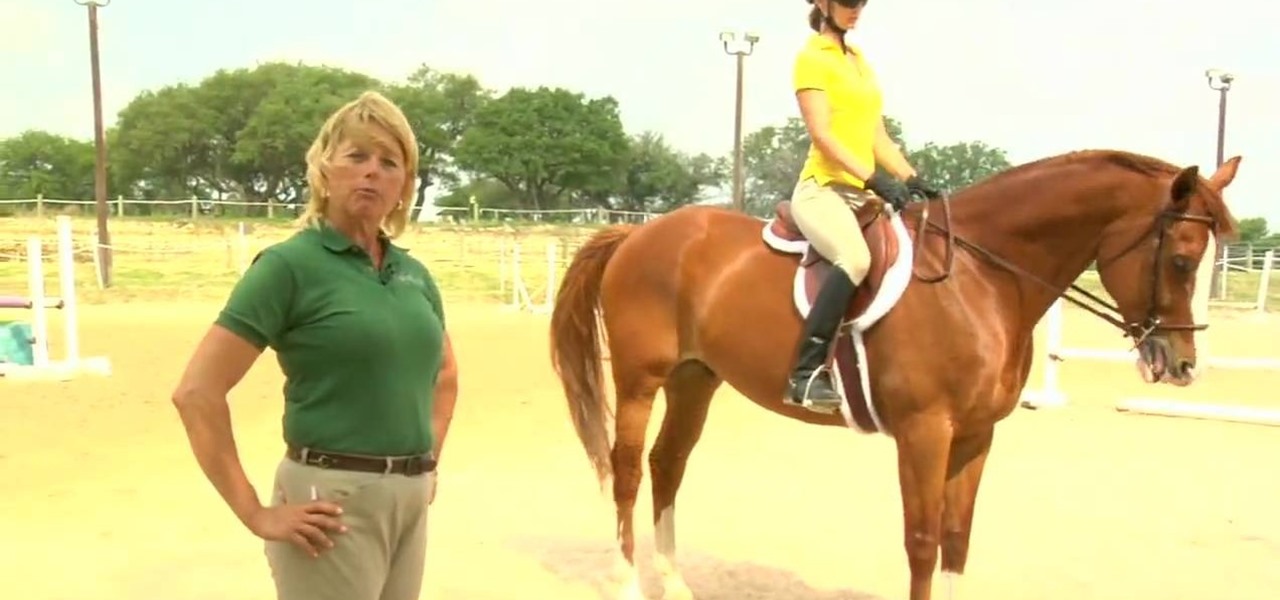
In this Outdoor Recreation video tutorial you will learn how to ride a horse with some basic instructions. This video is from Livestrong. The first lesson is how to create a correct back position that enhances our ability to stay balanced in a saddle. You should create a straight line from ear to shoulder to hip to heel stay right in that position. If the leg moves too far forward, you will feel you are falling back from the saddle. There should be another simple line. From the elbow to the h...

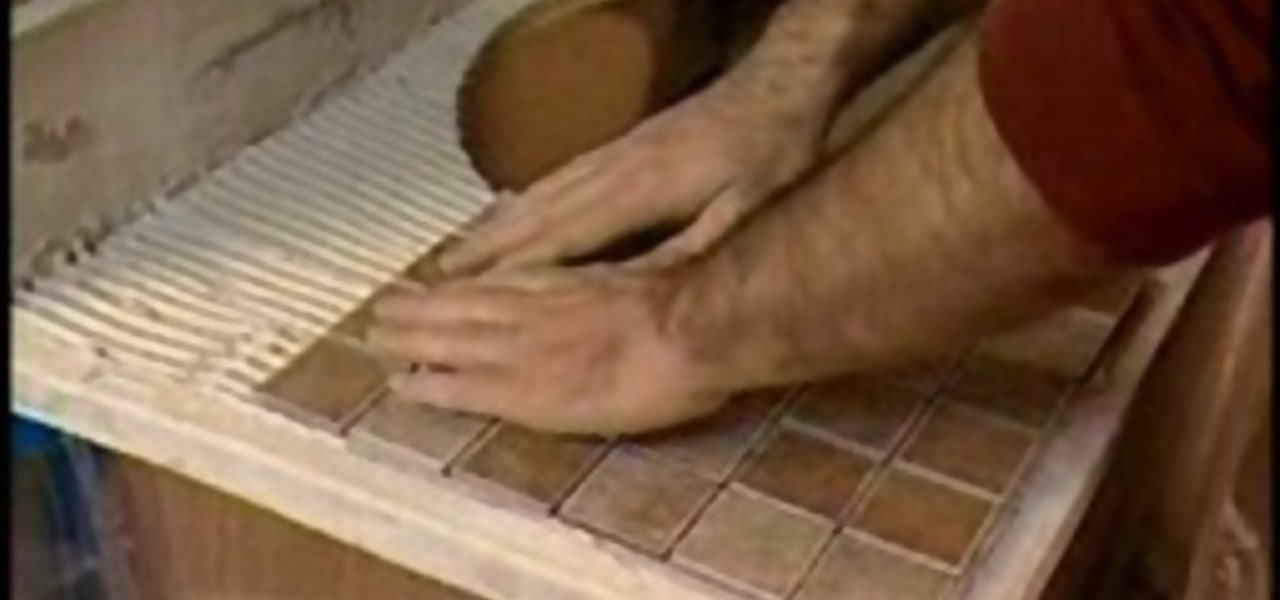
In this Home and Garden video you will see how to install mosaic tiles in your bathroom vanity using mesh pack sheets of 1 inch mosaic tiles and cap edge tiles. Hold a cap tile against the edge of the vanity and draw a line along the edge of the vanity. This will be the first joint line. Lay off the mesh pack mosaic sheets over the vanity top. The edges should be aligned with the line you drew. Mark the line near the joint on the last full sheet near the back splash. Also draw reference lines...

This video explains the properties of parallel lines and transversals in geometry. The instructor, Robert Ahdoot, uses an analogy in which he compares lines and transversals to the streets of Manhattan, New York. Continuing with this comparison, he goes over corresponding angles of two parallel lines cut by the same transversal, also explaining when they're equal. He then shows where interior and exterior angles may be found, and then goes over whether two angels are same-side or alternate, d...

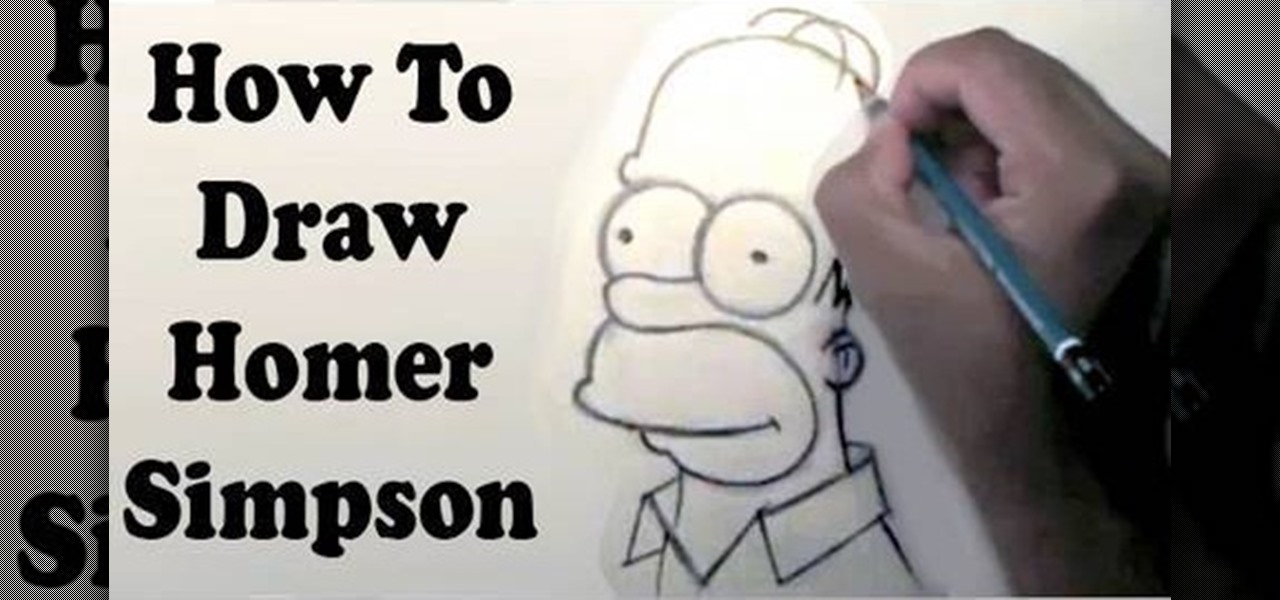
The video shows you how to draw a Homer Simpson cartoon. Start off with a big circle and a smaller circle below. Draw two slightly diagonal lines to the sides, a slightly curved line below and two lines for the lower part of the head. Then add another circle on the left side of the smaller circle. Draw a small pickle shaped nose and an eyebrow above the left circle. Draw the ear just below the eye line. The hair is drawn above the ear, like an M shape. Draw the mouth and the lower lip and ext...

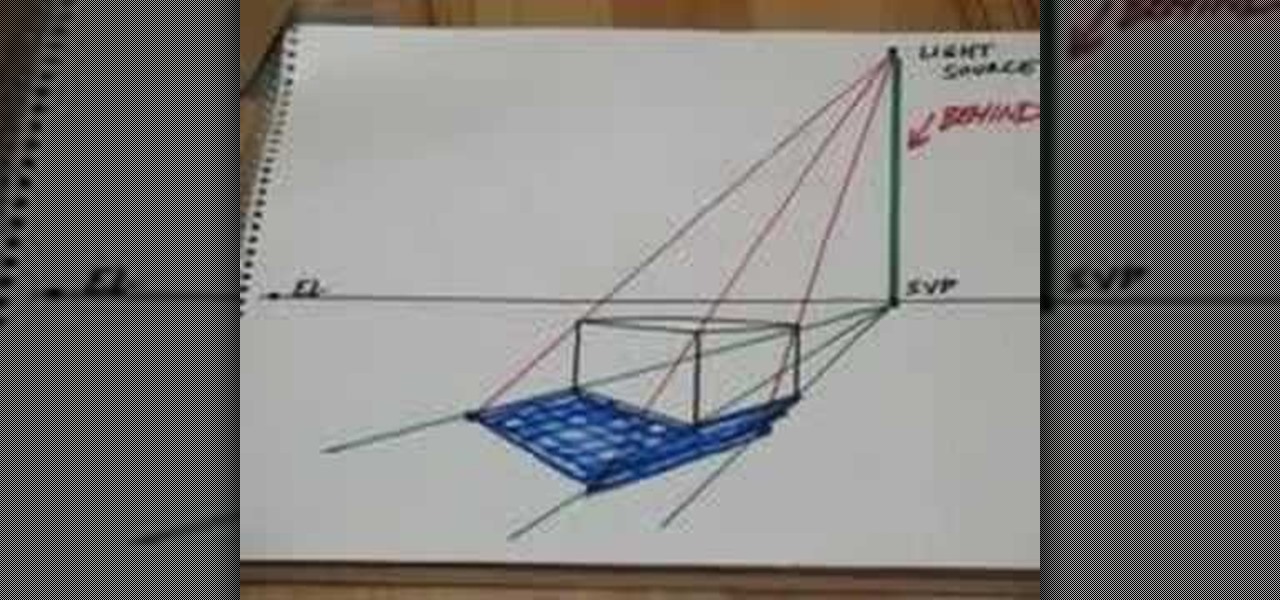
This video demonstrates the process for drawing prospective shadows using a light source. Start with the shadow vanishing point which is directly below the light source on the horizon line. Draw lines from the shadow vanishing point to the front three corners of your box. Next draw lines from your light source to the top three corners of your box. Where the shadow lines intersect, that area defines the shadow area and can be filled in for shadows. The shadows, of course, will line up with you...

This film from Woman's Weekly shows you how to line a round cake tin. First you take non stick baking parchment. Fold the paper to double thickness, then rest the tin on top and draw around it with a pencil. After that, then cut just inside the pencil line to compensate for the thickness of the tin. For the sides, you roll the tin on its edge, allowing some extra for overlap and a little extra height above the tin. Make a fold a couple of centimeters from the top and then make some cuts from ...

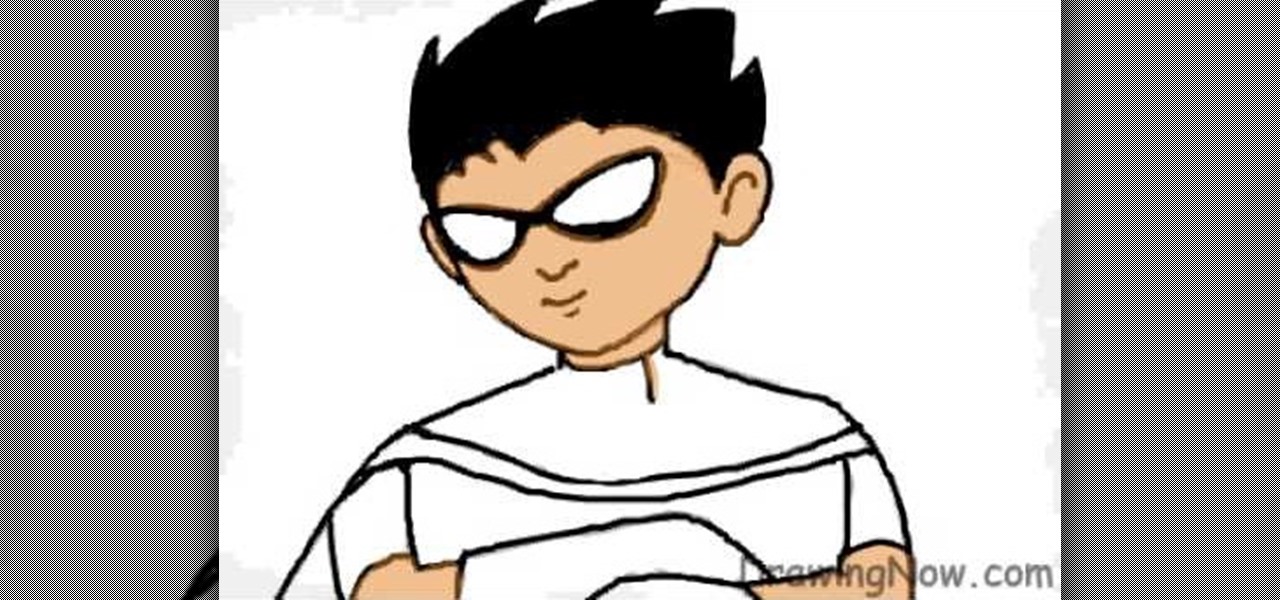
In this video tutorial from Drawing Now, learn how to draw the character Robin from Batman & Robin. You will need to first draw a circular shape for Robin's head. Then draw ears as well as a series of lines that looks like hair. These lines will actually serve as the raw form of your character, but will actually be erased once the real lines are drawn. Using a series of lines as shown in the video, you will add facial expressions, shoulders, and arms to your character. Darker lines will add R...

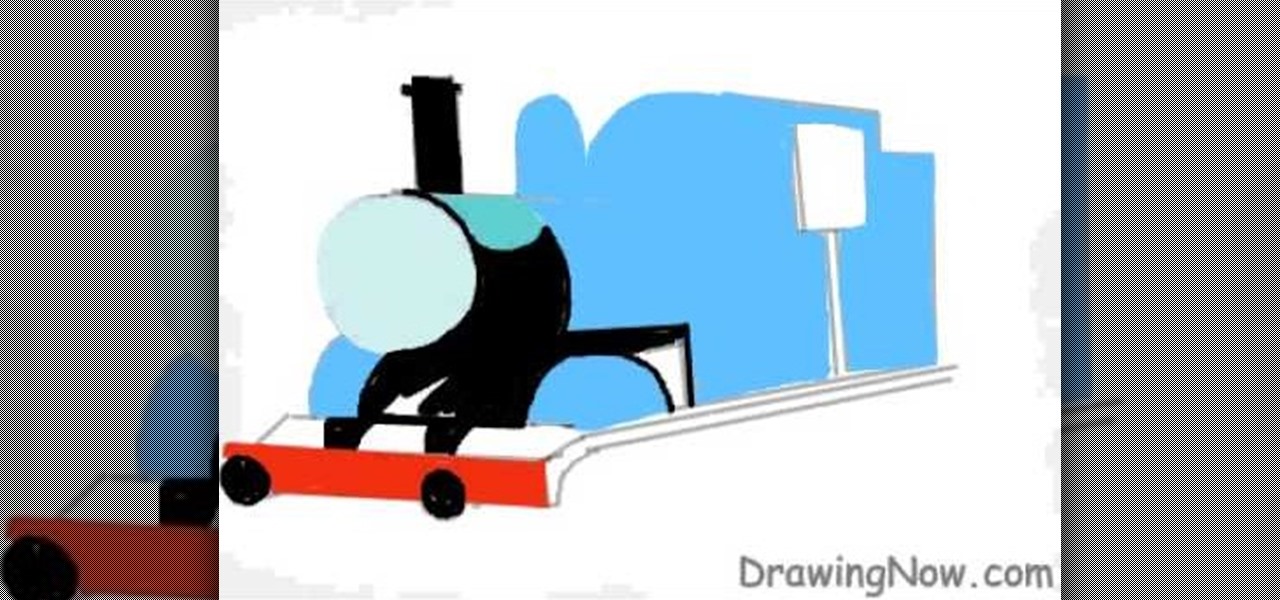
Watch this video to learn how to draw Thomas the Train. 1) First start out with a circle, followed with a rectangle attached, to make a cyclinder


