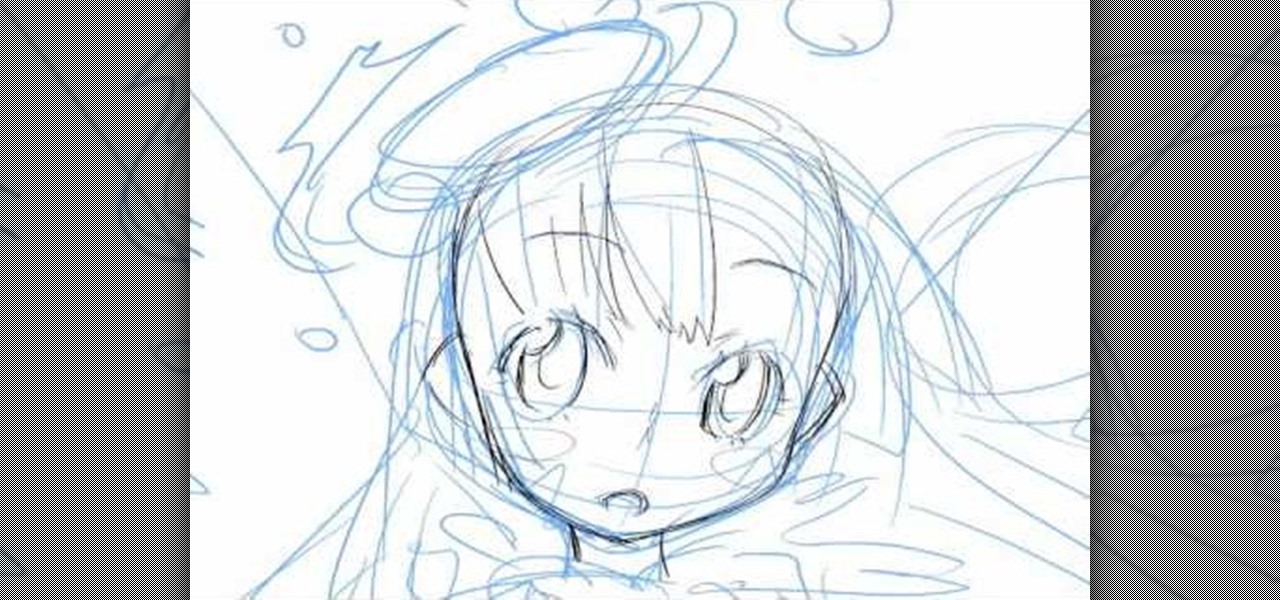
In this tutorial, we learn how to draw an anime or magna illustration on your computer. To start out, you will open up a new draft and start to create the outline of the anime together. As you continue, you will draw in darker lines that will be the outline and the details of the character as well. Erase any background lines from the drawing that don't fit in, then create new additional lines. When you're done, start to add in the facial features and details, then add in the hair and clothing...

Fine lines and wrinkles are one of the most visually disturbing parts of aging. If your wrinkles are making your look older than you feel and interfering with your life, watch this video to learn how to get rid of them and keep them from coming back.
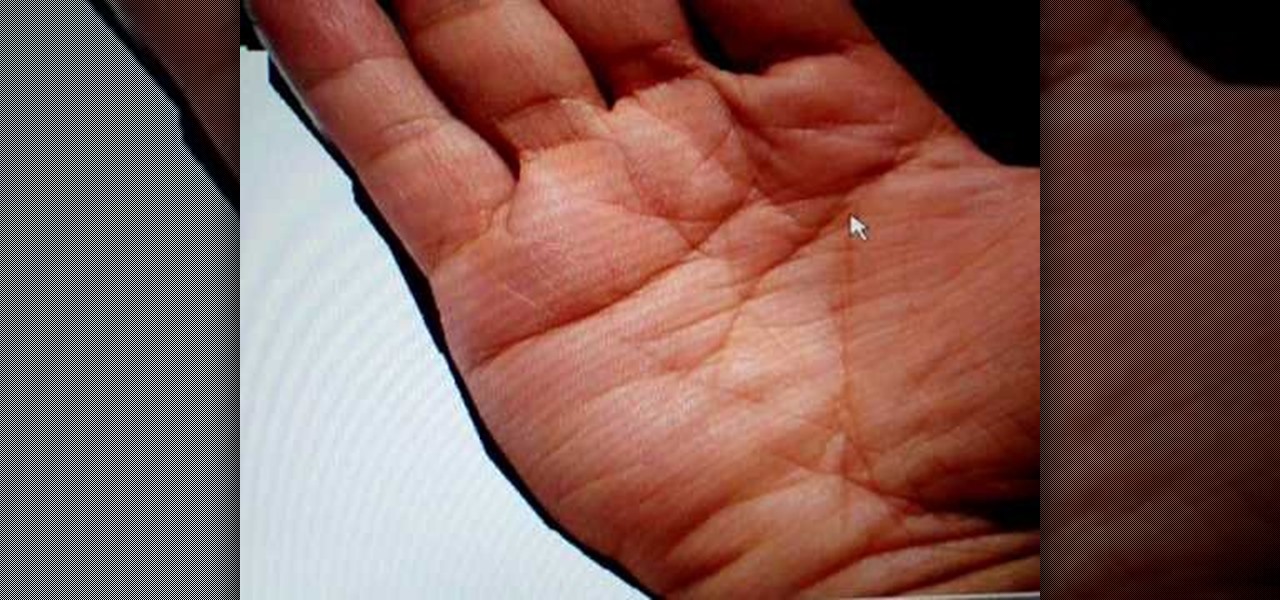
In this video, Peter John teaches us how to palm read the right hand and changes. The square hand is usually the practical side of the person. Where the thumb comes out from the side of the hand shows a person of extravagance. When the thumb is closer to the hand it shows a person who clings or holds onto their money. A line underneath the pointer finger means the person is going to go into business. A line coming out from underneath that means someone who controls their emotions and can make...

In this tutorial, we learn how to do an Evan Rachel Wood True Blood inspired makeup look. First, apply white shadow onto the lid on the inner corner and on the lower lash line. Next, apply a light pale color to the rest of the lid, then apply a brown shadow onto the eye in the crease. Brush a light white color underneath the brow to create a highlight, then line the eyes with a brown pencil on the lower lash line. Liquid eyeliner will now be applied to the top of the eyes, making it wing out ...
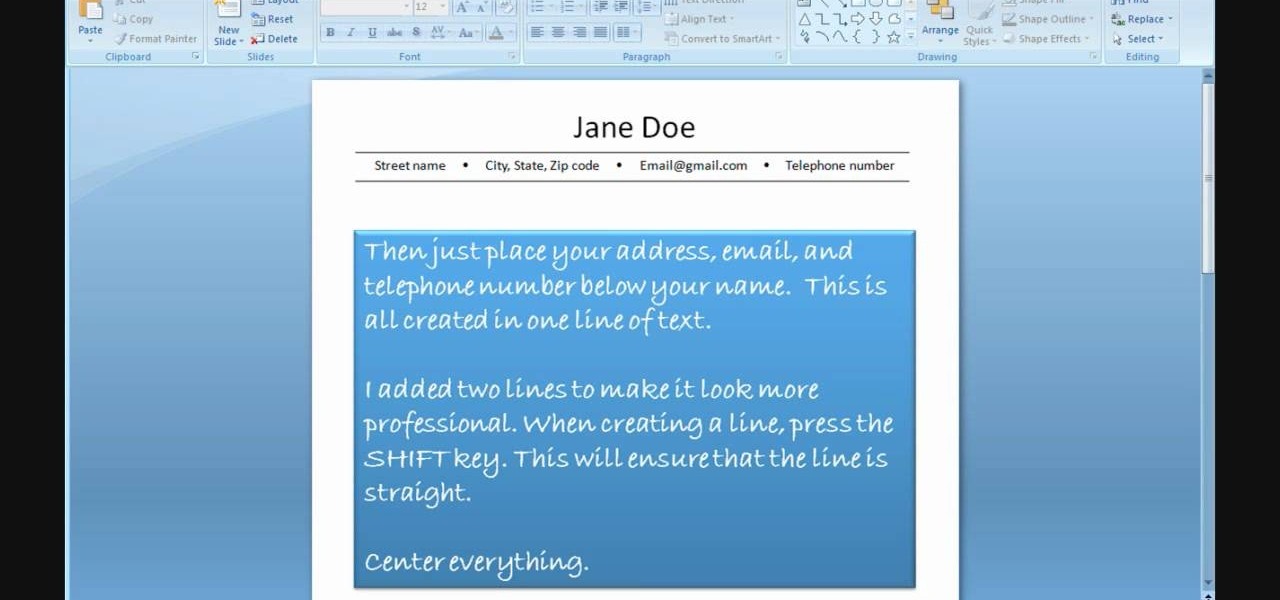
In order to use PowerPoint to create your resume, you will need to select "page setup", in order to change from landscape to portrait. Insert a text box in the center of the page and type your name in it. Next, click on the "format" tab. Next, select your alignment from the alignment center.
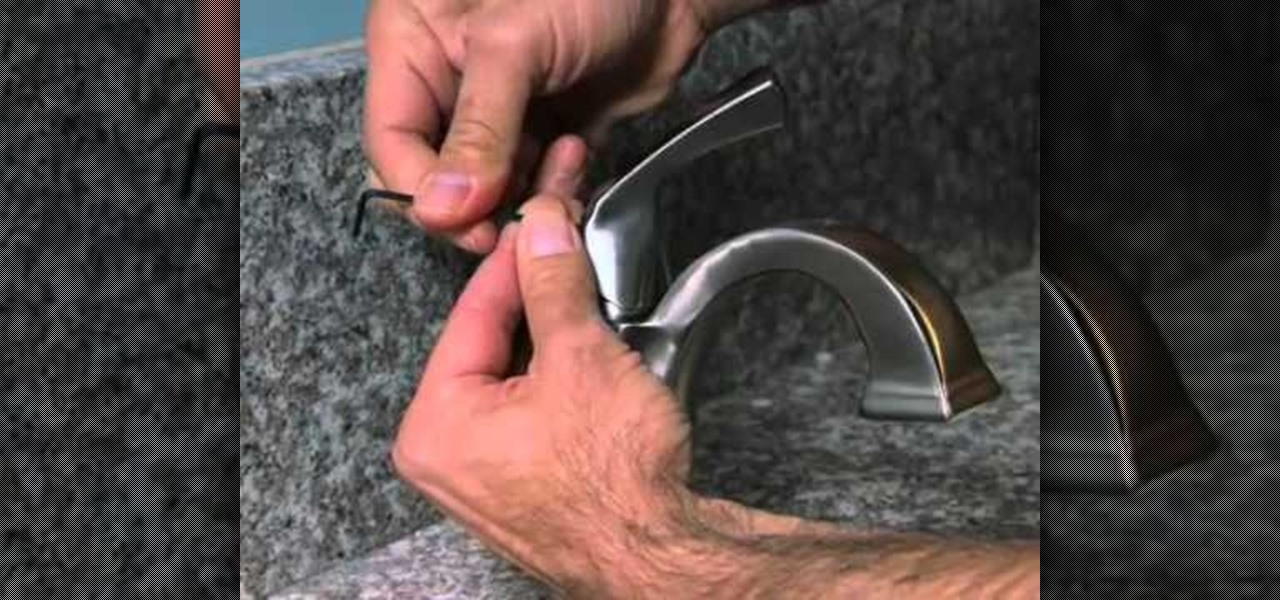
If you're faucet is making noise, it might be time to repair it. Does it make the noise when you turn it on and off? The answer could be as simple as flushing the lines. Lowe's provides this video on flushing the lines of your Delta bathroom faucet to silence the noise. You'll need a cloth, towel, 1/8" allen wrench, adjustable wrench, bucket or mixing bowl, white vinegar and an extra set of hands.

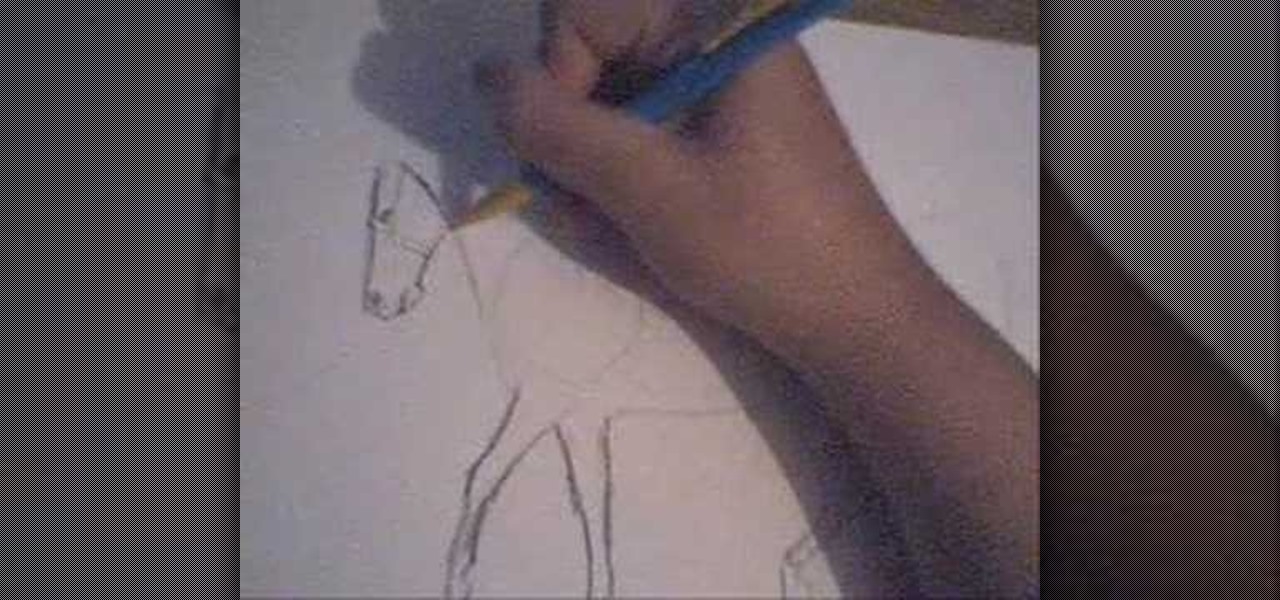
In this video, we learn how to draw a horse. First, draw the outline of the horse's body. Start with a circle for the head and wispy lines for the rest of the body. Make large shapes that connect to see where the mass of the body will be. Next, draw in the head, tail, back, and legs of the horse. After you have the outline finished, erased the lines inside of the picture. Now, draw in details on the horse. Add in lines to show where the hair is, then draw in the nose and eyes to the face. Als...

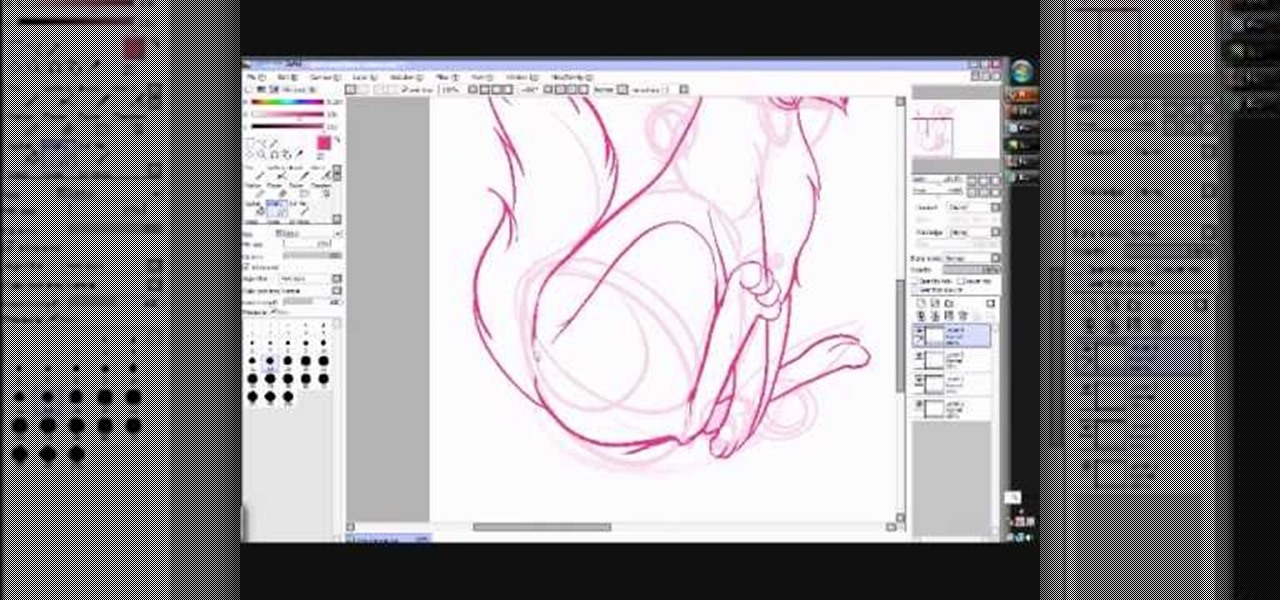
In this tutorial, we learn how to draw Neopet cartoon cats. First, use a small brush to create the outline of each of the cats. Use light strokes to make the outline, then start to add in the details onto the cat with a darker colored brush. Add in the details of the face, including the whiskers, mouth, and eyes. Don't forget to add on the ears as well. Erase and lines that are on the back of the drawing, so all you see is the darker and more exact lines. Continue on drawing the body, making ...

In this tutorial, we learn how to draw a palm tree. Start off by drawing the ground on the bottom, then draw the base of the tree. Make it curved, so it looks more realistic. Two lines will be going up until you start to draw the leaves on the tree. After this, you will want to start in and shade one side of the tree that the sun will have touched more than the other. Add lines to the tree as well, so you can see the textures that are on it. When drawing the leaves, make sure you are drawing ...

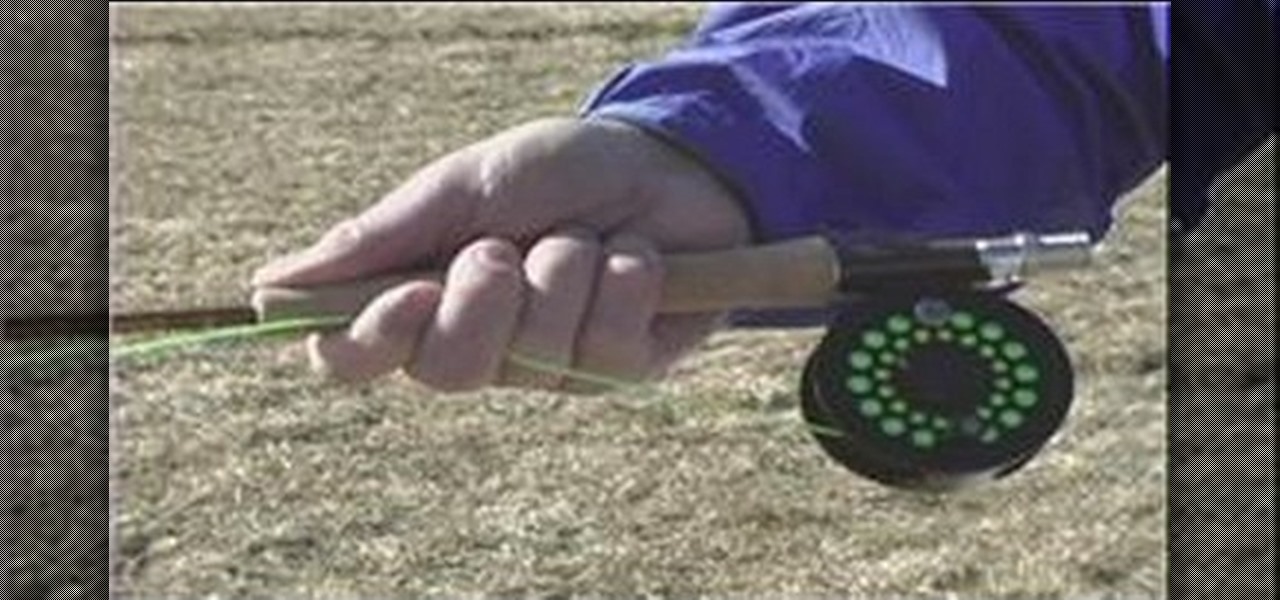
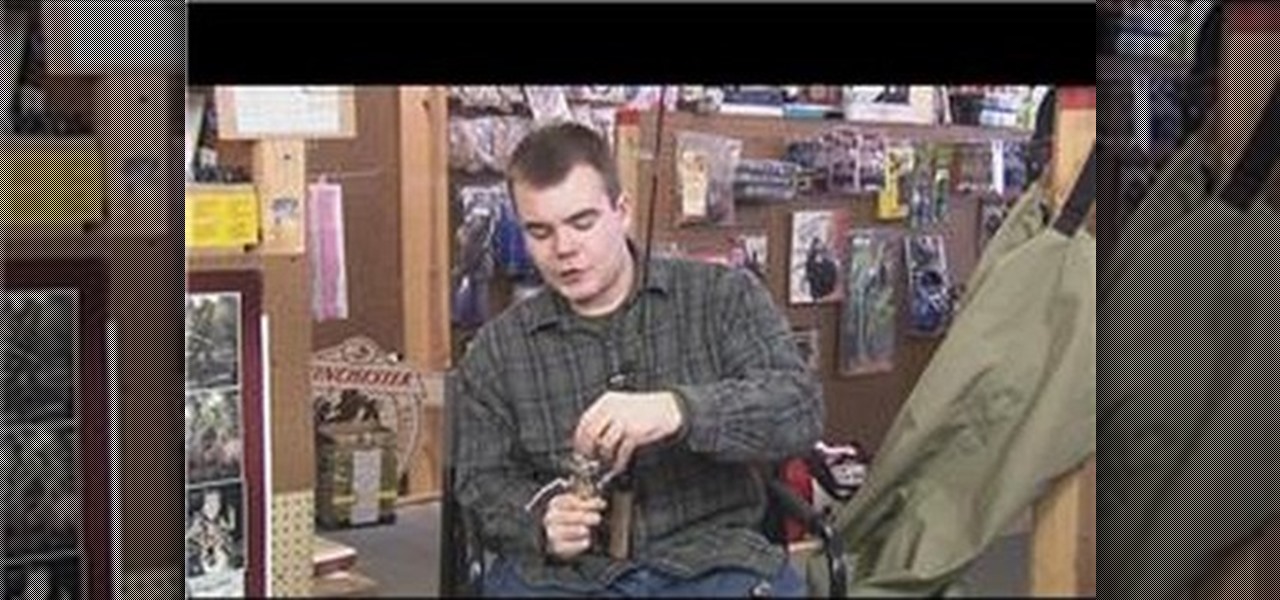
In this video tutorial, viewers learn how to do a basic cast in fly fishing. Begin by holding the rod like your shaking someone's hand. The fore fingers should be over the fishing line and wrapped around the rod. Do not grip the rod too firmly. Before casting, make sure that you have a certain amount of fly line out at the end of the fly rod. Keep your wrist stiff and elbows to your side as you cast the rod. Now pull back the rod and release the line forward. This video will benefit those vie...

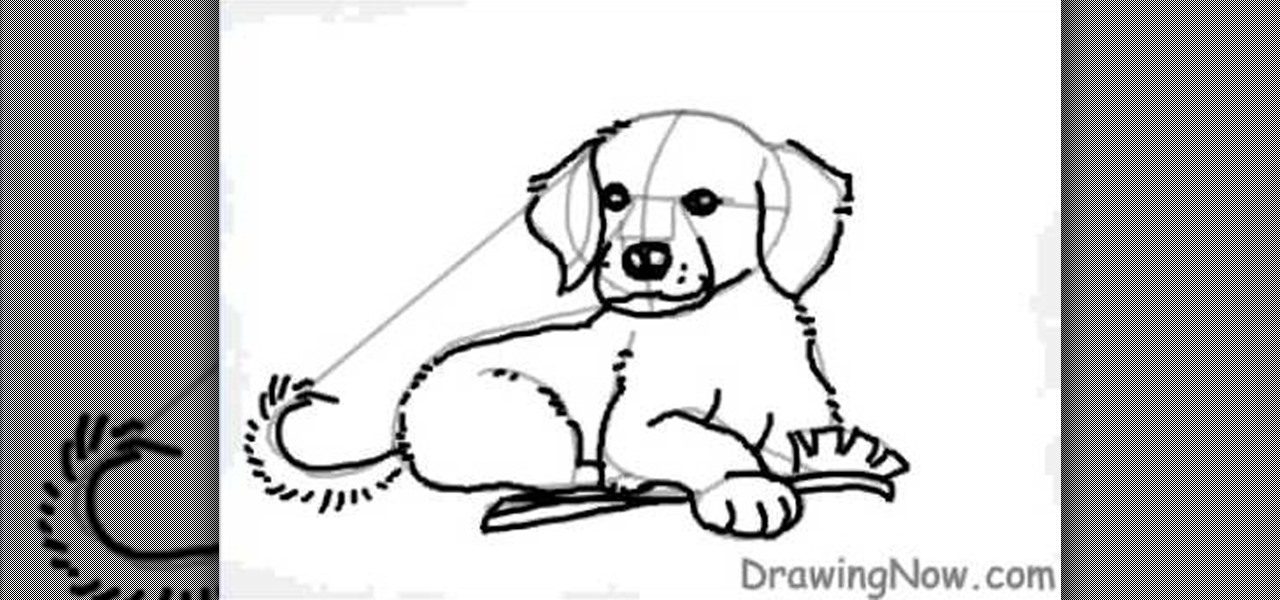
In this tutorial, we learn how to draw a cartoon golden retriever puppy dog. Start off by drawing the face with intersecting lines on it so you know where the nose, eyes and mouth go. Then, keep outlining the rest of the body including the legs and tail. Next, use a darker brush to go over the lines and make more of a detailed outline, including fur and eyes. Make sure to use lines on the side of the dog to make the hair look more realistic. After this, paint the inside of the dog using a lig...

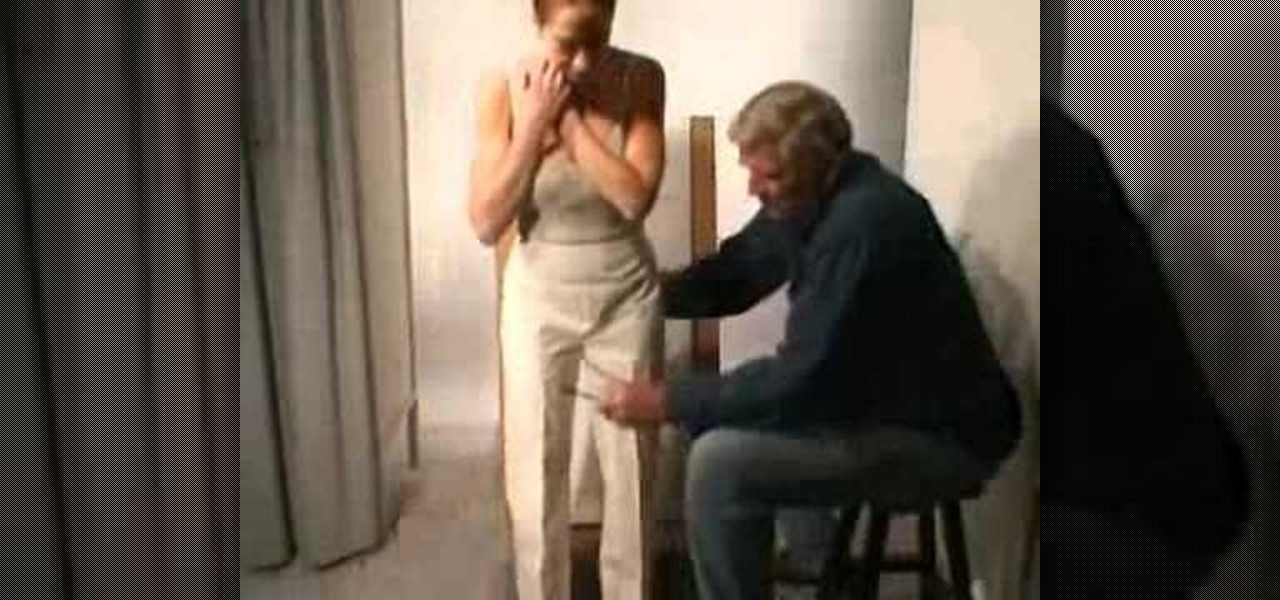
In this tutorial, Don McCunn teaches us how to draft a pants sloper. First, measure out the center line of the leg and then draw the center line onto a piece of paper. Now, measure from the waist and mark the measurements along with where you drew the center line. Now, measure down to the hip level and mark this as well, making sure to use the fullest area of the hips. Next, you will need to determine the crotch from the waist to the area where the subject is sitting, then mark it. Use a stan...

In this tutorial, we learn how to draw a 3D ball and cone. First, draw a circle with two lines coming out the side of it. After this, add in shading to the bottom of the circle and then draw a shadow coming out of the bottom of the circle as well. After this, draw a light that is shining onto the ball. Make sure you are drawing a black crayon to get the best texture out of this. Draw in darker lines on the circle, then draw lines over the top of the ball and through where the light is shining...

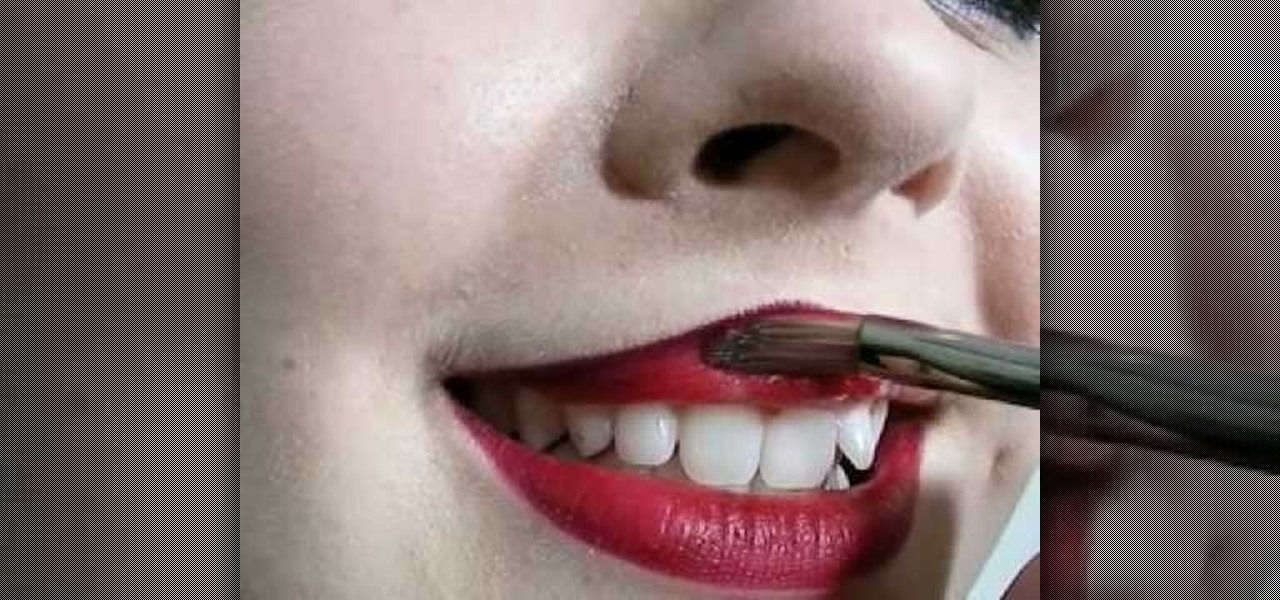
In this tutorial, we learn how to apply sexy red lipstick. Start by applying dark red lip liner to the top lip, using an exact line where your lip goes. Next, draw the line on the bottom of your lip line up to where the crease of your lips meet. After this, smile while you paint on red lipstick with a makeup brush. Apply several coats and move the brush slowly so you don't mark your face. Apply the lipstick to both of your lips and make sure it blends in well with the lip liner you applied ea...

In this tutorial, we learn how to draw Umbreon from PokŽmon. Start off by drawing the head and using crossing lines as the reference points for the eyes. After this, draw the neck and body underneath the head. Next, draw the feet, rear legs, and tail as well. Use your pencil to add lines on the sides to make the fur look real. Next, start drawing in details to the character, including; ears, paws, and eyes. Also, draw the nose and mouth to the character. After this, start to shade different p...

In this tutorial, we learn how to draw Blair from Soul Eater. Start off by drawing the head, hat, and body with a light pencil. Next, draw an arm going down from the body. These will be basic construction lines that you will draw over with a thicker pen later on. Start to establish the eyes and eyebrows, as well as the nose, mouth, and chin. Add details into the picture, then start going over your lines with a darker pen or pencil. Start to add in details that you feel make the character look...

In this tutorial, we learn how to draw a fun bunny doodle. To begin, draw an upside down triangle with two straight lines coming out of the top middle. Next, draw a half circle over the eyes, then draw two large bunny ears on top of the half circle. Then, connect the curls on the end of the ear to the bottom of the head. Now, do an additional line to make the inside of the ear. After this, draw another circle around the bottom of the face, then draw a line with two humps at the bottom of the ...

In this Software video tutorial you will learn how to use tool shortcuts in Final Cut Pro. To change opacity and the volume limit, click the little mountain button on the bottom and you will have two lines in the clip representing audio lines of two mono tracks. And you also have opacity located above the audio lines. With the help of the slide bar you can set the opacity. To get the pen tool press 'P'. To get out of any tool, press 'A'. To delete the entire audio track, select it, lock, dele...

If you've recently purchased a new fridge and have hooked up the line for the water dispenser, you need to get rid of any air before trying to drink water. Having excess air in the line can result in you getting more water than you may have wanted. It's easy to do and will make things easier when trying to get water. So good luck and enjoy!

Let's face it, not everybody's perfect. But that doesn't mean that everybody is special or beautiful. But for those of you without the thin, lengthy legs, there's hope for beating your insecureness. Lengthen the look of your legs with your attire and show off your bashful thick legs.

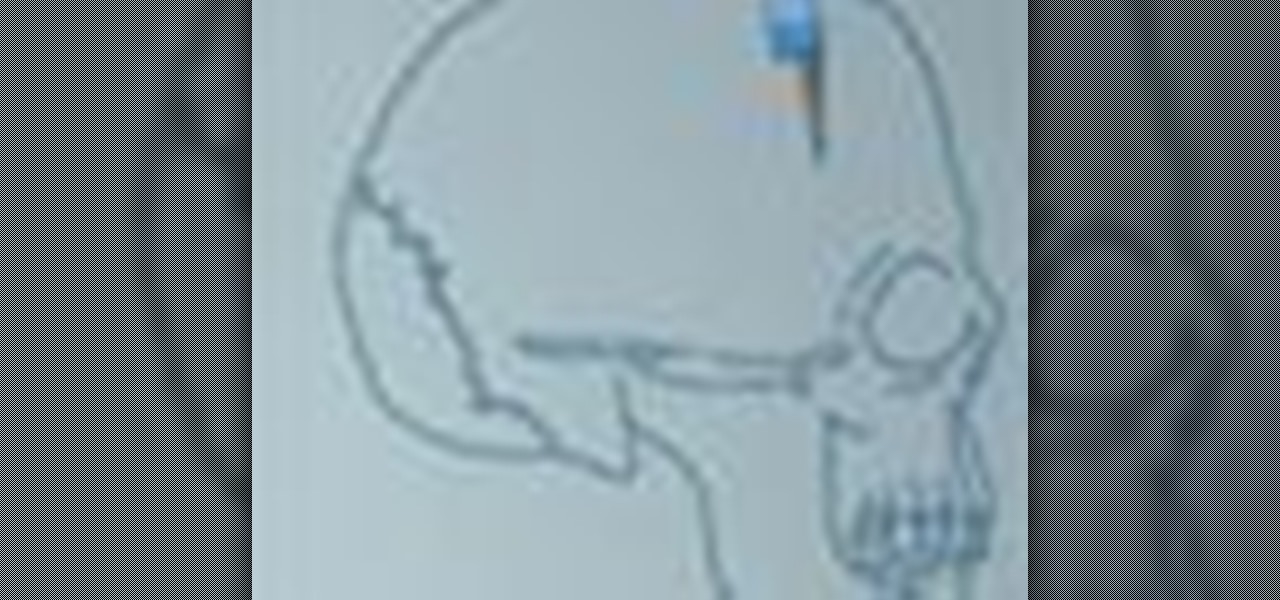
First, make the chin of the skull by drawing out a slight sharp curve facing downwards. Then, make the forehead and the upper part of the skull by drawing huge slight curves. Draw a circle on the spot where the eye socket should be. Draw a curve at the side of the circle to give it an illusion of popping out. Draw the cheekbone lines as well as the jaw lines to give the skull more definition. Draw several rectangles standing vertically to create the skull's teeth. Finish the head with a sligh...

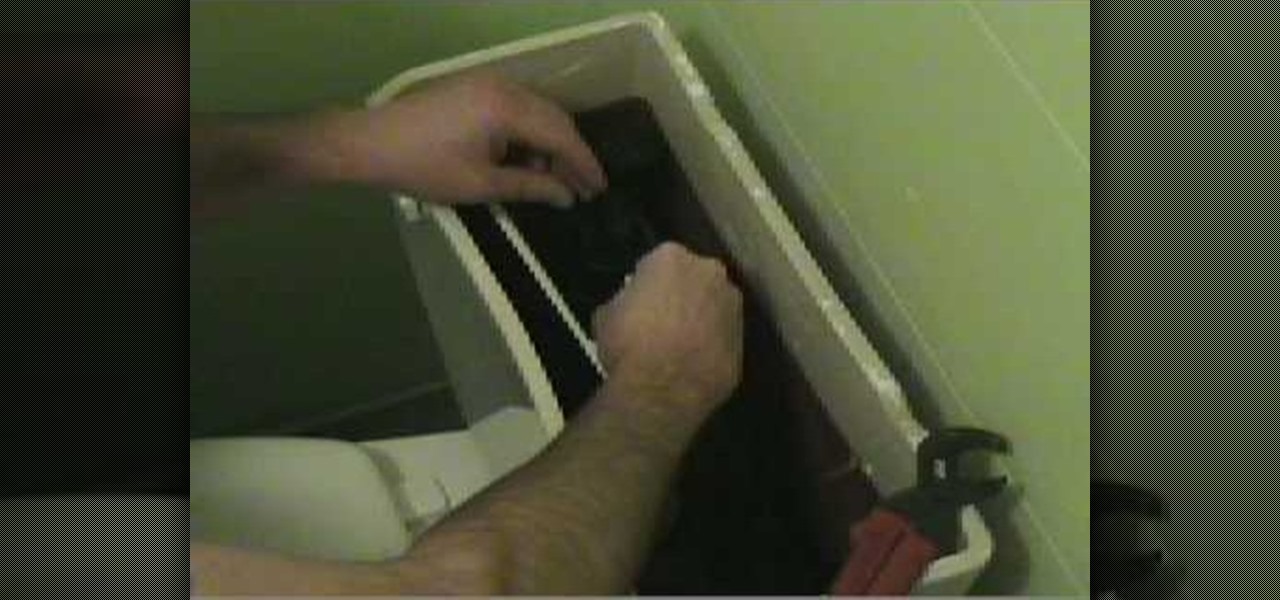
This Home & Garden video shows you how to replace a running old style fill valve toilet with something more modern. Shut the supply line to the toilet and flush to remove the water from the tank. Then remove the supply line. Now take a wrench and loosen the plastic nut of the old fill valve located under the tank. Then lift the old valve and keep it aside. Take a 'flow master', which is a new type fill valve, place it in the same spot and hand tighten the nut under the tank to hold the flow m...

This tutorial from Drawing Now demonstrates how to draw a bridge, one of the most common items in landscape drawing and one for which proper use of perspective is crucial. Watching this is sure to improve you art skills.

This video tutorial shows you how to paint an interesting design on your nails using pink, white, and blue polish. Begin with a base color. Pink polish is used here. Next do a side swipe using blue. This swipe starts about halfway down the nail and comes up to the top of the nail. Then add a little blue shimmer to the blue polish. Next use white polish with a thin brush to outline the blue. This line can be a little thicker. Then add a shimmery dark blue line next to the white line. Now place...

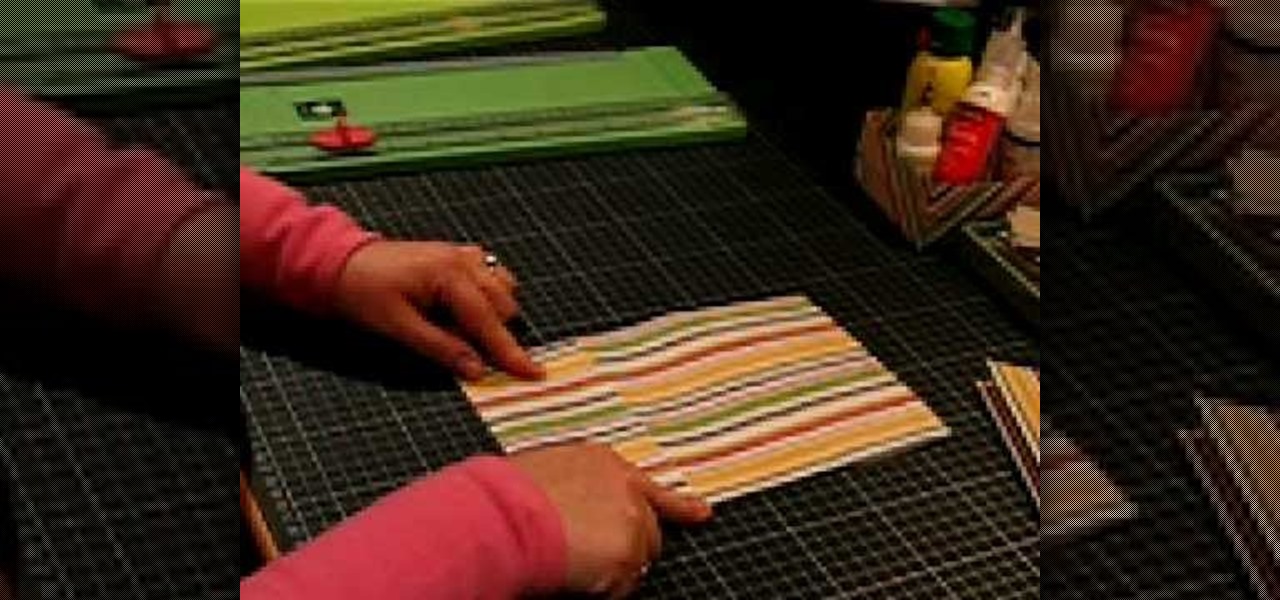
First of all you need a single sheet of paper 12 by 12 inches to make a mini book with four pages and measures 6 by 3 inches. You also need a tool for making creases and a knife to cut the paper. Start by folding the paper in half and then crease the middle line. You must always try to make the crease line as crisp and sharp as possible. Now open it out and then again fold it in the middle in the other side. After this step you have to place the paper with the length facing towards you. Now f...

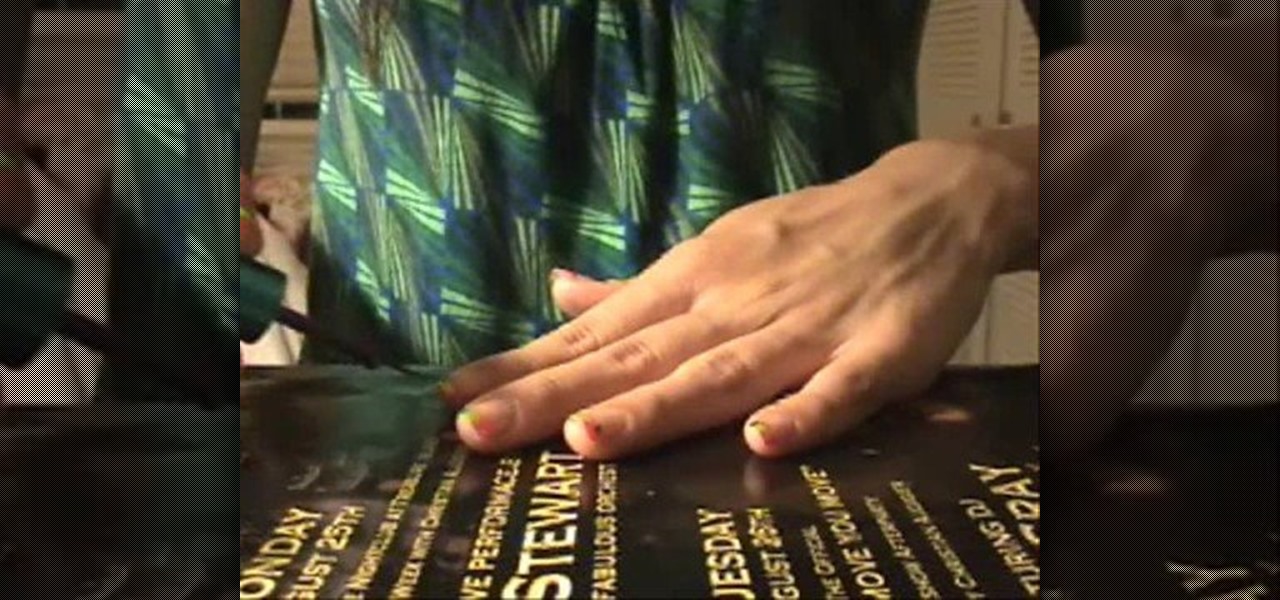
She shows us how to apply the rainbow brite french tip by first applying a white tip. You should let the paint dry. Next you should do you first thin stripe in pink. After you finish pink you should do orange and then yellow. The last thin lines of color to apply is green, blue, and purple. She recomends doing two coats of paint for brighter result. After all the polish has dried you should apply a top coat. When it has dried get your silver polish and draw a thin line under the color lines. ...

Using a rubber worm with a lead cast you must first understand how it fells in the water. The lead cast will allow the bait to travel to the bottom. When the lure is at the bottom you will know because the line goes slack. Next is to lift the line up and let it rest on the bottom again. Do this twenty-five times to really get the feel of the weight and lure. When casting for real the practice will come in helpful because the Bass will look at the lure on the bottom and strike at it when it is...

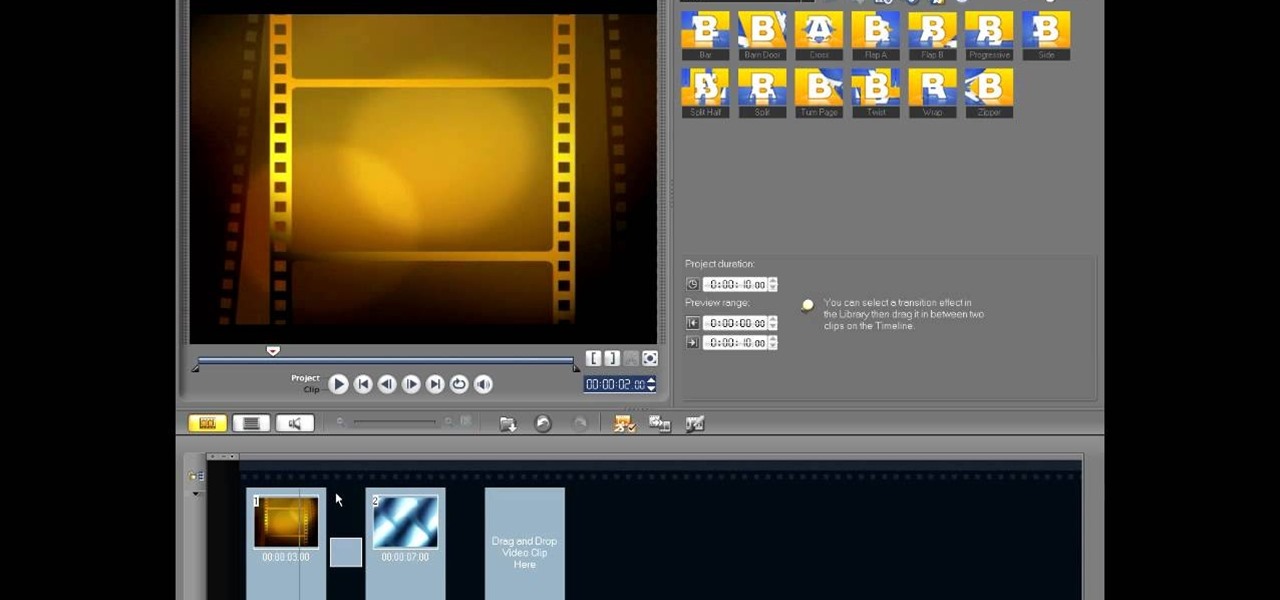
In this video tutorial, viewers learn how to edit in storyboard mode in Corel Video Studio. The storyboard mode is an alternative view for the time line. To switch to storyboard mode, click on the film strip icon above the time line. Storyboard arranges your project by element. To add a new element or transition in storyboard mode, click on the Edit tab and select the element or transition that you want by dragging it to the storyboard. This video will benefit those viewers who use Corel Vide...

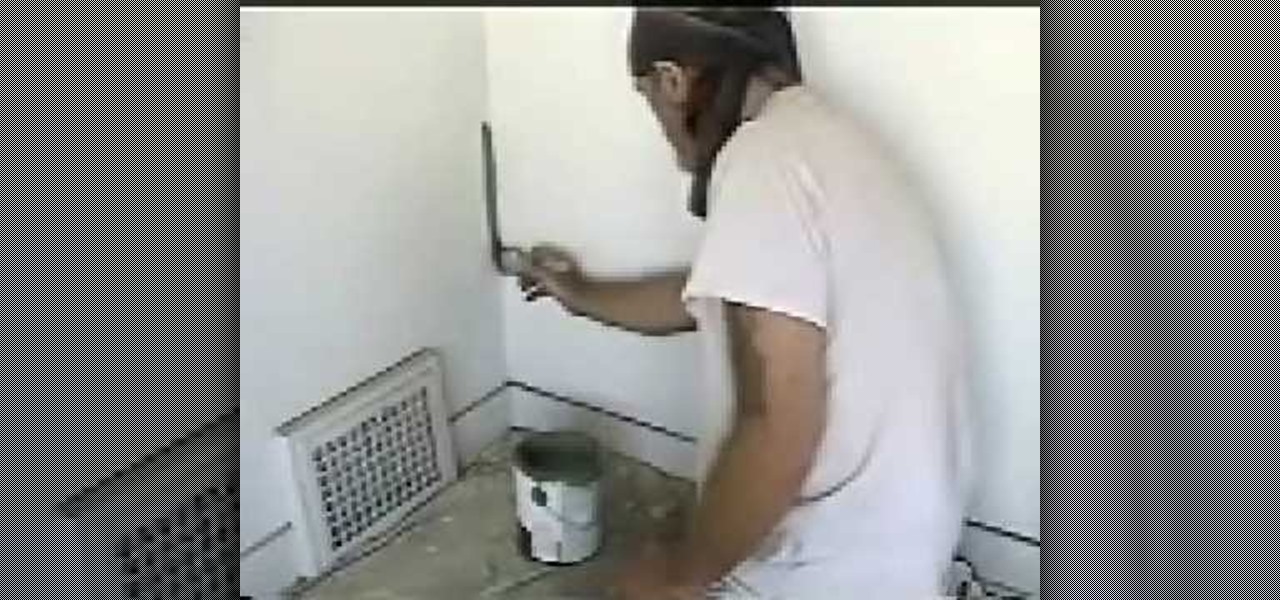
In this video, we learn how to cut a line using paint onto your walls. To do this you will need walls, a paint brush and your choice of paint. Make sure you get just the right amount of paint onto your brush and place the bristles against the wall right next to the corner of the wall. Slide it down making the line as straight as possible. Keep going until you have a line all the way down the corner, making it very straight and neat. Do this on both of the walls and you will a have professiona...

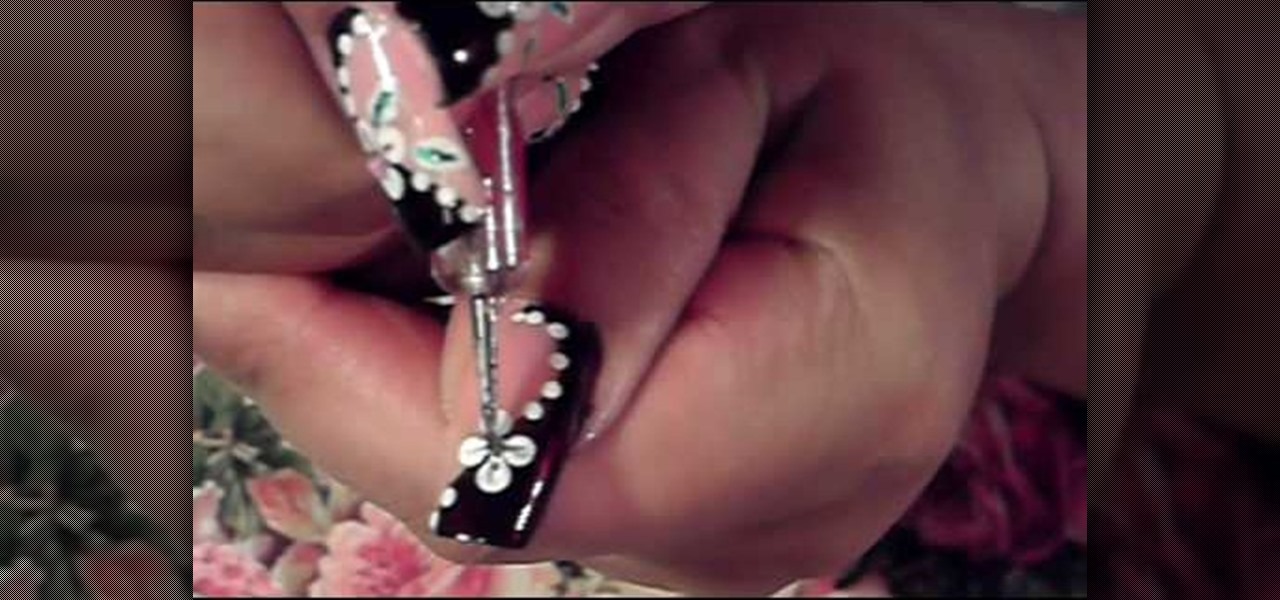
dark brown and pink white flowersdark and rich colors are used: brown, pink, white and green. firstly lightest color is used for the base polish then dark colors applied. first, with dark brown polish a simple curved line drawn on the nail from bottom to top then dark brown polish applied to fill the back part of the previous line. then put some white polish onto a white paper and use it with dotting tool to put flowers petals as a dot on to your nail. then with another dotting tool put dots ...

This video teaches you how to achieve an eye catching stained glass nail art effect without attending a nail salon. To achieve the striking effect, one needs between 4-7 nail polish colors, and a fine lined nail art nail polish in black. Beginning with the base color, one applies the desired outlines for the "panes" using the nail art brush. Once that is dry and you are satisfied with the outlines, you can begin applying your desired colors to the "panes" achieving the effect of pieces of sta...

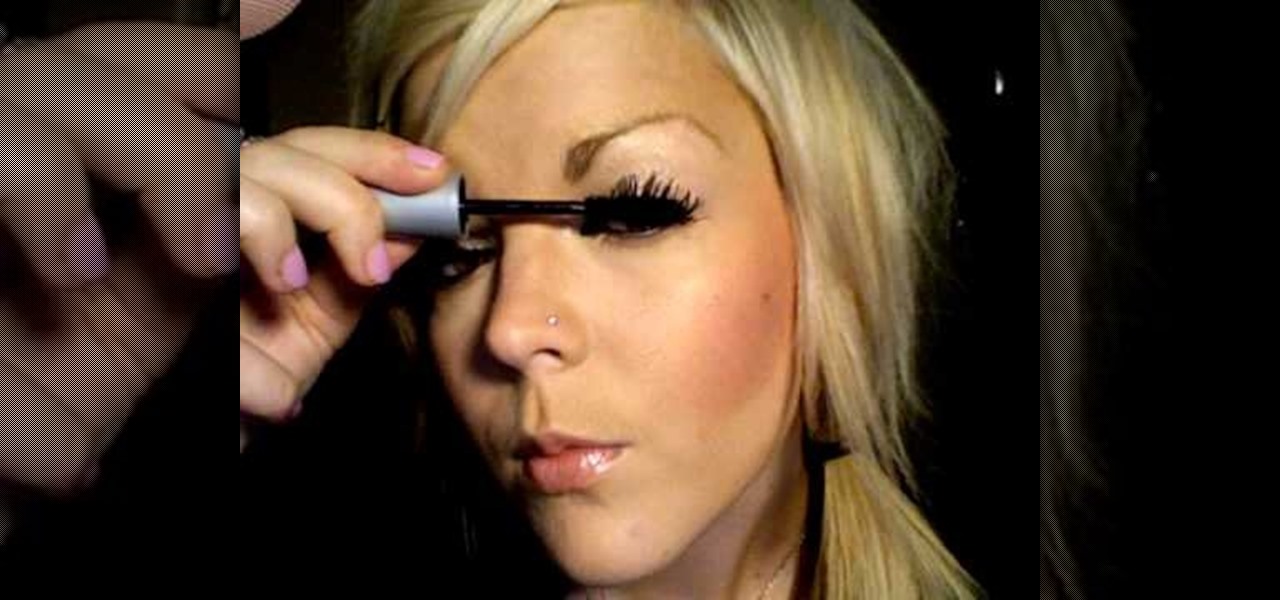
In this video, “c” The Makeup Artist demonstrates how to make your eyelashes look long and thick like falsies using only your regular makeup. You will need an eyelash curler and two different types of mascara to give you a fuller lash. She recommends two mascaras that she uses.

This is a demonstration of how to make a harrier paper airplane. First fold the paper in half lengthwise, making sure the corners line up. Unfold it and fold the corner toward the center line. Fold the top triangle down almost to the bottom of the paper. Fold the top corner in to the center line again. Fold in the first point. Fold the plane in half lengthwise. He demonstrates how to fold the wings in the right place so that the plane looks like a harrier. The plane can be customized and deco...

In this tutorial the viewer is taught how to make a 3D letter "A". You will need a piece of paper and two different colors so the 3D letter is more dramatic. The directions from the video state to draw the letter "A" just as you would normally. Continue by coloring the "A" to make it a solid letter. Next you need to make lines from the "A" to make it appear as if its popping off the page. These lines should be parallel from the "A" this way it comes across as a 3D letter. As you connect the l...

In this video tutorial, viewers learn how to restring a fishing pole. Begin by twisting off the drag cap and take off the spool. Take your fishing line and run it down the rode holes. Flip your bail up and tie a quick knot. Put it on the spool and reel it in. Hold the rope with some tension and reel it in slowly. If you reel it in too fast, the line will easily get tangled and you will have to remove or cut off the line. This video will benefit those viewers who are interested in fishing and ...

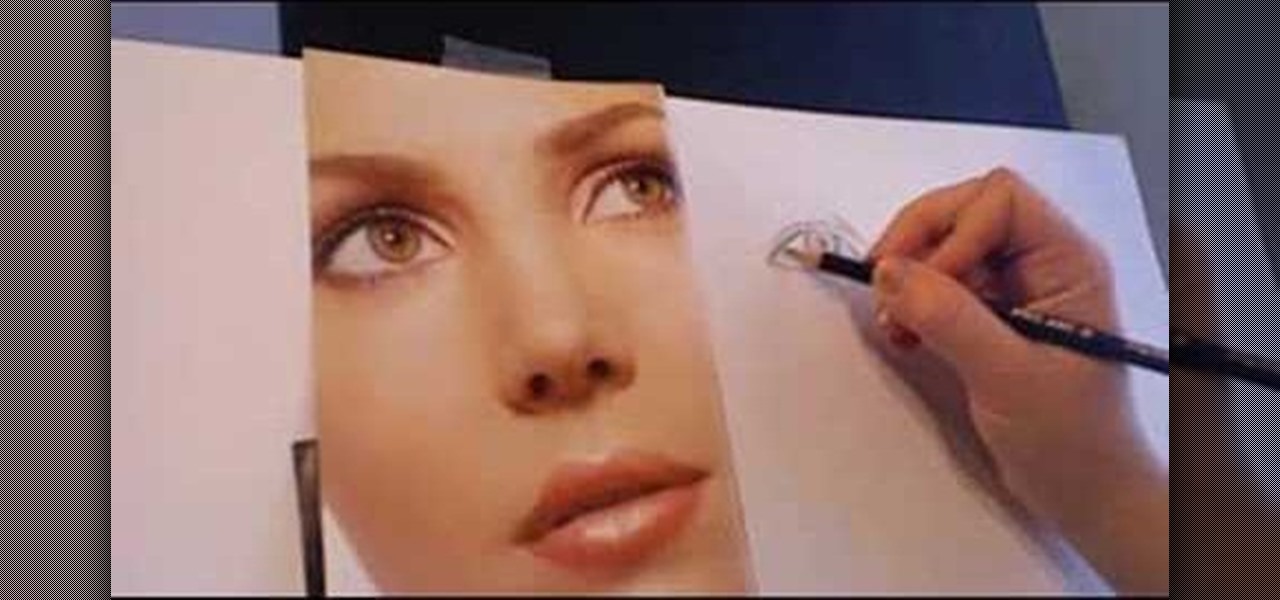
An unknown artist demonstrates step by step how to draw a realistic eye in this video. She first begins with lightly drawing the eyes shape, starting with the upper lid and gradually beginning to darken the line once she is satisfied with the shape an contour. She then draws the upper lid and continues on to the iris, pupil, and cornea. Then she works on shading the eye, drawing the lashes, and then using the eraser to remove any stray lines and whiten certain areas. Then, she begins drawing ...

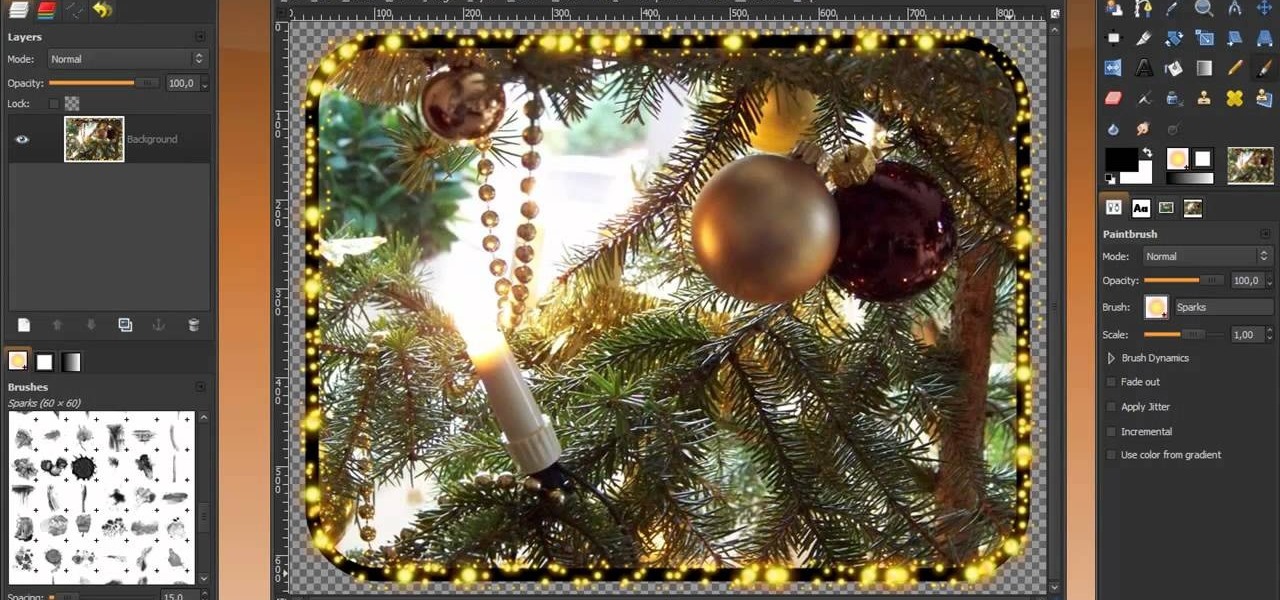
Learn how to make a fancy border in GIMP with this GIMP tricks video tutorial. This border can be used to frame images for YouTube videos or other things. Take your image, and go to Image and Canvas Size. The size should be made larger to allow room for your border and then click Center. On Layers, select All Layers. Then, click Resize. This allows you to make room for your Layer. On the far left side, right click on your layer and select Alpha to Selection. Go to Select, To Path, Select, and...

The video shows how artists enlarge and copy from photographs. First grid lines are drawn on the reference photo. Then grid lines are drawn on the paper with enlarged or reduced grids. Now draw the lines from the reference photo to the drawing paper one square at a time. Now complete the outlines from the reference photo. Erase all the grids and you have only the outlines. Add details and area of tone. Darken the dark areas and you have a replica of the reference photograph. The same techniqu...

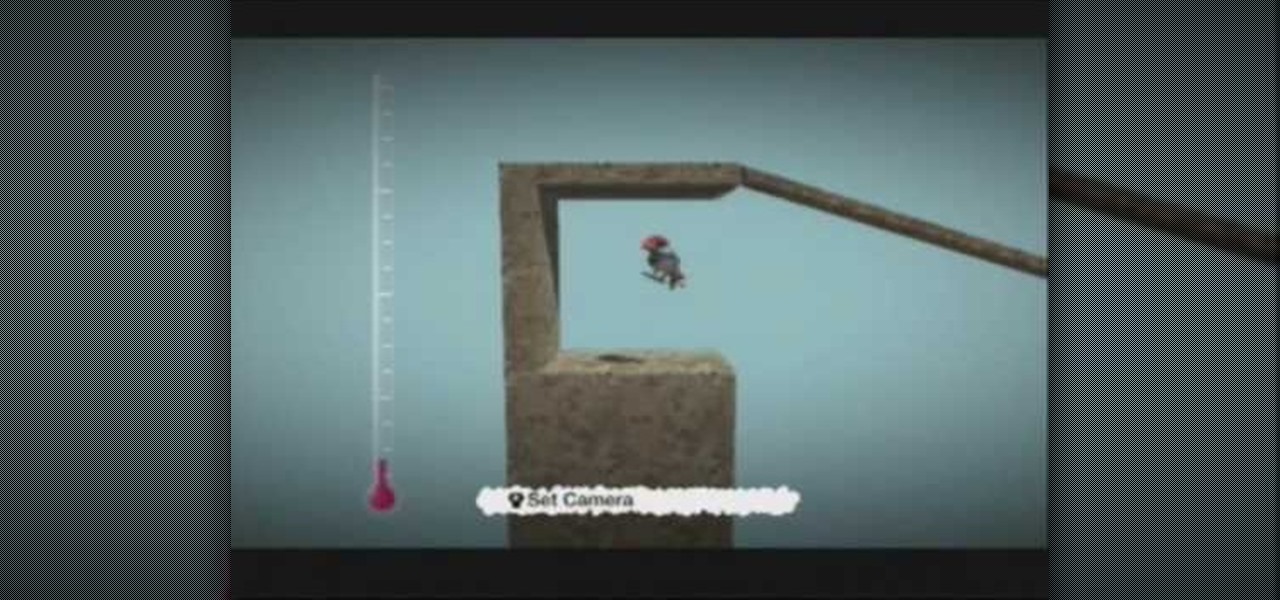
In this video, gamer Chilled Chaos shows you how to construct a zip line to use in the video game Little Big Planet. He starts off by building a large block, going up into the air, with an area cut out. This will be where you are standing when you start. He then goes on to construct a declining plane, which is where your zip line will hang from. After just a few more short and very easy steps, he has attached ropes and other small objects and created the zip line. Using this brief but detaile...

In this video the viewer will learn how to draw a Hawaiian flower. In the first step you will draw the first petal. After viewing placement of the first petal, you will then draw three more like the first petal. You will connect the petals at the center of the flower, where the pollen would be. Make sure when drawing the petals you place them evenly around the center. Next add some shading to the center of the flower where the petals connect. The next step is to add three curved lines coming ...


