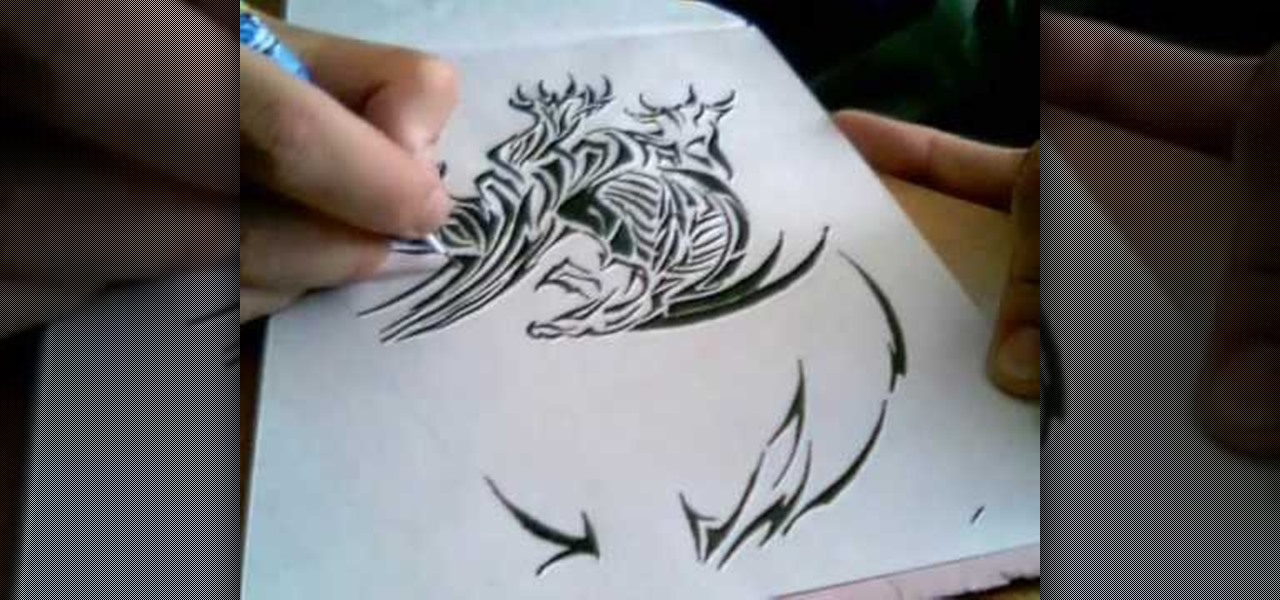
In this tutorial, we learn how to draw a tribal style dragon. Start off by drawing the wings of the dragon, adding in tribal designs on the inside of it. After this, start to draw the head of the dragon, as well the inside of the face. Also, draw the legs and the claws of the dragon. Add in more details until you have a full dragon design. Use a pen to fill in the lines on the tribal design. It will sort of look like a zebra pattern with the black and white colors rotating. When finished, sig...

In this video, we learn how to draw a cartoon brontosaurus. First, draw a large hump that is a half circle, then draw a line on the other end of this. After this, draw a tail on the other end of the hump and then go down and draw the feet on the bottom. Continue going and draw up the neck and make a circle for the head. Draw in a large eye on the head and make a smile on it. Next, draw soft spikes on the back of the dinosaur and color it in if you prefer, then enjoy your cute drawing!

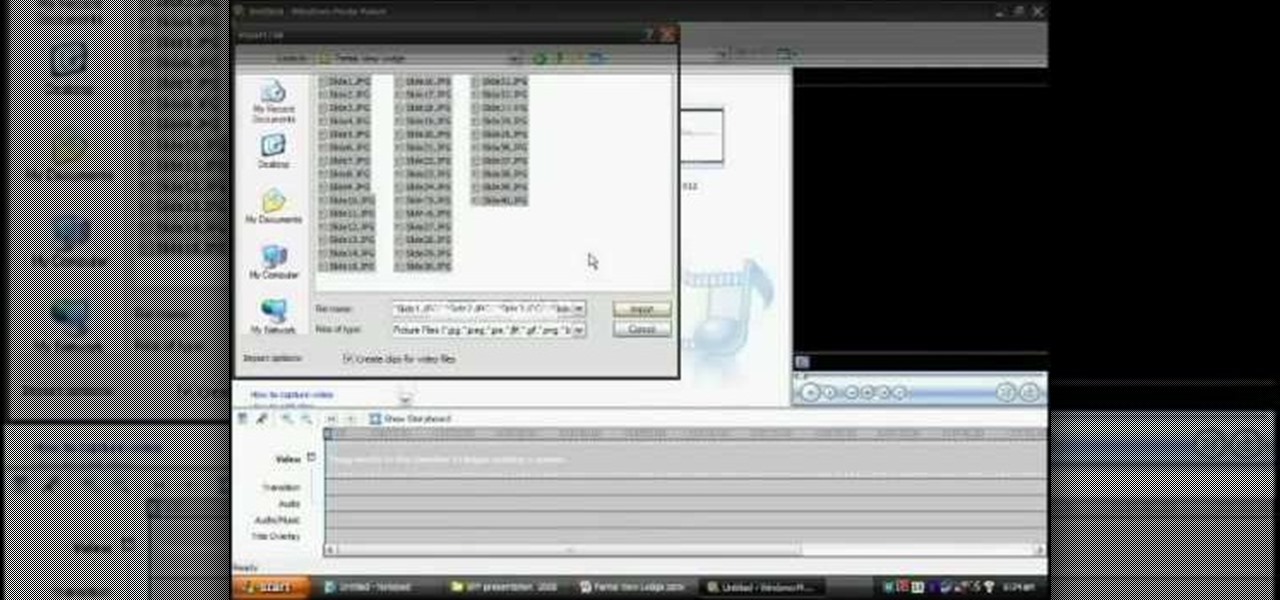
In this video tutorial, viewers learn how to make a PowerPoint video. This task is easy, simple and fast to do. Begin by creating the PowerPoint presentation and save it as a Graphics Integrated format. Then open the Windows Movie Maker program and click on Pictures under the Import menu. Select the presentation and click on Import. Now edit the video clips in the time line by adding transitions, effects, music and other enhancements. When finished, publish the video. This video will benefit ...
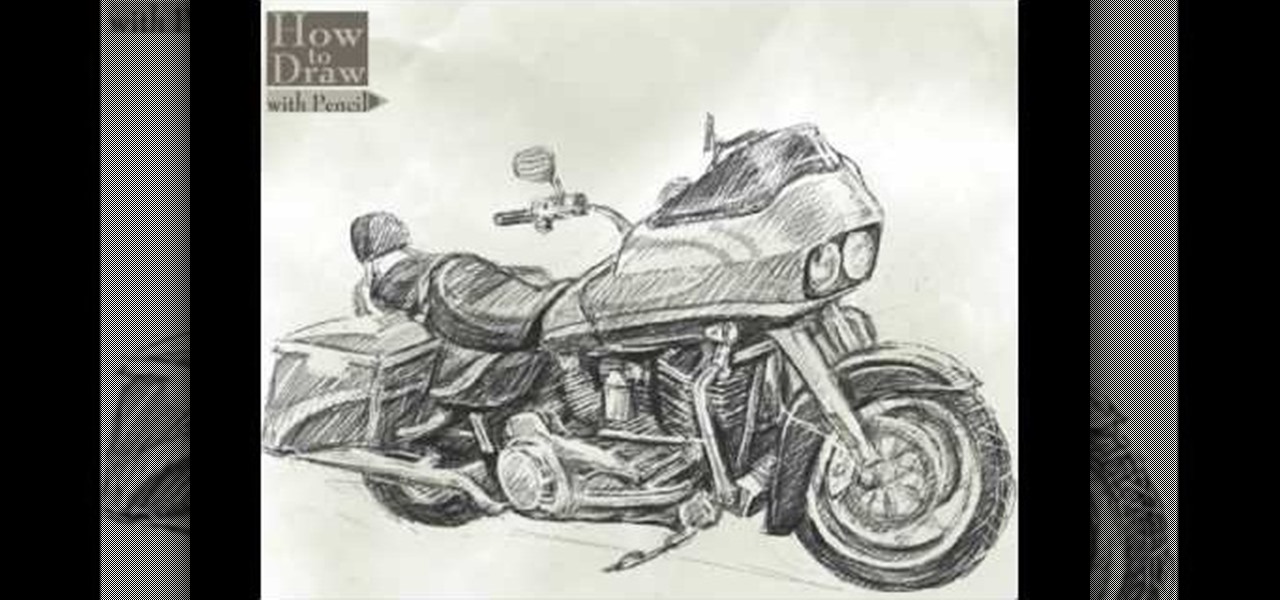
In this video, we learn how to draw a Harley Davidson Road Glide. Start off by drawing the body of the motorcycle as a rough outline. After this, start to fill in the different areas by making large sections of the bike 3-D. Draw in the wheels and the back of the bike, as well as the handle bars, mirrors, and lights. Draw the seat and back seat in, then start to add in further details. Apply shadowing to the car, making some parts darker than others. When you are finished with the drawing, co...

In this video, we learn how to draw Naruto. Start out by drawing a circle as the outline. After this, draw the jawline. Next, draw lines in the middle so you know where you are going to draw the eyes and the rest of the facial features. Next, define the features on all the different parts of the face. Start to add in shading to the face, then draw in the hair. Next draw in a hair band at the top of the head, followed by spiked hair coming out of the top and ears on the side of the face. When ...
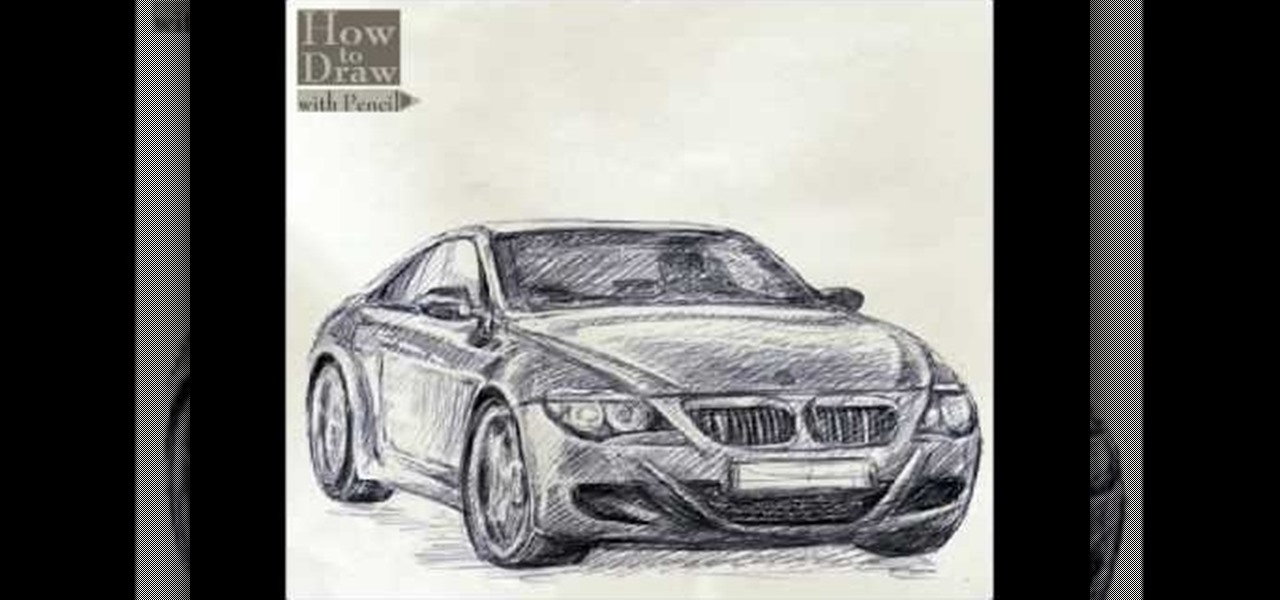
In this video, we learn how to draw a BMW car. Start off by drawing the outline of the car. After this, start to shade the drawing and add in the details of the car. Draw in the windshield, headlights, grill, license plate, and all the other small details. Make sure to use shading underneath the car to make it look more realistic. Also do shading inside the driver's seat to make it look like someone is inside of the car driving. Erase lines where you don't need them to make the car look more ...

In this video, we learn how to draw Hamtaro. Start off by drawing the large head, followed by the body and the ears. After this, draw the arms and legs onto the character. Next, outline the drawing in a darker pen, then add in additional details. Draw on the eyes, nose, and pupils. Don't forget to draw on the paws and feel as well as lines to make it look like fur. To finish up this picture, you will need to add colors to the hamster. You can go with the traditional colors, or change them up ...

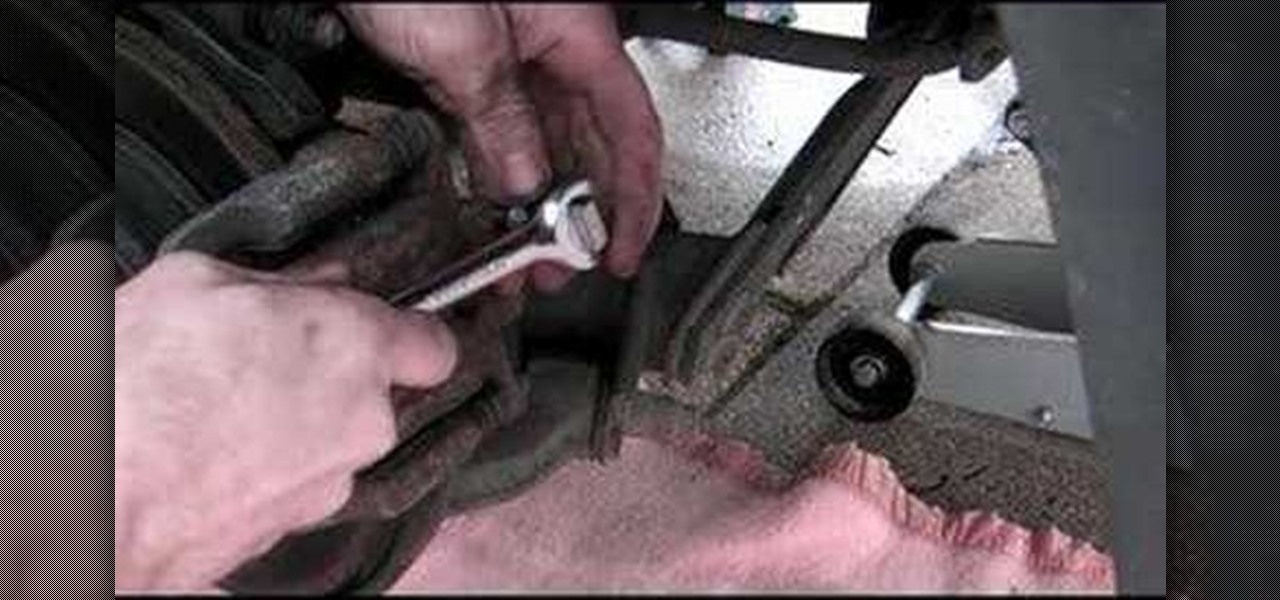
In order to bleed your breaks, you will need the following: break fluid, a 10 mm socket wrench, and a wrench.

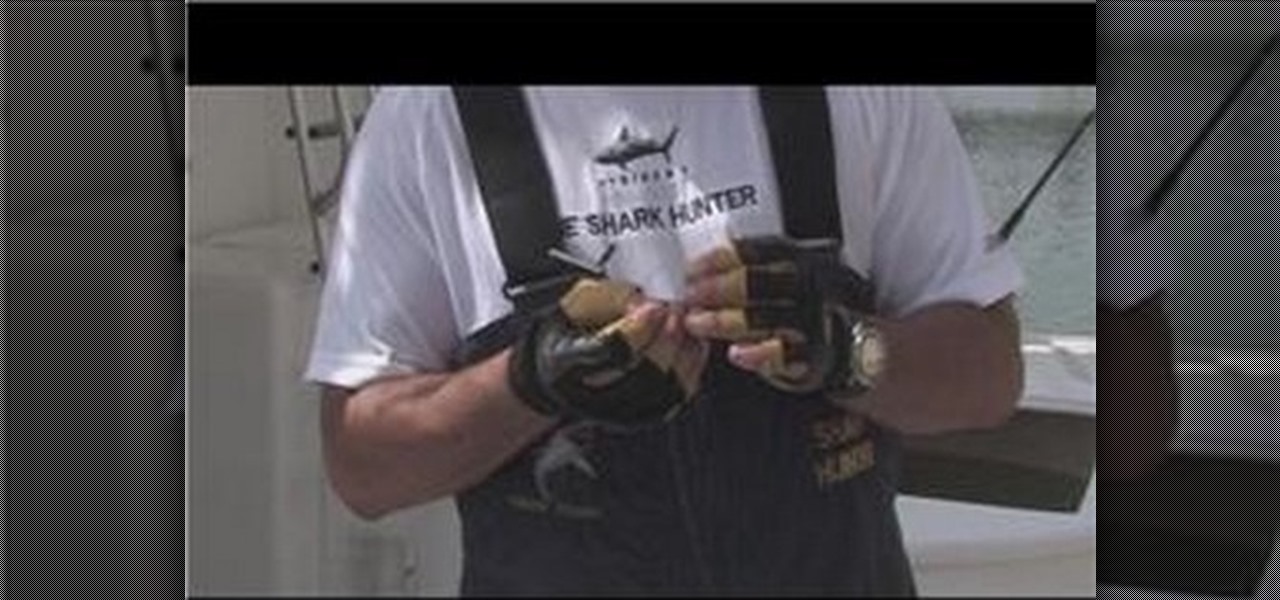
In this tutorial, we learn how to tie fishing jigs. First, go through the eye of the jig with your thread, then make a fisherman's knot making seven to eight turns. Now, go through the loop with the end of the string and pull it tight. Then, cut the end off and make sure you have four to five feet of lead left. You can put a swivel on the end of it, then tie another fisherman's knot. When finished, this will go to your main line on your other rod and you will be ready to go! This is easy to m...

Michael Weisner teaches us how to draw an adorable little puppy in this tutorial. Start out by drawing the outline of the dog, drawing in all the details as well as the body. After you have the base done, grab a Sharpie and start to draw the top of the head and the ears. Make lines on the top to make it look like the dog has fur and don't forgot the eyes and nose on the face. After this, trace out the rest of the body, including the front and back paws. Make sure to add in any shading you fee...

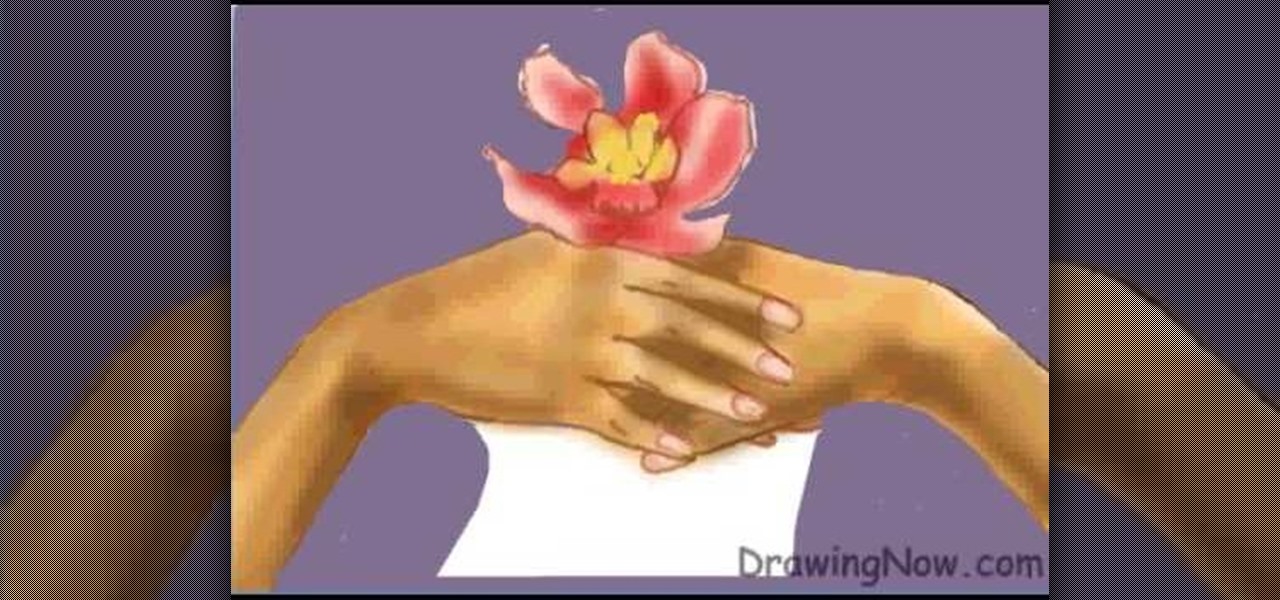
In this video, we learn how to draw two clasping hands. Start off by drawing the two hands holding each others hand. Next, draw a circle above the hands like they are holding something. After this, draw a large flower on the circle and then start to erase the base lines from the drawing. Draw in the fingernails on the picture, then color in the skin color on the nail. Color the flower any color that you would like, then draw in the background to any color you prefer. Shade the wrist of the ar...

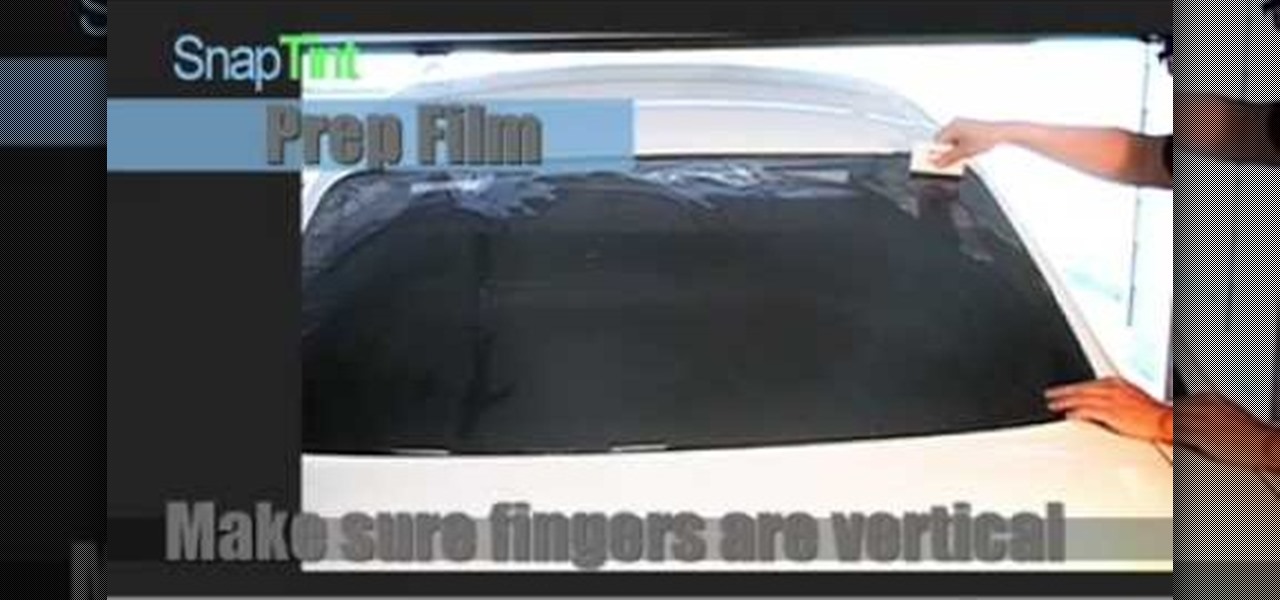
In this video, we learn to heat shrink a rear window tint. First, prep your window using soapy water. Next, rinse with car with a soapy cloth and spread on the lather. After this, let it dry and cut the film around the pattern. Next, create an anchor by dampening in an 'h' shape. Next, lay the window film down with the liner side up. Anchor the film onto the window along the 'h' shape. Make sure your fingers are vertical, then heat the film until the lines react. Then, smooth on with the hand...

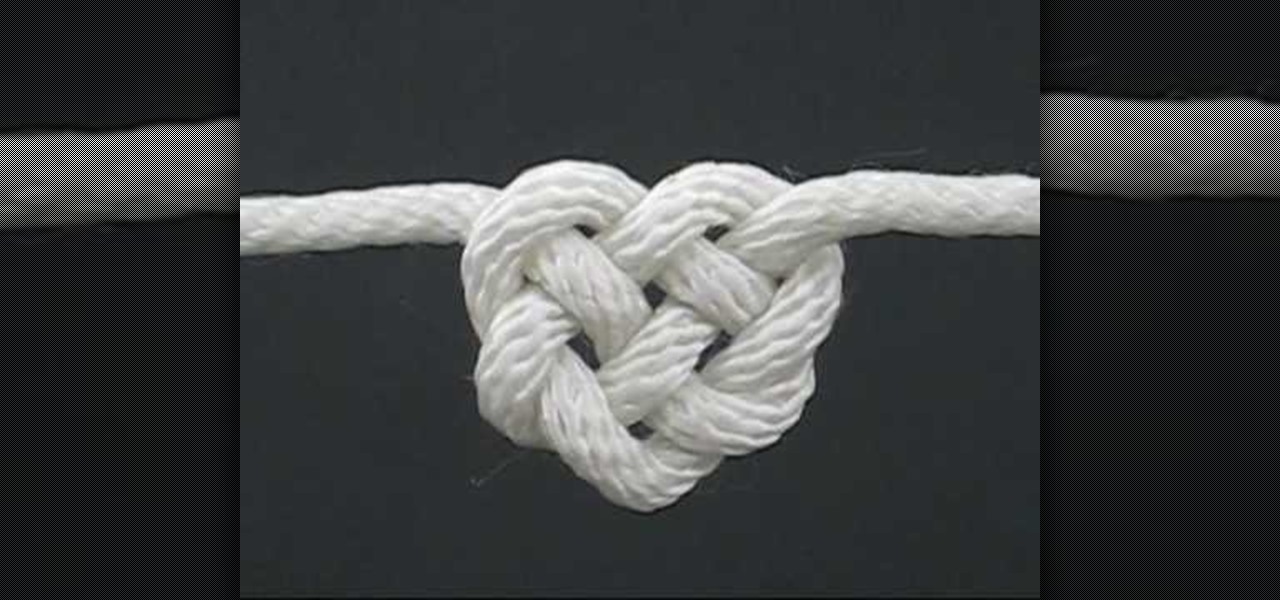
In this video, we learn how to tie the Celtic heart knot. Start off with your rope and make a loop in the middle of it. Now, bring the working en on the right side into the loop so you have a circle. Now, bring that end back into the knot and braid it through the other loop. Next, push this through the bottom loop, then braid it through the lines that are on the shape. After this, you will see a heart shape start to form. Pull gently on the heart with both sides of the rope and shape the midd...

In this video, we learn how to make a tee a stylish one shoulder tank. First, lay your shirt down on a flat surface. After this, cut the shoulder off one side, then cut a diagonal line down the other side, removing the other shoulder completely. Next, take a round brass ring and attach it to the first shoulder to connect the front and back of the shirt. When you are done with this, you can wear your shirt and enjoy! If you want more of a professional look, you can sew the ends of the shirt so...

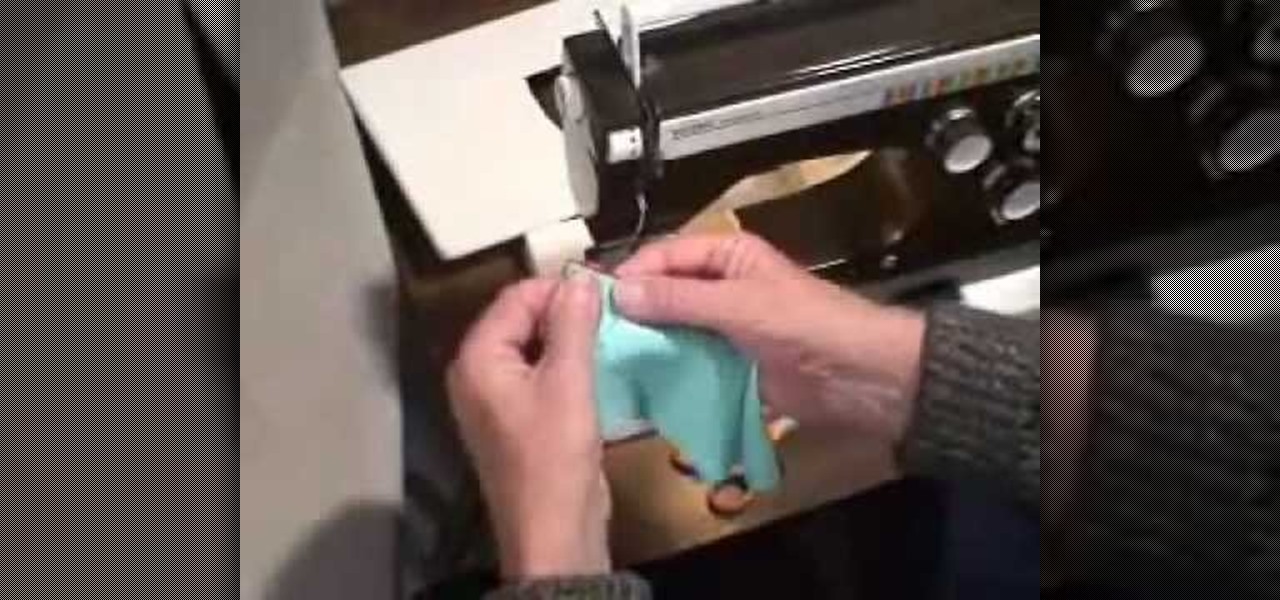
In this tutorial, we learn how to edge finish with lingerie elastic. First, grab your elastic and place it onto your fabric. Line up the elastic so it matches in perfectly with the fabric. Use a sewing machine to sew the elastic onto the fabric. Go slowly while you are doing this and lift the elastic in your hand as you continue to sew it on the fabric. When you get to the end of the fabric, the elastic will be sewn on, and you will be able to wear it! This only takes a few minutes, just make...

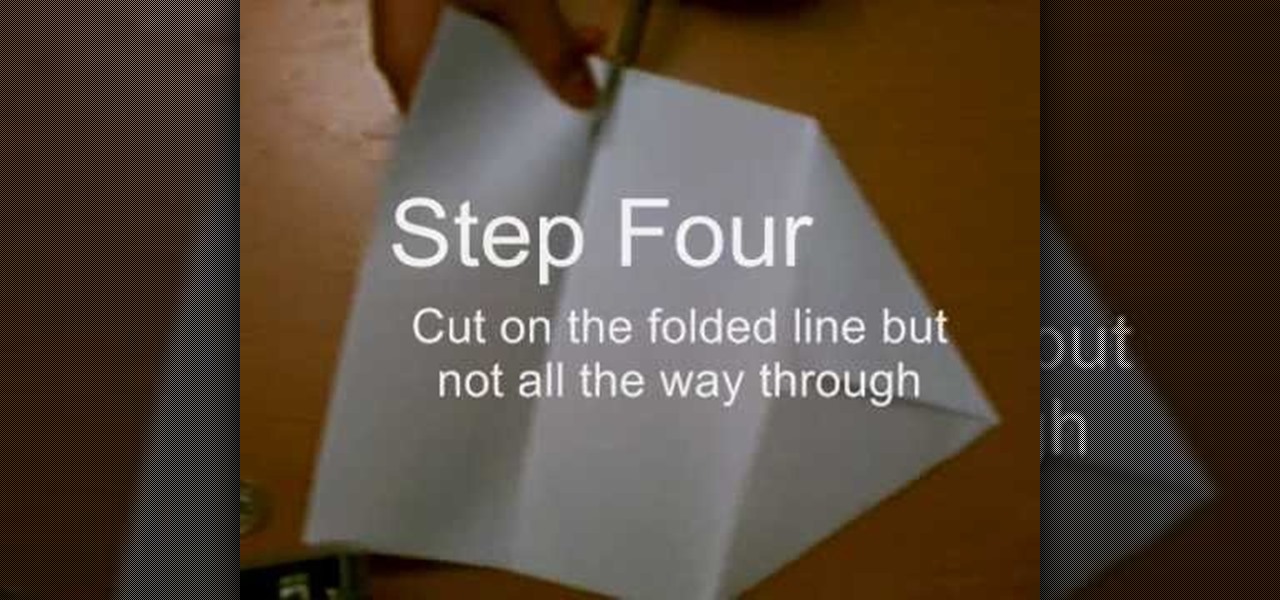
In this video, we learn how to make a whirlybird paper helicopter from printer paper. First, fold two triangles together on the paper. Next, fold the back to the triangle you just created. Next, fold the paper back and, then cut on the folded line but not all the way through. After this, fold the middle flaps until they reach each other. Then, cut through the middle of the bottom and fold one flap on the top, then fold the other flap on the flip side. Now you will be finished with your helico...

In this tutorial, we learn how to properly draw with a pencil. First, start off by drawing squares and see what it looks like when you color them in and shade them all differently. This will help you learn how to control your pencil and see how hard you have to press to make the shades look different. You can also scribble a line going from really dark to light. Make sure you are making a range of different colors so you are learning how the pressure on the pencil effects how the color comes ...

In this tutorial, we learn how to find missing windows and panels in Sony Vegas. When you are in Sony Vegas, you will want to look in the middle for several lines that have "X's" in them. Now, place the mouse on the side of these and drag out the windows that you see, and you will be able to drag out the panels you have been looking for. After this, change the view of your page so you can always see the panels you need to on this software. Next your windows will be where the other x's are, an...

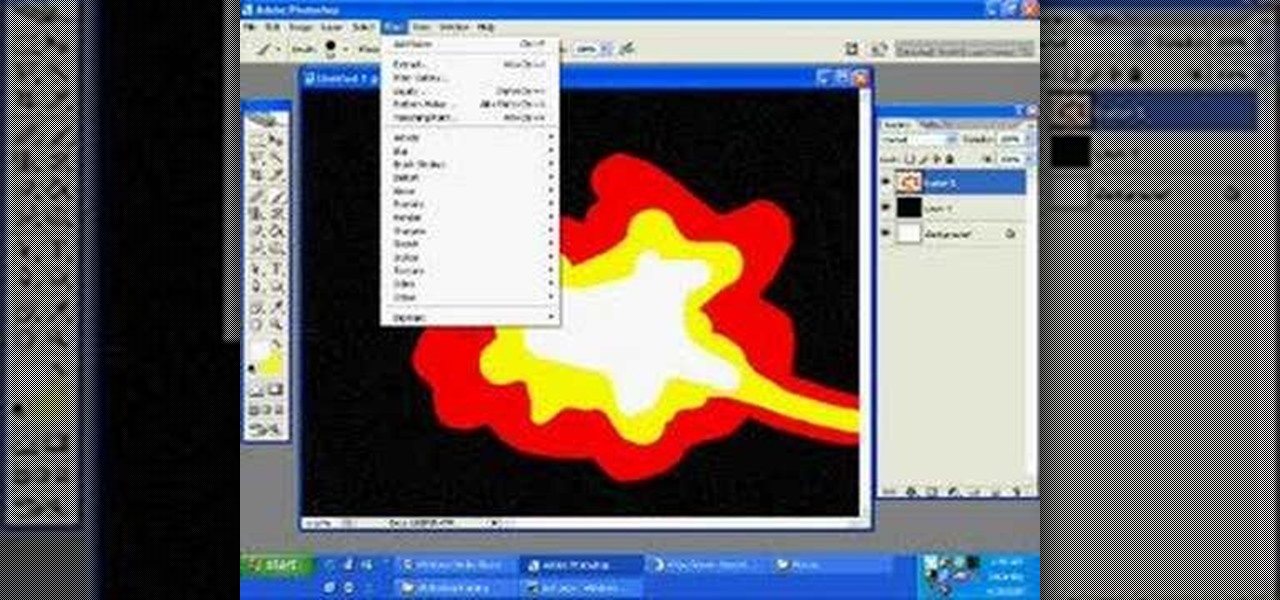
In this tutorial, we learn how to draw a galaxy in Photoshop. First, open up a new project and color the background black. Next, create different lines and circles inside of the black, and then blur out the image. Now, it will look like a galaxy in black space. Next, color a new background black and white with spots and mix it into the galaxy image that was made. Continue on to change different settings on the picture as you prefer, changing the opacity and different settings as you wish. Whe...

In this tutorial, we learn how to make a movie in Windows Movie Maker from PowerPoint. First, open up PowerPoint, then open your finished project and save it as a JPEG, saving all the different slides. Now, open up Windows Movie Maker and import all of your slides from where you saved them. Next, drag them into the time line and save it as a movie file. This will take a few seconds to finish saving, then click finish. When this is done, you will be able to play your slides as a movie and you ...

In this video, we learn how to install a cog cluster/cassette on a wheel. Find the wider gap and wider spine and line them up. Then, slide the cassette down onto these. After this, you will have to install all of the clusters onto the top of it. If you need to, install spacers as well so your wheel doesn't get messed up. Make sure you use grease to install the cluster and cassette so your wheel doesn't squeak and they go on easily. When you are finished, take your bike out for a spin and enjo...

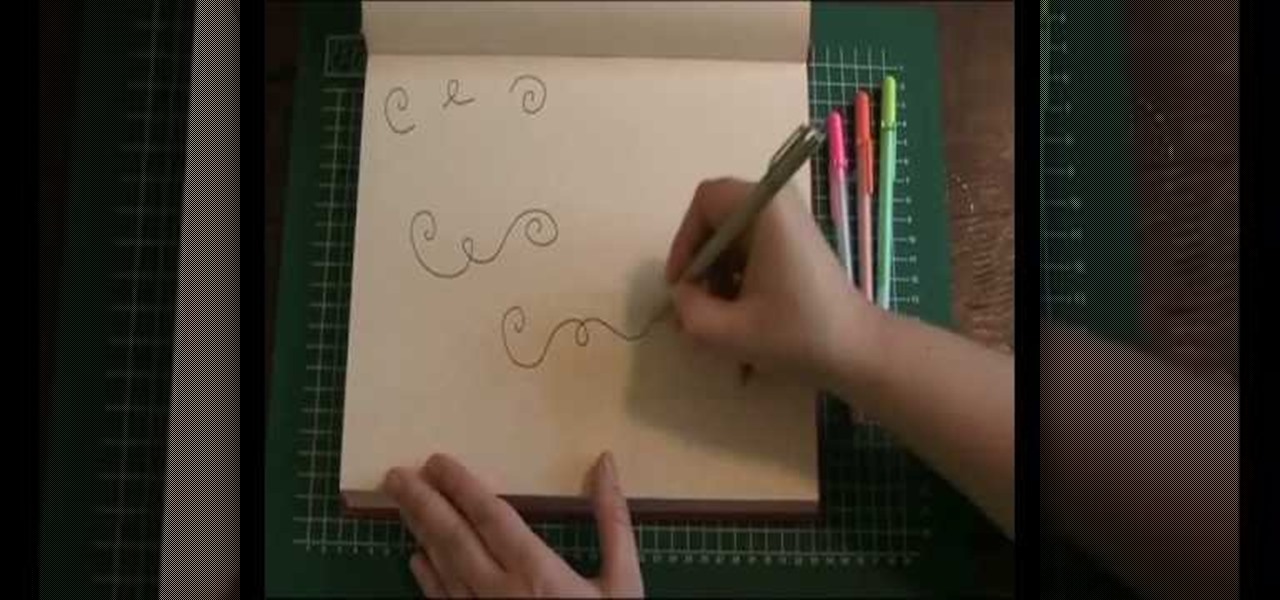
In this video, we learn how to draw a doodle with Marieke Blokland. Start off by writing the letter "e" in cursive, several times, making the letter larger as you go. Link the e's together, then when you get to the bottom of the paper it will be just a scribbled loop. Now, on the next page, draw more of these looped e's, dragging out the lines. On the next paper, draw spirals going from smaller to larger and going clockwise and counter-clockwise. Start to incorporate all of these shapes toget...

In this tutorial, we learn how to cite articles from online library databases in MLA. Make sure you have all the information available so you can include all of the information for the citation. The citation will be written in the following order: author, article title, publication title, volume and issue numbers, date of publication, and page numbers. Make sure you use only italics and do not underline. URLS are optional and depend on instructor preferences. Make sure you include the publica...

In this tutorial, we learn how to set up the L drill in pool. To do this, you will place all of your balls in an "l" shape on the pool table starting from the middle of one side of the table. Place the balls about two inches apart, then star to make the horizontal line for the balls. Place these two inches apart as well. After this, you can place your shooting ball next to the balls and hit each of them into the same corner pocket as the last one. This is a great way to practice hitting balls...

In this tutorial, we learn how to hygienically pierce your lip at home. First, you will need a sharp needle that is cleaned with rubbing alcohol. Next, draw a line on your face where you want to pierce your lip. Next, grab your lip so it's taut, then place the needle into your lip. Go slower so you feel less pain while it is being inserted. When you get to the other side, insert the jewelry where the needle was, so it goes inside seamlessly. Once you get the jewelry to the other side, place t...

In this tutorial, we learn how to do an auto damage appraisal. First make sure you have all your paperwork ready and lined up before you go to inspect the vehicle. When you have this done, the clients will be happier that you have everything ready to go and the claim is getting taken care of quicker. After you inspect the vehicle, write down all the notes about the vehicle and then calculate what the amount of damage is. Then, give a copy of the appraisal to the owner. After this, submit your...

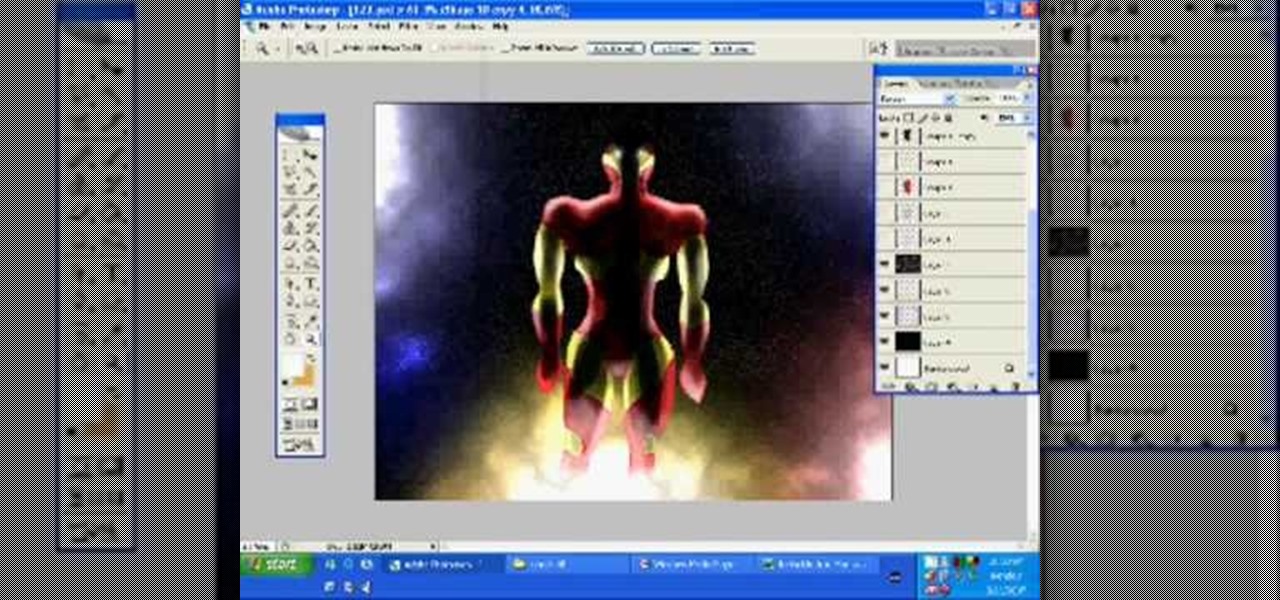
In this tutorial, we learn how to draw Iron Man from scratch in Photoshop. Begin by drawing an outline of the entire Iron Man with a light gray pencil in this program. After you have done this, use a black paintbrush and draw over the lines to make cleaner marks. Next, start to fill in details on the body, such as the metal parts, bolts, and facial features. After this, use red and yellow paint brushes to paint the different colors onto the suit. Next, use a black spray paint brush to color b...

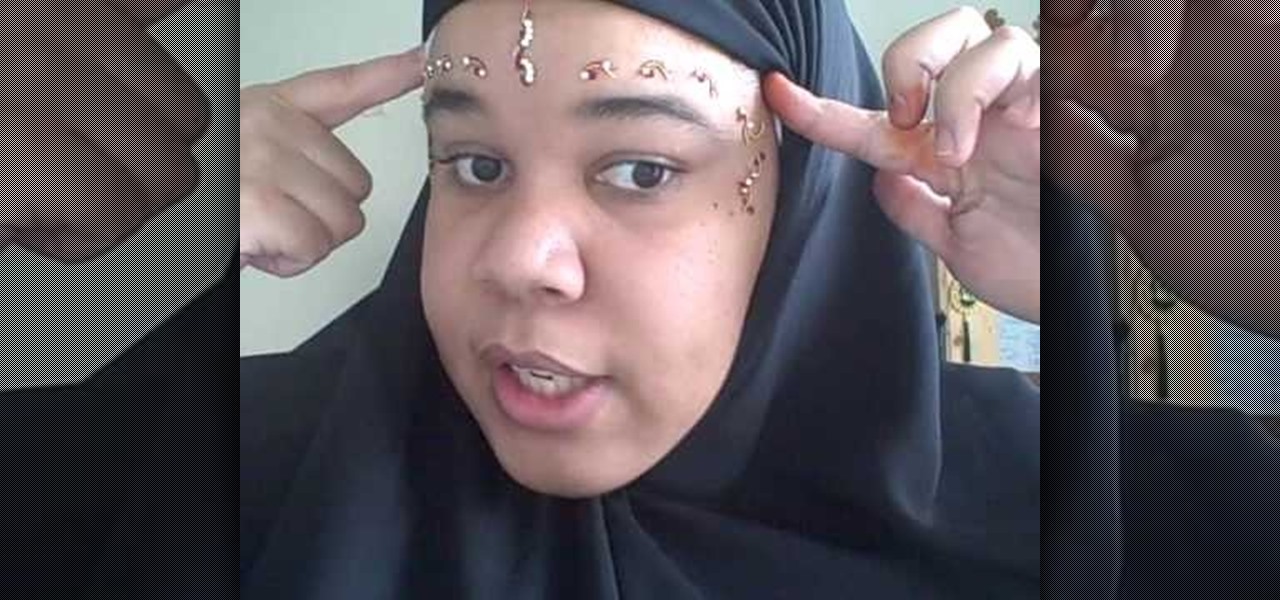
In this tutorial, we learn how to wear a peer bridal bindi. First, line a pencil with your nose, and mark the points where the points are parallel to the eye on all sides. After this, remove the bindi from the package and place the middle section onto the middle dot. After this, remove the other pieces and place them in the spots that correspond to the other marks. Continue placing these on until you have applied the entire bindi. You may need to use bindi glue to help apply these if you are ...

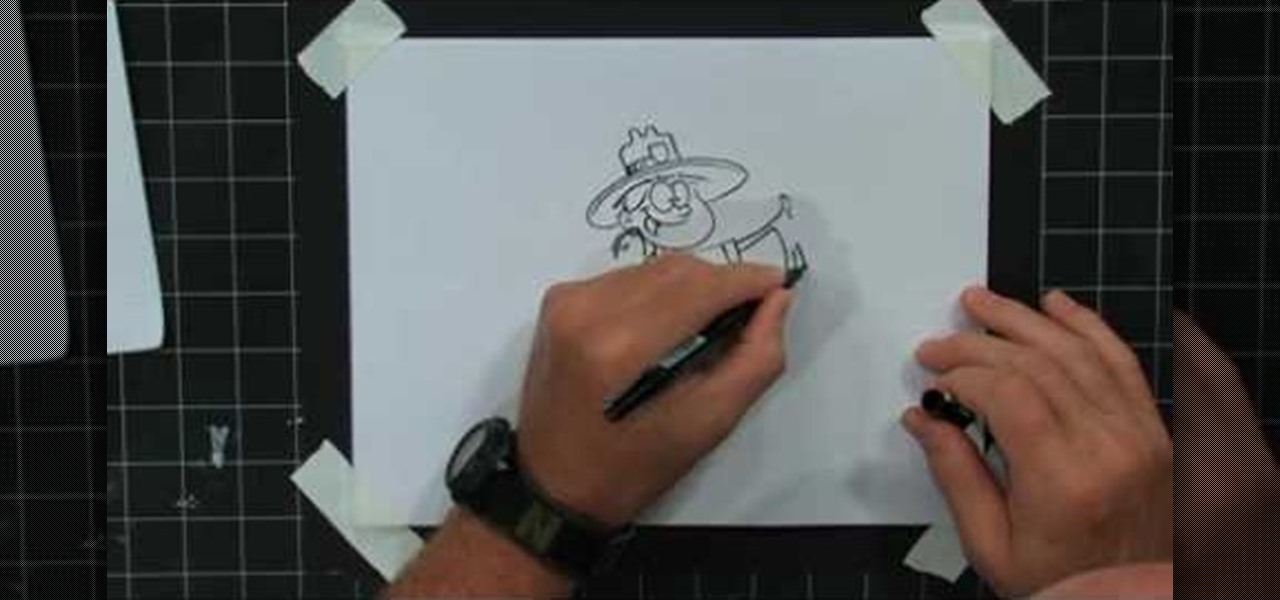
In this tutorial, we learn how to draw a cartoon park ranger with Bob Ostrom. Start off by drawing two eyes touching each other, and a nose coming off of the second eye. Next, draw a large mouth for the smile, and now draw the head around the character. Draw ears on, then give her a park ranger hat and long hair. Next, draw a neck coming down from the head, then draw the chest and arms. Draw a park ranger shirt onto her and a badge as well. Keep drawing down until you make the legs and shoes....

In this tutorial, we learn how to do every elevator on CoD4 and Modern Warfare2. Once you get used to the technique you use it will be very easy to do on each different level. First, go find a spot where you cannot stand and go to a staircase. Line yourself up so you're straight with the wall, then go into crouch and don't move forward or backwards at all. Look to the right slightly, then move to the left until you can't stand up anymore. Then, move your right stick to the left slightly and t...

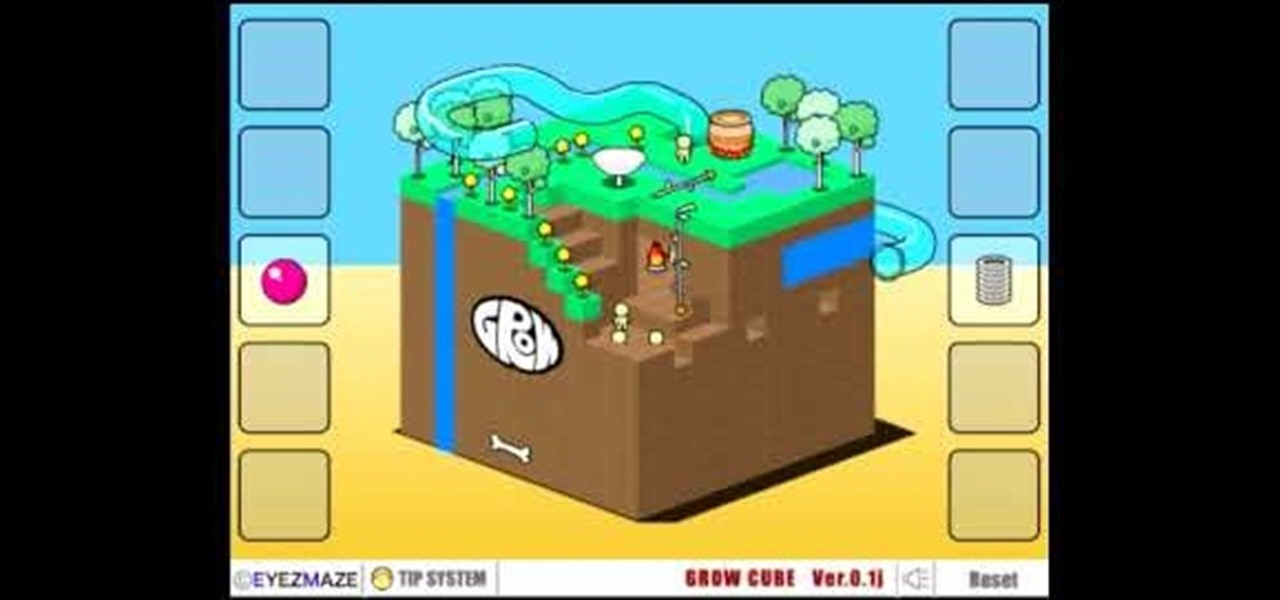
In this video, we learn how to win the Grow Cube flash game. First, make a square shape on the lower right hand side of the square. After this, start to make a line going from this, up to the top and going down to the side. Next, you will start digging on the lower left hand side, then use a tube to help you get to a new level. Keep digging in this same spot, then you will see a door appear. Use the first on the top to get a level up, then continue digging down in the same spot and you will w...

In this tutorial, we learn how to tie a Texas rig. First, get your worm and your side hook, then hook the worm to the fishing rod and hook. Tie a knot around the fishing line so it stays in place then you will be ready to use! This is great to use when you are out fishing, and will bring in a lot of fish. Make sure when you hook the hook into the worm, you thread it through so the hook doesn't obviously show. Fish will be attracted to the worm, then get caught on your hook because they won't ...

In this tutorial we learn how to draw a manga face. Start off by drawing a circle, after that add a cross in the middle as a reference point for where to draw the eyes, mouth, and nose. After you do this, you can start adding in further details to the face to make it look more realistic. Don't forget to add in lines on the face for wrinkles and pupils to the eyes. Ears should be placed on both sides of the head and don't forget to draw in hair as well. Outline the pictures with a darker brush...

In this video, we learn how to divide bigger numbers. As an example, let's say you were dividing 843 by 13. To make this easier, write down the times tables for 13 down and keep adding up. After you do this, see how many times 13 goes into 84. Your table will tell you how many times it goes into the larger number. Thirteen will go into 84 six times, so write six on the top line above the four, then subtract 78 from 84 and write a 6 next to the 4. Now, work out the remainder and when finished,...

In this tutorial, we learn how to make a rose from a turnip. To start, cut at an angle all the way around the outside of the turnip. After this cut, cut a thin layer around the turnip just around the inside of the cuts that were just made. Continue to do this process throughout the entire fruit until you get to the top. Make sure to alternate from the middle of the petal, so they aren't all line up the same. When you get to the top, you will be making smaller cuts, until you finish. When you'...

In this tutorial, we learn how to draw Ryo Bakura Yu Gi Oh style. Start off by drawing the head, making a pointy nose on the front of the face. Next, draw in the eyes making eyebrows in and pupils. Also draw in the shapes on the head, then start to draw in the hair. Make two sides of the hair pointy spikes on both sides. Start to draw the neck and shoulders going down to the very bottom of the paper. Place a collared shirt, then start to add in shading on the picture. Draw in lines, then add ...

In this tutorial, we learn how to make a window valance. If you have a drop down shade, a valance will help cover up the hardware that is located underneath it. Start out with your choice of fabric, then add in 1 inch to the top, bottom and sides. Next, line the fabric and place Velcro on the top. Now, use a wrap around and mark where you want to fold the fabric in at. After this, sew the valance and then use the Velcro to stick it onto the metal part of the drapes. When finished, enjoy your ...

In this tutorial, we learn how to apply MAC 34 fake eyelashes. First, lift your eyelashes out of the case they come in and lay them on your lash line. If they are too long, cut the ends to fit your eyes. Next, grab your eyelash adhesive and apply it to the strip on the base of the lashes. Let the glue dry for several seconds until it becomes tacky. After this, push the lashes onto the base of the lashes, and use tweezers or your finger to push the lashes on until they are stuck. After this, a...

In this tutorial, we learn how to draw a husky puppy. Start off by drawing the head, don't use a straight line at the top, make it look like it has hair. After this, continue and draw teeth and a tongue hanging out of the dog if you want it to look happy. Next, add ears to the top of the head and eyes to the face. Give the dog markings and pupils on the eyes. Then, add the nose on with a button shape at the top. Draw out the collar and chest of the dog, then add on the two front feet, the bel...

So after much hard labor and patience, you've finally thrown your first vase, fired it carefully in the kiln, and let it harden to a fine finish. What to do next in your pottery making journey? While a beautiful vase is a beautiful vase no matter the finish or color, applying a glaze is like putting on makeup: sure, you don't NEED it, but having it on dramatically improves and accentuates your features, making cheekbones more sculpted, eyes wider and brighter, and lips more well defined. In t...


