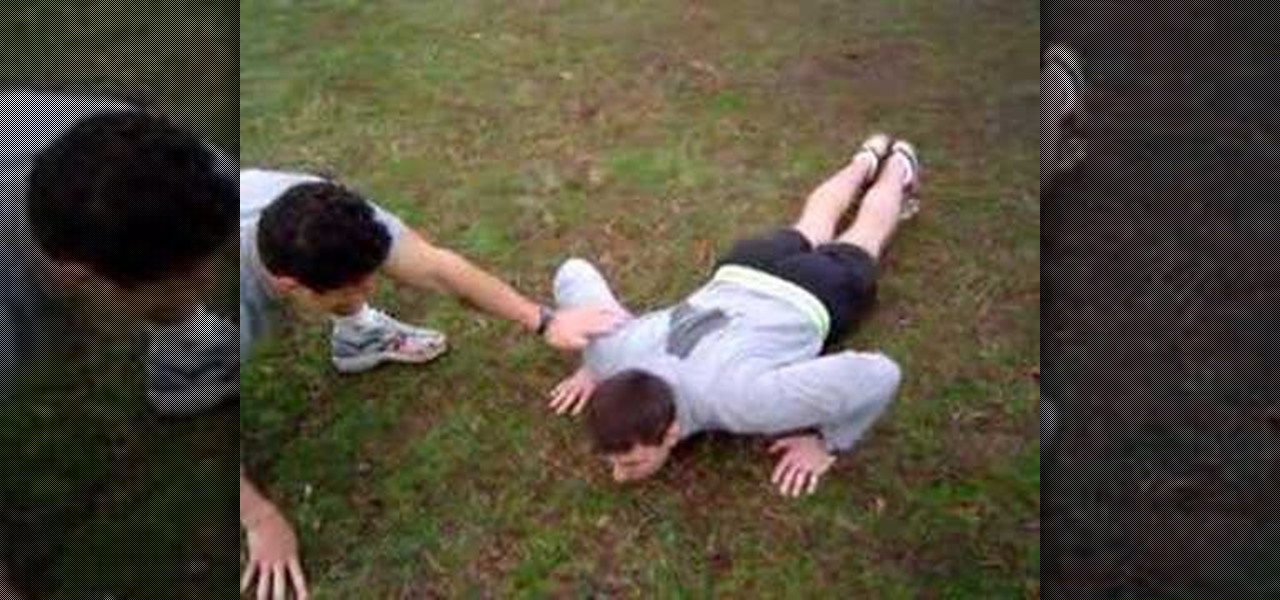
The Georgetown Army ROTC program first describes the benefits, and then demonstrates a proper army pushup to standard. Pushups are common in the army, they increase the strength and endurance of your chest, shoulders, and triceps muscle. The push up is also a part of the Army Physical Fitness Test (APFT). In order to be contracted and received scholarship benefits male cadets in the age range of 17 - 21 must perform 43 pushups while female cadets in the same age range must perform 19 pushups.
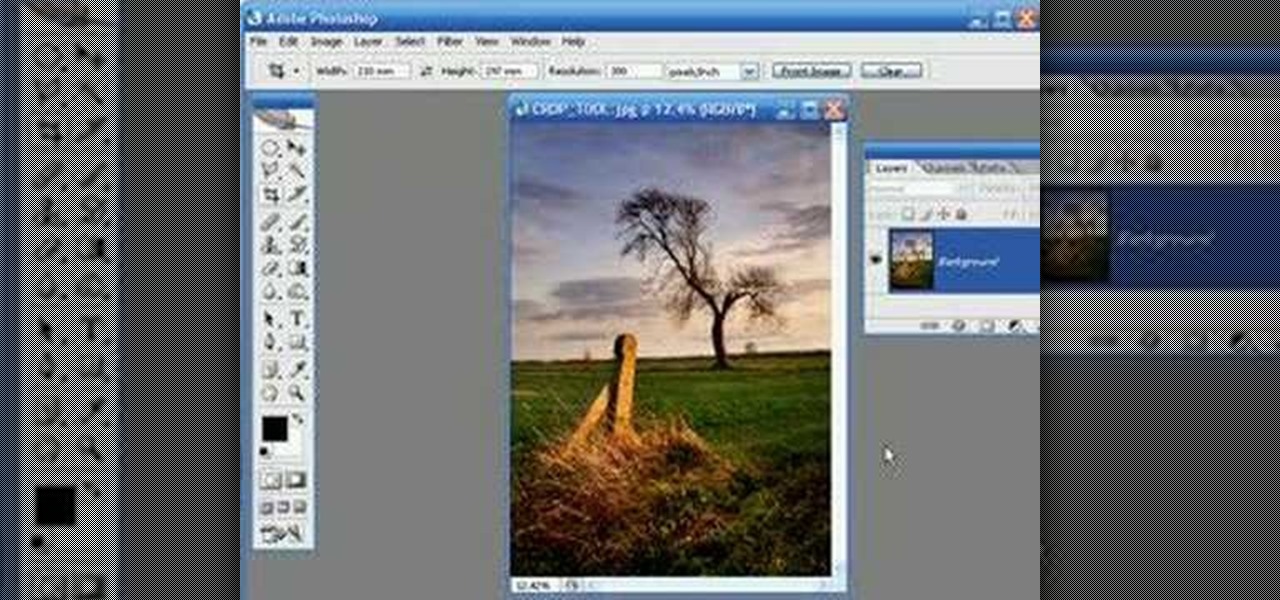
Kingsley Singleton teaches us about cropping images in Adobe Photoshop. He discusses the importance of properly cropping pictures, and the basic ways to do so. He first shows us how to properly crop images to ensure that printed pictures are the proper size for the paper. Clicking on the image and then dragging the marquis over the picture will select the area of the picture that you would like to use. Moving the corner arrows will adjust the size of the area selected. Then, to properly size ...
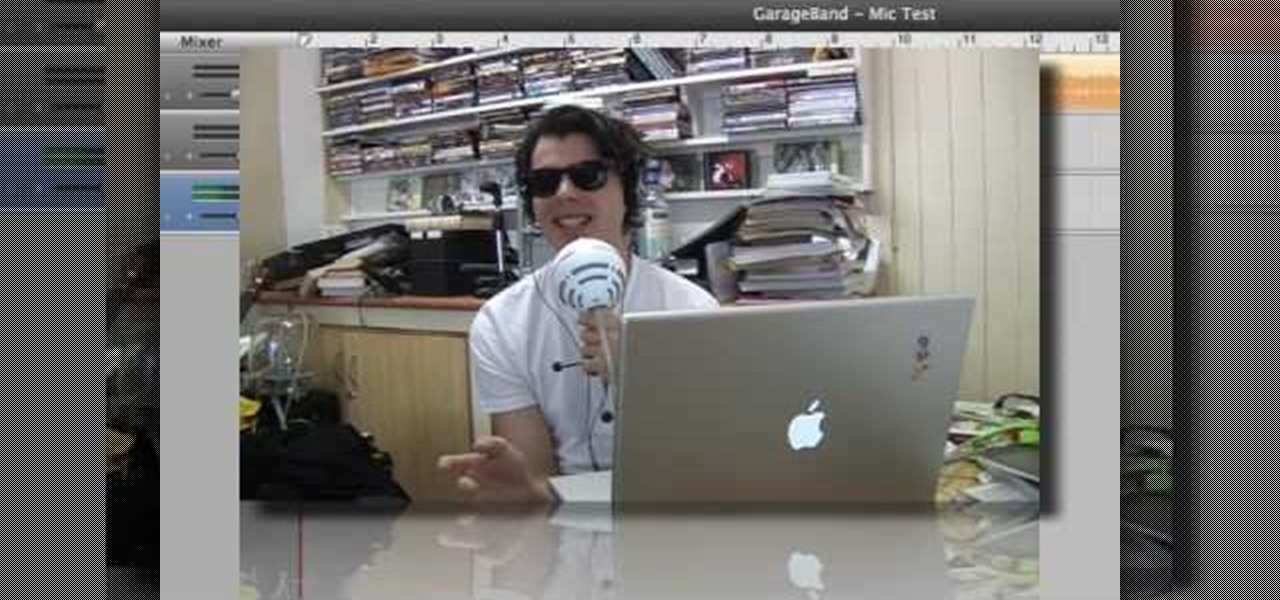
Yes, you can use GarageBand's Auto Tune to sound like T Pain and Kanya West. To start with, in GarageBand, click the plus sign in the bottom left hand corner to create a new track. A window will pop up, Real Instrument Track should be selected by default. Click the Create button. In the Track Info window check to make sure your Monitor is set to On. In the bottom left hand corner, click on the button with the scissors in the middle of the sound wave. This is the Edit Track button. Click on Ad...
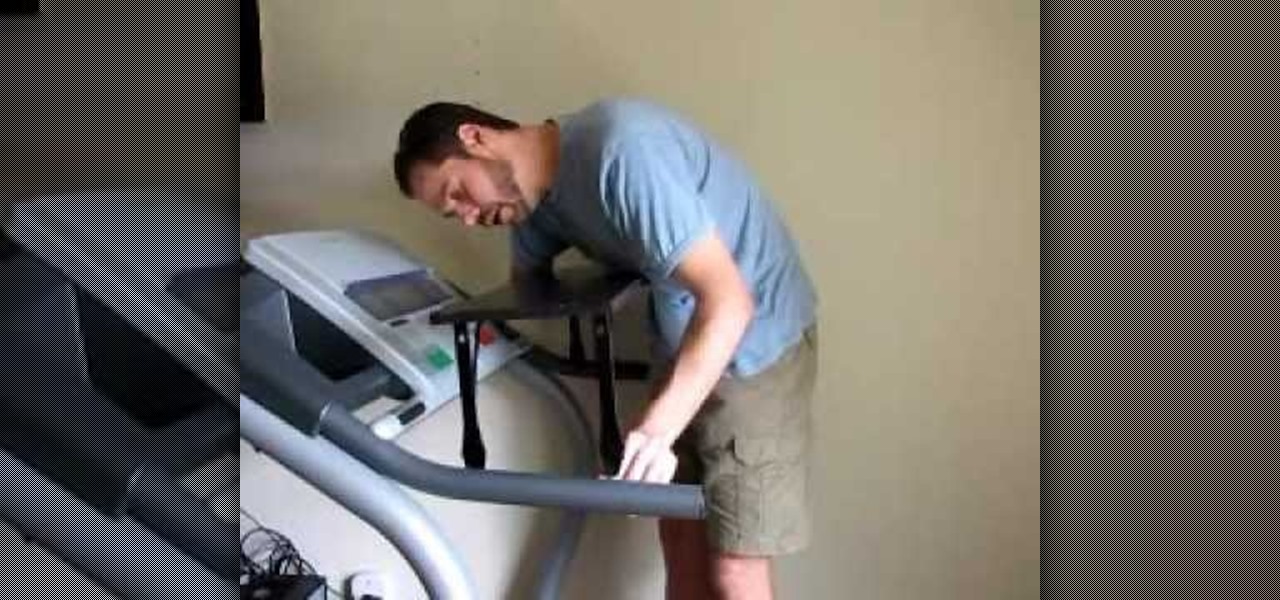
This is a great way to turn your treadmill into a walk station quickly and cost effectively. You only need a few things for this project: a tape measure, four shelf mounting brackets, screws, a drill, and a shelf.
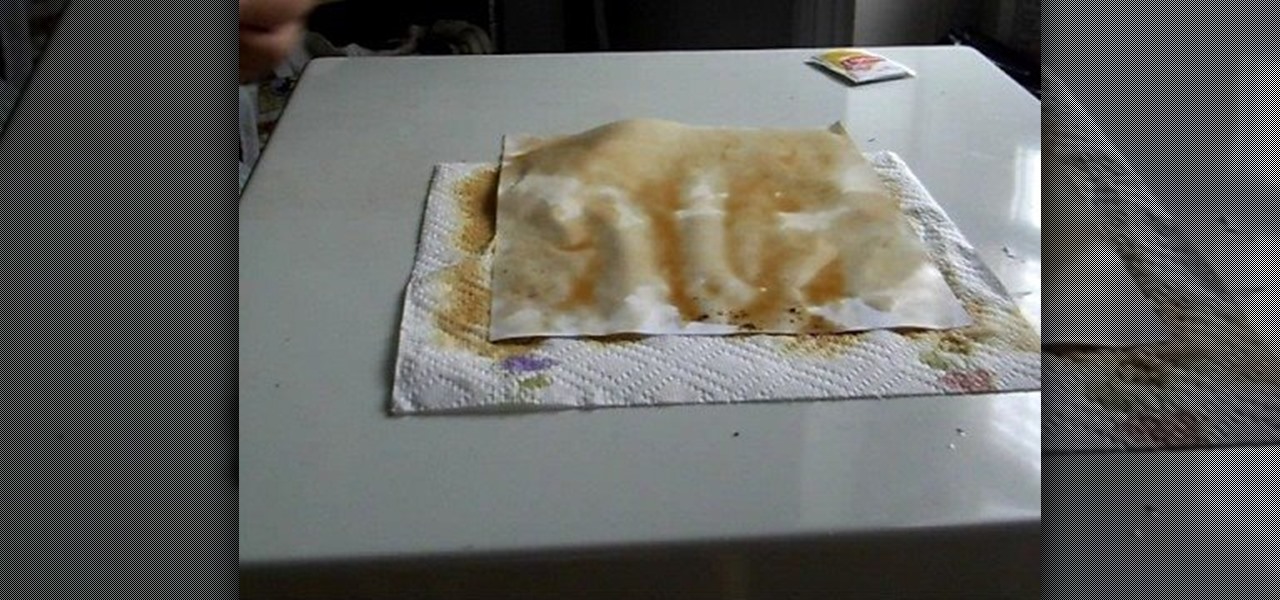
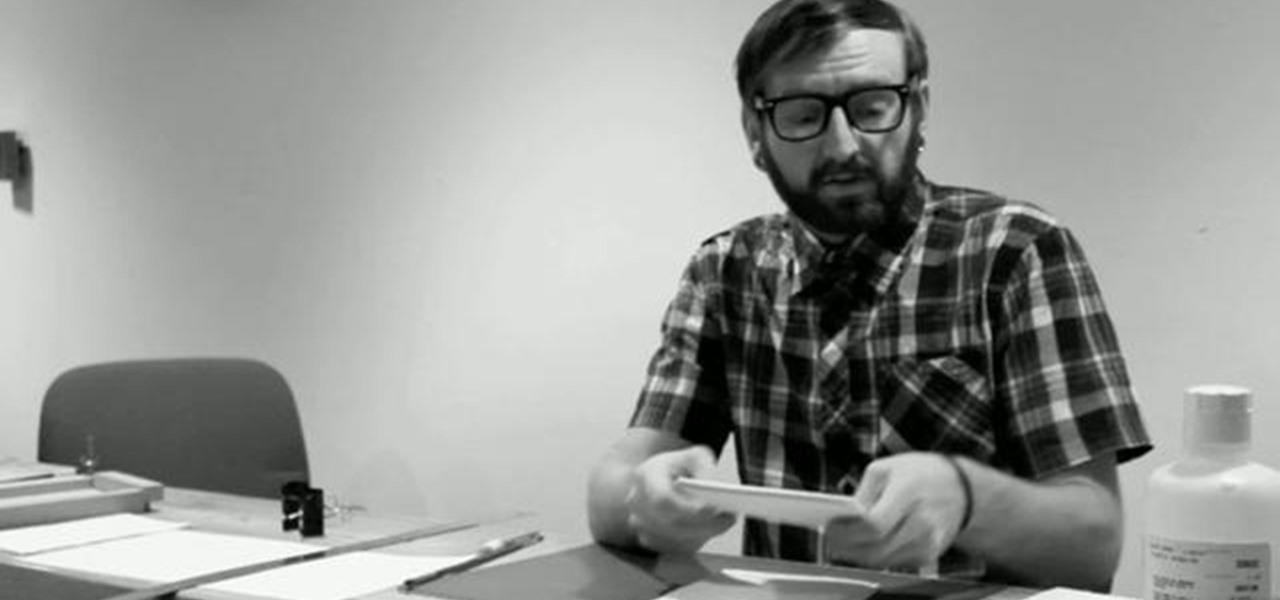
This video demonstrates how to stain a white sheet of paper and make it look antique. You'll need two tea bags (an extra one if the other tears open. Place the paper to be stain on a tissue or newspaper to avoid a mess. Take half a tumbler of hot water and dip a tea bag until the color becomes dark orange. Take out the tea bag and gently wipe all over the sheet of paper and also dab gently on the applied parts for a darker stain in some regions to look natural. Repeat this process by turning ...
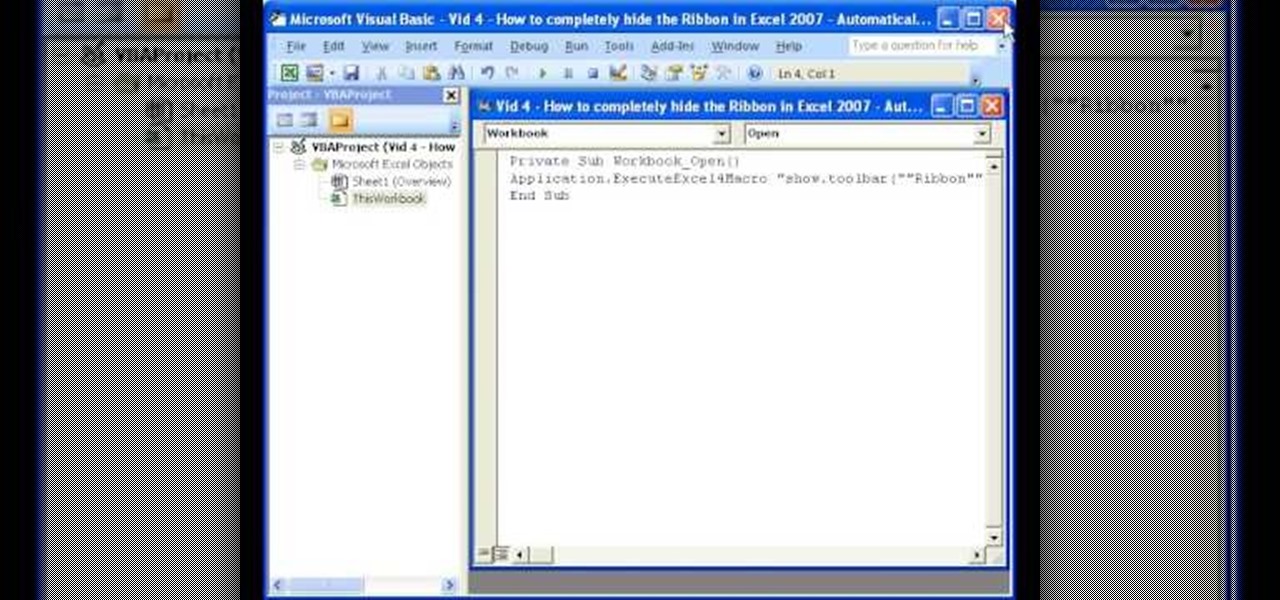
Teach Excel demonstrates how to completely hide the Ribbon menu system in Excel 2007 as soon as the workbook is opened. This will be done by writing a macro which hides the Ribbon only for the specific workbook in which the macro is implemented. Some helpful shortcuts are Ctrl+F1 which partially hides the ribbon, Alt+F11, which opens the Visual Basic screen, and Alt+F8, which opens the macros list. First, hit Alt+F11 to open the Visual Basic screen. Then double-click "This Workbook" on the le...

Ben for Mechanical Mashup demonstrates how to build a barn door halogen light system for a studio and how to establish right triangles and parallel lined without a square. It is quiet expensive to buy a barn doors according Ben, so it could be built by us. These barn doors can be adjusted anyway we want to. So the barn doors are to be fixed to a halogen light. First thing done is to unscrew the frame of the halogen light. The glass is removed by just bending the frame. Next thing to do is to ...

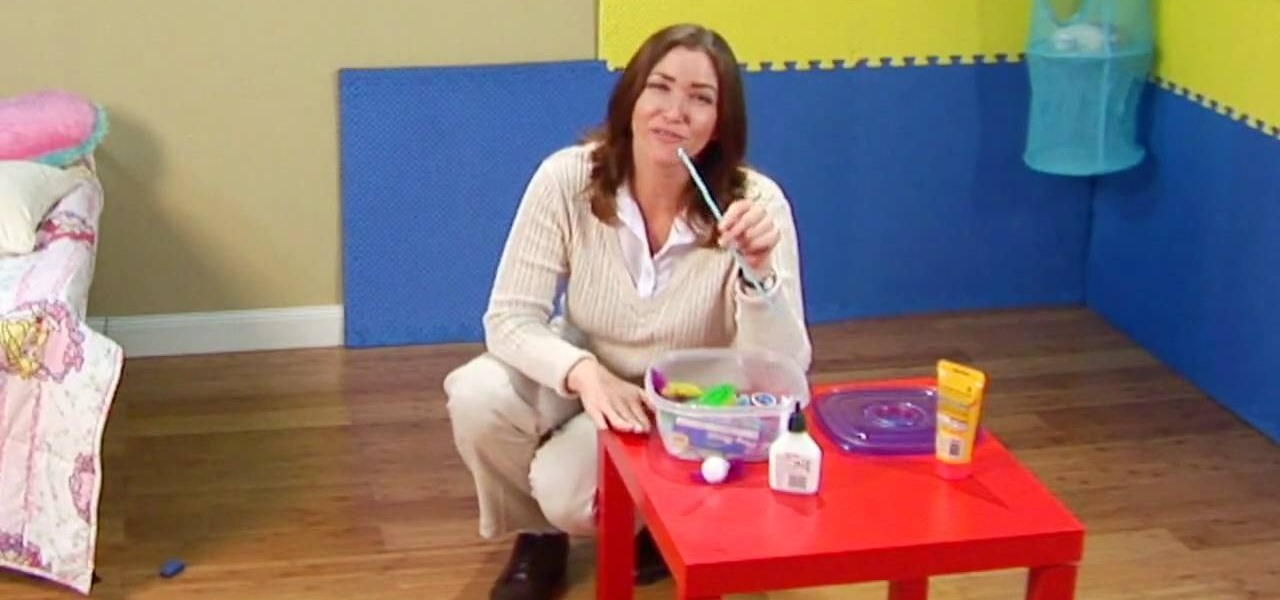
Nancy Stone, a Parenting Coach, shares some Excellent ideas for helping children express themselves and learn new things through doing simple crafts.

This video shows you how to create a continuous, daisy-chain necklace. The materials used include: size 11 rock eyes in yellow, red and purple, a toggle clasp , 9mm thread and a size 10 beading needle. Start by sewing on one half of the clasp, tying a knot to hold it in place. Be sure to leave the tail ends long enough to be able to re-thread it later with a needle to sew the tail ends. The video then shows the precise order in which the various beads are threaded through to produce a chain i...

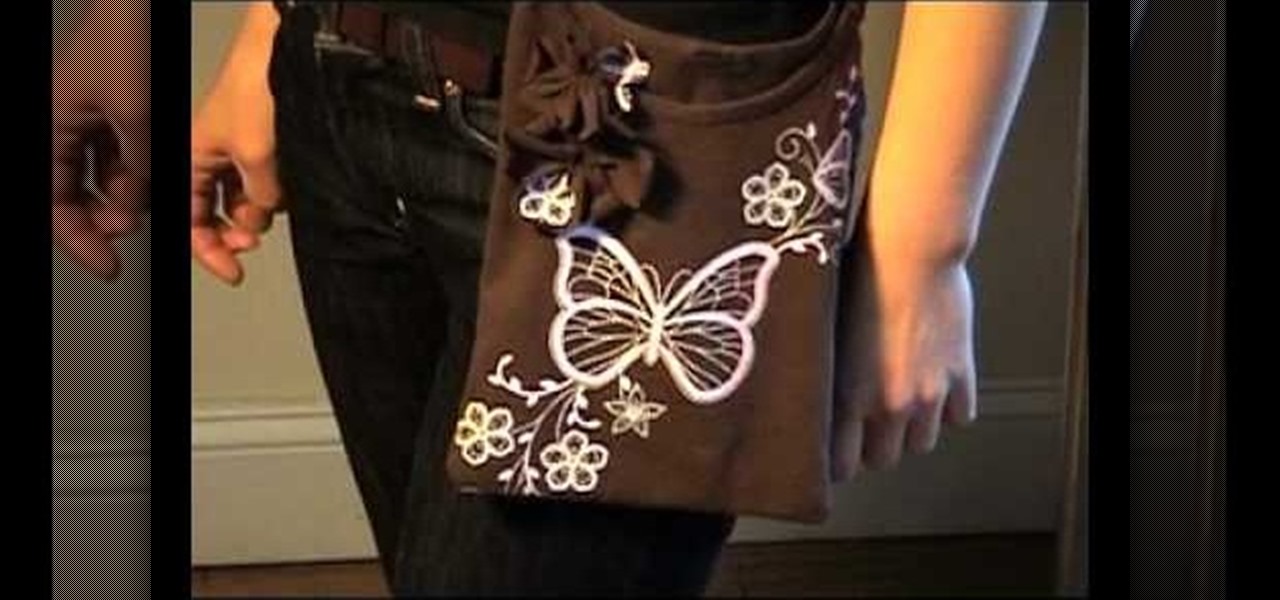
Shiho Masuda demonstrates how to make a T-shirt pochette using recycled materials in this video. You will need an old T-shirt, gardening twine (or leather strap), needle and thread, a ruler, a scissors and a pencil. First, sketch the dimension of your pochette on the T-shirt, staying about 1 inch from the sides of the collar. Next, cut along the lines (save the excess material). Flip the T-shirt inside out and sew the sides together, leaving 1 inch at the top for shoulder straps. Now flip the...

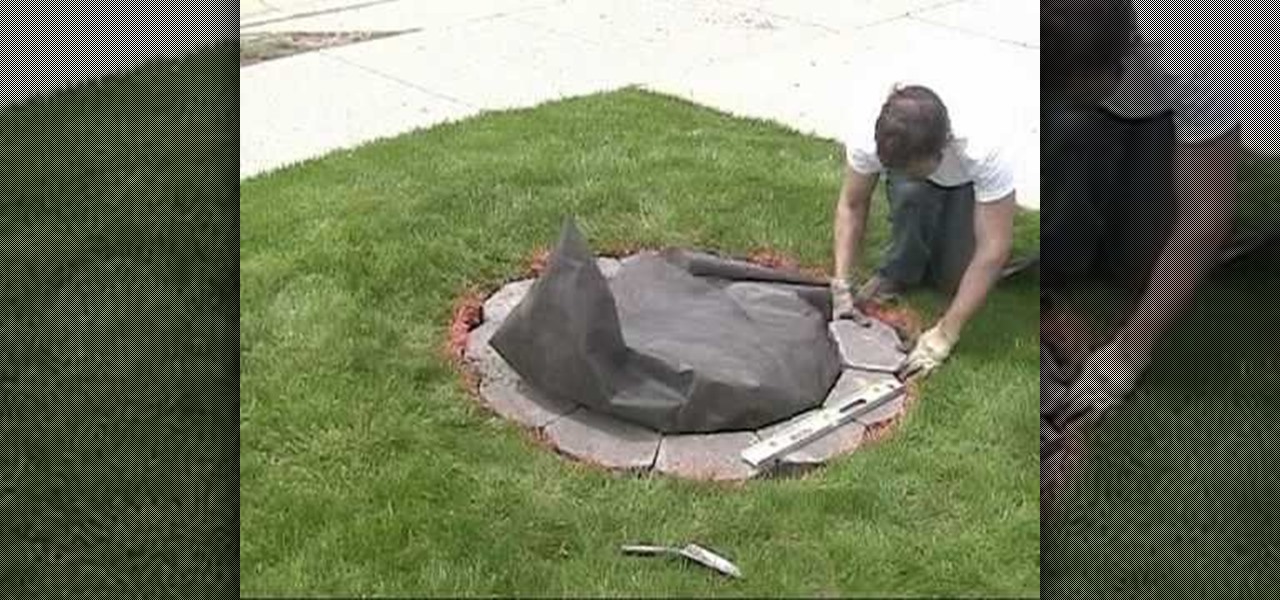
Chris from Backyard Gardening shows us how to build a raised island garden bed with retaining wall bricks.

Advance Photoshop shows viewers how to make the Photoshop CS3 icon in Photoshop. First in Photoshop go to File and then click New. Make a new blank at 500 x 500 pixels. Go to your layer button and create a new layer. Next, go to your rectangular marquee tool, hold down shift, and make the rectangle slightly smaller than the canvas itself. Set it from foreground to background and change the background color to a dark blue, enter 15396F for the color. Click on foreground color and enter 3070CA ...

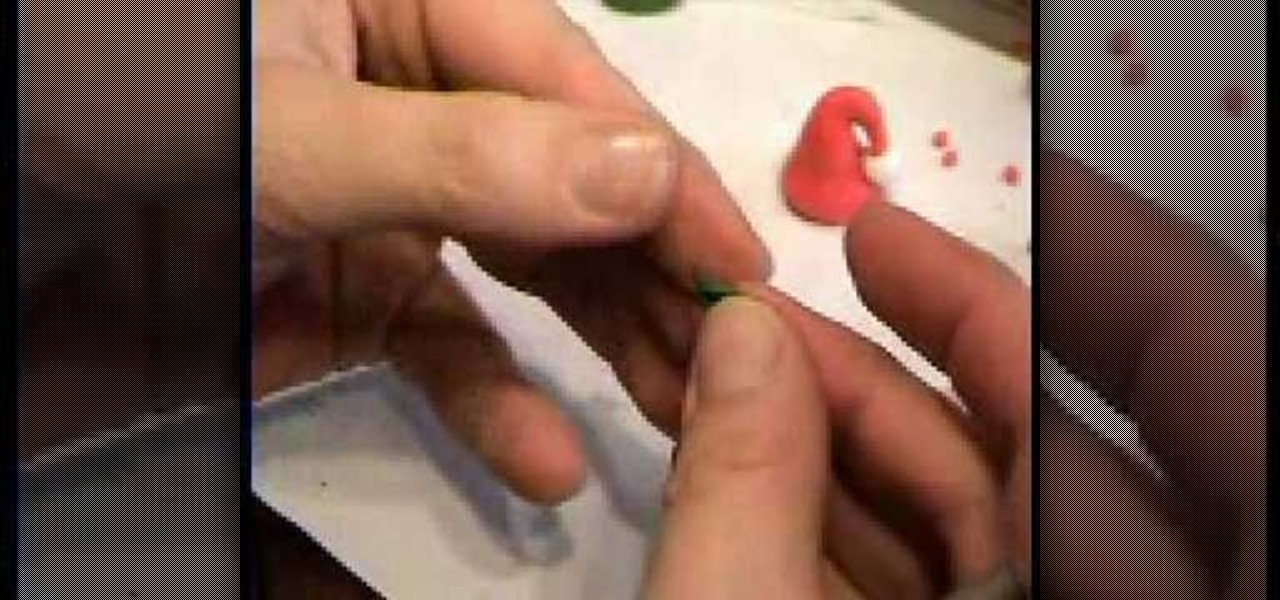
To make a Santa hat bead, begin with red clay and condition it by kneading it with your fingertips. Form the clay into a thick worm shape, with it being the thickest at one end then tapering off. Use your fingertip to make a shallow indentation on the thicker end, and remove any excess clay from the thinner end (total length should only be an inch or two). Curve the thin end over slightly to create a hook shape at the top of the hat. Take a small ball of white clay and make a small hole in it...

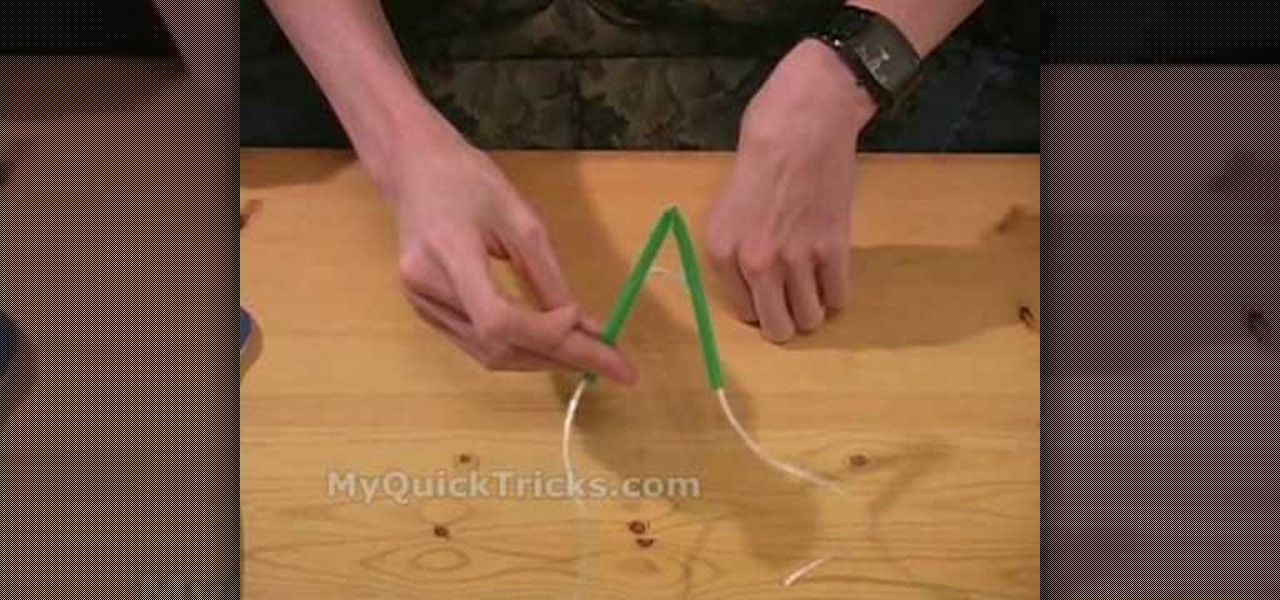
1. This video describes how to perform the cut and restored string trick. For performing this you need One "Scissor", "about 4 inch length of string", "one Straw" which you can get any restaurant or juice shop and "one X-acto Knife". Now actually prepare the straw, and the secret is in the straw in this case.

This video will go over how to insert a check box in Microsoft Word for printing or for electronic distribution. With just a few clicks you can get a check box. You can even add different symbols or styles for your check box.

In this Microsoft Word tutorial the instructor shows how to add a drawing or a free form shape to a document. Using the canvas in the Microsoft Word 2007 can be very helpful in adding graphical content to your document. Adding shapes and special effects like shadows, 3D will give a rich look to the document. To do this open a document in Word 2007. In the tool bar go to the Insert tab and in that select the Shape button. Now you are presented with plenty of predefined auto shapes. First at th...

This tutorial video will show you what the purpose of compression is and how compression works through its parameters. Your instructor illustrates a drum beat and a plucked guitar line. Beginning with how to compress the drum beat, take (download) a drum sound pack without compression and to add compression using the software right click on the drum machine, choose create, and then choose combo on compressor. The virtual compressor has all the dials and adjusters found on any basic compressor...

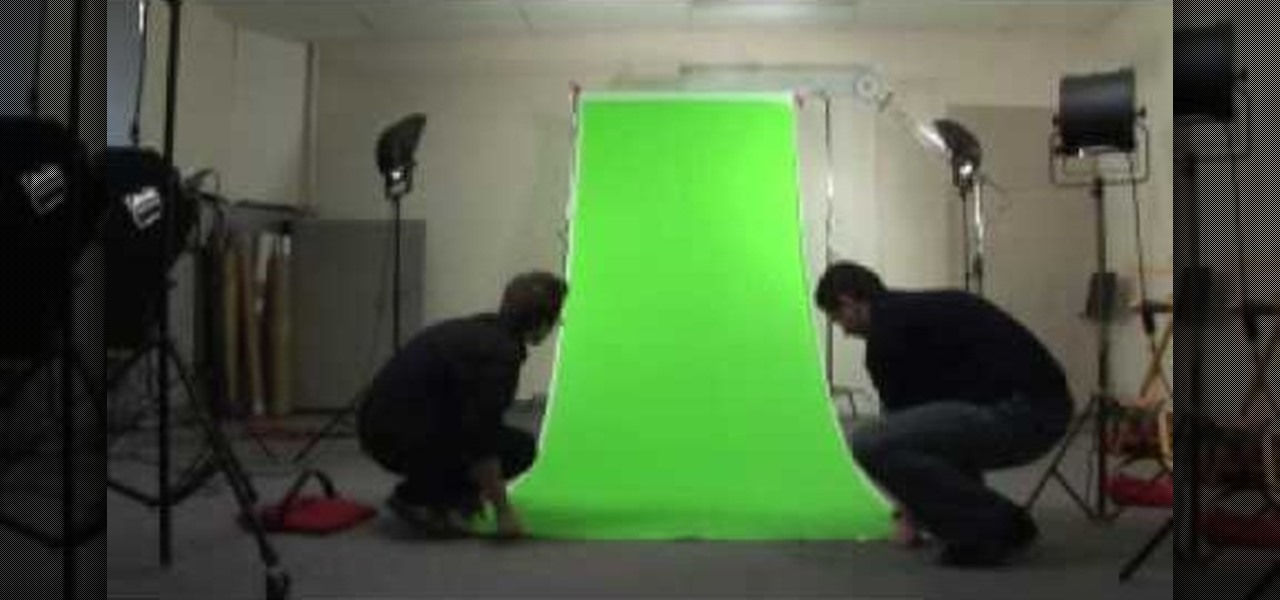
Tom of Videomaker teaches how to use the green screen to make a character appear in front of a set or to achieve the website spokesperson effect. Install a green screen in such a way that the fold at the corner of the wall and the ground is instead curved in order to create an even transition from the top to the bottom of the green screen. Build the base at the bottom part of the screen by weighing down the fabric at the corners and stretch it evenly. Light the green screen separately from th...

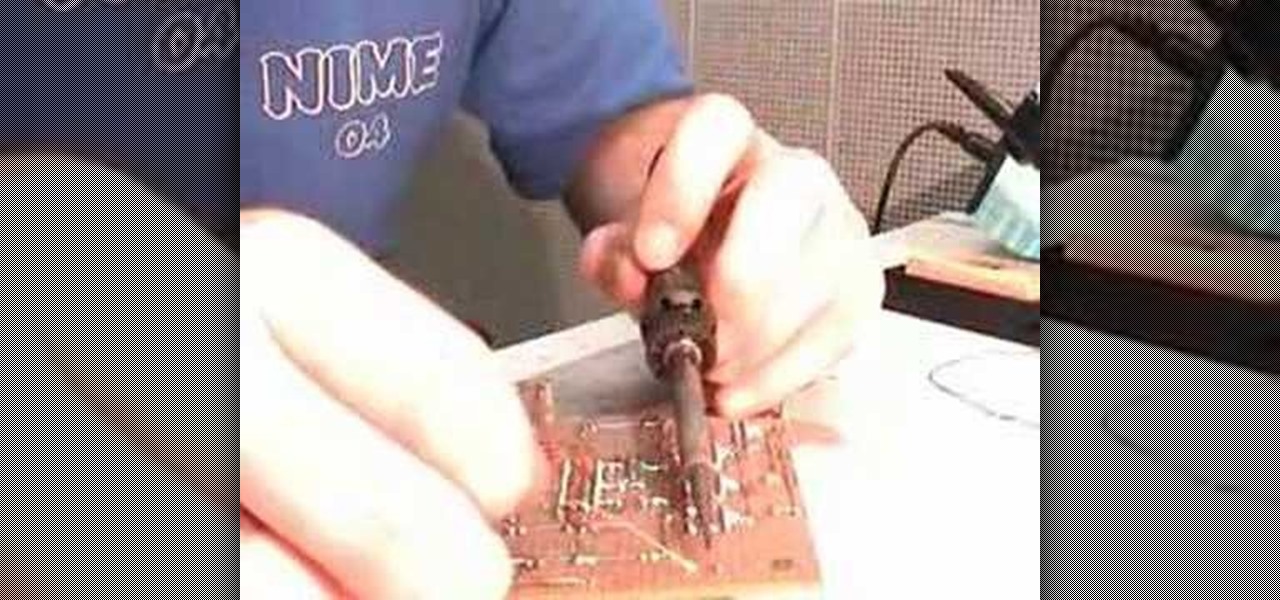
Learn how to solder wires with this video. Clean the area to be soldered, scraping the wire down to bare metal and then wiping it clean with alcohol or acetone. Use rosin-core solder for electronic applications. This solder normally comes in coils. Tin (coat with solder) the soldering tip first: Wrap one or two inches of solder around the tip while the iron is cold; set the iron to the solder's temperature range; and allow the solder to melt. Clean the tip with a sponge. Set the soldering too...

If you want to master your skills on origami, you should watch this video. How to make an origami paper box: Find a piece of square paper. Crease the paper in half lengthwise and then again in the other direction. Unfold the paper which should be divided into four sections. Take a corner and fold it up to the center of the paper. Repeat for all four corners. Ensure that the tips all meet in the center for a smaller square. Fold one side of the square up to the center of the box. Unfold and re...

This video illustrates to Make Mincemeat Croissants. The ready made croissants are sold in the super markets. Buy one and remove the wrapper around the croissants. Unroll the croissant and cut the pastry into triangles. Pizza wheel can work better than a knife. Cut lengthways to make smaller triangles, spoon some readymade mincemeat onto the pastry. Carefully roll the pastry up from the wide end, rest them on a baking sheet lined with the baking parchment. Try mixing in 1 or 2 tablespoons of ...

Demonstrator Andy Hirsch offers a tutorial on how to perfectly bind a book using two different methods. The first method is with binding clips the second with a binding jig. You will need and cutting mat, X-acto knife, paint brush, ruler, binder clips and binding glue. Use use 8 1/2" X 11" paper folded in half for the book pages and 11"x 17" page for the cover. In the 'Binder Clip Method', you make all the pages and cover flush and use the binder clips to keep everything together. Ad glue to ...

Things You'll Need: 3 cups grated carrot, 1 cup flour, 2 tsp baking powder - 1 t tsp baking soda 1 t salt 2 t ground cinnamon 4 eggs 2 t vanilla extract 1 c brown sugar packed c sugar 1 oil 1 c walnuts finely chopped c raisins For frosting 8 oz. cream cheese 1 stick butter 3 cups powdered sugar 2 tsp. vanilla 1 c. chopped walnuts Step 1 Preheat oven to 350F. Prepare 11 X 8 rectangular baking pan by lining with non-stick parchment and grease. Step 2 Grate carrots and set aside. Step 3 Sift flo...

Learn to draw Pokémon Oddish with these simple and quick steps. Start your drawing project by placing the Pokémon Oddish name somewhere on the page. Oddish is a round or onion shaped object. Place this basic shape in the center of your space. Add the feet which are shaped like little shovels at the bottom of the Oddish body. Go to the lower central area of the body and add a triangular shaped tongue. For the eyes, use little circles placed proportionately in the upper central area. Place seve...

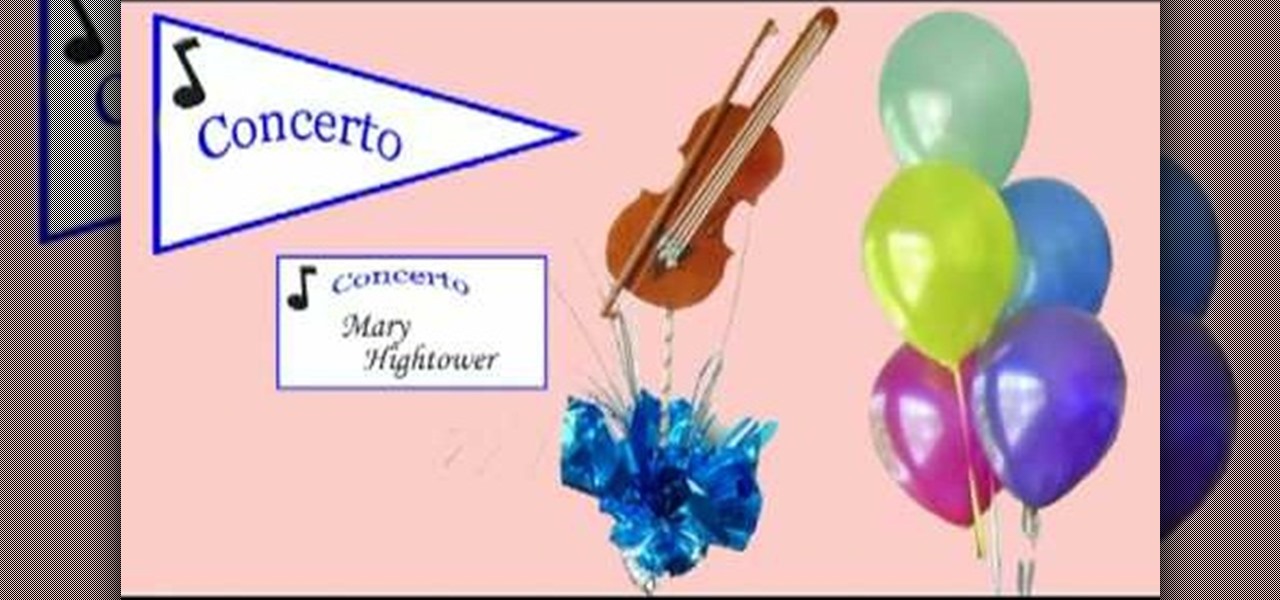
This do it yourself centerpiece is brought to you by A-Bnc parties and more. This starts of by making the bow, shown by painting a dowel and letting it dry. Then glue the 'frogs' at the ends of the dowel and glue fishing line to both frogs and trim to fit. Next take a polystyrene cut out of a violin and seal it. This helps paint stick to the surface of the cut out. The violin is painted brown to replicate an actual violin. Using black paint you detail the 'f' holes and allow to dry before pro...

In this video the instructor shows how to make a simple flash click-through photo gallery with Action Script 3. First the instructor shows a sample gallery that you can make using this tutorial. To do this open a new flash action script 3.0 file. The first thing you have to do now is, in the right hand side change the document size to 750 by 500 pixels and give it a dark back ground color like dark gray. Now open the image that you want to use in this album by dragging them on to your flash w...

In this video from gally042, Aaron Gallagher of Free and Easy Guitar shows us how to play "Need You Now" by Lady Antebellum. He begins by teaching the intro which is an F then A minor for 16 beats. Then into the chorus he tells us the chords go C then A minor, then back to C, and back to A minor. Next is F, F. Then he plays the second verse and also tells us it is all down strums. Then the instrumental comes and here are the chords for that: A minor, G, C, A minor, F, G. Then the bridge is on...

Ever wonder what those bars and lines on the LCD screen on your digital camera do? In this great tutorial, Ethan Wilding demonstrates how to read one of the most useful features on your camera: the histogram.

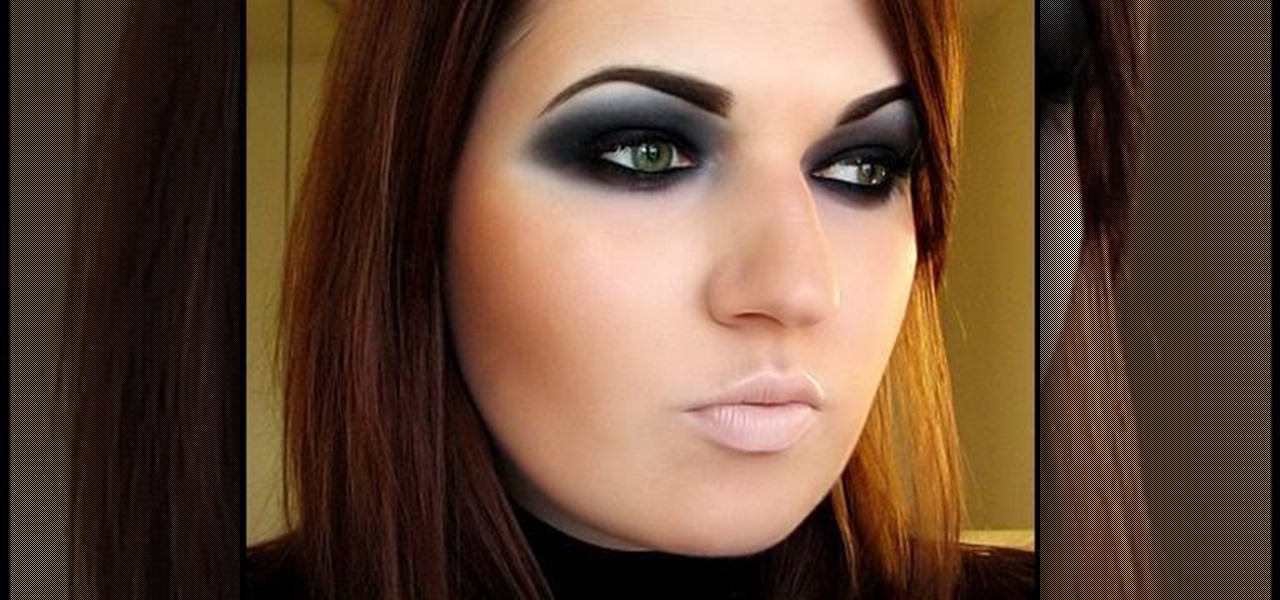
1. First moisturize the face. 2. Trim and cover the brows, to conceal the eyebrows. 3. Apply foundation, use Studio fix powder set foundation. 4. Use Contour with TANTON blush and the 242 on the sides of nose and the eye brows. Blend using the 217 5. Use random Lise Watier Brush for the cheeks. And blended base contour with the 217. 6. Use CARBON+ANGLE BRUSH to mark the eyebrows. 7. Use CARBON+217 to get dark contoured lids and use 282+CARBON harshly lining and winging out to enhance the eyes...

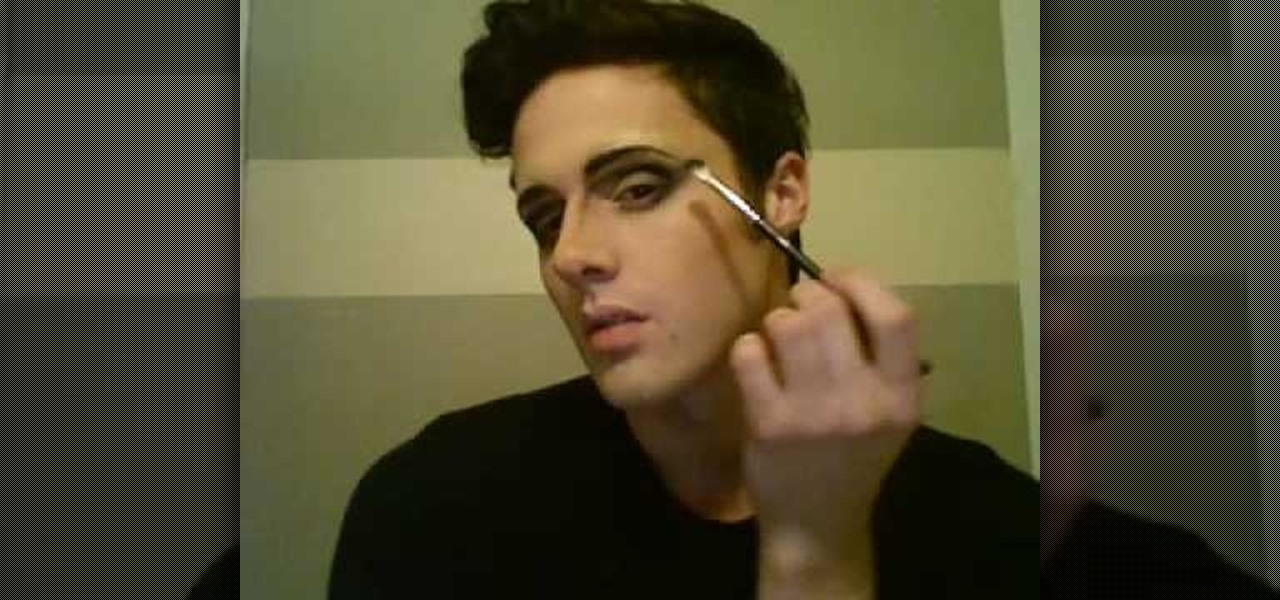
This video will show you how to have an androgynous high fashion look. Use dark blue eyeshadow as base extending to your lower lids. Use dark plumage (Mac) or any dark shade (purple or blue) over the base color. Use an eyeliner for the lids and lower lash line and put some matte black eyeshadow on top of it. Apply an eyeshadow, same color as your face, for the highlights. Use an eye brow pencil for the brows and black carbon eyeshadow on the base of your brows. Use brush to blend and apply cl...

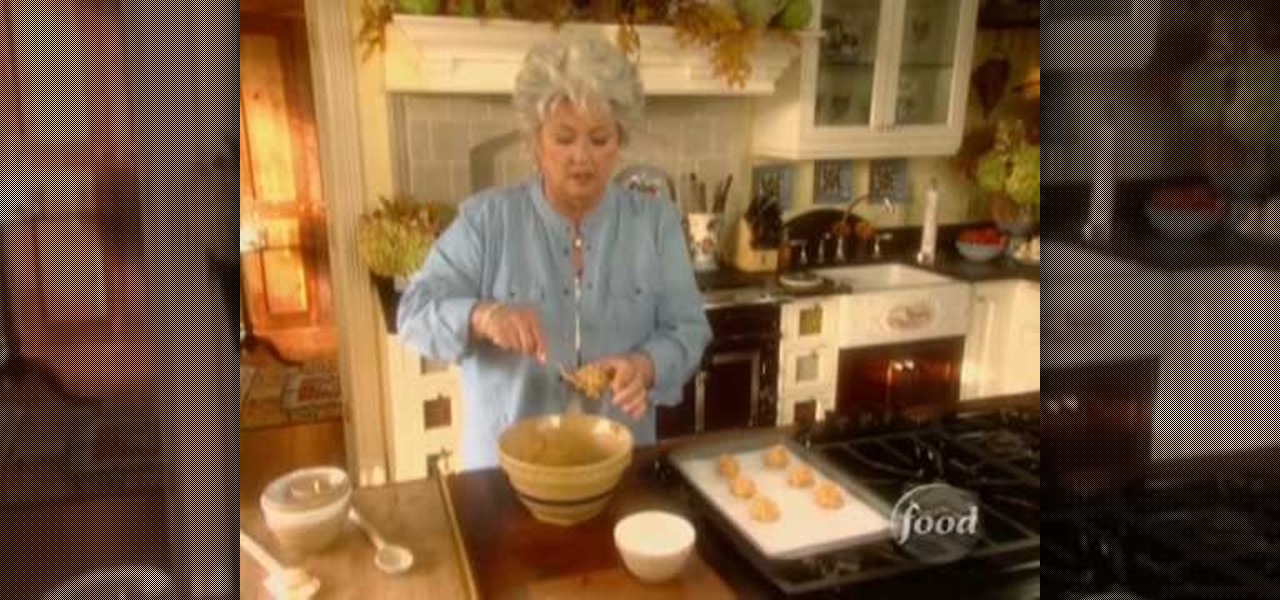
Spread several sheets of wax paper on cookie trays, side-by-side. Using a butter knife, spread a teaspoon of peanut butter on each Ritz cracker. Set aside.

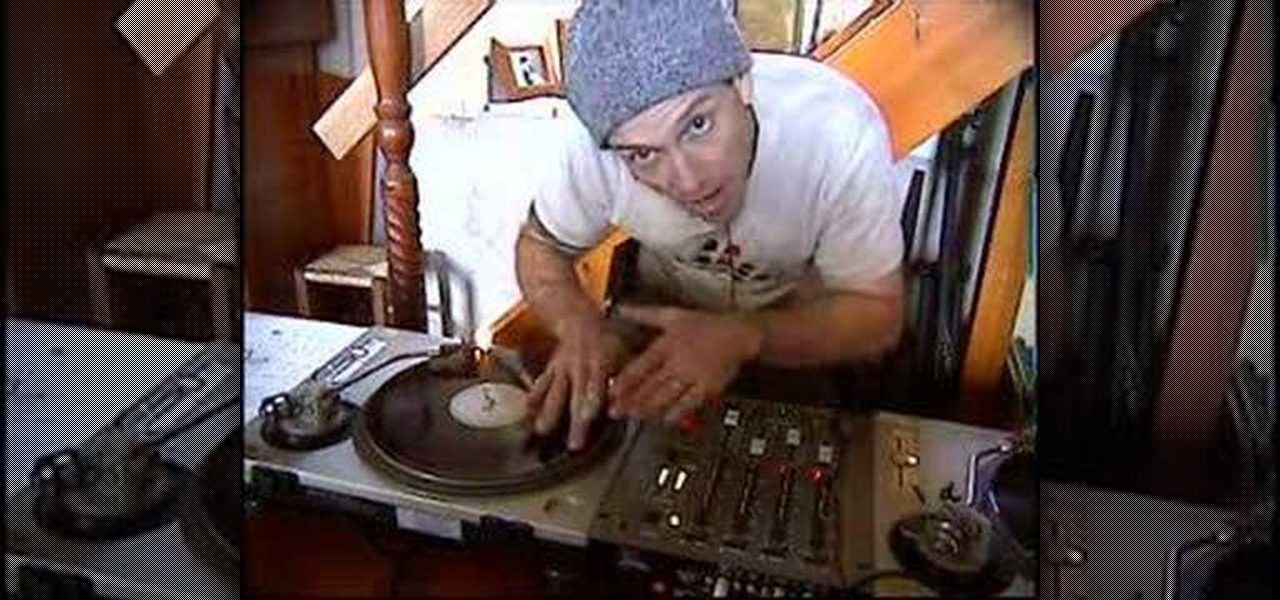
The video is from the DJ tutorial and it shows us the basic principles of scratching for the beginners. And the first lesson you should learn is that there are basically four movements and here you will actually be not going to scratch put will be moving the record forward and backward. These four moves form the basis for starting to learn scratching. First you need are the type of sounds which are either acapella (song with no music) or with sounds (tracks with breaks on it). Before starting...

You can very easily replace your normal light switch on the wall with a dimmer switch. The first step is to turn the power off at the circuit breaker. To prevent anyone from accidentally turning the circuit on put a piece of tape over the fuse switch so that it is clear that it is to stay turned off. Remove the screws that hold the switch plate and use a tester to make sure that none of the wires are still live with electricity. Remove the two screws that are holding the switch itself in plac...

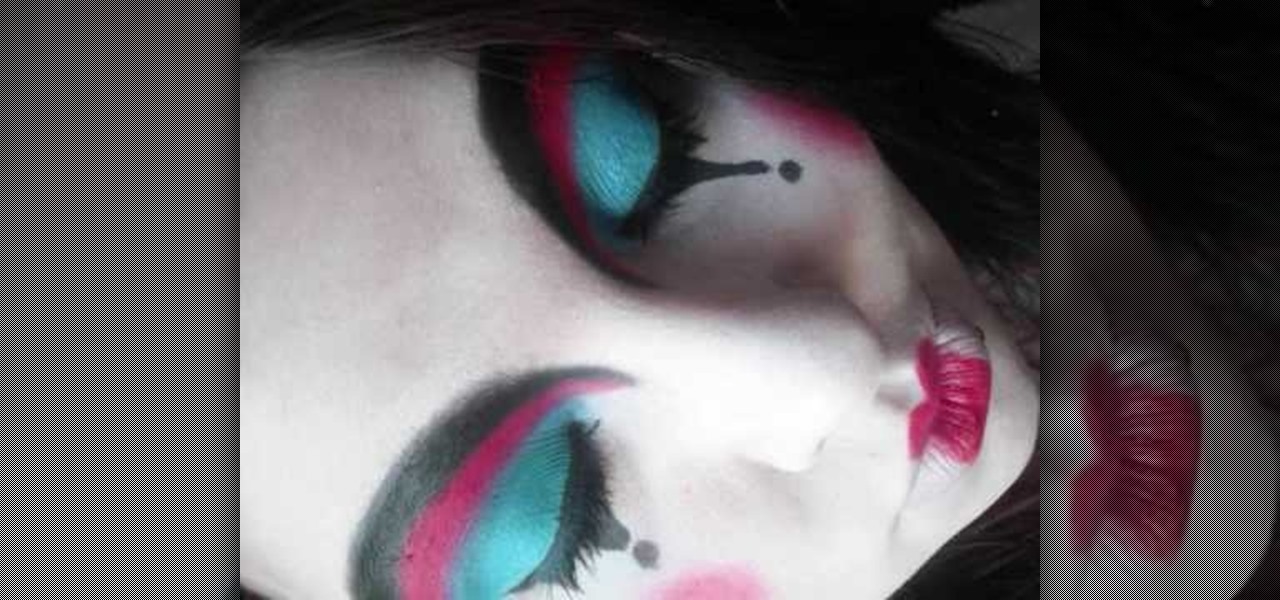
This tutorial is great if you want to apply porcelain theatre clown makeup. First white out your face and then with colored eye liner, trace out where you want the color to go. Apply a blue colored base on the lid and blend it just above the crease. The video uses a red Mufe flash color and applied it over the blue bringing the color onto the side of the nose. Using Nyx jumbo eye pencil in Black Sheep being filling in the remaining space on the brow. Using shimmery blue, a matte red, and a ma...

In this level on the Xbox 360 game Bayonetta, make sure the bullet enters Balder's head. In Chapter 16 - The Lumen Sage, keep that bullet in line. Father Balder doesn't do much damage, but he tends to stay out of range. When you do have him in range do as much damage as you can. Keep fighting until you get his health meter down to zero and can do a climax attack. For more info, watch the whole gameplay.

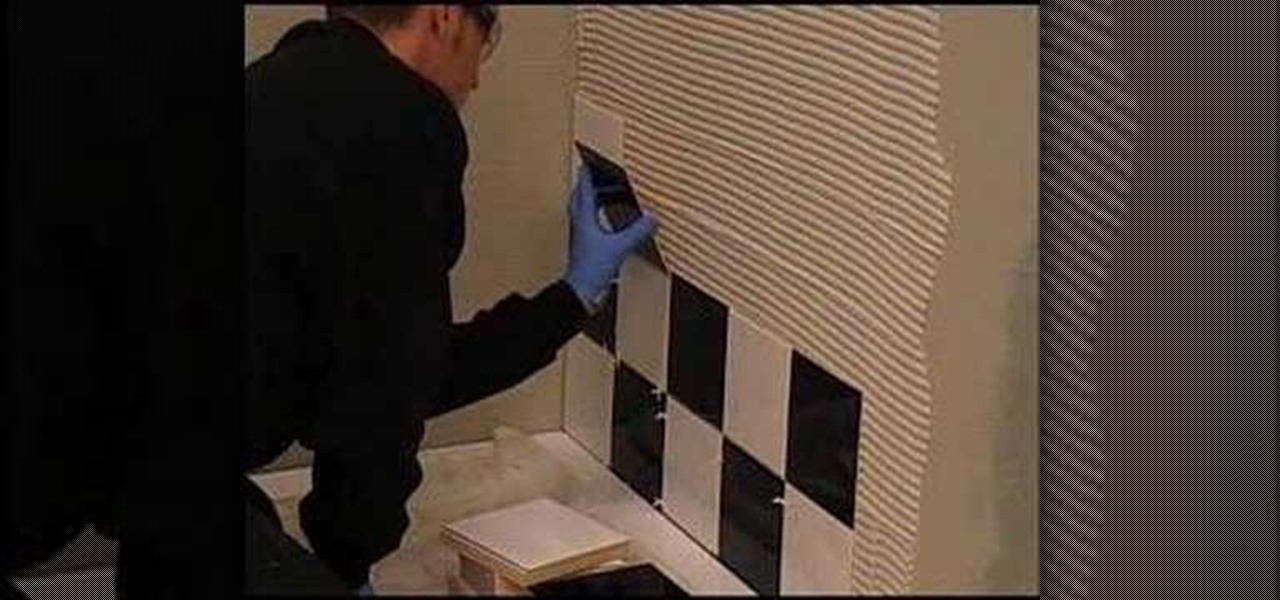
This video shows you how to tile and waterproof a shower. Stage 1

In this six-part drawing tutorial hosted by artist Wayne Tully, learn how to draw a firey flaming skull. Start from scratch in part one with the outline of the skull, then move onto the skull's features including the eyes and jaw in part two. Part three takes you through shading under the skull's eyes and around the skull's cheekbones to add dimension. In part four, learn how to strengthen pencil lines & add shading to define the cheekbones. Once the skull is done, part five goes over how to ...

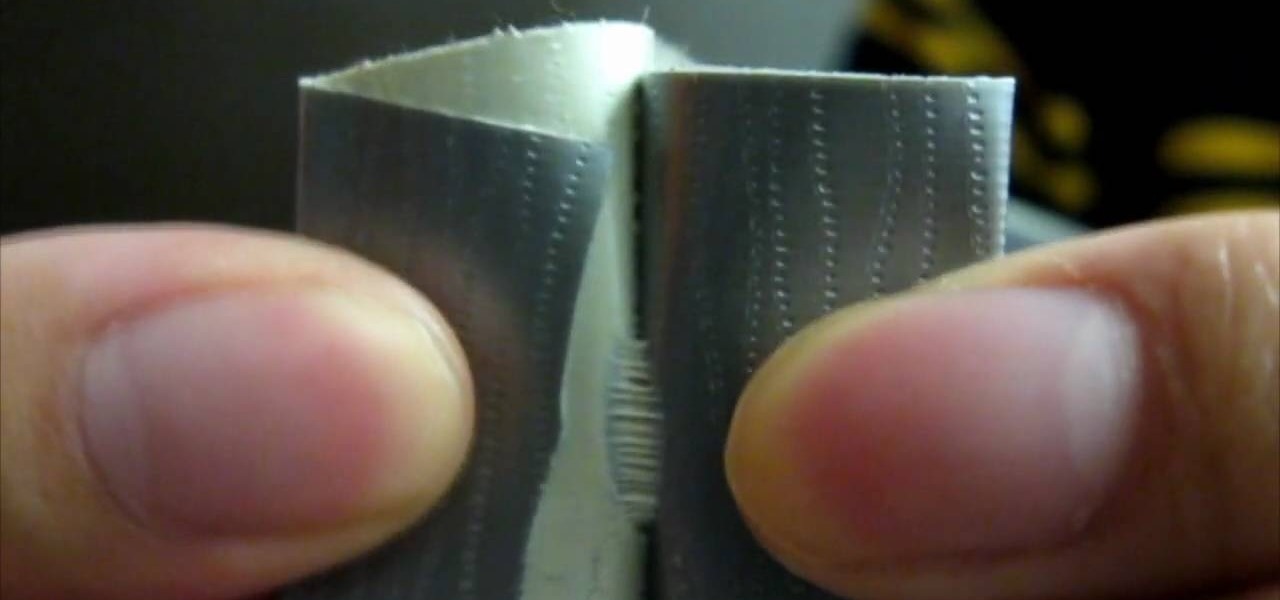
If there was a way to make duct tape more desirable and distinct, would you do it? Well, what if there was a way to make duct tape glow? There is a way. Watch this science video tutorial from Nurd Rage on how to make duct tape glow with Dr. Lithium.

Making three different scarves out of an old T-shirt is fast and simple. For the first one, lay the t-shirt out flat and cut horizontally from one underarm to the other. Next, cut one layer of the tube. Now cut straight lines every 1/2" inch all the way up to the last inch of fabric. After that, pull on the fringe. For the next scarf, cut under the underarm again. Now, cut off the hem. Fold the tube in half, open end to open end, and cut it down the folded middle. After that, cut one layer of...

Take an A4 SIZED paper. The paper is A4 size and it should be an INSTRUCTION paper. The paper size should be maximum, so that it will fly. Twist the papers into halves. Thus 2 papers are formed using folding. Put the papers horizontally. Fold them into half. So the papers are TWO HALF sized papers. Fold each OF the 2 halves again into 2 FOLDS. So the paper is divided into 1/4 papers. So the paper is divided horizontally 4 times. A line DIVIDES the paper in THE MIDDLE. This is arranged in such...


