YouTube user goldiestarling teaches you how to apply a purply sugar skull makeup look inspired by Sylvia Ji's Purple Crush painting. Use a white eyeliner to create the sockets of the skull, then go around the nose area. Color the whole face using a creamy white pencil and add red blush on the cheeks. Use a creamy purple color to fill in the sockets and the tip of the nose. Draw small flower petals on the edges of each socket. Use a black color to draw a spider web on the forehead. Then draw b...
She begins by taking something she has molded with Amazing Mold Putty. She uses Magic Gloss resin which cures with UV light to fill the silicon mold and sprinkles some glitter onto the resin. She emphasizes that she's doing this indoors, because the resin will harden when exposed to light. She takes it outside to cure in the sunshine and says it will take about 15 minutes to cure. When it's done, she rolls a ball of Pardo clay. She pops the molded piece out. She presses the molded resin piece...
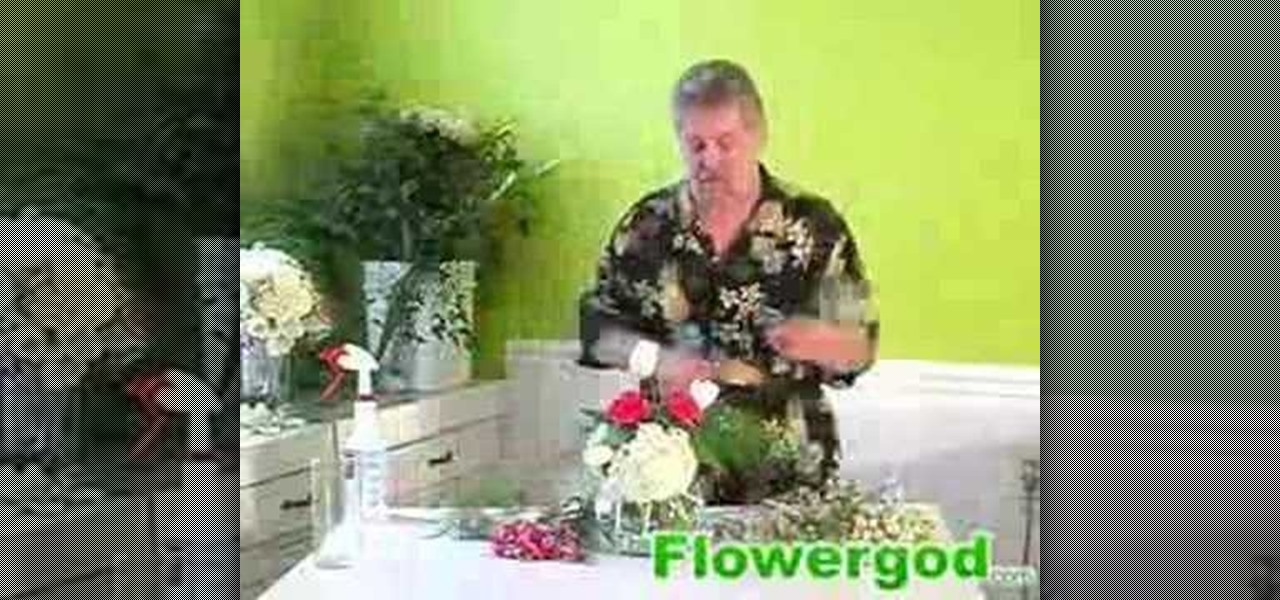
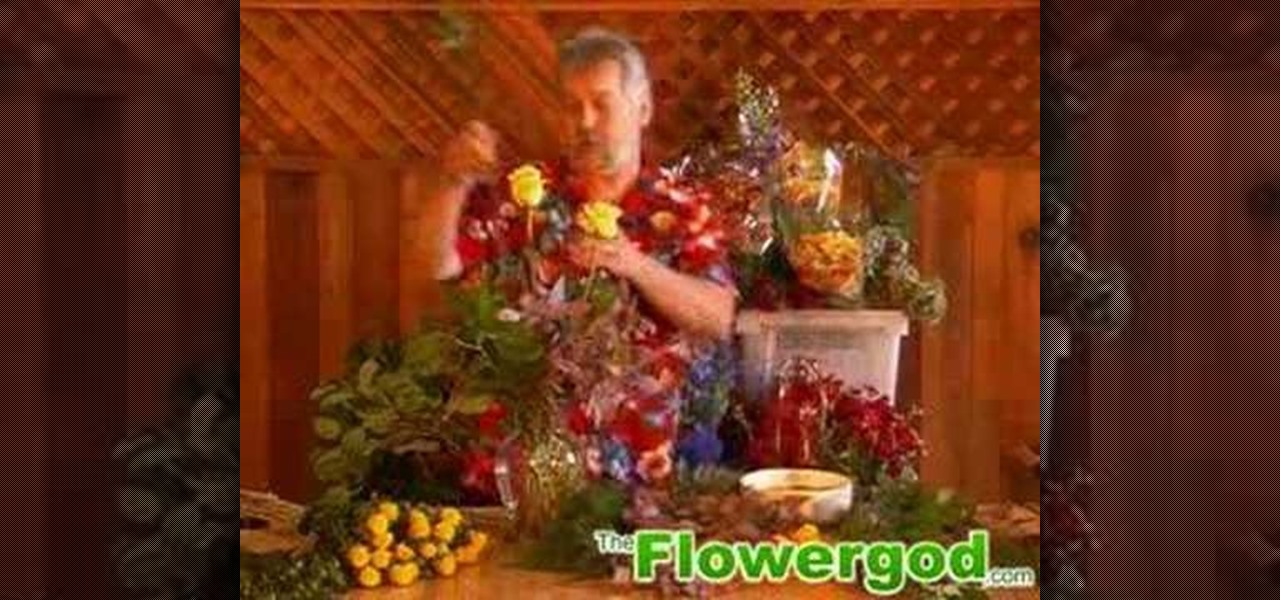
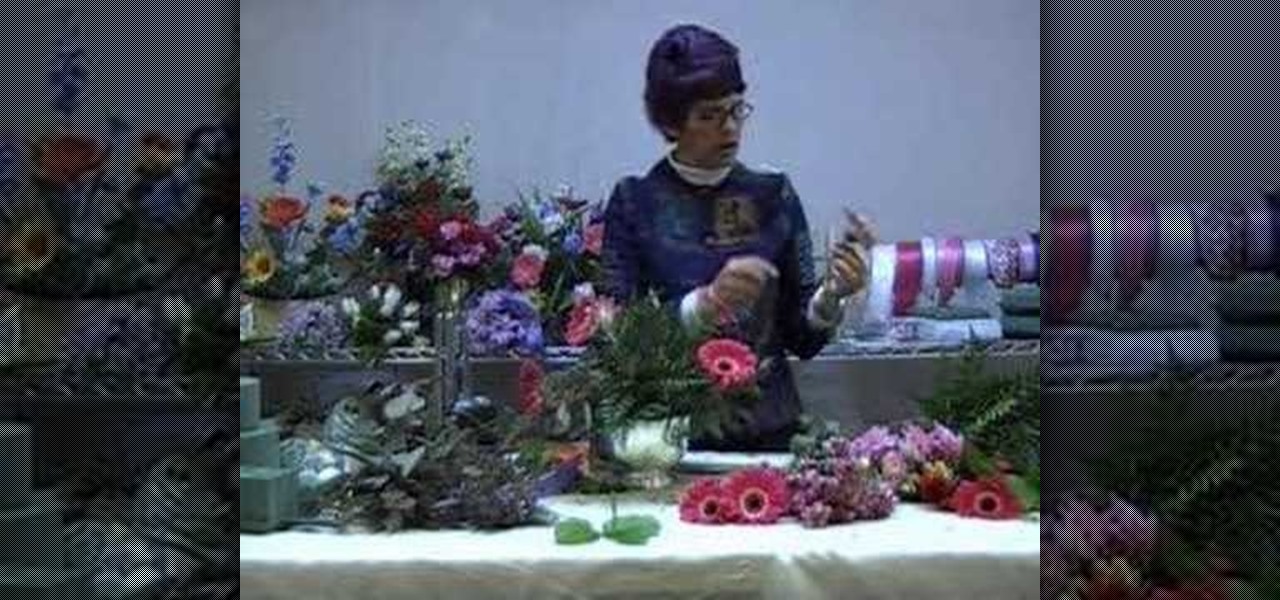
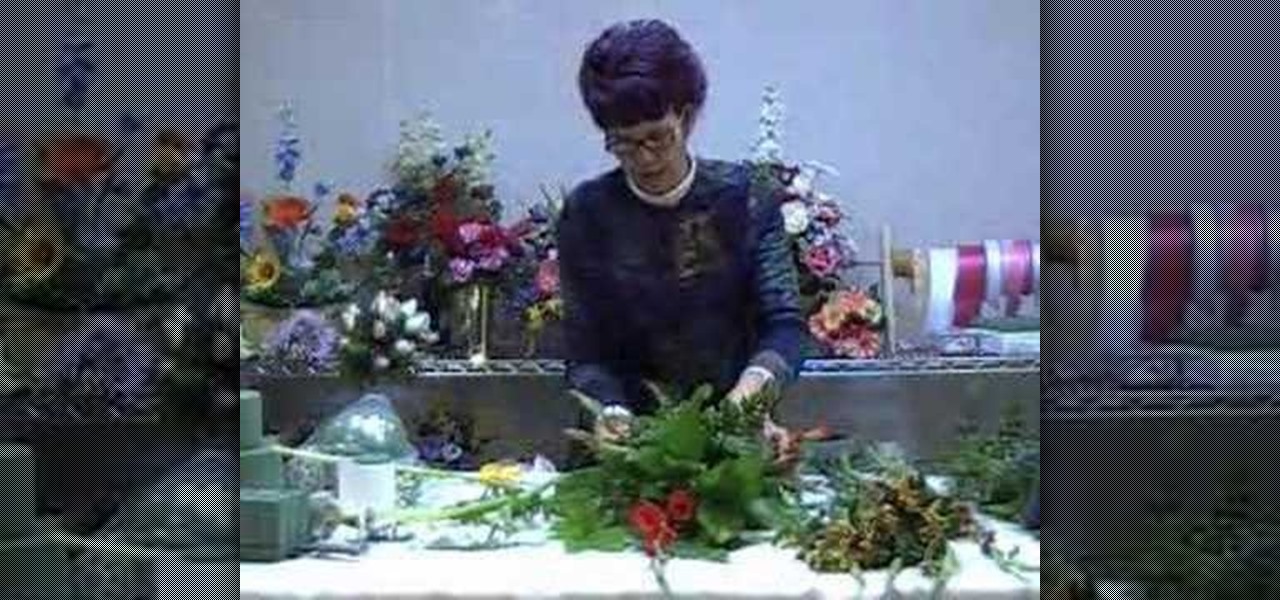
This is a time lapse version of Flowergod episode 28. In this episode the Flowergod designs a bubble bowl centerpiece for a wedding. The demonstration focuses on color and flower choice as it relates to theme, floral depth and composition, and the overall shape and balance of the piece. Flowergod discusses techniques for arranging and concealing stones while emphasizing the bowl, as well as some general do's and don'ts for any floral arrangement. This centerpiece features white hydrangea, whi...
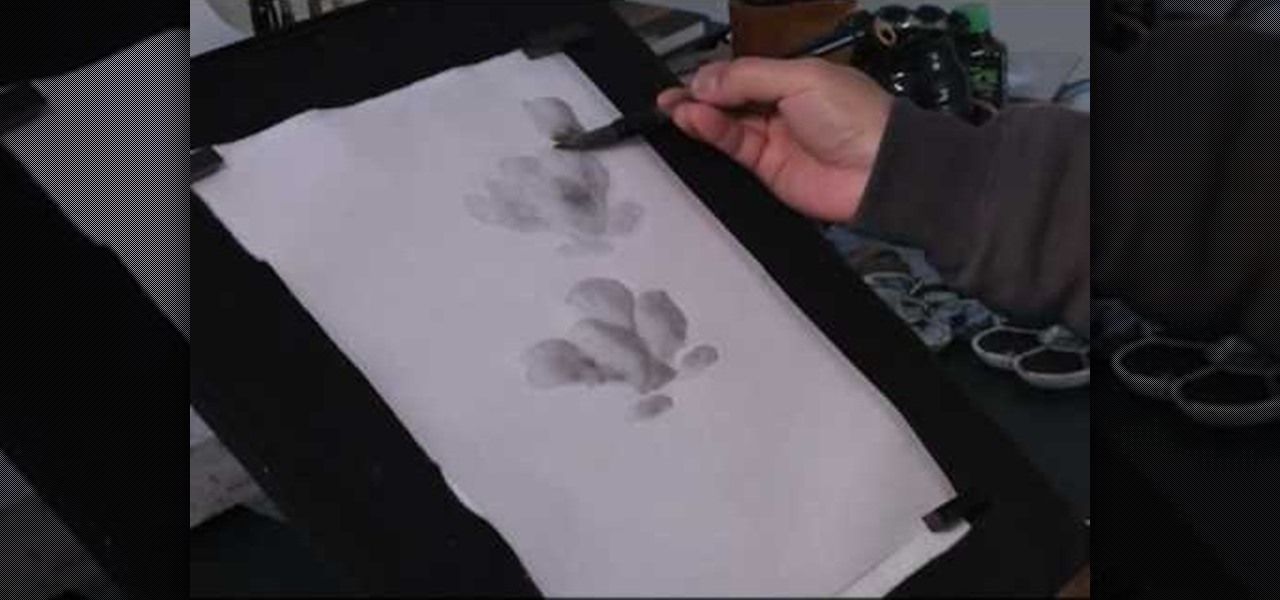
This video demonstrates how to paint a magnolia in ink and water, Chinese style. Make gray ink by mixing water with the black ink. Squeeze the brush with a piece of tissue and dip it in glue water made of peach sap powder mixed with water. When he begins to paint, half the brushstroke is gray and half is clear water. In this way you can use the brush to get darker and lighter shades of gray to make the magnolia flower shape that appears to be shaded. He then uses a stiff brush and black ink t...
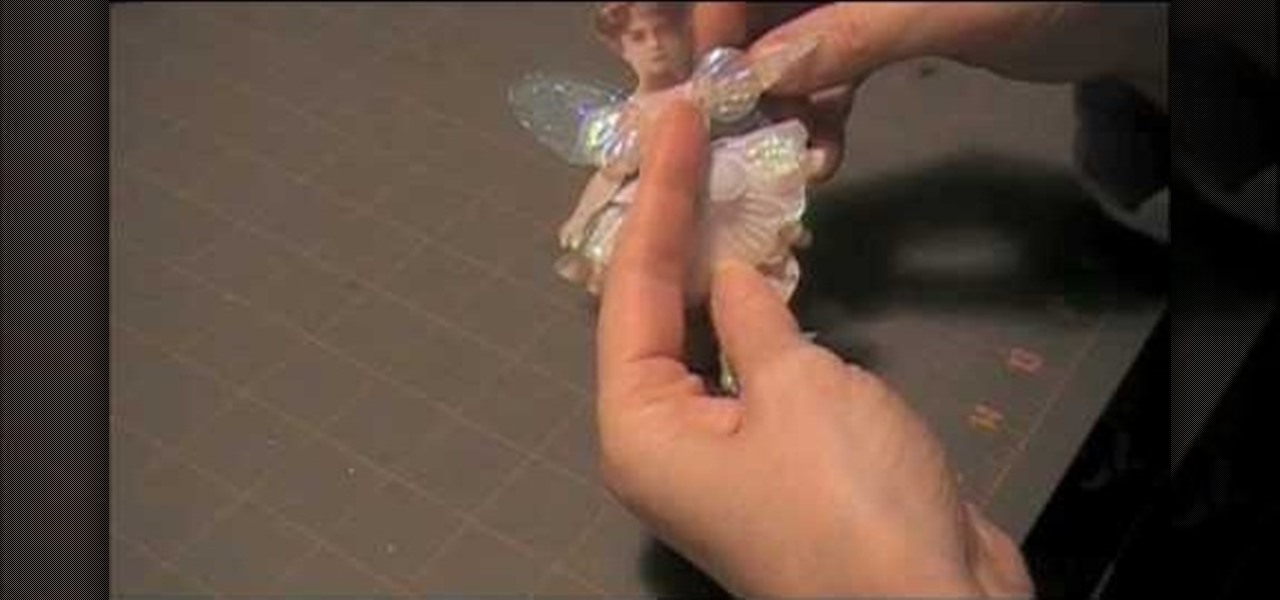
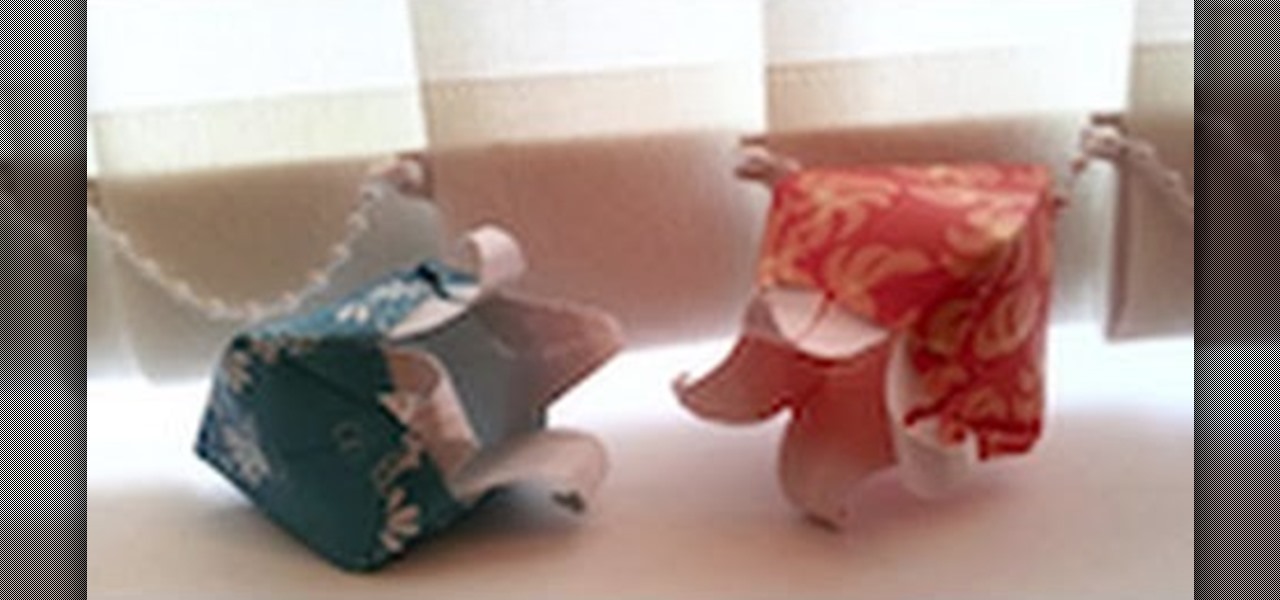
In this video tutorial learn how to make a jointed flower fairy paper doll sitting on top of a trinket box. You will need three strips of paper and two circles cut out of paper. To create the box, curl the strip with a pencil. Then adhere scotch tape to the strip and tape the strip to the circle to create a box-like structure. Cover the perimeter with a larger strip of paper in whatever design you want to use. Follow these same steps to create a larger box. Fit these two pieces together and a...

This helpful tutorial video demonstrates how to properly cut and clean an artichoke before cooking it. Learn how to do it quickly and easily with minimal fuss. The video covers both the flower and the stem. - First, use a large knife to cut off the stem of the artichoke. You can set it aside to prepare later, if you wish. - Moving about 2/3rd of the way up the flower, cut off the top of the artichoke. - Slice the remainder in half. - Switching to a smaller knife will make the next part easier...

Cardcrazy09 teaches you how to make a thank you card using Cricut. You will need the Walk in my garden cartridge for this. The card itself is a Martha Stewart piece of double sided cardboard. You will need different types of punches to create the white decorative part and the text card. That will be printed with black text. The flowers and the pot are created using Cricut. The pot is placed on top of the flowers and each of them are individually stuck onto the card. Also make sure to add a so...
Sarah20az shows you a quick way of making paper lollipop flowers. You cut 4 circles from 2 different colored pieces of paper. You then take each circle and crumple it up in your hand. You then smudge each of them with an ink pad. You have to make sure that you go one color and then on top of that another one, for the lollipop effect. You pierce all of them using a thumb tack. You can bunch them up and place them on another large piece of paper.
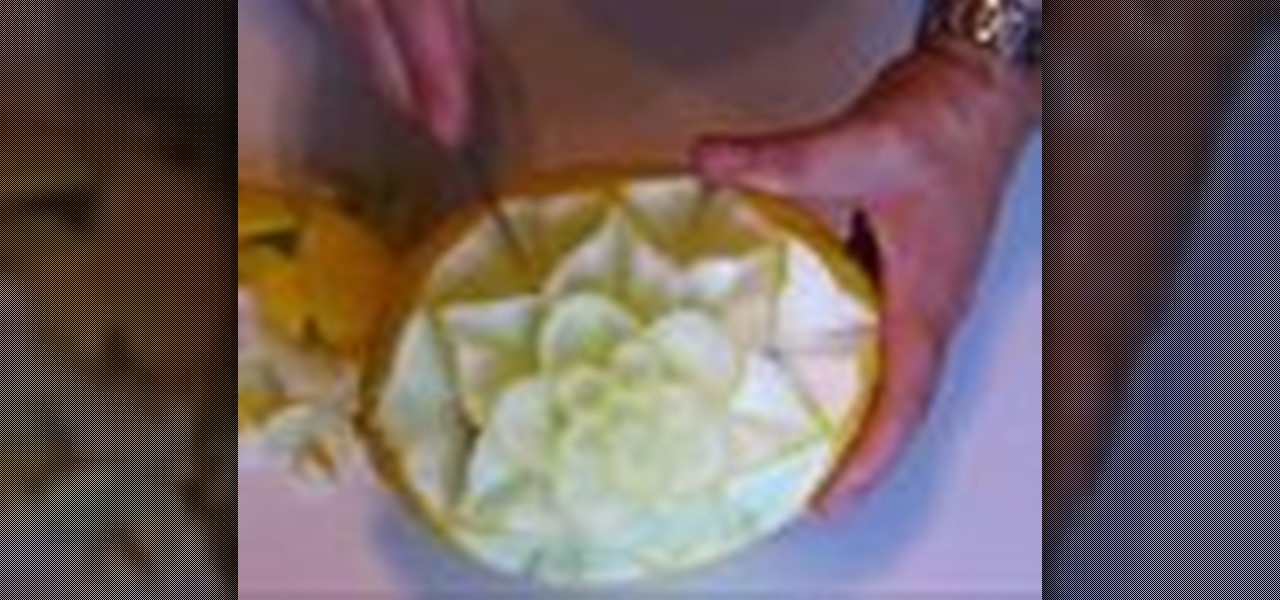
1) First mark your intended cut lines - in this case follow a circular/spiral pattern. All cutting should be done with something like a pumpkin carver.
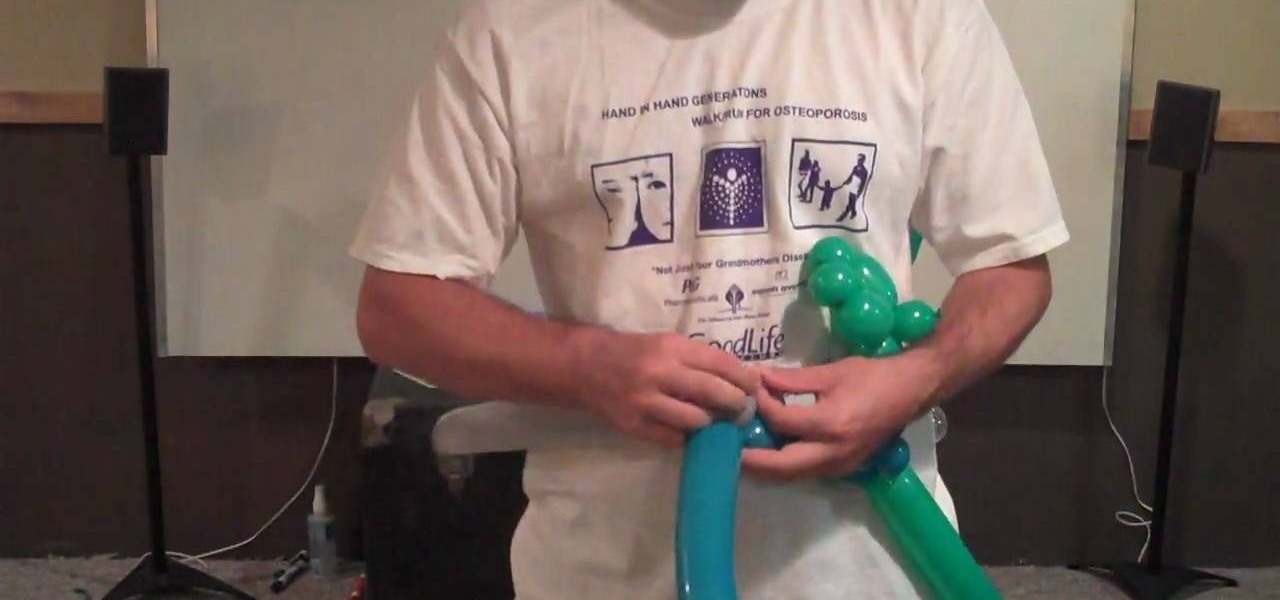
In this video you'll learn how to make a balloon vase. These are fun balloon vases to hold your balloon flowers. The design of the vase in the video is based on a truncated triangular prism, but with a few added bubbles to make your vase a bit more stable. You'll go step by step on everything you need to use and how to properly twist your bubbles to make your super cool and fun balloon vase. This is a good video for more experienced balloon artist, but beginners are always welcomed to give it...
This is a small tip for Farmtown users on Facebook on how to add trees and or flowers to the middle of your circle ponds. Have fun with it!
Hummingbirds are just as pretty as flowers—and a lot more interesting to watch. Here’s how to bring these tiny miracles within view.
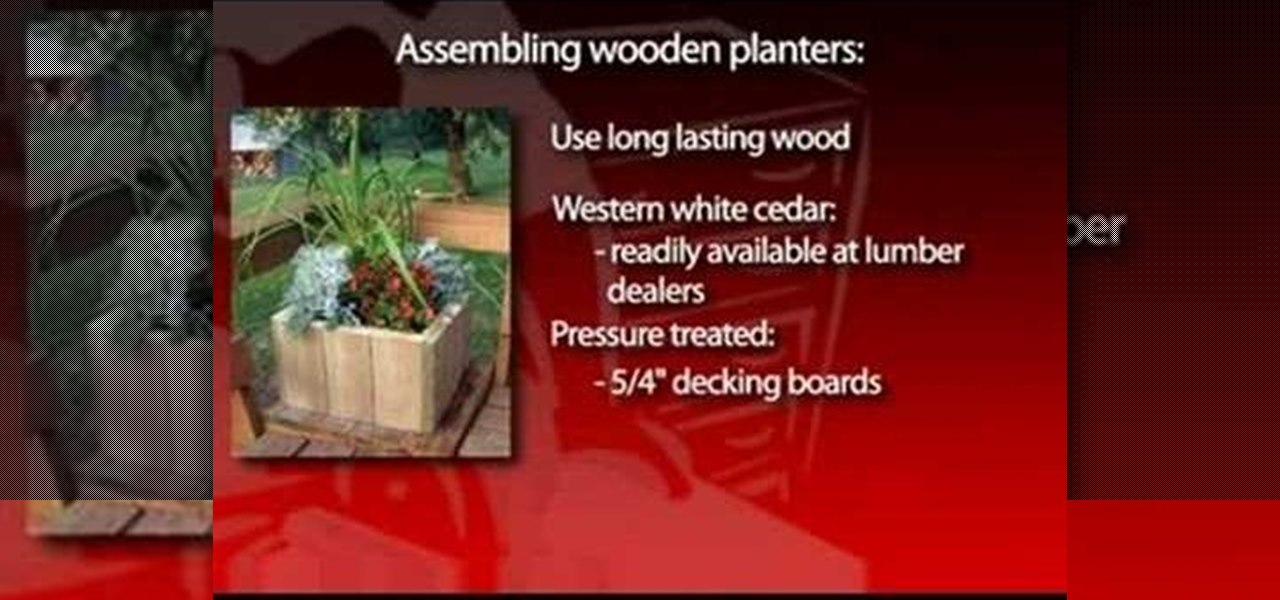
Planters or organized beds with planter borders can not only provide mowing definition, but contain the flowers and hopefully keep out weeds that may grow into them from surrounding areas. Backyard planters can be big or small, permanent or portable. The simplest planters consist of edging for flower or vegetable beds. In the past, many used recycled railroad ties for this, and they still add a distinctive rustic appeal to garden beds. In recent years, however, pressure-treated landscaping ti...
One of the most compelling reasons to reduce lawn is it gives more opportunities to create beautiful flower beds like this one. However, it really goes beyond the beauty of these flowers, it's about the environment. Lawn mowers negatively impact the enviroment. Over the years as your garden continues to evolve, you can make a concerted effort to look for ways to reduce the amount of lawn that you have to care for. Find out how you can reduce your lawn with this tutorial.
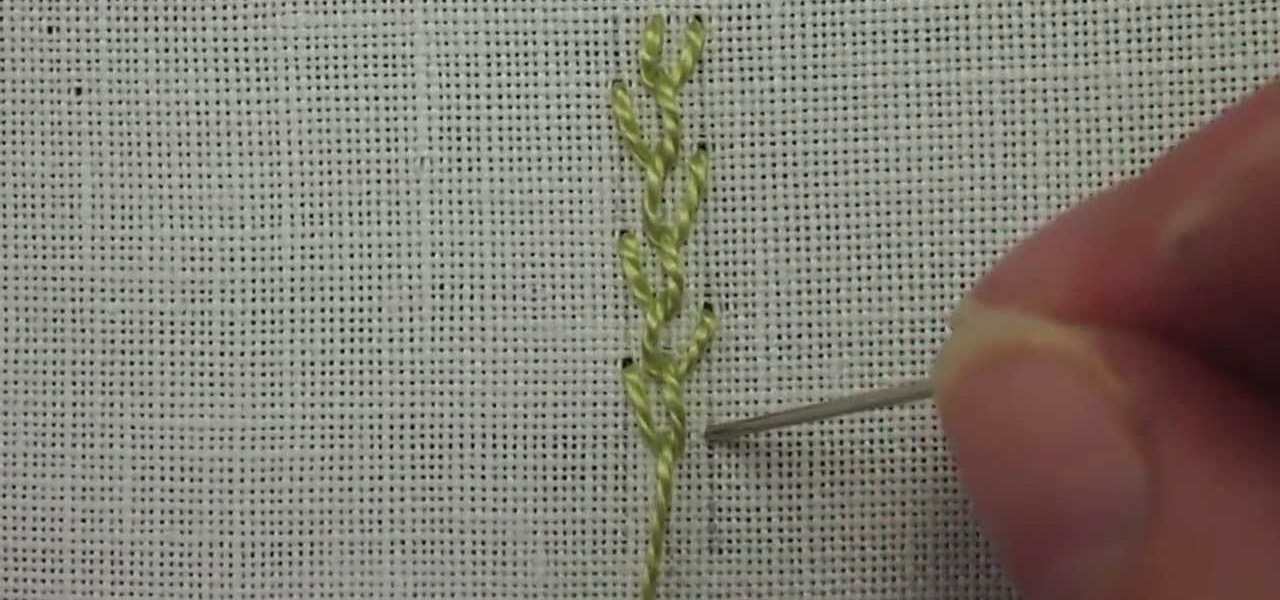
The feather stitch is an easy stitch for hand embroidery. It's worked vertically, from top to bottom in a kind of back-and-forth, right-and-left motion. You can use the feather stitch in hand embroidery for edges and borders, it's used often in crazy quilting as a seam embellishment, and it also makes a good foundation of foliage or stems in flower designs, in Brazilian embroidery, and more. Watch this video from Needle 'n Thread to see how it's done.
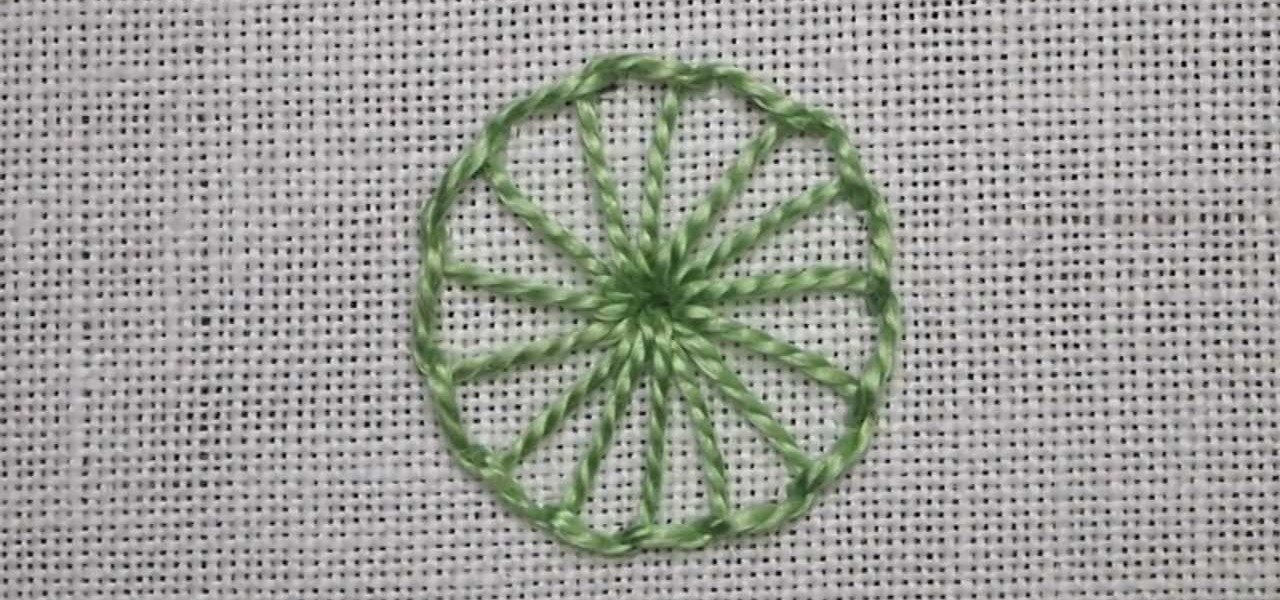
Once you know how to do the buttonhole stitch, it's just a matter of "working it" a bit to master variations of the stitch. In this video from Needle 'n Thread, you'll learn how to work a buttonhole wheel, which can be effectively used in all kinds of embroidery - especially flower-like accents and for adding texture to designs.
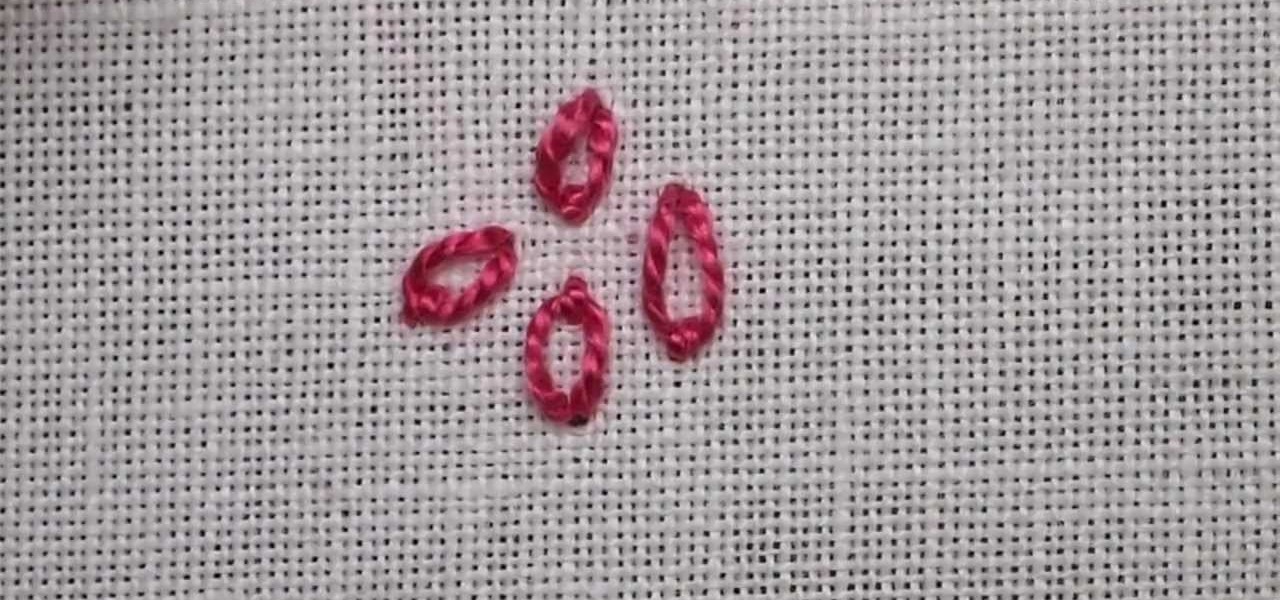
The detached chain stitch, also known as the "lazy daisy" or just "daisy" stitch, is a pretty popular embroidery stitch. It's perfect, of course, for flowers, but can be used in lots of different ways. Watch this video from Needle 'n Thread to see how it's done.
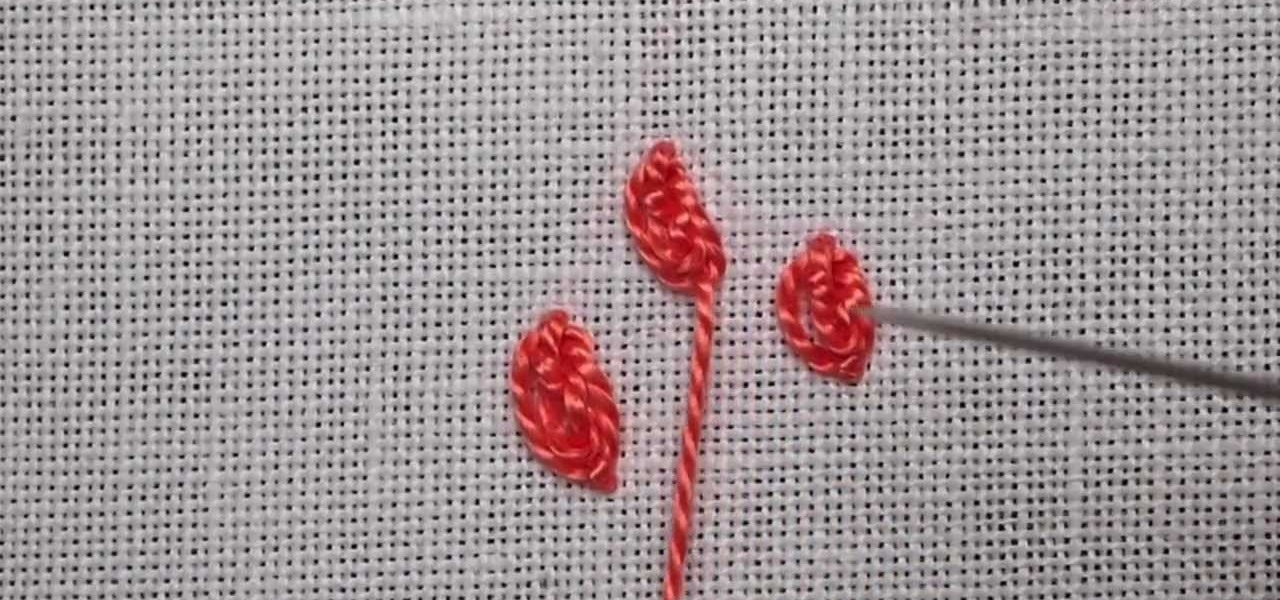
The oyster stitch is an isolated stitch. It is a combination stitch using the twisted detached chain stitch which is "surrounded" by an "open" chain stitch, or even a fly stitch. The oyster stitch makes a filled oval shape, suitable for flower petals or individual buds and accents. Watch this video from Needle 'n Thread to see how it's done.
Learn how to recycle used paper. It's just a little project for your kids/students. You can add food colors or small flowers in order to make original paper for love letters, greetings, etc. You can also store the remaining mixture for future paper-making.
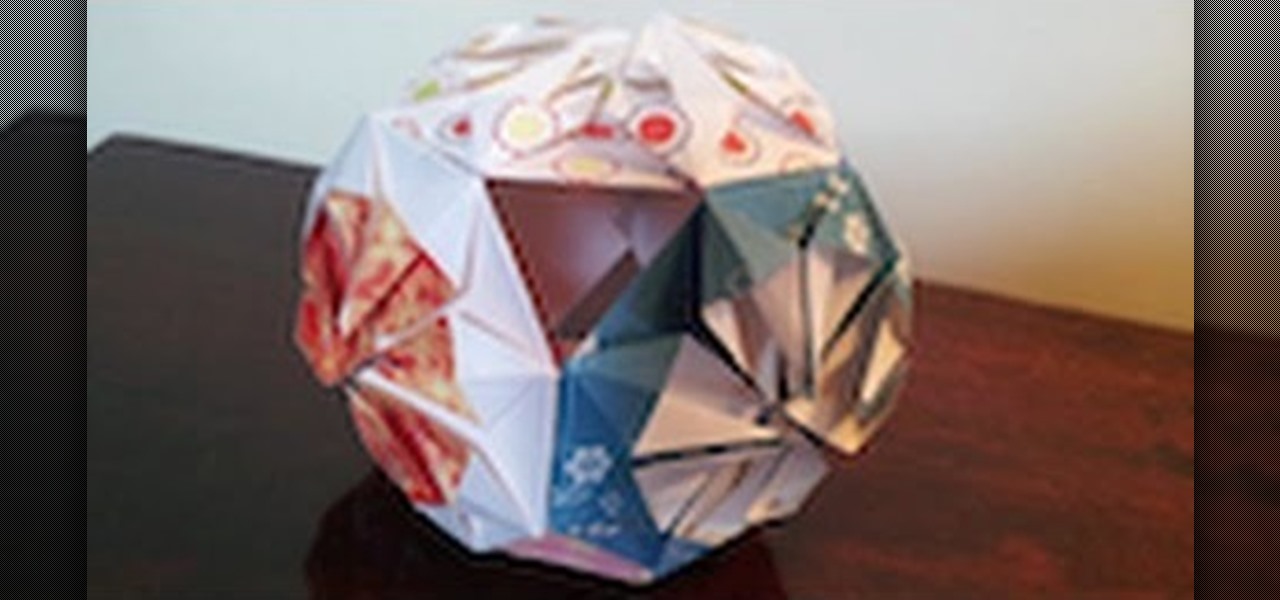
Watch this video and see how easy it is to make this paper toy. It looks like an origami flower, but it is a tad more complex. Have fun playing with it.
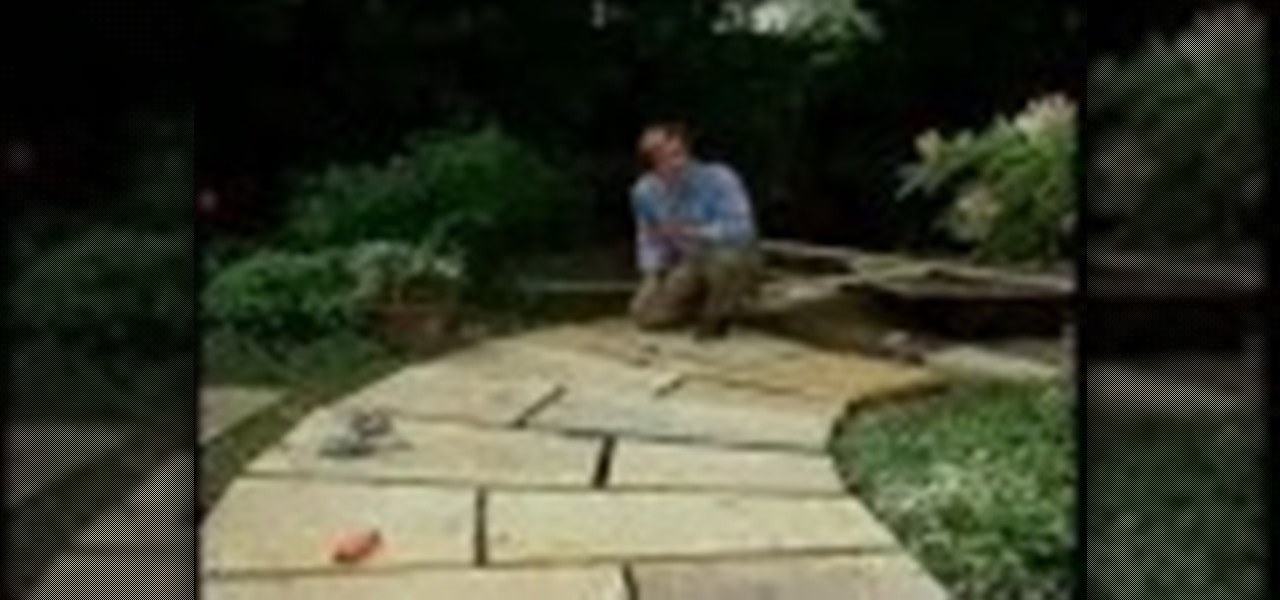
If you have a beautiful Annual flower bed or a formal bed with lawn on one side you'll want a clean edge between the two. It not only looks nice but keeps weeds from encroaching into the bed helping reduce maintenance. There are several ways to create a nice edge to your beds. You can use a shovel, digging a line bit by bit but that gets hard on the back. Available materials for edging include, plastic edging and metal strips and wooden edging pieces. The wooden edges can be linked together b...
The flower god demonstrates how to arrange a beautiful rose arrangement for your fall table. A dozen yellow roses, greenery and safflower are used to construct this masterpiece. To begin you need a vase filled with fresh clean water. The flower god shows how to lace the stems of the greenery in and out of one another. The laced stems are then placed in vase and eucalyptus is placed throughout vase giving a cascading effect. Next it is time to prepare the roses. Thorns need to be removed off t...
Learn how to organize your kitchen. You might cook more if your kitchen weren’t so cluttered. Okay, maybe not. But, still—wouldn’t it be nice to have an organized cooking space?
I thought I'd make another Origami Tutorial.
A very simple method of making a Harebell flower!
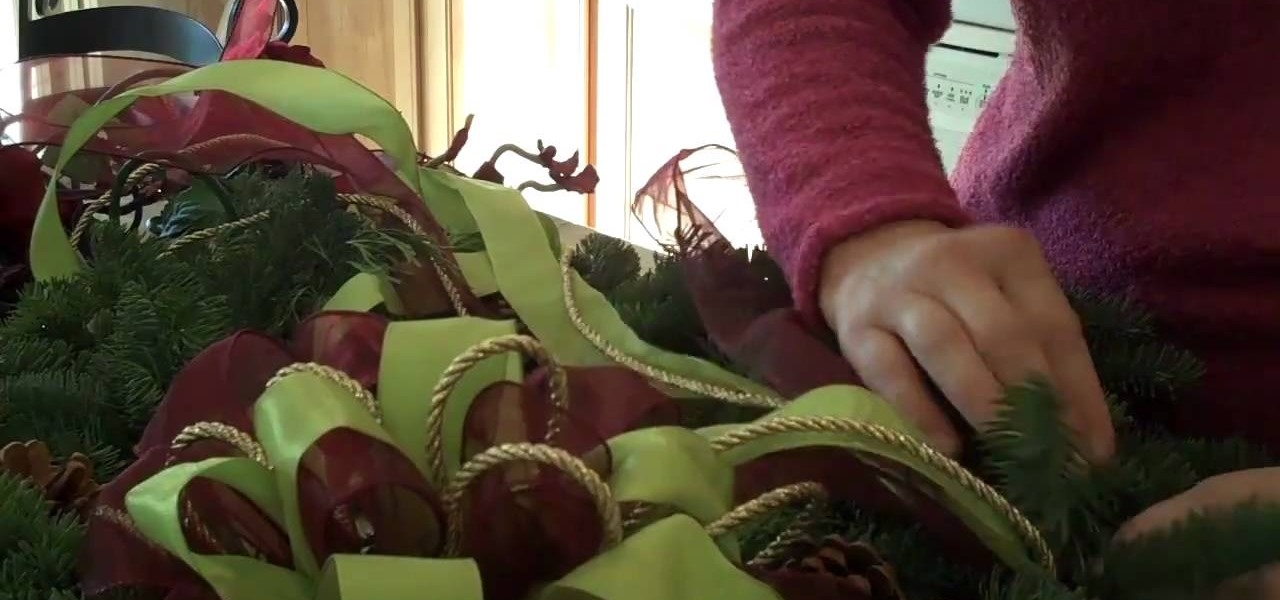
Nice, professional holiday wreaths can cost upwards of $80 if you get them at stores or specially made. And with all the money you'll be spending over the holidays on presents and food, who needs to go bankrupt over a wreath?
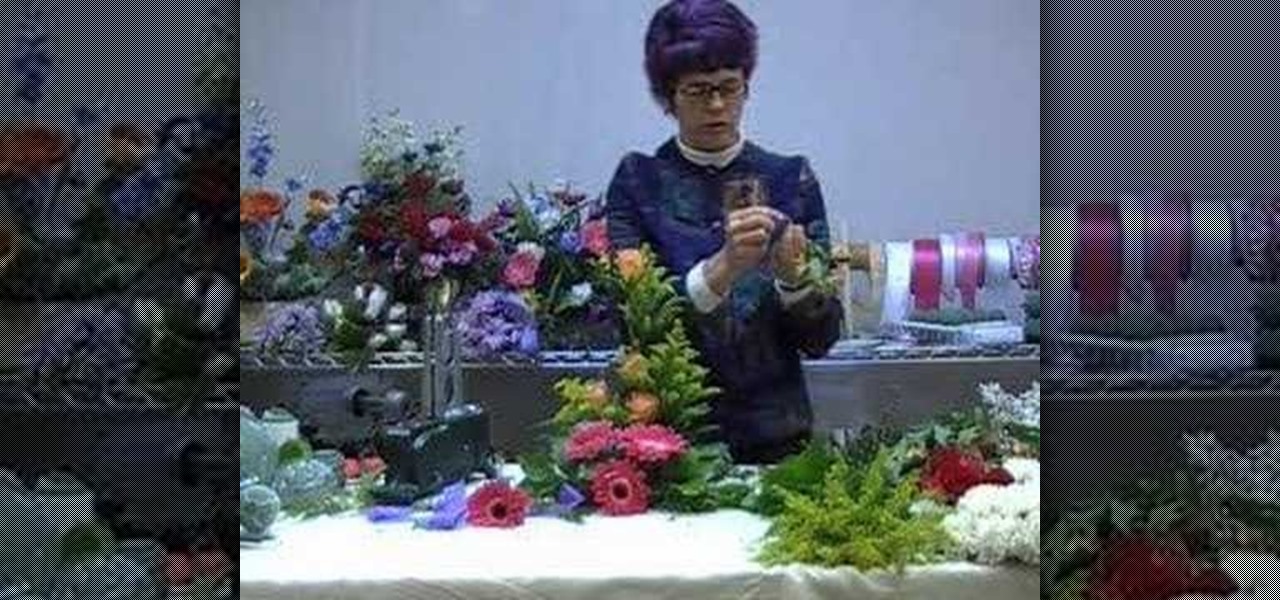
Flower arrangements bring color, life and mood to everyday life or a special occasion and the best part is you can make these bouquets yourself. The flower god will show you some of the ideas and an example using sunflowers for balanced table centerpieces. You will want to choose a main flower and several supporting pieces of foliage and flowers to increase depth and interest to your spread. The meaning concept is balance and accent. This video shows a minimalist, three vase approach for a ch...
In this tutorial, Sandy from Afloral.com shows you how to make a fresh flower arrangement and use fresh foam. Fresh floral foam is a great way to create a long lasting flower arrangement. Watch this how to video and you will be able to make a fresh flower arrangement in no time.
In this floral arrangement tutorial, Sandy from Afloral.com shows you how to make a beautiful fresh flower bouquet using roses. This arrangement is a round bouquet arrange in fresh flower foam. Watch this how to video and you can create a lovely fresh flower bouquet using roses at home.
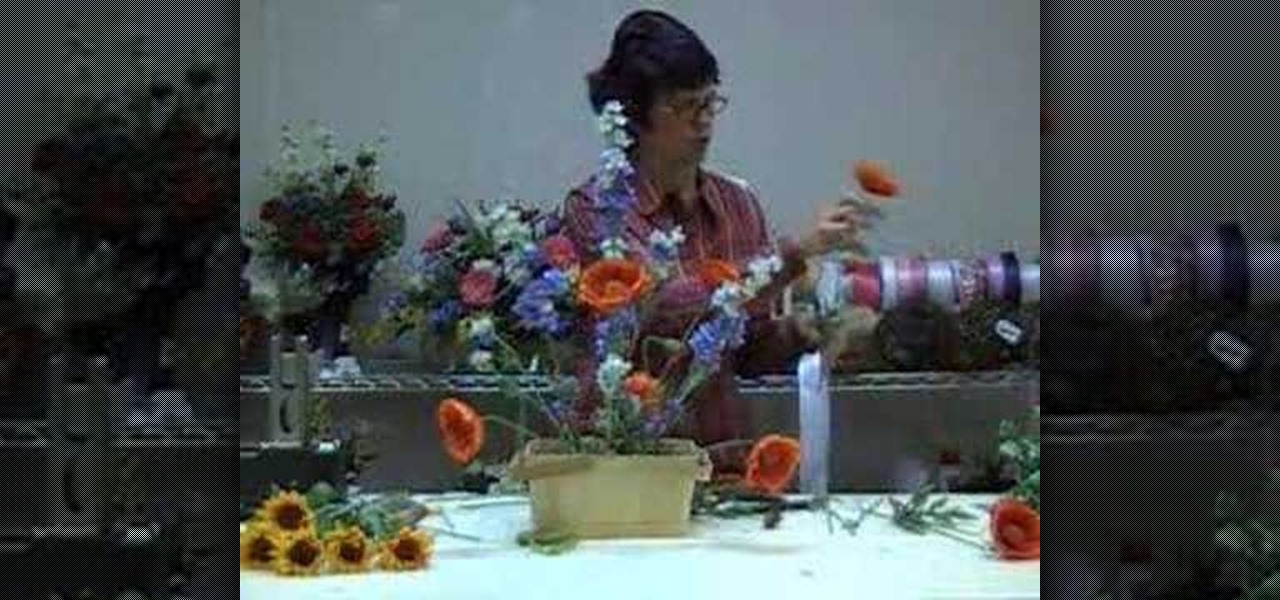
In this tutorial, Sandy from Afloral.com shows you how to make a summer flower arrangement. This arrangement uses larkspur, sun flowers and poppies to create a beautiful summery look. Watch this how to video and you can create your own summer flower arrangement at home.
In this tutorial, Sandy from Afloral.com shows you how to make a Floracage holder arrangement using fresh flowers. The Floracage keeps your flowers and greenery looking fresh and healthy when soaked in water. Watch this how to video and you will be arranging flowers in a floral gage in no time.
In this flower arrangement tutorial, Sandy from Afloral.com shows you how to make a centerpiece using a wreath ring and fresh flowers. The wreath ring keeps your centerpiece fresh and healthy with water and floral foam. Watch this how to video and you will be creating a fresh flower wreath centerpiece in no time.
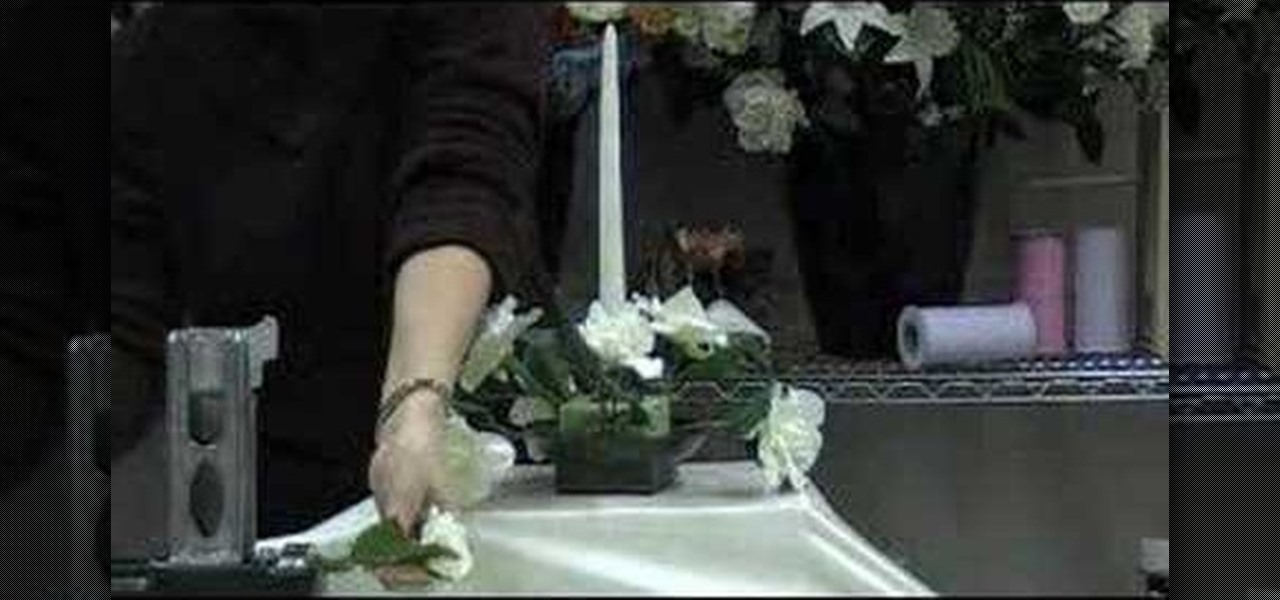
This flower arrangement tutorial shows you how to make a candle centerpiece using a pick machine. A pick machine attaches steel picks to the stems of your silk flowers. This makes arranging your flowers in floral foam much easier. Watch this how to video and you will be making this beautiful candle flower arrangement in no time.
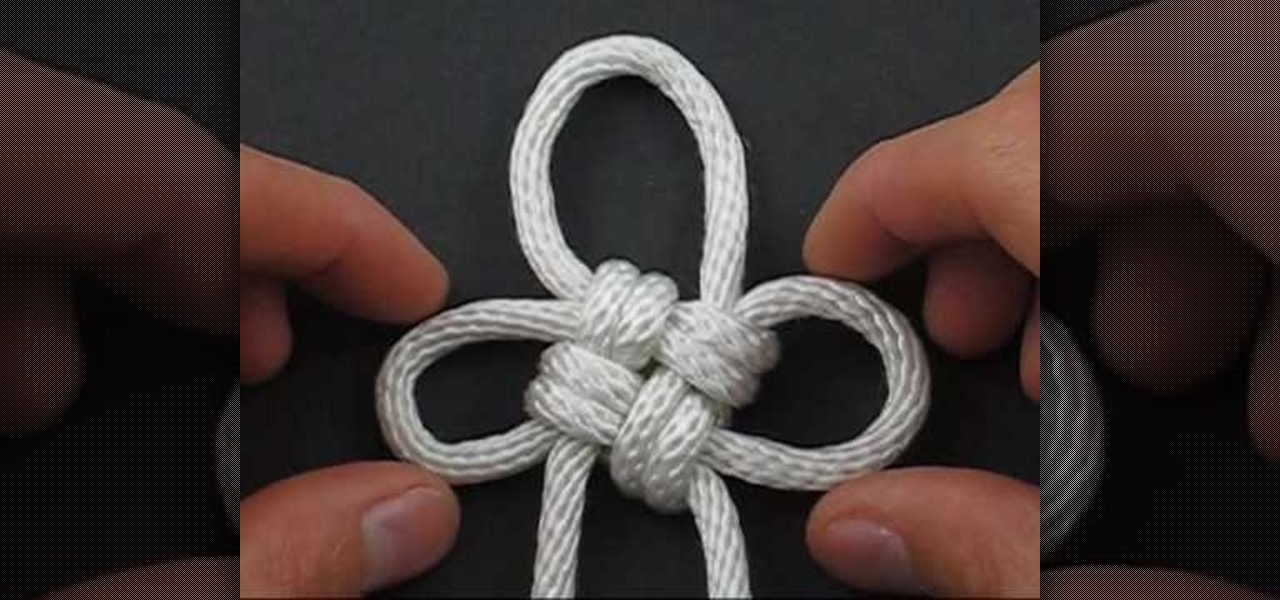
In this how-to video from the TyingItAllTogether Channel, learn how to tie Clifford W. Ashley's flower knot. Ashley is the author and illustrator of a book he wrote about tying various types knots, including ones that he created himself. In his book, Ashley shows how to tie this knot, but does not show in his illustrations how to actually hold and tie the knot in one's hand. This video tutorial seeks to clarify those steps. You will need to begin with a piece of rope folding it in half to eff...
This video tutorial shows you how to paint an interesting design on your nails using pink, white, and blue polish. Begin with a base color. Pink polish is used here. Next do a side swipe using blue. This swipe starts about halfway down the nail and comes up to the top of the nail. Then add a little blue shimmer to the blue polish. Next use white polish with a thin brush to outline the blue. This line can be a little thicker. Then add a shimmery dark blue line next to the white line. Now place...
In this how to video, you will learn how to grow pumpkins. First, you must pick an area with plenty of sunshine to place your seeds in. Make sure there is enough room for vine and pumpkin growth, and that the area will not freeze. Build a mound of dirt about three fit in diameter with compost and soil. Next, plant two seeds per mound. Plant them in the middle about 8 inches apart. Cover the seeds with an inch of soil. Give them plenty of water once you have planted them. The pumpkin vines gro...
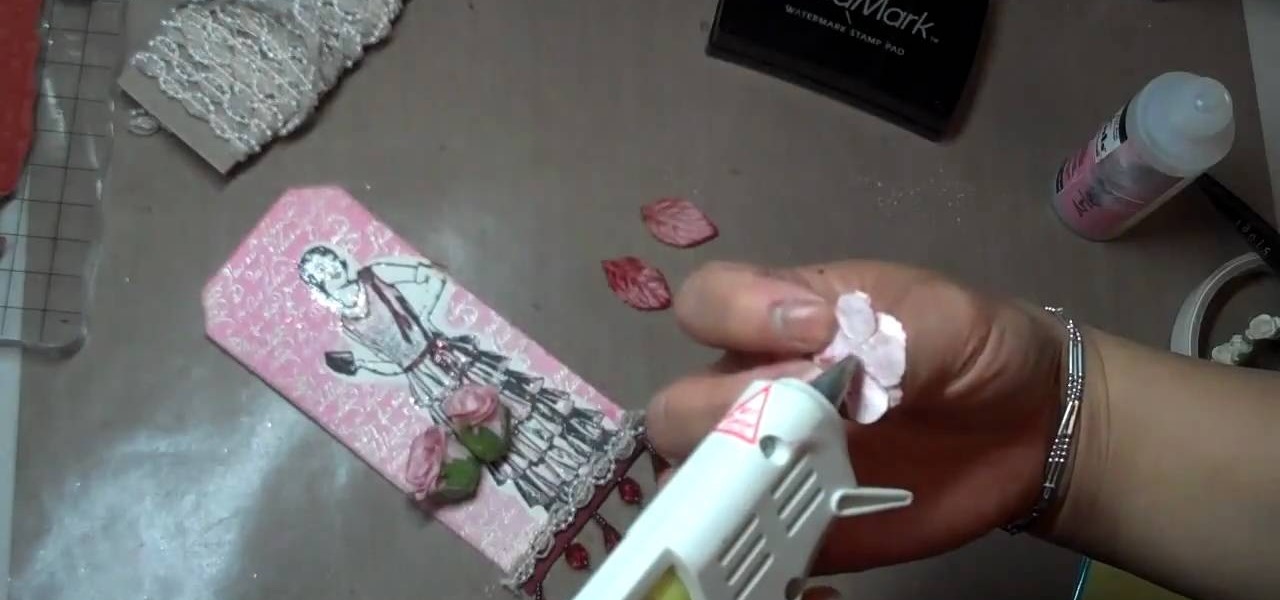
Mybutterflykisses12 shows viewers how to make a vintage lady tag! First, You will need a stampof a vintage lady and some cardstock. Dab your stamp with black ink and stamp it onto card stock that is shaped like a tag. Next, you can stamp on vanilla script above the figure. Next, apply clear embossing powder to the tag and then heat this with a heating gun so it can set. Next, place an opaque stamped image of the same woman over the original on the tag. Cover the stamped image before you apply...
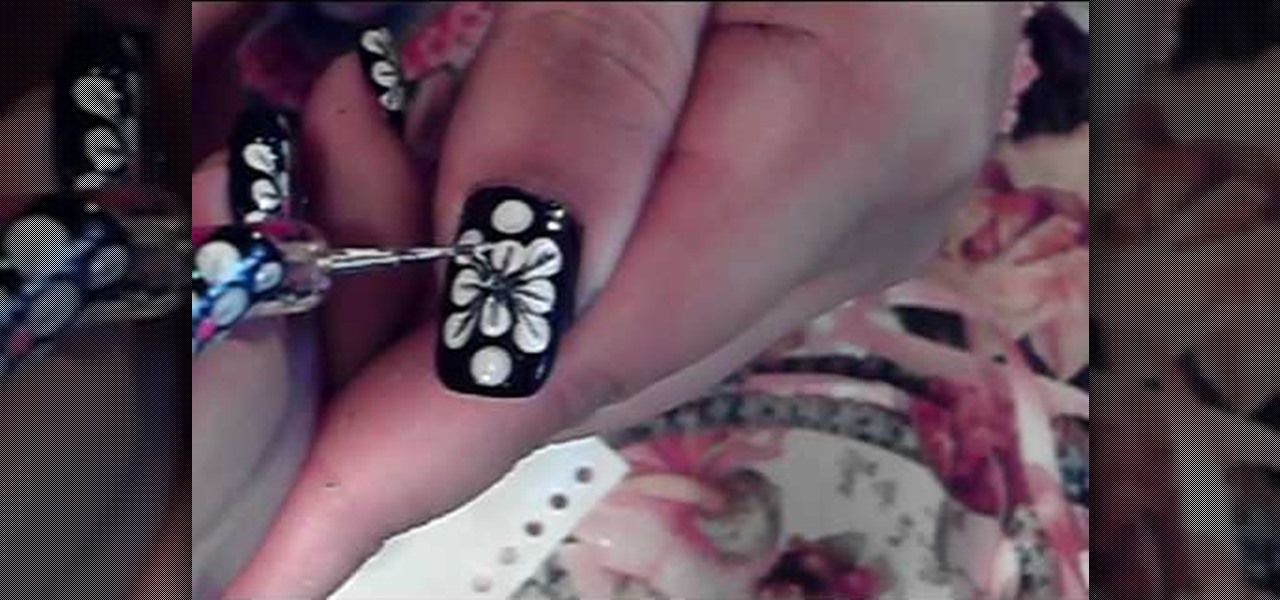
This video is about how to paint short nails with a white flower art design. The first step that you will have to do is to apply any background color on you nail. After applying the background nail polish, get a piece of paper and place the white nail polish on. After wards, use the dotting pen to start dotting the nail. Make four dots in the middle of the nail forming a flower. Then, just simply add another 3 more dots to both ends of the nail. After adding all the dots on the nail, the next...
This video shows how to make paper roses. Start with several die cut flowers, preferably with six petals. Take one and slit it so that you can fold one of the petals over the other one and glue them so that they are overlapping. Take another die cut flower and cut one petal completely out, again folding the two edge petals and gluing them together so that they are overlapping. Do another flower the same way but cutting out two petals. In the final product each of these will overlap each other...
The video shows you how to make three simple flowers. First, draw a circle. Draw petals around it. Remember to make a little big petals. Then make a stem. Draw a leaf on it. Color the petals with red and the inner circle with orange. Color the leaf using a dark green color. First style flower is ready.