For anyone looking for a new way to style their hair, follow this quick beauty video to learn how to create a side pony tail style. This style works best for anyone with medium to long hair. All you need is bobby pins and some rubber bands to create this look. Take a boar bristle brush and tease the crown to create more volume. Take the upper half of your hair and pull it in the opposite direction you actually want your ponytail going in. place a rubber band about two inches down the ponytail...
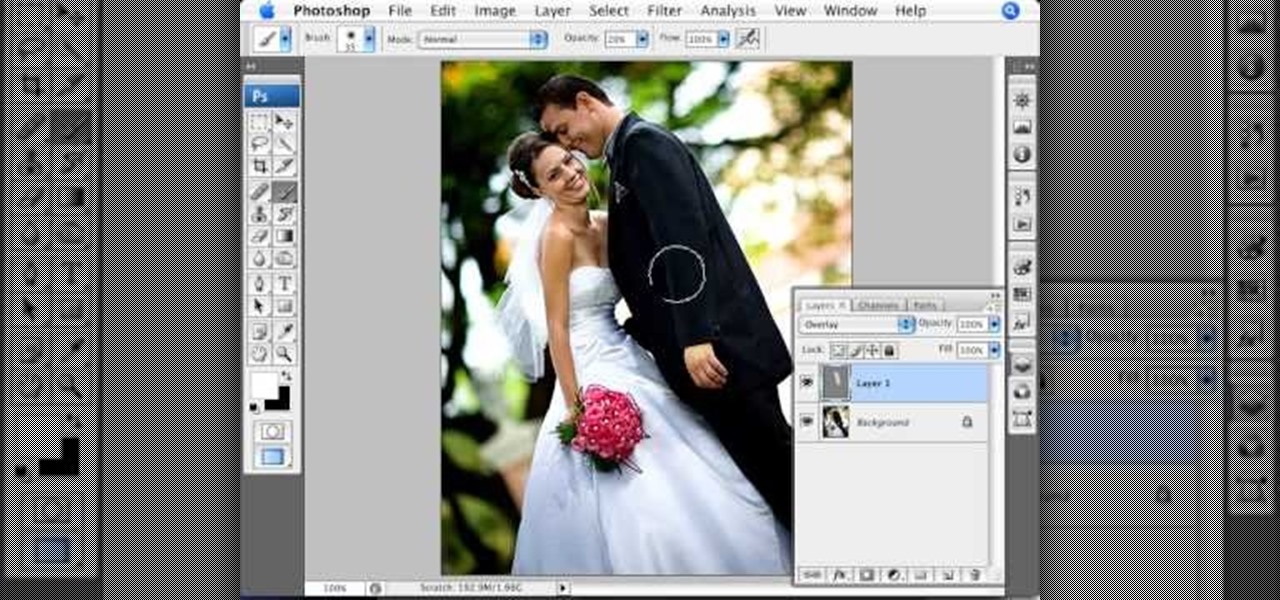
Photoshopuniverse teaches you how to use the Dodge and Burn tools in a non destructive manner, in Adobe Photoshop. Dodge makes things lighter. Burn does the opposite. The problem is that this is destructive operation. Use the Brush tool at 20% opacity. Create a new layer with 50% grey. Change the layer's mode to Overlay. With the black color you will make things darker and with the white lighter. To view the changes, review the overlay layer. To correct a mistake on this layer, use a brush wi...
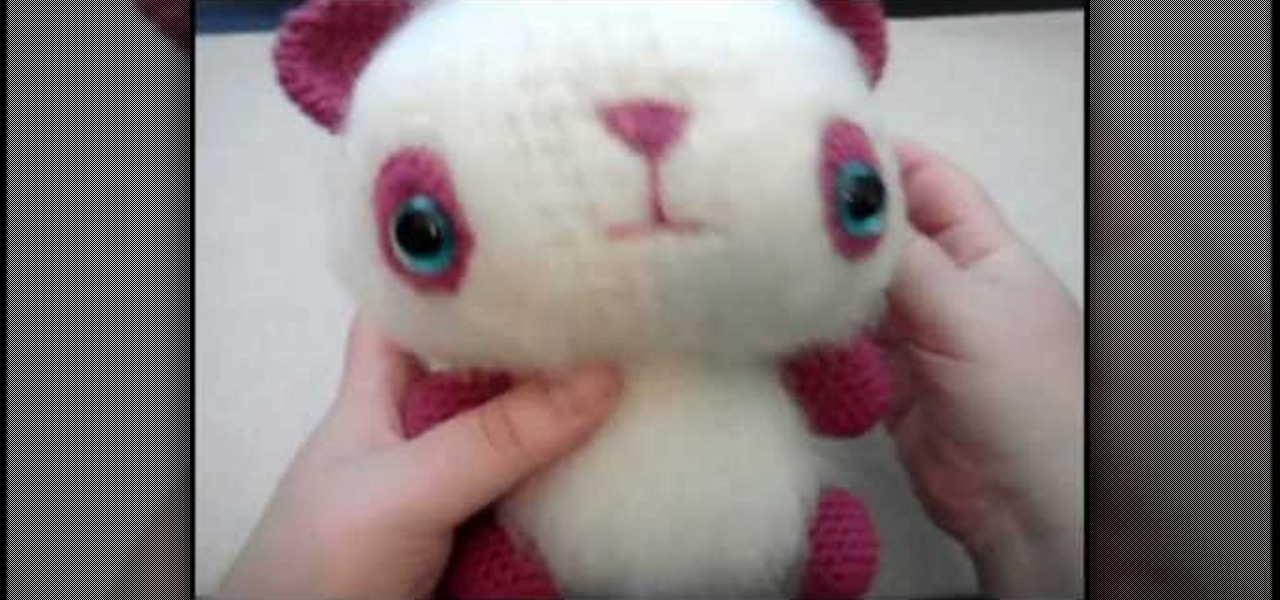
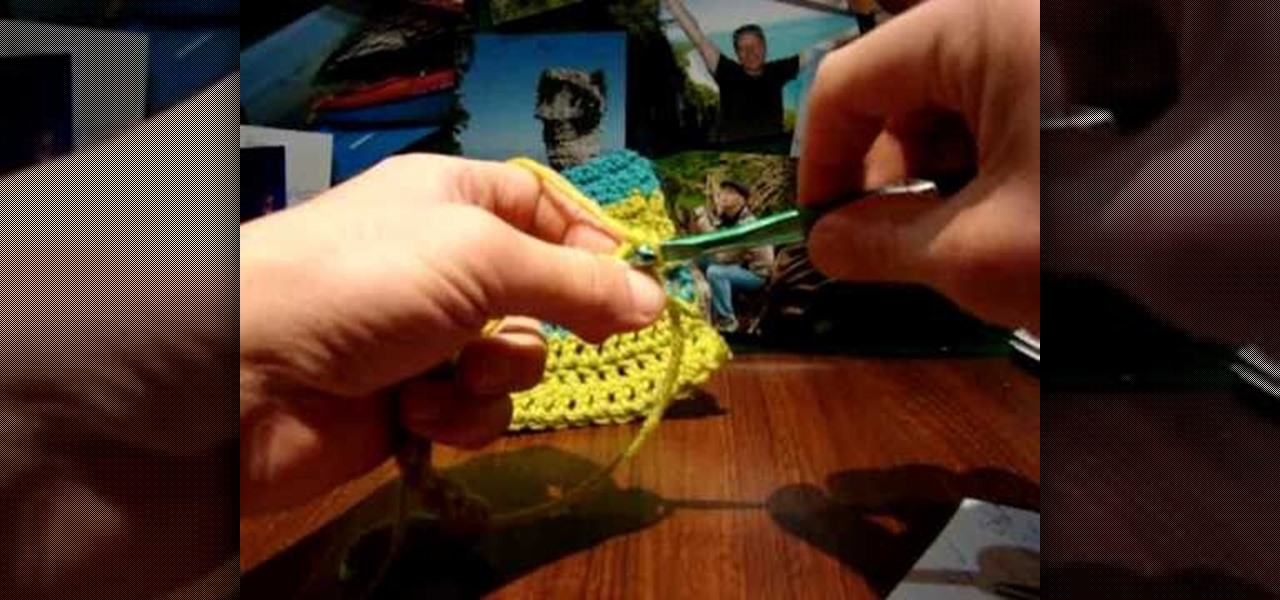
Tammy Snow will teach you how to brush your crochet to make your panda fuzzy. Take your finished crocheted head piece and fold it in half. Brush the head with a pull and lift action with your dog slicker brush. After brushing one way, turn the piece around and repeat brushing the opposite way. Repeat brushing and turning until the definition of your crochet stitches are almost invisible. The brushing could take up to an hour to get your desired appearance. Follow these simple instructions and...

Tutorial of how to quickly make and Origami Magic Ball! Get a piece of 20x40cm paper. Fold along side in 32 equal parts, by repeatedly folding the paper in half - using genderless folds. Fold the short side in 8 equal parts- using valley folds. Turn the sheet over and start diagonal folds - using valley folds into 32 parts. Roll paper out flat, and fold it zigzag following previously made genderless folds. At corner of paper, create a "water bomb" by pressing together previously made folds fo...
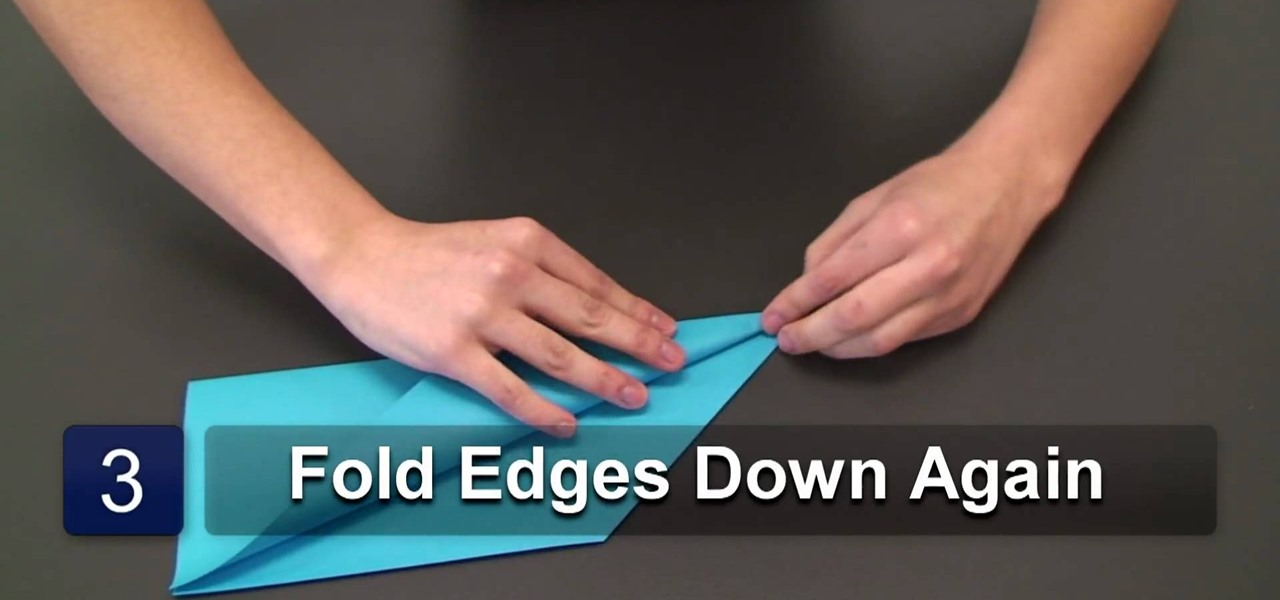
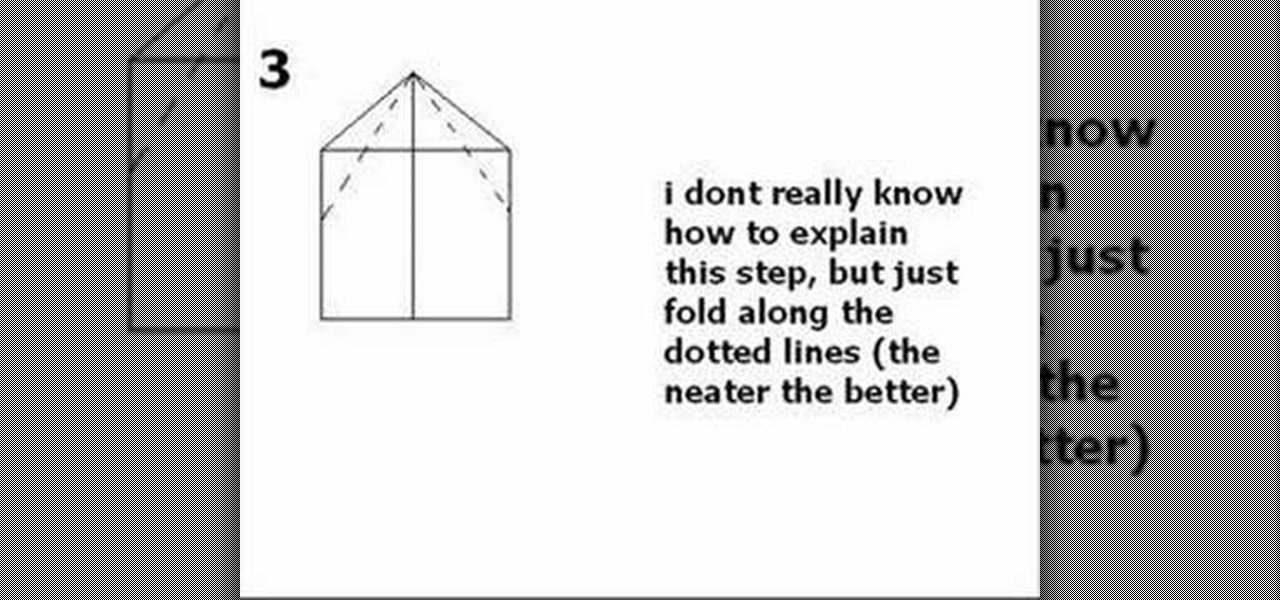
Origami artist Ana Maria shows us how to fold a reliable paper plane. Start off with a rectangular piece of paper and fold it down the middle. Then take one the of the edges and fold it in a way that it makes a triangle. After that repeat the process again folding the edges even further. Repeat this for the other side as well so that it is nice and even. After making all the folds properly open the page, not the folds made on the edges, then fold it again down the middle but now do it in the ...
BMX: Catch Some Air If Ernest Michaux, inventor of the modern bicycle, could see what people are doing with his creation, he'd freak out. The art of creative biking has never been more challenging and rewarding than it is now. Check out the tricks for a guide to BMX mayhem. Watch this video tutorial to see how to perform a barspin on a BMX bicycle.

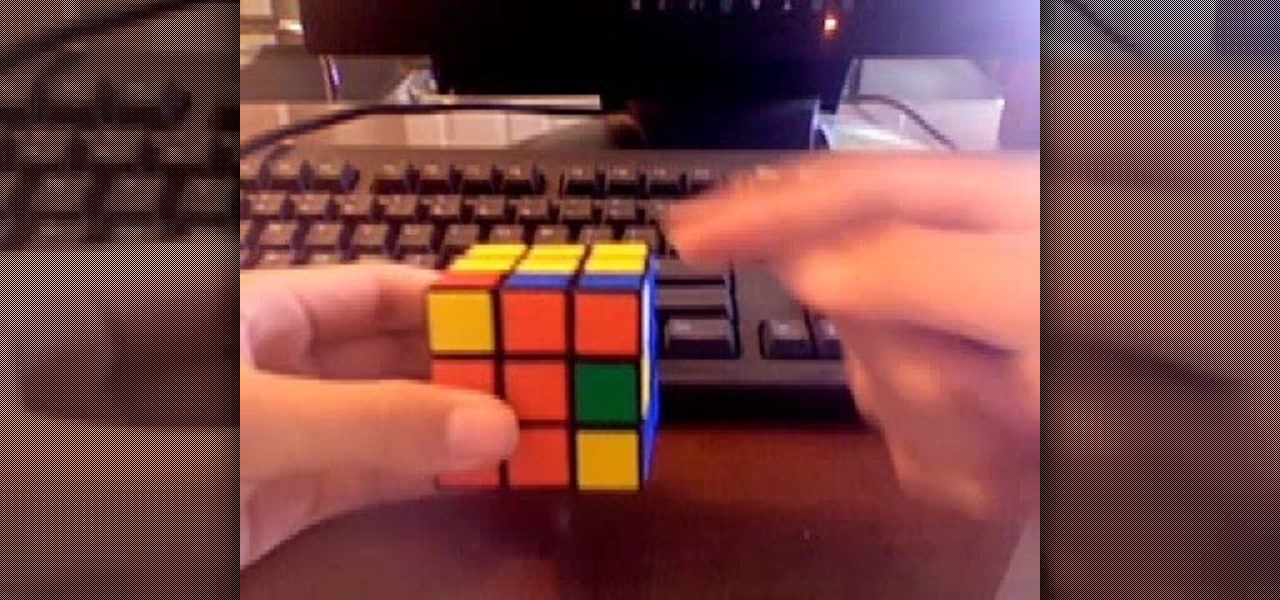
This video tutorial is for beginner puzzlers who are getting more advanced in their speedsolving of the Rubik's Cube. When solving the Rubiks Cube, there are these mathematical equations called algorithms, which I'm sure you already know, but in this algorithms you may find the need to mirror them, or reflect them, to get the exact opposite, forming a new algorithm. Well, this video will teach you all about how to reflect or mirror algorithms for the Rubik's Cube.

Tyson Mao is a renowned world competitor in solving the Rubik's Cube. Not only did this Californian become a world class solver, but he also formed the Rubik's Cube Association with fellow speed solver Ron van Bruchem, which holds competitive events for the Rubik's Cube. If you want to learn how to solve the colorful and mighty puzzle, then who better than to learn from then Tyson Mao?

Who needs a Rubik's Cube when you have a Rubik's World? See how easy it is too learn and solve. Each video is broken down into its own step.
Part of the process to answer the topic question is to discover the answer to three other questions, which are: (1) Who am I? (2) Who do I want to help? (3) How do I want to help?

In this video, we learn how to do an animal blubber (fat) glove experiment. You will need: a big bowl with ice water in it, 4 plastic bags, thermometers, and some vegetable shortening. To start, you will take the shortening and scoop it into plastic bag and then stick one of your hands in it. After this, stick two bags over your opposite hand with the temperature into it. Then, you will stick each of your hands in the ice water and see which one lasts longer in the ice water. The fat should k...

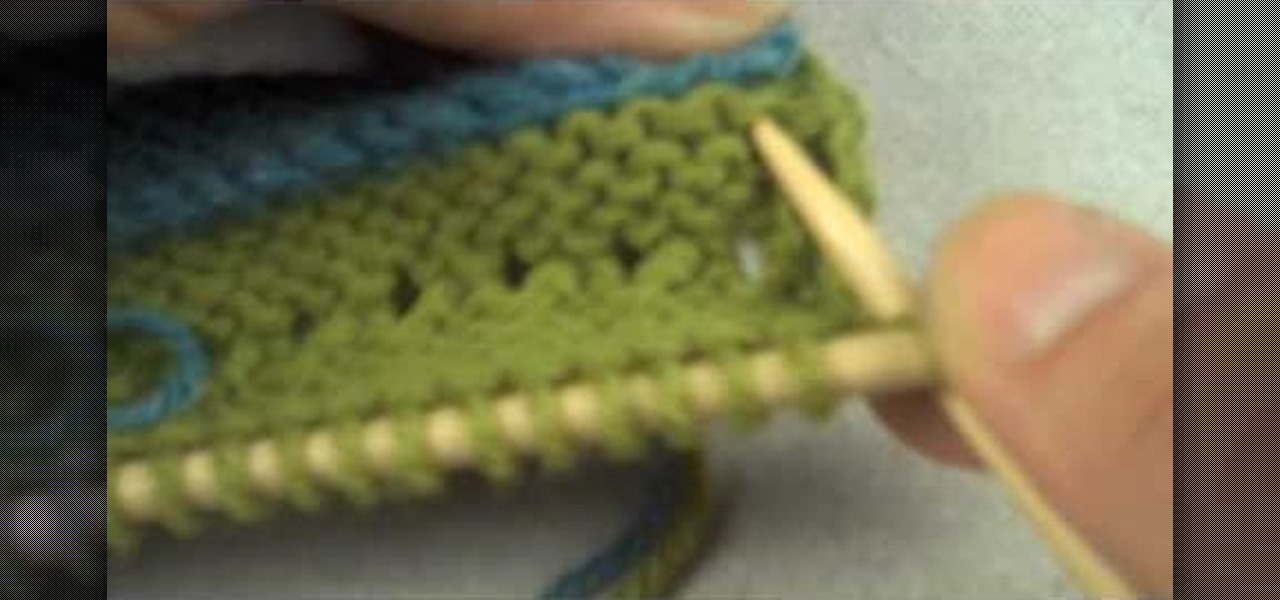
This video begins with examples of different finished welt techniques being shown. A piece of finished cloth is then folded over twice and then held in place before stitching. The first knit is started on the left side of the cloth and continued until reaching the opposite side of the fabric. A wooden needle is then used to weave from right to left until the wooden needle is pushed all the way across the fabric for support. This step is repeated three times until the welt is visible and stabl...

Minimalists are the opposite of pack rats. Whereas pack rats thrive on the philosophy of "more is more," minimalists belive emphatically that "less is more." And if you're a decorating minimalist, that means using the fewest decorative objects possible to achieve a satisfying and cohesive room.

In this tutorial, we learn how to use a unit circle to find trig values. The unit circle has a radius one, use the definition of the trig functions to figure this out. Write them down if you need to, to remember what they are. You will also need two special triangles to help figure this out. Make sure you know the short side is opposite 30 degrees. Now, draw out your graph and find the ordered pair of pie, then find the y value of it. From here, find the cosine, tangent, and other units using...

In this video we learn how to make a speedy paper airplane. First, fold the paper in half and make a crease in the middle. Next, fold the corners down on the top. After this, fold these into another triangle going half way down the paper. Then, fold the tip all the way down so it rests on the opposite side of where it started. Do one more fold like the ones you did in the second and third steps. Make sure you are making crisp creases in the folds that you make. After this, fold the tip to the...

In this tutorial, we learn how to perform a simple crochet. Using the double crochet and single crochet opposite to each other gets rid of the same look when you are creating a pattern. The concept is simple and can make a big difference in your creation. First, take your size K hook, then wrap the yarn around your finger. Go back and forward, then push up and you will have knotted your hook with the yarn. Now, chain one and then two, then chain one and two again. Continue to do this until yo...

In this tutorial, we learn how to speak Spanish: Antes de / despues de + verb. If you want to say "I eat breakfast before I go to school" you will say "yo desayuno antes de ir a la escuela". You will change a verb in the phrase depending on where it is placed in the sentence. If you change this same example sentence around, it will sound different in the Spanish version of the same exact sentence than the original. To express the opposite idea, you will change the end of the verb to state the...

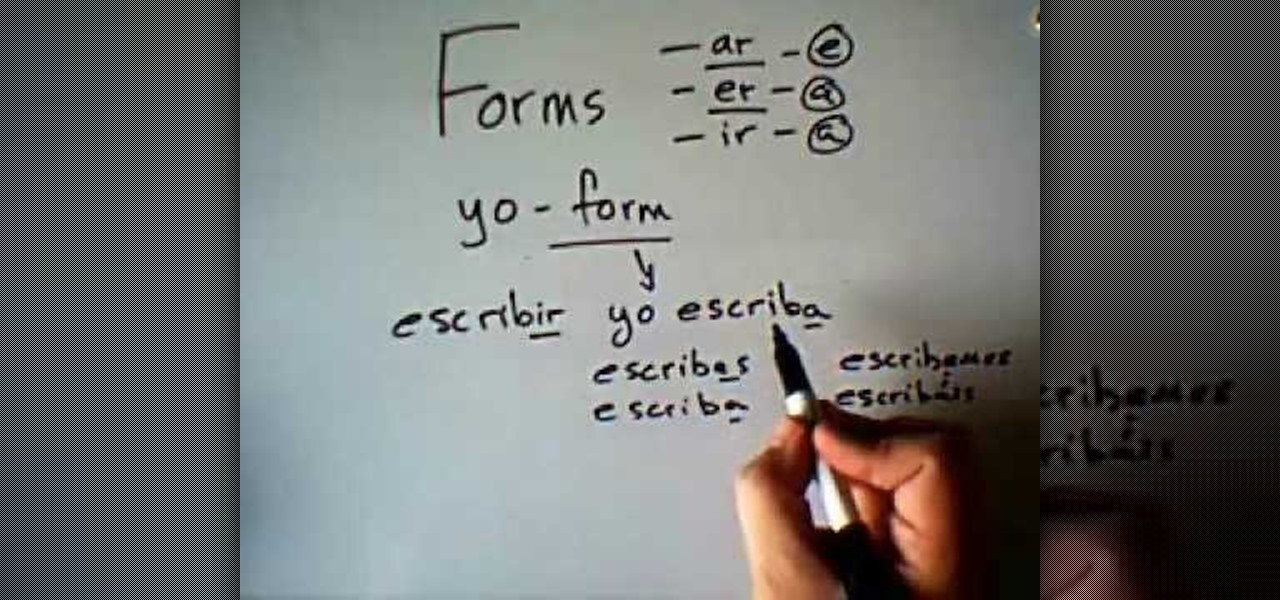
In this video, we learn how to speak Spanish: Subjunctive with verbs of volition. Volition is requests when someone asks, needs, or wants something. To form these, you must first take the "yo" form and remove the final "o". Then, you will add in the opposite vowel endings. For example, with "yo hablo" you would say, "yo hable" or "hables". This will change if you are talking about a group of people, one person, or a formal group of people. A verb with the "er" ending will change to "a" or "es...

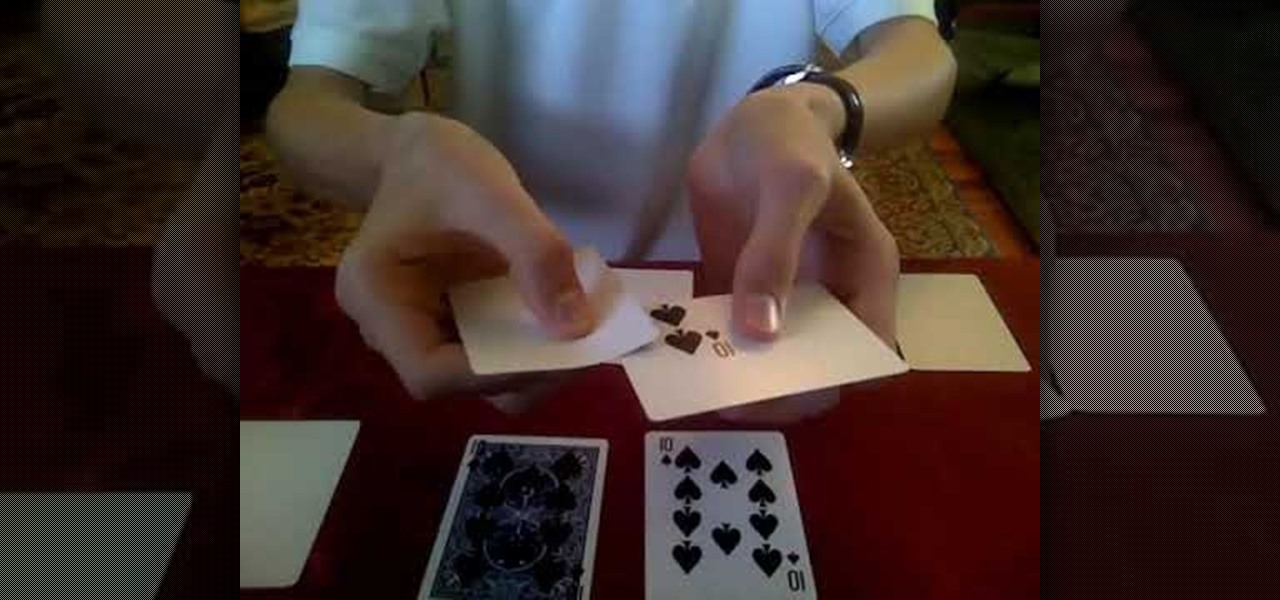
To do the Presto Printo Card Trick, you need to begin with a deck of standard cards and a deck of plain white cards, which have been cut to the same size as standard cards. You will need to print the effects that you want to achieve on the cards in advance. You will need extra blank white cards to conceal.

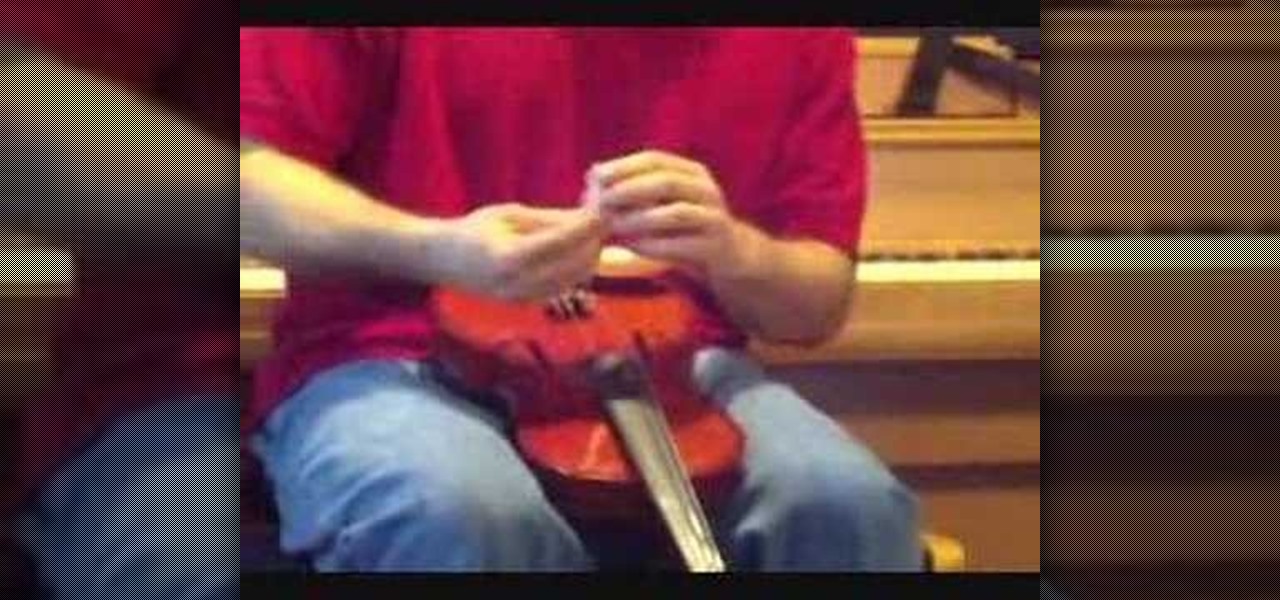
In this video, we learn how to install a violin bridge with Mike. First, loosen the tension of the strings, then take out the bridge from the violin. After this, pull the strings around so they are running straight. Tighten them, but not too much. You want a pinky worth of height in between the strings and the base. Now grab the bridge. The flat side will face the tail of the violin and the other side will face the opposite. The bridge should be place directly in between notches on the base o...

Think there's only one way to apply makeup? While it's true that the same general rules apply to shaping your brows and applying foundation, certain makeup tasks like putting on eyeshadow and blush vary in method depending on individual traits like the shape of your face and your eye color.

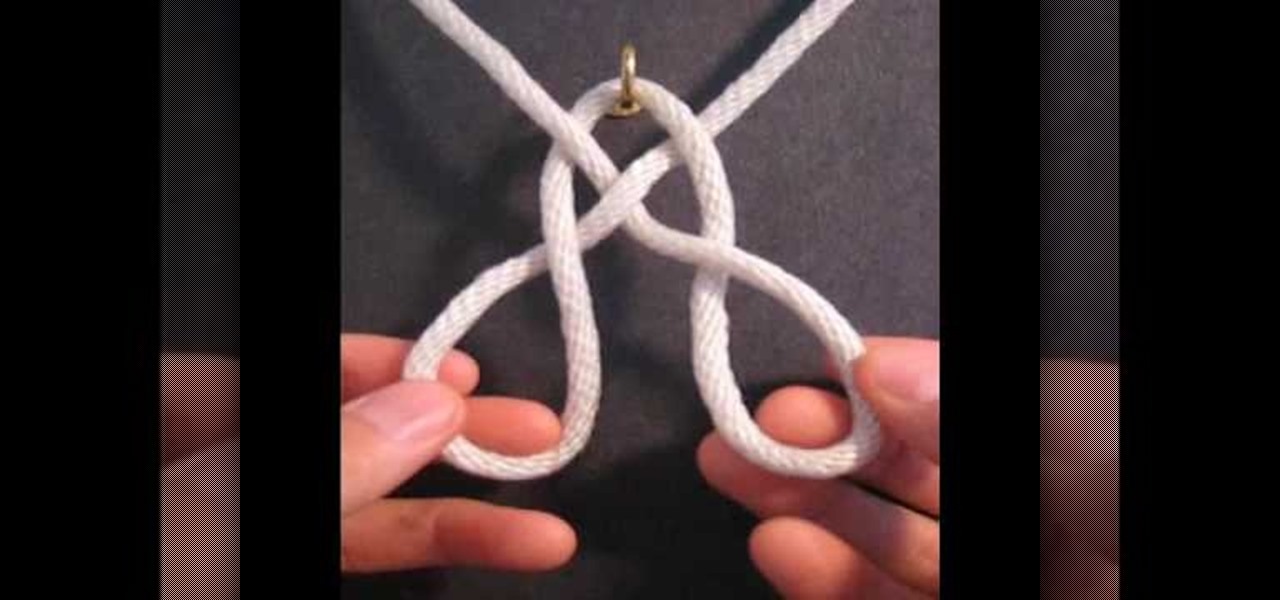
In this tutorial, we learn how to tie the Basket Weave decorative knot. First, hook your string to a hook, then tie a loop that is wide. After this, bring the strings to the top and make a heart shape. Now, twist the two loops on the side and twist them around each other. Now, bring the right string through the right loop and up through the left. Do this for the left string except using the opposite loops. When you are finished, pull on this tightly and release the string from the hook. Make ...

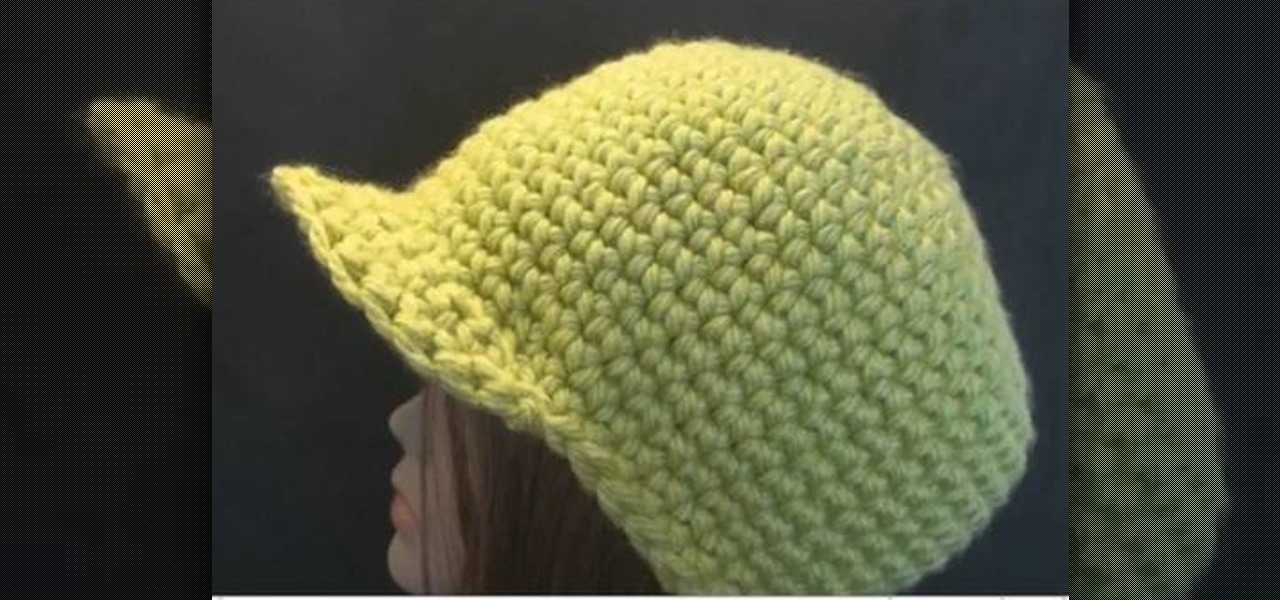
You usually don't hear the words "skater" and "crochet" in the same sentence, but these two rather opposite realms collide within this crochet tutorial. You've probably already seen newsboy caps before: lots of skaters don it because it's cool and also very comfortable. But did you know these skater hats can be made with yarn?

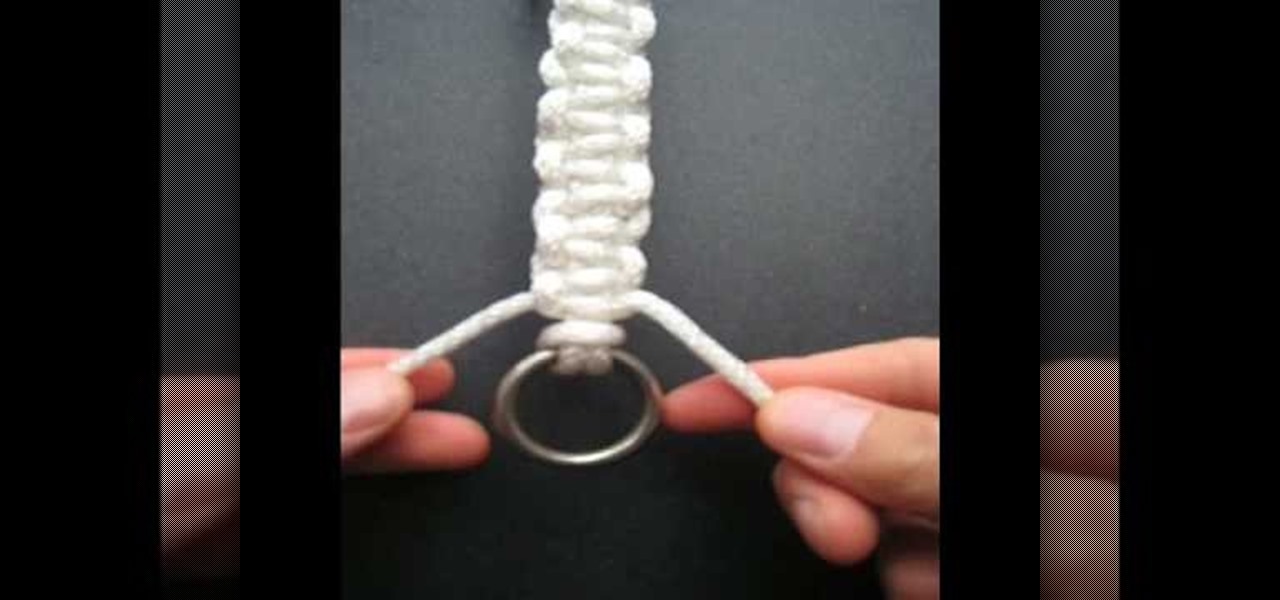
In this tutorial, we learn how to make a Solomon bar decorative knot. You will start by grabbing the ring at the end of the string, then tie it to an opposite ring. Fold the left side of the string to the right and bring the right over to the left. Pull the left into the loop to create a knot. Now, you will have two string that are more up and two that are more down. Next, tie the top strings into a knot, then bring the right knot behind the bottom two, and thread the left knot into the right...

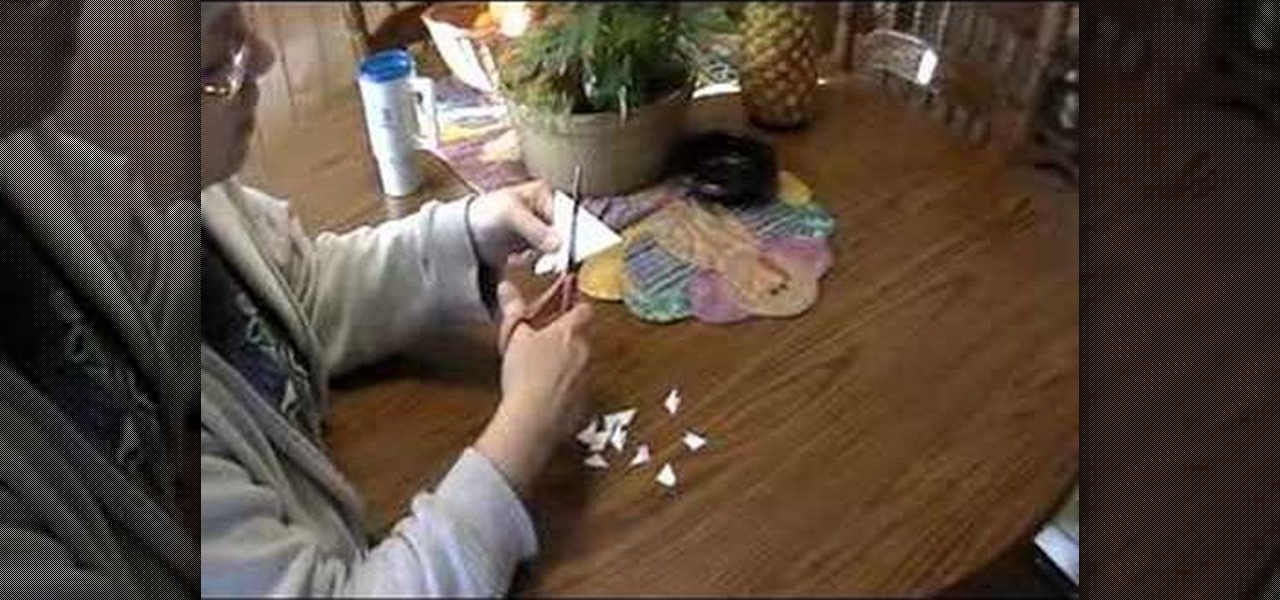
In this tutorial, we learn how to make a paper Christmas tree. Start out with a square piece of paper, then fold corner to corner and open it, then fold it on the opposite corners and open it. Now, turn it over and fold it side to side on both sides. Now, the paper will automatically fold into it's shape because of the creases you made. Now take each of the four flaps and flatten them out with your finger. After this, cut your trunk out of your tree at the bottom, then cut slits on the side o...

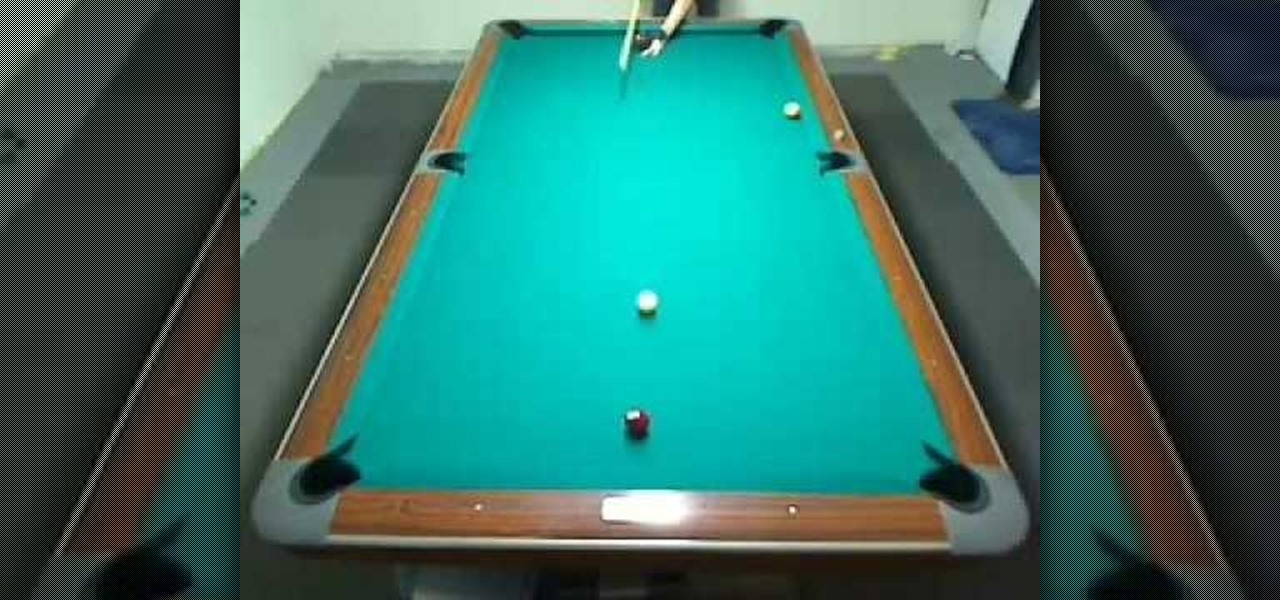
In this tutorial, we learn how to increase accuracy while playing pool. First, place the Q-ball on the head spot of the table, then you freeze an object on the opposite and shoot the Q-ball into the object ball and make the ball come back in the same path. You will want to ball to shoot directly back at you. This drill will help you develop accuracy and a better stroke. If you don't have a perfect shot it won't come back in the right path. Keep practicing this and in no time you will have inc...

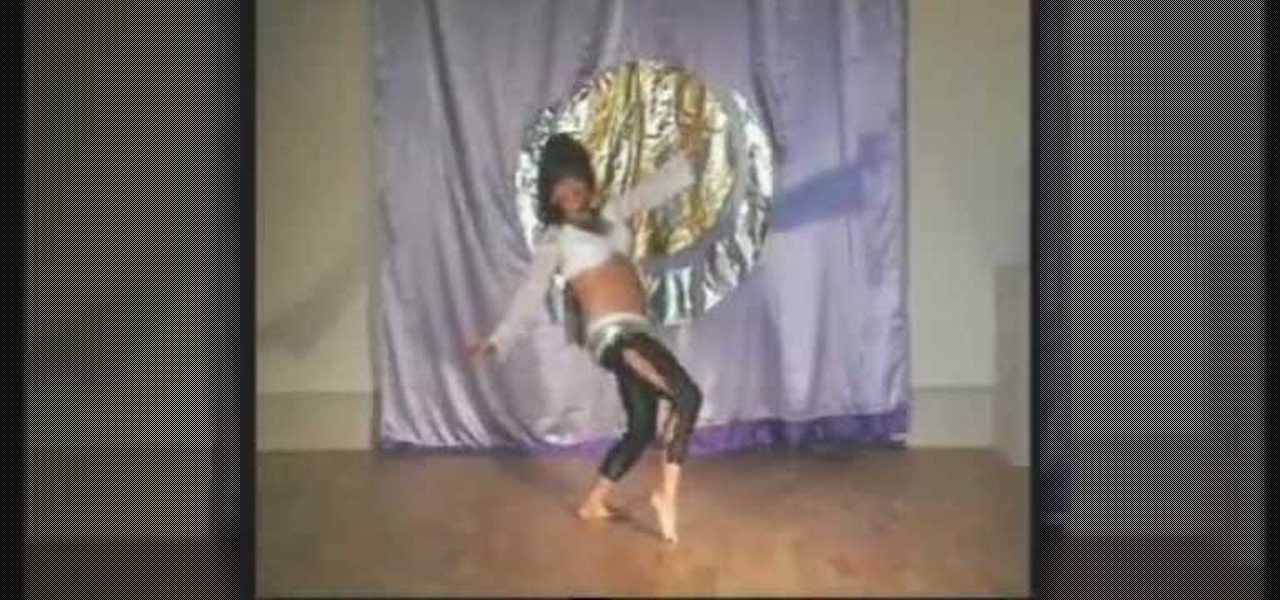
This video shows viewers who are interested in learning how to belly dance, focusing on the techniques of hip lifts and drops. After slowly shifting your weight from one hip to the other, make sure that your head stays at the same level by placing your hands on your head as your weight shifts. After making sure that you are now bouncing your head as you move, practice moving your arms in time with your motion. Your arms should move in opposite directions from each other, with one arm being lo...

Take a square piece of paper and fold in half. Open the paper crease from the other side and mark it as previously.

The way to wear hijab shown in this demonstration with a simple wrap around the head, securing the hijab with bobby pins at the back of the neck. The ends of the hijab are pulled forward to the chest. Then a thin scarf in a contrasting color can be wrapped around and tied at the nape of the neck as well. A portion of the hijab is pulled forward over it and pinned over the ear. Then one of the ends is pulled under the chin to the opposite ear and pinned to the head. The other end is wrapped ar...

This video demonstrates how to devein shrimp. In order to devein shrimp, you will need the following, raw shrimp and a knife. The first thing you will need to do is remove the head of the shrimp. Remove the head by placing one hand on the head and the other hand on the body. Grasp tightly. Twists hands in opposite directions. Discard the head.

This video shows the way to make a paper balloon. A square paper is taken. Two perpendicular folds are made down the diagonals of the square. Then an isosceles triangle is made by folding one side of the square towards its opposite side and the other two sides are tucked in. Now there are four isosceles-right triangular flaps. The flaps are folded along its middle to resemble isosceles triangular flaps. The edge of the flaps is folded towards the center. The free end of the flap is tucked int...

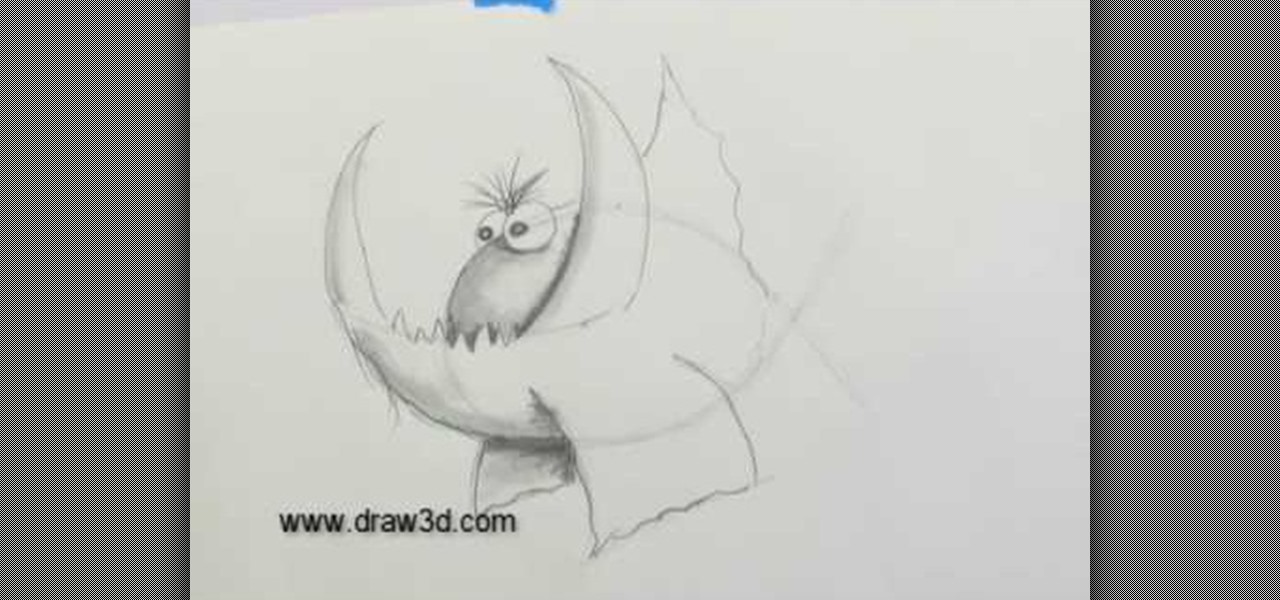
This video illustrate how to draw a 3D fanged fish. Here are the following steps.Step 1: Take a sheet of paper and pencil and start drawing a circle forming the face of the fish.Step 2: Now in the middle of the circle draw an wavy line showing the jaws of the fish.Step 3:Now draw two small circle on the boundary of the circle forming the eyes of the fish.Step 4: Now from the jaws draw two fins in opposite direction to each other.Step 5: Now draw Two fans beneath the face showing the back fins...

In this how-to video, you will learn how to replace a broken axle on a Volcano SV. First, take off the wheel. Next, remove the axle piece out with a hex wrench. To get it entirely out, use your hex wrench to move out the long screws. Make sure you take them out at about the same time, or you will break one of the screws. You can remove the screw to free the upper suspension arm. This will make it easier to remove the broken axle. Next, replace it with a new axle. Clean the axle before making ...

In this video tutorial, viewers learn how to make a plain paper clip into a spinner. The materials required for this spinner are a paper clip and a pair of pliers. Take the paper clip and straighten it. Now use the pliers to bend the tip of the clip at 90 degrees. Then bend it 90 degrees to left side and start bending the wire into a circular shape. The shape will look like a pretzel. Now bend the end tip of the wire 90 degrees to the opposite direction of the first bend. You should end up wi...

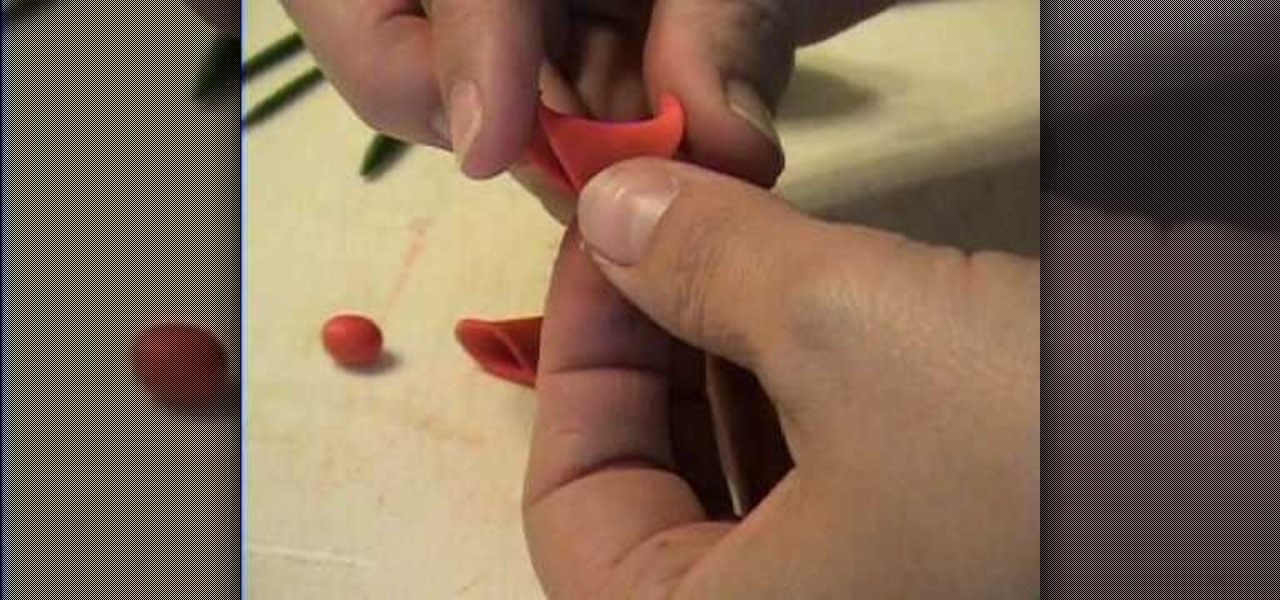
Take the clay, roll it out to make a pretty thin sheet. Take the square cutter and cut out two pieces from the clay sheet. Meet opposite corners of each square to form a triangular form but squishing only in the middle. Bend slightly outwards the unsquished corners of each triangle for decorative purposes. Place the triangles facing each other with the squished corner overlapping, pressing and joining them in one single piece. Take another little piece of clay and make a small ball with it. P...

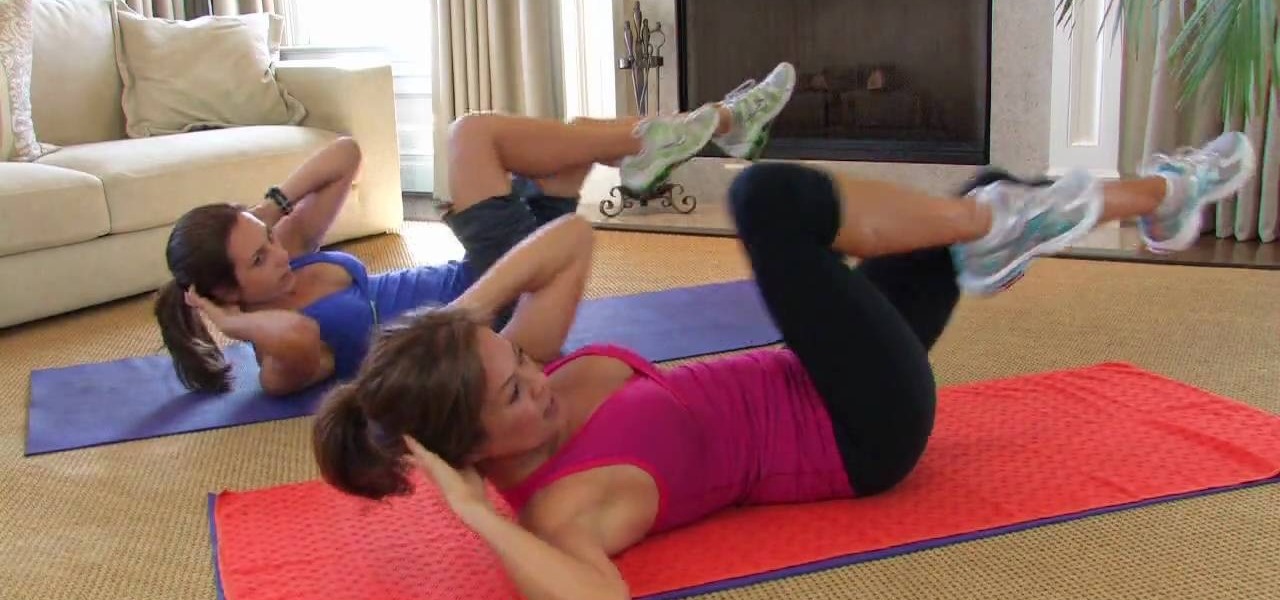
Bicycle crunches consist of lying flat on your back, your hand on the back of your head, knees bent to face the ceiling, feet flat on the floor. To perform the bicycle crunch bring one elbow up toward your opposite knee as you bring the knee toward your elbow. This will cause you to move part of your upper body and you should feel the workout in your abs. As you progressively get better at this move you can bring your legs straight up in to the air. 5 minutes of this 3 times a week should be ...

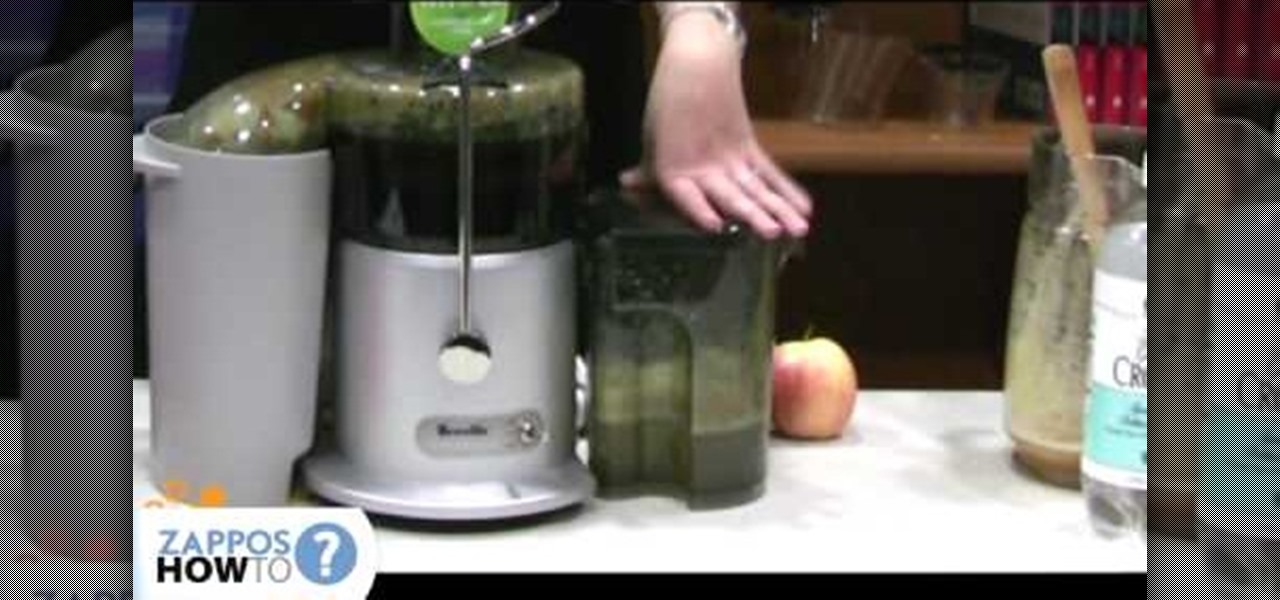
This video fully explains how to correctly use the Breville Juice Fountain. The product is 850 watts and has both a high and low setting for your convenience. Everything, except the motor itself, is dishwasher safe. One container collects all the juice, and another container on the opposite side collects all the skin from whatever it is you are juicing. Using a whole apple (with a sticker still on it) as an example, our demonstrator inserts an apple into the top of the machine, pushes down wi...

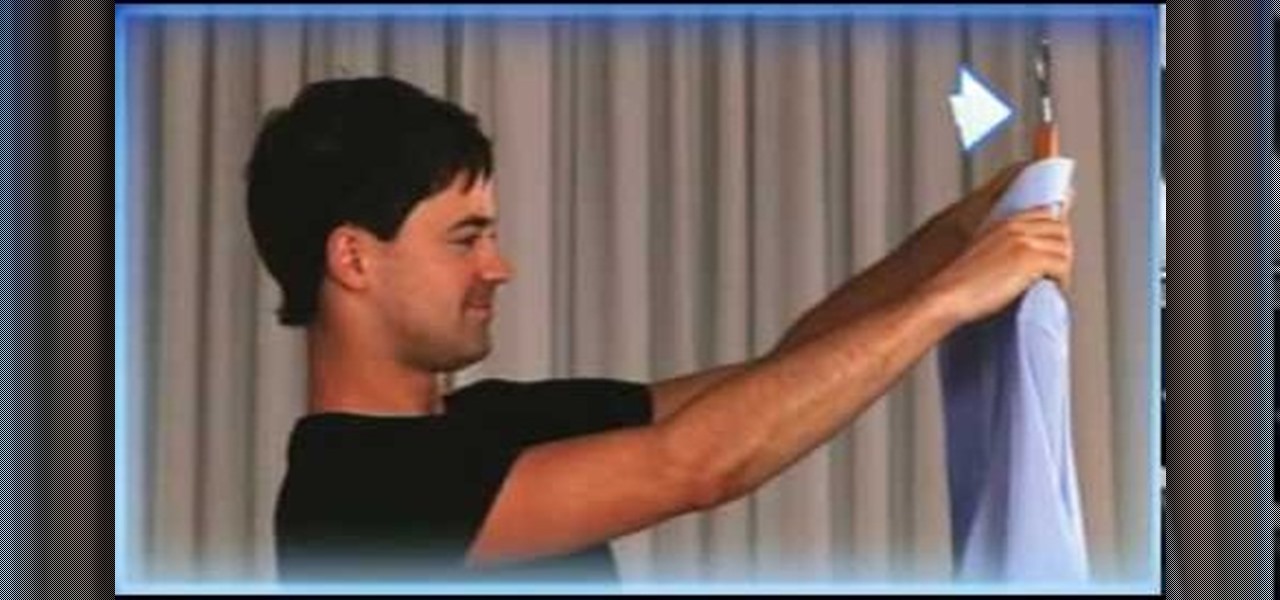
This humorous video teaches men how to iron a shirt just like Mom did. It walks you through the steps from setting up the ironing board and the iron, to the finished product with easy to follow directions.

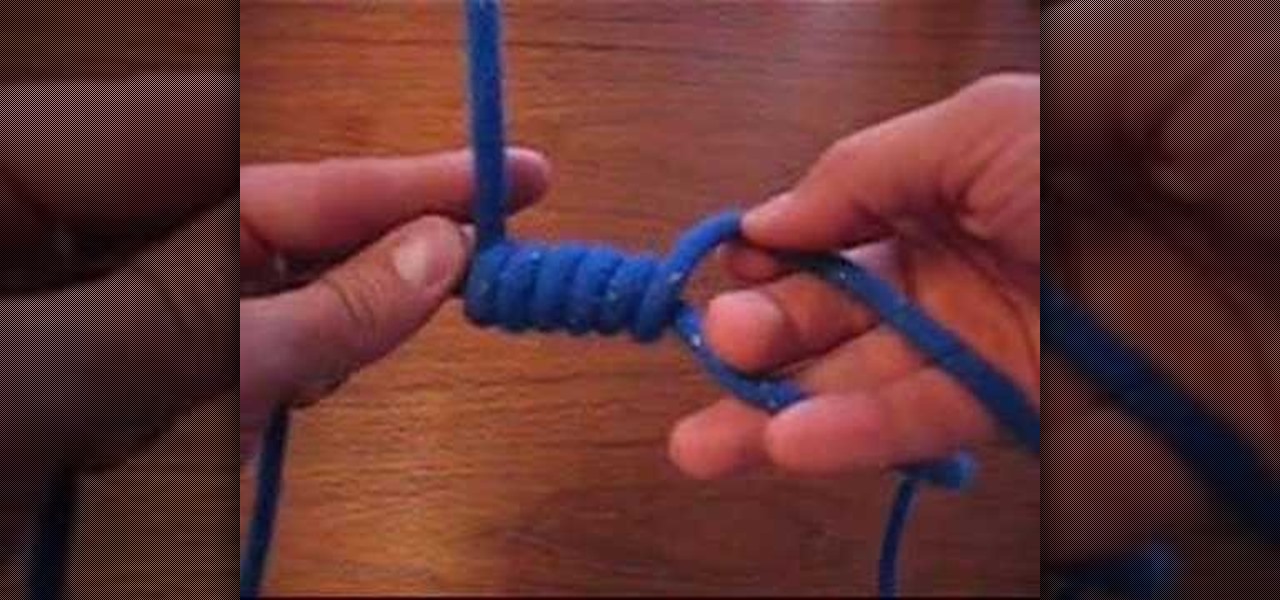
This video teaches you how to tie a blood knot which is used to tie two lines together in a very strong knot. Fly fisherman use this knot for making their own fly leaders. Wrap the right line around the left line five times. Take the end of the right line and put it in between the left wrapped line and the back of the right line. Wrap the left line around the right line five times, repeating the earlier procedure. Make sure you bring the line up through the hole that is created in front of th...

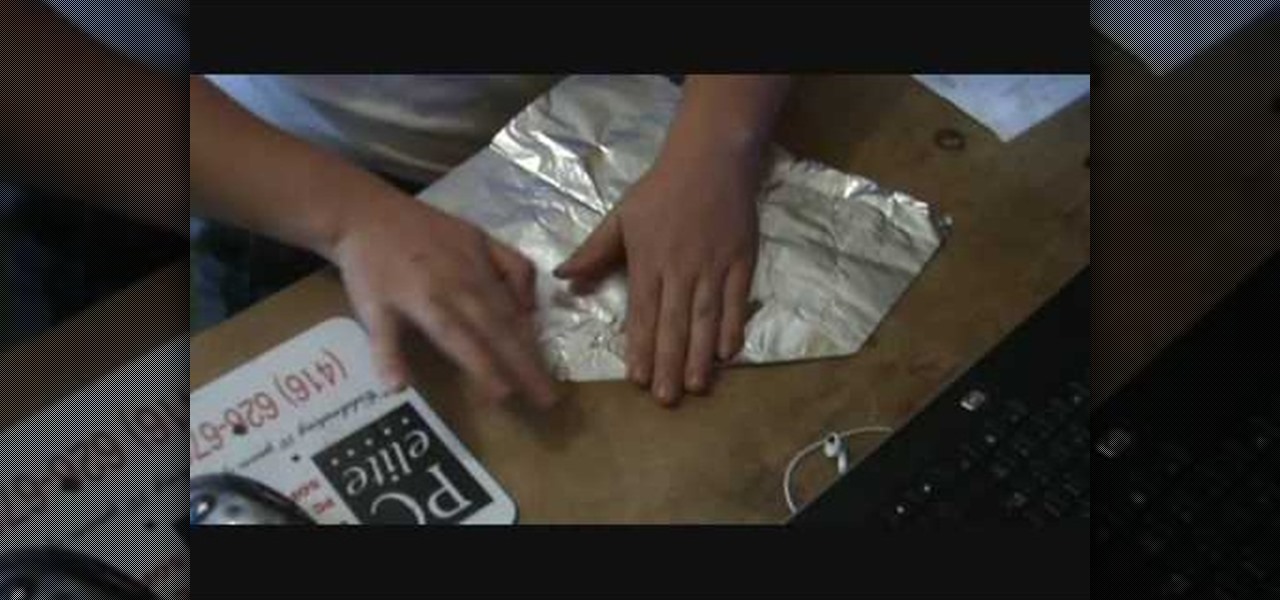
Learn how to make the perfect tinfoil airplane glider, every time. Obtain a rectangular sheet of tinfoil. Fold the shorter side of the rectangle foil in half and make a crease. Unfold the foil. Fold one of the corners into the middle crease. Fold the opposite corner into the middle crease. Fold the side into the middle crease. Fold the foil in half along the middle crease. Fold each side down so that it meets with the bottom crease and creates flaps. Press down on plane to strengthen the crea...


