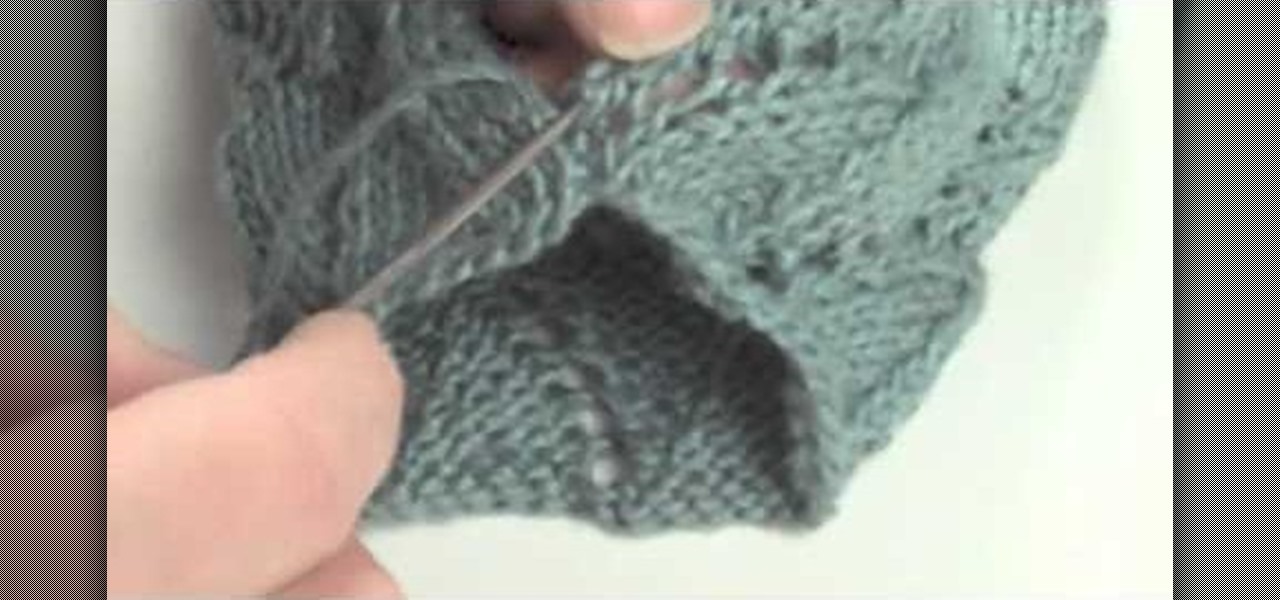
In this tutorial, we learn how to do the mattress stitch. First, lay the pieces flat and thread yarn tail onto the needle. Next, you will anchor the yarn to the bottom edge of the opposite piece. Then, go back through the side and find the tunnel of horizontal bars, one stitch in from the edge. Continue to do this around the stitches to combine them together. Keep alternating sides and just do one bar at a time to get the best results. You can do two bars at a time if you are comfortable with...
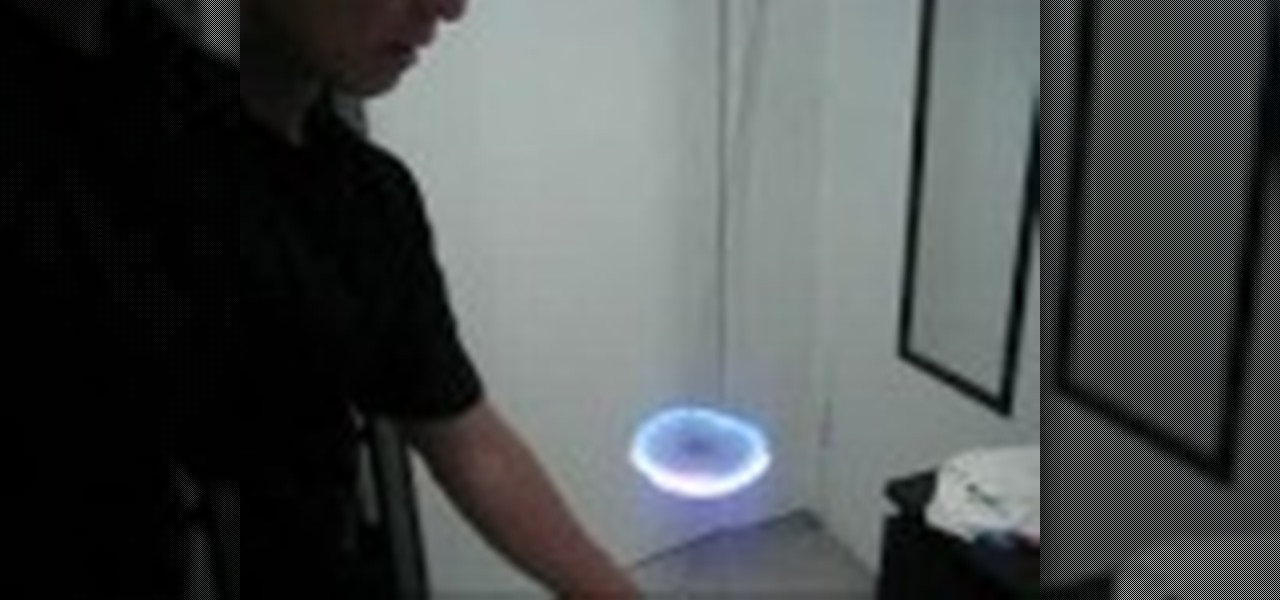
In this video, we learn how to do an orbit at an orbit light show. The light should spin clockwise in one and and counter clockwise in the other. You must pay close attention to keep these spinning back and for. Start out by winding the lights up and mastering this so you can produce different shapes. After you learn the wind up, learn how to make the stars with it by winding it up one direction and let the orbit in the middle unwind itself in the opposite way. Once you're comfortable, you wi...
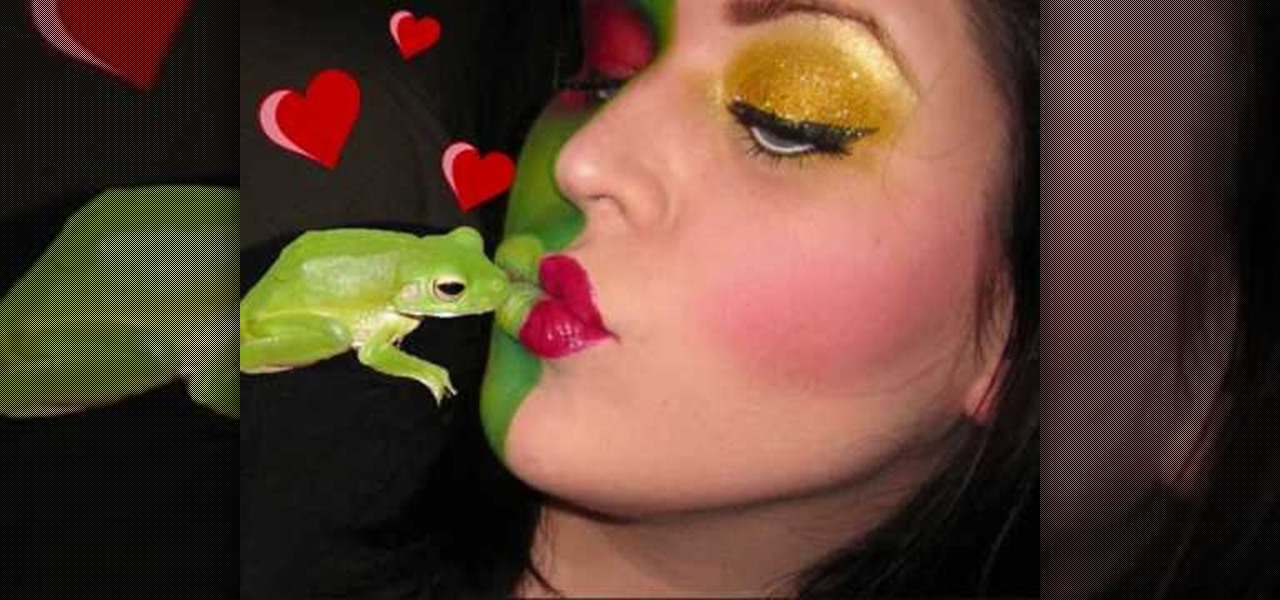
In this tutorial, we learn how to create a two faced fairy tale makeup look. First, apply green paint to half of the face. After this, apply yellow paint to the opposite eye and dab the same color throughout the green paint. Next, paint red shadow onto the eye and then darken the surrounding areas of the red eye. Create red circles on the side of the face with the green, then draw on a mouth to make it longer and smiling. To finish this, apply eyeliner and glitter to the yellow eye. Then, app...
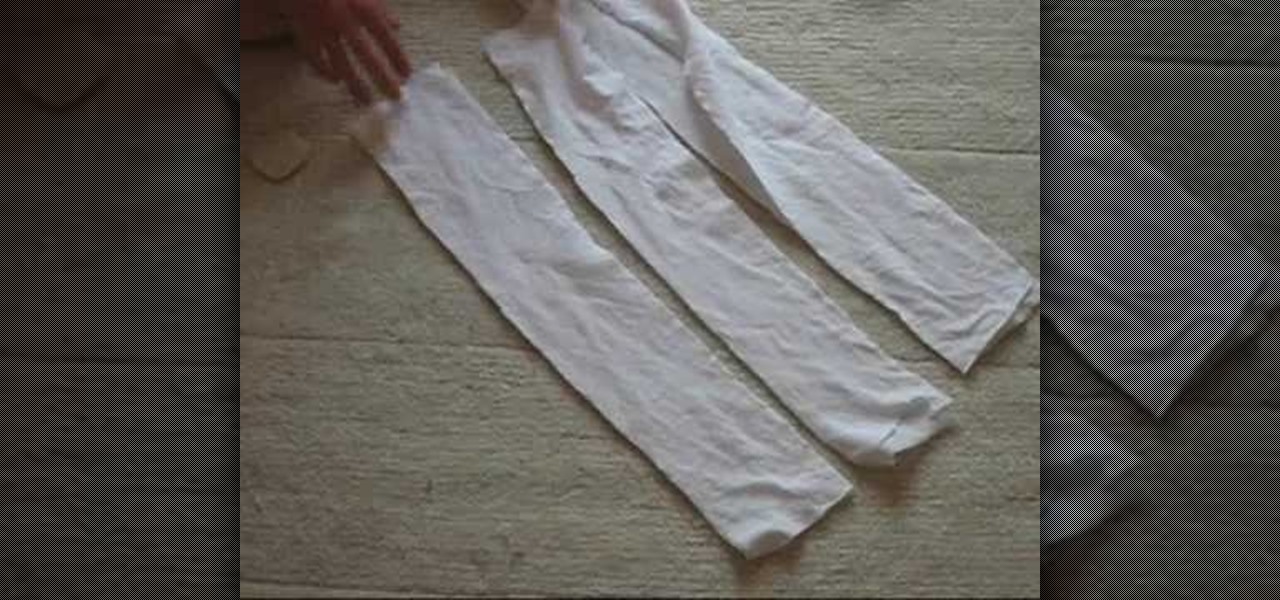
In this tutorial, we learn how to make your own summer dress. First, take a tank to and measure it out on your chest. Then, mark the shirt and cut it. Then, take another color tank top and cut off the opposite area that you just cut on the other tank. Take another piece of fabric now and measure it out to fit your body. Then, attach this to the bottom of the dress and sew all of the pieces together with a sewing machine. Try it on when you are done and then enjoy wearing your new homemade sum...
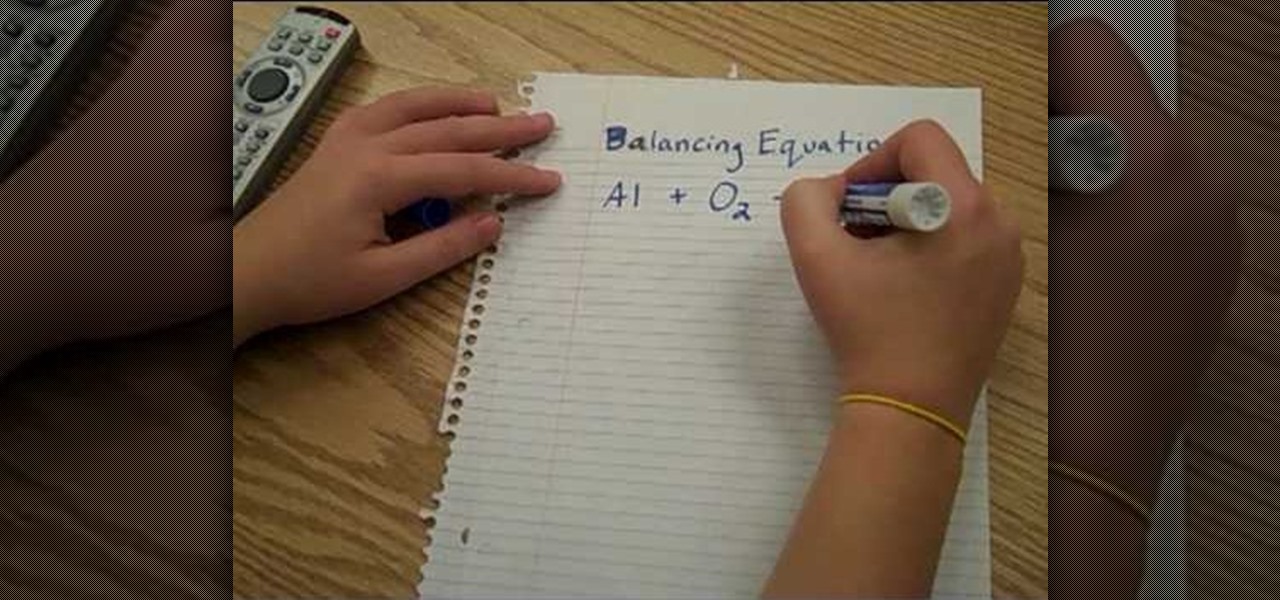
In this video we learn how to balance chemical equations the fun way. First, remember that matter cannot be created or destroyed. Take two different types of chemicals and put them on opposite sides of the equation. If you have more mass on one side than the other, these will not balance out. Once you have equal amounts of mass on both of the sides, you will be able to balance the chemical equation. Remember this rule whenever you are balancing out chemical equations. Use visual markers to he...
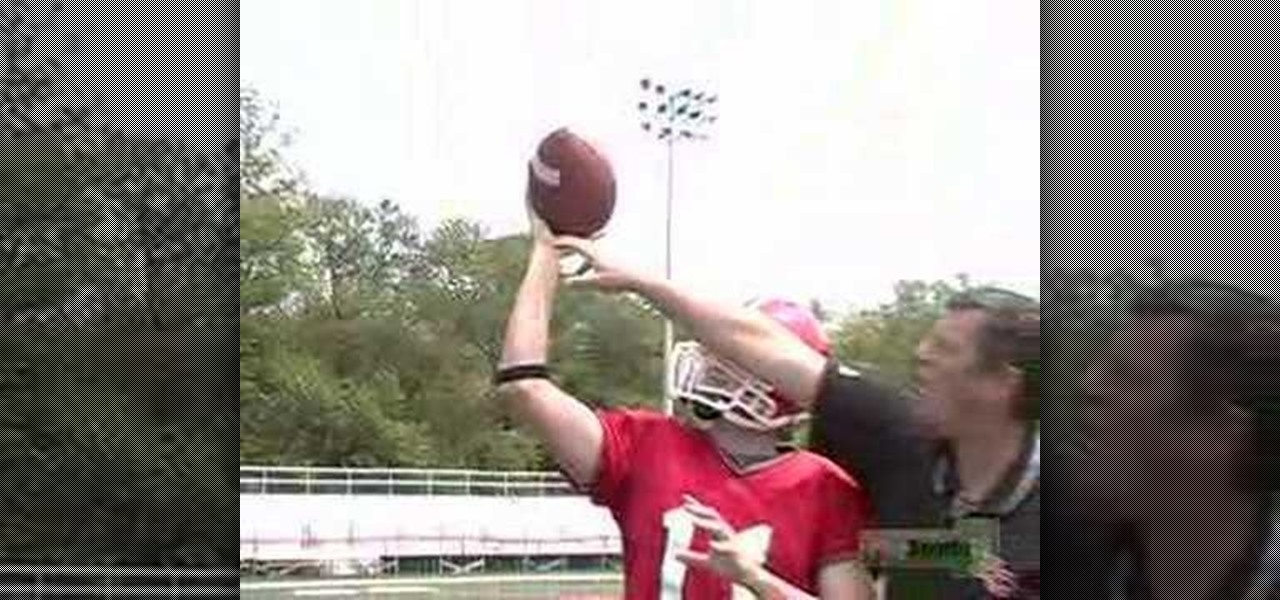
In this tutorial, we learn how to throw a football by learning the basics. Basic fundamentals will help you throw the ball properly and play better. Your grip is the key to playing football correctly. The ball should be help by the thumb with the other fingers on the opposite side. There should be air underneath the palm in the middle of the side of the ball. As you release the ball, you will see the last finger that touches the ball is the pointer finger. Practice holding the ball correctly,...

In this video, we learn how to solve a single-step equation using multiplication. For the first step, get rid of any number surrounding the variable. To do this, you will need to multiply the numbers around it by their opposite to make them equal zero. Once you have done this, you will need to repeat the process on the other side of the equal sign. Just do the same exact thing you did in the first step, then you will be able to easily solve the problem at hand. You can check your answer by re...
In this tutorial, we learn how to tie a bowtie left- handed. First, put the tie around your neck and adjust the two tails. The right should hang 1" lower than the left. Then, cross the longer over the shorter and push up over and through to make a simple knot. Form a bow with the back bow using your thumbs and fingers. Next, take the front tail and pull it behind the just-made bow to create the center of the full bow. Then, push the new one right through the knot in the opposite direction. Th...
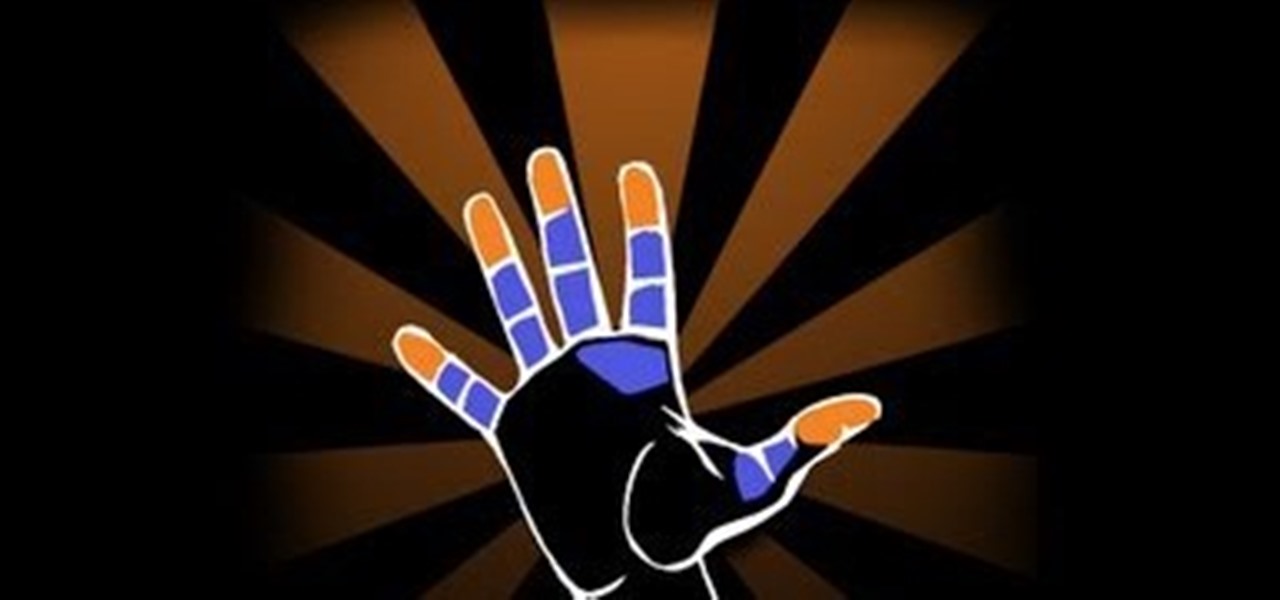
In this tutorial, we learn how to understand shooting surfaces in basketball. Make sure you have the ball located on the finger pads or shooting surfaces. On the finger pads, keep the ball engaged with them and not the palm of the hand. This is also the shooting surface, where you have better control of the basketball. You can elevate the basketball from your thumb by spreading out your fingers so there is a finger's length between the palm of the hand and the ball. Test this out with one of ...
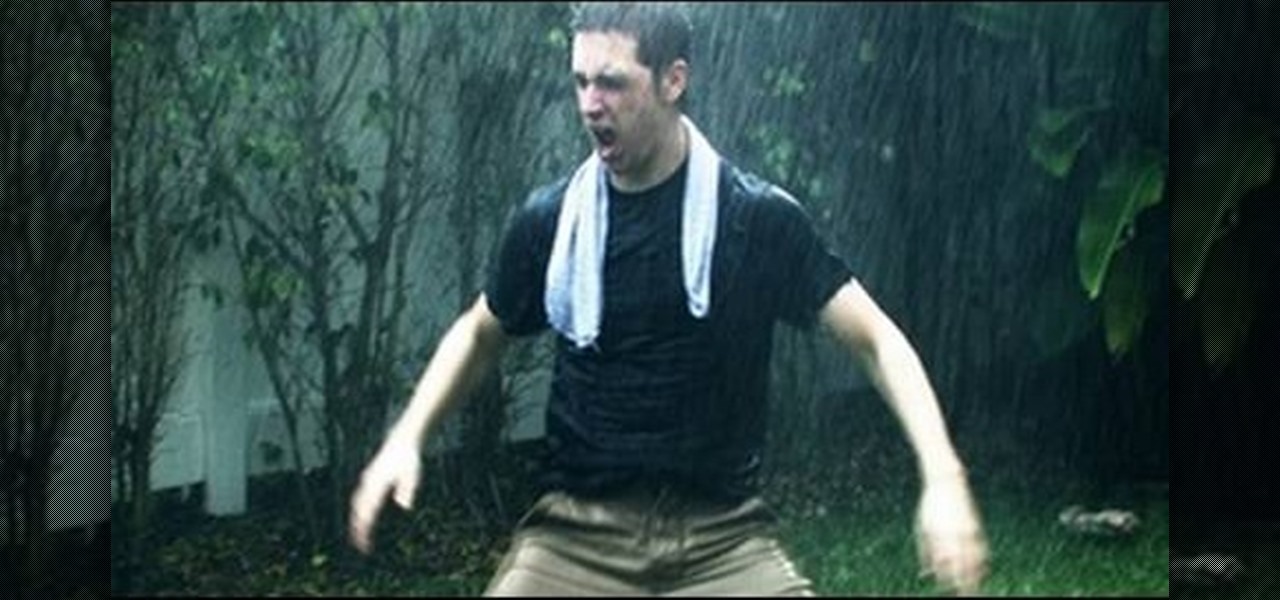
In this tutorial, we learn how to make movie rain without getting wet. First, you will need to get a garden hose that has a spout on it and few pieces of PVC pipe. Connect the pieces of PVC pipe together, then stick the head of the hose to the pipe. Keep in mind that you will want to cut the pipe a bit shorter so it's easier to hold. Now, have someone hold up the pipe while you are taping and make sure to stay opposite of the way the wind is blowing. After this, you will have taped rain in a ...
In this tutorial, we learn how to get big bouncy curls like Kim Kardashian. First, have straight and clean hair and heat up a 1.5" curling iron. Now, section your hair off and start with the bottom half. Wrap your hair around the curling iron, then after 15 seconds release the hair and spray with hair spray. Now, curl the next piece of hair facing the opposite direction. Continue to curl your hair all the way around until you have reached all the way around. Now, loosen the curls by brushing ...
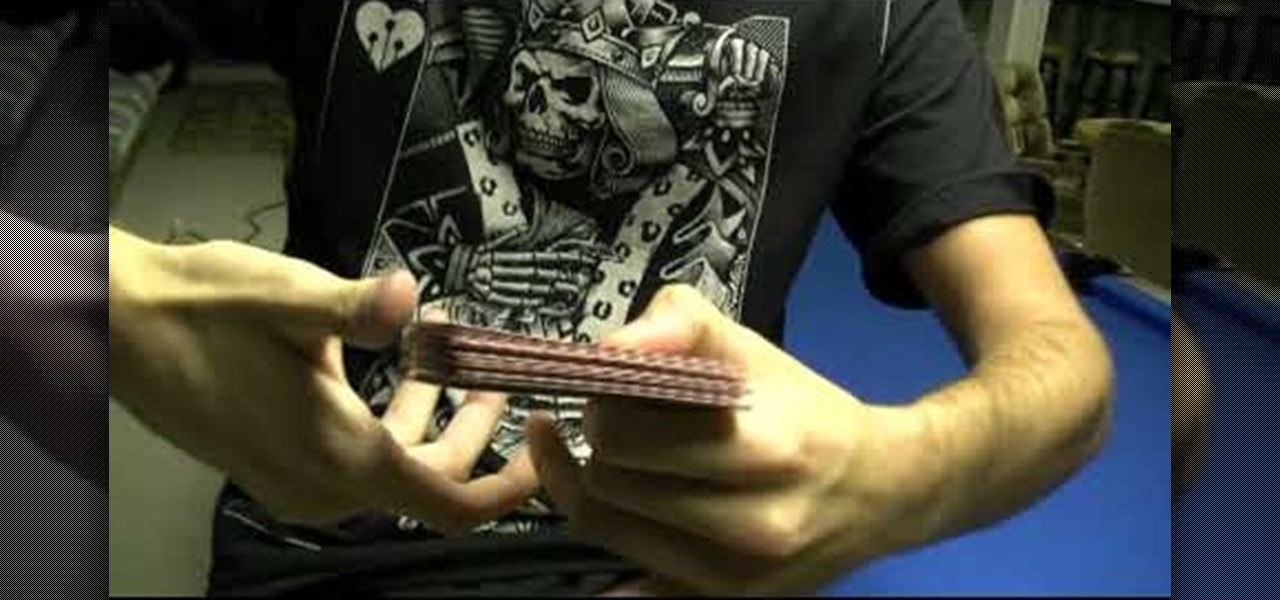
In this video, we learn how to perform a convincing false riffle shuffle. Start off with one deck of cards. After this, riffle the cards off half way and do a standard shuffle. Bend the cards up after this, then use your pinkie and pointer finger to touch each other. When you release, the cards are naturally going to separate from each other. They will push off in opposite directions because of the way you are working the cards. Square it up on the edges, then square on the back and use your ...
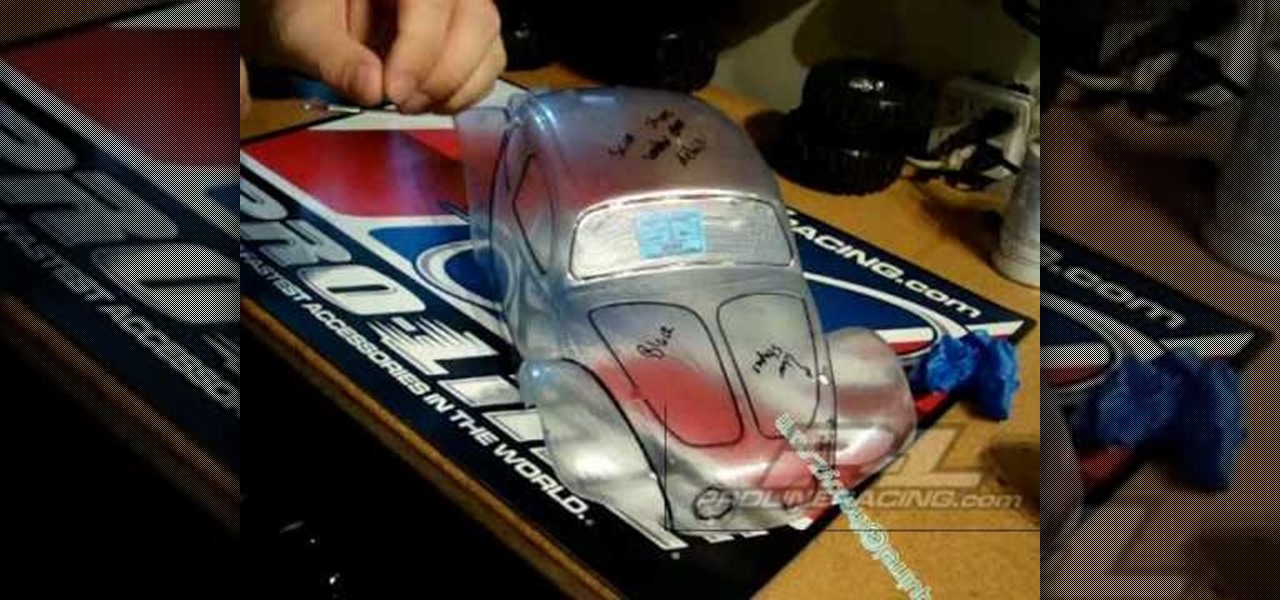
In this video, we learn how to apply stripes and add lines to RV cars. You can do curved lines or straight lines, depending on the look you want. For straight lines, you will take tape and mark from the hood to where you want the tape to end. Use different sizes to create the look you want to achieve. To get the lines straight, place the tape on a straight surface as a guide with the clear top that goes over the vehicle. Once you do this, you can paint around this to form opposite colors. The...
In this video, we learn how to quickly make an origami kusudama. This only requires six pieces of paper to make. First, fold one piece of paper into a triangle, then open it up and fold it in a triangle on the opposite side. Open this back up then flip over. Bend in the edges to make a new triangle, then press down the creases on the side. Bend the middle of the triangle up to the point on both sides. Bend these back down, then fold over the side and make a crease. Open up the bottoms where y...
In this tutorial, we learn how to create a Lomo effect in Photoshop. This is a contrast that gives the photo a "cool" vibe and change up the effect that you see. First, load up your picture into Photoshop and then go to adjustments, then curve. From here, add a slight s-curve and then add a green channel with the same s-curve that you just created. Go to the blue channel and create the opposite s-channel from the others, then click "ok". Now, go to layer, new adjustment layer, then gradient m...
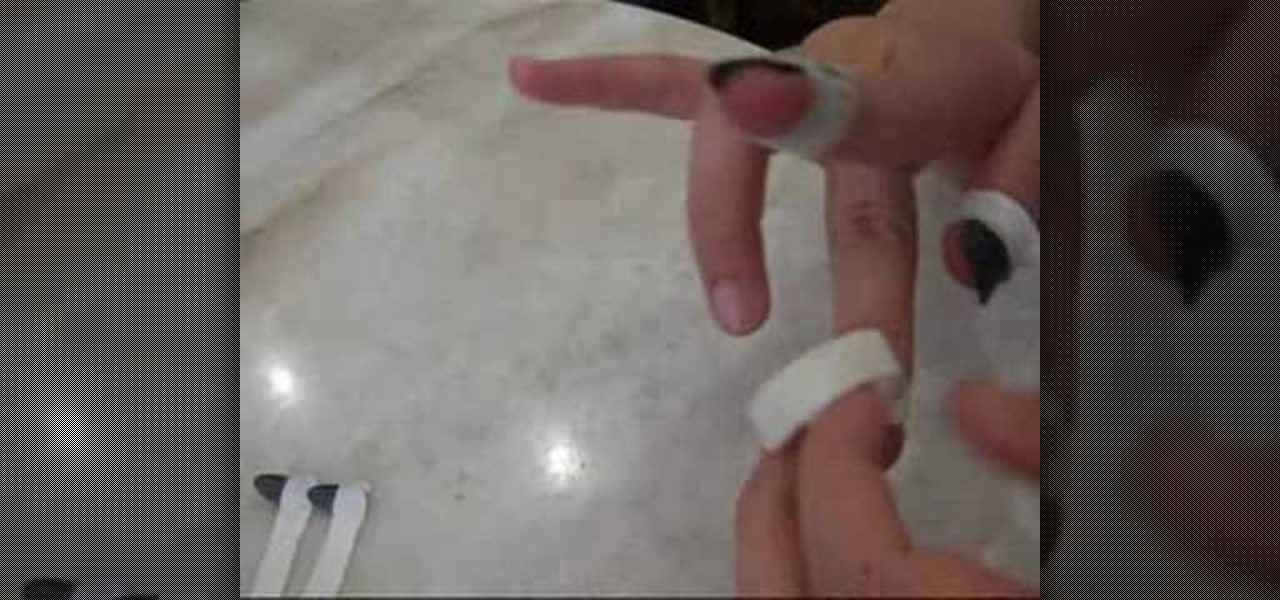
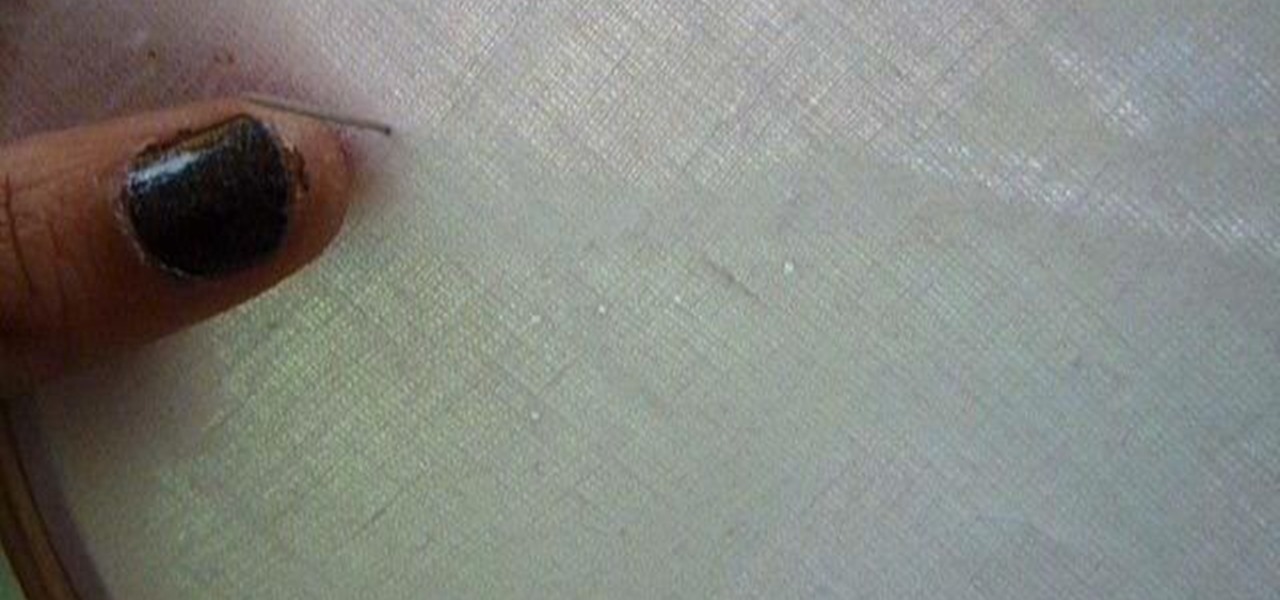
In this tutorial, we learn how to wear pipa nails on your fingers to play a pipa. First, place the nail on your natural nail with the bases matching up. After this, wrap the tape around your finger until it reaches the end. Then, press down on the tape to secure the nail. After you do this, continue to repeat the process for all of your nails. It should be easiest to start with the thumb nail and continue on down to the pinkie nail. do this for the opposite hand when finished with one, then y...
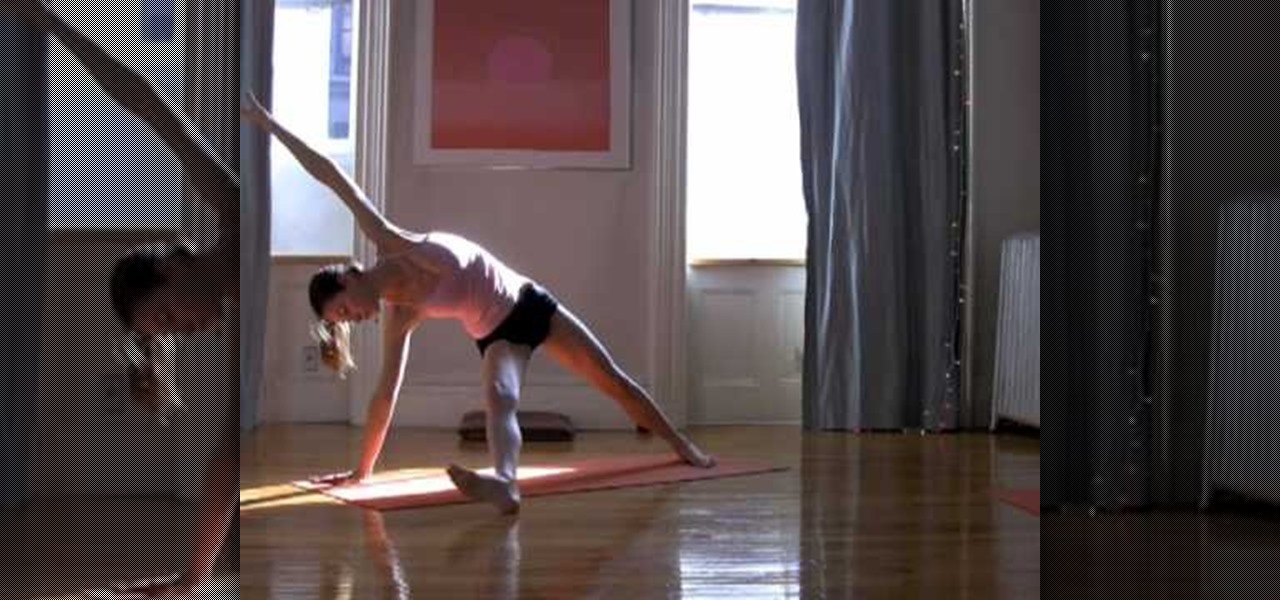
In this video, we learn how to strengthen buns, abs, & thighs with Tara Stiles yoga. First, stretch out your body on a yoga mat, then come into a downward dog position, raising your back legs in the air. After this, come into a warrior pose, except have both of your hands straight in the air while bending the knees. From here, come into the normal warrior pose, then stretch out both sides of the body by lifting opposite hands up in the air. Next, stretch out your legs as wide as they will go,...
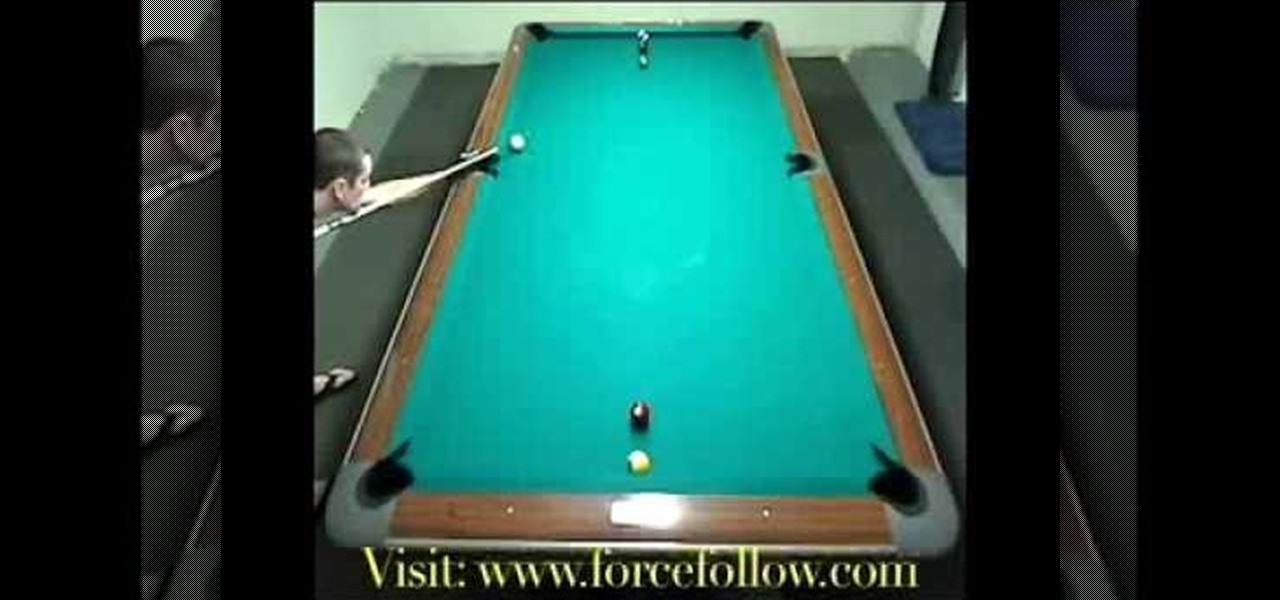
In this video, we learn how to play pool doing the spot drill. You will run balls in rotational order without missing or touching another object balls. First, you will place the cute ball diagonally to the ball and then shoot the ball into the corner pocket diagonal to it. There are several ways to go through this pattern. You can also stand on the opposite side of the table and shoot into the corner pocket from farther away. Make sure the cue ball doesn't get stuck to the rail, which will ma...
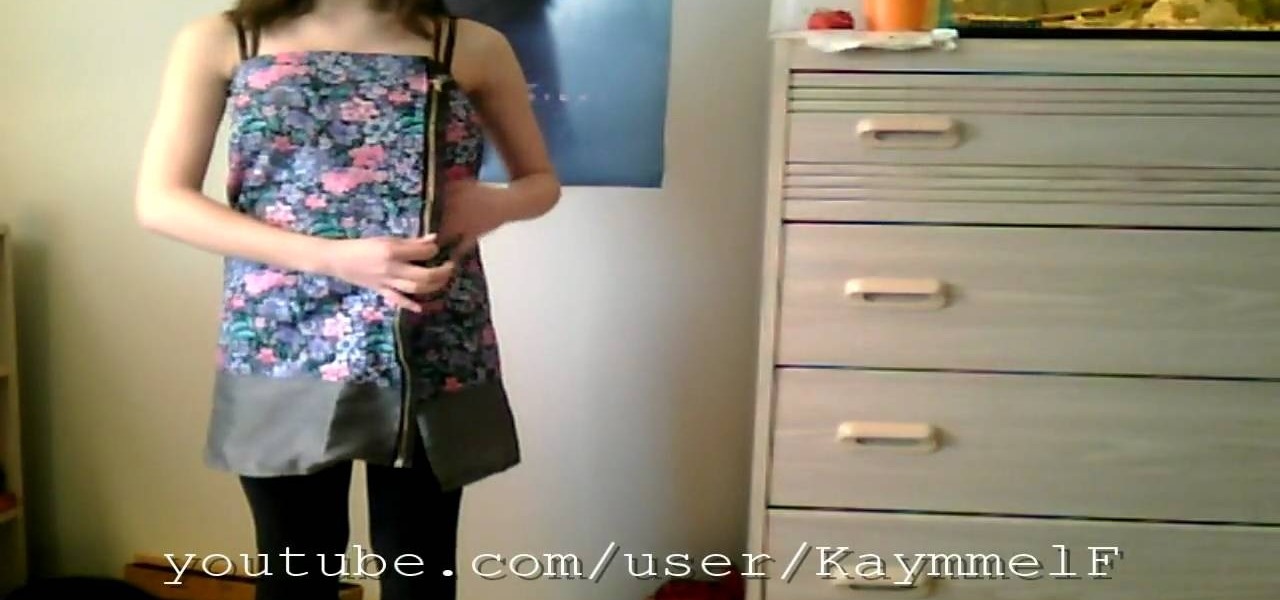
You really can't go wrong with florals and zippers. The two fashion trends are indeed opposites, with florals being overly dainty and zippers being more punk rock, but when you combine them together you achieve a striking balance.
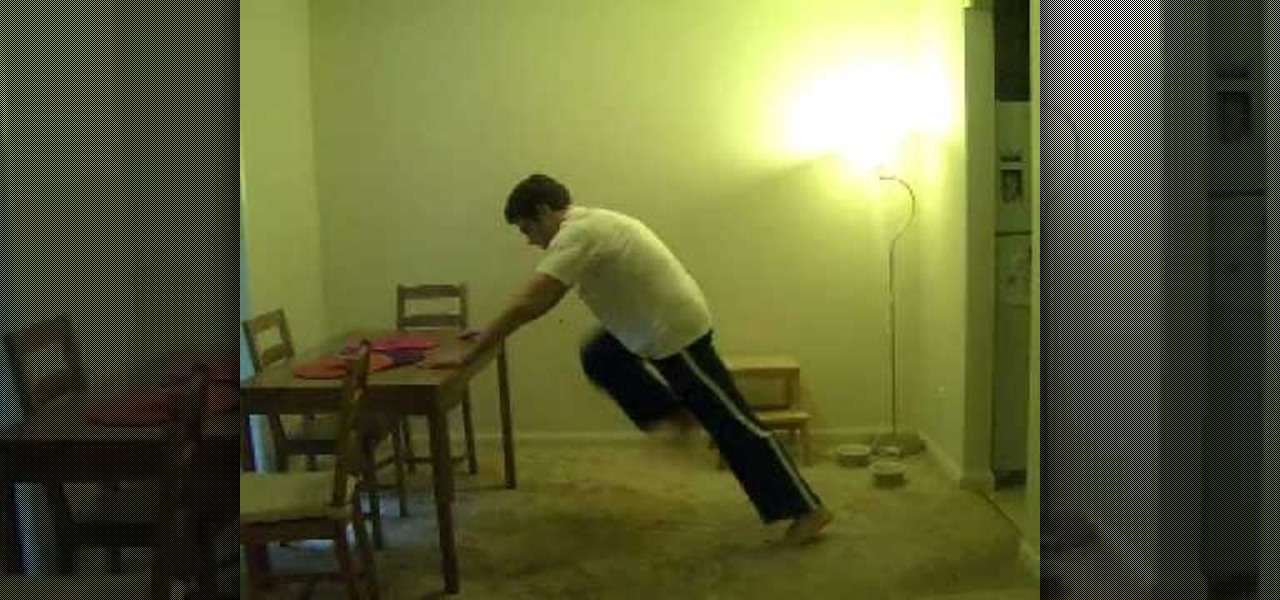
In this video, we learn how to slim down with a "mountain climbing" exercise at home. Sit-ups and crunches are not effective for slimming down your abs, doing this exercises will help with a good diet! To do this, you will place your hands on a table and lean slightly into it. Now, bring your knees into your elbows, which will work your abs. Do this for about thirty seconds, then do this same exercise, except while leaning on a chair that is lower down to the ground. Change it up by crossing ...
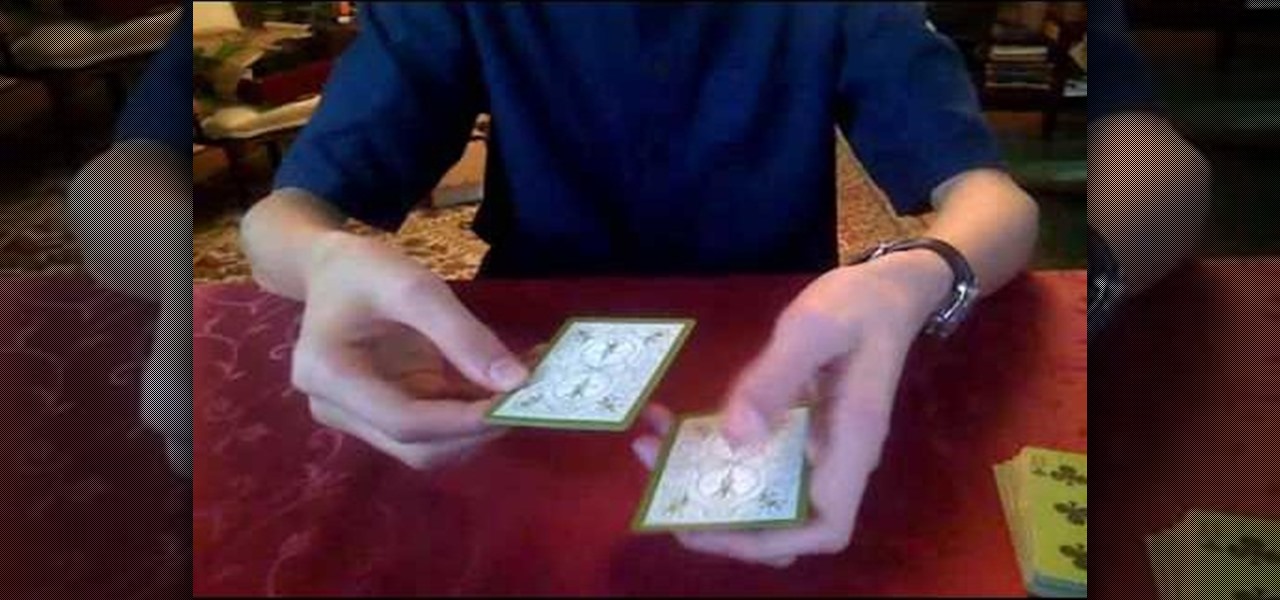
The Jordan Count is the exact opposite of the Elmsley count. The Elmsley count places the card on the bottom. The Jordan Count hides the bottom card, and it places the cards back in their starting position.
In this tutorial, we learn how to fake side swept bangs. First, straighten and brush your hair. After this, you will take the hair from one side of the head and use a comb and brush it to the opposite side. After this, grab hair spray and spray it onto the bangs. After this, comb the hair again and then work the bangs with your fingers. Next, use more hair spray to make the bangs more firm and stay in place. Continue to do this process until your bangs are completely to the side and they are ...
In this tutorial, we learn how to play a ghost catcher. First, you want to place your index finger on the top of the end of the ghost catcher, then use your other fingers to help hold it. Now, place your mouth on the other end of the instrument. You will pick the strings with your right hand and put the ghost catcher in the left corner of your mouth. Start strumming with your index finger, while still holding it with your other hand. Push your thumb the opposite way, going down instead of up....
In this video tutorial, viewers learn how to find the length of a triangle using sine. This task is very easy, fast and simple to do. This formula can only be done on right triangles. Begin by finding the angle first and figure which trigonometric ratio to use. Then find which sides are given. For sine, users need to divide the opposite and hypotenuse of the triangle. Then cross multiply it with the sin degree to find the length of the triangle. This video will benefit those viewers who are s...
In this video, we learn how to perform a crossover dribble. This is an effective move to allow the opposite player to get by the defender. All professional players use this move so they can score or set their teammates up for a shot. To set this up, come full speed at the defender and look right into their eyes. After this, you will scare the opponent and be able to go make your shot. Make sure you move your body quickly and lean forward while you are doing this, so you get the most effective...
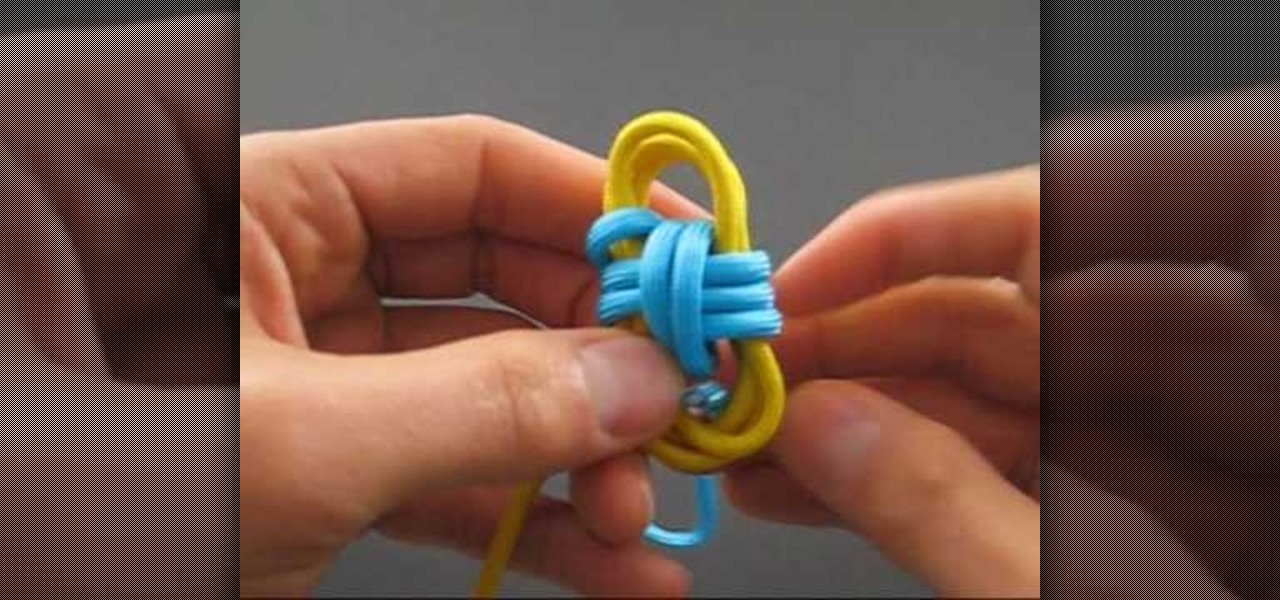
In this tutorial, we learn how to tie the two color monkey's fist knot. First, make a double overhand knot, and snip the edges off. Next, create the monkey's fist by taking one of the ropes and looping it around the fingers several times. After you do this, push the knot through the fingers and tie the other string around the entire loop several times. Push the string through the loop, then continue to tie on the opposite side around itself. To finish this up, Pull the two outside strings tog...
In this tutorial, we learn how to make a paper flower pot. First, fold your paper into a triangle then crease and unfold. Next, fold the paper in half to make a rectangle, then crease and unfold. Do this on the other directions, making creases for each. Now, flip the paper over and make a triangle, then crease and unfold. As you unfold, push the sides in, the squish down to make a square piece. Fold the open end of the square base to the opposite corner, then fold a triangle from the top in t...
In this Arts & Crafts video tutorial you are going to learn how to fold an origami ninja star. Take a normal paper. Fold it diagonally from one corner and cut off the extra portion to make a square. Fold it in half and cut into 2 rectangles. Fold each piece in half along the length. Fold both ends of each piece in opposite directions to make a triangle. Now fold the ends again to make a bigger triangle at both ends of each piece of paper. Each sheet will form a 'Z' shape. Now place one sheet ...
In this tutorial, we learn how to do an arrowhead stitch when embroidering. Start off by pushing the thread through, then pulling it under, then back through at a diagonal angle. After this, thread it back through, making the same angle on the opposite end. As you continue to do this, you will start to see arrows forming after two stitches. Place the arrows one in front of the last to make the stitch complete. When you are done, you will thread the needle through the bottom and tie it. After ...
In this video, we learn how to sing in the vocal fry style. Start by using your throat to sing higher with music notes being played on the piano. You will make a noise with your throat that is similar to Elmer Fudd the cartoon. Don't worry about how your pitch sounds with this, it's just about getting your voice stretched out to have a more full sound. You want your voice to sound creaky and weird, as you keep going higher with your voice. After, start doing the opposite and singing down in t...
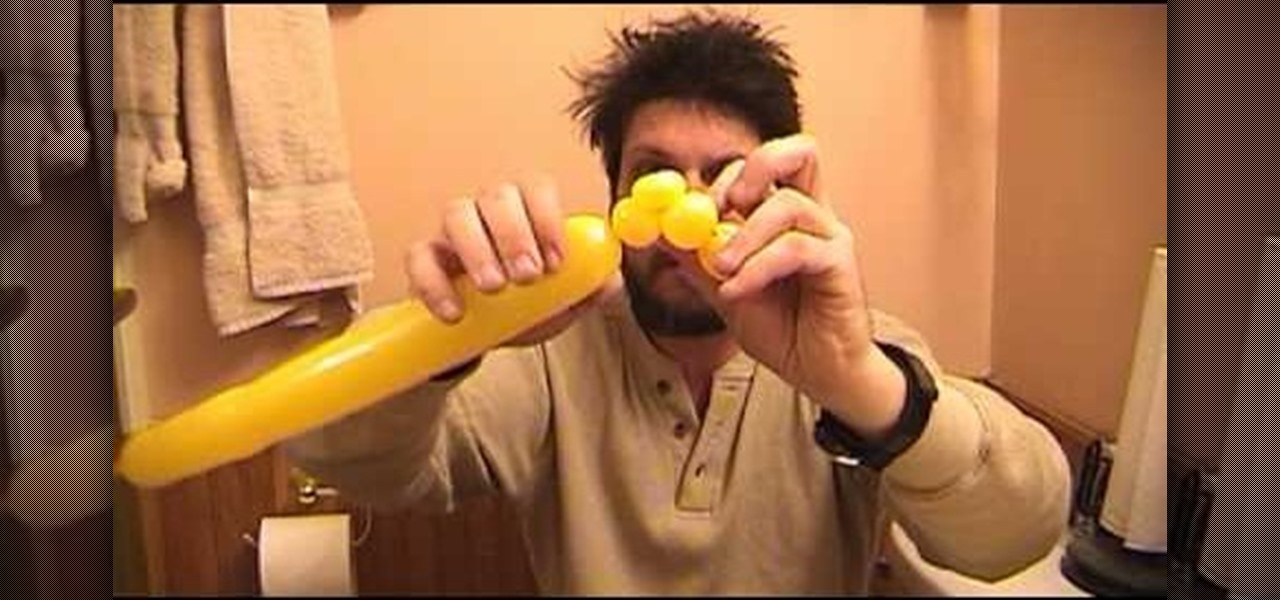
In this video, we learn how to twist a balloon to make a Chihuahua and teddy bear head with balloons. First, take a balloon and make a soft bubble. Next, twist this and make the side of the head and ear. Next, pinch and twist these and bend the side of the balloon. After this, make the top of the head, followed by the other ear and pinch them together. Now, twist a new bubble to match the opposite of it, and twist them at the neck. Shove the snout into the middle of the bubbles, then repositi...
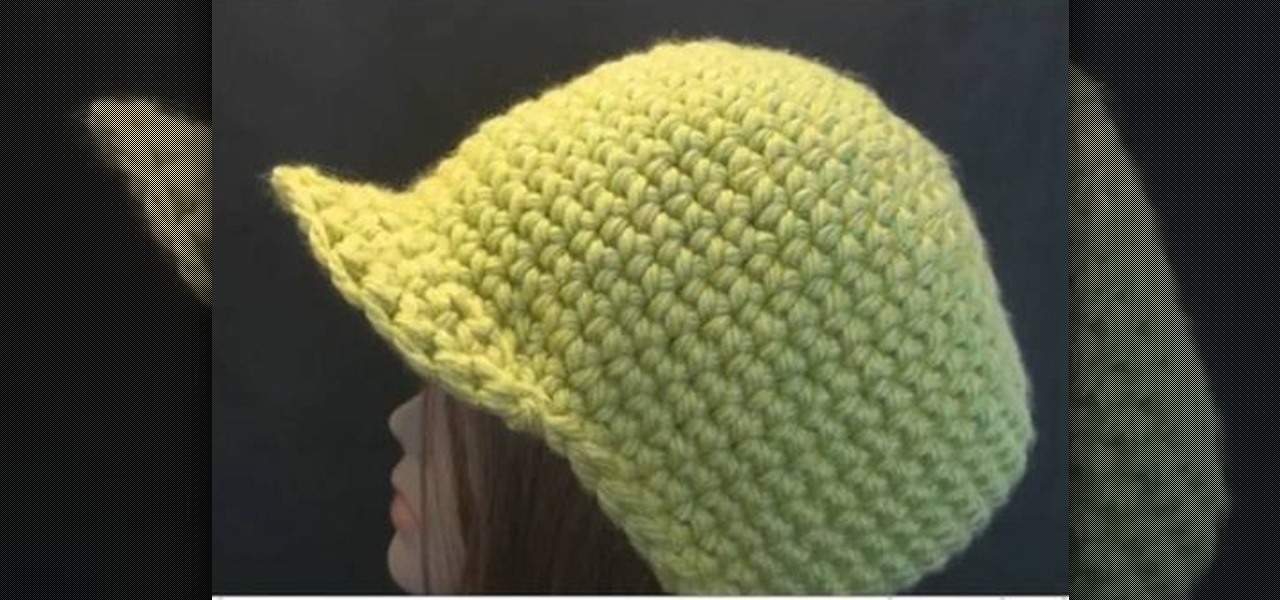
You usually don't hear the words "skater" and "crochet" in the same sentence, but these two rather opposite realms collide within this crochet tutorial. You've probably already seen newsboy caps before: lots of skaters don it because it's cool and also very comfortable. But did you know these skater hats can be made with yarn?
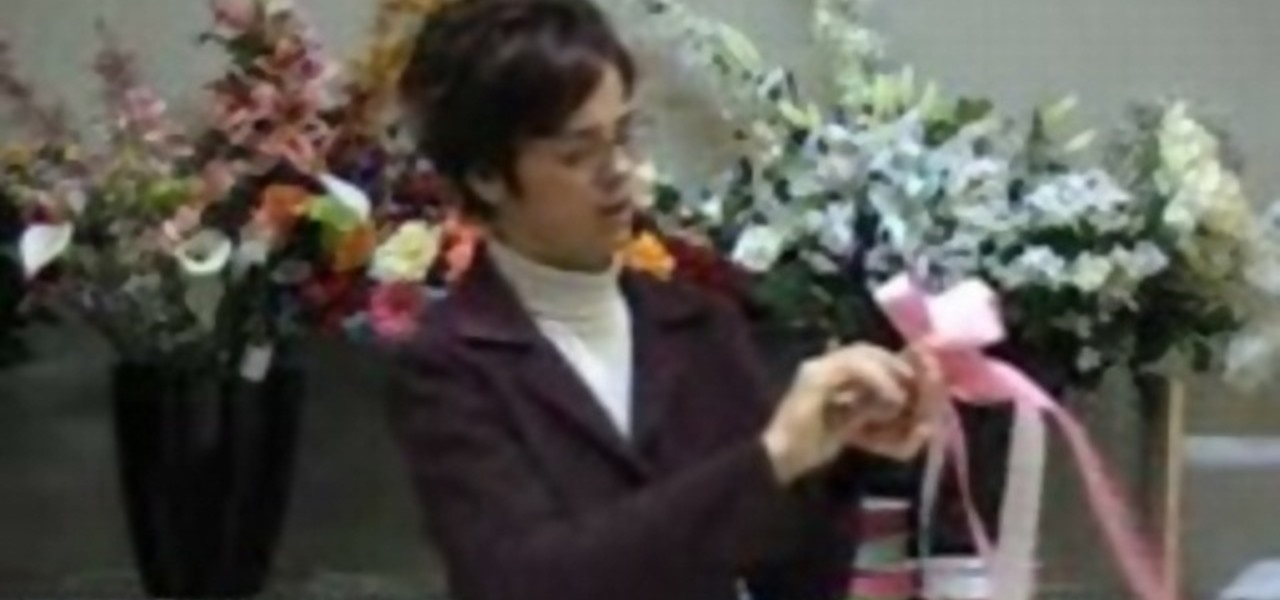
In this tutorial, we learn how to make a double bow with Sandy. First, take two satin ribbons of different colors and place one on top of the other. Leave a long tail, then make a large loop and scrunch it in. Make a loop on the top and a loop on the bottom. Each should get a half a twist and be opposite of the one you made before it. Practice with a single ribbon before you do this one. After you have six loops, create four more to make a bigger bow. When finished, you will have six large lo...
In this tutorial, we learn how to tie a necktie the easy way. The first step is to take your tie and estimate how long you want it to be. Now, lay the tie on a flat surface and take the bottom of the diamond on the tie and flip it under to create a loop. Now, take the long end of the tie and create a loop the opposite direction. Now you should have two loops. Next, turn the second loop upside down and twist it into the other loop. Pull the fabric through the top hole on the loop and then slid...
Cory teaches us how to do a high pitched scream in this video tutorial. This is the same as a low scream, just higher in pitch. The first this to do is to let out a lot of air when you are using a high pitched scream. This is the opposite of what you would do for a low pitch yell. The next thing to do is to position your tongue in your mouth. The tongue should be up to the front of your mouth touching your bottom teeth. The last thing to remember is to use a different spot in your throat, fin...
In order to set up a tent, for a camping trip, you'll need to lay out all of the parts of the tent. Place the poles at the end of the tent. Work on opposite sides. Inserting the pole on both sides. It may be easier with two people. Once you insert the pole, then you'll need to snap it, fastening all the snaps. After you have completed this step, lay the fly over the tent. Snap it in place, in all four corners. Make sure that sides are below the mesh. Now, you can stake the tent. Staking the t...
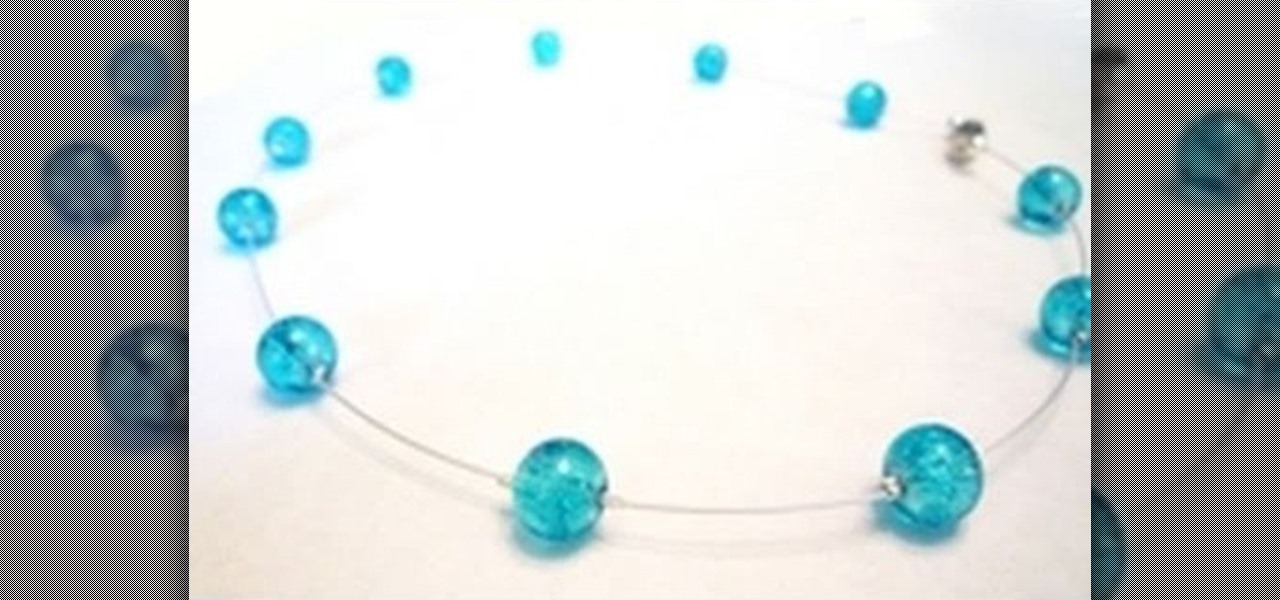
In this tutorial, we learn how to make a floating illusion style necklace. You will need: beading wire, crimping pliers, wire cutters, beads (your choice), crimp beads, crimp covers (3mm), and a clasp (barrel clasp). First, cut your beading wire to the length you want your necklace, add 3-4 extra inches. Next, space your beads out on a beading board evenly, 1 1/2" apart. Now string a crimp bead onto your wire and take the end of the wire and string it through the crimp bead on the opposite si...
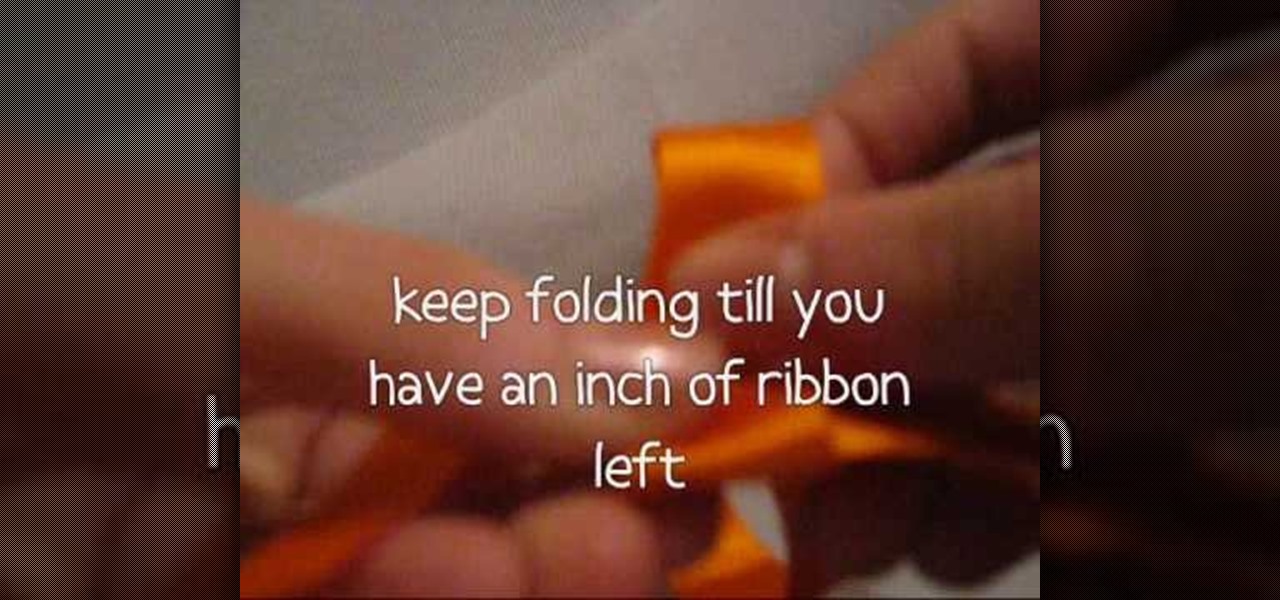
In this video tutorial, viewers learn how to make a ribbon rose. Users will need approximately 60 cm of 16 mm of satin ribbon. Begin by folding your ribbon in half and then pinch fold the end. Now fold the front half sideways and pinch it in place. Then turn it over and fold the ribbon to the opposite side. Keep folding until there is only about 1 inch of ribbon left. Users should end up with a pile of little folds. Pinch the two ends together and let go of the pile. As you pinch the ends tog...
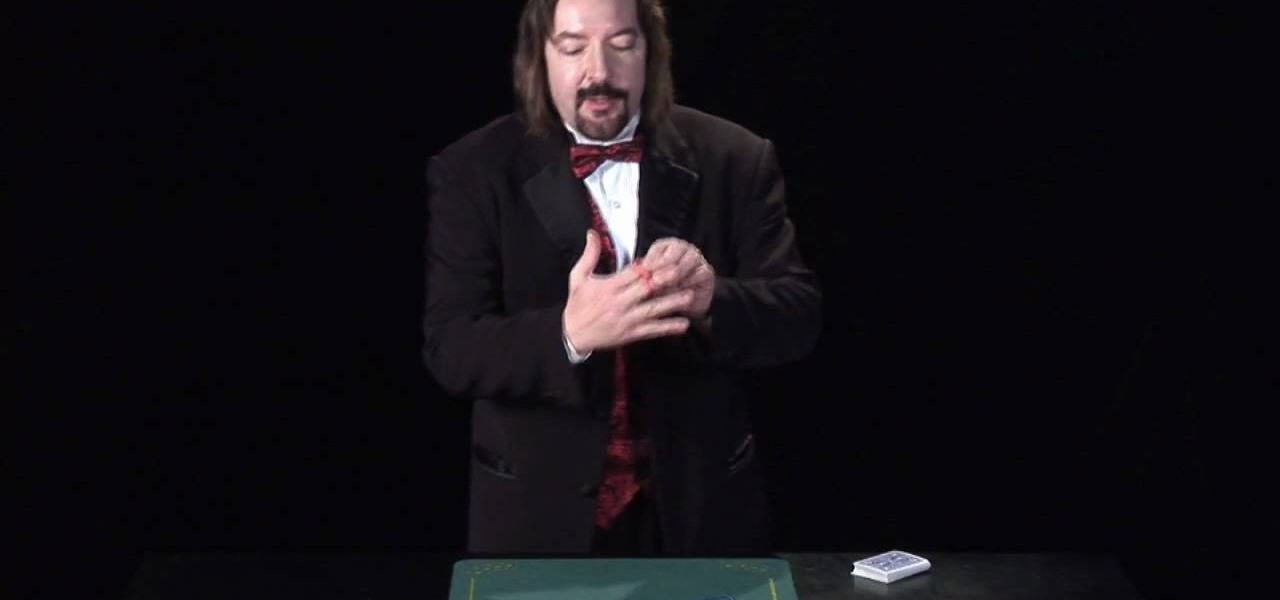
In this video, we learn how to perform a color changing card trick. To do this, you need to take a card and put it in the palm of your hand. If your hands are smaller, use smaller cards than poker size cards. Now, bring everyone's attention to the deck of cards that's in your opposite hand. Bring the hand with the card in it over the deck in the other hand, and quickly replace it, so they think it magically changed what kind of card was in your hand. Make sure they can't see the card in your ...
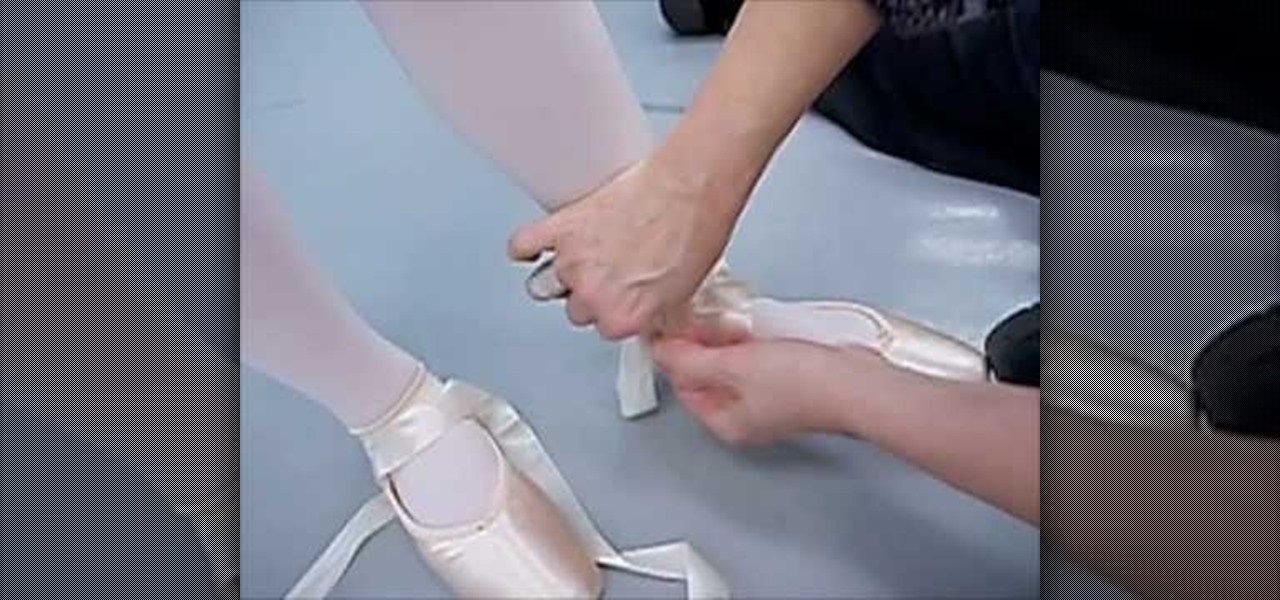
In this video tutorial, viewers learn how to tie pointe shoes in ballet. Begin by putting on the shoe and tie the small lace. Then cut off most of the excess of the small lace (about 1 1/2 inches) and tuck it inside the shoe. Now wrap the inside ribbon of the shoe one time around the ankle and tuck it back. Do the same with the other ribbon, except do it the opposite way and then tie the ribbon together. Now cut off the excess ribbon and tuck it in. This video will benefit those viewers who a...