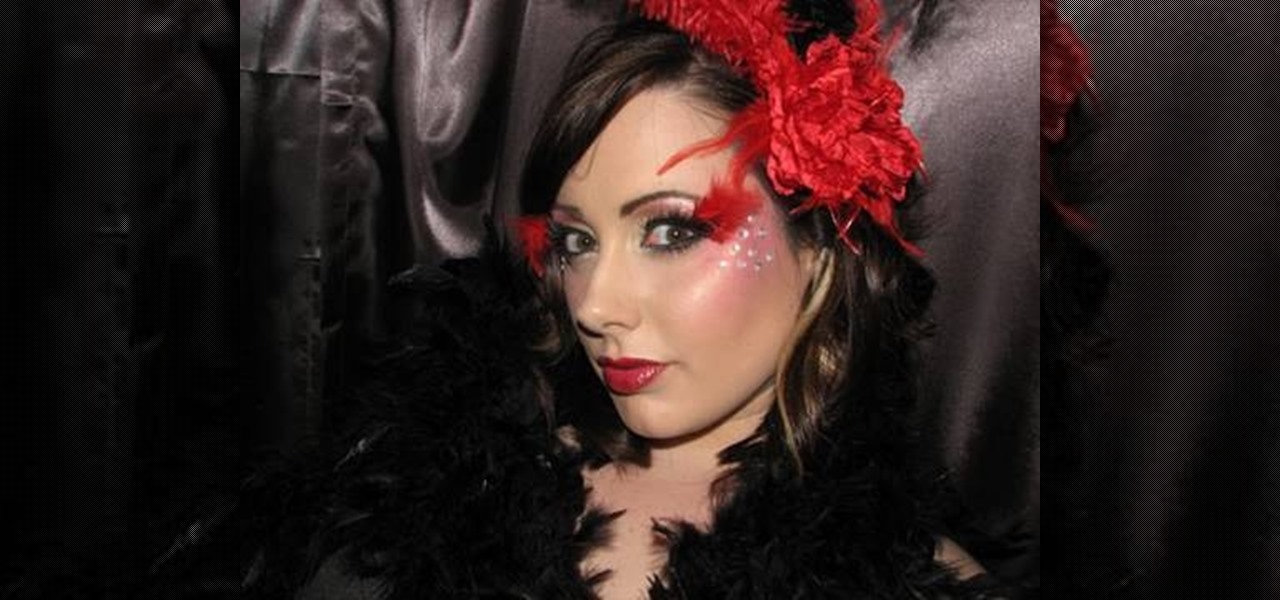
In order to Create a Moulin Rouge makeup look for Halloween, you will need the following: primer, yellow eye shadow, brown eye shadow, a red eye shadow, a light brow bone color, liquid liner, lip liner, a headband, lipstick, jewels, lash adhesive, and false eyelashes (standard and ornate).

In order to perform a Back Tuck in gymnastics, you should stand with your legs hip distance apart. Next, you should squat down. Don't squat too deep, because it will decrease your power. But, it should be a good deep squat. Swing your arms behind you at the same time. Next, jump up into the air, swinging your arms through and up. Extend your body as much as you can, from your fingers to your toes. When fully extended, your arms should be near your ears. When you have extended as far as you ca...
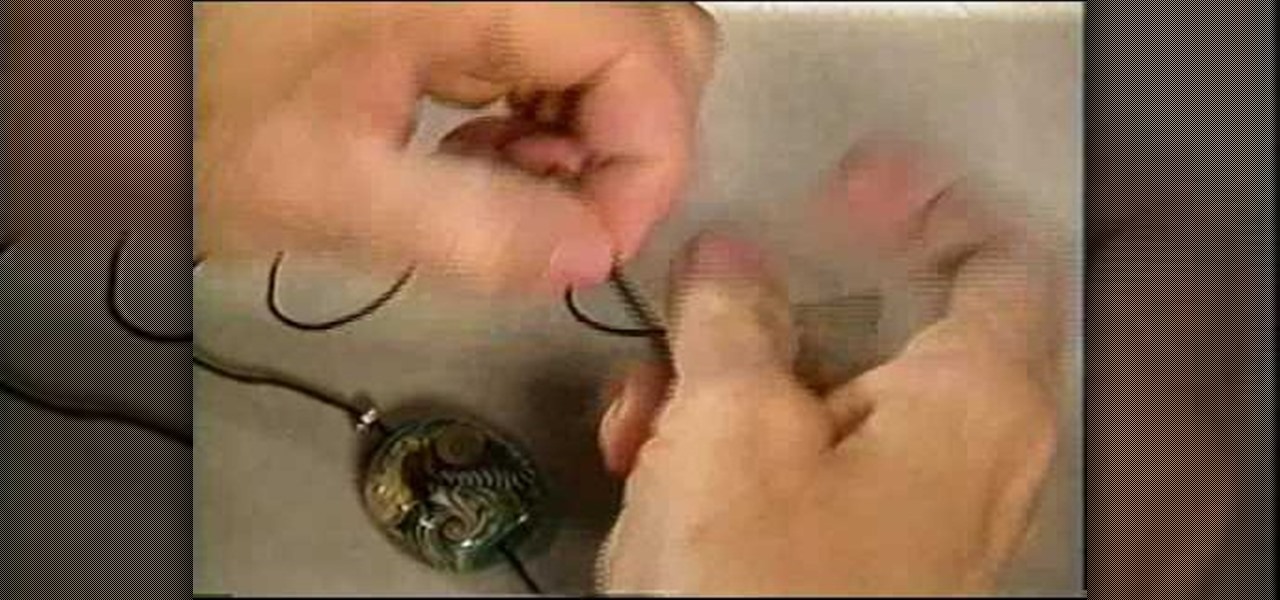
The phrase "you can never have too much of a good thing" isn't particularly true when it comes to jewelry. While we love our bohemian tree pendants and dangling chandelier earrings, we don't like the fact that they weigh five pounds and pull down on our ears and/or necks.
We've always had the impression that the only women who wear pearls are those who also own McMansions and tie cable knit sweaters around their shoulders at yacht club soirees. But now that we've seen this jewelry craft - a pair of chunky blue green glass pearl earrings - we're taking a second glance at these pearl things.

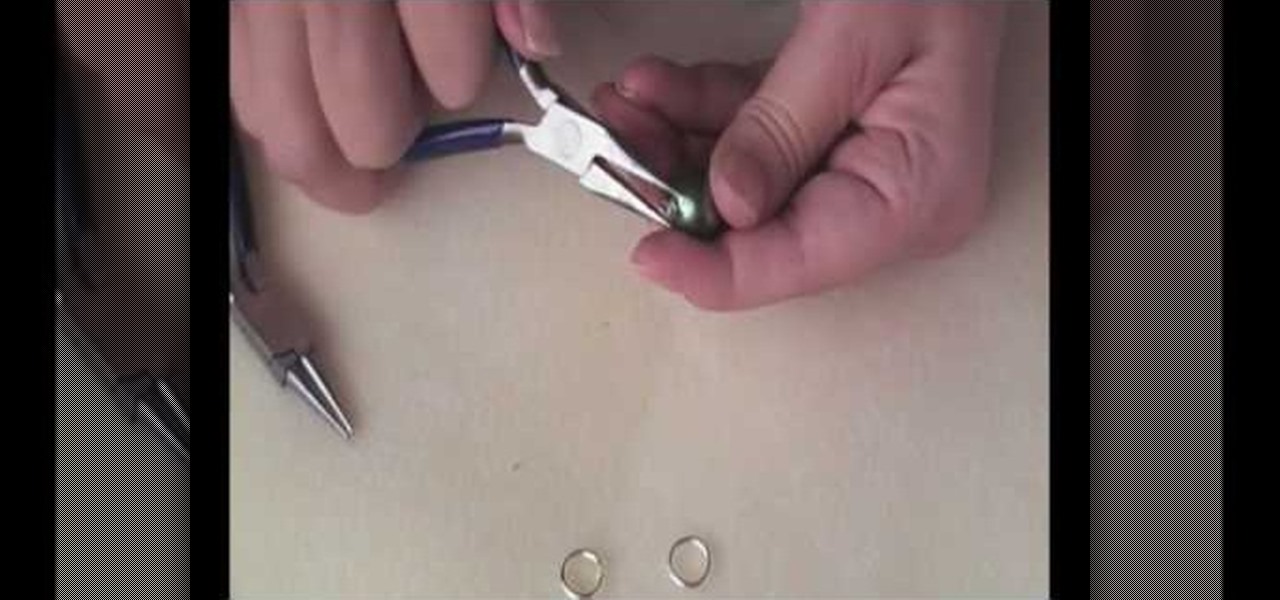
In order to make a hook for an earring, you will need the following: round nose pliers, a wire cutter, a nail file or sand paper, an ink pen, 20-22 gauge wire. With your round nose pliers, make little hook, in the end of the wire. Bend it, until it makes a little loop.

In this video, we learn how to get a spunky hairdo with a fishtail braid. First, make sure you have straight and clean hair, then grab a teasing comb and tease from the back of your hair up to the front to give your hair a more volumized look. Spray with hair spray, then let the hair down and gently brush the top to make it appear soft and not tangled. Once you're done, bring the hair back and place into a side pony tail, tied with an elastic behind your ear. Now, take a rat tail comb and lif...

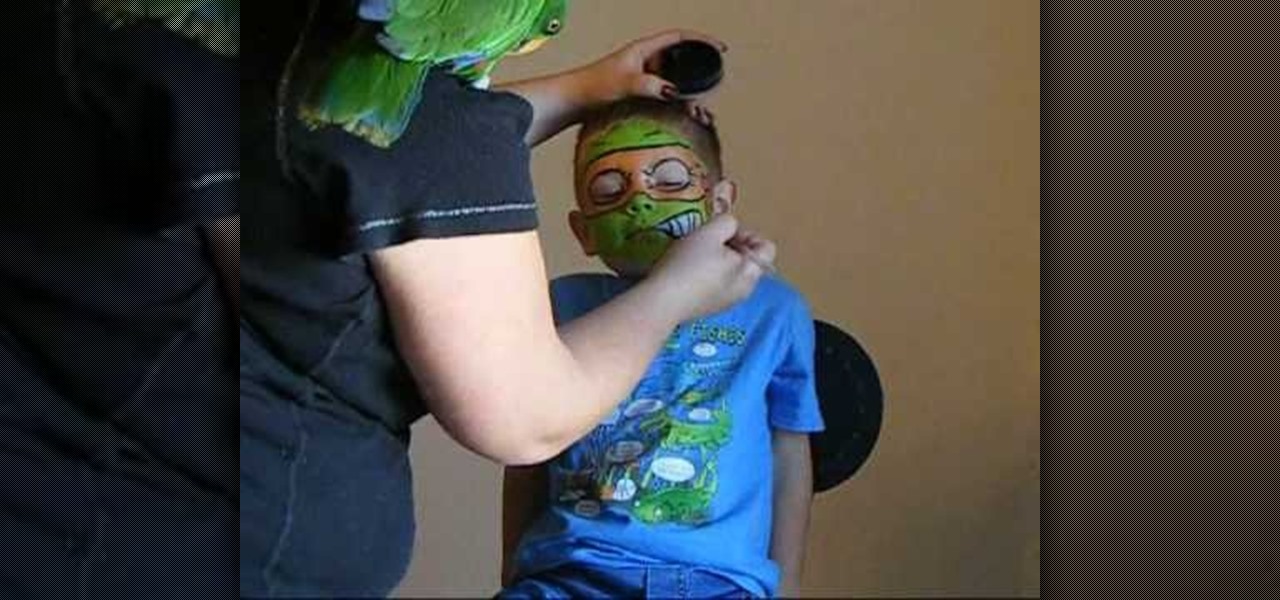
We are painting the ninja turtle-Michelangelo. Use orange metallic to cover over face. Put orange metallic around the eyes and ears. Use green metallic on forehead and across the nose, chin, mouth and cheeks. Use white close to the mouth for smile and teeth. Take black paint and give a bandit face. Outline the eyes, forehead. Place wrinkles around the eyes and make knots on the side of the face to make it look like a tie. Make the ninja turtle mouth smile.
In this tutorial, we learn how to catch more crawfish. First, you will need to have a crawfish trap that is long and has a large door on it. Some different kinds of bait that you can use include: blue gill, shell crackers, red ears, perch, and any other fresh water fish. Take the bait and place them into a hook on the outside of the trap. You will want to hook them through the eye and place as many as you can on the hook. Now, you can place the trap into the water and close the trap up. Now, ...
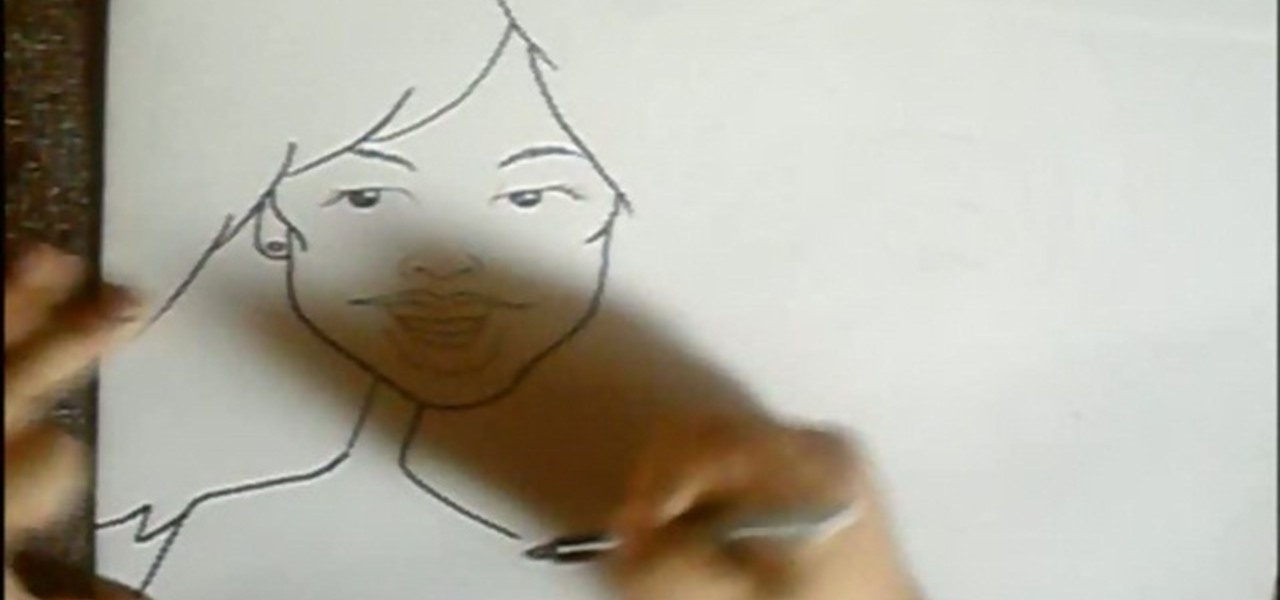
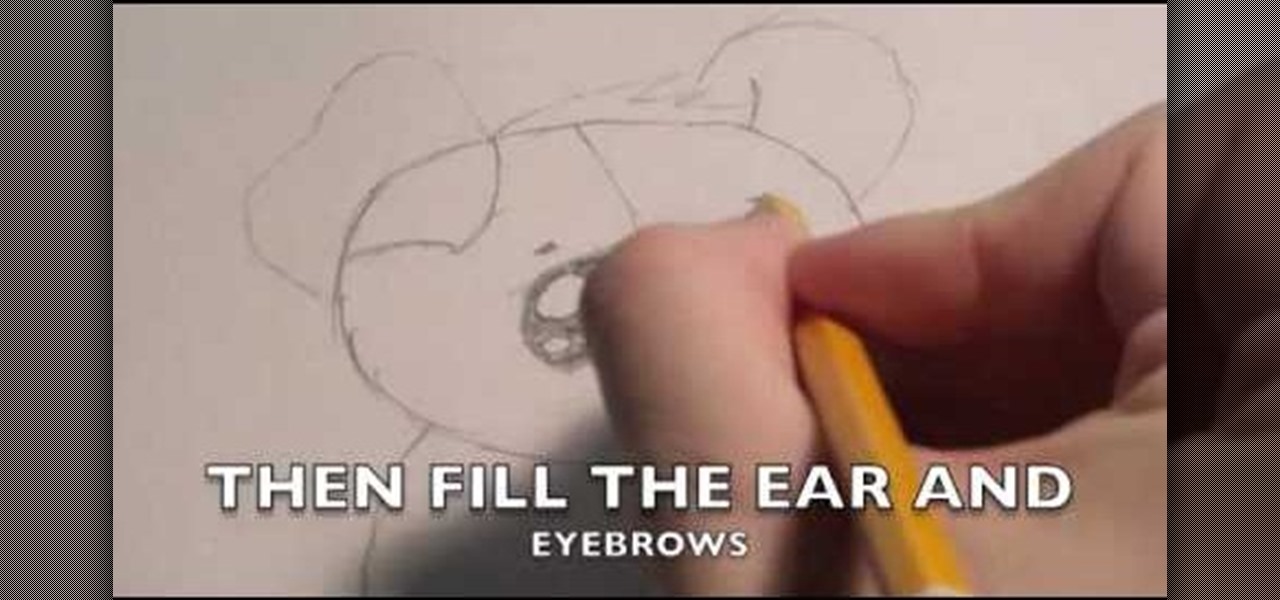
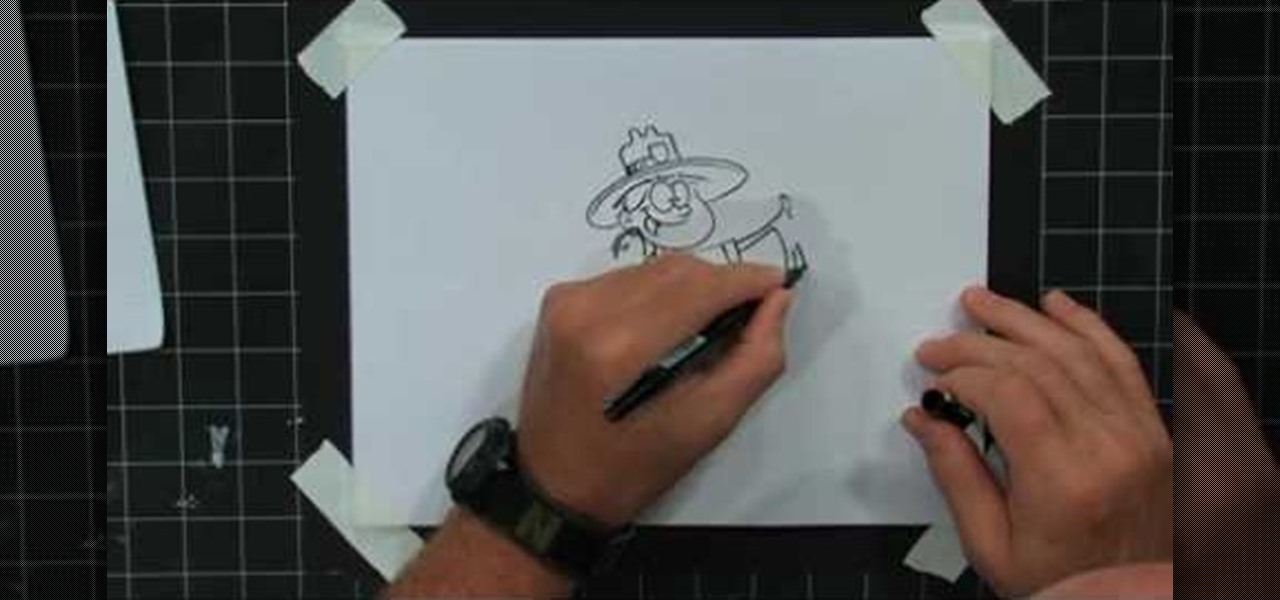
In this tutorial, we learn how to draw cartoon caricatures. Start off by drawing the eyes and the eyebrows. Next, draw in the hair on the forehead and then start to make the face surrounding the hair. After this, you will need to draw in the ears and make a note to draw in any prominent features that the person you are drawing has. Make sure to draw larger lips and a small neck, making the head look larger. For men, do the same thing and give each of the pictures a bit of personality! Don't b...
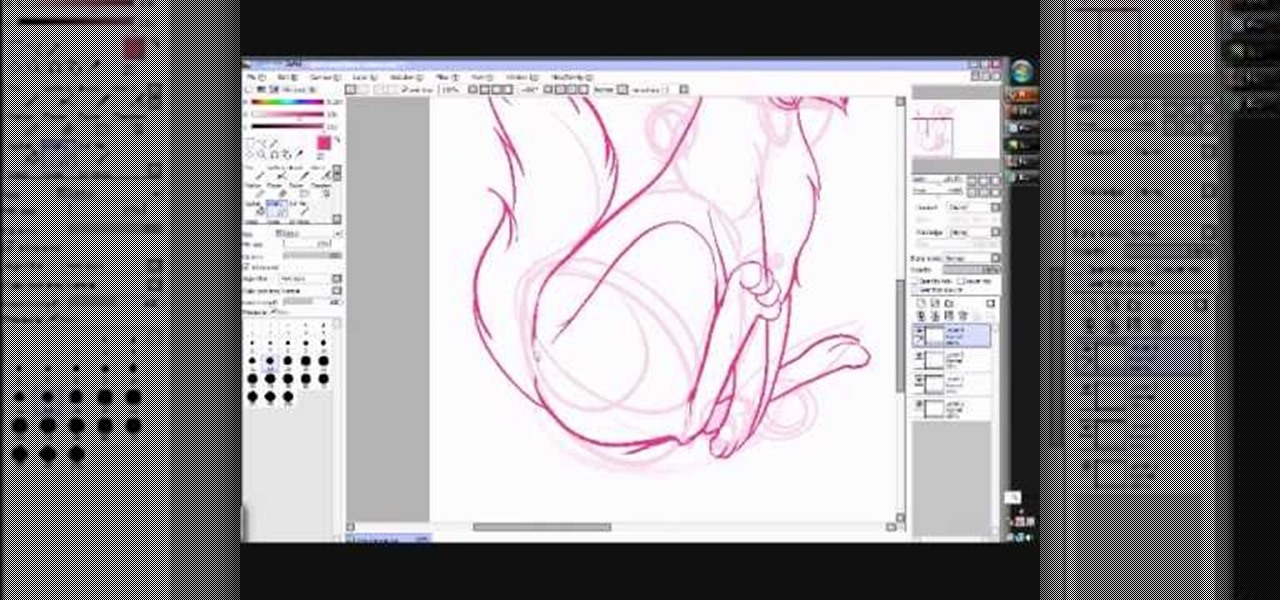
In this tutorial, we learn how to draw Neopet cartoon cats. First, use a small brush to create the outline of each of the cats. Use light strokes to make the outline, then start to add in the details onto the cat with a darker colored brush. Add in the details of the face, including the whiskers, mouth, and eyes. Don't forget to add on the ears as well. Erase and lines that are on the back of the drawing, so all you see is the darker and more exact lines. Continue on drawing the body, making ...
In this video, we learn how to draw Naruto. Start out by drawing a circle as the outline. After this, draw the jawline. Next, draw lines in the middle so you know where you are going to draw the eyes and the rest of the facial features. Next, define the features on all the different parts of the face. Start to add in shading to the face, then draw in the hair. Next draw in a hair band at the top of the head, followed by spiked hair coming out of the top and ears on the side of the face. When ...
In this video, we learn how to draw Hamtaro. Start off by drawing the large head, followed by the body and the ears. After this, draw the arms and legs onto the character. Next, outline the drawing in a darker pen, then add in additional details. Draw on the eyes, nose, and pupils. Don't forget to draw on the paws and feel as well as lines to make it look like fur. To finish up this picture, you will need to add colors to the hamster. You can go with the traditional colors, or change them up ...
In this tutorial, we learn how to draw Totoro. Start off with the ears, then connect the top of the head around them and continue to draw the rest of the head. Fill in the eyes and the nose on the face, then make lines on the side of the face to show whiskers. After this, draw an egg shape as the rest of the bottom, then add hairs onto the stomach area. Draw small little lines on the bottom of the character to make it look like he is sitting on something. To finish, draw the character holding...
Michael Weisner teaches us how to draw an adorable little puppy in this tutorial. Start out by drawing the outline of the dog, drawing in all the details as well as the body. After you have the base done, grab a Sharpie and start to draw the top of the head and the ears. Make lines on the top to make it look like the dog has fur and don't forgot the eyes and nose on the face. After this, trace out the rest of the body, including the front and back paws. Make sure to add in any shading you fee...
In this tutorial, we learn how to draw the anime character Tobi. Start off by using light pencil markings to outline the face and the head. After this, use a marker to draw in the eyes and pupils. Next, draw in the eyebrows over the eyes, then make a small mark for the nose. Draw in a line for the mouth, then make one of the eyes a diagonal line, like the character is winking. Start to outline the chin, then draw in the ears and start making the hair. The hair should be spiked and going down ...
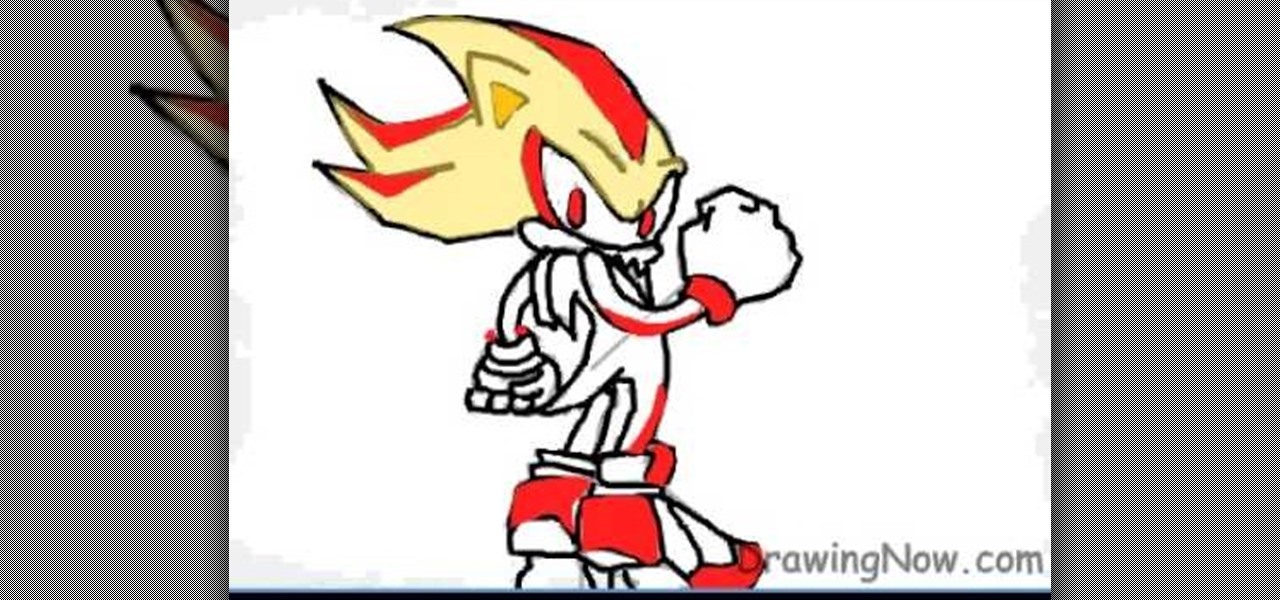
In this tutorial, we learn how to draw Super Shadow from Sonic the Hedgehog. Start off by drawing the spikes for the hair, then draw the ears and the eyes on the face. After this, draw the arms, upper body, lower body, and legs. When you are finished with this, use a dark pen to outline the cartoon character and draw in any additional details. Next, you will add in colors to the character, using reds on the outside of the hair and legs, then orange and tan on the inside. Finish this off with ...
In this tutorial, we learn how to draw a cute puppy. First, you will use a pencil to draw the outline of the body of the puppy. After this, start to draw the details of the face and add in the ears and details for the hair. Next, draw in the pupils of the eyes and then draw in the nose and the mouth. After this, draw in the details on the body and add in lines and shadowing. After this, add details to the paws and then erase any lines that you don't need. When finished, color this in or leave...
In this video, we learn how to draw a wolf step-by-step. First, draw out an outline of the body using circles and lines to show where the legs will go. Next, make the snout for the nose and then draw in the ears and the eyes. Next, draw in lines around the outside of the wolf to show that it has fur. Next, use a darker pen to outline the wolf, then add in details to the legs and the rest of the lower body. Add in a tail that is curved but not high in the air. When you are done, you will have ...
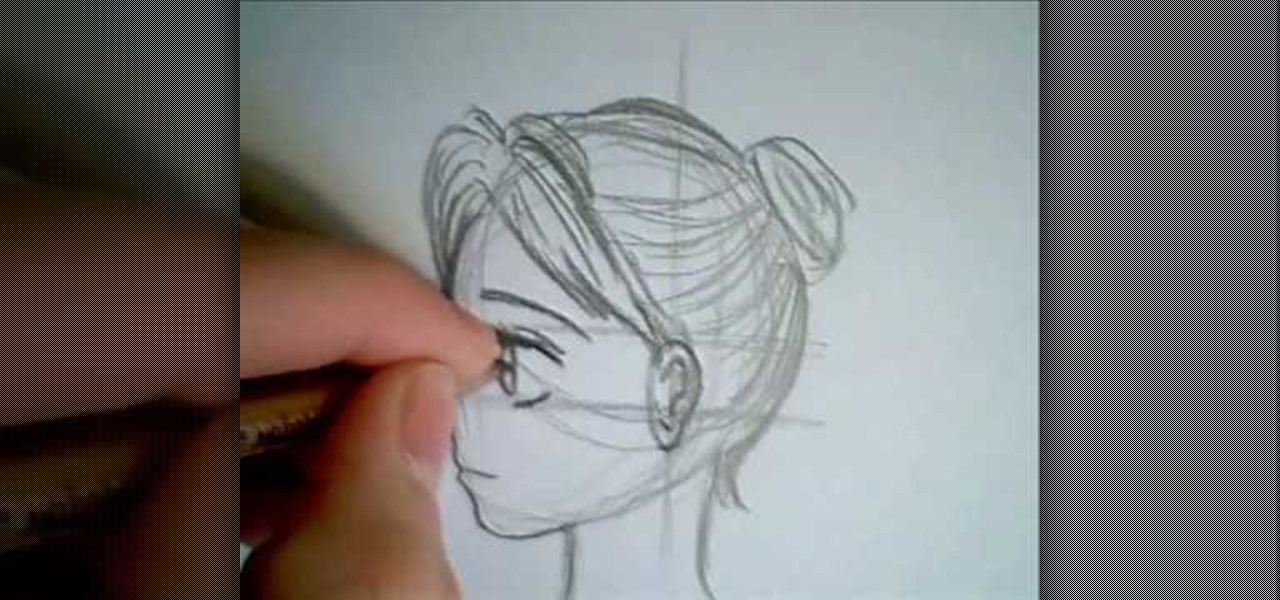
In this video, we learn how to draw a manga face sideways. start by drawing a round circle with a light pencil. After this, draw a chin that is from the side view. Next, add on the nose and make the chin look more prominent, like you are seeing the profile of the face. After this, draw on the ear to the center of the face, then start to add in further details. Make the eye and add shading by the nose to make it appear as though there's another eye. Add in eyelashes, then start to add in hair ...
In this video tutorial, viewers learn how to draw a chibi-style animation face. This task is very fast, easy and simple to do. Begin by drawing box-like face with any type of angle, depending on the character's emotion. Then add an ear. Now draw the eye. Make sure that the eyes are exaggerated and over-sized. Then draw a small nose in the center of the face and add a mouth. Add detail to the mouth such as: teeth, tongue and a chin. Finally, add the eyebrows and hair. This video will benefit t...
In this tutorial, we learn how to draw azure kite. Start off by drawing the face, then draw on the hat and the upper body. Next, you will want to outline the rough draft that you first made and start to add in details. Color in the hair and the hat, as well as the skin and the outfit. Add in wrinkles and buttons on the clothing as well. Add in the eyes to the face and include the nose, mouth and ears. Place the tattoo on the side of the face, then add in shading on the entire body. When done,...
In this tutorial, we learn how to draw Timmy Turner. Start off by drawing the head, making the front round and the body will be a triangle shape. The back of his head should be a triangle as well. Draw two large circles on the face, followed by arms and legs coming off of the body. Next, draw ears onto his face followed by a shirt and pants on his legs. Draw Timmy's mouth with a large smile and two teeth at the top. His eyebrows should almost touch in the middle, then don't forget to add on h...
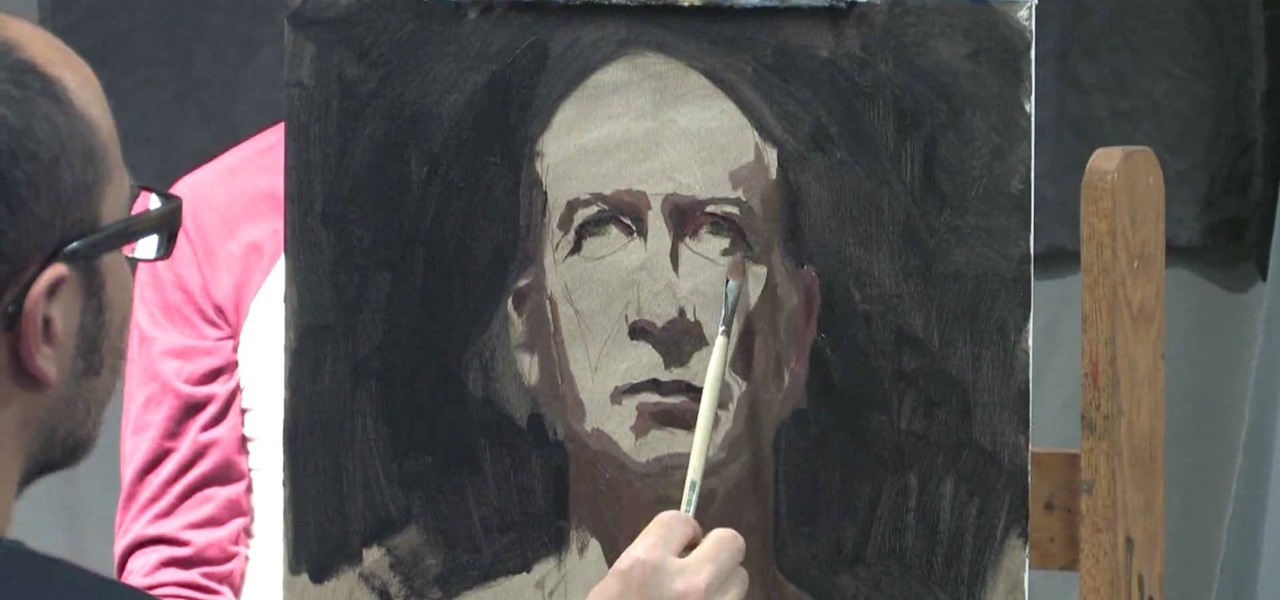
In this tutorial, we learn how to paint a portrait. Start off by having a subject to draw, then hold your paint brush loosely. Start to outline the face of the subject, then paint in the facial features. Shade around the eyes and cheekbones, and add the ears to the face. Use the paintbrush to create different types of strokes to the painting that fit the face you are looking at. Use shading to your advantage, because this can make a person look older or younger, depending on where you place t...
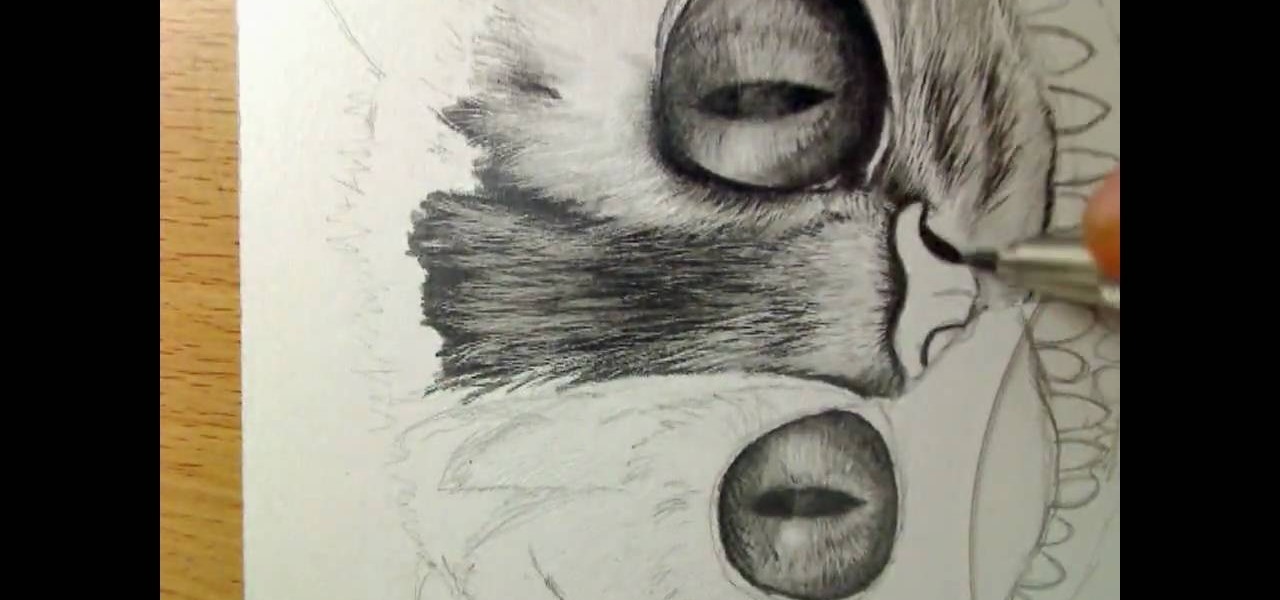
In this tutorial, we learn how to draw Cheshire cat in Tim Burton's Alice in Wonderland. Start out by drawing the large eyes, then drawing in the nose and face around the cat. Add in the many teeth, then draw on the ears of the cat. Shade in the eyes and make the pupils diamond shapes for a more realistic cat look. After this, shade in areas and make it look as though there is hair on the cat. After this, shade in the nose and add hair around the outside of the cat. To make this look more rea...
In this tutorial, we learn how to draw Umbreon from PokŽmon. Start off by drawing the head and using crossing lines as the reference points for the eyes. After this, draw the neck and body underneath the head. Next, draw the feet, rear legs, and tail as well. Use your pencil to add lines on the sides to make the fur look real. Next, start drawing in details to the character, including; ears, paws, and eyes. Also, draw the nose and mouth to the character. After this, start to shade different p...
In this tutorial, we learn how to draw a cartoon critter. Start out by drawing a little fat body with two arms and two legs. Next, draw on two large bunny ears on the head and create eyes that are giving a mean look. After this, create the mouth to be open with sharp teeth inside. Next, use a dark paint brush to outline the image and draw a gun in the bunny's hand. Draw details onto the critter by making hair and a belly button. After this, paint in any colors you would like, then save and pr...
In this tutorial, we learn how to draw a cartoon park ranger with Bob Ostrom. Start off by drawing two eyes touching each other, and a nose coming off of the second eye. Next, draw a large mouth for the smile, and now draw the head around the character. Draw ears on, then give her a park ranger hat and long hair. Next, draw a neck coming down from the head, then draw the chest and arms. Draw a park ranger shirt onto her and a badge as well. Keep drawing down until you make the legs and shoes....
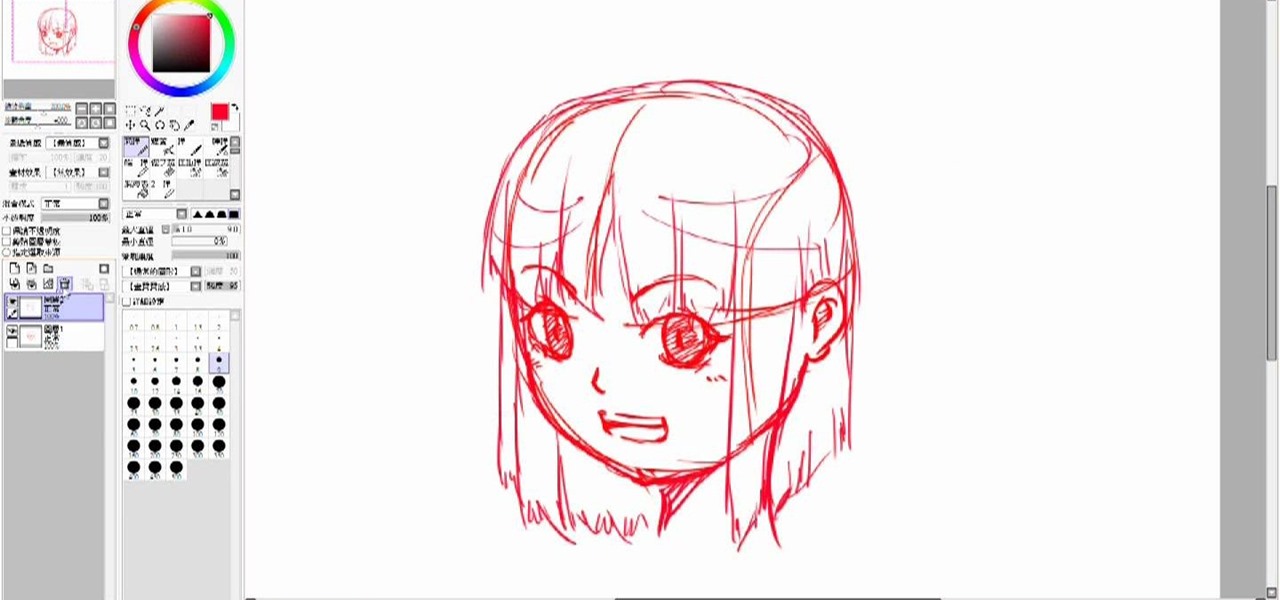
In this tutorial we learn how to draw a manga face. Start off by drawing a circle, after that add a cross in the middle as a reference point for where to draw the eyes, mouth, and nose. After you do this, you can start adding in further details to the face to make it look more realistic. Don't forget to add in lines on the face for wrinkles and pupils to the eyes. Ears should be placed on both sides of the head and don't forget to draw in hair as well. Outline the pictures with a darker brush...
In this tutorial, we learn how to draw Chowder. Start off by drawing the ears, then start drawing in the head underneath. Make sure the face is wide, then draw in large eyes, a nose, and a large smile. Make sure to add the tongue inside the mouth. After this, draw the arms, making sure to add in layers of fat to the upper body. Then, draw in the stomach and the legs to this character. Draw in shorts, then add on a t-shirt as well. Finish this off by adding in a tail, and any more details you ...
In this tutorial, we learn how to draw a cartoon cyborg. Start off by drawing the outline of the body to be wide and fat. Make the hands look like claws and the toes large. The ears should be pointed out and the belly should be large and fat. Add in hairs, eyes, a nose, a mouth, a chin, and nipples to the appropriate areas. Add shading around different areas to give the cyborg a more chunky look. After this, start drawing the mechanical parts on the inside of the cartoon, making machinery par...
In this tutorial, we learn how to draw a husky puppy. Start off by drawing the head, don't use a straight line at the top, make it look like it has hair. After this, continue and draw teeth and a tongue hanging out of the dog if you want it to look happy. Next, add ears to the top of the head and eyes to the face. Give the dog markings and pupils on the eyes. Then, add the nose on with a button shape at the top. Draw out the collar and chest of the dog, then add on the two front feet, the bel...
In this video tutorial, viewers learn how to draw Obi-Wan from Star Wars. Begin by drawing a circle for the head and rectangular shape for the jaw. Then draw a line 1/3 way across the circle. Draw the eyes on the line and the nose just underneath the line. Now draw 2 lines from the ends of the eyes to the rectangular shape. Use those lines as a guide to draw the length of the mouth. Then add the ears, eyebrows and beard. Now lightly draw the hair. Finish by coloring and shading the image. Thi...
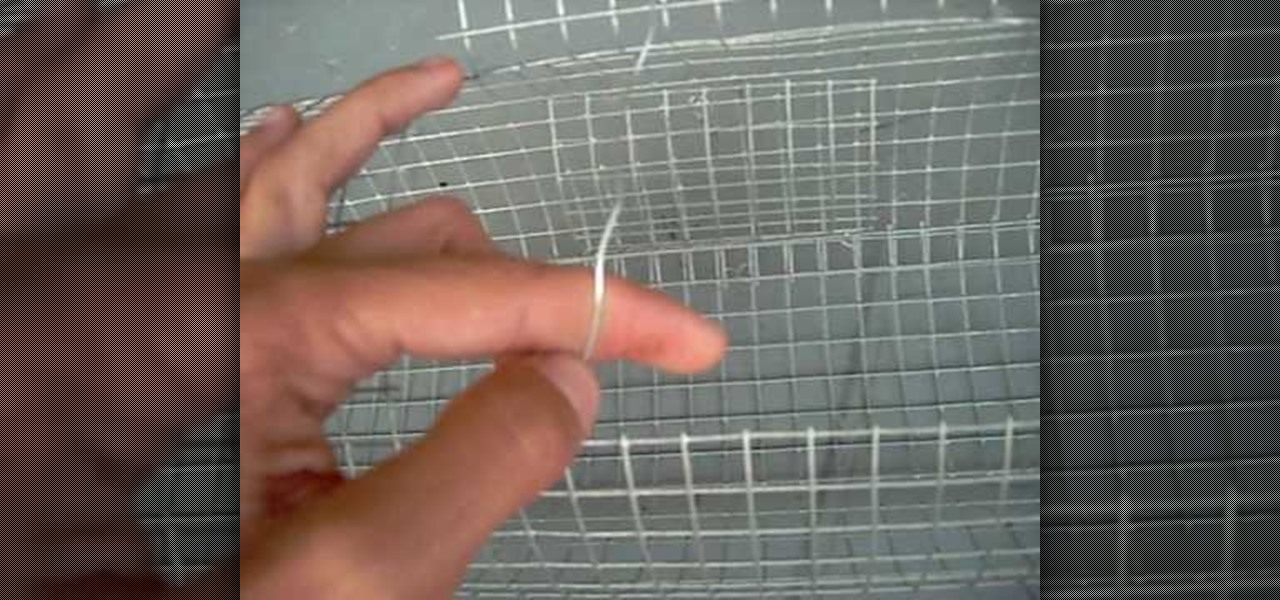
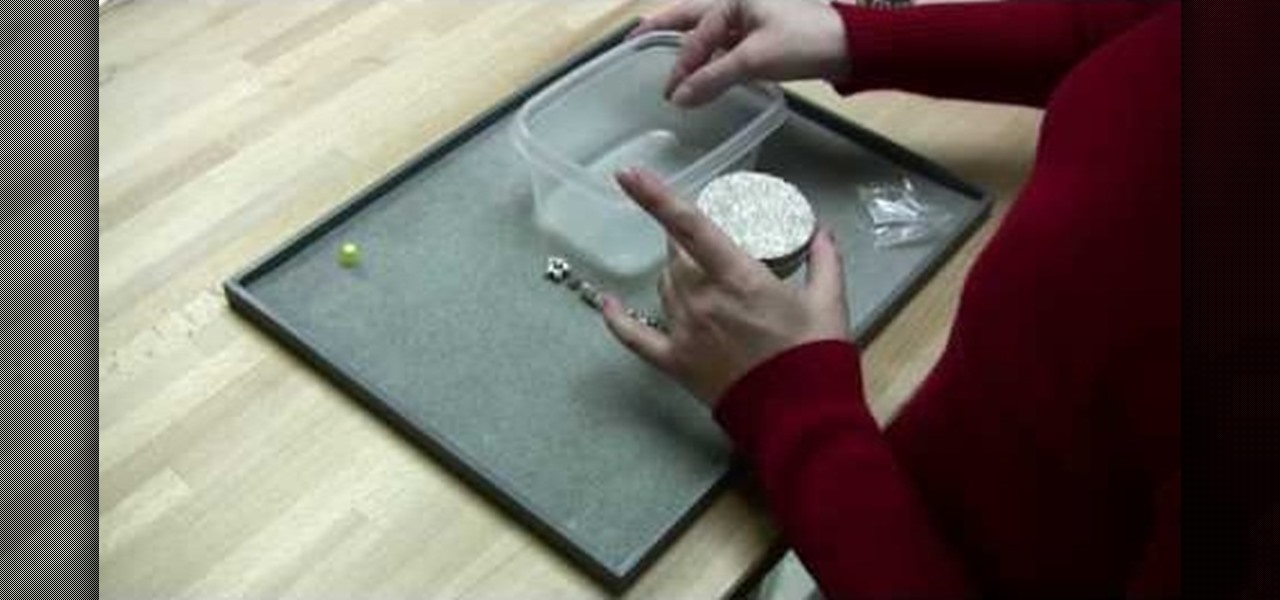
This video tutorial is in the Arts & Crafts category which will show you how to create a floral antique photo stand. The photo stand can be used to place photos or picture cards and it also doubles up as a candle stand. A picture holder measures 4 1/2 inches from top of the ring to the top of the stand. But, you can have different length. Take a lid of a tin and drill a small hole in the center. Place a wire through the hole. Apply generous amount of glue on the outer side of the lid. Sprinkl...
In this video, Dina Prioste shows us how to do a heart gate yoga pose. Make sure you are warmed up before you come into this exercise, so you won't pull a muscle. Begin in a basic side angle pose, starting in warrior 2. Now, take the right elbow onto the right thigh and sweep the left arm over to the left ear. Make sure your core is straight and your spine is long. Now, lean down into the right side of the body while keeping the left arm high. To take it into a deeper stretch, look over your ...
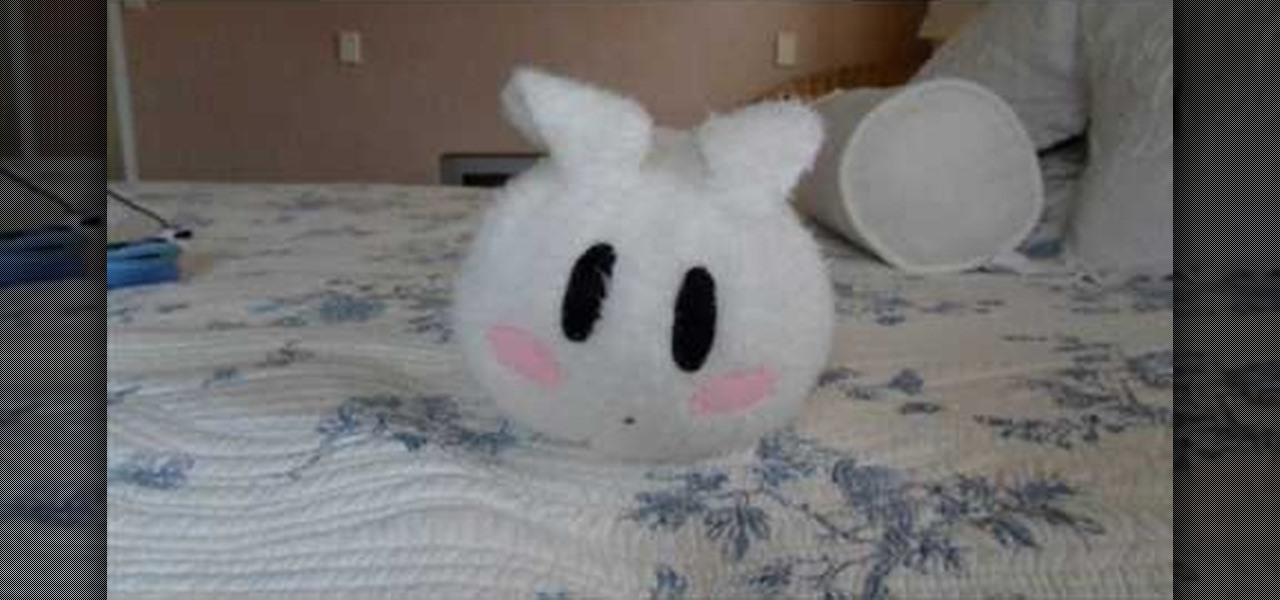
Want to know how to make the most adorable pillow in the world? Then you've stumbled upon the right tutorial. This video will guide you through how to sew together a blasphemously cute round rabbit pillow with eyes done in the anime style.
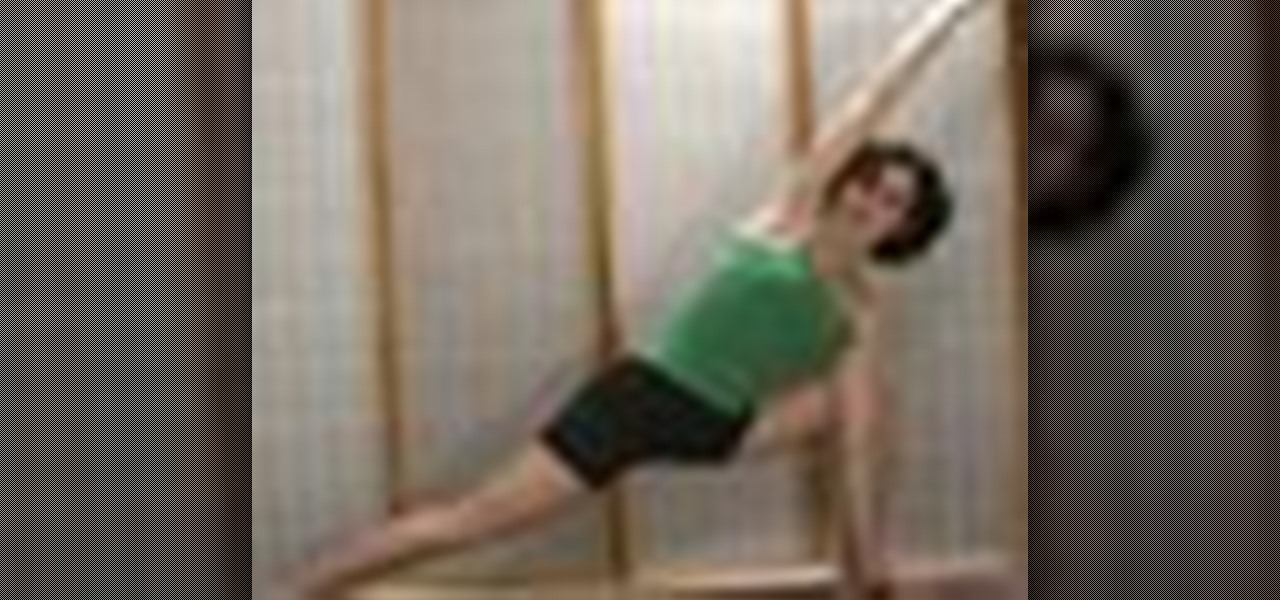
In this video, Caroline gives you a few tips on how to lose your love handles easily, Caroline herself lost her love handles during a 9 day cleanse in which she lost 2 inches off her waist. In order to do this exercise, you need to first stand with your legs about shoulder length apart. Then, placing one of your arms at your hip, extend the other one far above your head, touching your ear on the same side. Begin to stretch to the opposite side, stretching your side until you are at about a 45...
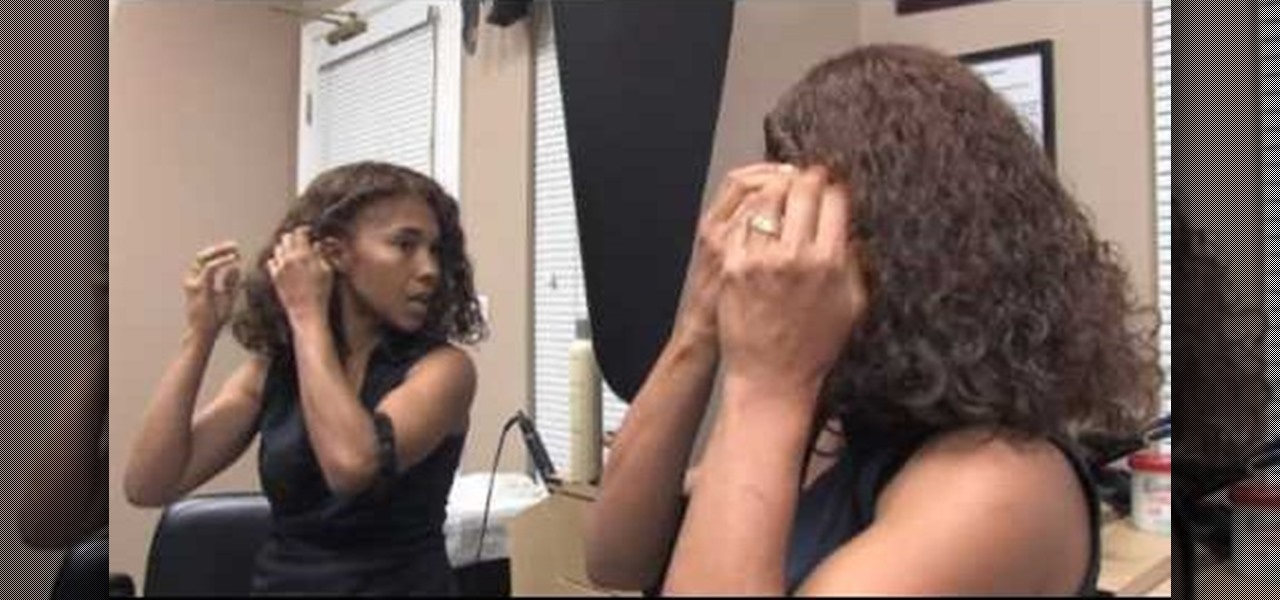
Liz Muller guides us how to make a cute twist hair style with little effort. First, put a small amount of hair gel in the front of your hair. Then, grab the front of one side of your hair and start to twist it. Twist the front into the back until you reach the area behind your ears. Now, clip the twist and then repeat this on the other side of your head. Using bobby pins to clip it will work the best. With the rest of your hair, you can either curl it or leave it straight, whichever you prefe...
In this tutorial, we learn tips from roadies. If you experience a nosebleed and don't know how to handle it, there is a very simple way to cure it. First, take a long string and tie it around the middle of your hand a few times until it's tight. Then, make a fist with your hand and squeeze for two minutes. By the time the two minutes is up, your nosebleed should have subsided. Another tip, is for when you have hiccups. First, take a pen and press it on the inside of the ear. After a few secon...
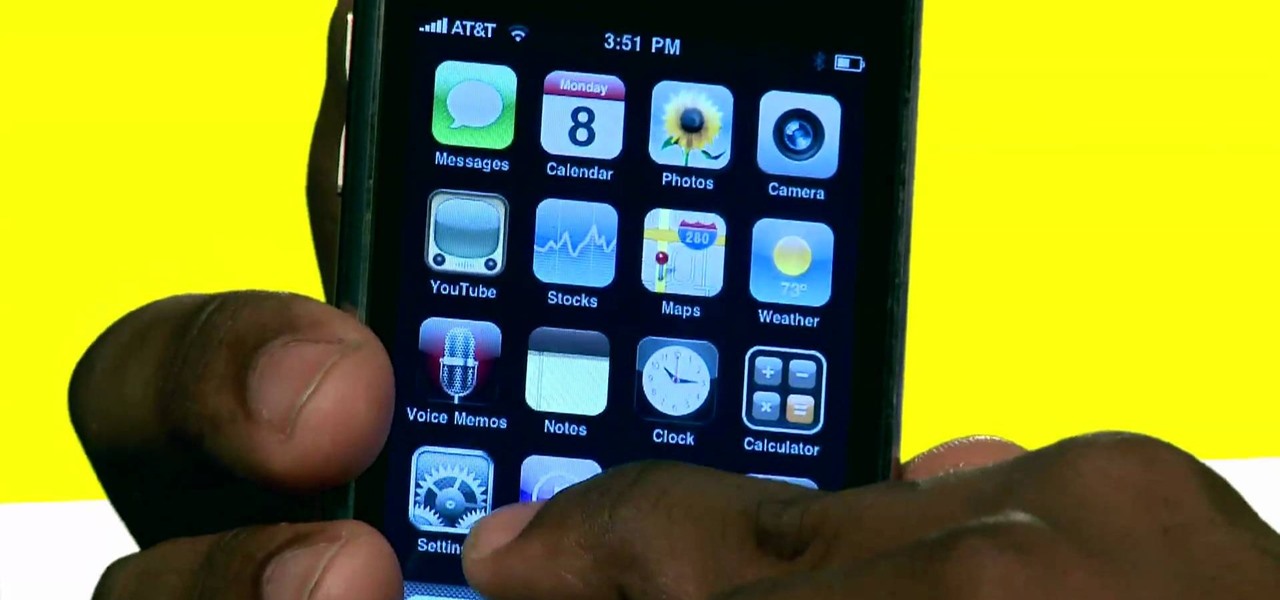
The iPhone can actually be annoying sometimes, especially those little sounds it likes to make when you click on anything. When you're typing, it can really be just too much for your ears. So how do you stop all the noise? Best Buy has answers. The Best Buy Mobile team explains how simple it is to eliminate the typing sounds on your Apple iPhone.
How to dice Onions ( easily and quickly)