To make mini cupcake earrings first take a piece of sculpey and make a cylinder. Make vertical indentations around the cylinder, similar to those an the edge of a quarter. this forms the bottom of the cupcake. Next take another small piece of sculpy and role it into a line like a piece of yarn. starting at the edge of the top of your cylinder coil the line of sculpy around the edge and up, similar to a piece of novelty poop. this forms the cupcake. stick a earring finding through the top of t...

Dragontrap uses 1/2 a yard of three different colors of fleece for this scarf project. She cuts the fleece into strips of twelve to sixteen inches in length and two to three inches wide. Then she sews the strips together lengthwise, rotating the colors of fleece. Once the strips are sewn together, she has a large rectangle of pieced together fleece This is folded in half with outsides together. She sews one edge of the scarf closed and sews all the way down the long edge of the scarf. Finally...

This instructional video shows us how to make a Japanese flag fan. The materials required are: Foamy (Red and white), four popsicle sticks, glue and scissors. First cut two circular shapes (with one straight edge) from the white foamy, then glue on the popsicle sticks to the straight edge of one of the circles to make the handle. After this, glue down the other white circular piece of foamy to cover the tops of the popsicle sticks. Then cut out two smaller circles from the red foamy and glue ...

First, prep the nails. Apply the white tips to the end of your nail. Use a nail clipper to clip the edges and a nail file to round the edges so they are not pointy. Next, apply primer to the bed of the nail. Then apply white acrylic with a brush to the tips that you put on earlier. Use the brush to make sure it fits the shape you want. Next, apply nail polish on the nail bed until it is the same height as the acrylic. File the edges down again if needed. Coat with transparent pink mix (a mixt...
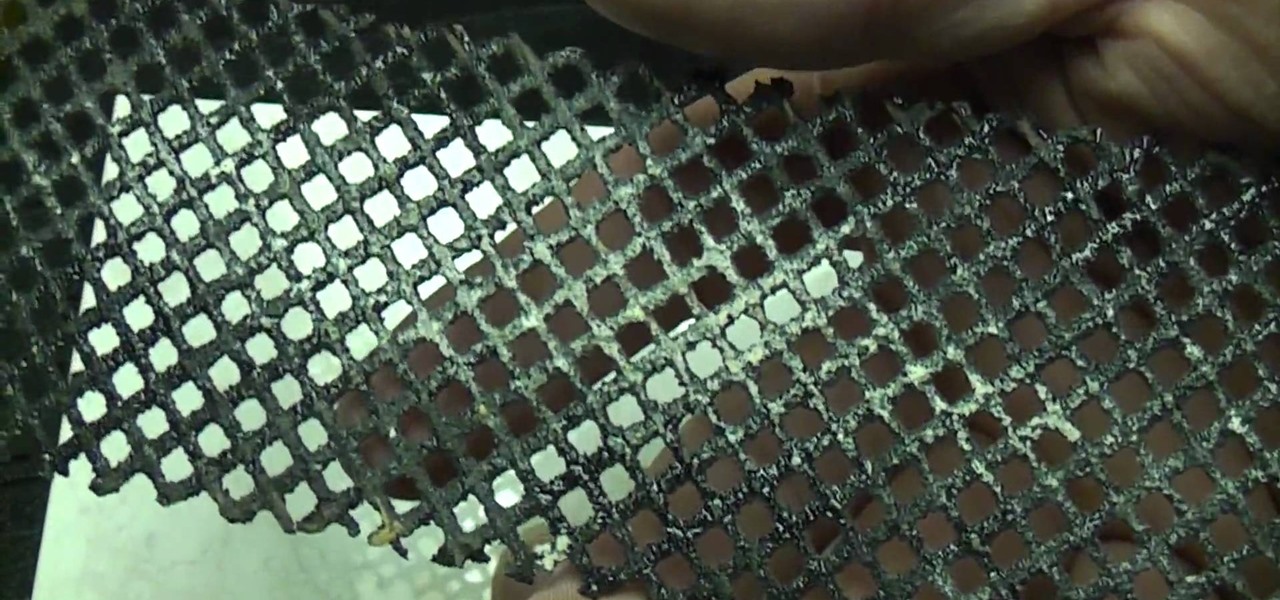
This how-to video explains how to use a tile file to remove a sharp edge from a piece of tile. To being you just need to buy a tile file (or a couple if you plan to use it a lot). A tile file would be used if a piece of tile has a sharp edge that you cannot hide in a corner or cover with another piece. To use the tile file simple rub the tile file against the tile like you would a piece of sandpaper on wood. Rub the tile file back and forth until the sharp edge has been smoothed out and then ...

This video shows how to make a very realistic looking bowl of ravioli out of polymer clay, to be used in a doll house. She starts with flesh tone clay and uses a piece of plastic needlepoint to press the pattern of square ravioli into the clay. She trims off the edges and then cuts out the tiny ravioli. She uses the fluted edge of a toothpaste tube to imprint the edges of the ravioli. She uses a mixture of liquid polymer clay and red and brown pastel chalk to make the sauce. She puts the ravi...

Place the paper colored-side down on the table. Fold the piece of paper in half to form a triangle. Match the upper right corner to the bottom left corner. Run your fingers along the edge of the triangle to complete the fold. Shrink the triangles size again and fold it in half once more. Match corner to corner. This fold forms a smaller triangle. Ensure the corners match up evenly. Run your fingers along the edge of the smaller triangle to complete the fold. Open up half of the triangle. Pres...
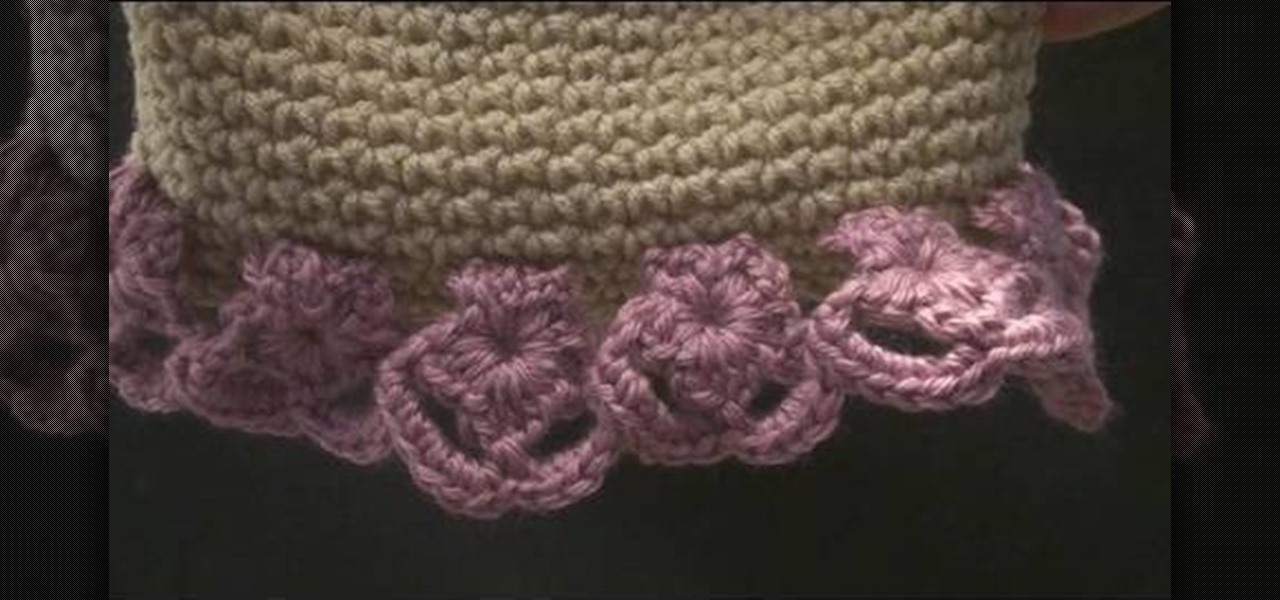
This how-to crochet video offers a simple pattern and instruction for stitching your own cute and easy crocheted hat. Knitted hats don't have to be for winter. While a cozy hat will protect you from the cold, a lighter yarn can add some style in warmer months as well. Check out this video d.i.y. arts and crafts lesson and learn how to crochet your own flower edging for hats.
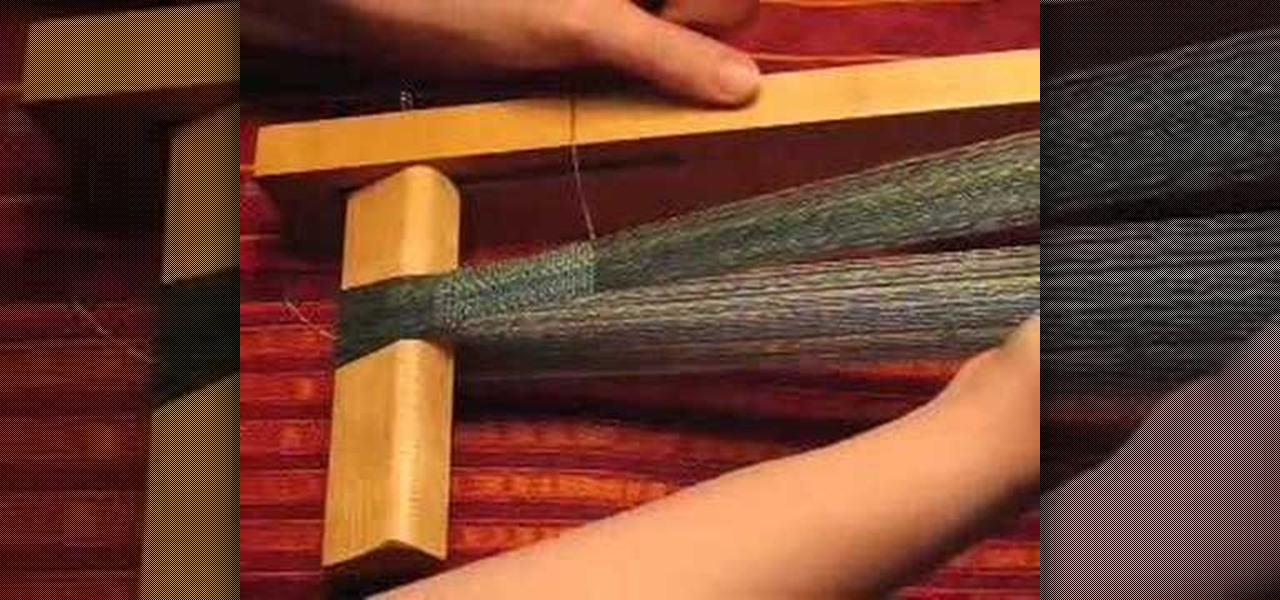
So you're weaving a narrow band. How do you keep the edges nice and straight? Here's a technique that combines weft insertion, beat, and selvedge control. It's useful for inkle weaving, tabletweaving, rigid heddle weaving, backstrap weaving... or even weaving small bands on a big loom. Try it!
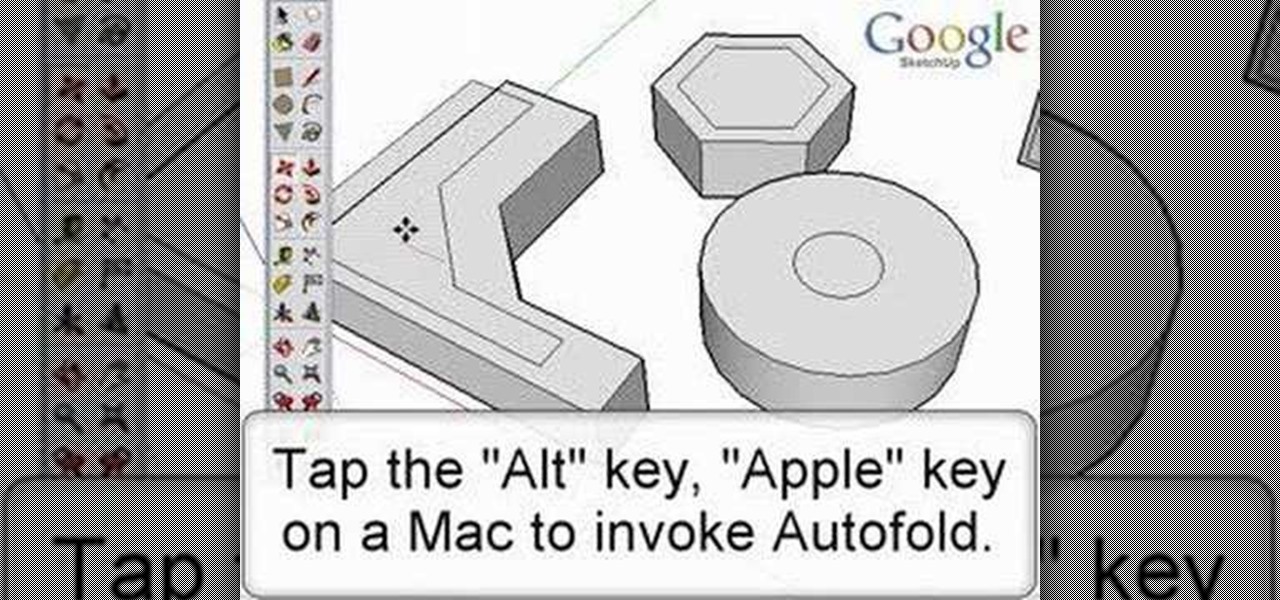
Autofold is part of the move tool and allows you to automatically create folding edges for new geometry. Take a look at this instructional video and learn how to use the move tool to autofold in Google SketchUp. The autofold can be activated by pressing the Alt key on the PC or the Apple key on a Mac. Autofold let's you move a point, edge or surface in any direction automatically creating fold edges as needed to do so.
Take a look at this instructional video and learn how to use the offset tool in Google SketchUp. To click on any surface to offset its edges, in or out. The tool auto selects any surface if no particular surface is selected. You can select a number of different surfaces or an individual surface. This tutorial covers offsetting surfaces versus edges, inferring, and some speedy tips.
This video cake decorating tutorial shows how to design piped scrolls of frosting on a cake. Start with a tube 44 or 43 at one point and twist it at the top, allow the tail of icing to fall on the edges to cover the edges of the cake. Repeat the same process around the cake. Piped scrolls are easy enough to replicate, just watch this instructional video and find out how it's done.
This Blender tutorial covers snapping points and merging objects as well as lofting between edges.
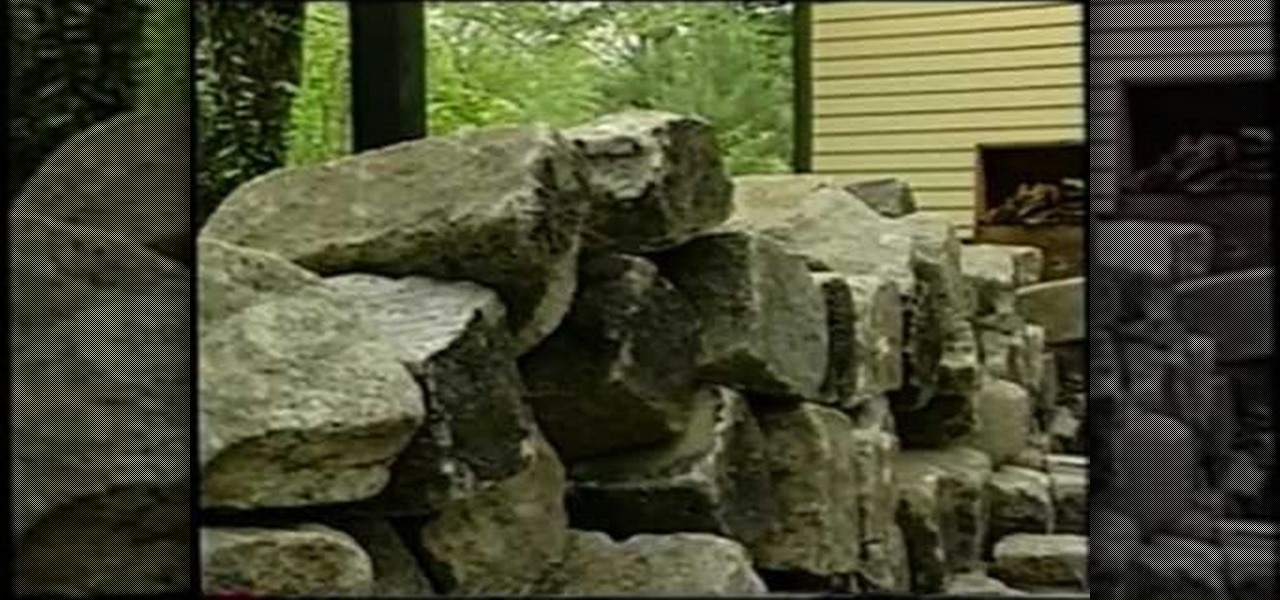
Tim Carter, of Ask the Builder, demonstrates how to use recycled cobblestones on your home property. Cobblestone can be used to edge gardens, driveways, and walkways.
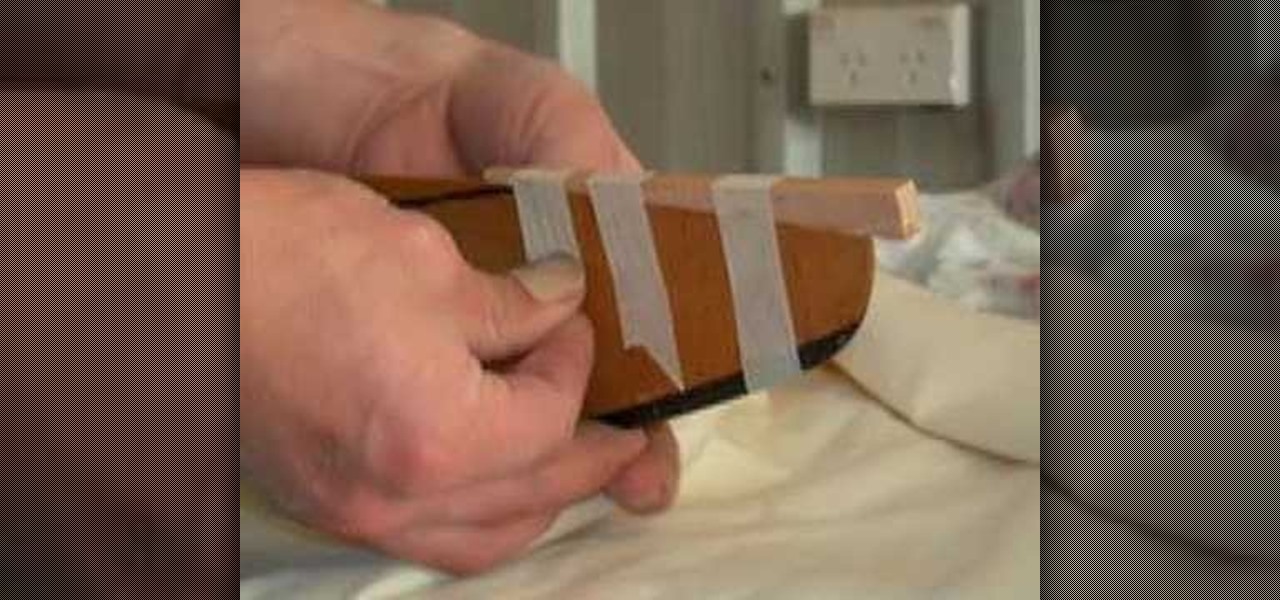
This video shows how to repair the damaged trailing edge of a wooden aircraft propeller using a scarf joint. It also shows how to fiberglass the repair.
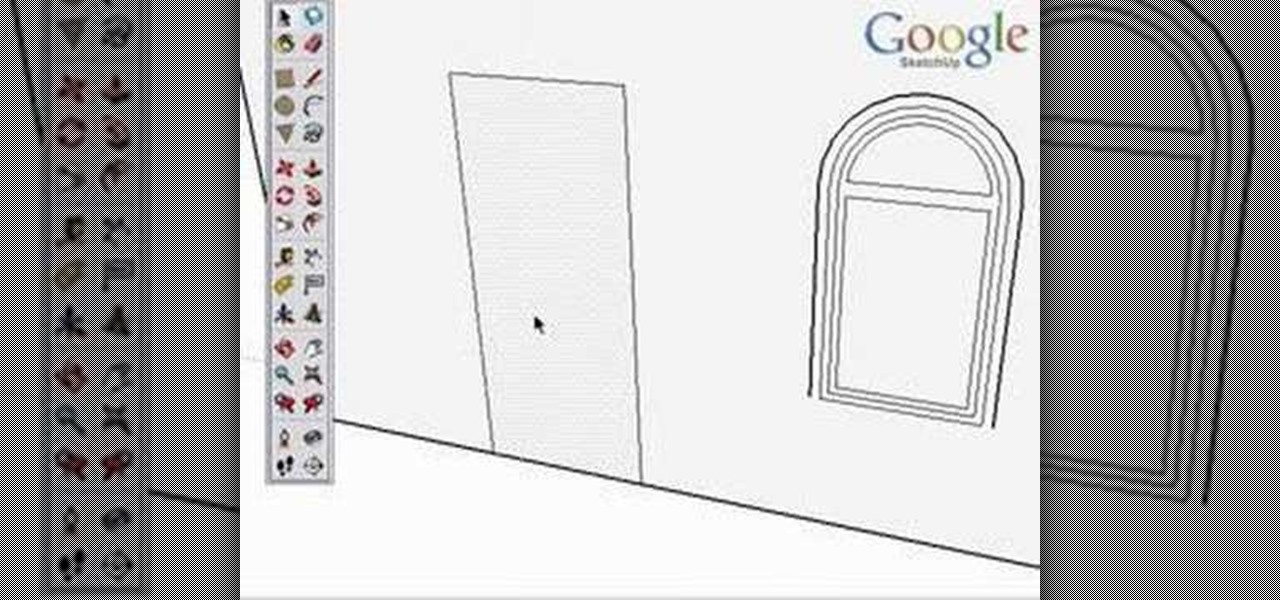
This video explains what to do when edges on a face won't sink in. Part of Chapter 16 of the book "Google SketchUp for Dummies" this troubleshooting video will definitely come in handy.
A butterfly bandage is handy item when a wound has smooth edges. It brings the edges of skin together and thus speeds up the healing.
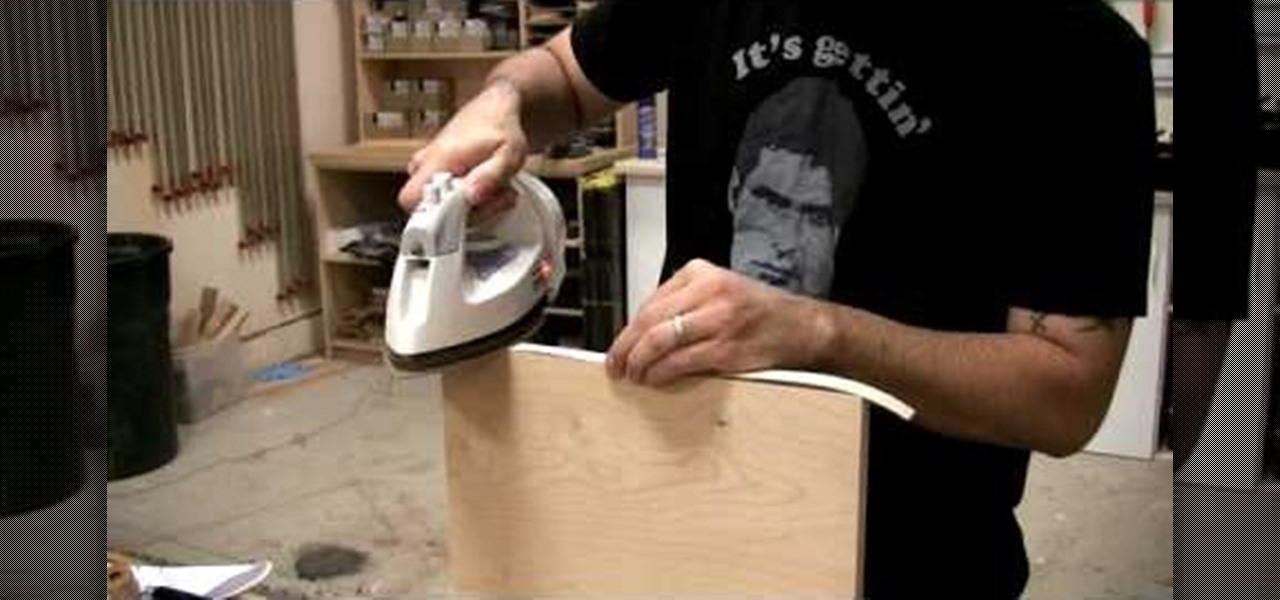
Watch this video to learn a few of the many ways you can cover the exposed edges of plywood. The Wood Whisperer demonstrates how to iron on veneer, thin solid wood, and thick solid wood.
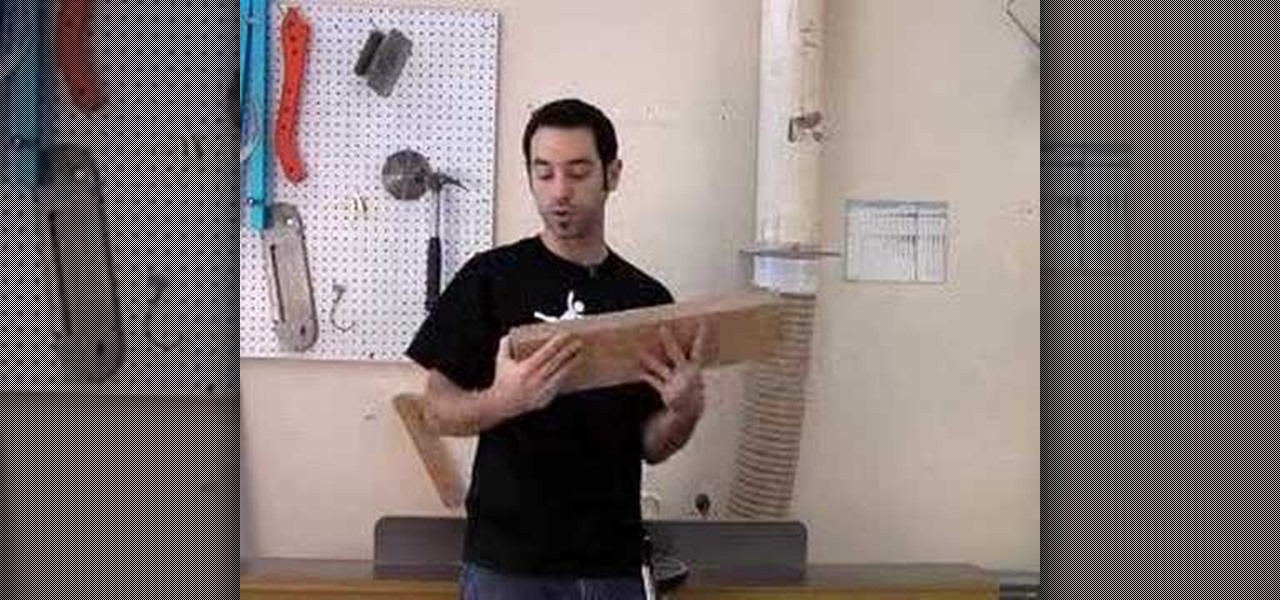
This video explains one of the most critical and fundamental aspects of woodworking: milling lumber. The Wood Whisperer reviews his 4-step milling process, which requires some big tools. Since many folks don't have a fully outfitted shop, he also presents numerous alternative methods for jointing edges and flattening faces. The jointer's jumpin'!!!
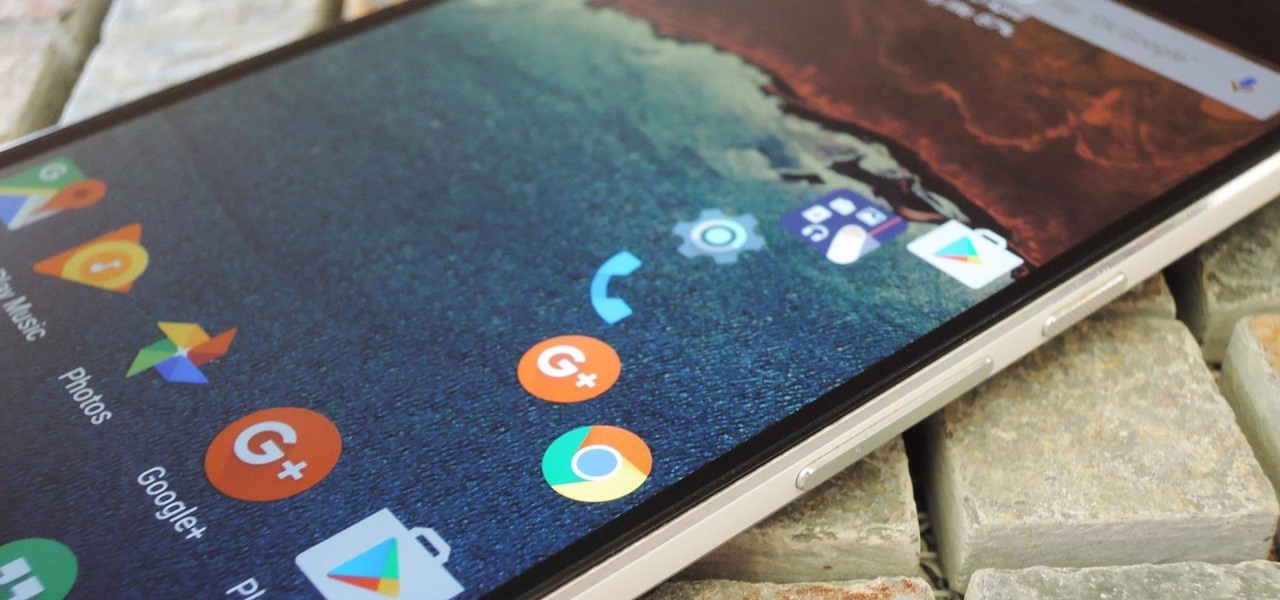
The Galaxy S7 edge comes with a feature called Edge Apps that lets you quickly launch your favorite apps by swiping in from the edge of your screen. It's a natural and intuitive gesture, and as a result, we've seen a recent influx of apps that look to emulate this feature.
Samsung's got a pair of beautiful new flagship devices coming out this spring that will surely top the sales charts. The Galaxy S5's successor is truly worthy of that title, but a second variant with a curved display turned heads at Mobile World Congress this weekend.
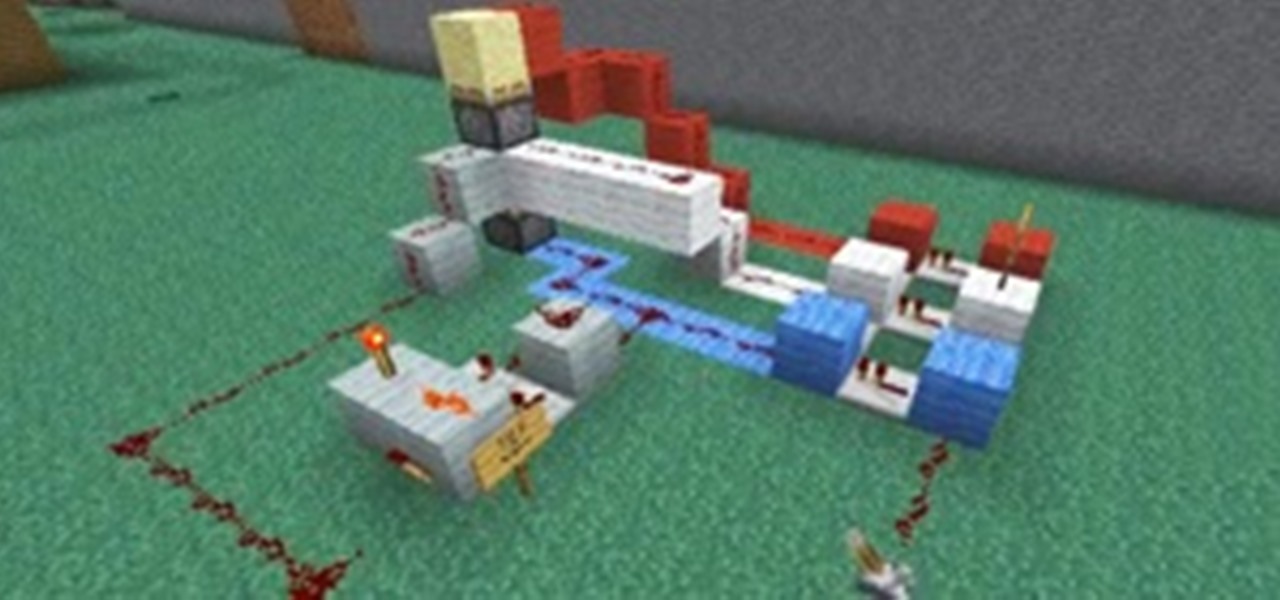
Okay, you can't really become the king of the world by stacking three pistons. For that, you have to stack four pistons.
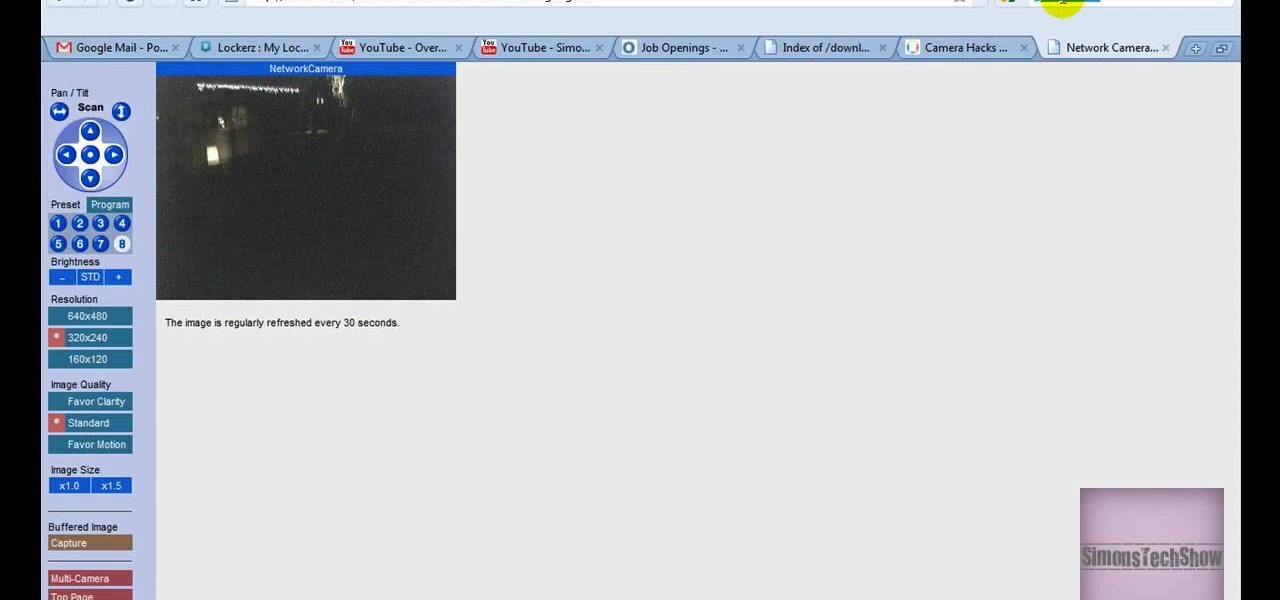
Given that megastar internet search engine Google became its own verb a few years ago, we've all come to acknowledge that the wide and ever-expanding engine is becoming more powerful than ever before. You can take a look at your own house from outer space via Google Earth, you can look at famous paintings - down to the very last grizzly brushstroke - via Google Art Project, and you can look at what's hot and what's not in Spain - or anywhere in the world - with Google Trends.
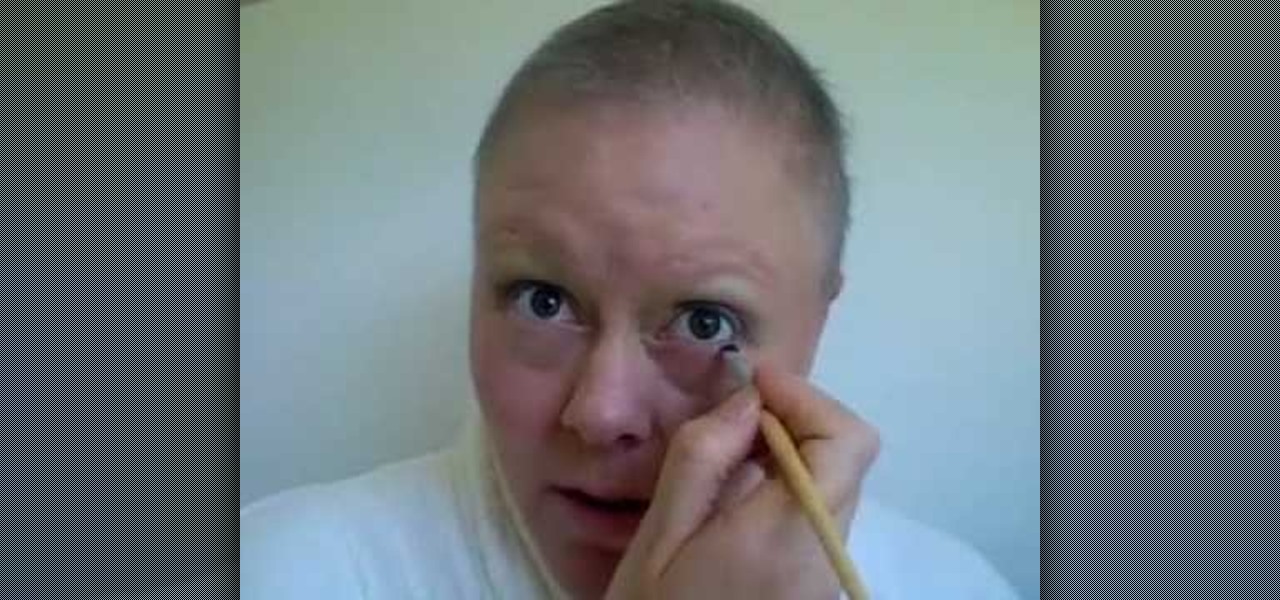
In this video, we learn how to apply bold eye makeup during chemotherapy. First, take a light silver shadow and brush it all over your eyes, including below the brow bone. From here, take a dark brown and brush it into the crease of the eye and blend to the outer corner with a fluffy blending brush. After this, apply black eyeliner on the top and the bottom of the eye. Then, apply mascara to the top and bottom eyelashes and curl if you would like as well. When finished, you will have a bold m...
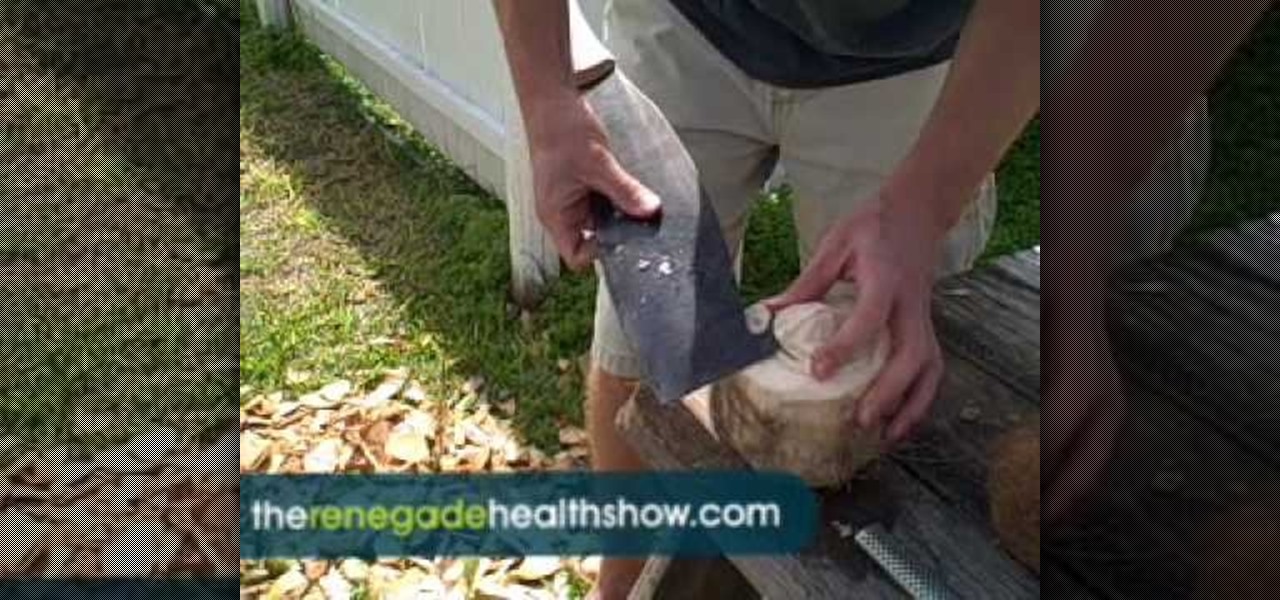
In this tutorial, we learn how to open a variety of coconuts. These fruits can be extremely difficult to open up, but it can be done. First, you will need to have a very large and sharp knife and all of your types of coconuts. To open them up, you will need to first crack the skin of the coconut with the sharp knife. On other coconuts, you can simply use the knife to cut the outer skin off to get to the milk that is in the middle. Whichever way you choose, just make sure you have a very sharp...
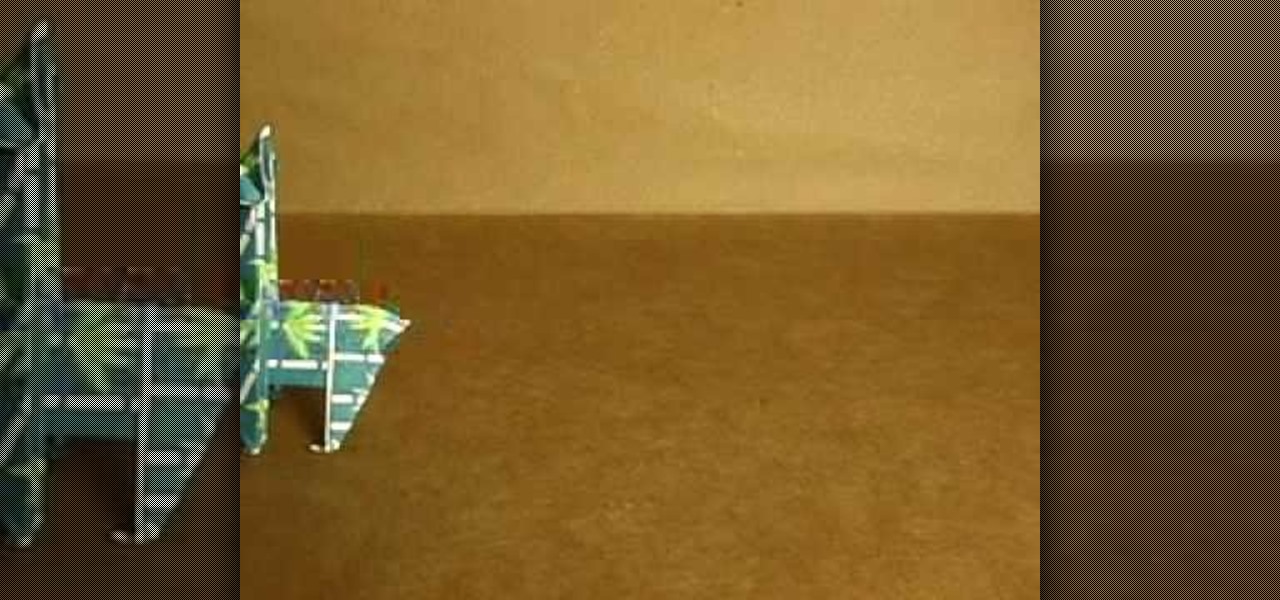
This is a video tutorial in the Arts & Crafts category where you are going to learn how to make origami llamas. Take a square sheet of paper and fold it in half. Open the fold and then fold each half further in halves. The sheet is now divided in to 4 parts. Next fold the outer flaps inwards so that they meet at the center. Flip the folded sheet and fold it in half to make it a square size. Next you fold the top back over itself in a triangular shape. Open up the last fold and watch the video...
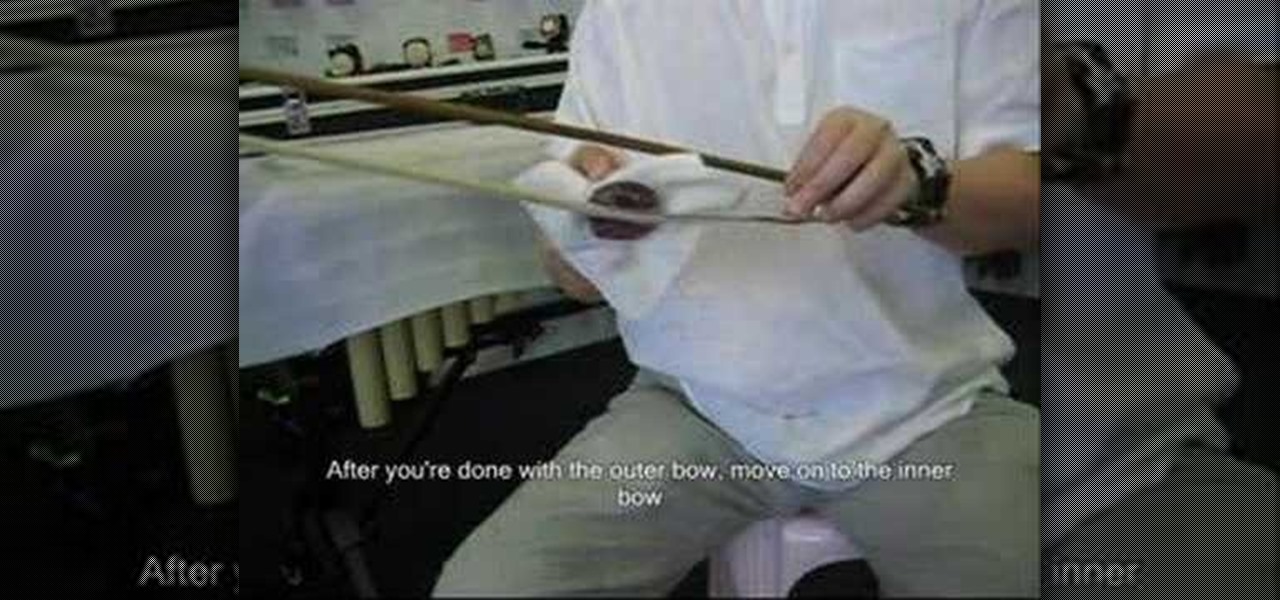
You can easily rosin your erhu bow. To do this first take the cake of rosin and rub it back and forth on the one part of the bow until you get rosin powder on the hair of the bow. Now go the next part of the bow and do
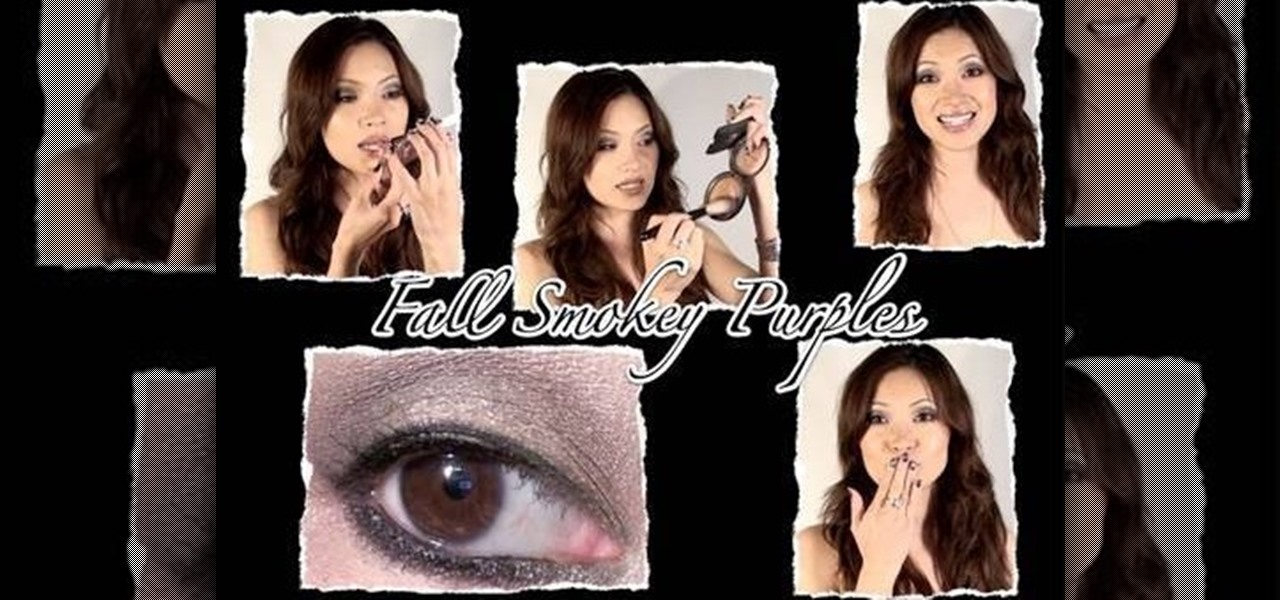
With Fall almost here, it's time to change the colors. And this makeup tutorial will hopefully help you change with the seasons, or at least inspire you in greater ways! Watch and learn how to recreate (and add or modify) this smokey muted purples look for eyes. You can use whatever colors you have to create something similar. Use your imagination!
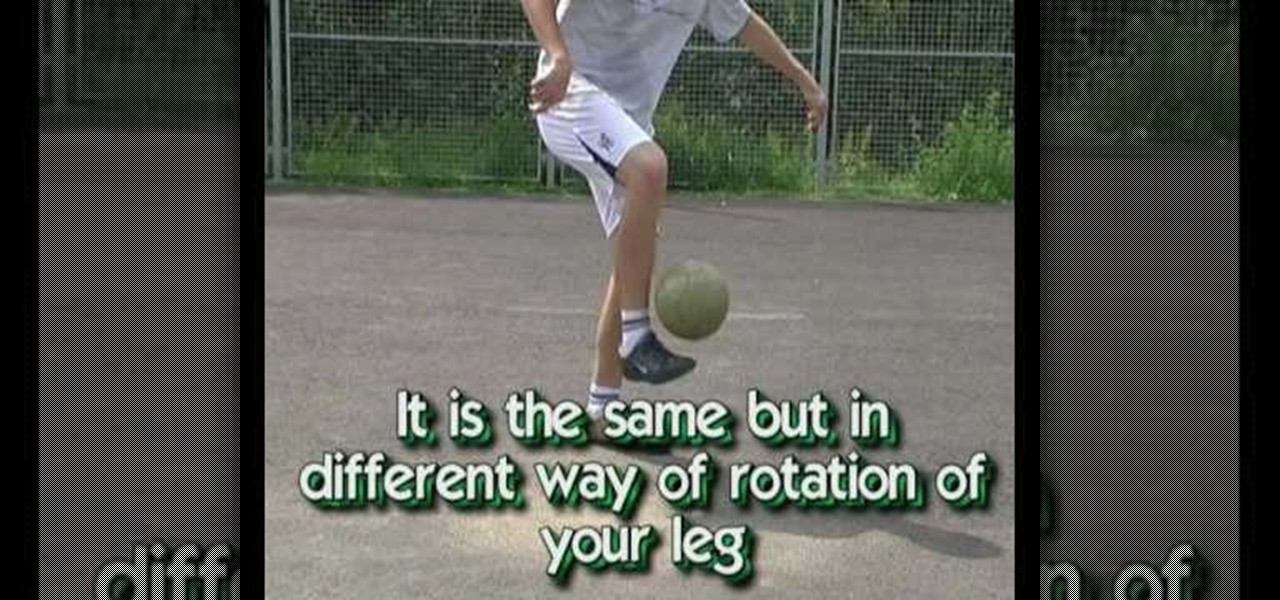
In this video tutorial, viewers learn how to do the Around the World soccer trick. When doing this trick, users are able to do an inner rotation known as Inside Around the World or an outer rotation known as Outside Around the World. Begin by hitting the ball with your toe and start rotating you leg. The ball needs to go up with the foot, but the foot should still be above the ball. Now end the rotation by landing the ball on the tip of your toe and continue to juggle. This video will benefit...
In this video, we learn how to make a mosaic jewelry ring. First, put the glue into a container, then place the stones into the glue and then place them onto the ring. Start by making the outer ring of the circle, then continue to go around the inside and the middle. Once you have all the stones placed inside, let the ring and stones dry for a full two hours. Next, take your powder and add a small amount of water. Mix together until you have a toothpaste like consistency, then rub it on the r...
In this video, we learn how to write the letter "S" in calligraphy copperplate. First, dab your calligraphy into ink, then start to writ on a your paper. Make a large half bowl shaped curved line, then make a loop and go down, creating a curved line with a dot at the end. To make the lowercase letter, make a thin line, followed by a thick outer line that curves into the large line making a lower case s. When you are finished with both of these, you will have beautiful letters that look great ...
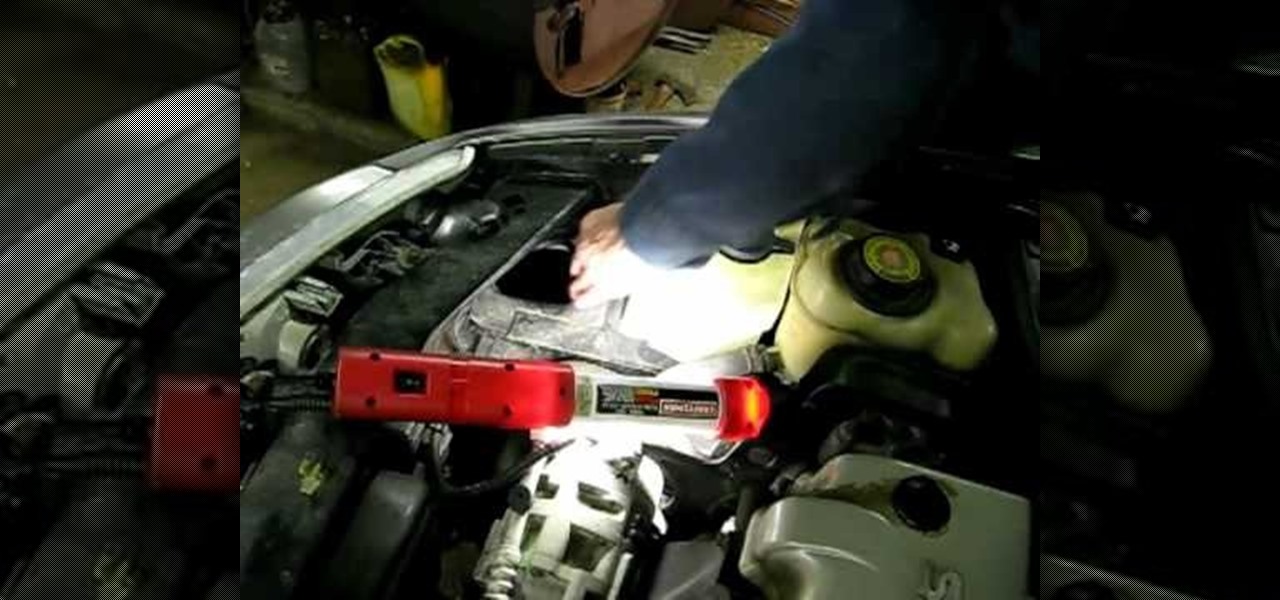
In this video, we learn how to remove your windshield washer tank. First, lift up the hood of the car. After you have done this, you will need to remove the outer light on the front of the vehicle with a screwdriver. Next, find the tank on the inside of the hook where the windshield wiper fluid is located at. After you have done this, make sure to disconnect any tubes and parts that go to this, then set them aside. If you are replacing this, you will need to put your new one in and then repla...
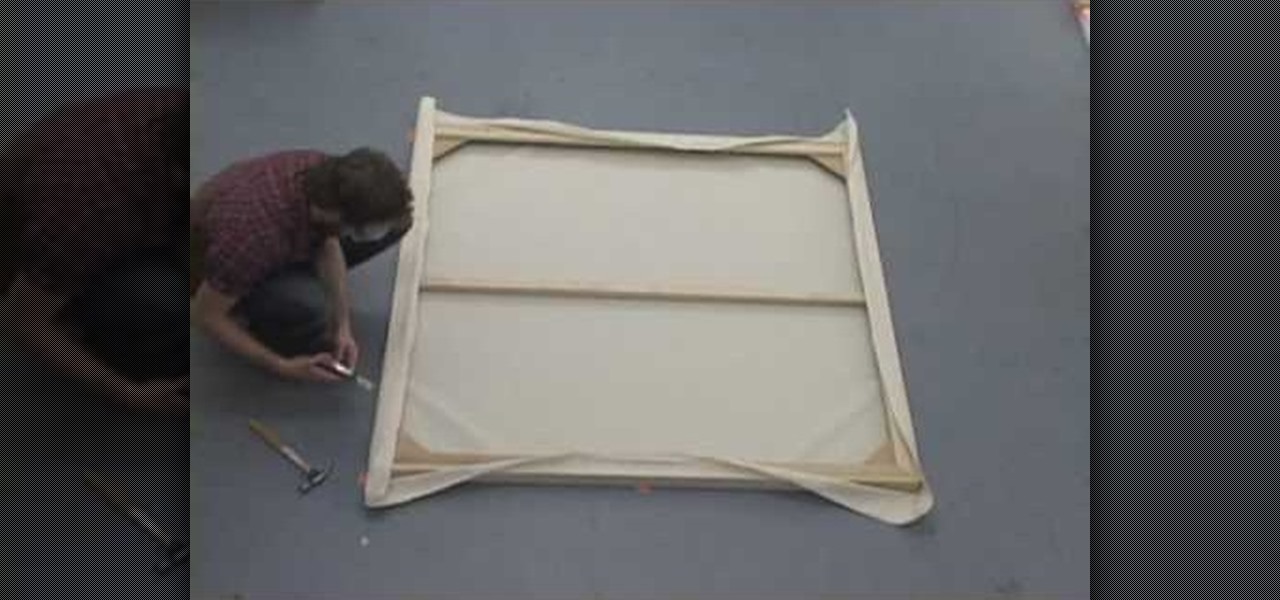
In this tutorial, we learn how to stretch the perfect canvas. First, measure the canvas. After this, center the canvas and make sure there are no wrinkles. Then cut the canvas and staple it to the frame. This will take several minutes, and you will work your way from the inside to the outer corners. After you are finished stapling hide the folds on all of the corners with the stapler gun. When you are finished with this step, you will be done and ready to paint on your new canvas! These steps...
The skin on a butternut squash is not the easiest to remove. But there are a few tricks to hacking off the outer skins of the squash. This video will show you the trick to peeling and cutting the butternut squash the easiest way. You could use a knife to peel, but the best option is a serrated vegetable peeler. Once peeled, it's a matter of slicing and dicing the squash to perfection, in the best manner. See all the details within the video.
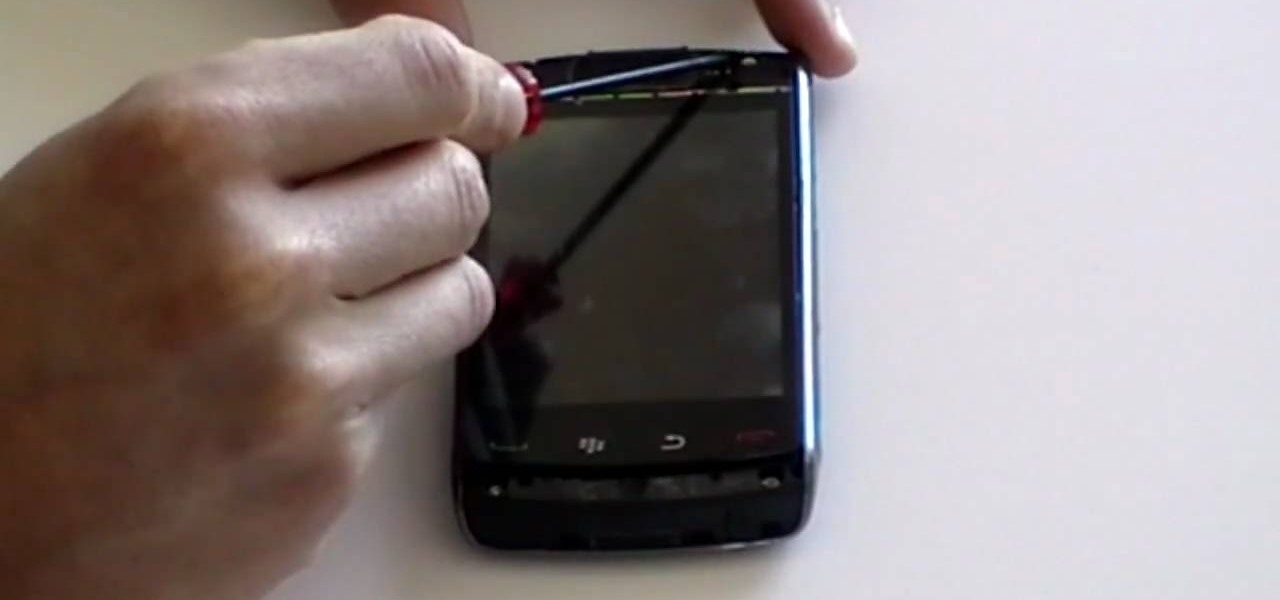
Repairs Universe demonstrates how to take apart the BlackBerry Storm 2 to replace the LCD. First, flip the phone over and take out the battery, SIM card and memory card. Then, use a safe pry tool to pry off the top and bottom covers which are held on by adhesive and clips. Next, use a T-6 screwdriver, remove the size screws on the front of the device. Flip the phone over and remove two more screws. Use the pry tool to release the clips and remove the outer casing. Flip the phone over and usin...
This video illustrates how to fold an origami angel with a wide wing span. Here are the following steps:
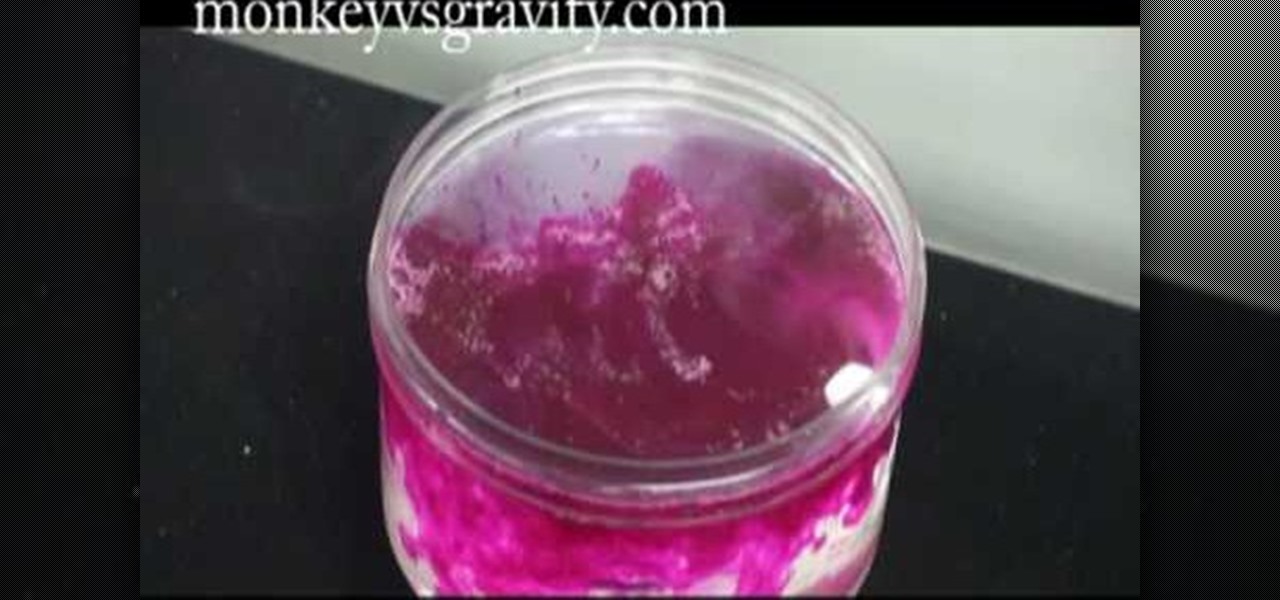
In this video tutorial, viewers learn how to do a sodium and water experiment. Sodium is a silver metal that is very reactive. When exposed oxygen in the air, an outer coding of sodium oxide will form. Simply drop a piece of sodium into a cup of water. When dropped in water, sodium reacts to form sodium hydroxide and hydrogen gas. The sodium will constant move around in the water. Sometimes the heated reaction will cause the nitrogen gas to ignite. Under the right condition, it may even cause...
This is a great instructional video on how to apply star wars makeup. First you have to take off some glue stick to smudge on the second half of your eyebrows. Apply liquid green all over the face. Now apply yellowy green powder allover the face with a brush. Now contour bitches. Draw eye shadows with dark colors and eye brows with black color. Taper it out into a point both on the outer corners going up and in the inner corners going down, an Arabic kind of eye. Now set liner with black powd...
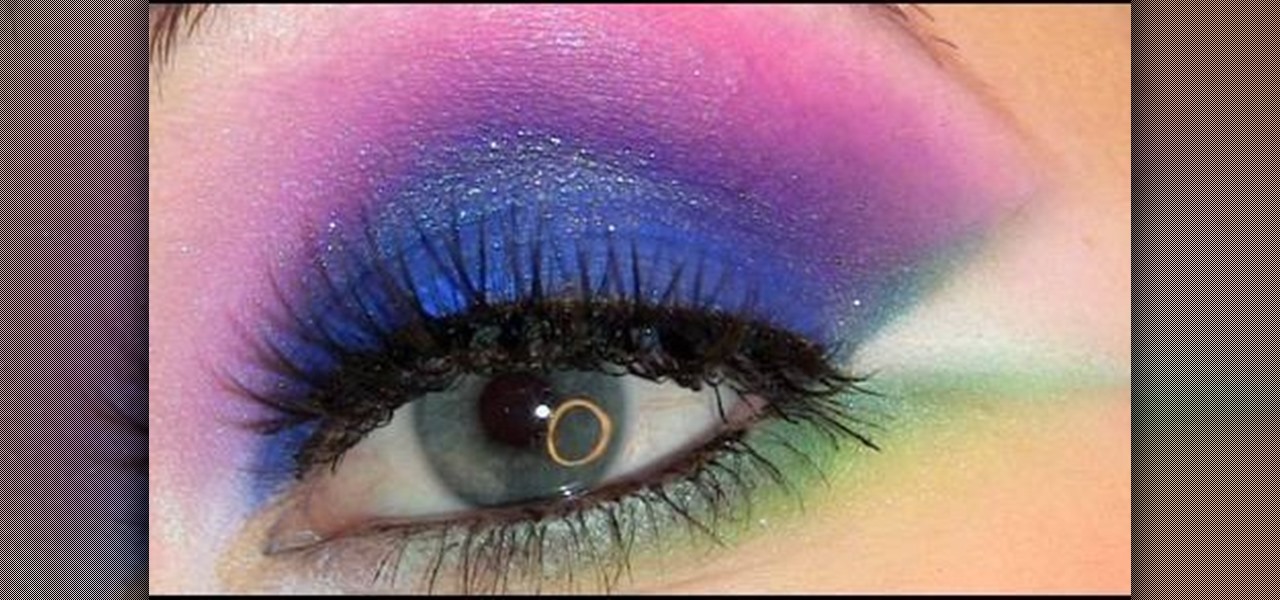
This video teaches the secrets of creating an Electro pop makeup style in simple steps. First wet a dark blue eyeshadow powder and apply to your eyelids. Now apply a pink eyeshadow using 222 brush and apply it over the blue. Now use white color and highlight under your eyebrows. Apply a green color using a flat brush under your lower lash and apply a brighter green over it. Apply a white eyeliner to the inner corner and make a triangle shape at the outer corner. Now apply some eyeliner, lashe...
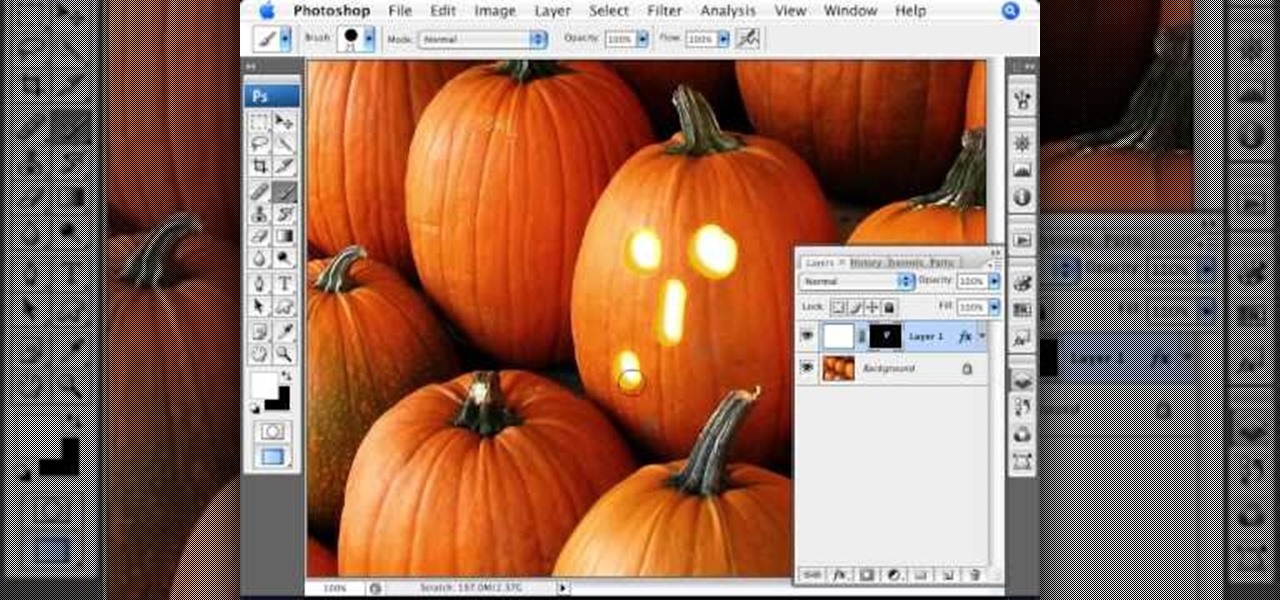
Photoshopuniverse shows the way to create a Jack-O-Lantern in Photoshop. At first you need to collect or take a photo of a pumpkin. Make a new layer, with a white background, then mask it. Fill it with black color. Now go to blending option and give inner shadow, inner glow, gradient layer and outer glow. The major color will be yellow. There will be also a thin stroke. Your brush is ready now with all its effects of a Jack-O-Lantern. After following this video, you can use the same effect an...